
When we were living in California we did a lot of camping trips. Most were during the winter season for more moderate temperatures. Beach based campgrounds have always been a favorite go-to for our family. California beaches are the best during the winter season because it is cool in the morning and warms up in the afternoon.
For those trips I always prepared our meals in advance and packed them to bring along. This cornbread is everyone’s favorite. It’s very easy to warm up and can be frozen until you are ready to eat. Chili with cornbread is one meal my kids all love. Mainly for the cornbread! There are many ways to prepare a cornbread. Some recipes use sugar, while others use honey. Instead, I love to use maple syrup! It just adds that subtle sweet note to the cornbread while not being overly sweet.
We’re now living in Pennsylvania, and finally having snowy winters again. This cornbread has turned into a side dish that comes to our table with many winter dinners. I hope you love it as much as our family does!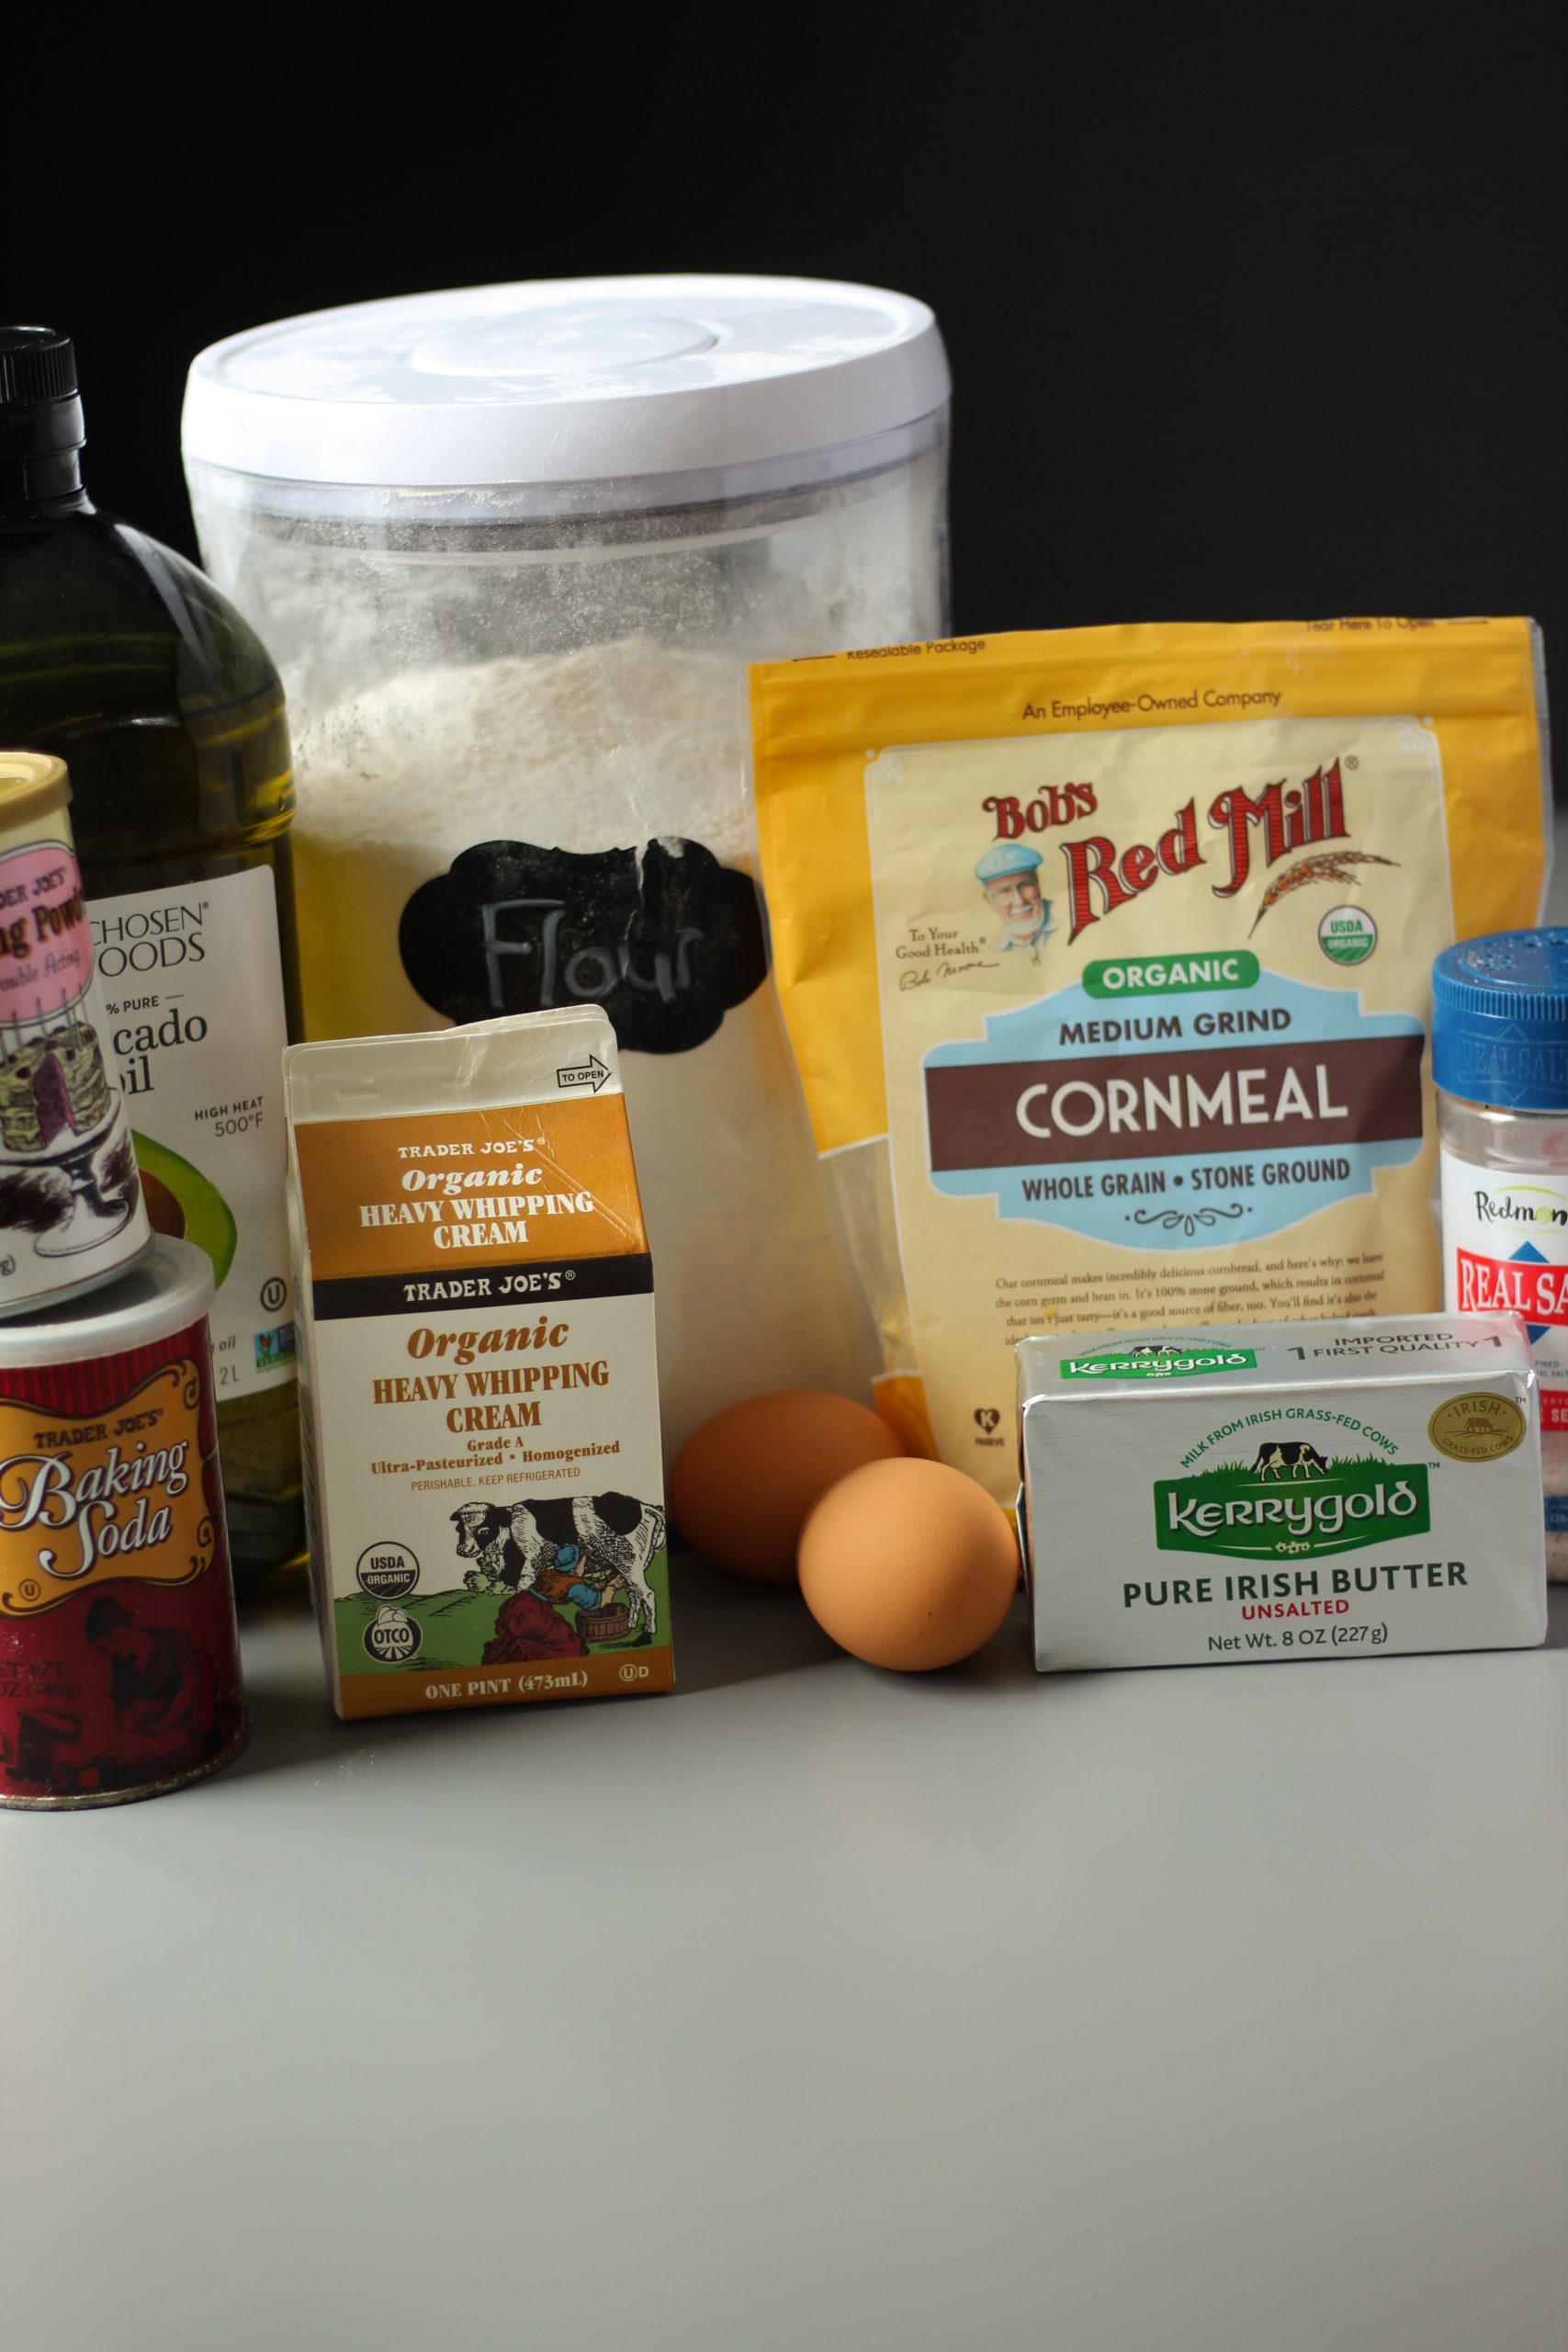
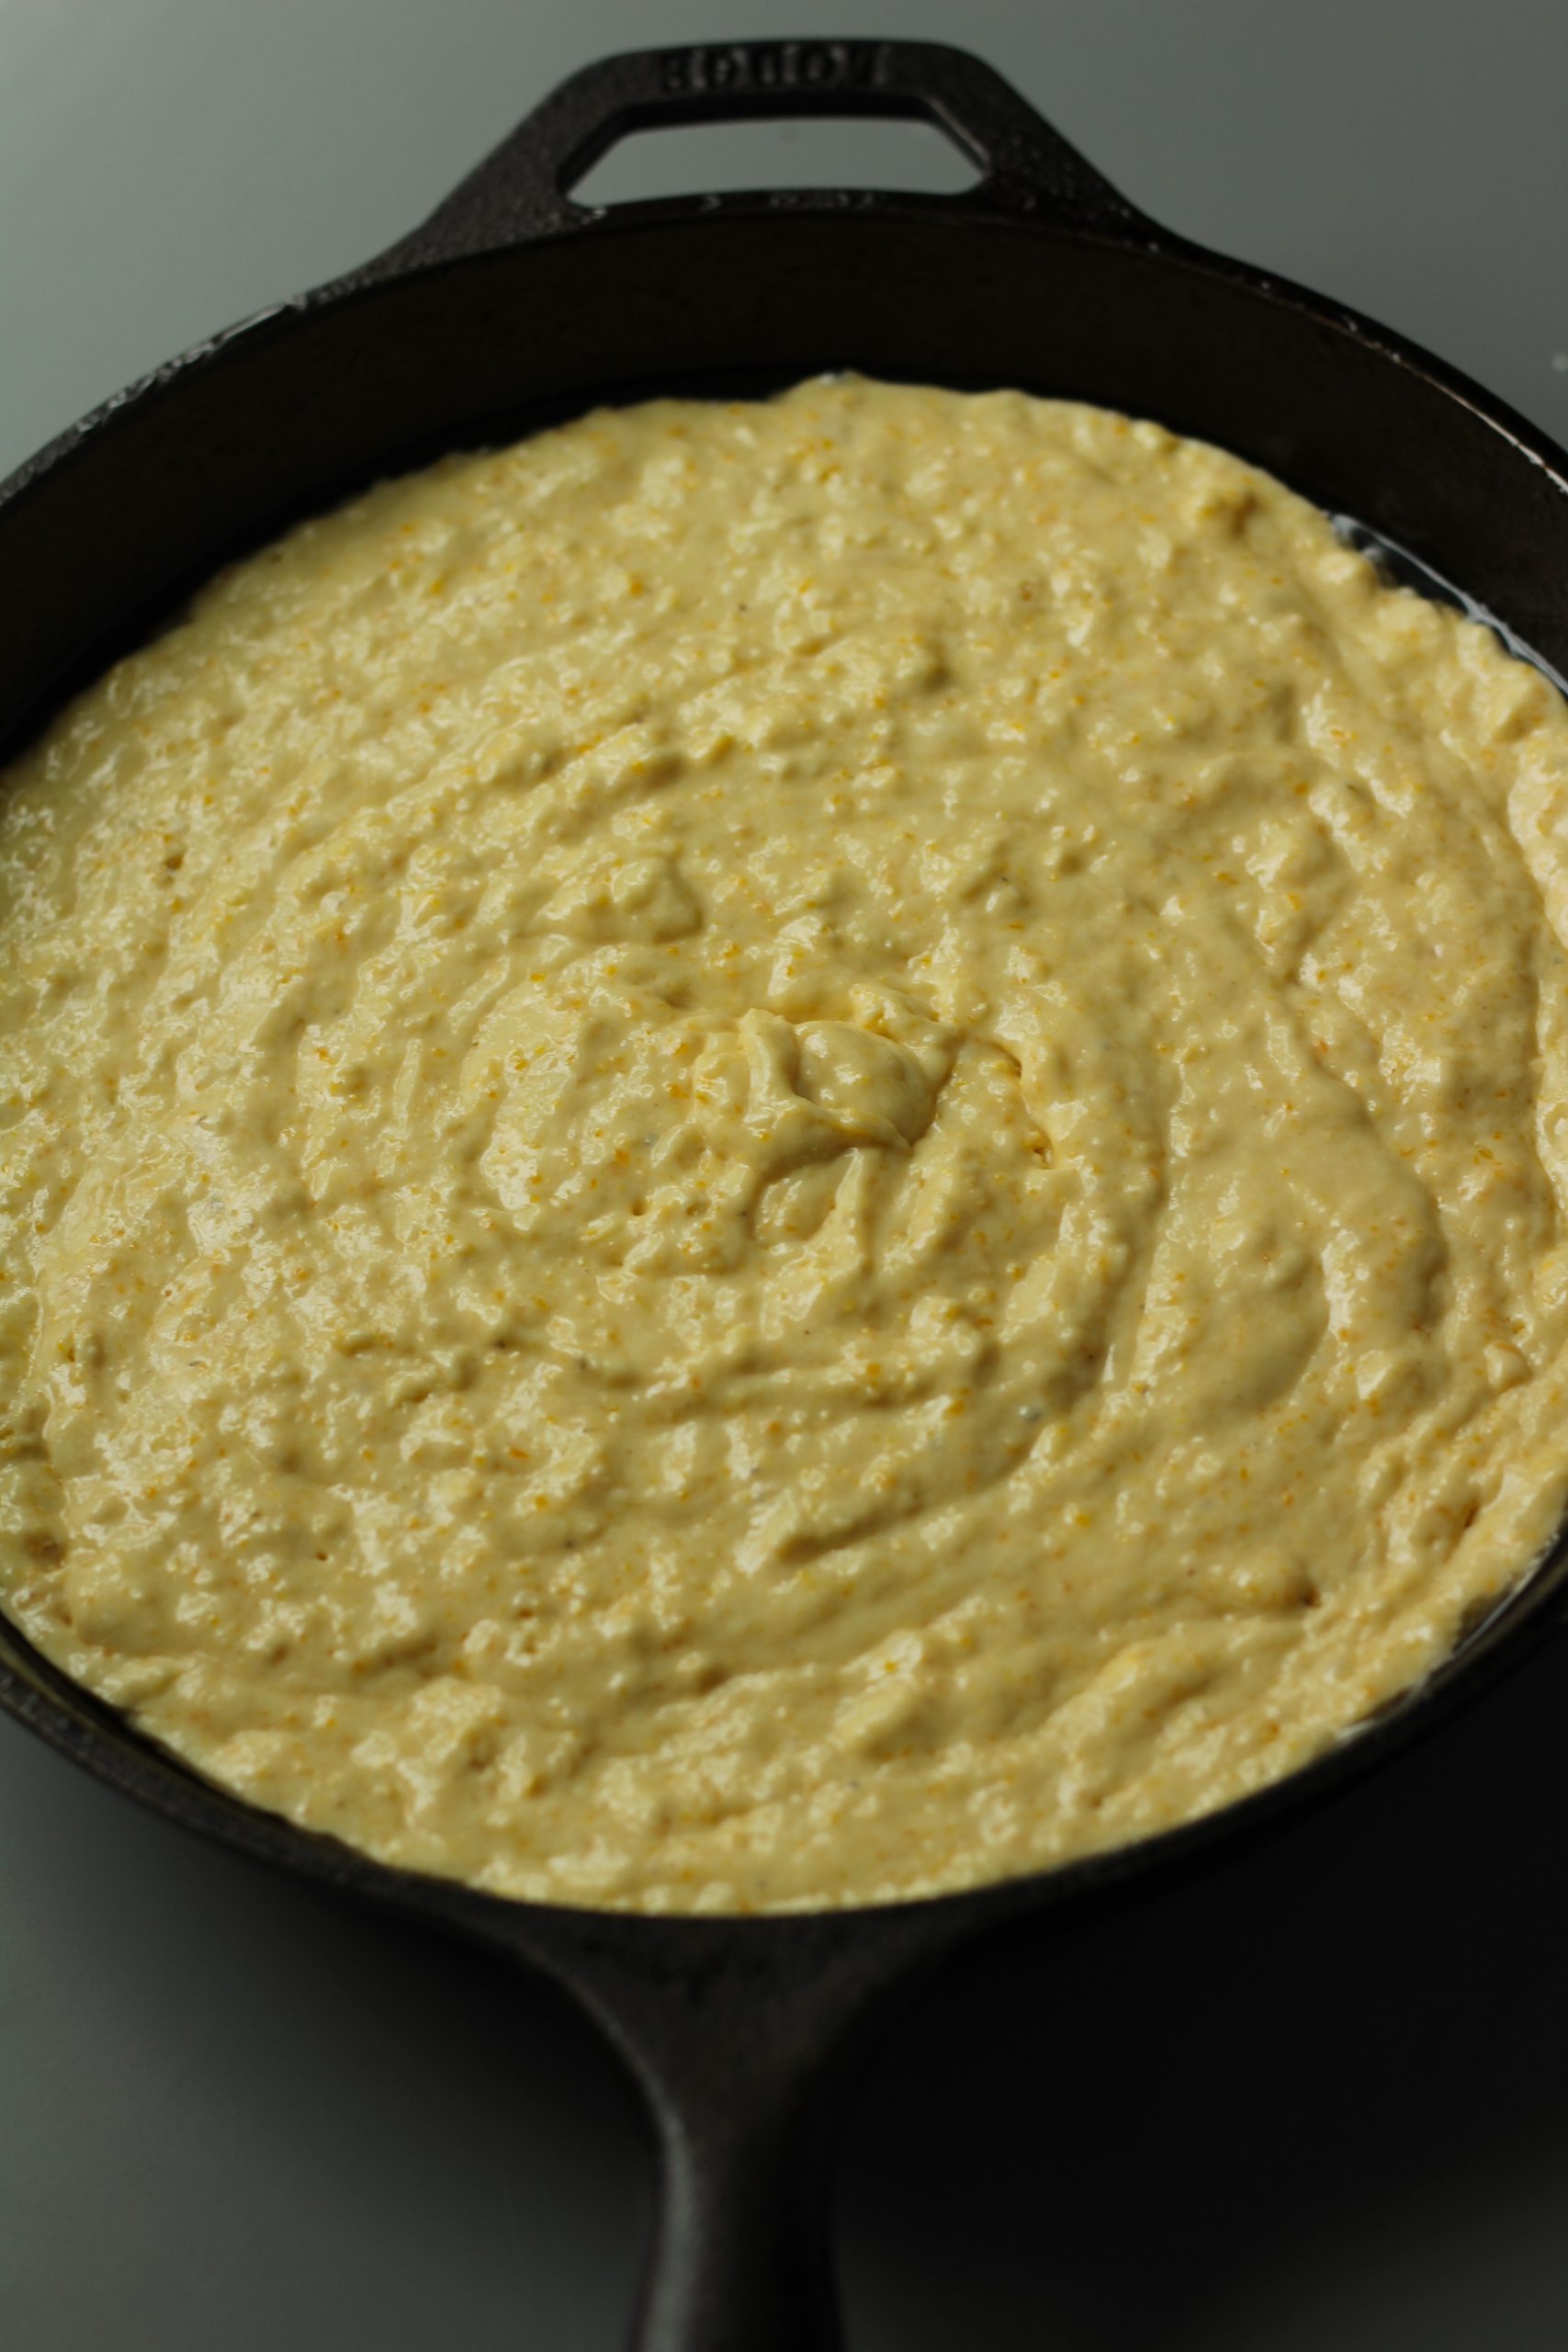
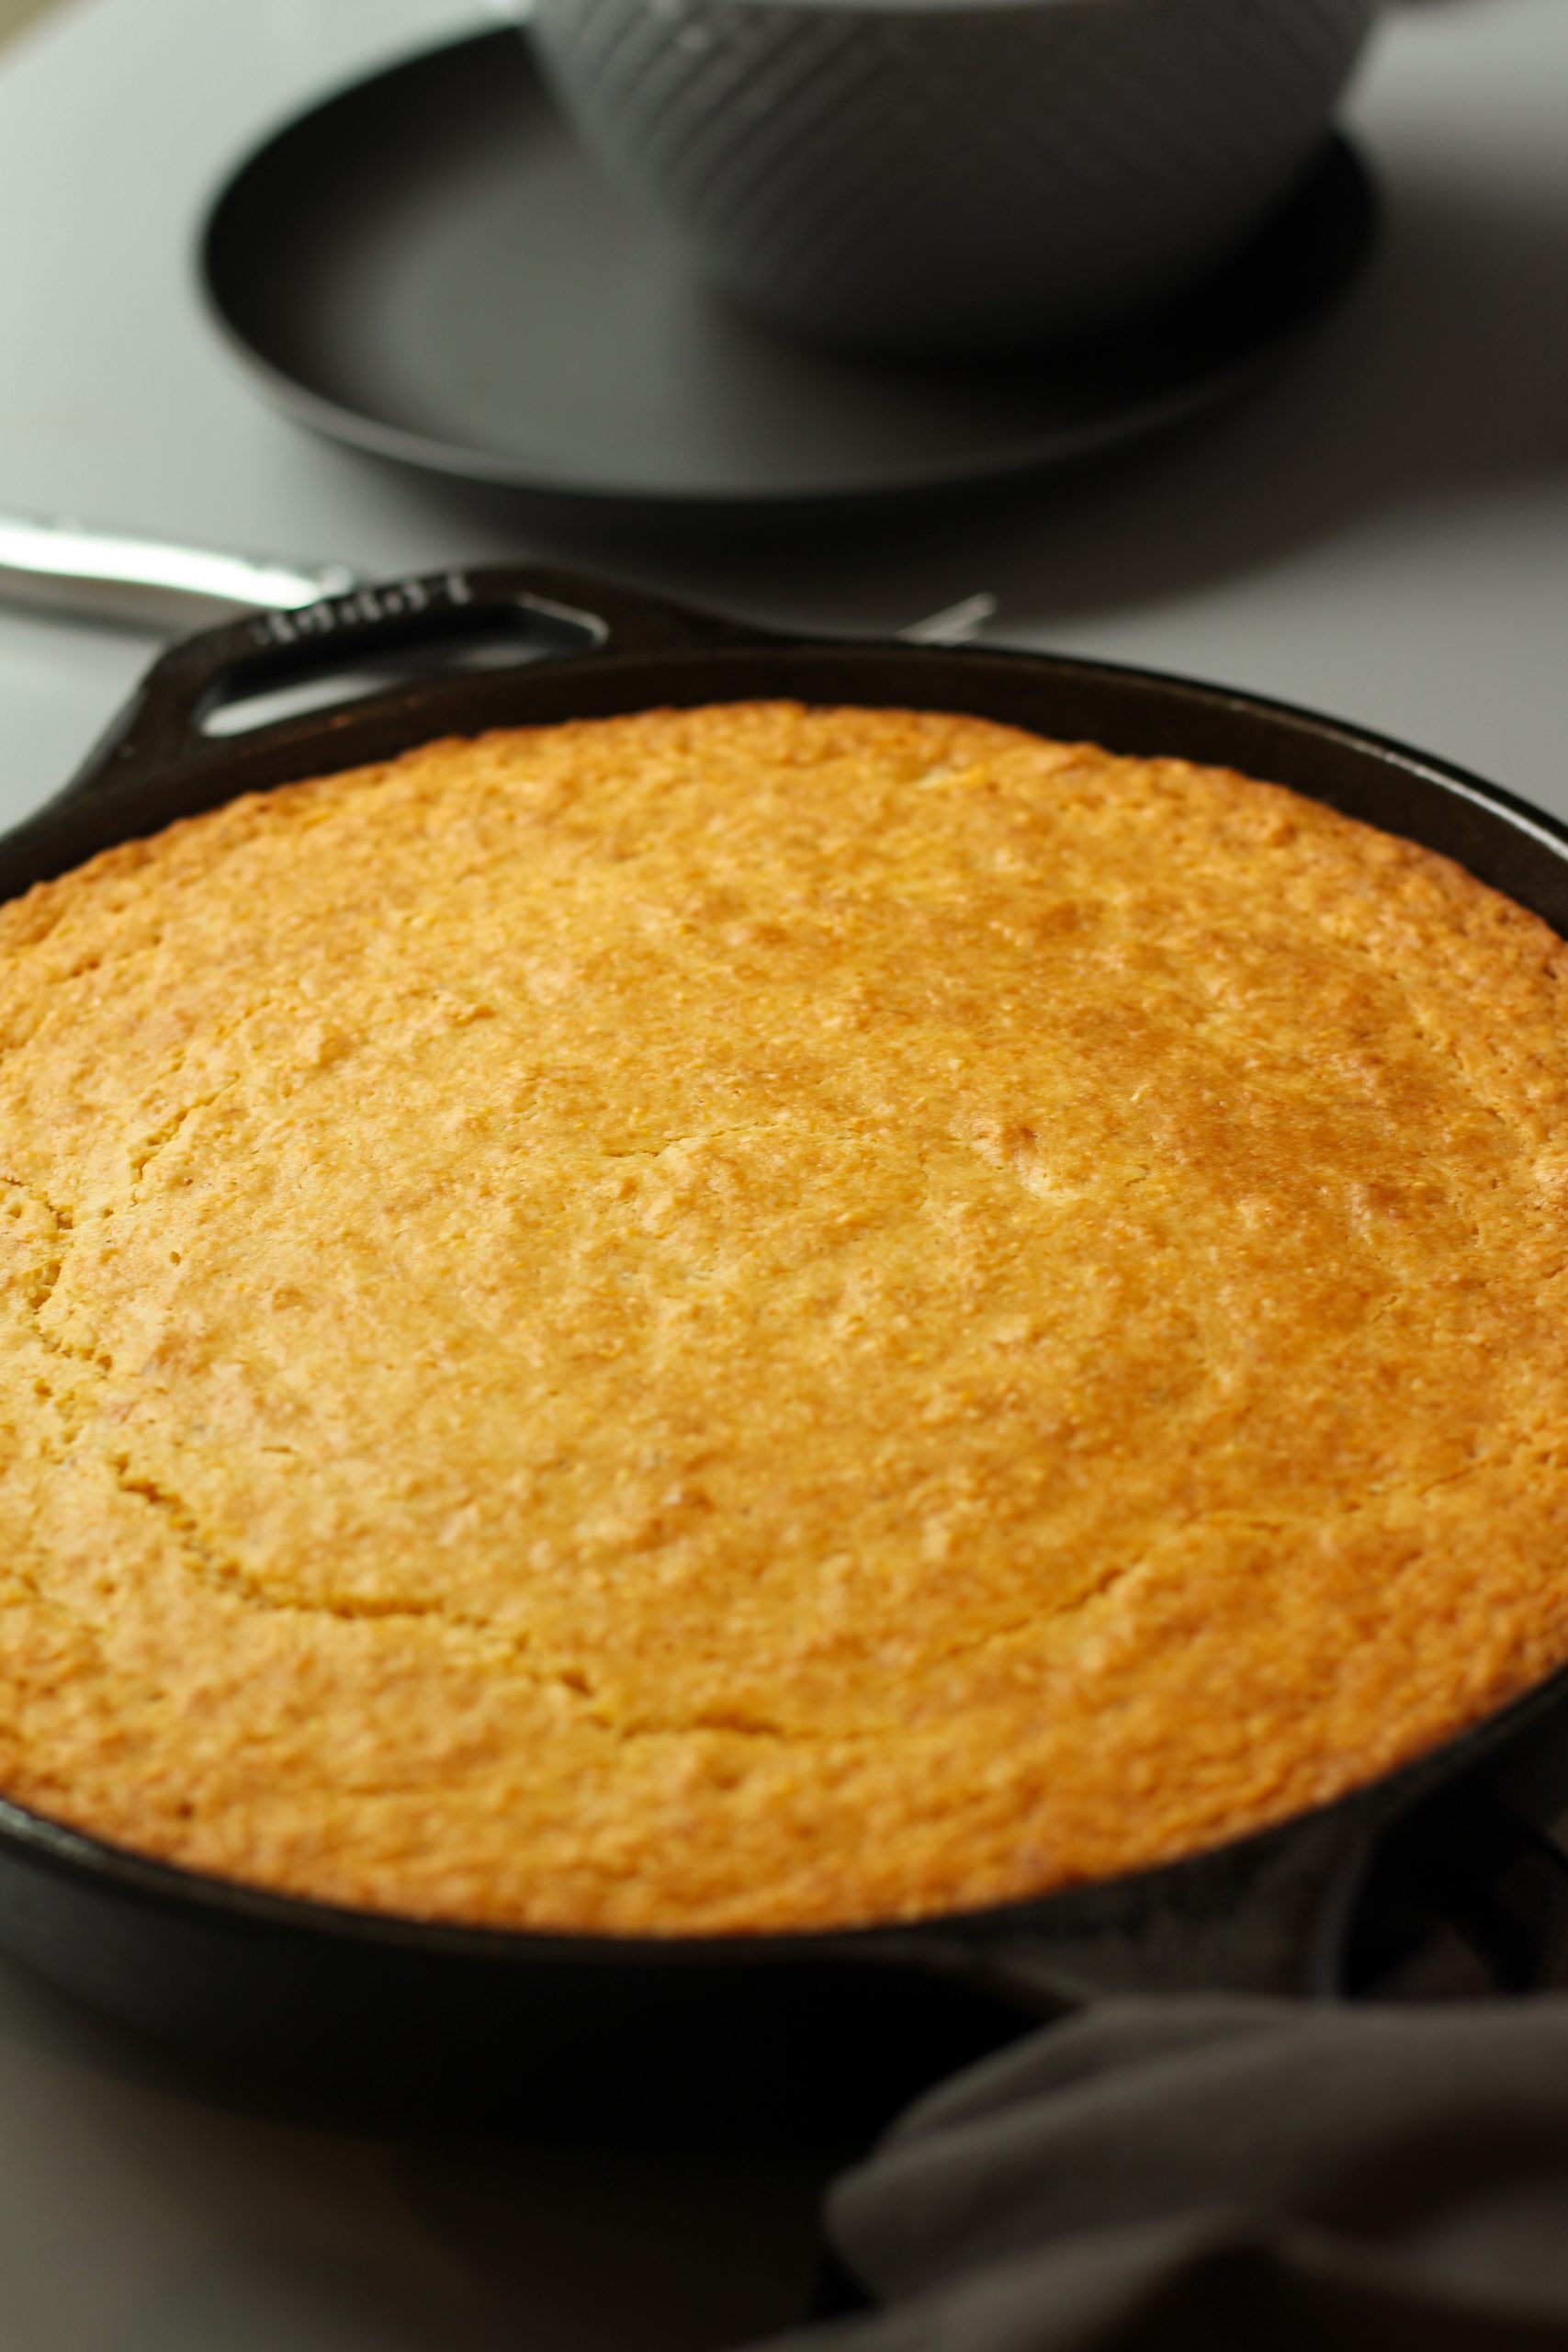
Baked my cornbread in a cast iron pan. Easy and looks nice, but any baking dish can do.

Cornbread
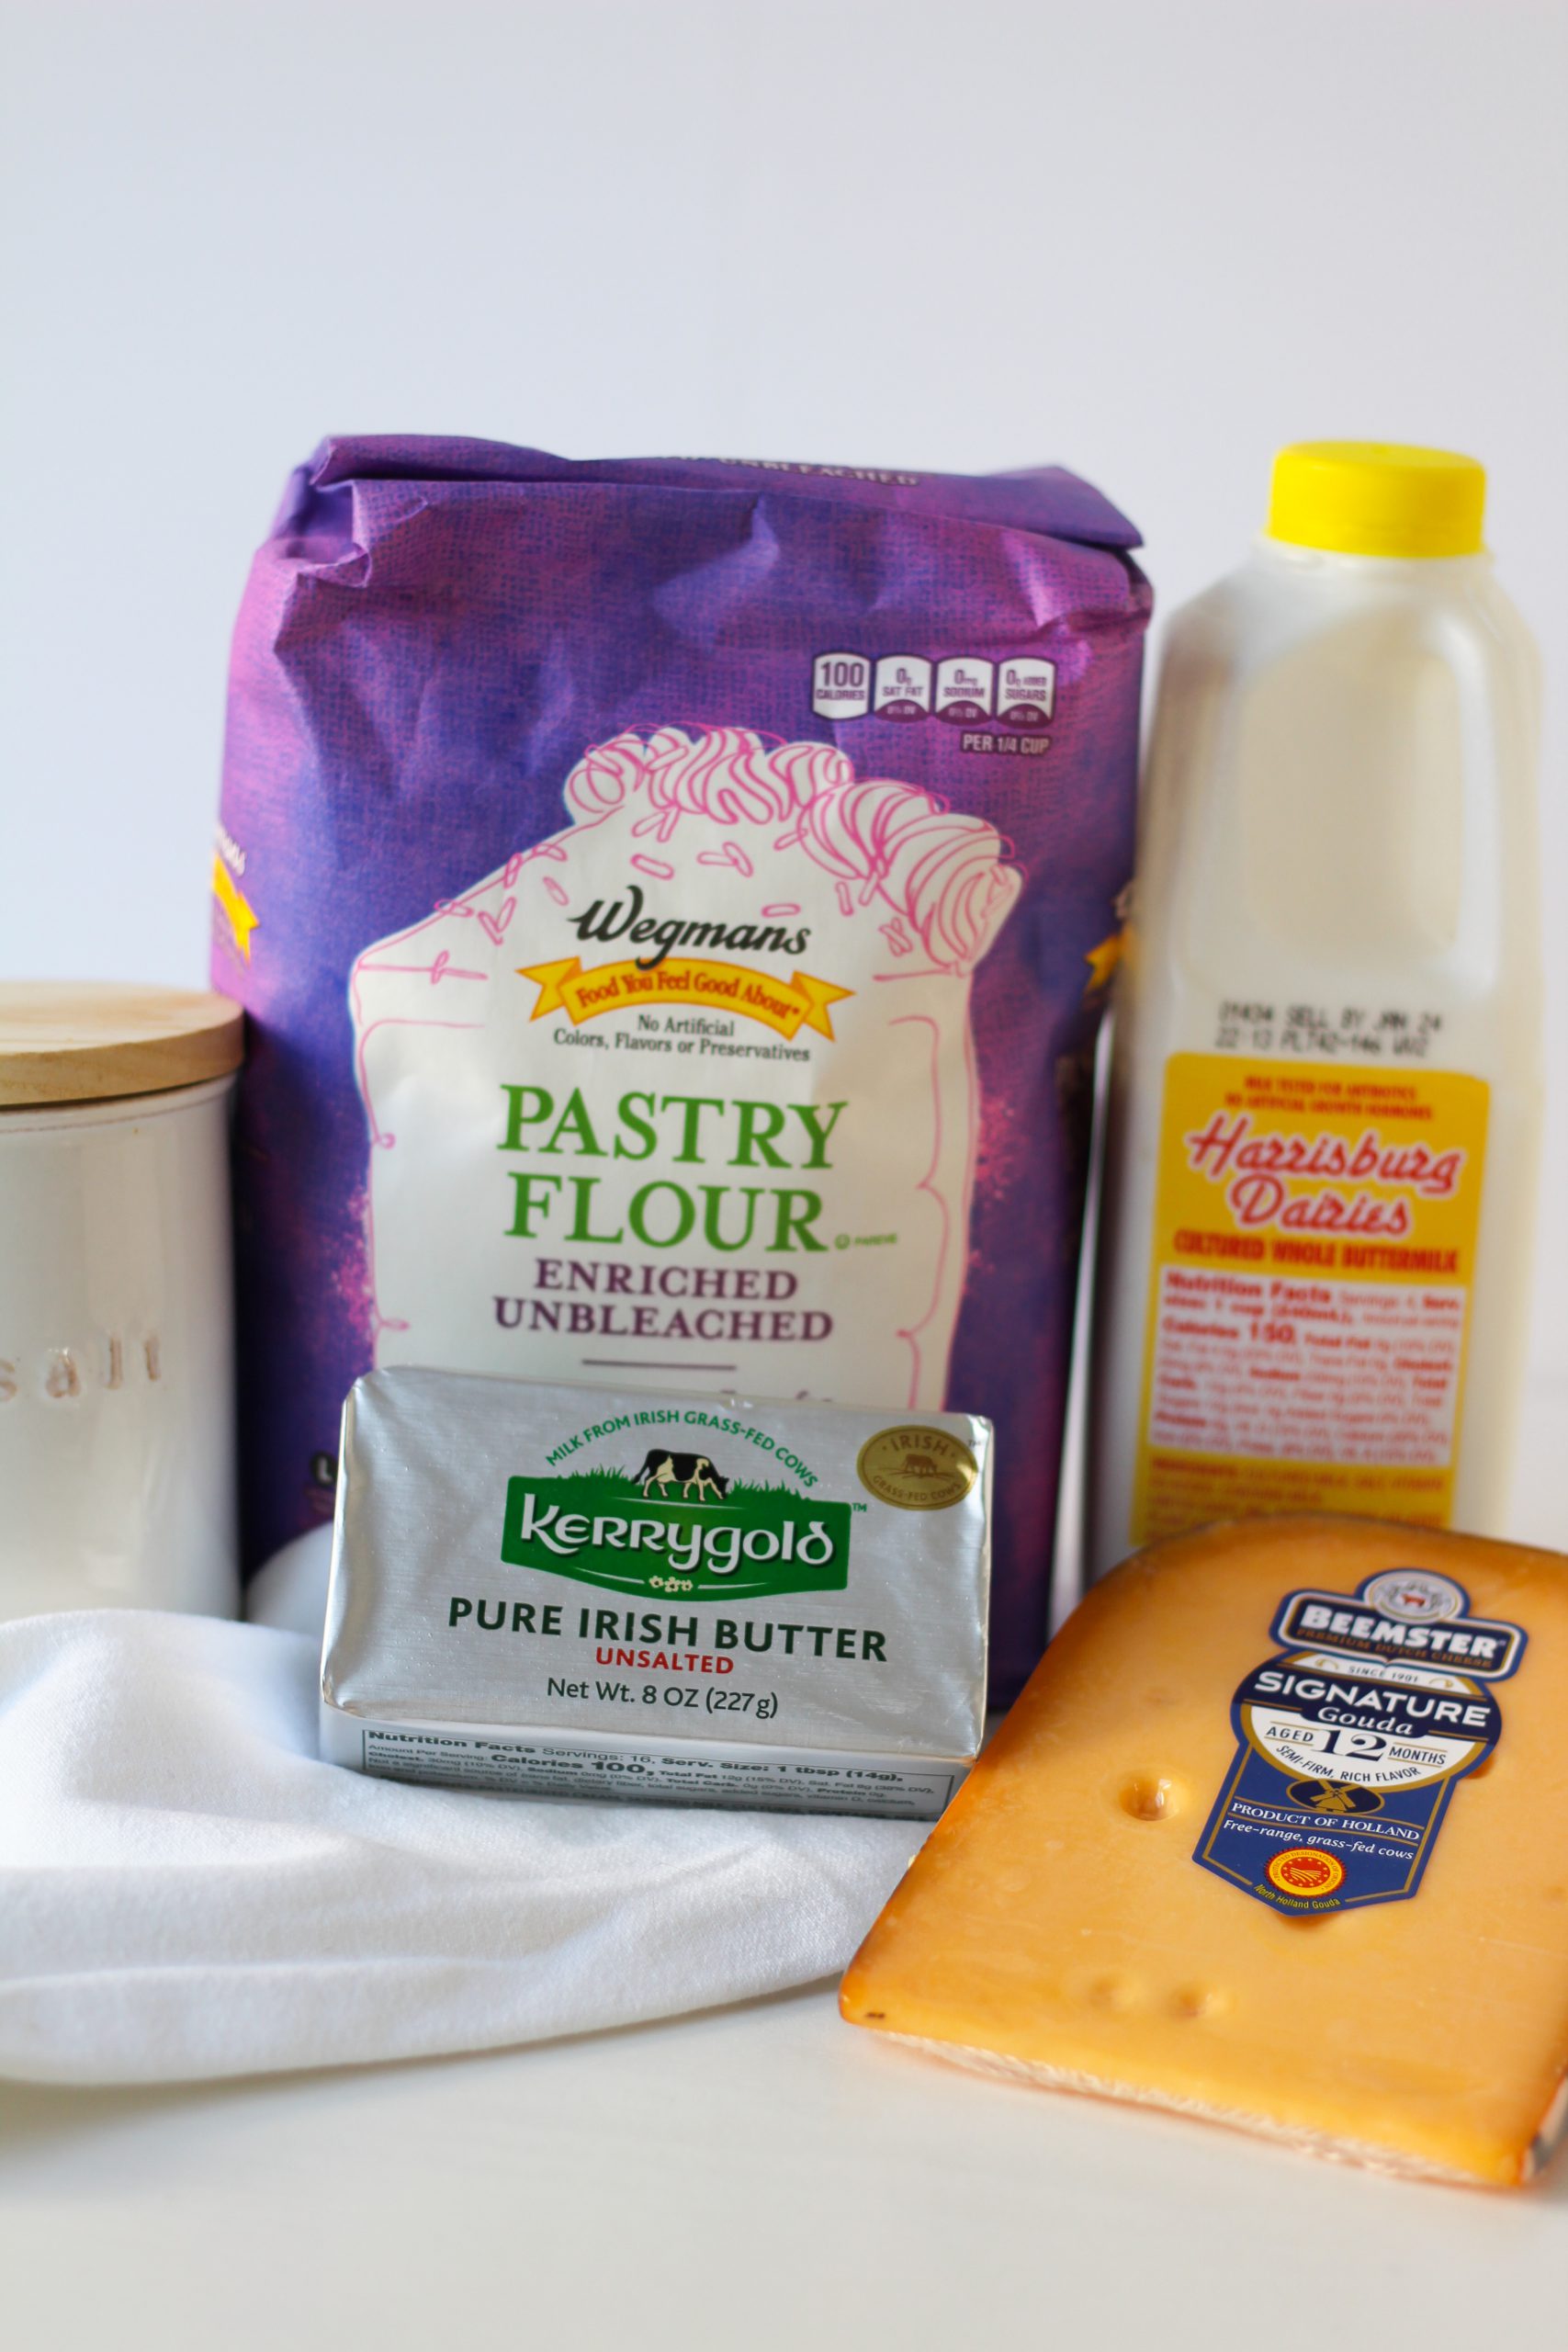
Ingredients
- 1 1/2 Cup Unbleached all purpose flour
- 1/2 Cup Corn flour
- 1 Tablespoon Baking powder
- 1/2 Teaspoon Salt
- 1/2 Cup Heavy cream
- 1/4 Cup Whole milk
- 1/3 Cup Maple syrup
- 2 Eggs
- 1/3 Cup Avocado oil
- 4 Tablespoon Unsalted butter melted
Instructions
- Preheat the oven to 350 Fahrenheit. Grease a 9” baking dish or cast-iron skillet with avocado oil.
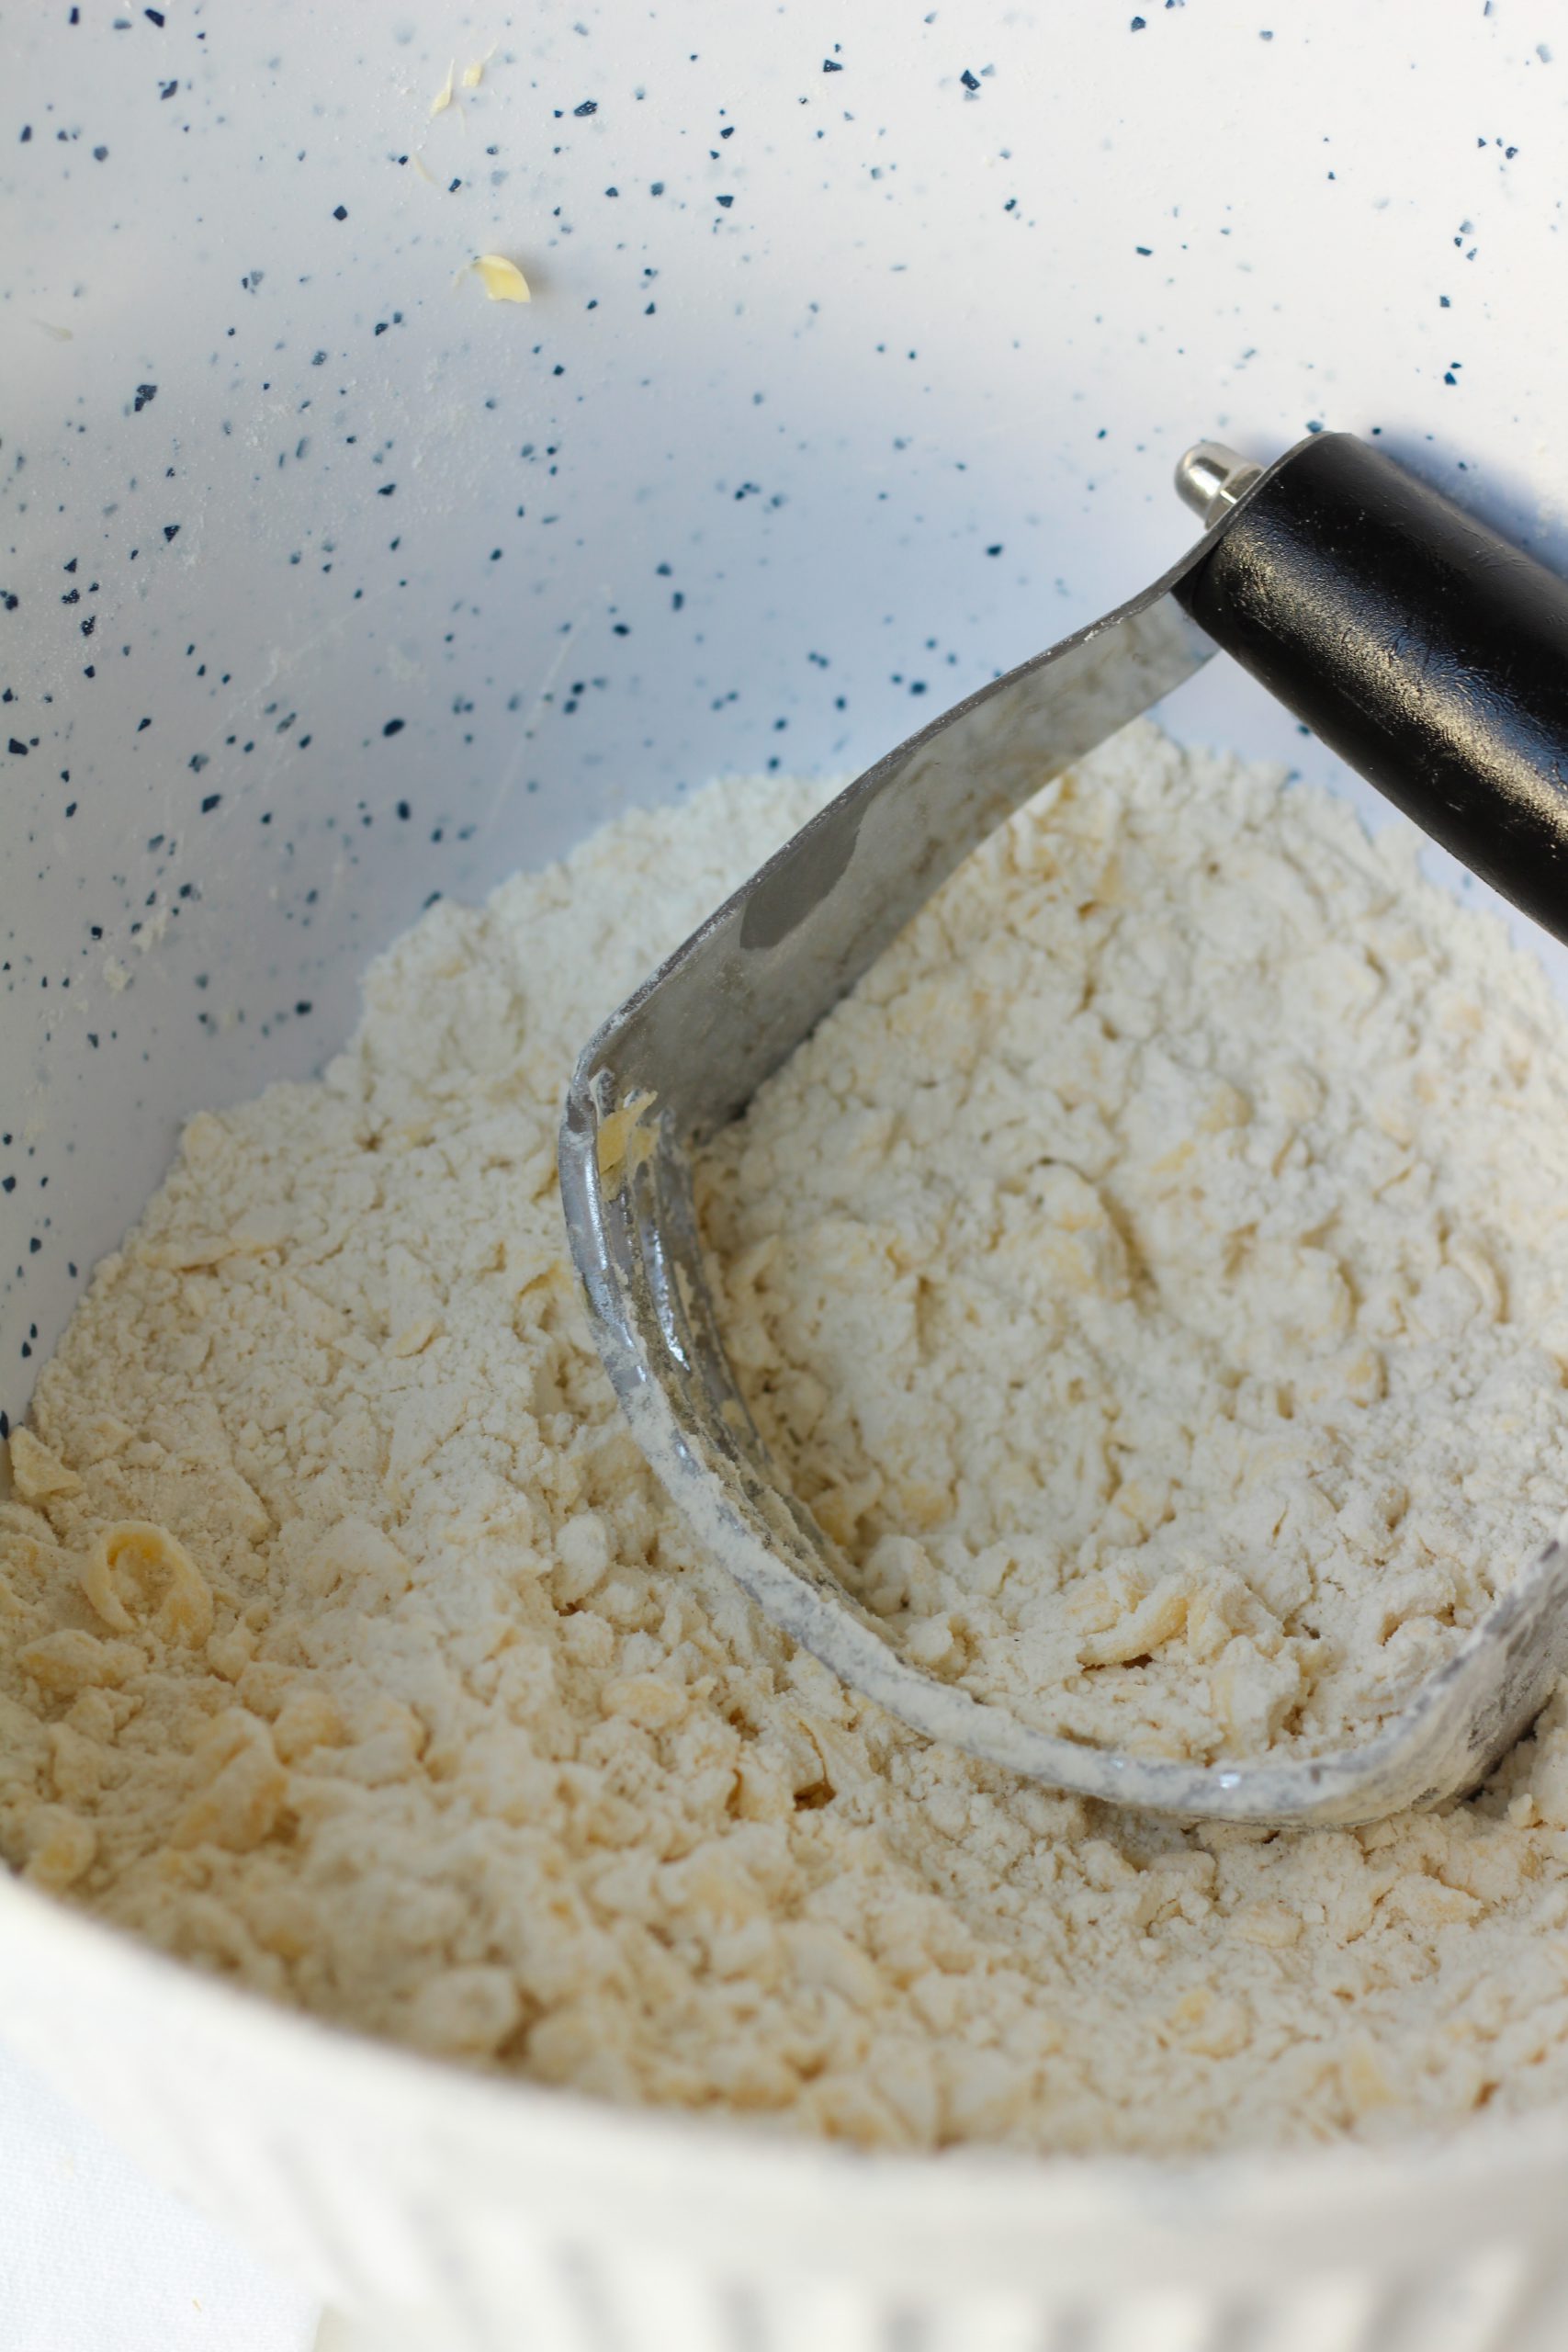
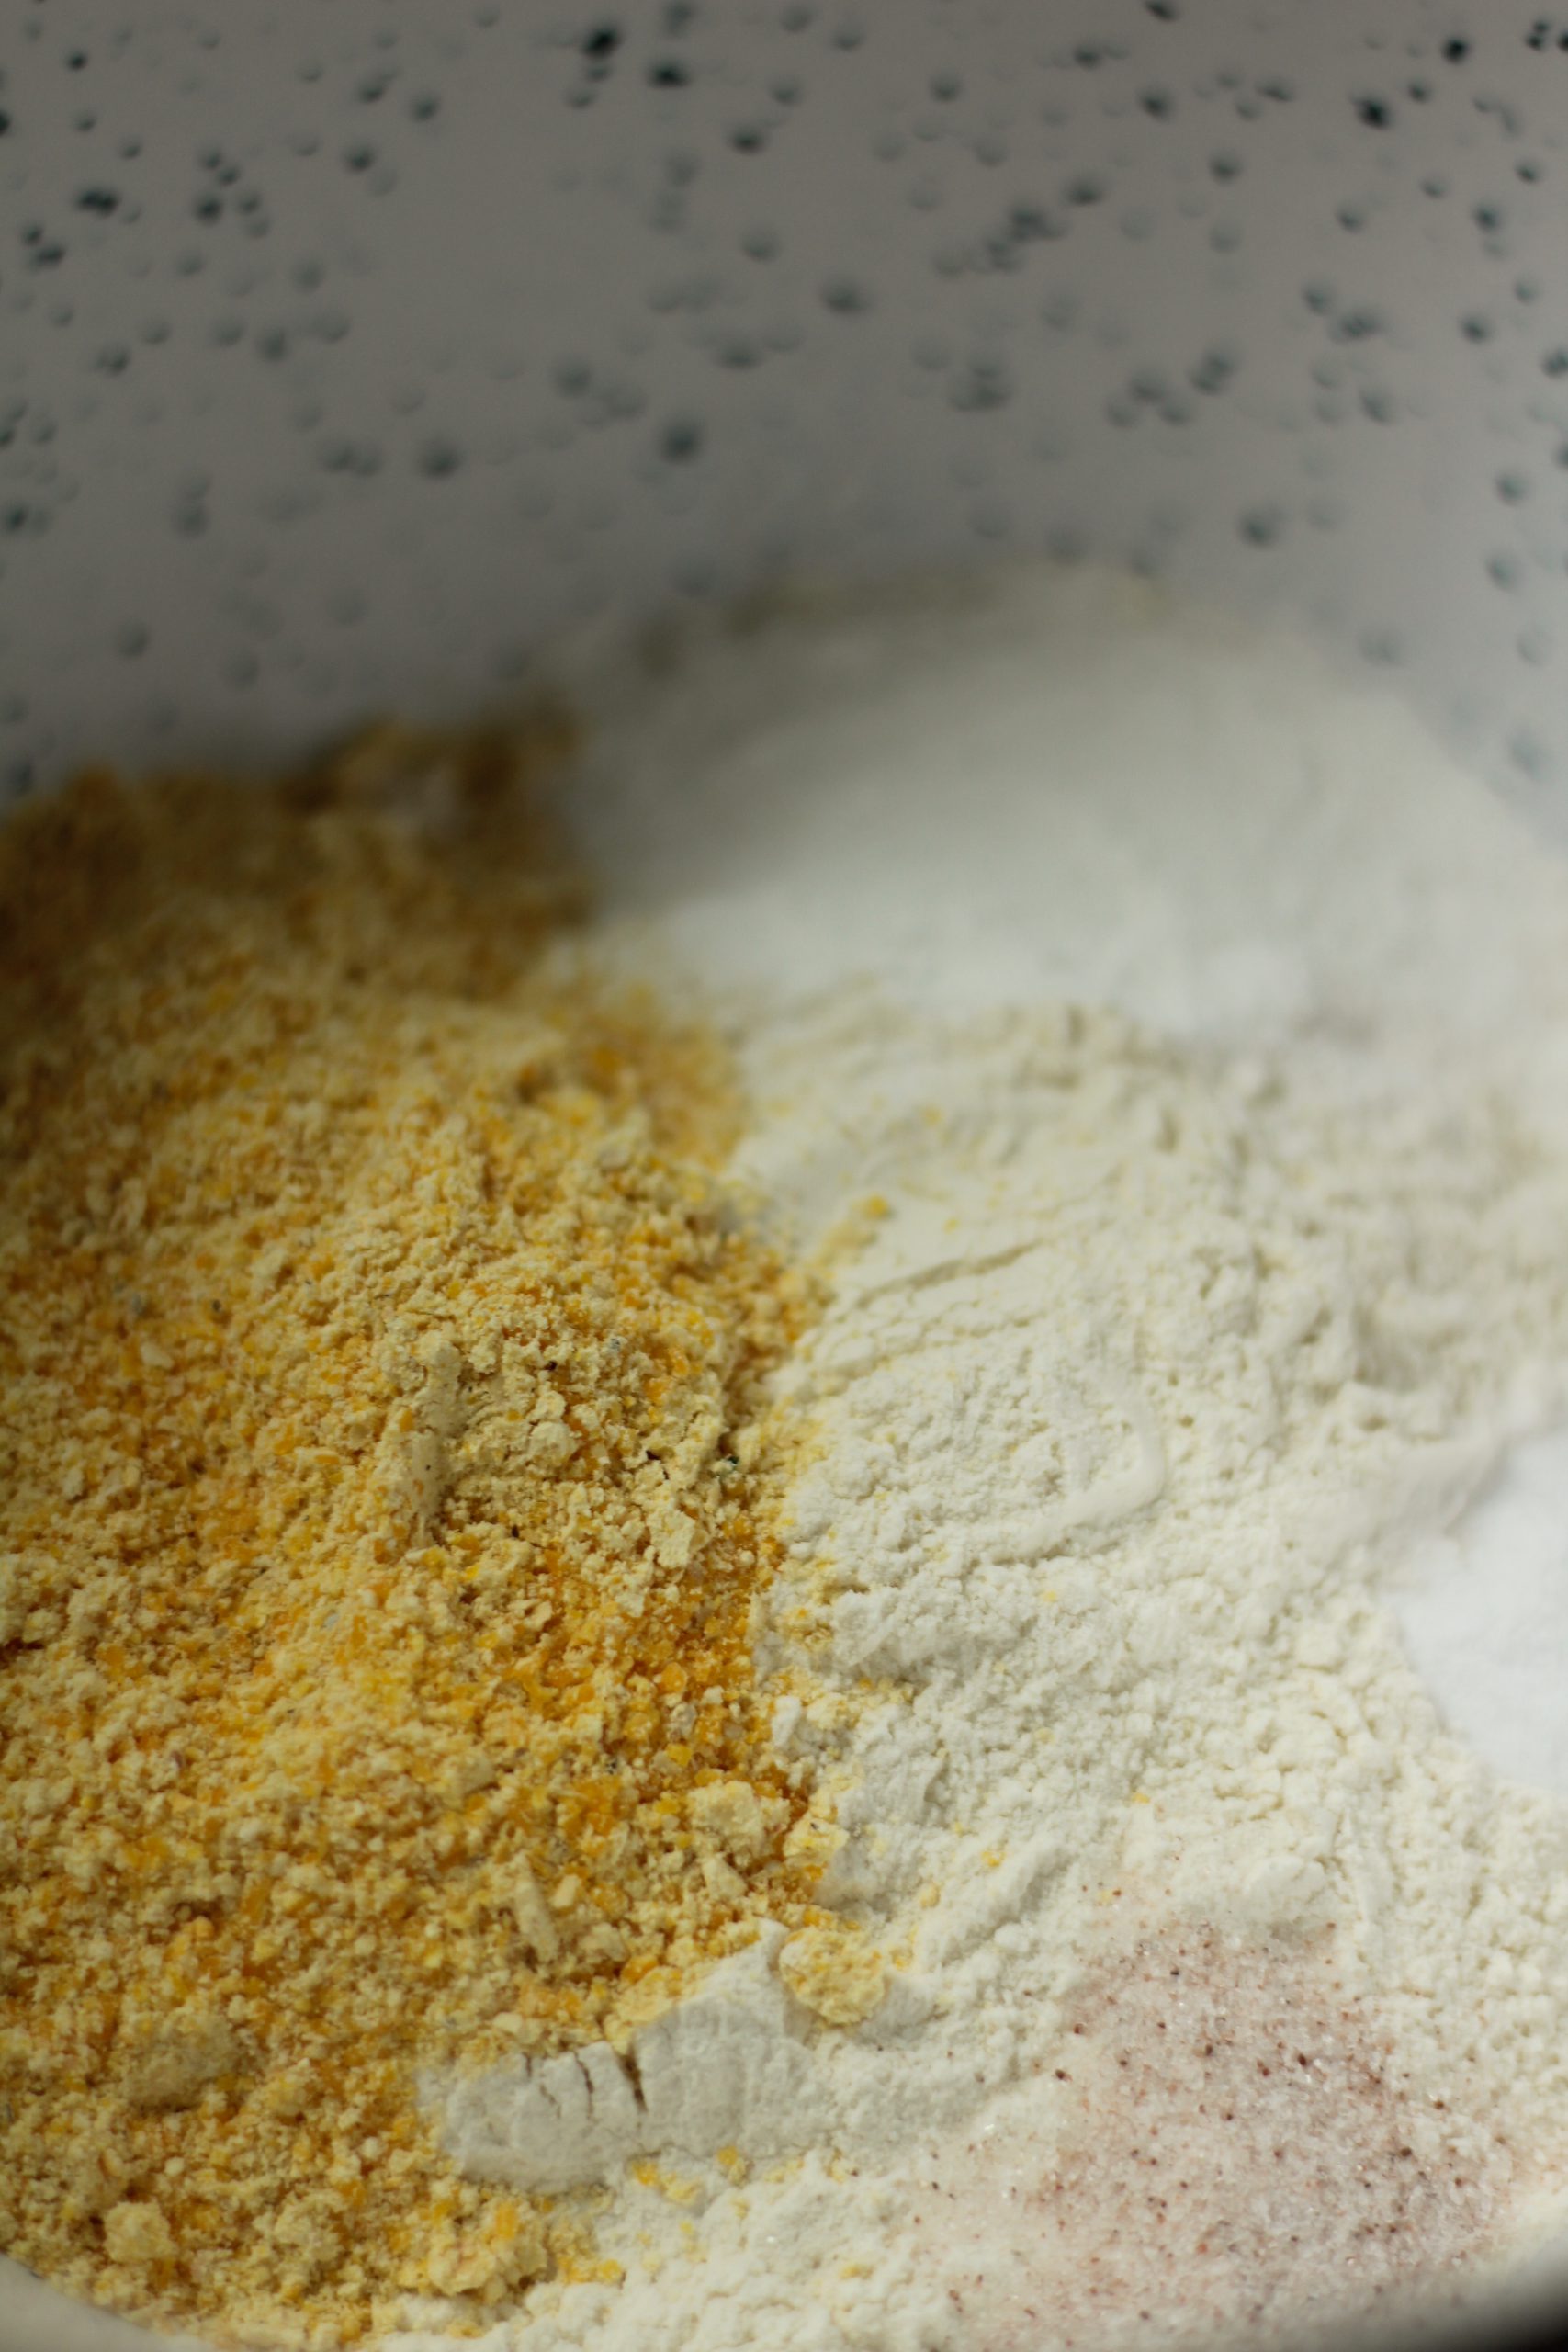
- Combine flour, corn flour, baking powder and salt in a large mixing bowl.
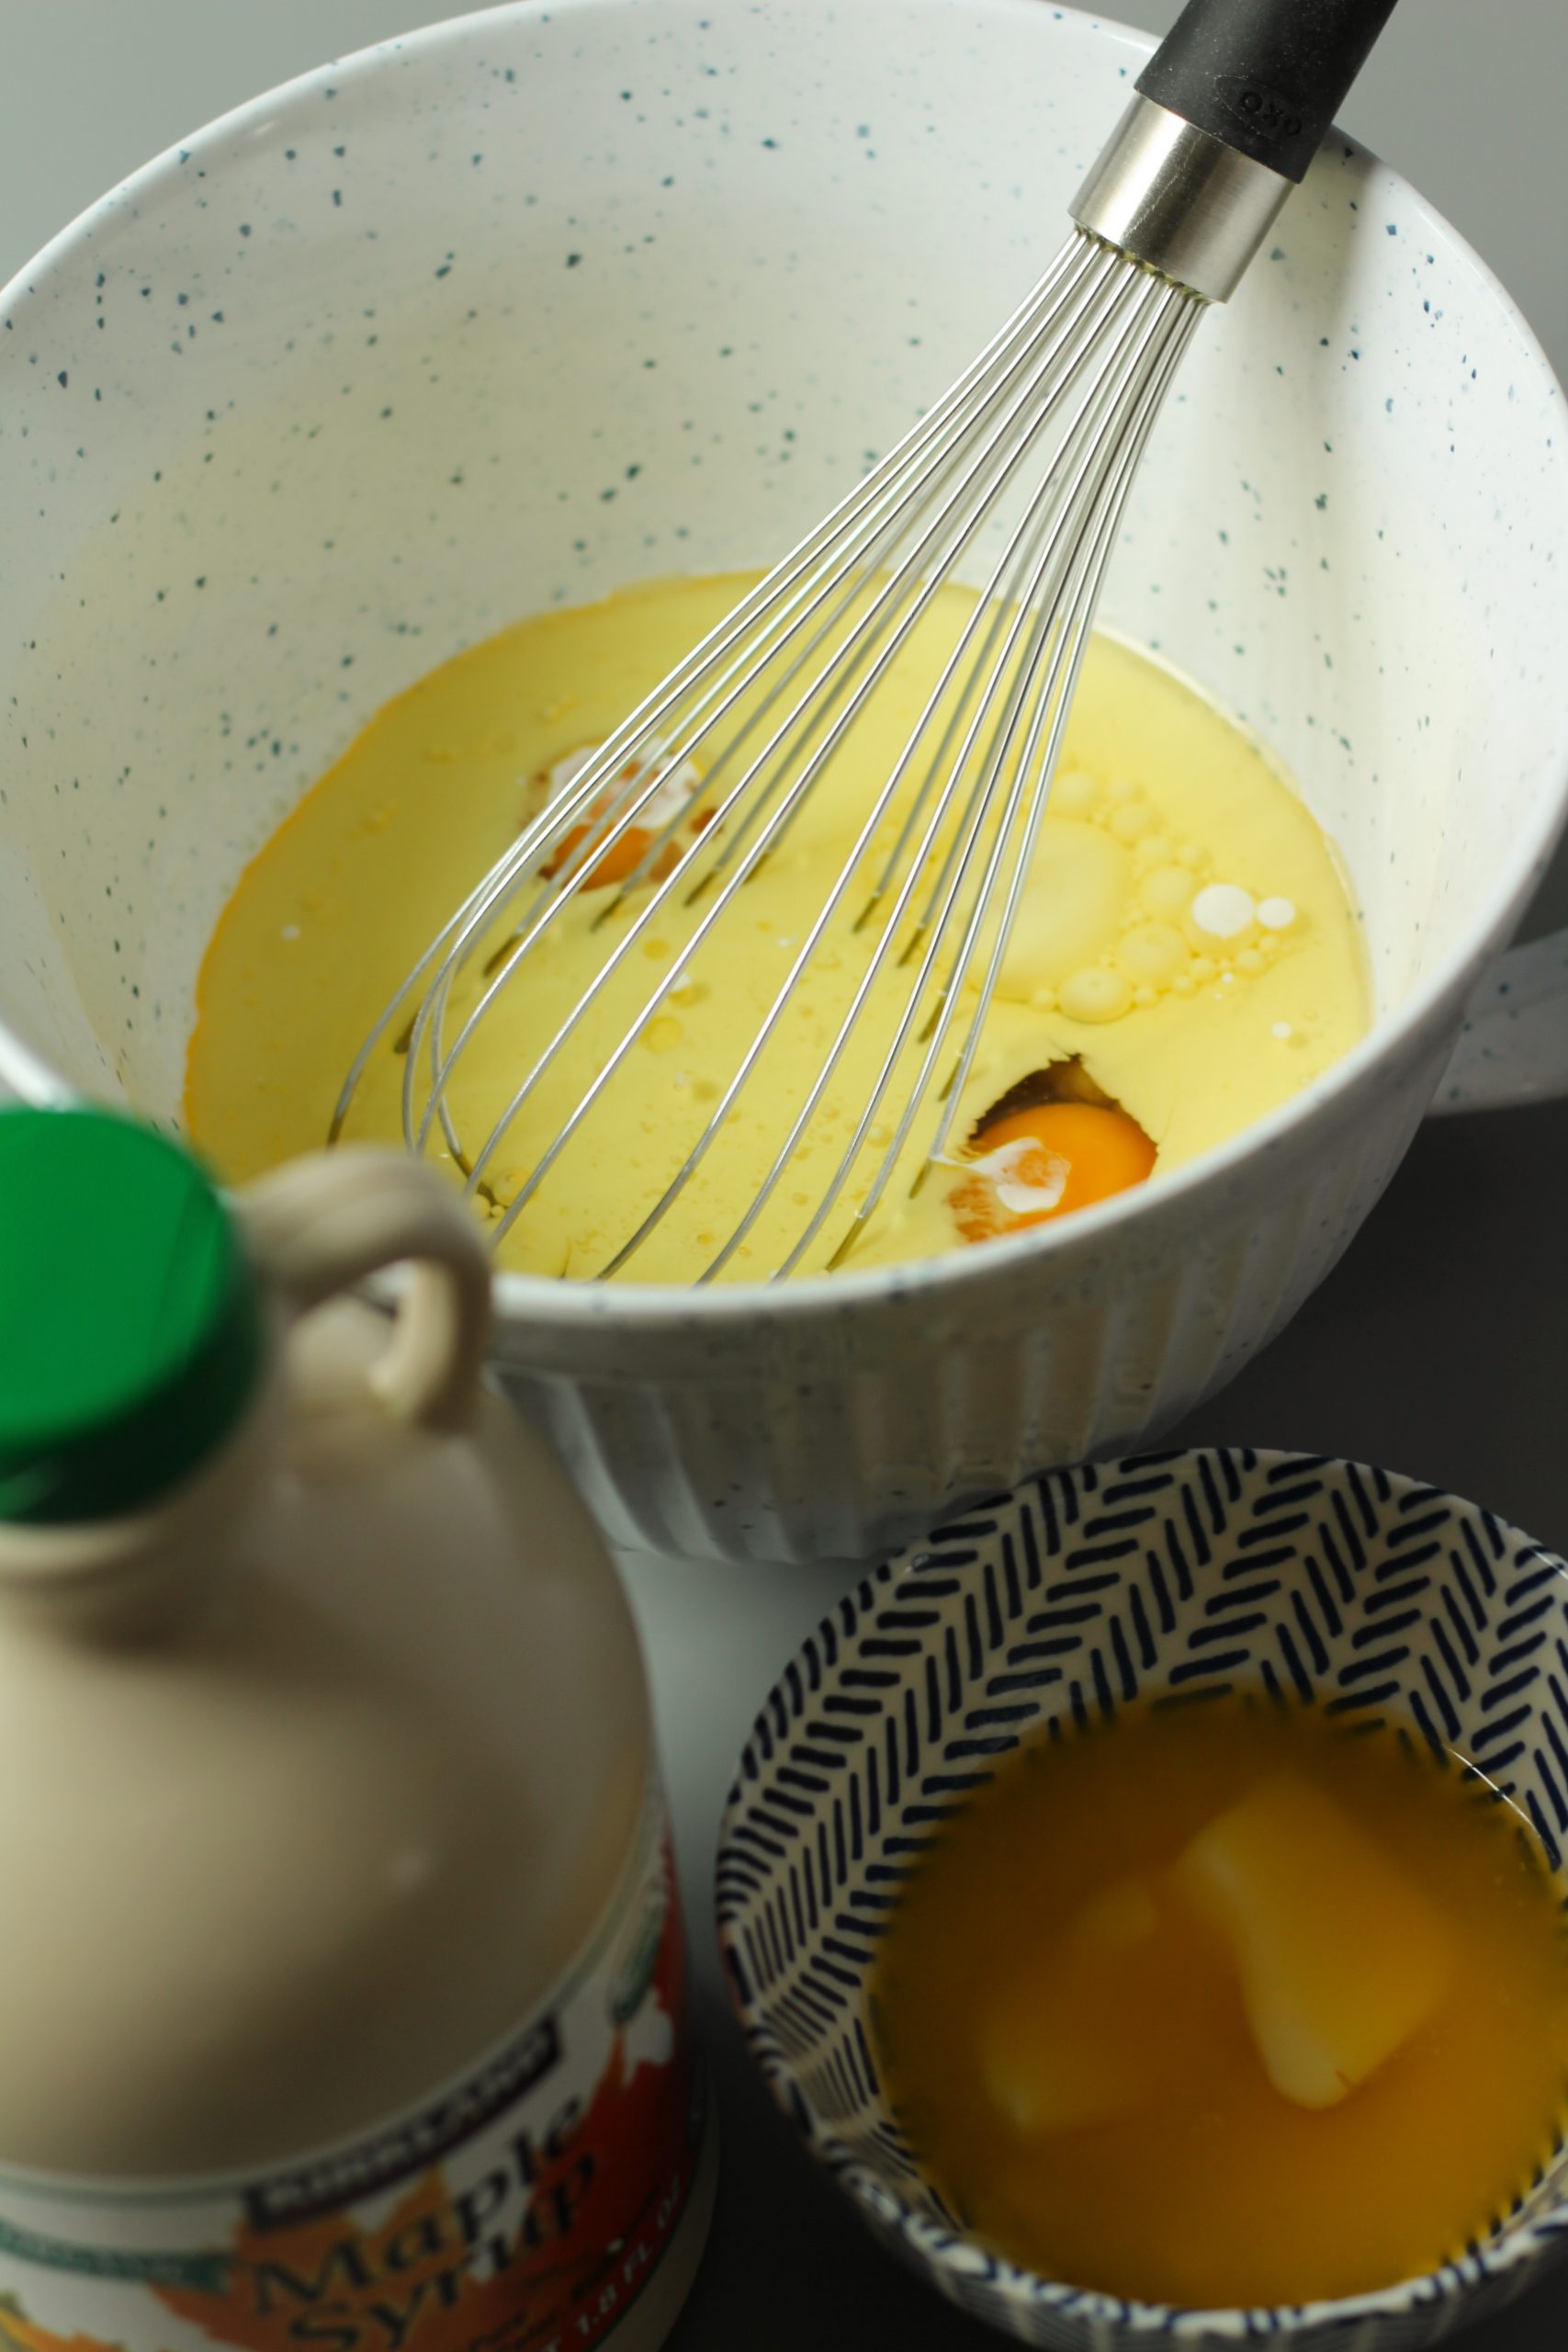
- Combine heavy cream, milk, maple syrup, eggs, avocado oil and melted butter in a second bowl. Mix until it is well combined.
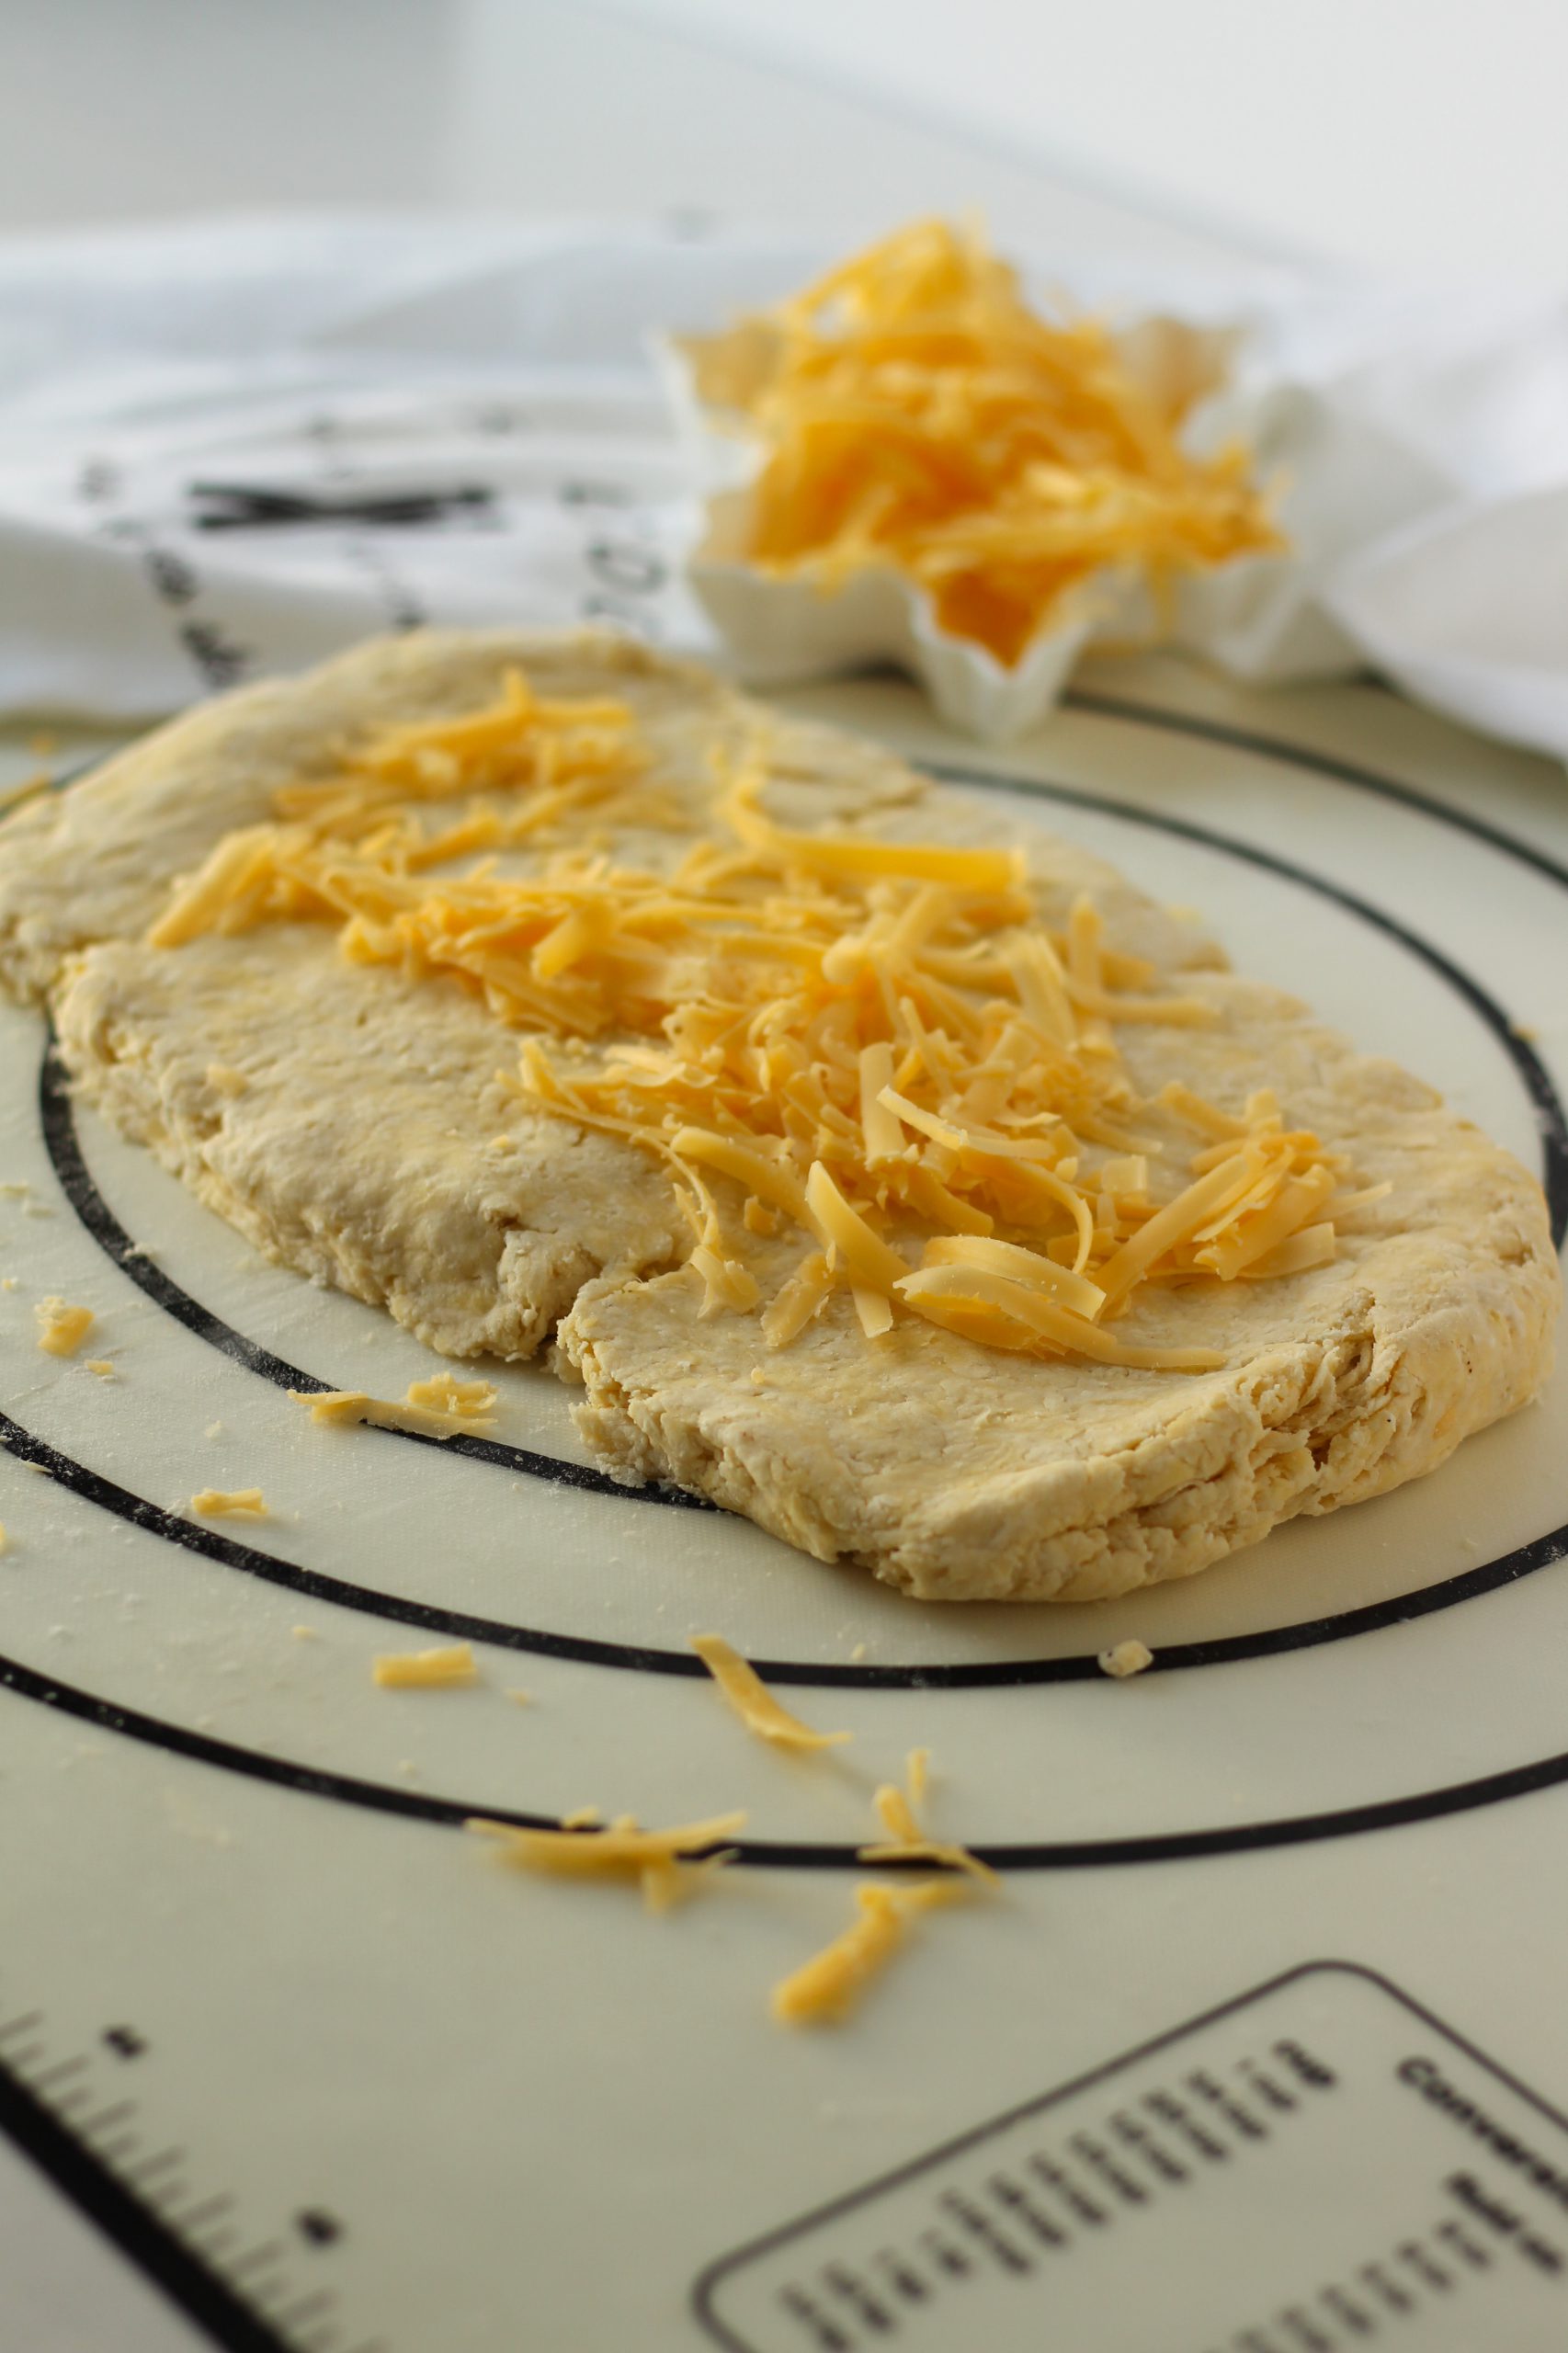
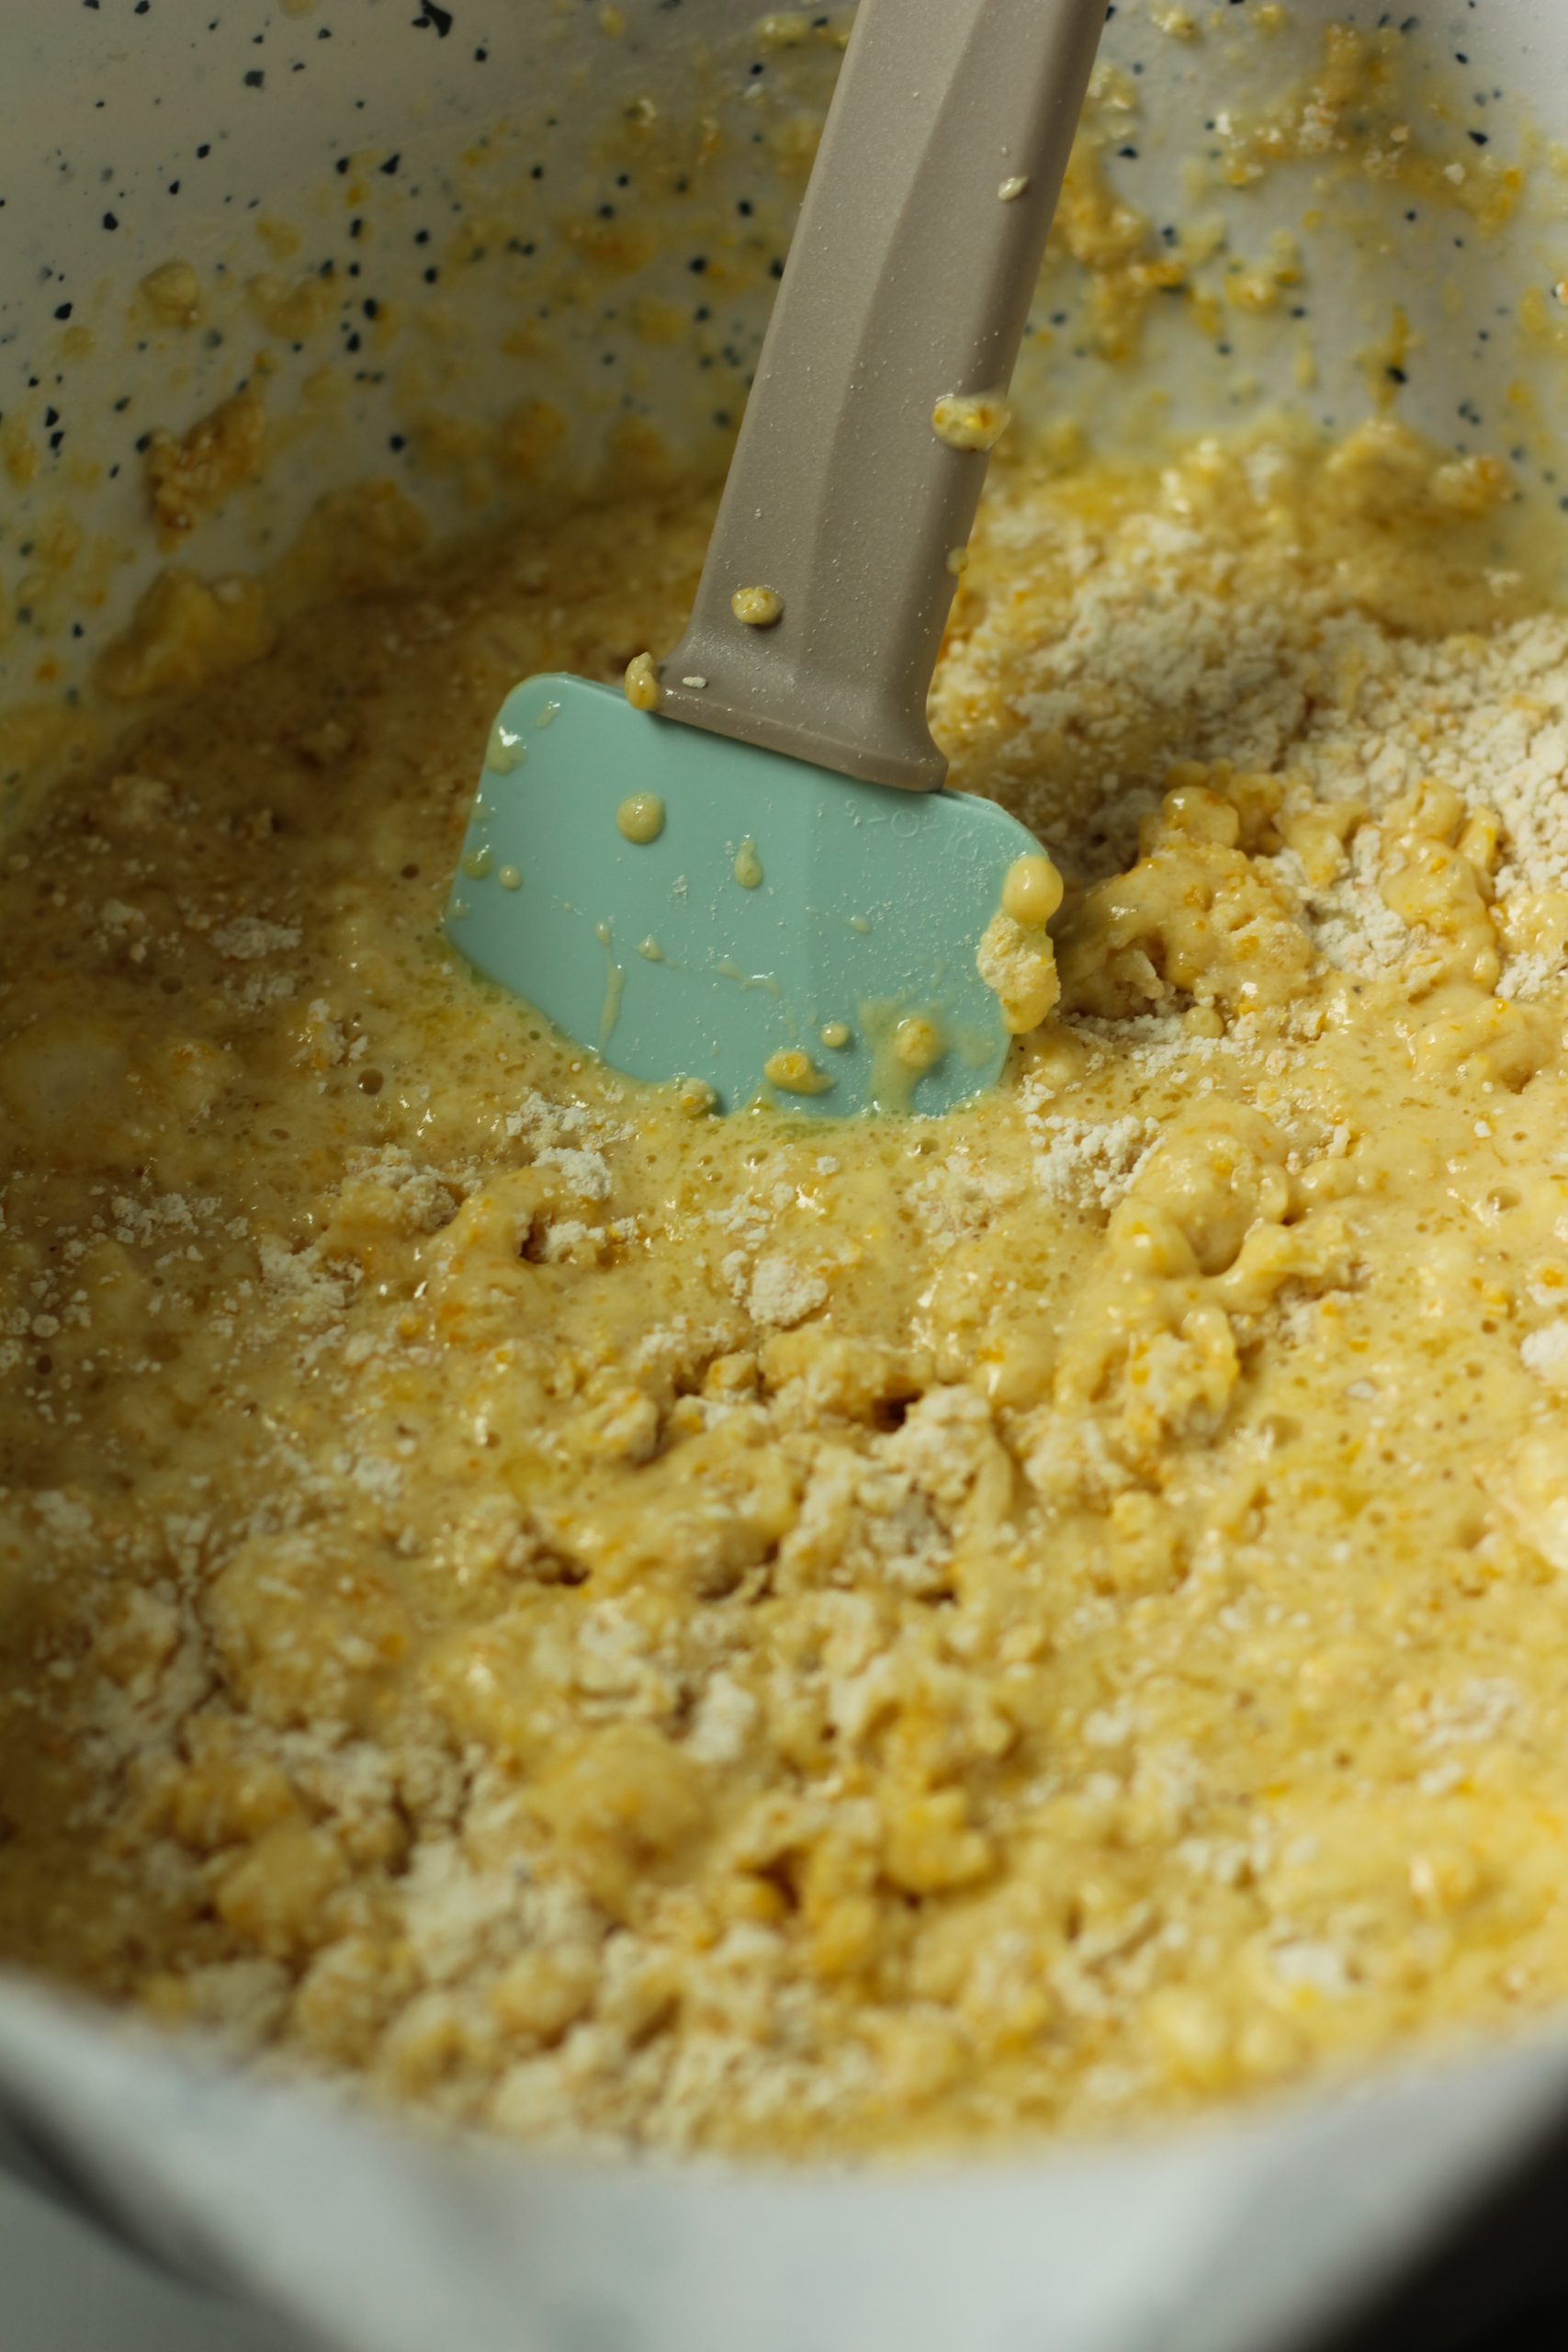
- Add the wet mixture to the dry and mix it gently with a spatula. Be careful not to over mix.
- Pour it in your prepared baking dish and bake for 30 minutes, or until a toothpick comes out clean and dry. If you are using a cast iron skillet, the skillet will stay warm and continue to cook once out of the oven.