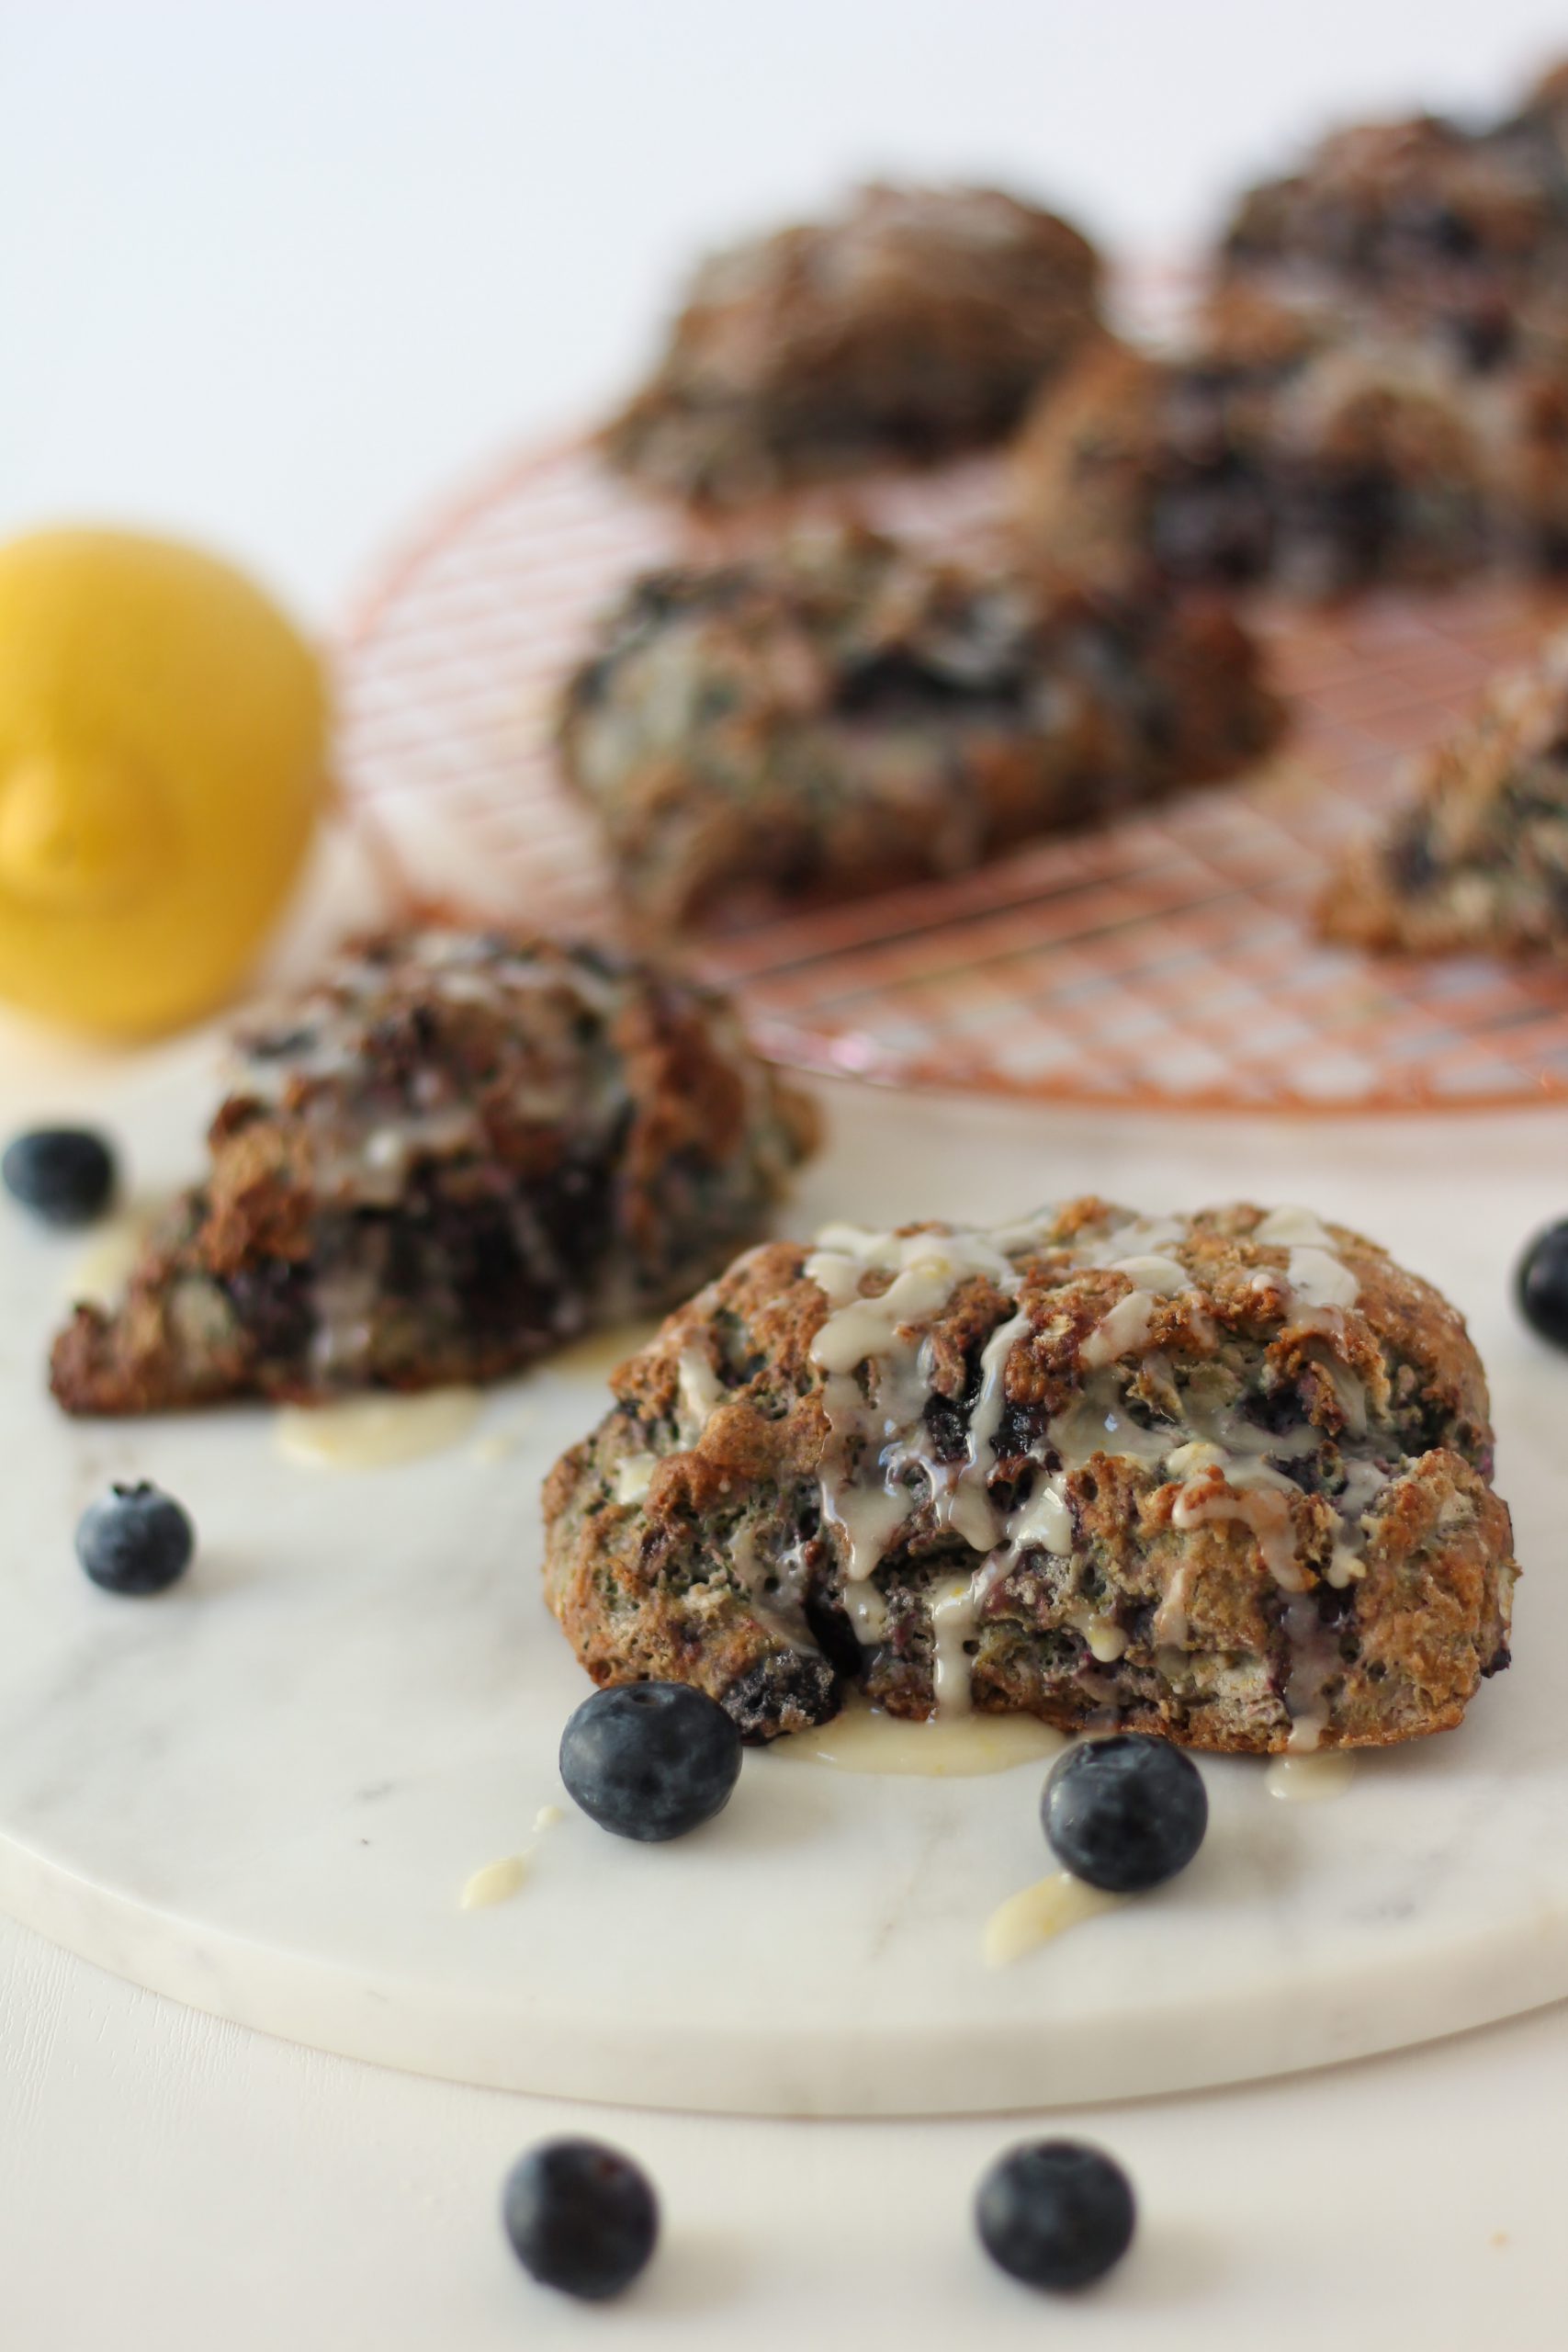
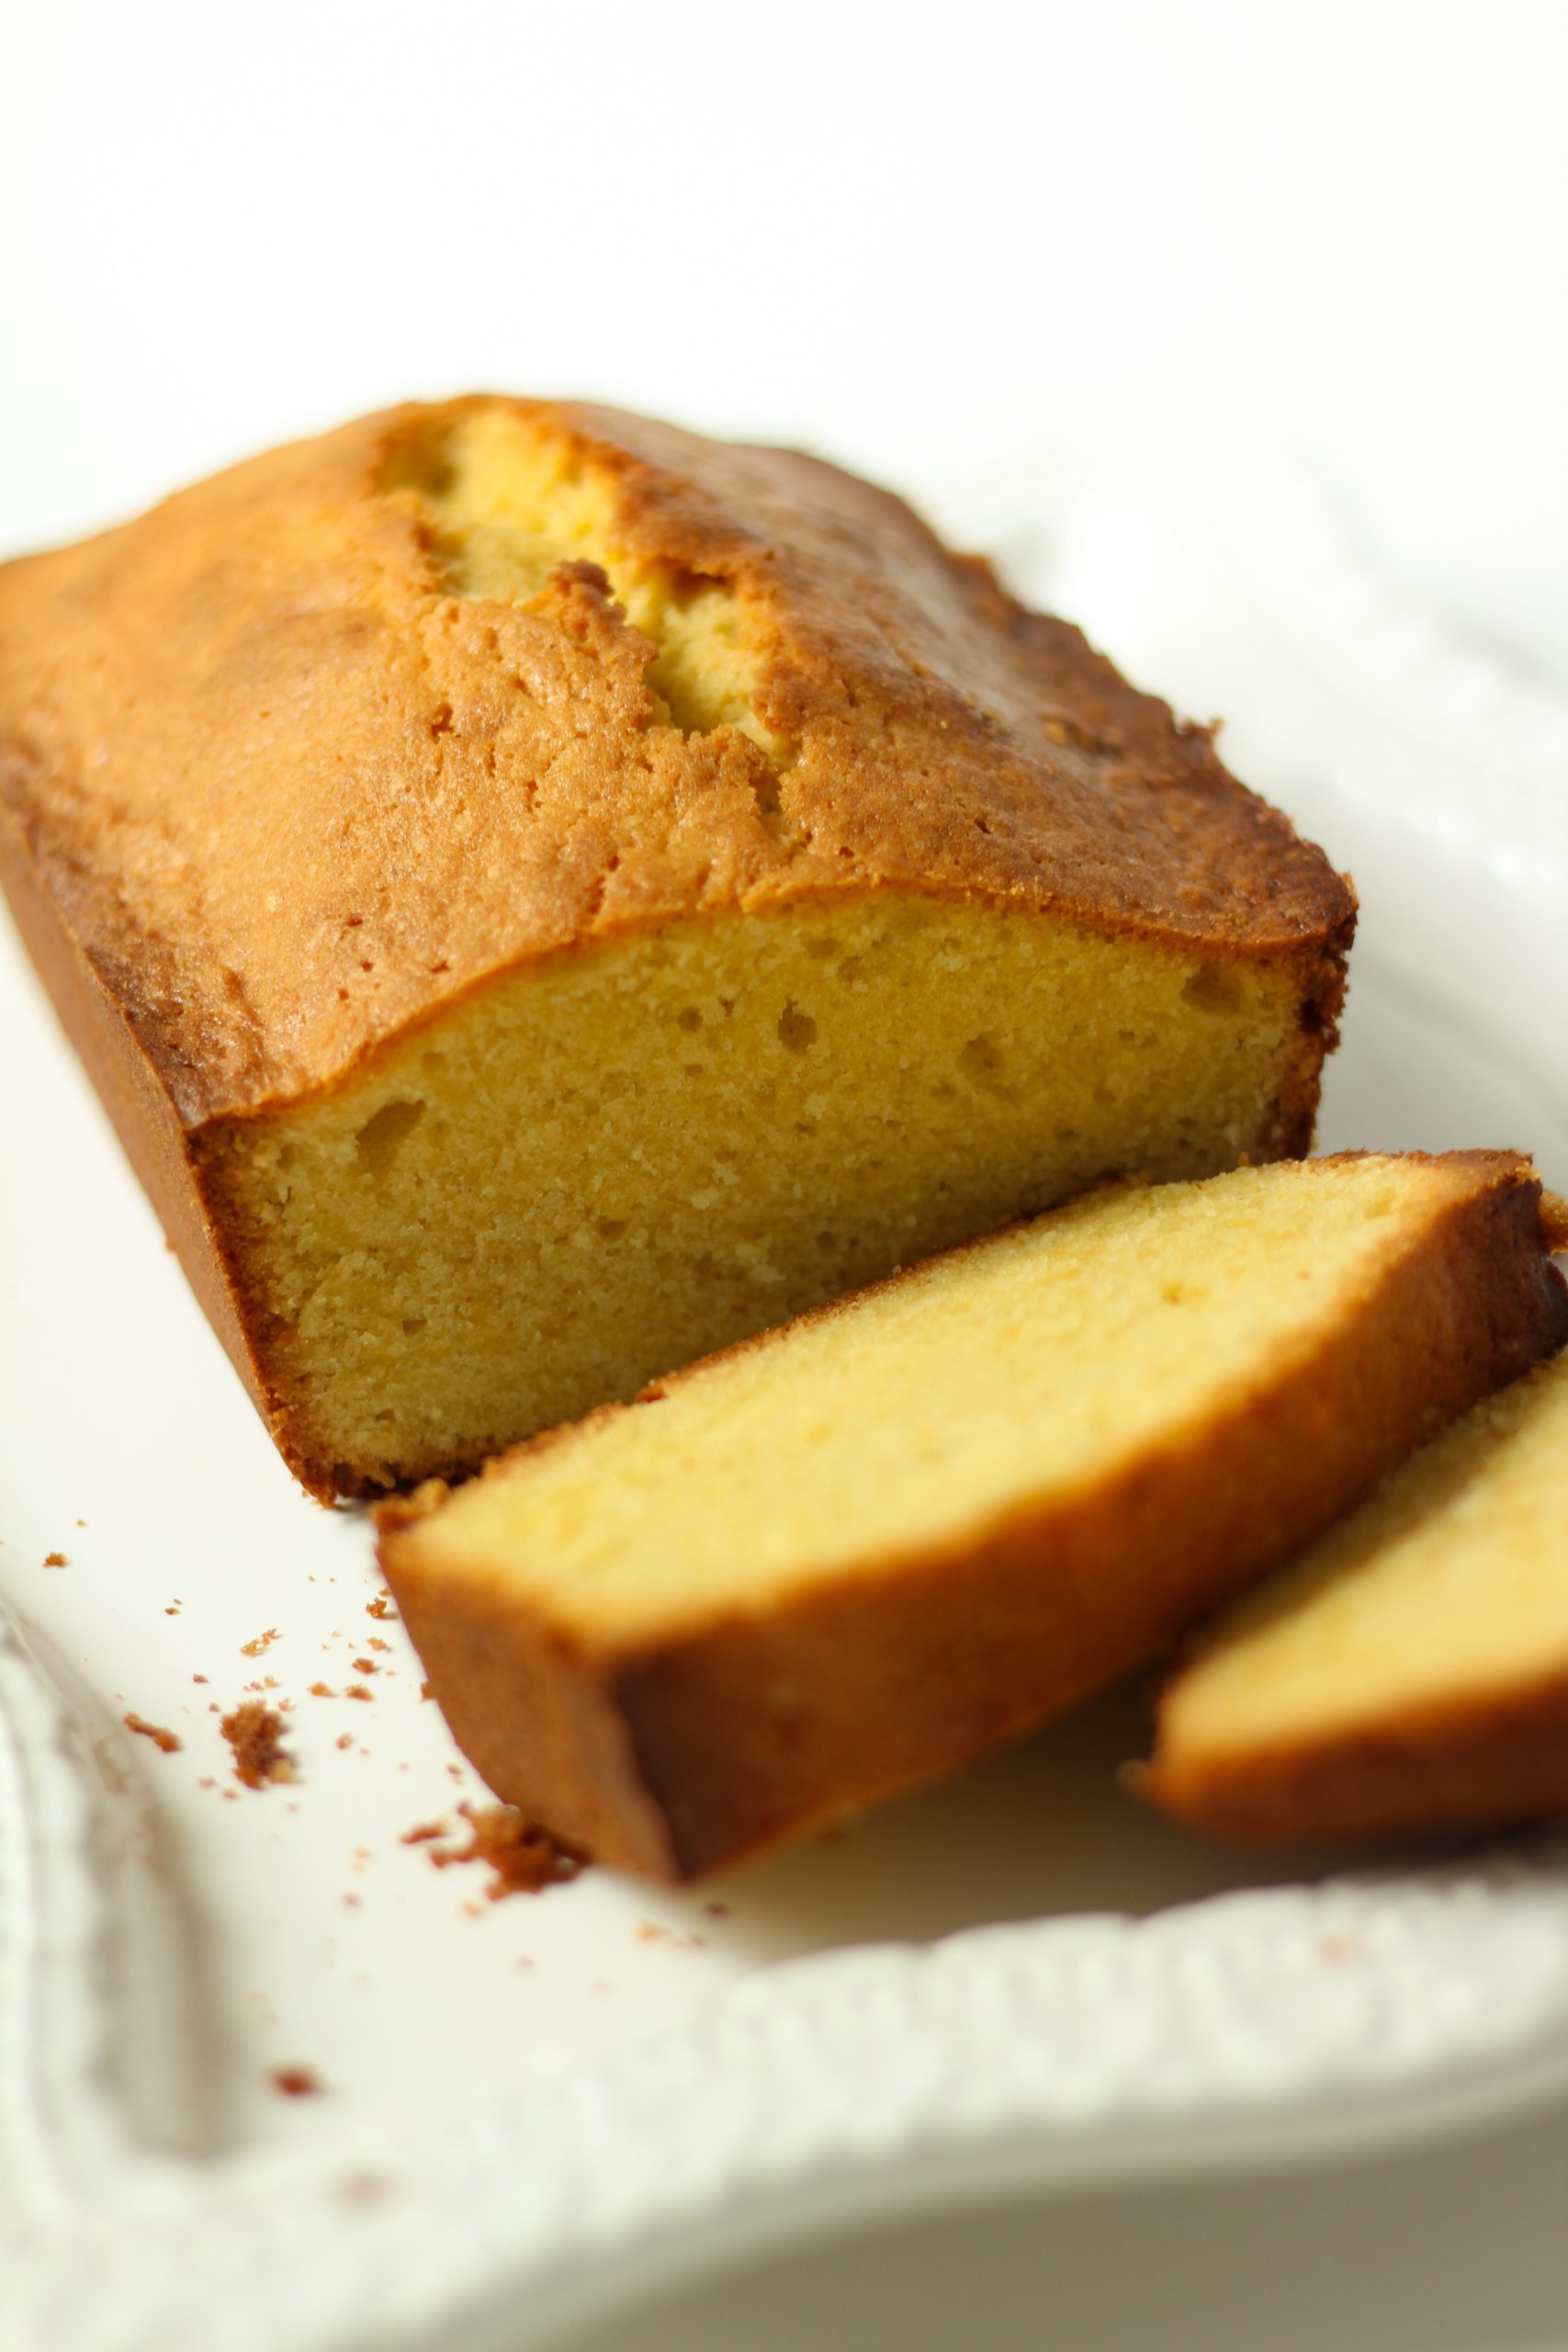
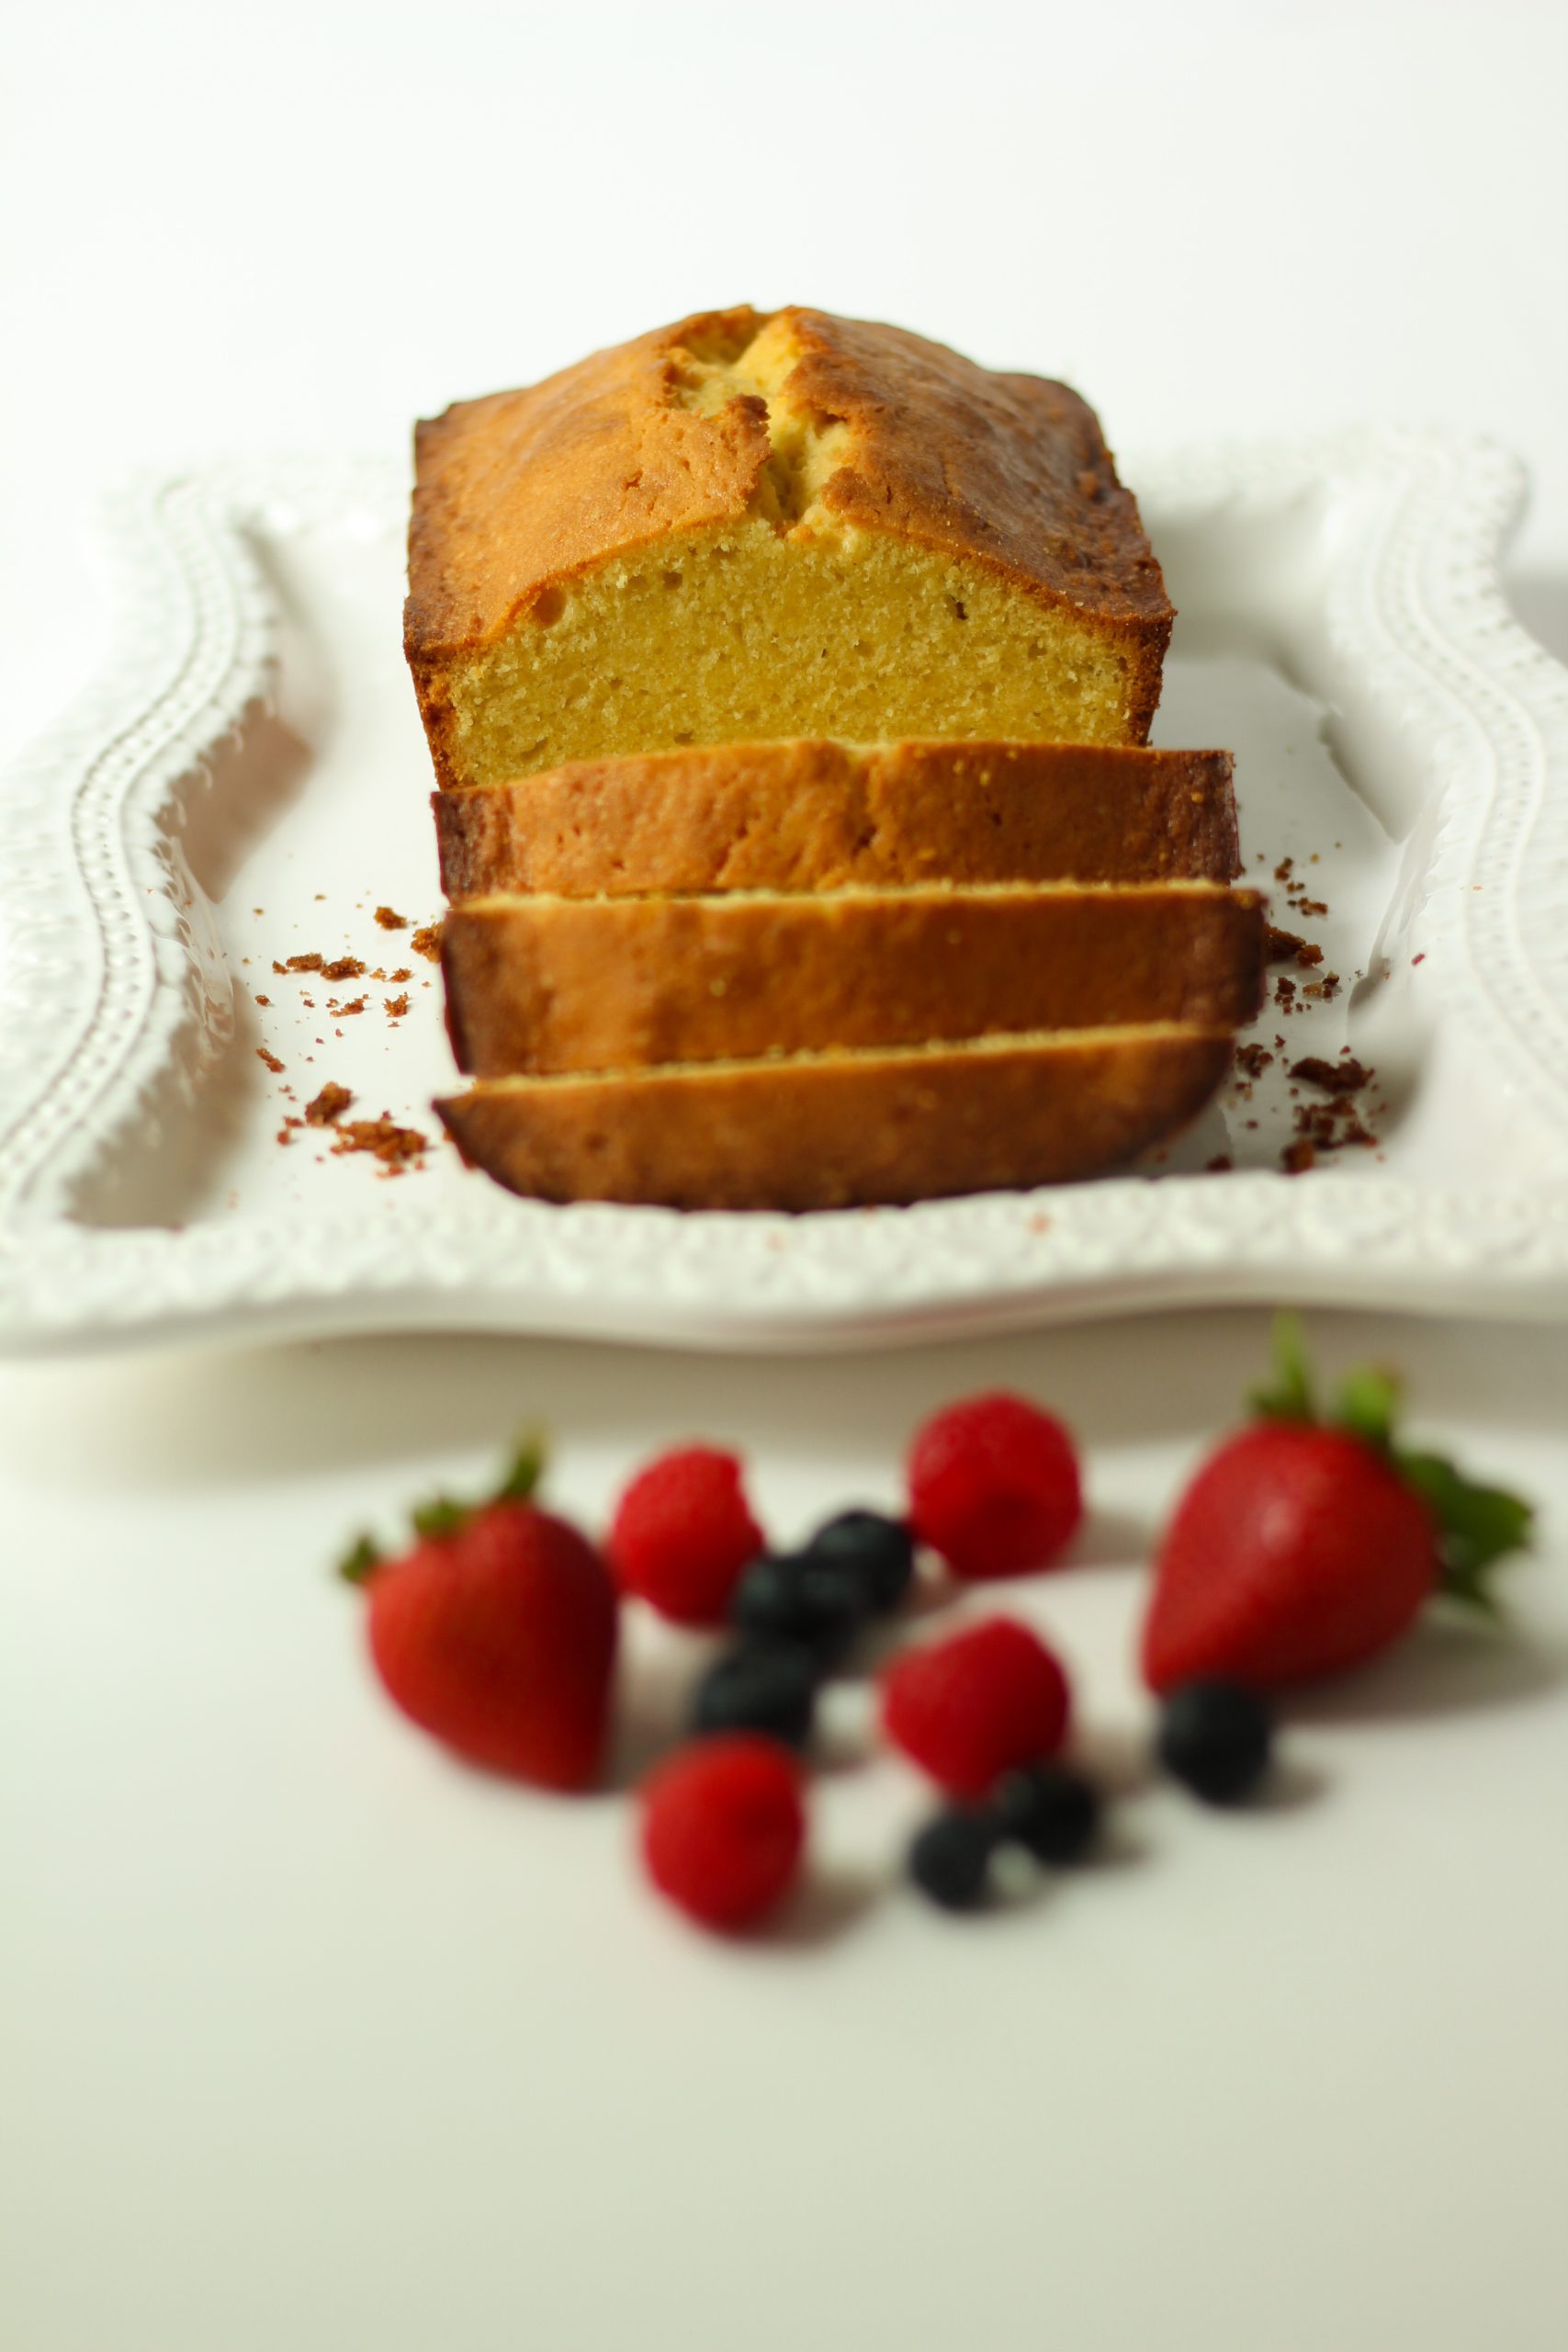
This rich, buttery pound cake melts in your mouth while maintaining a light, fluffy texture. The hint of freshness from the lemon zest balances out the sweet from the sugar and vanilla. Pound cake is good on its own and delicious with some fresh fruit or whipped cream on top. If you double this recipe it can be used it as a base for a birthday cake, layered with frosting. I recommend using round baking pans for a celebration cake.
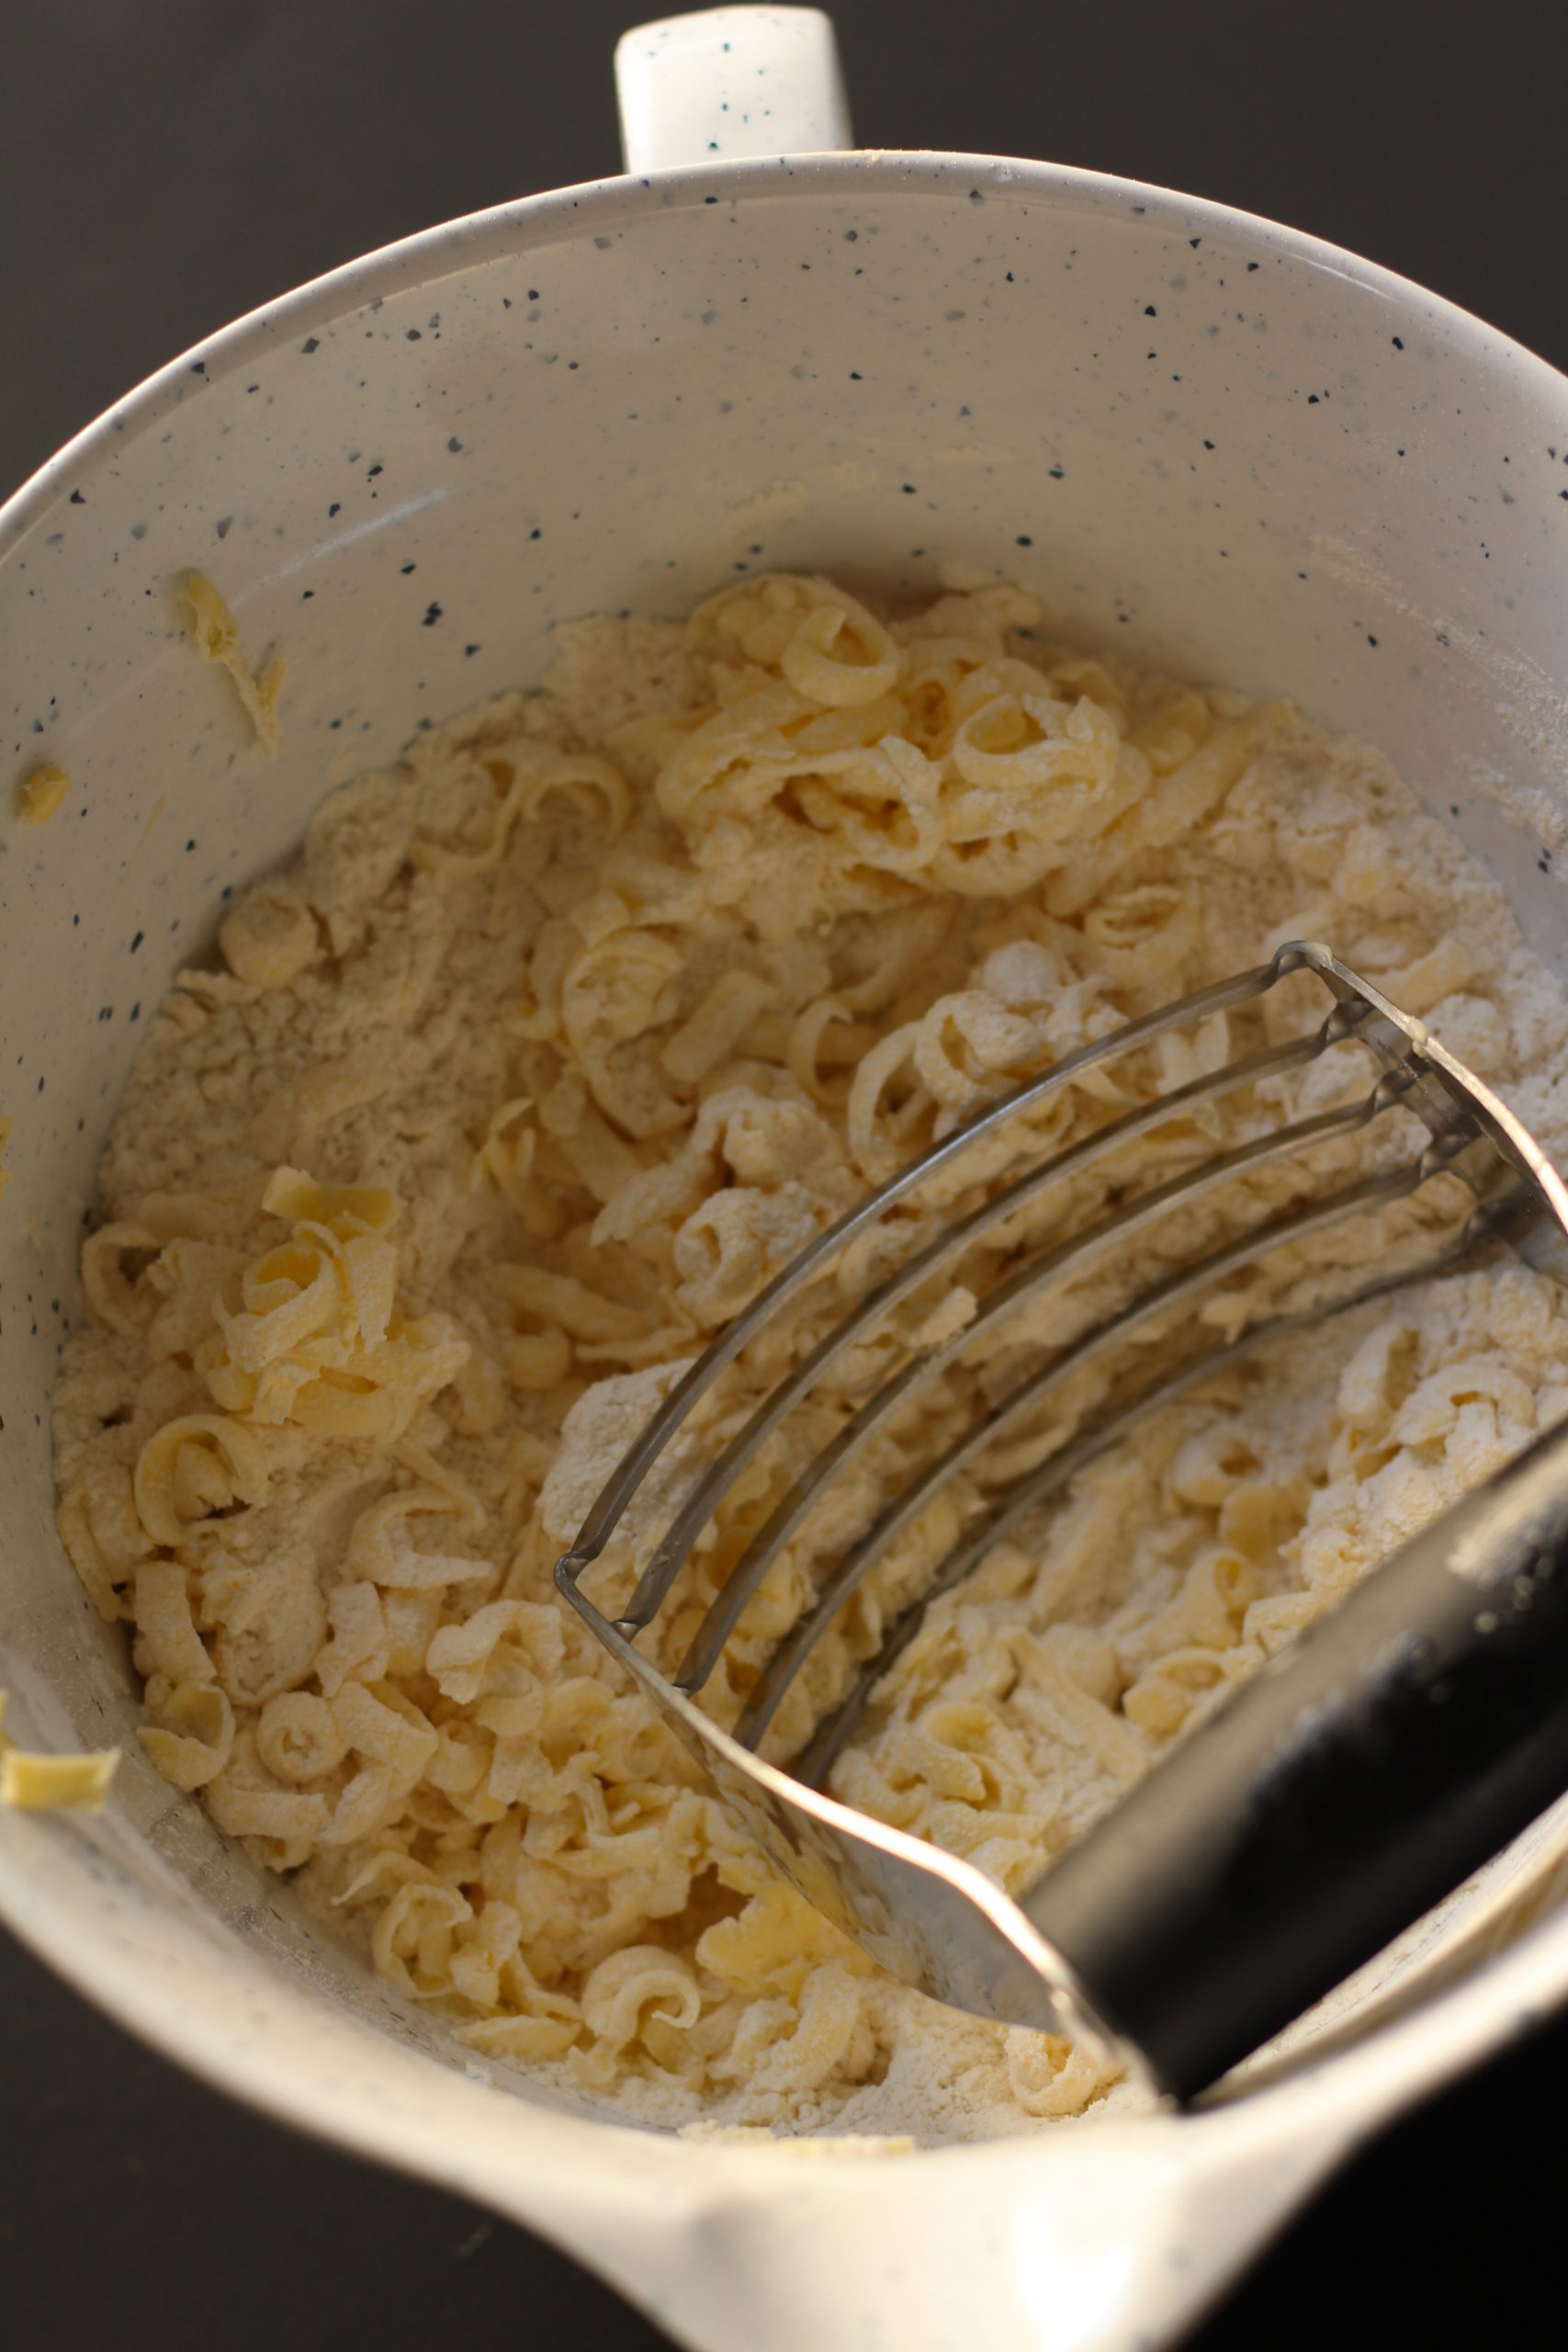
The recipe uses pastry flour instead of regular flour. Pastry flour is milled at a finer texture than all purpose flour and is made with soft wheat for a lower protein content. This helps baked goods to produce more tender results and a flakey crust. It is important to let your eggs and butter warm to room temperature. The day before I plan to bake a pound cake, I always take out my butter and egg to warm on the counter overnight. This allows me to start baking right away in the morning.
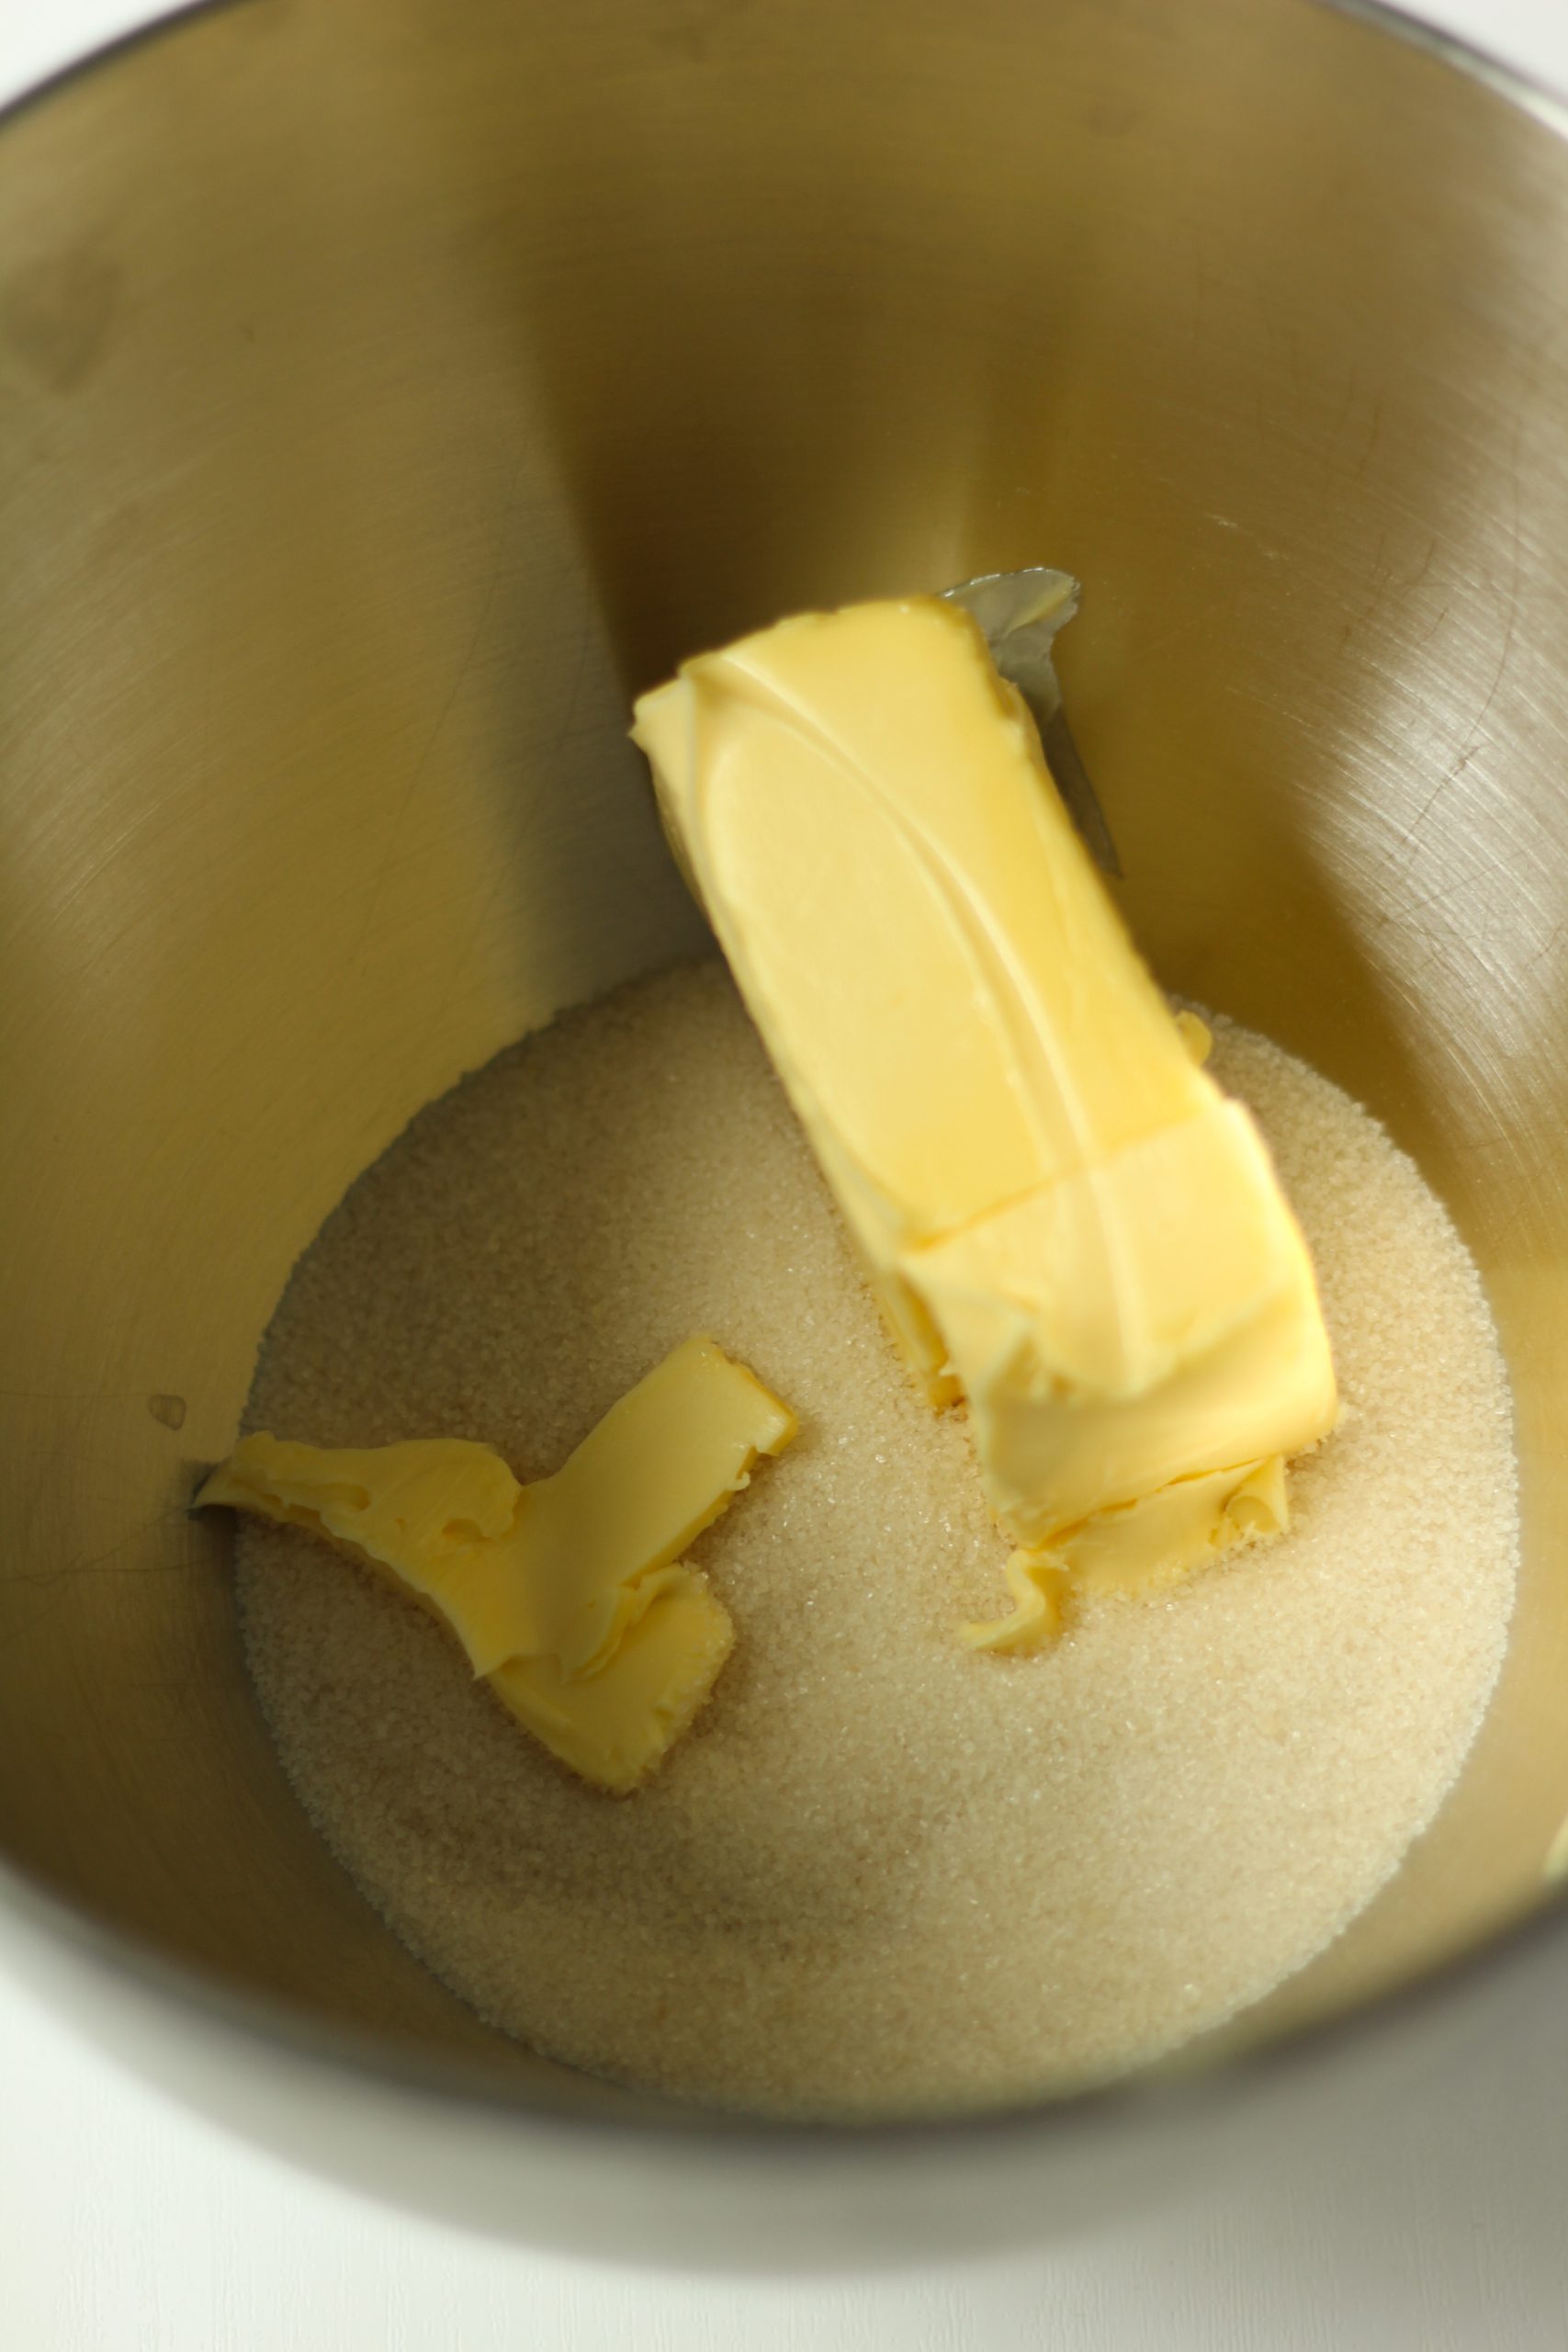
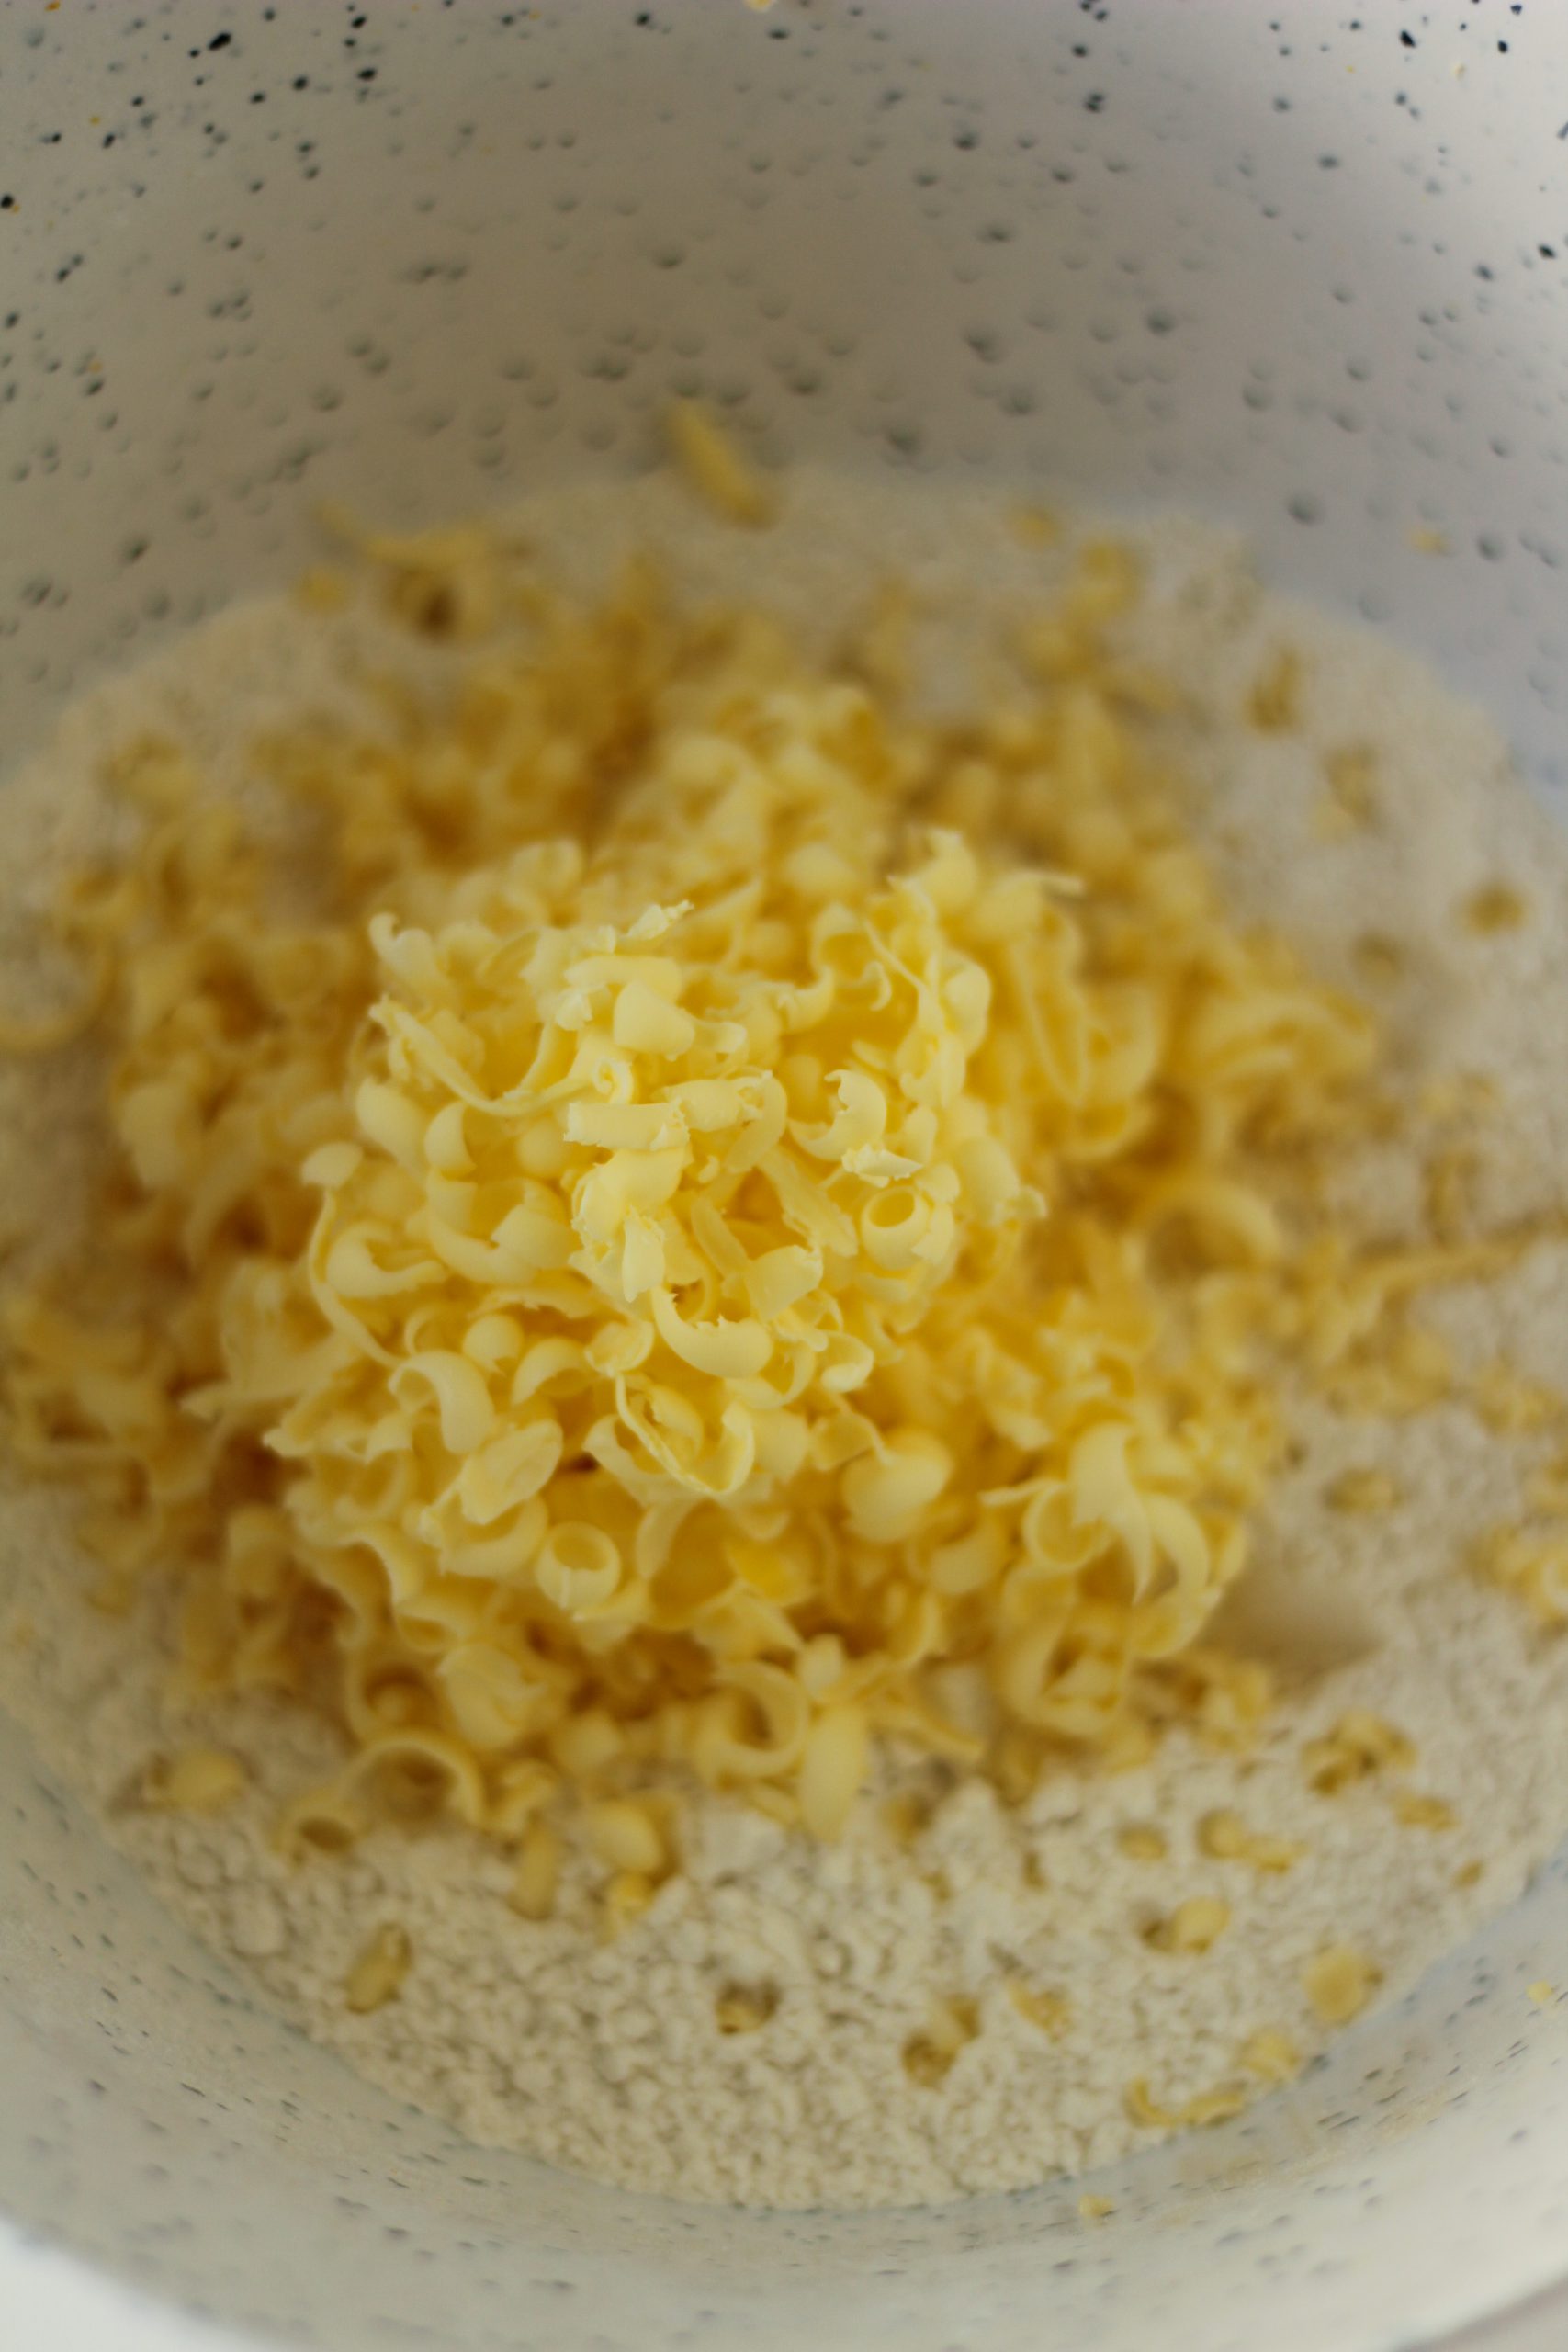
Room temperature butter is important for getting a nice, fluffy texture when beating it with the sugar. Soft butter blends really well with the sugar and gives the best results.
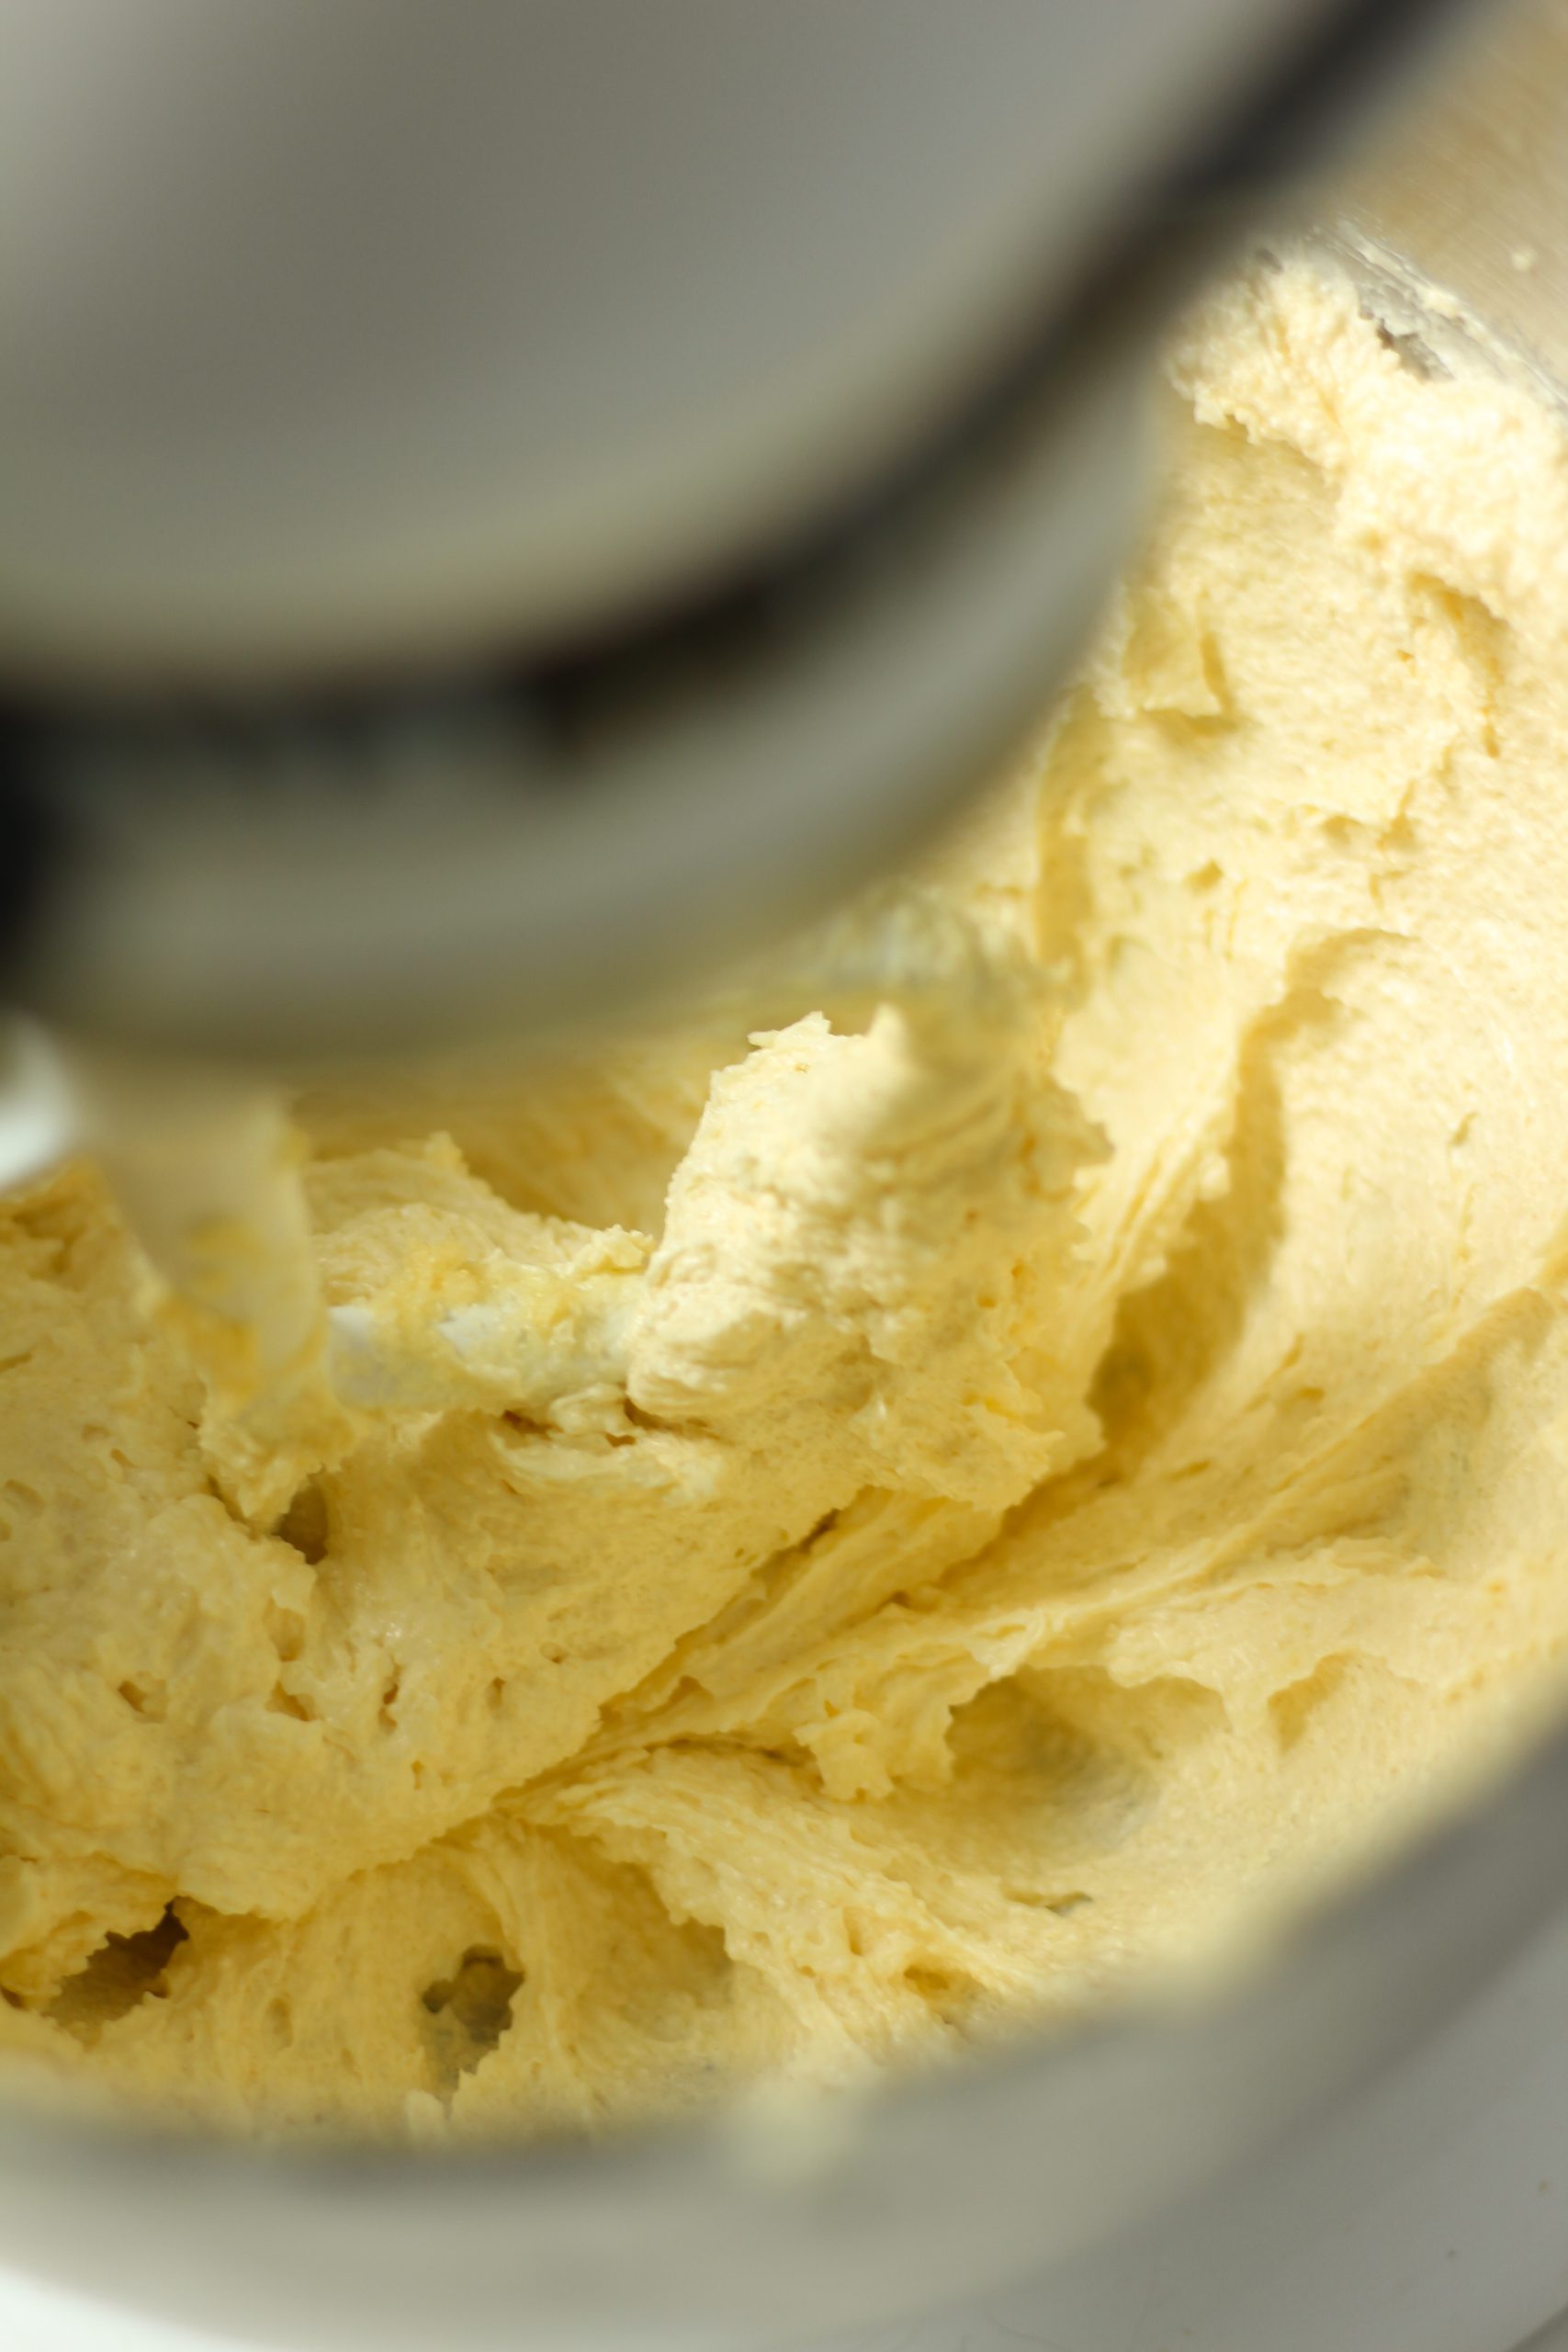
As you can see, in the standmixer bowl the butter is super fluffy here and ready to mix in the egg mixture.

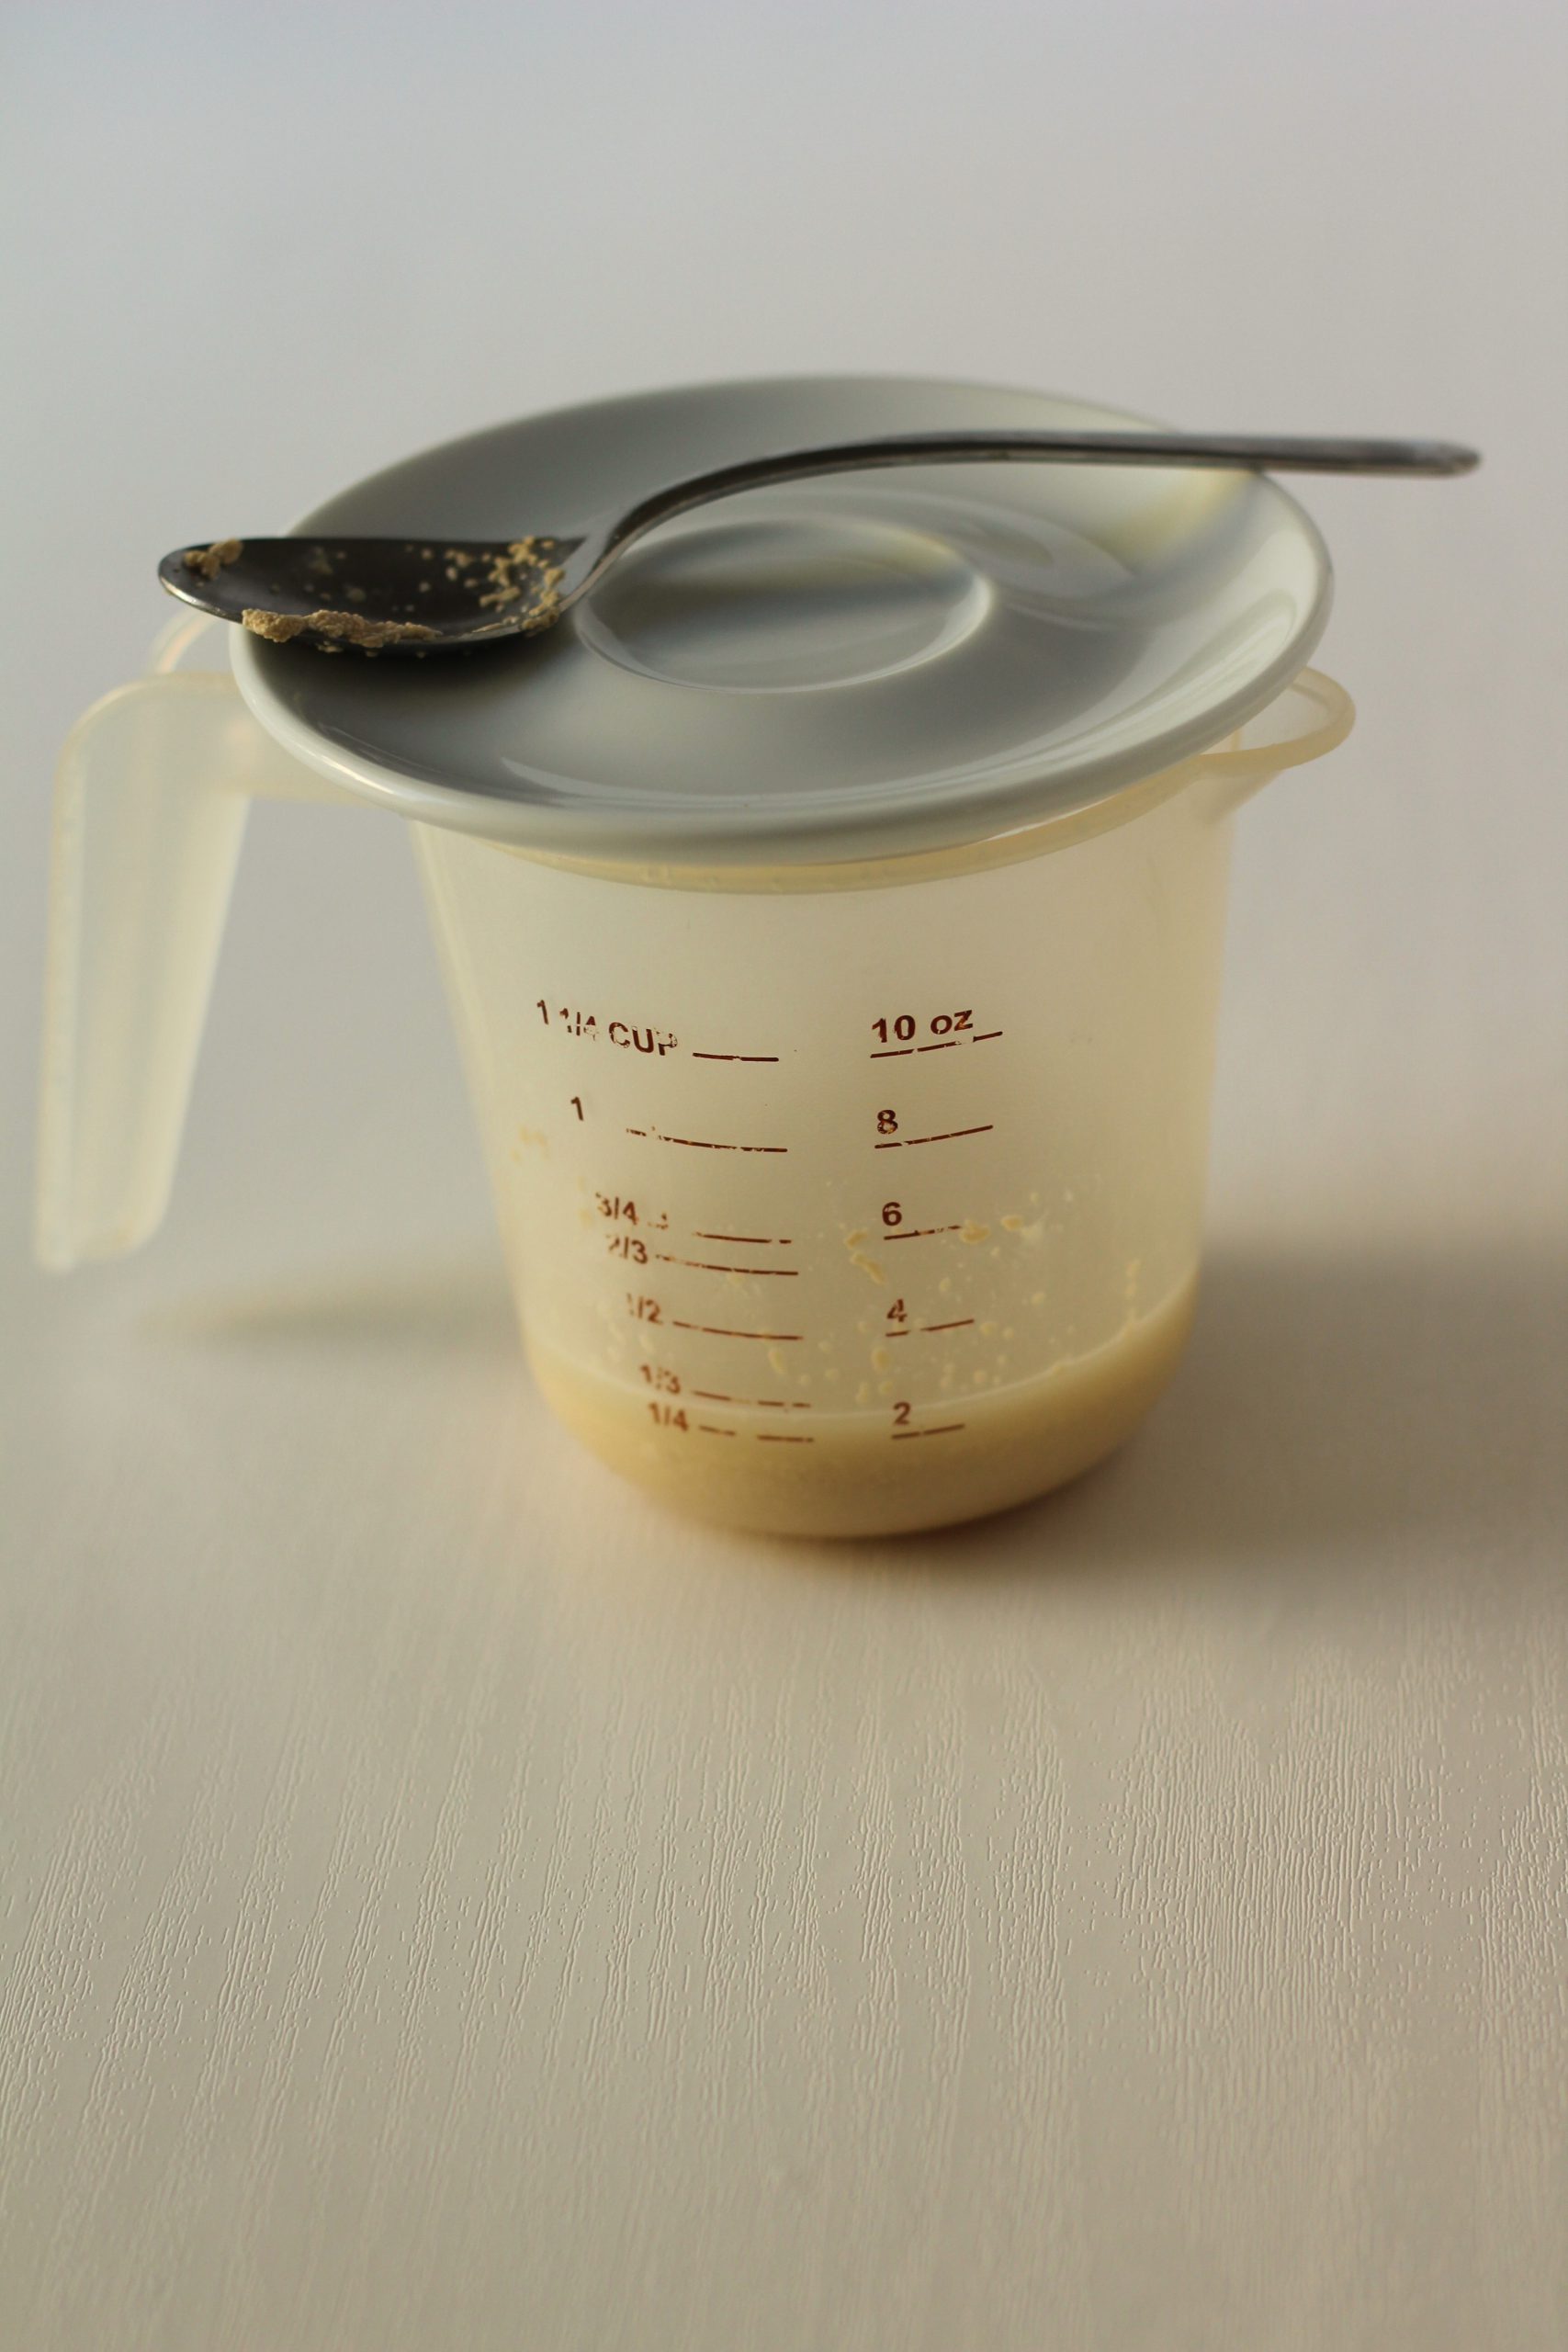
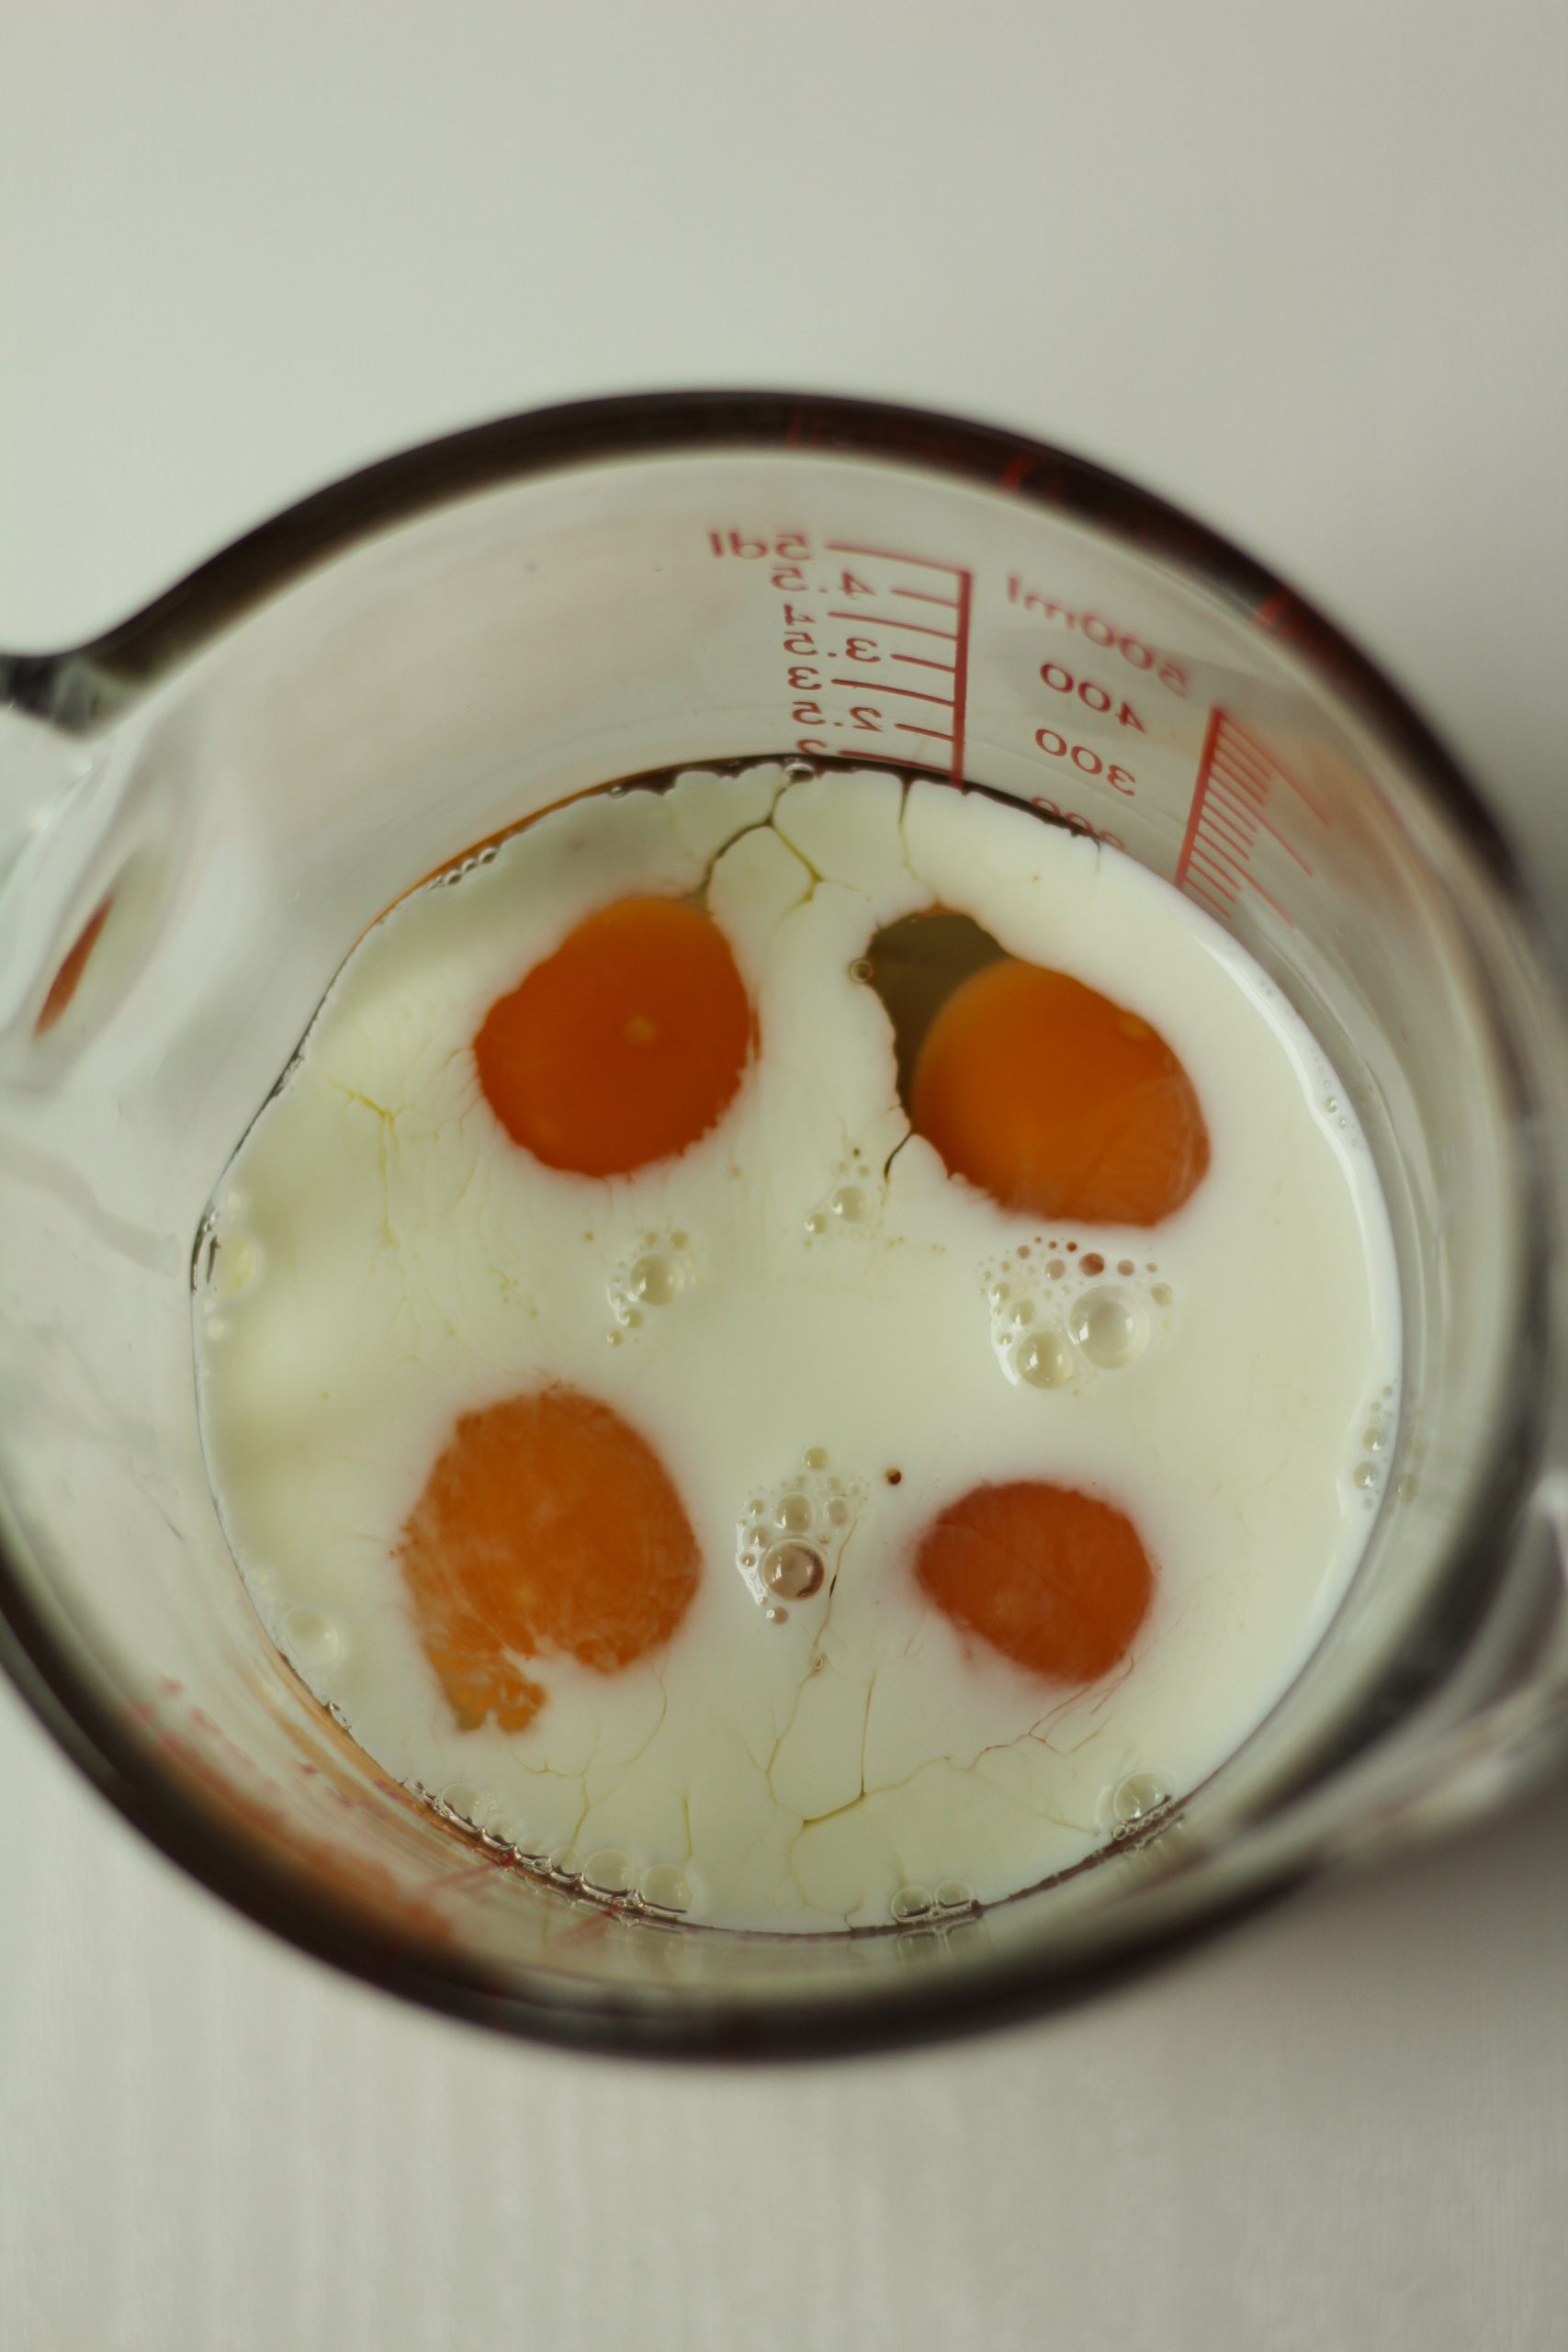
I added pure vanilla extract which gives the cake a delicious vanilla flavor. I put in 1 1/2 teaspoon of this vanilla extract before adding in the milk and giving it a gentle stir.
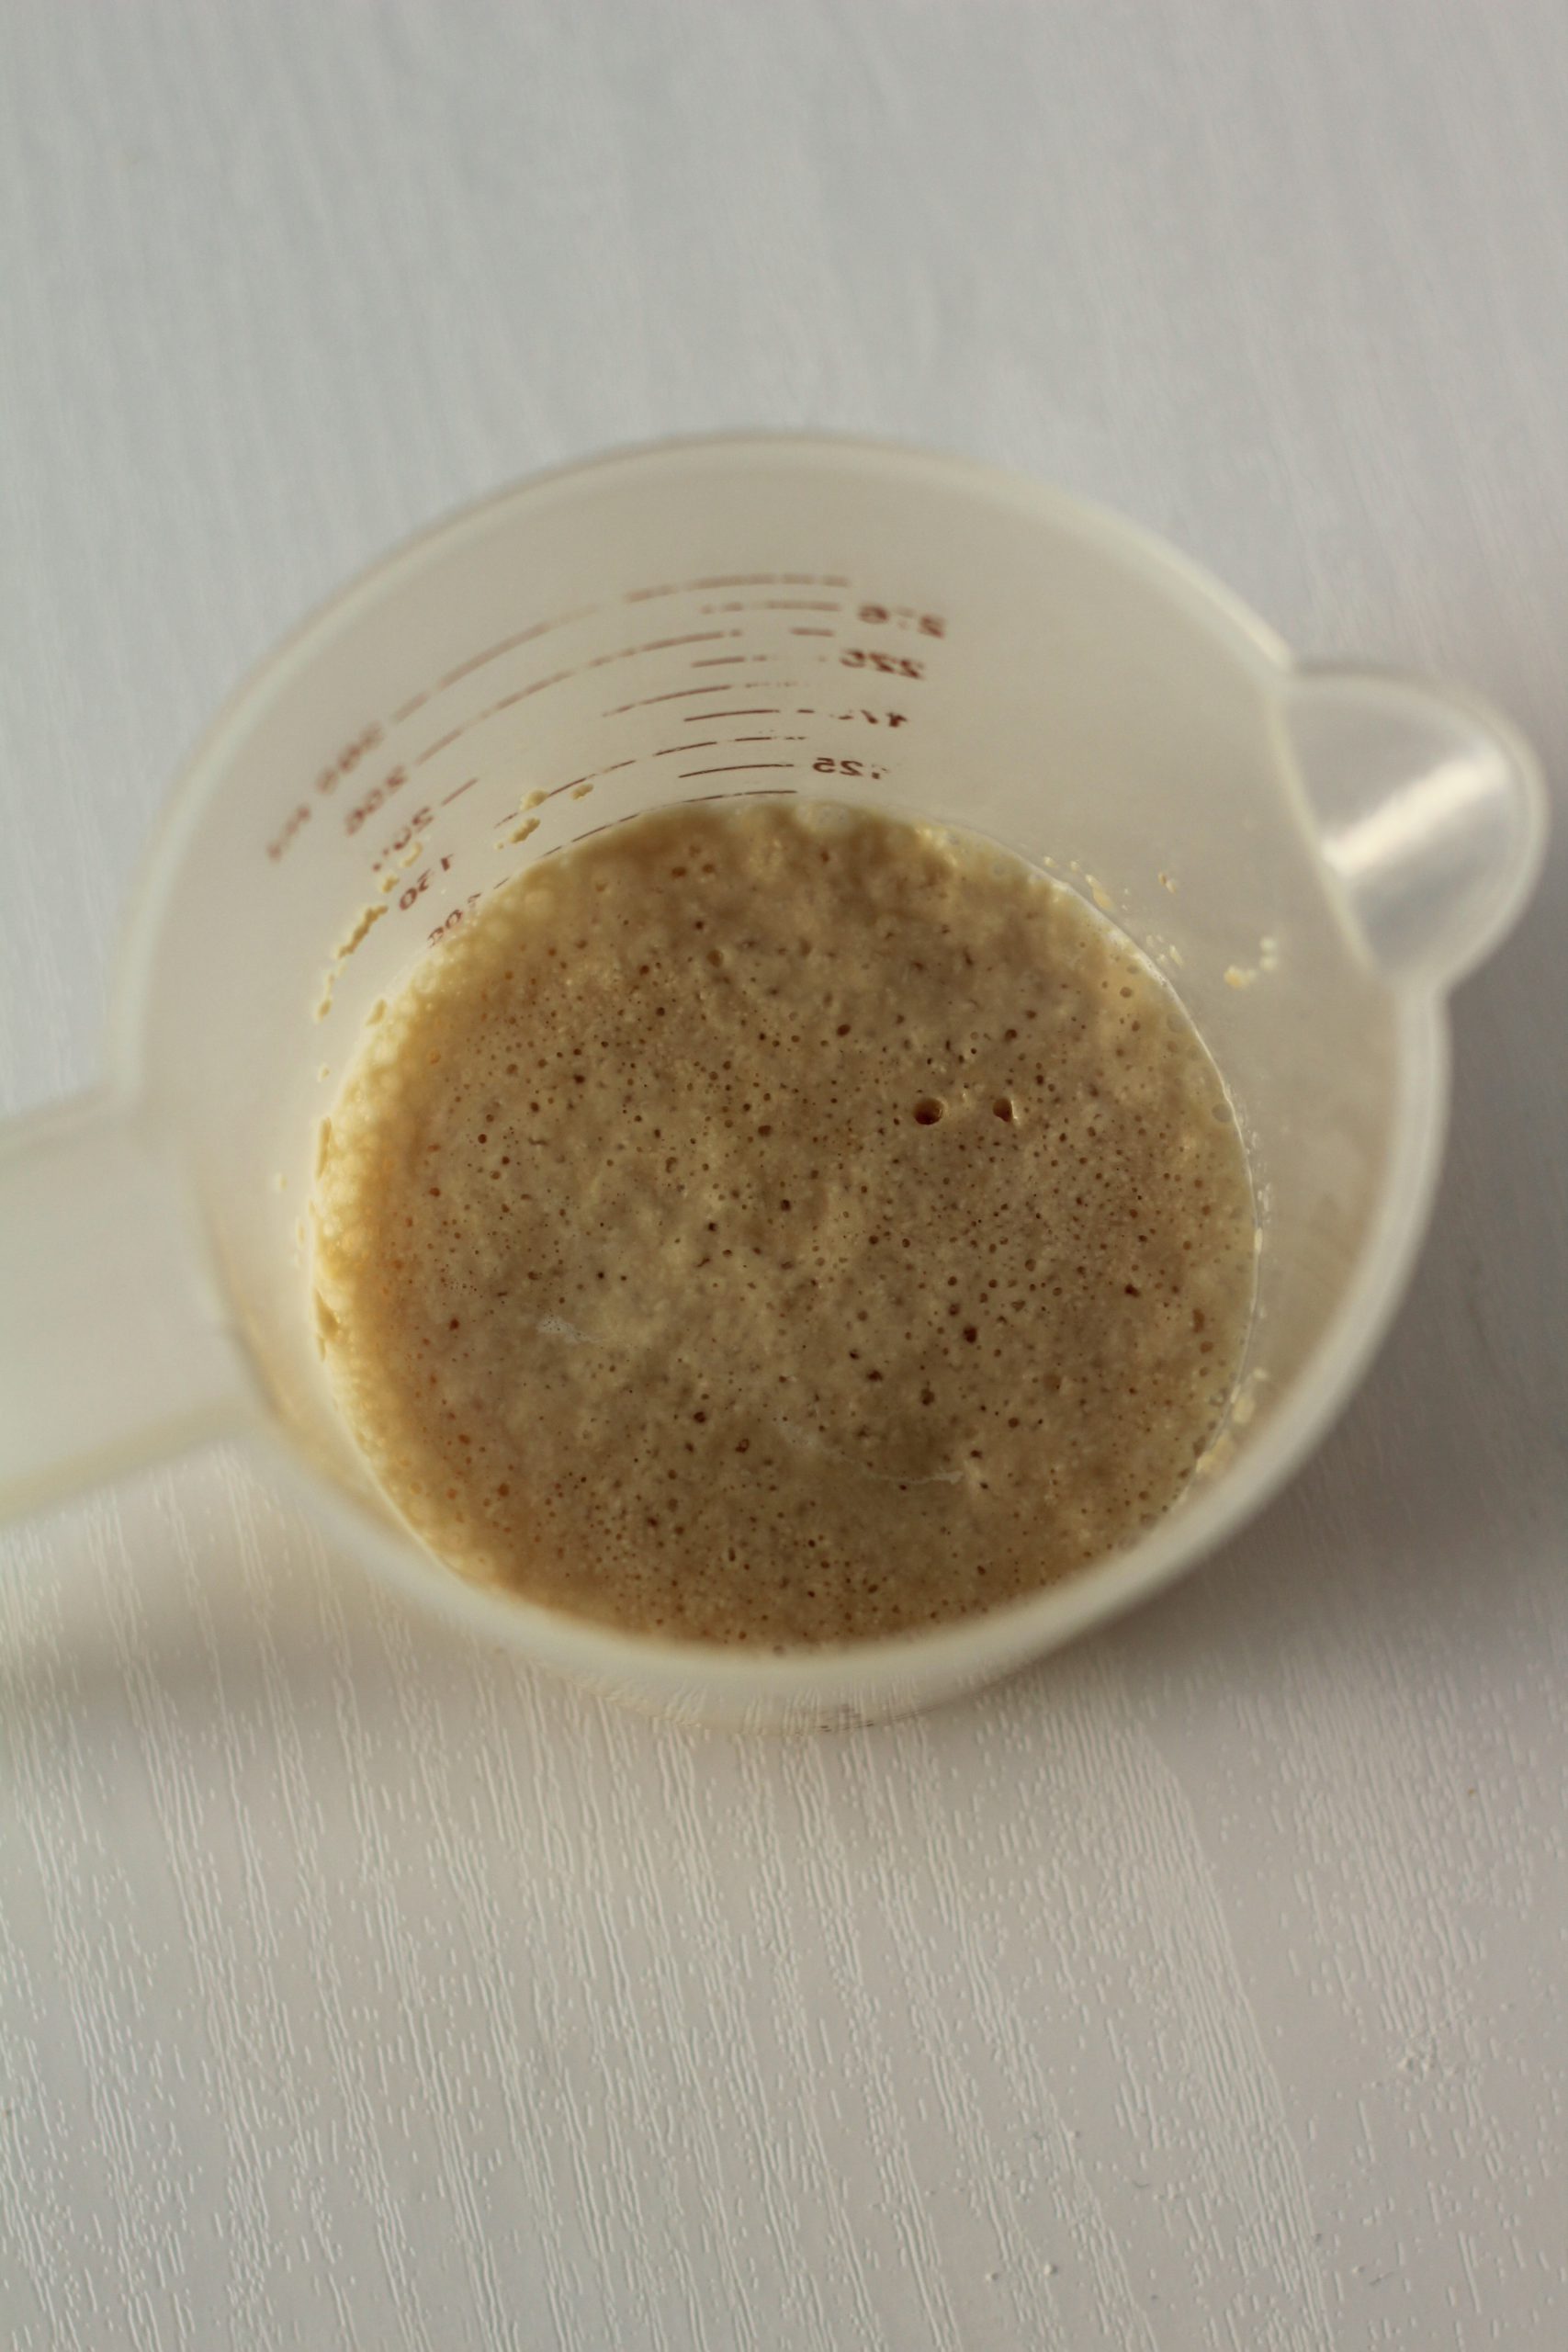
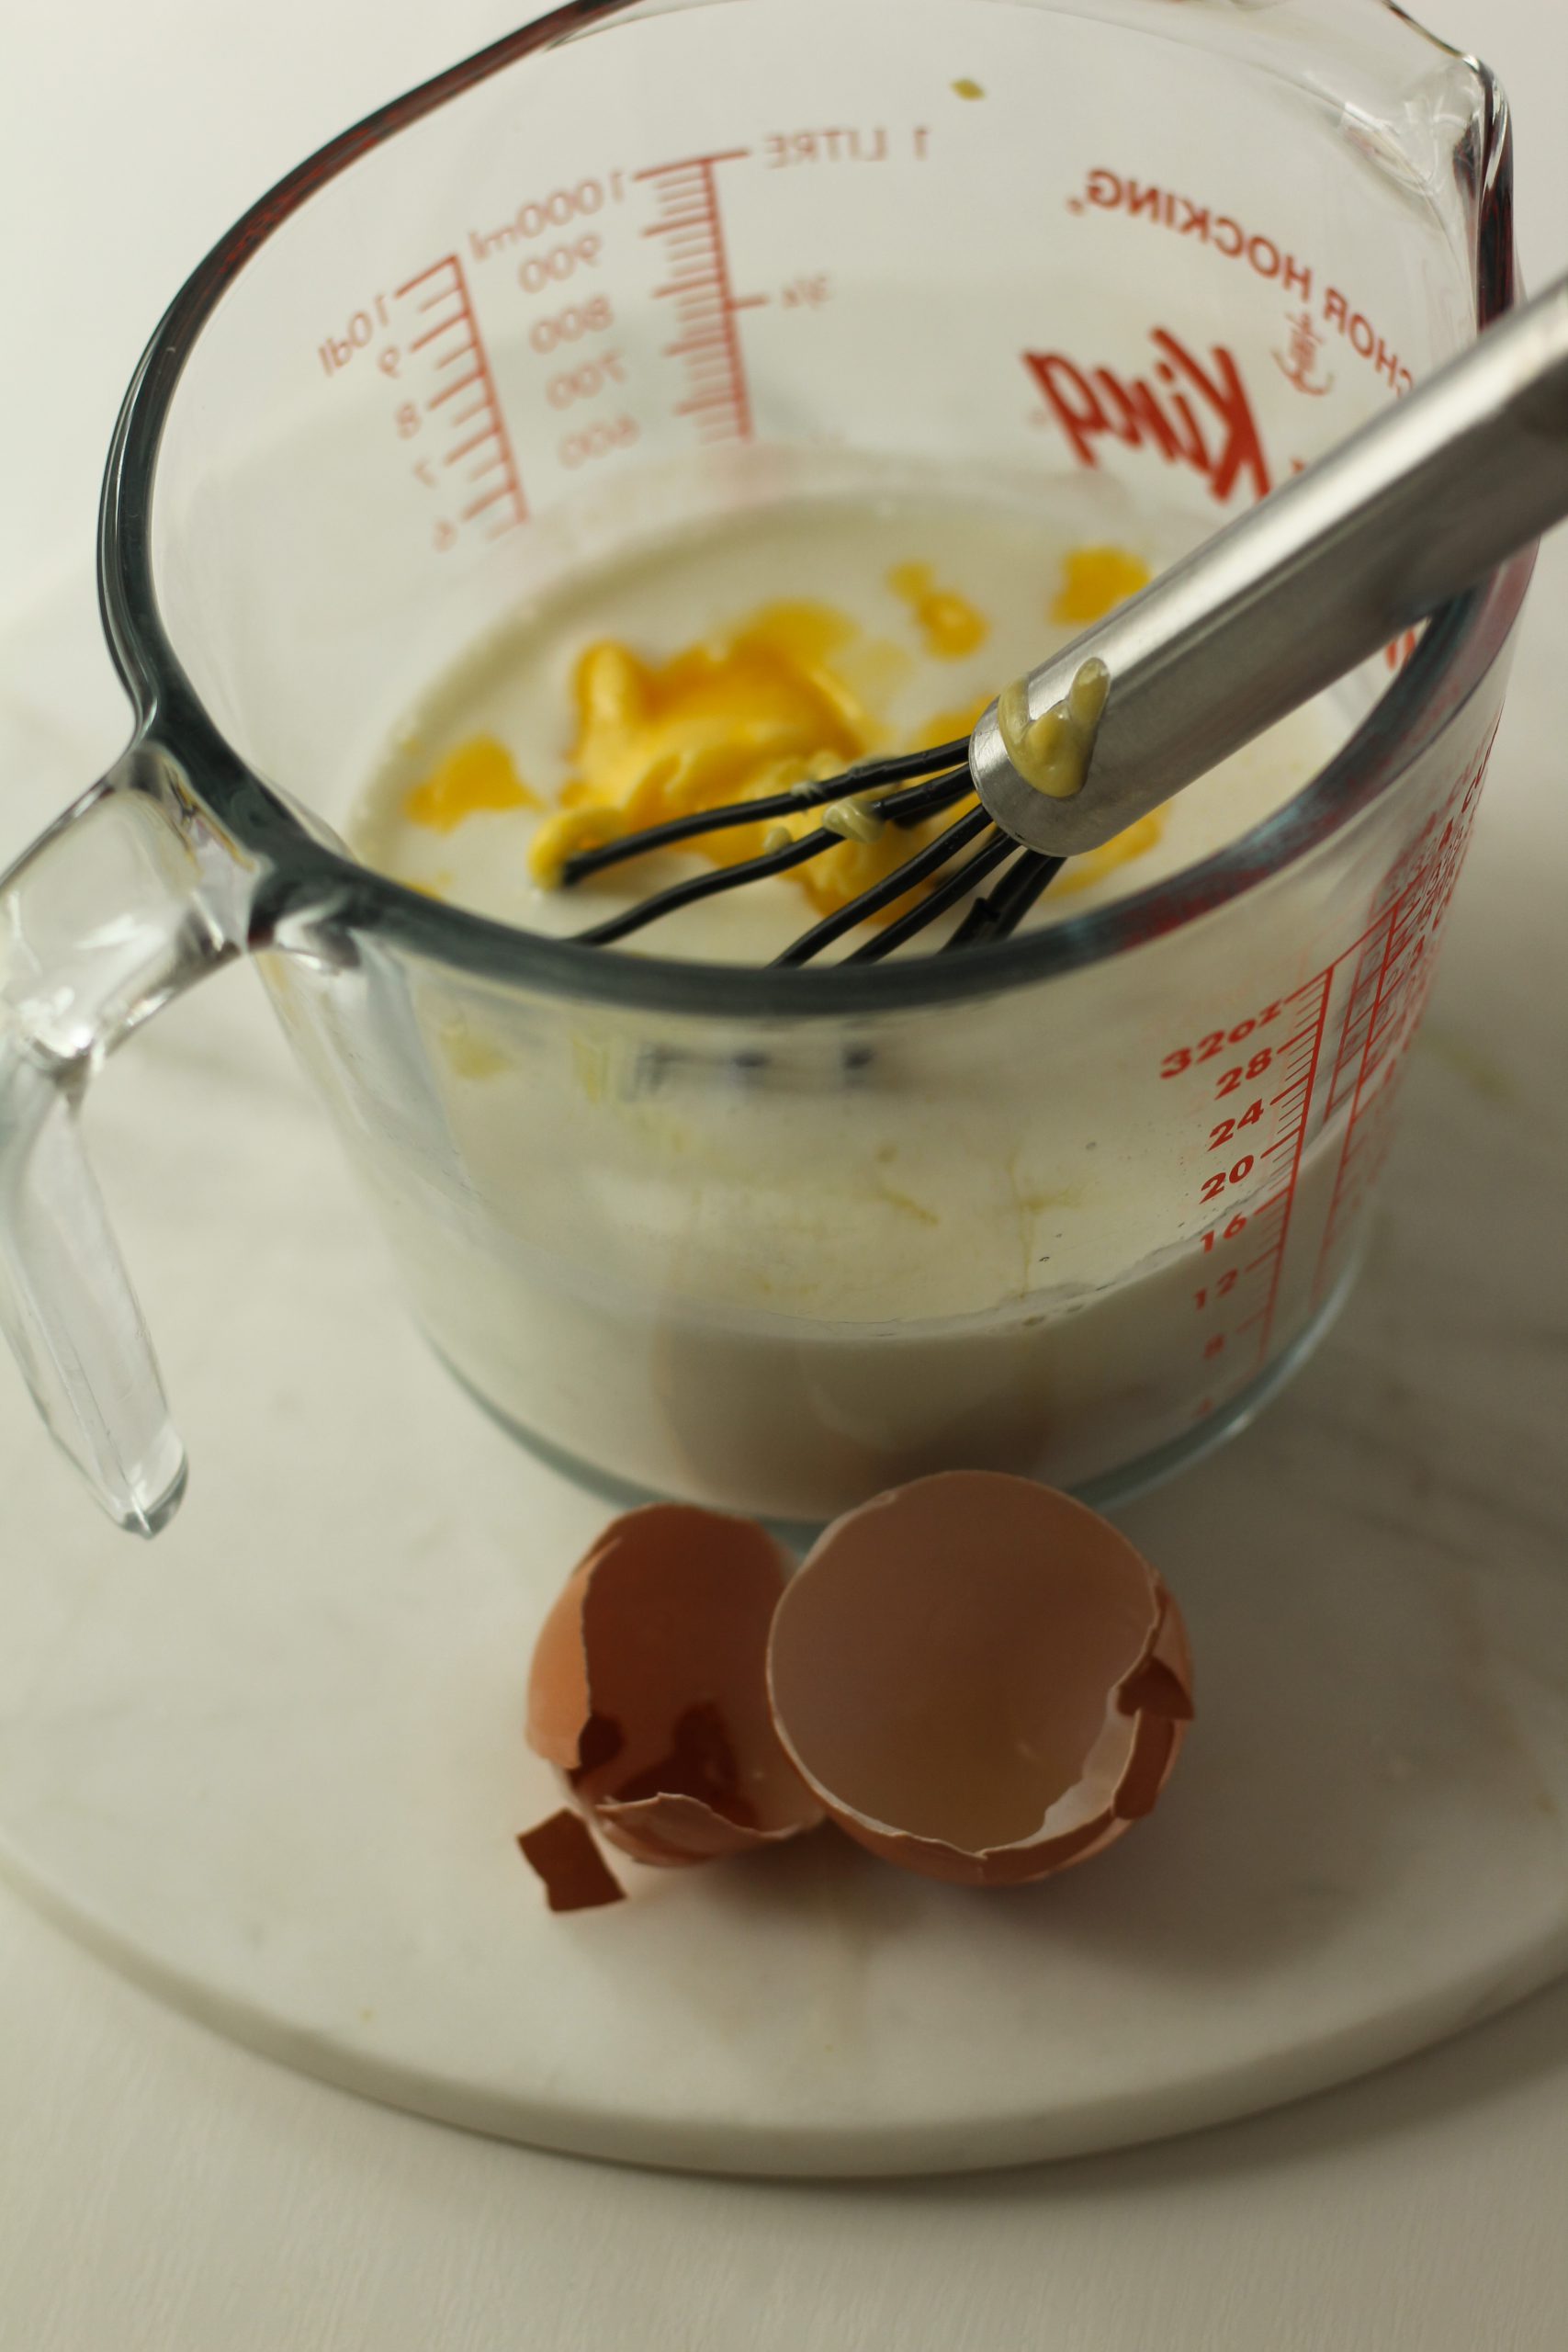
Now slowly add the egg into the sugar-butter mixture. In a thin stream, pour in the egg mixture. I tend to pour in one egg at a time, guiding with a spoon. I let each egg fully combine into the batter before adding the next one.
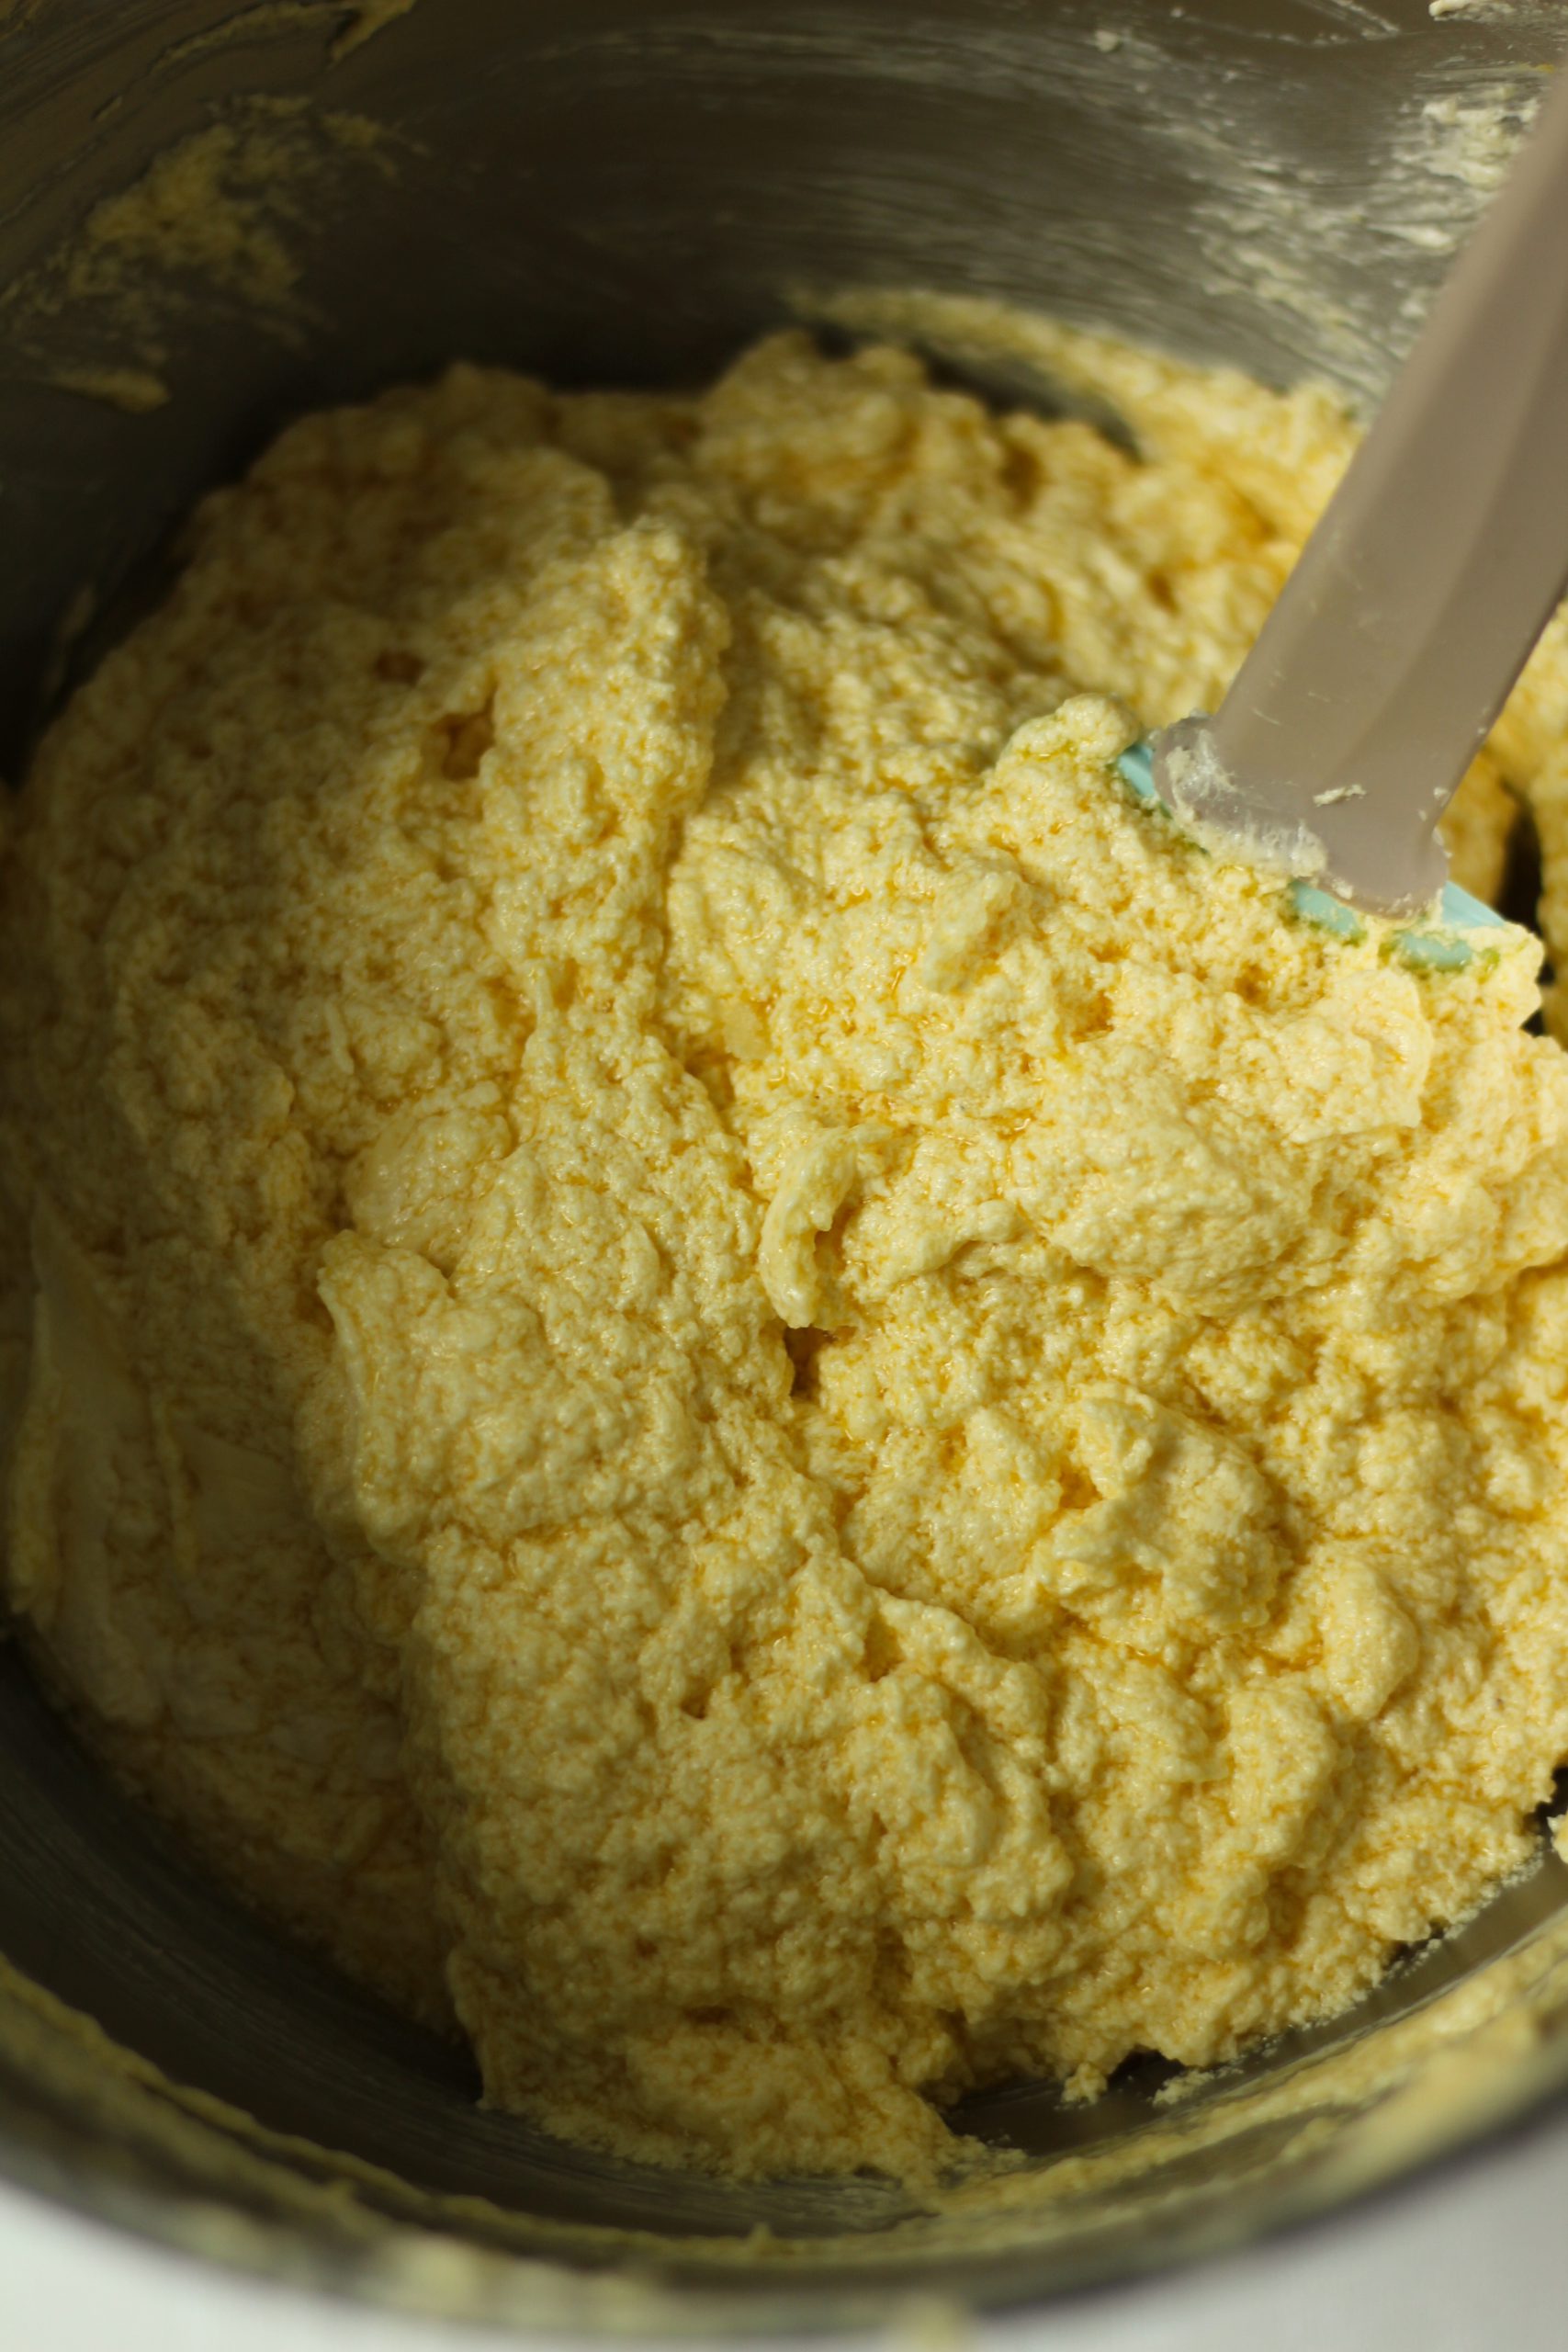
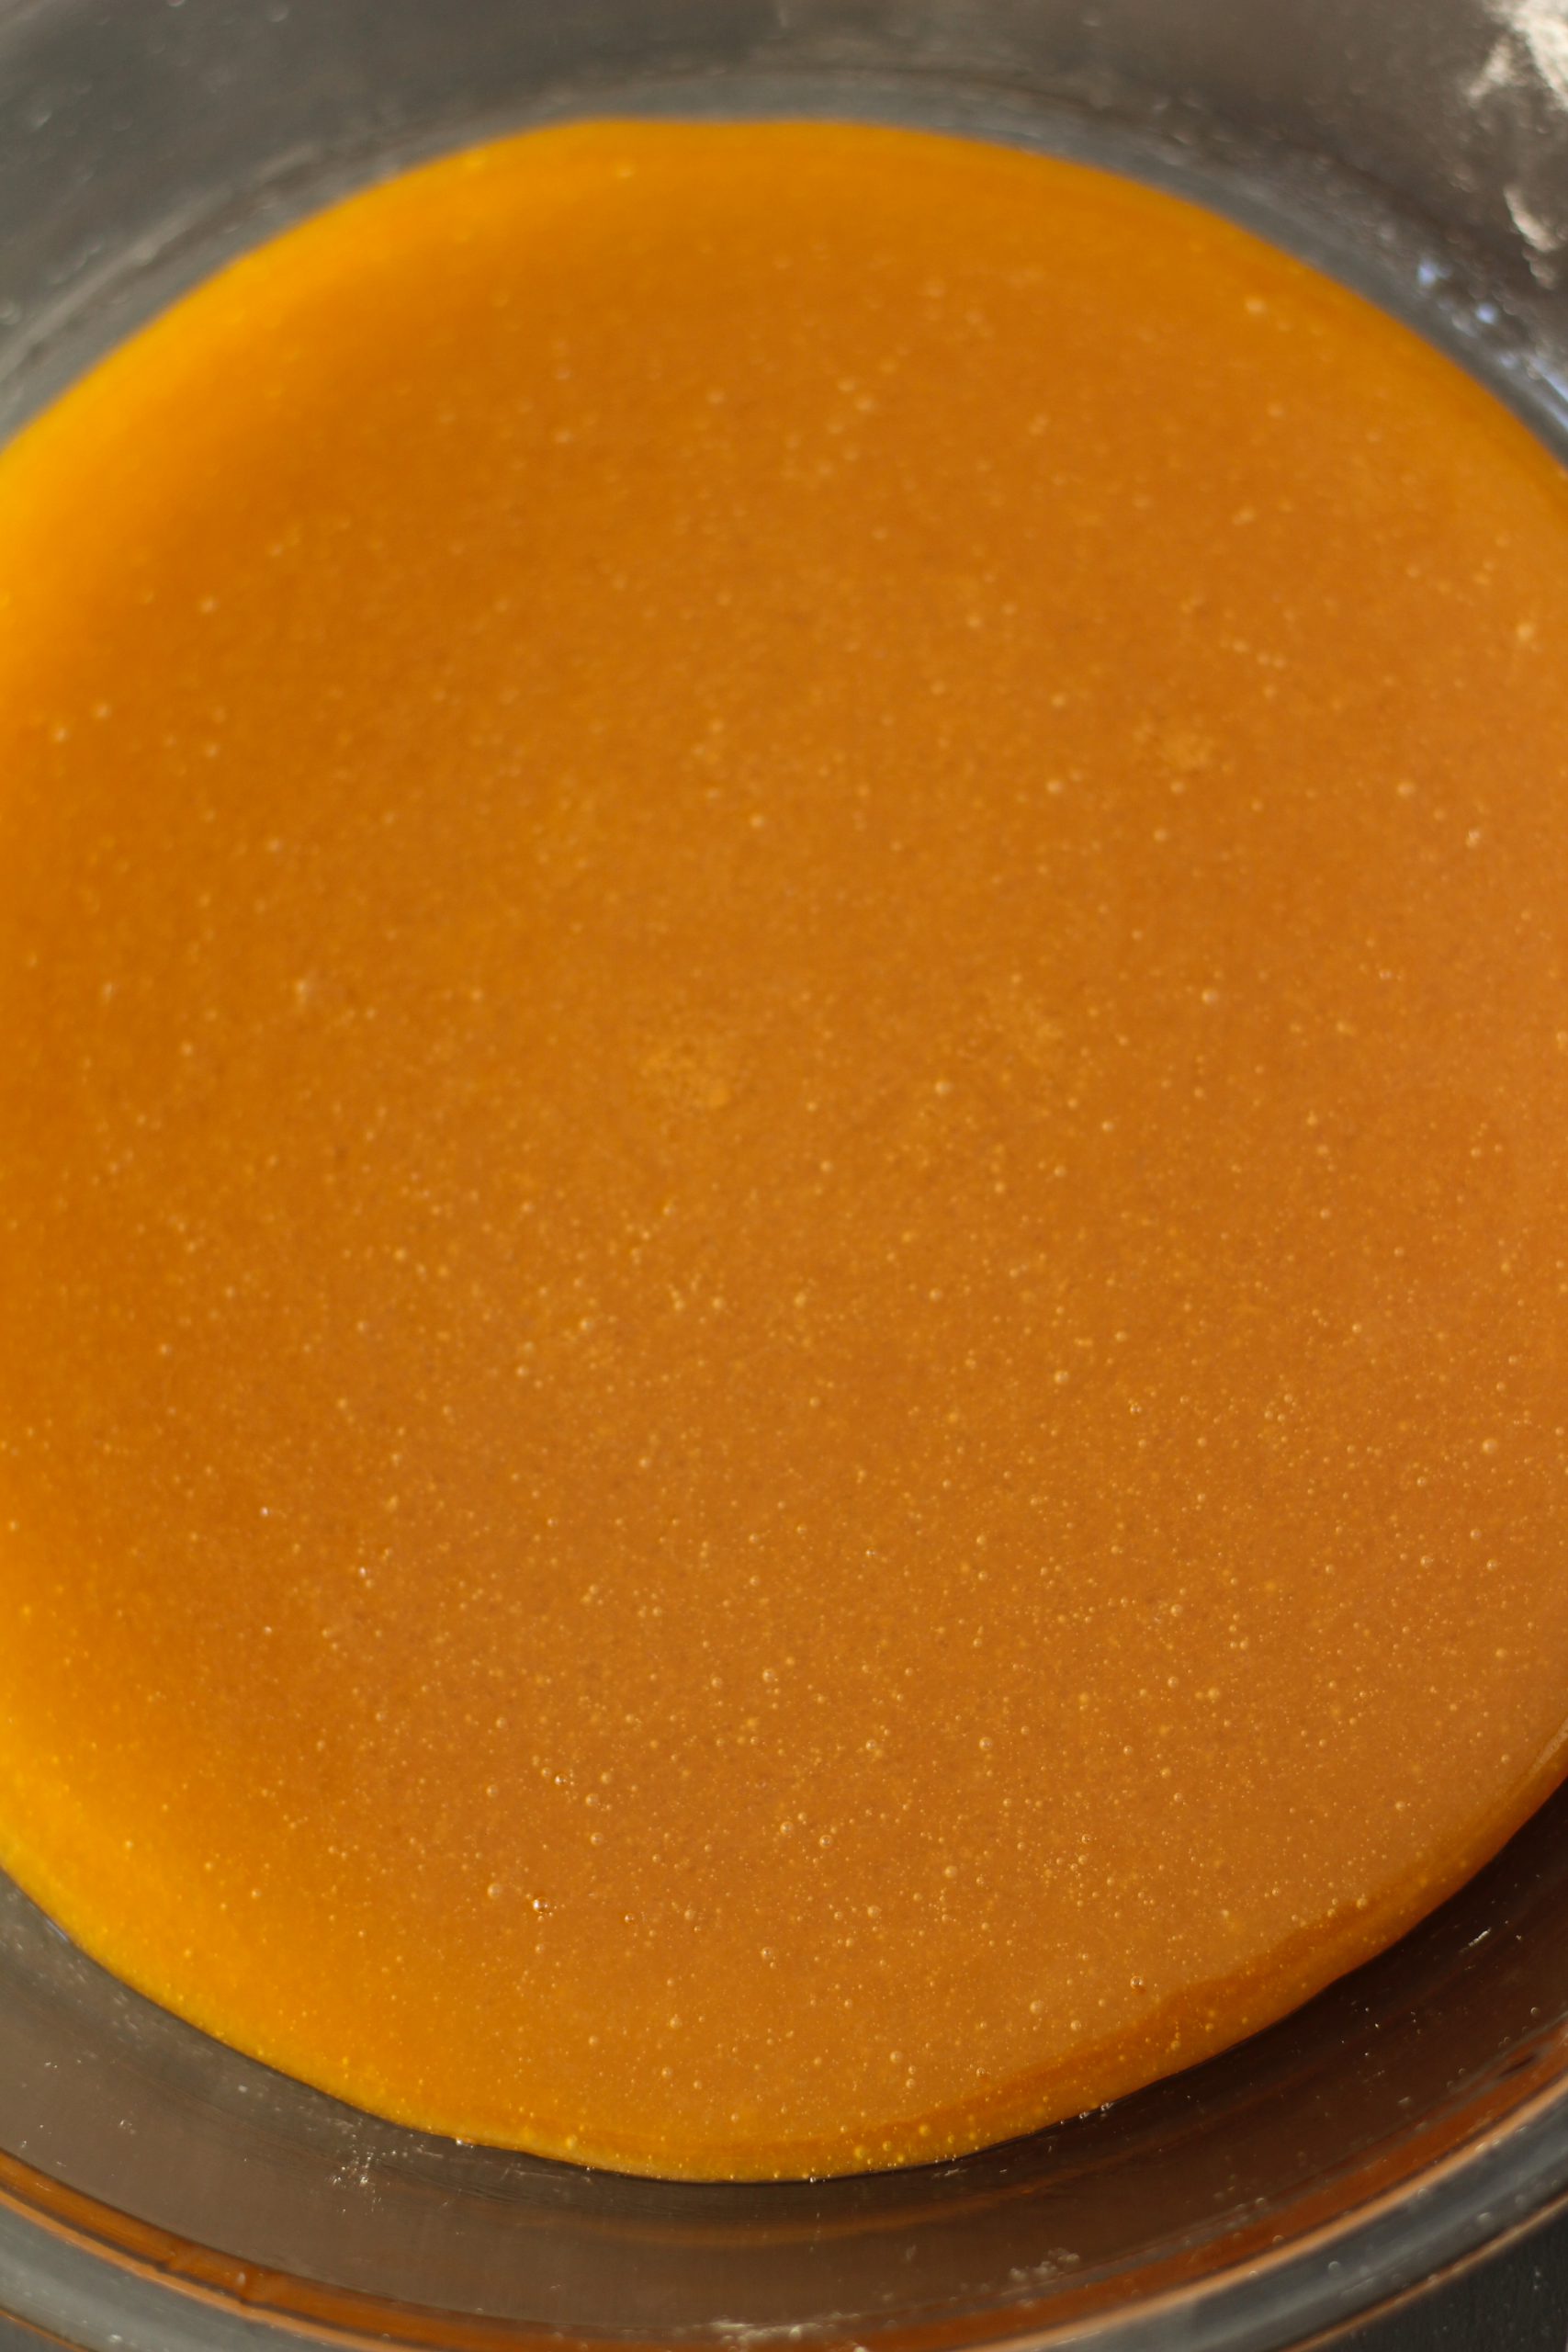
The batter combined with the egg mixture resembles scrambled egg at this point. Don’t worry, as soon you add flour it will look perfect.
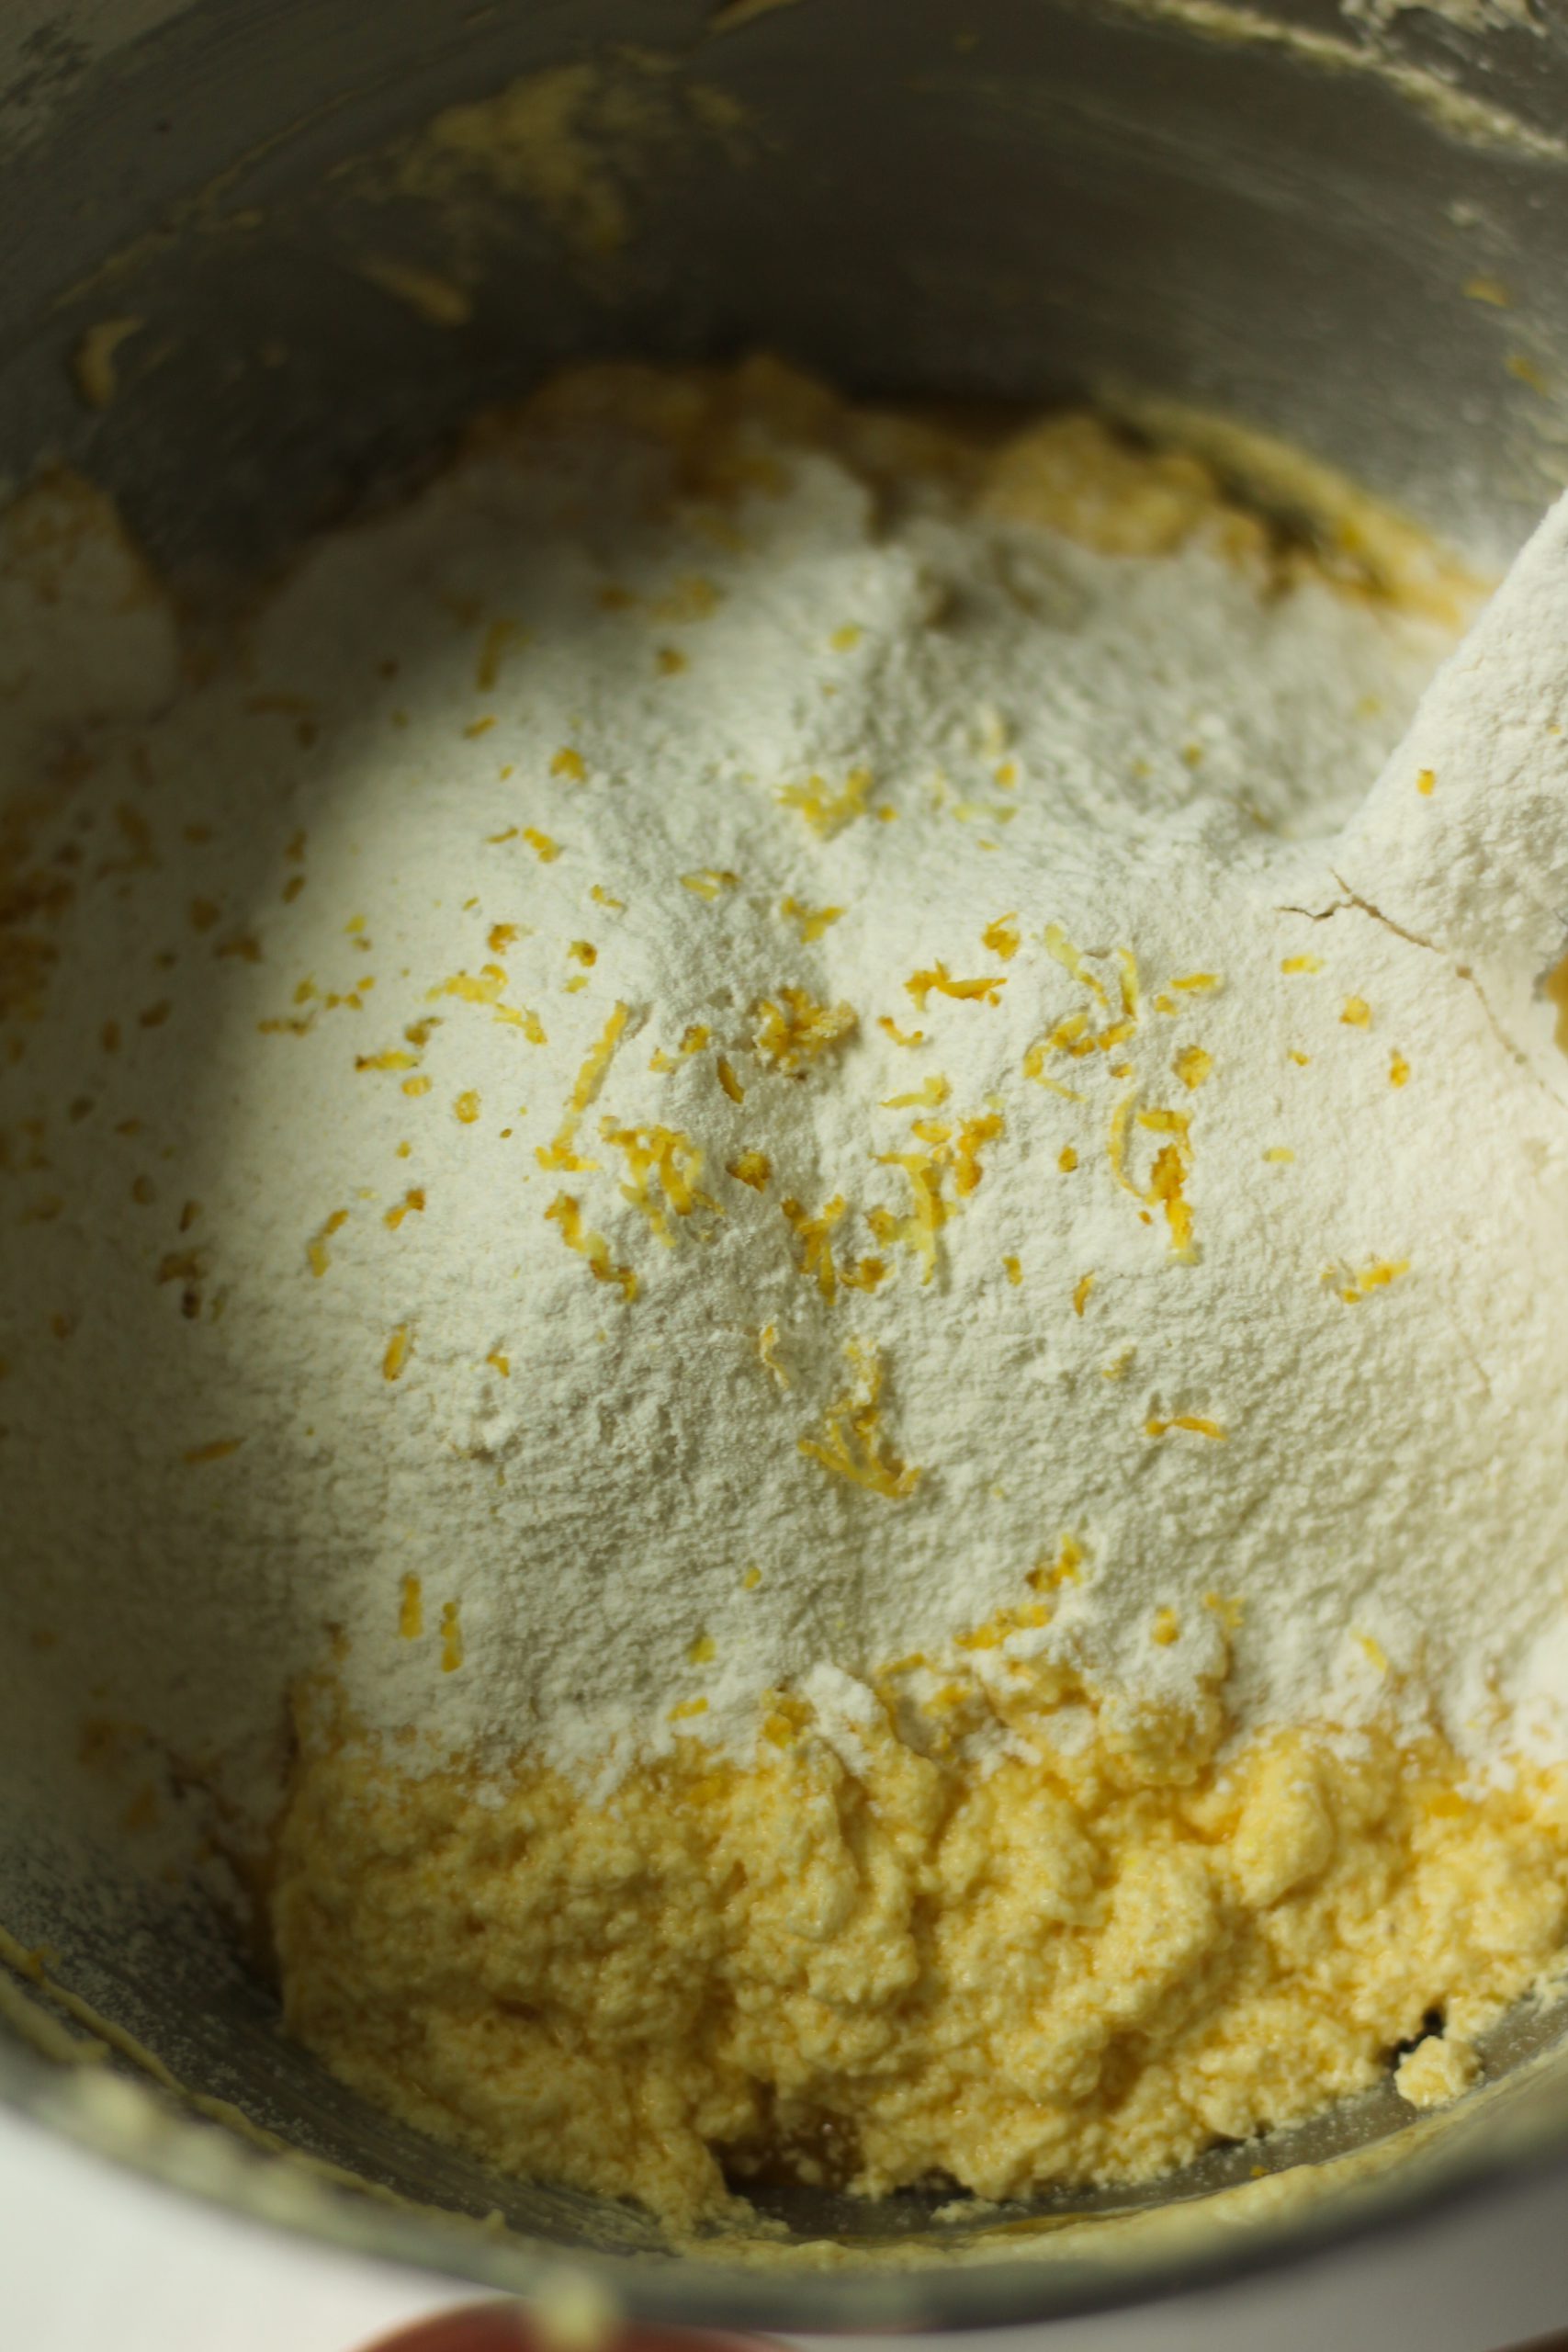
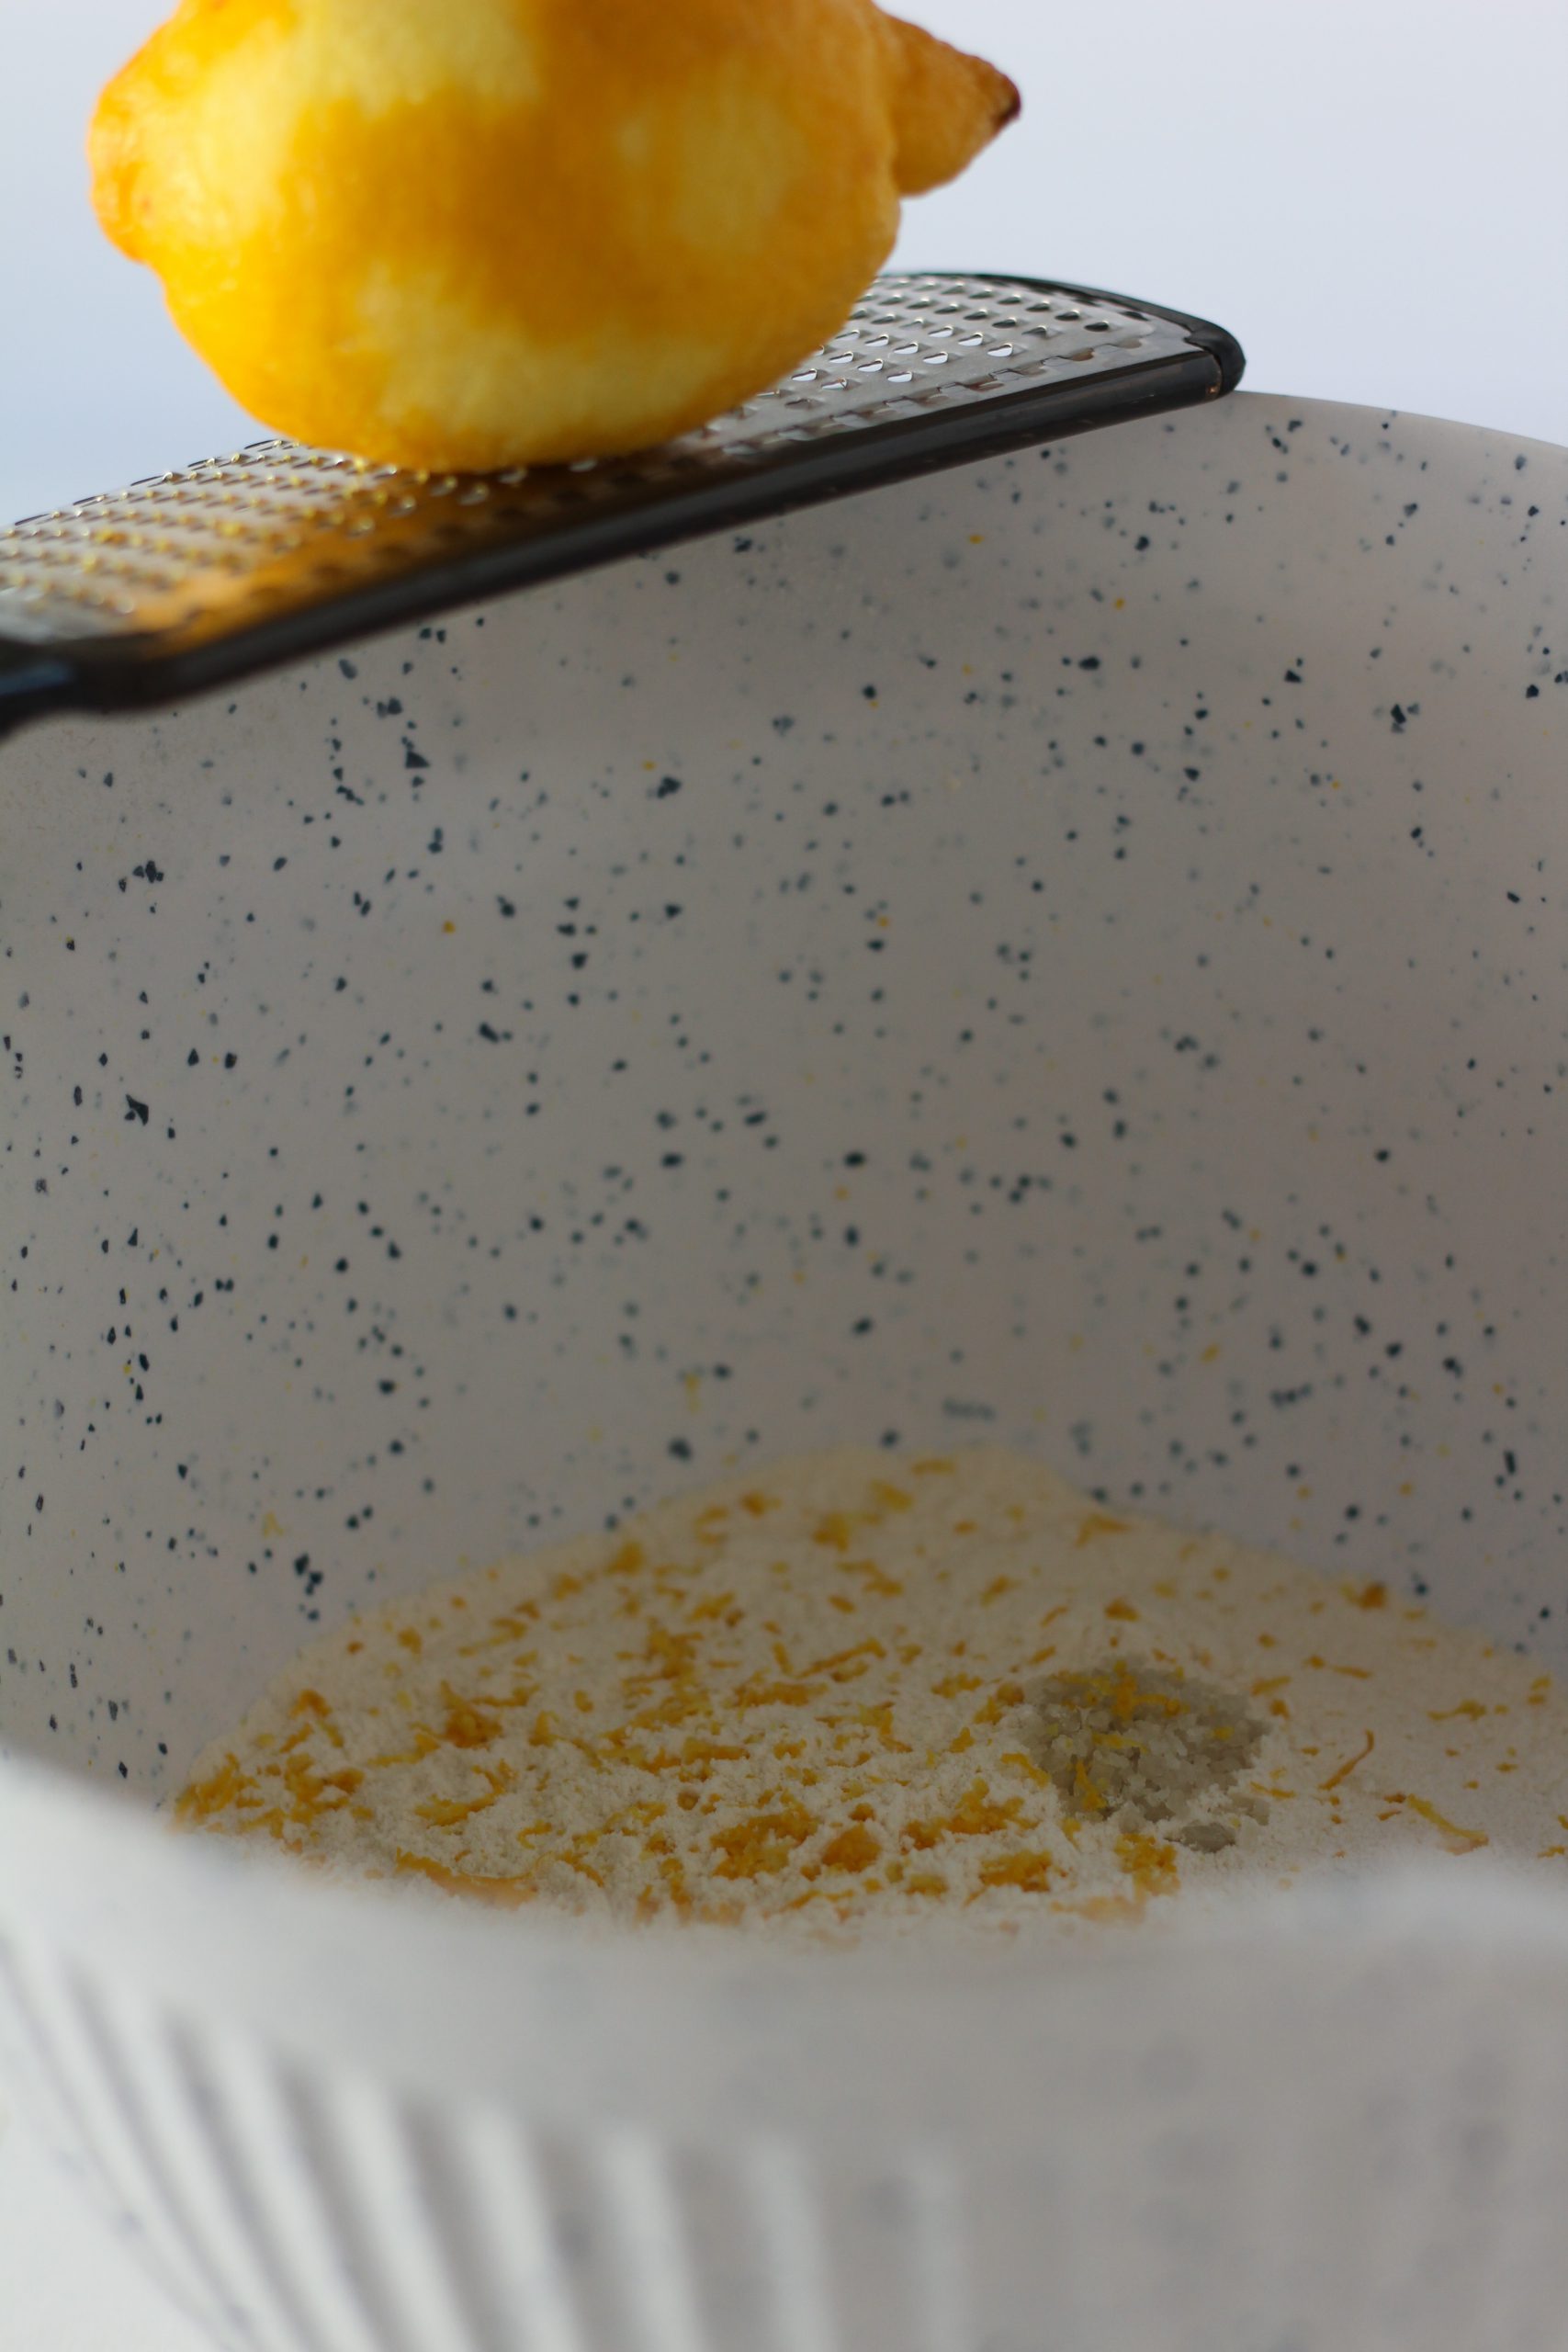
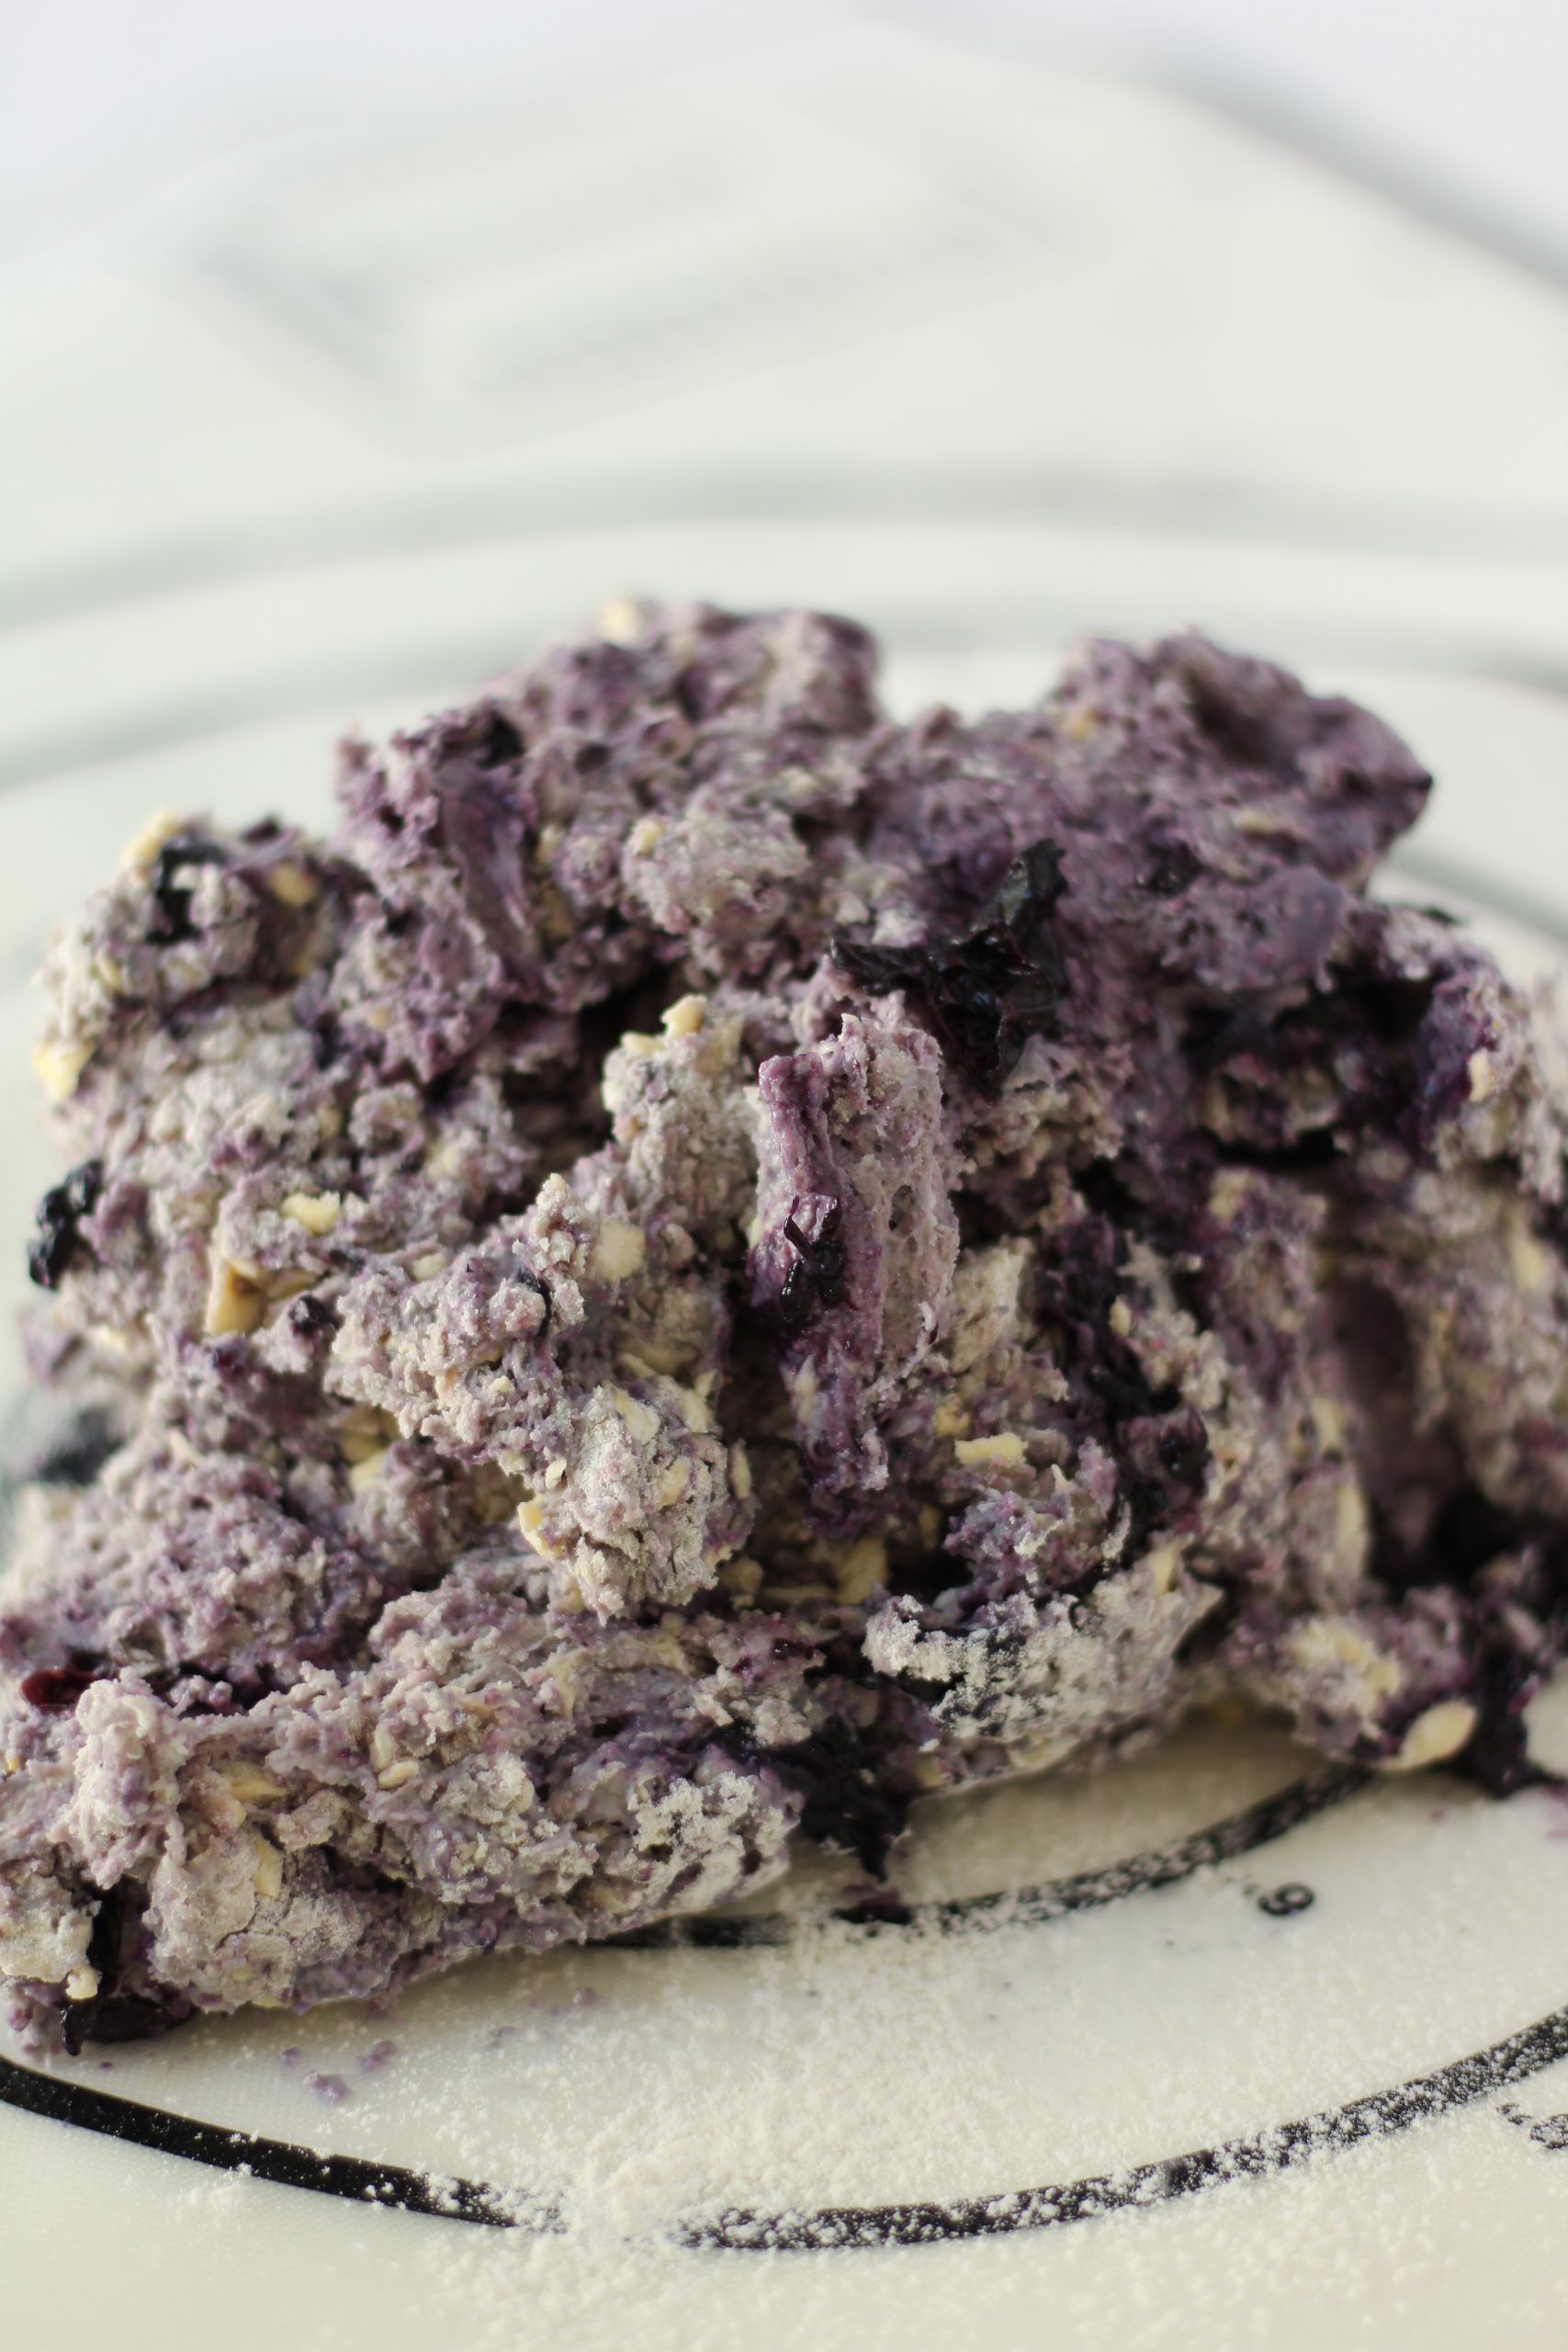
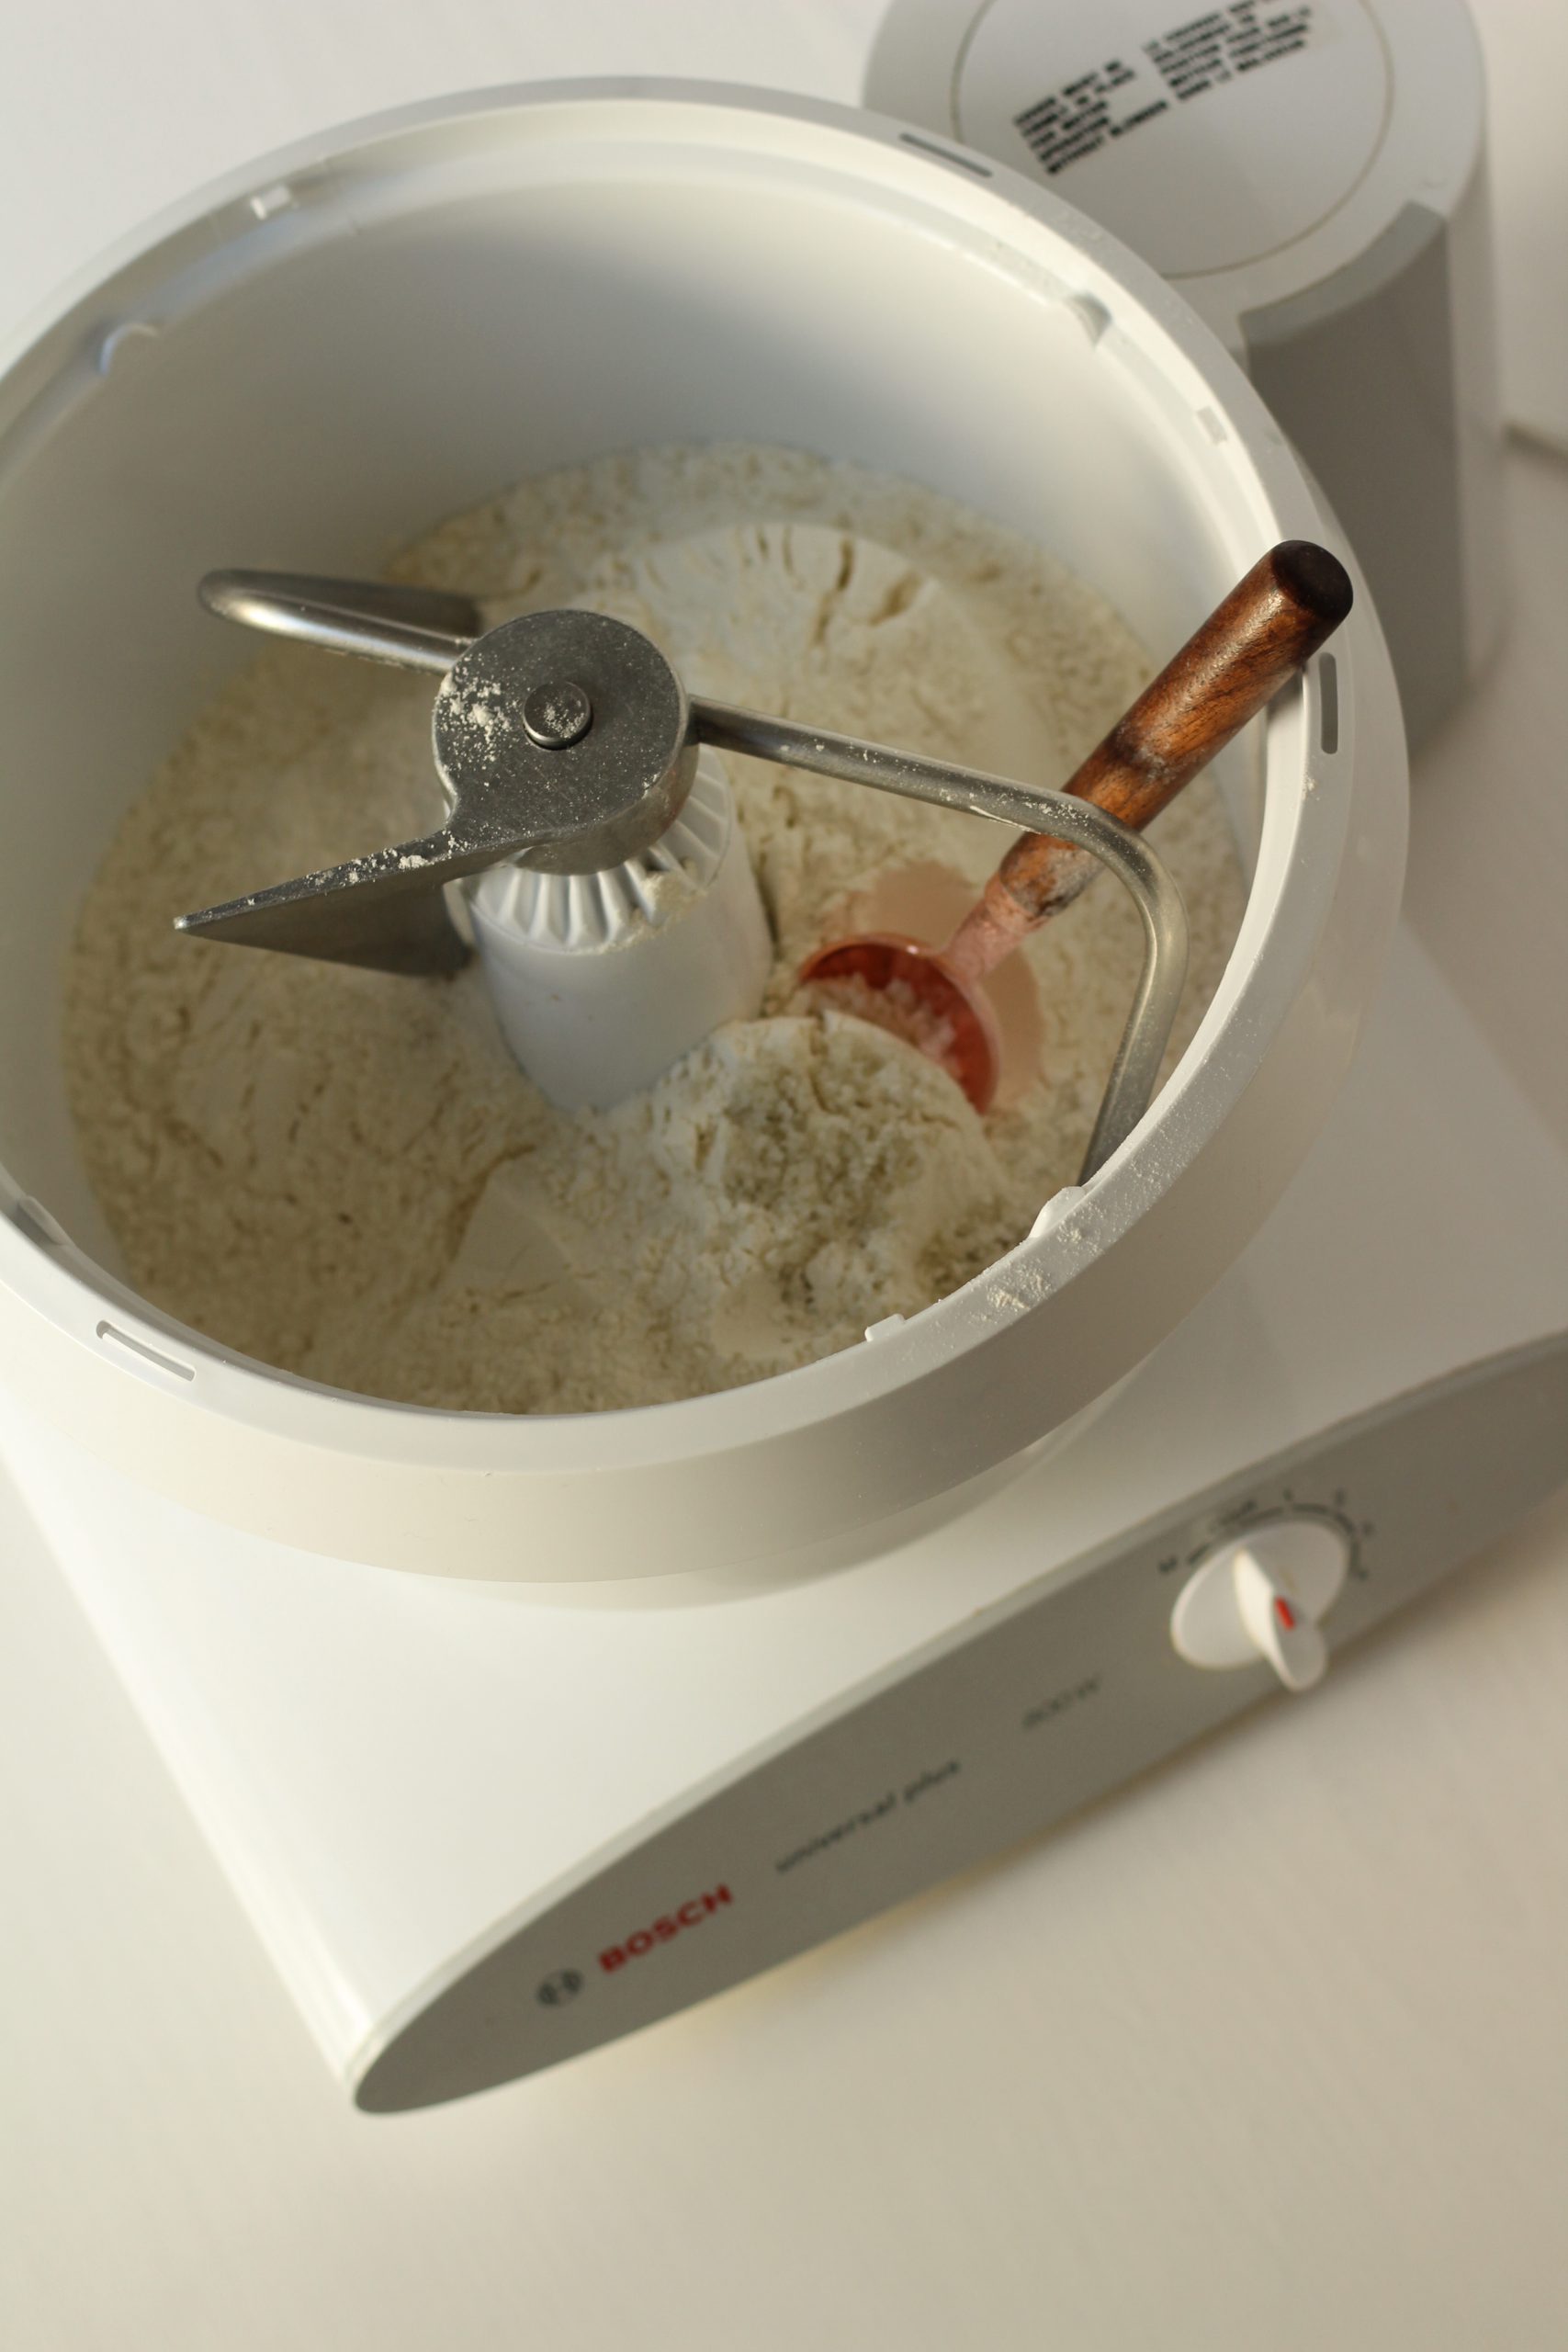
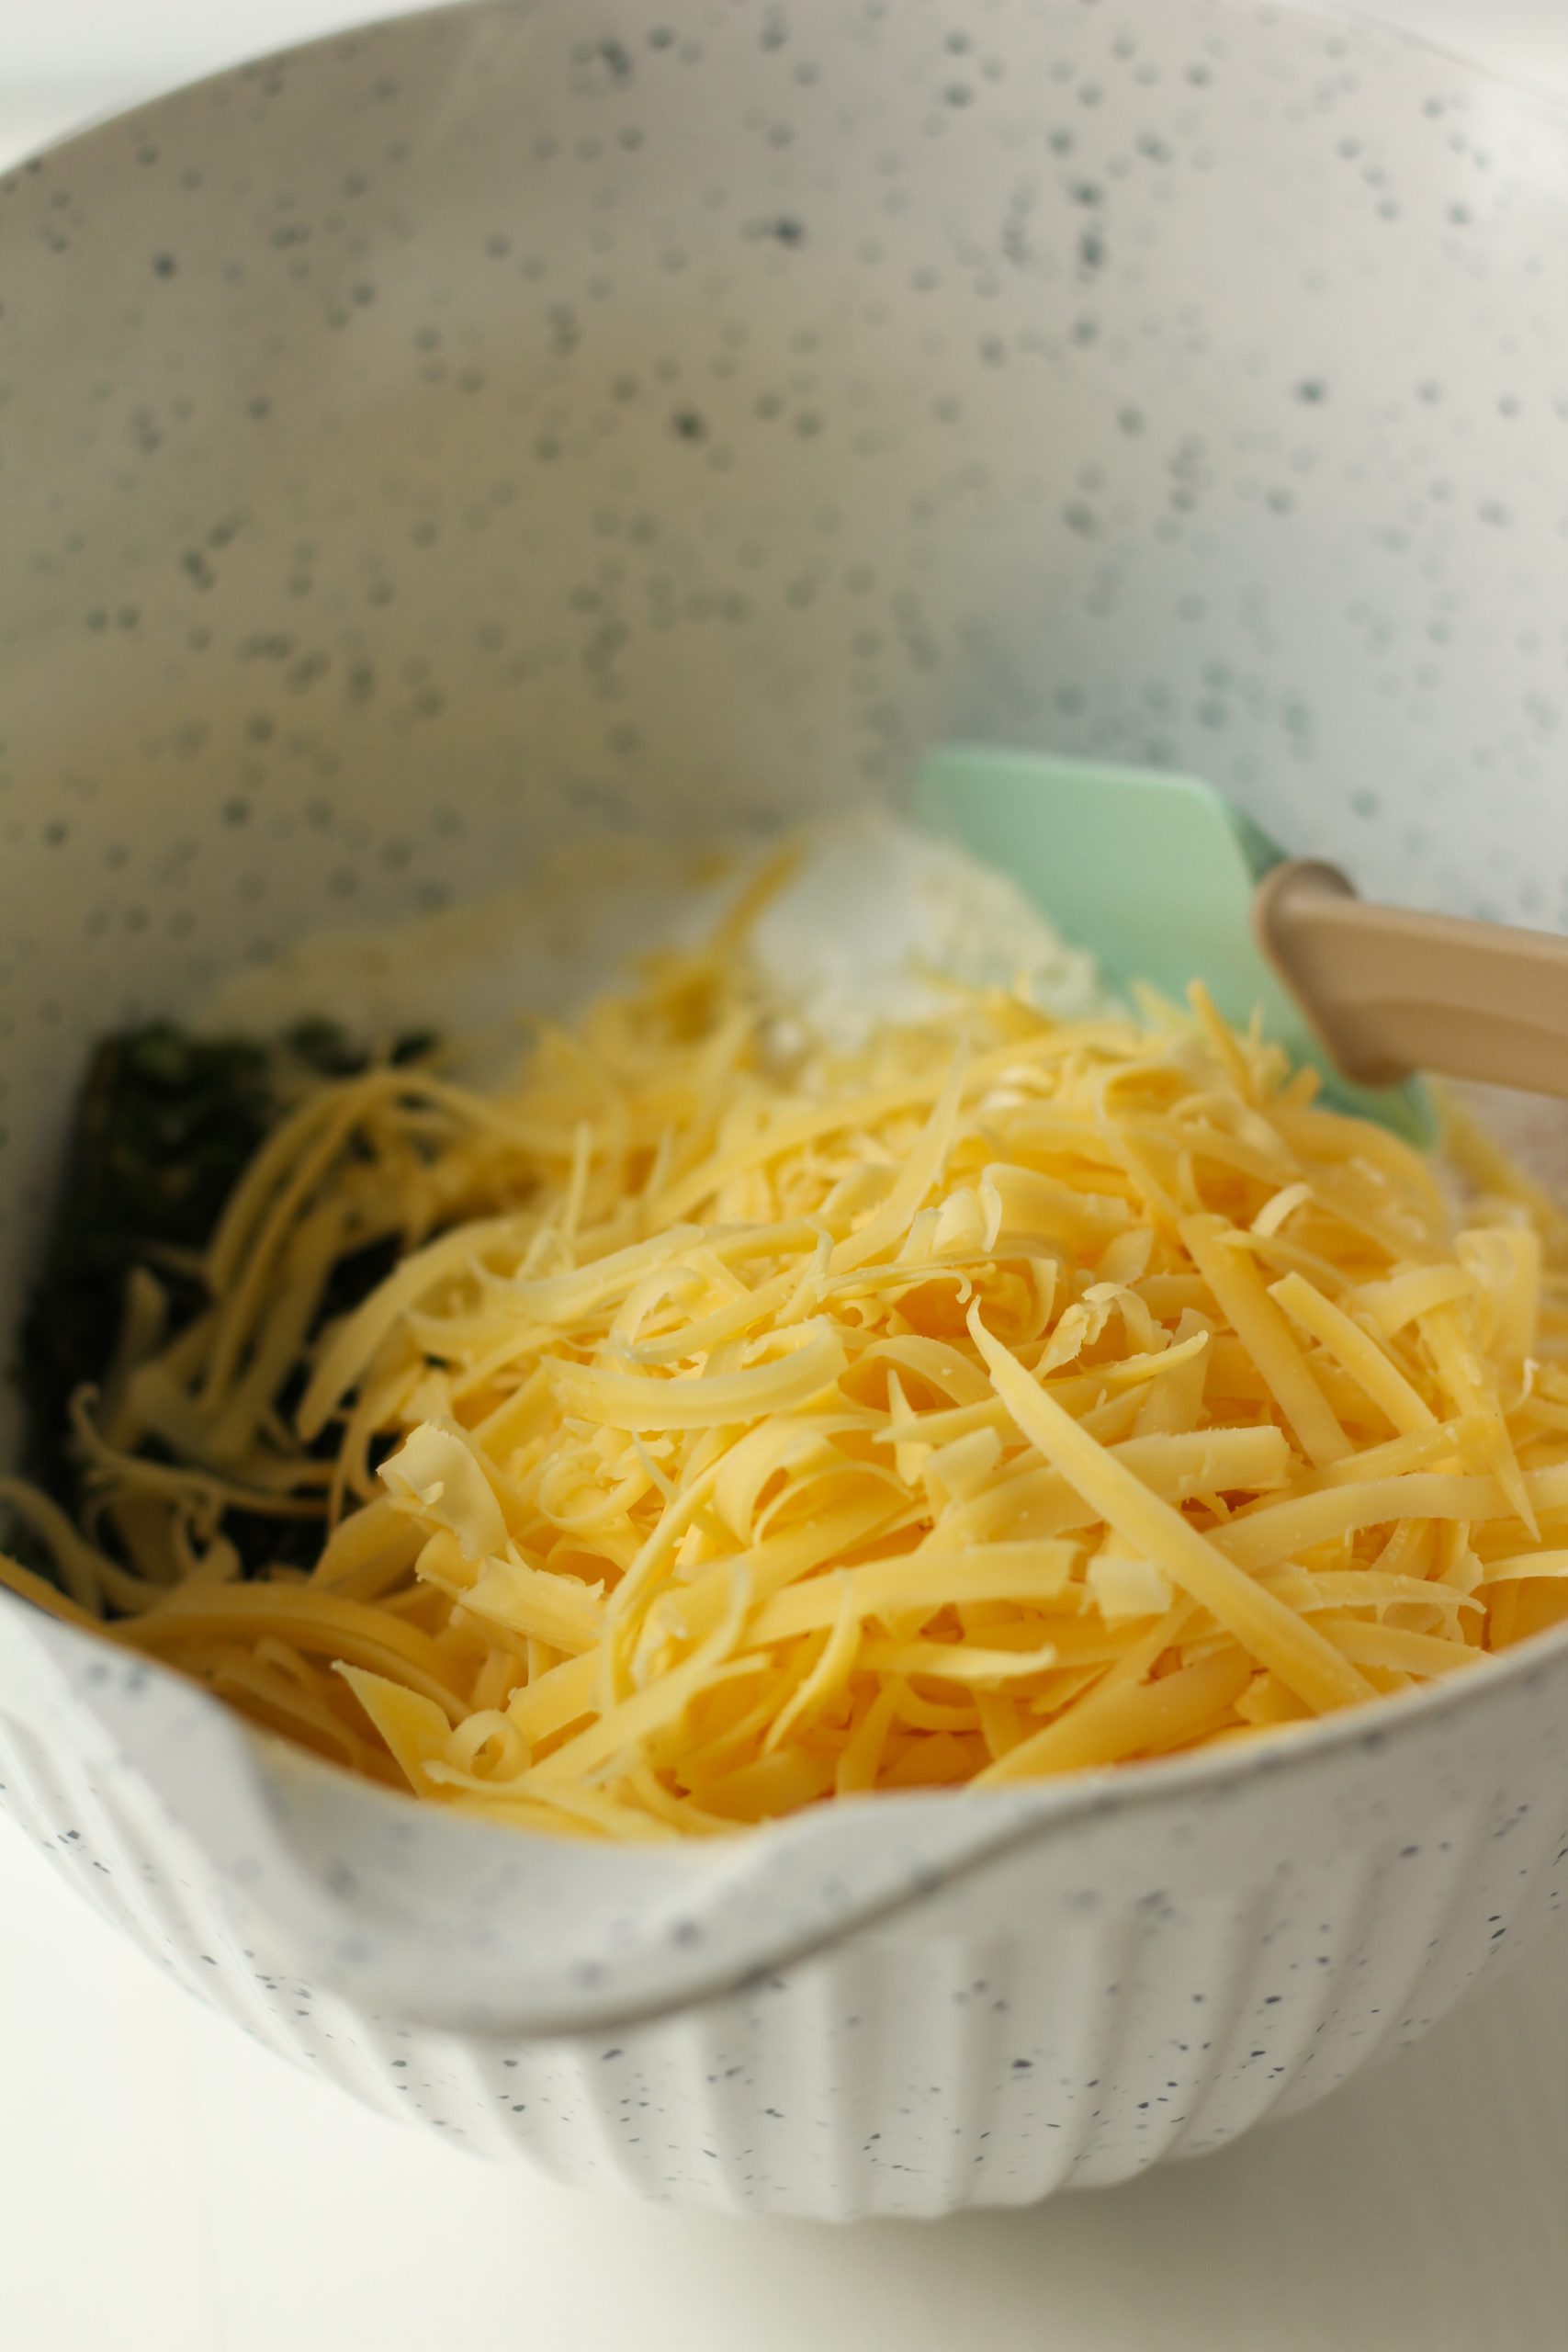
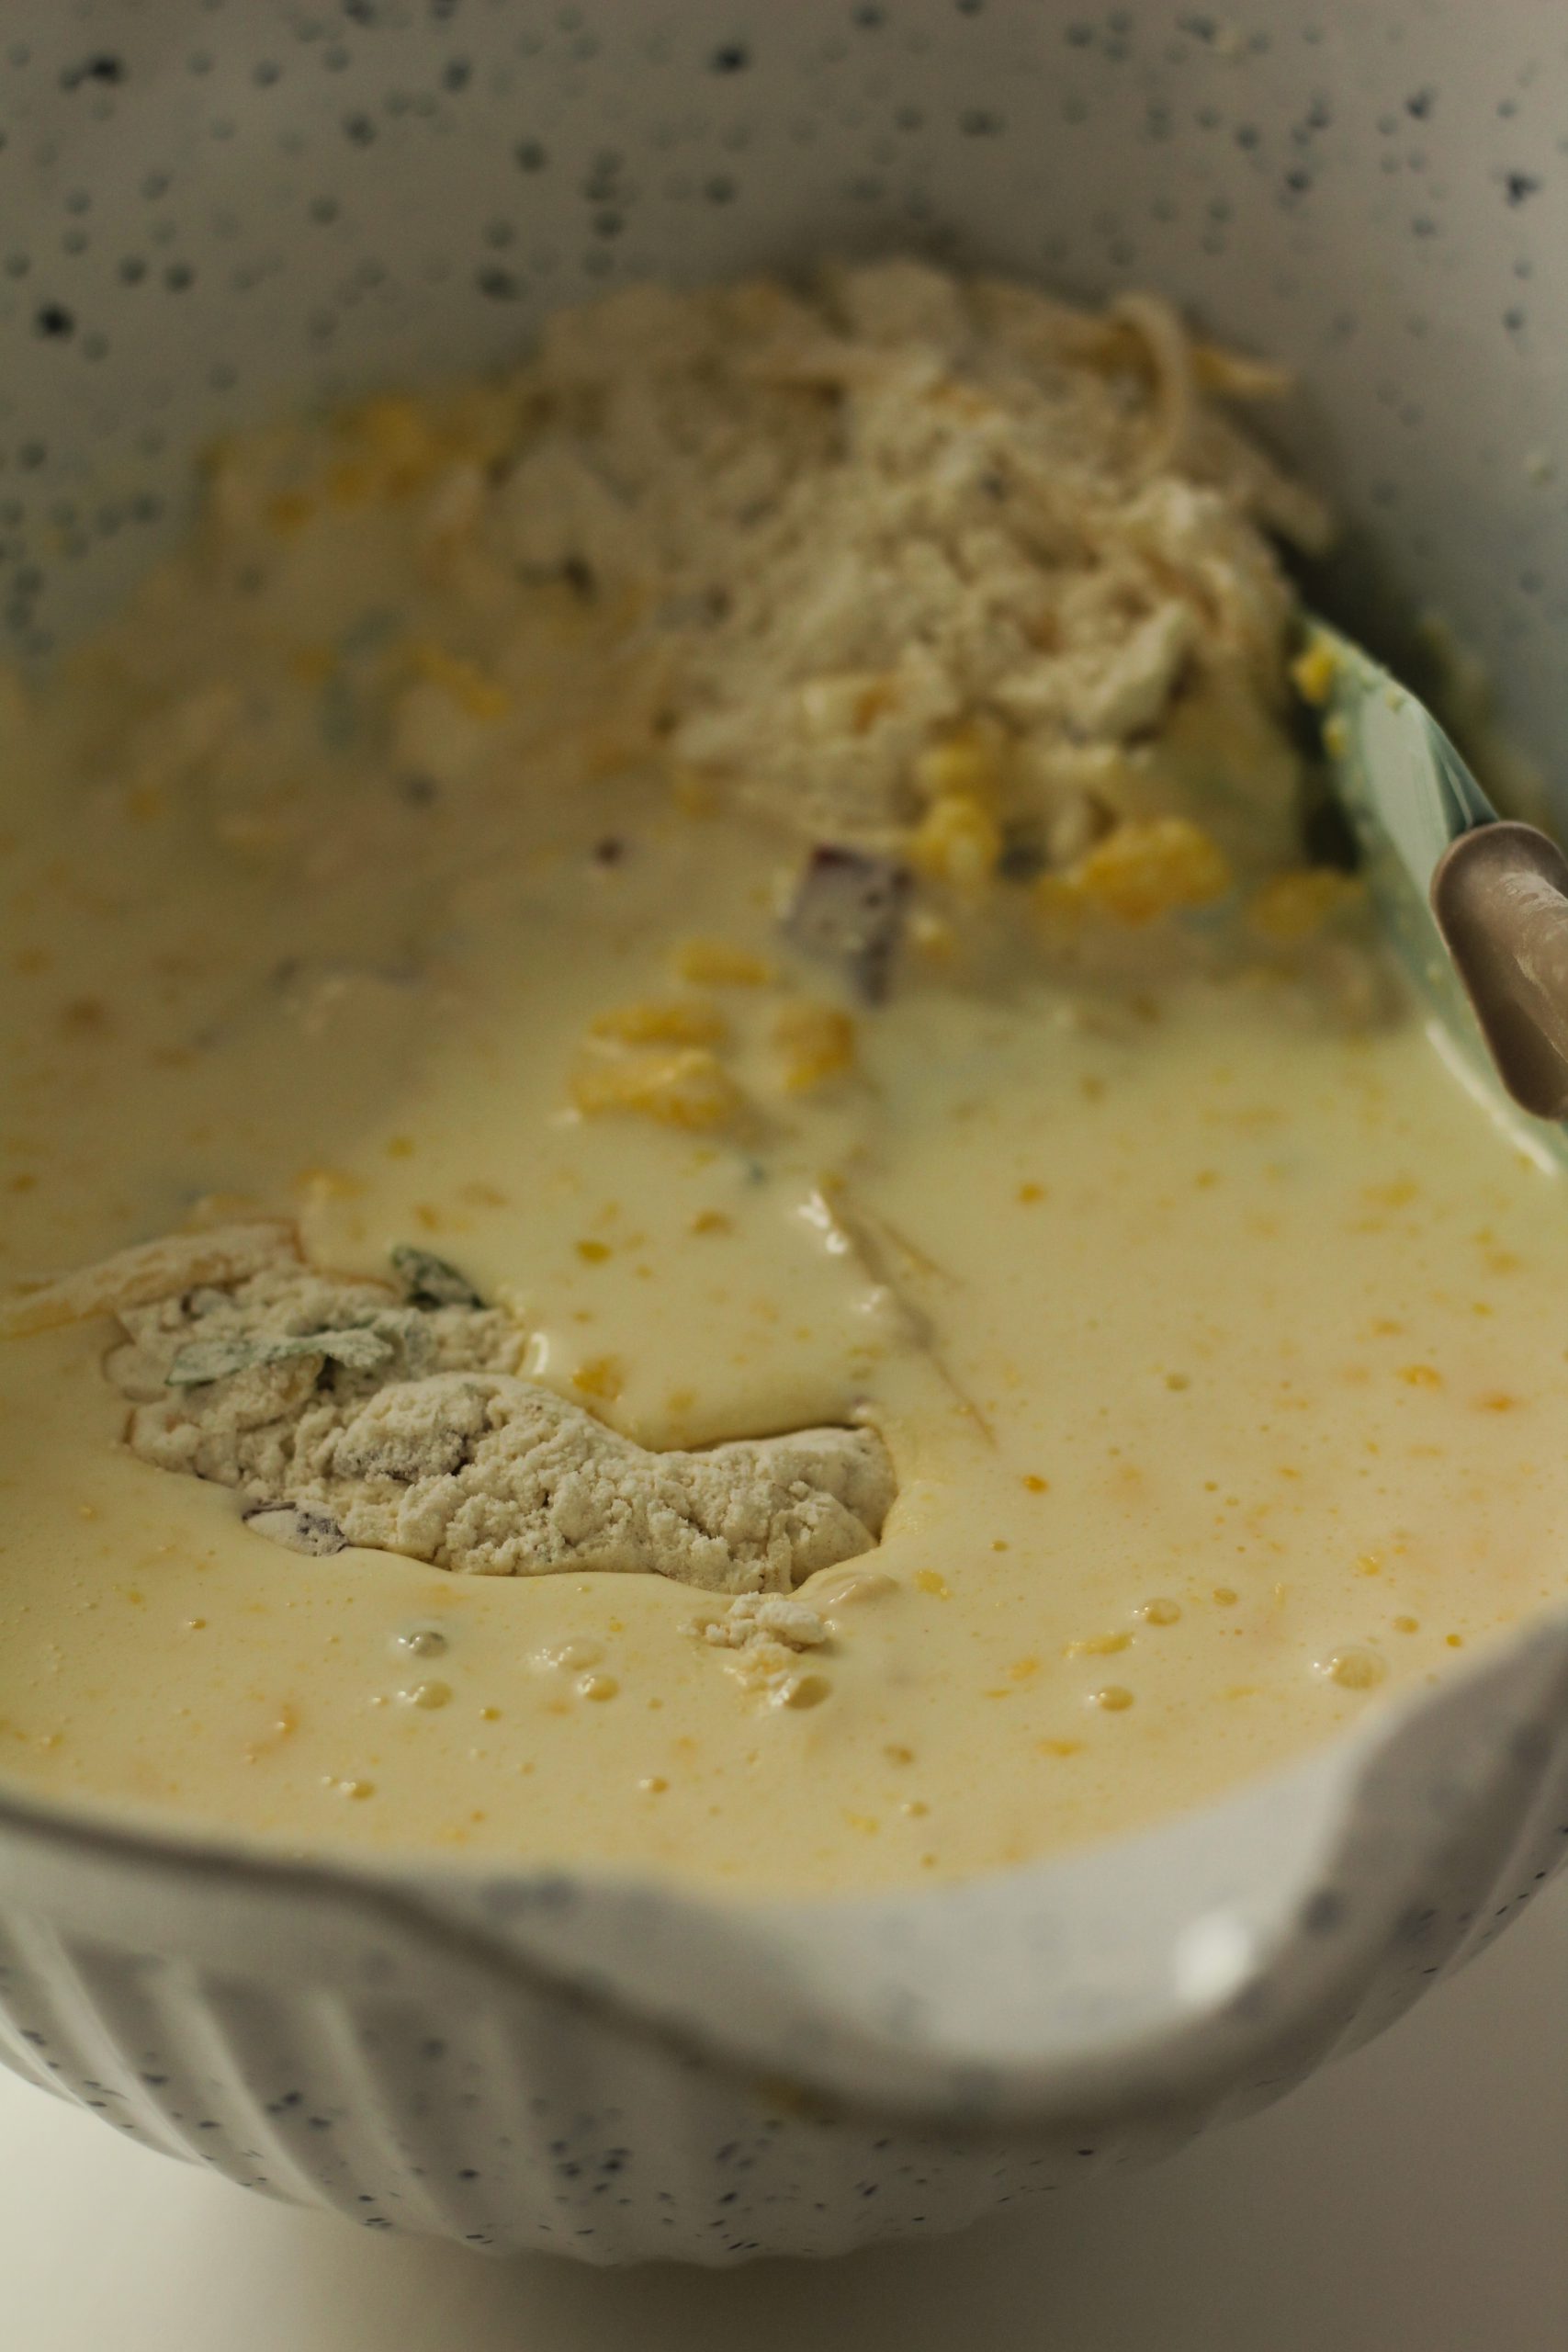
Place 1/2 cup of pastry flour into your butter and egg batter. Sift it over the batter and add a little lemon zest as well onto the flour. Now gently fold the flour in with a spatula. Be sure to do this gently so you keep all the beaten air in the batter. Once the first addition is incorporated into the batter, add the next 1/2 cup of sifted pastry flour, and repeat until all the flour is incorporated.
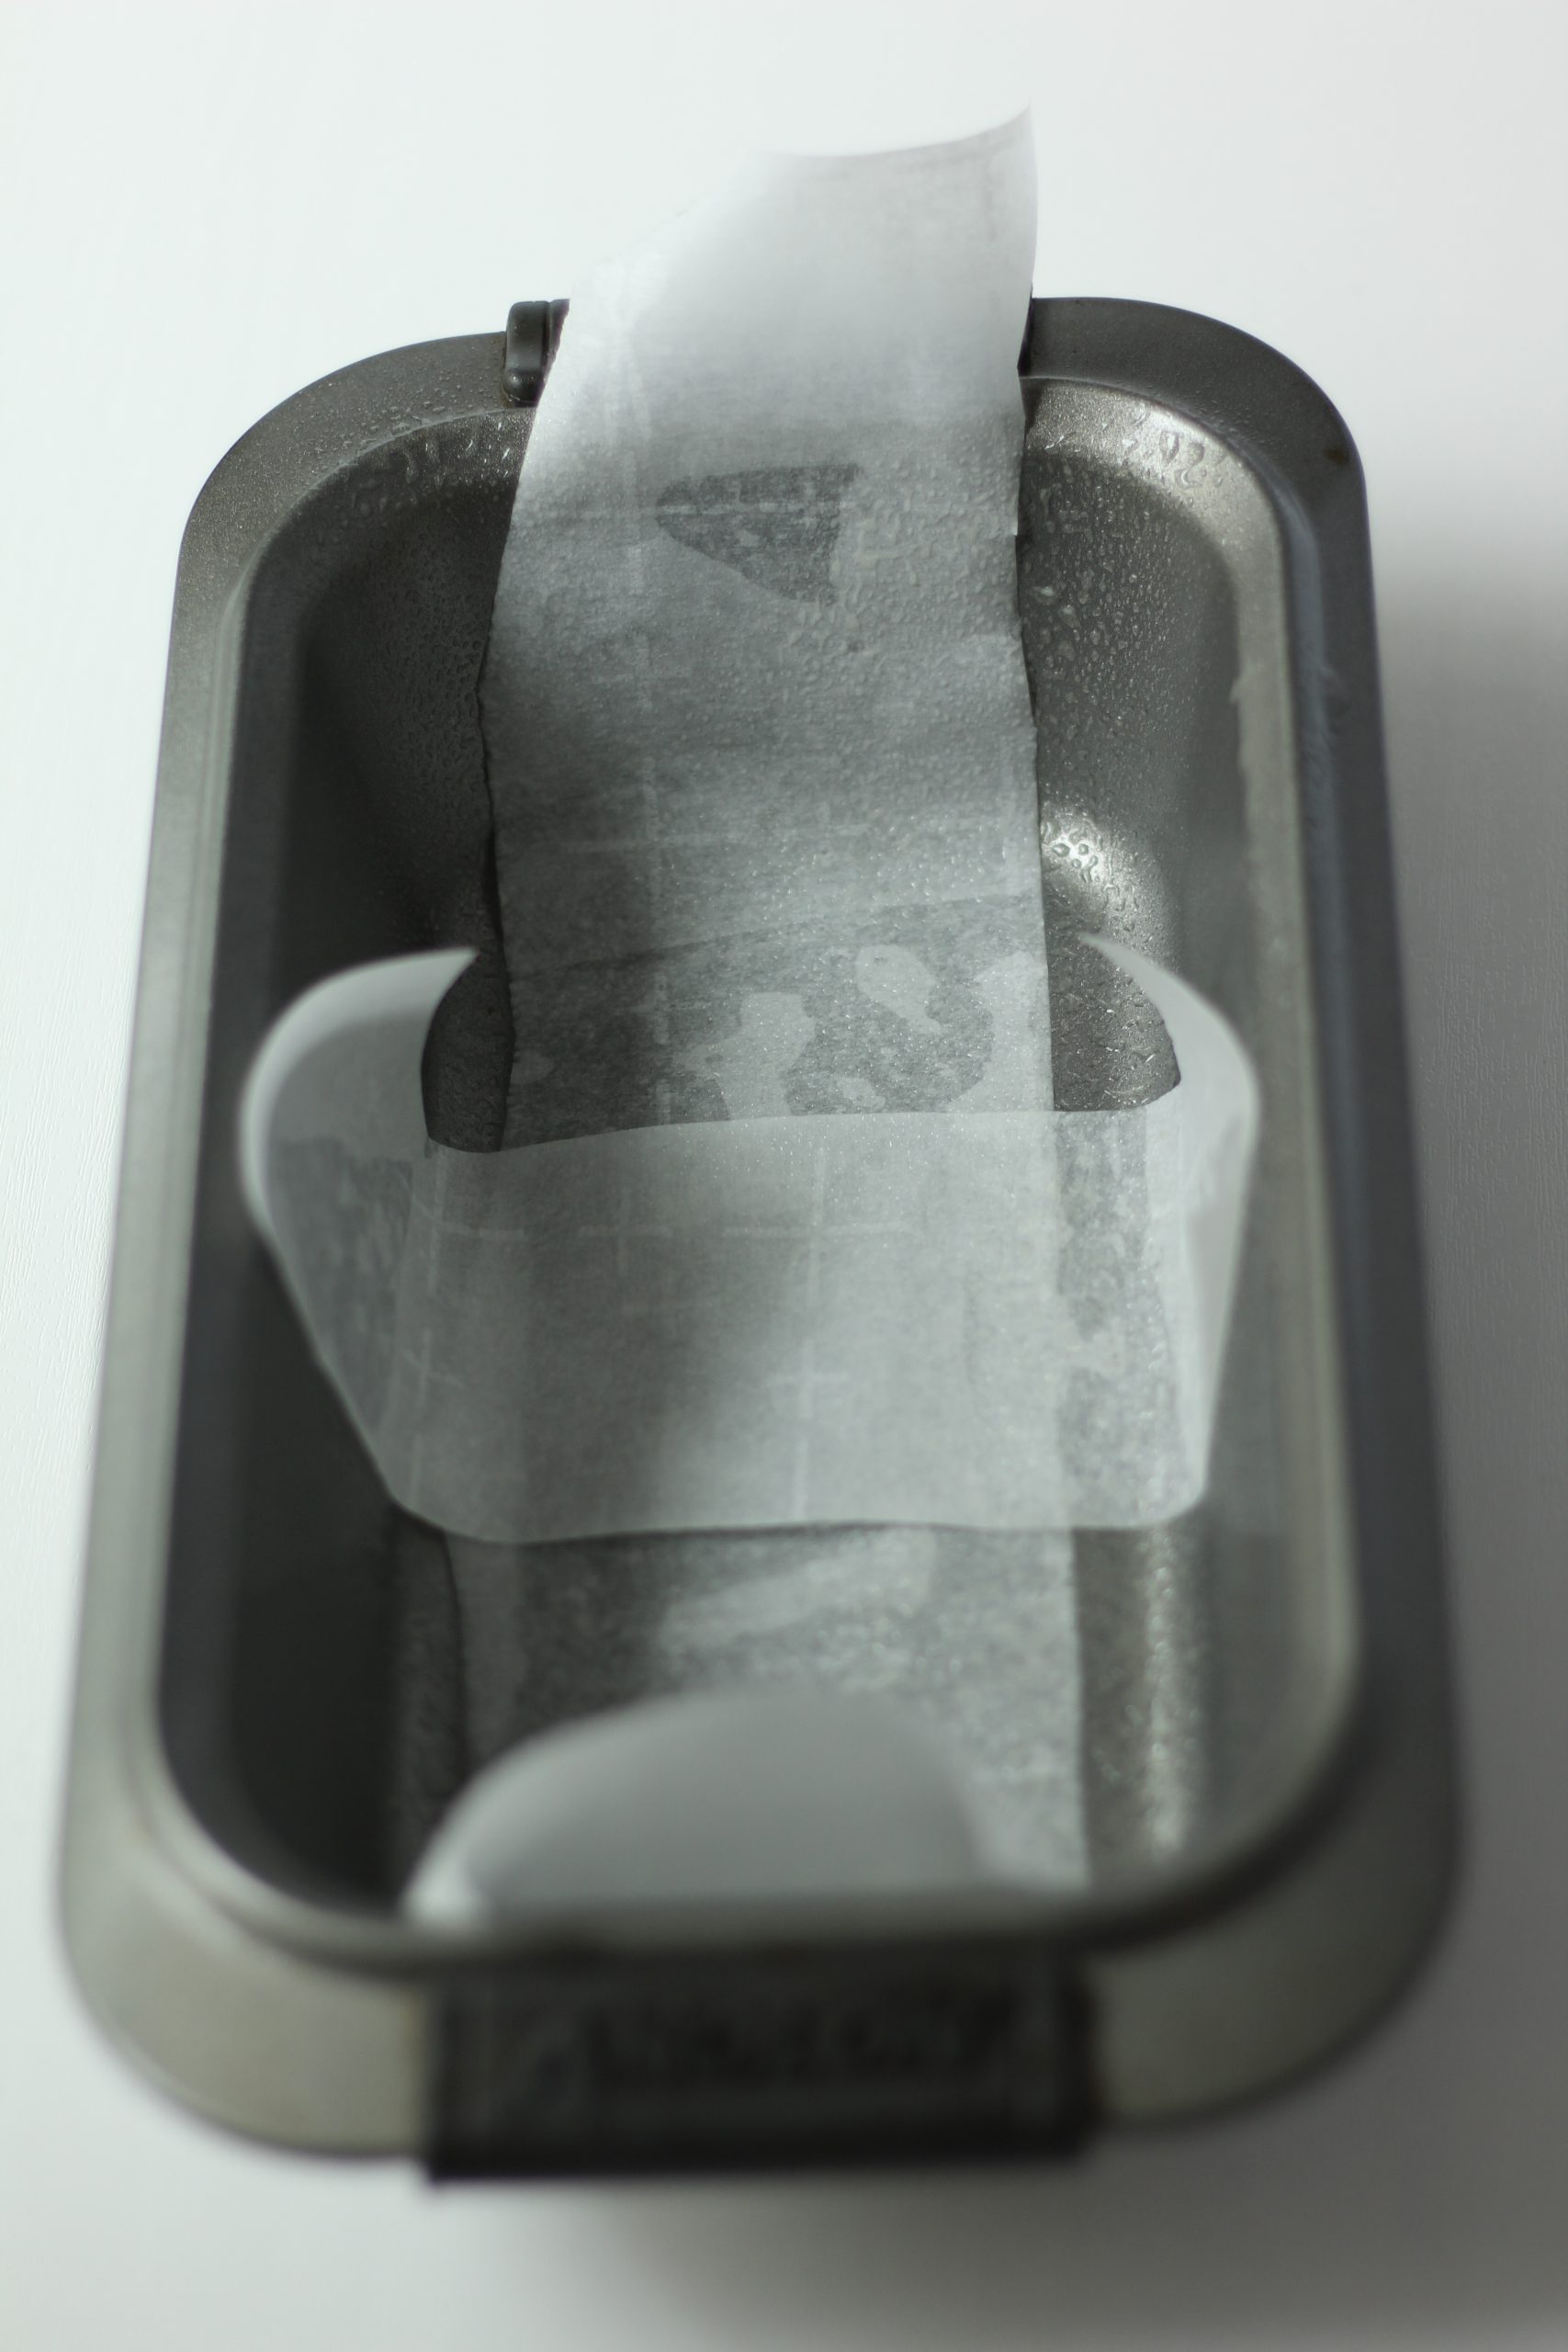
Grease the baking pan and line it with parchment paper as seen in the picture above. The parchment will allow you to easily remove your cake from the pan when it is done baking.
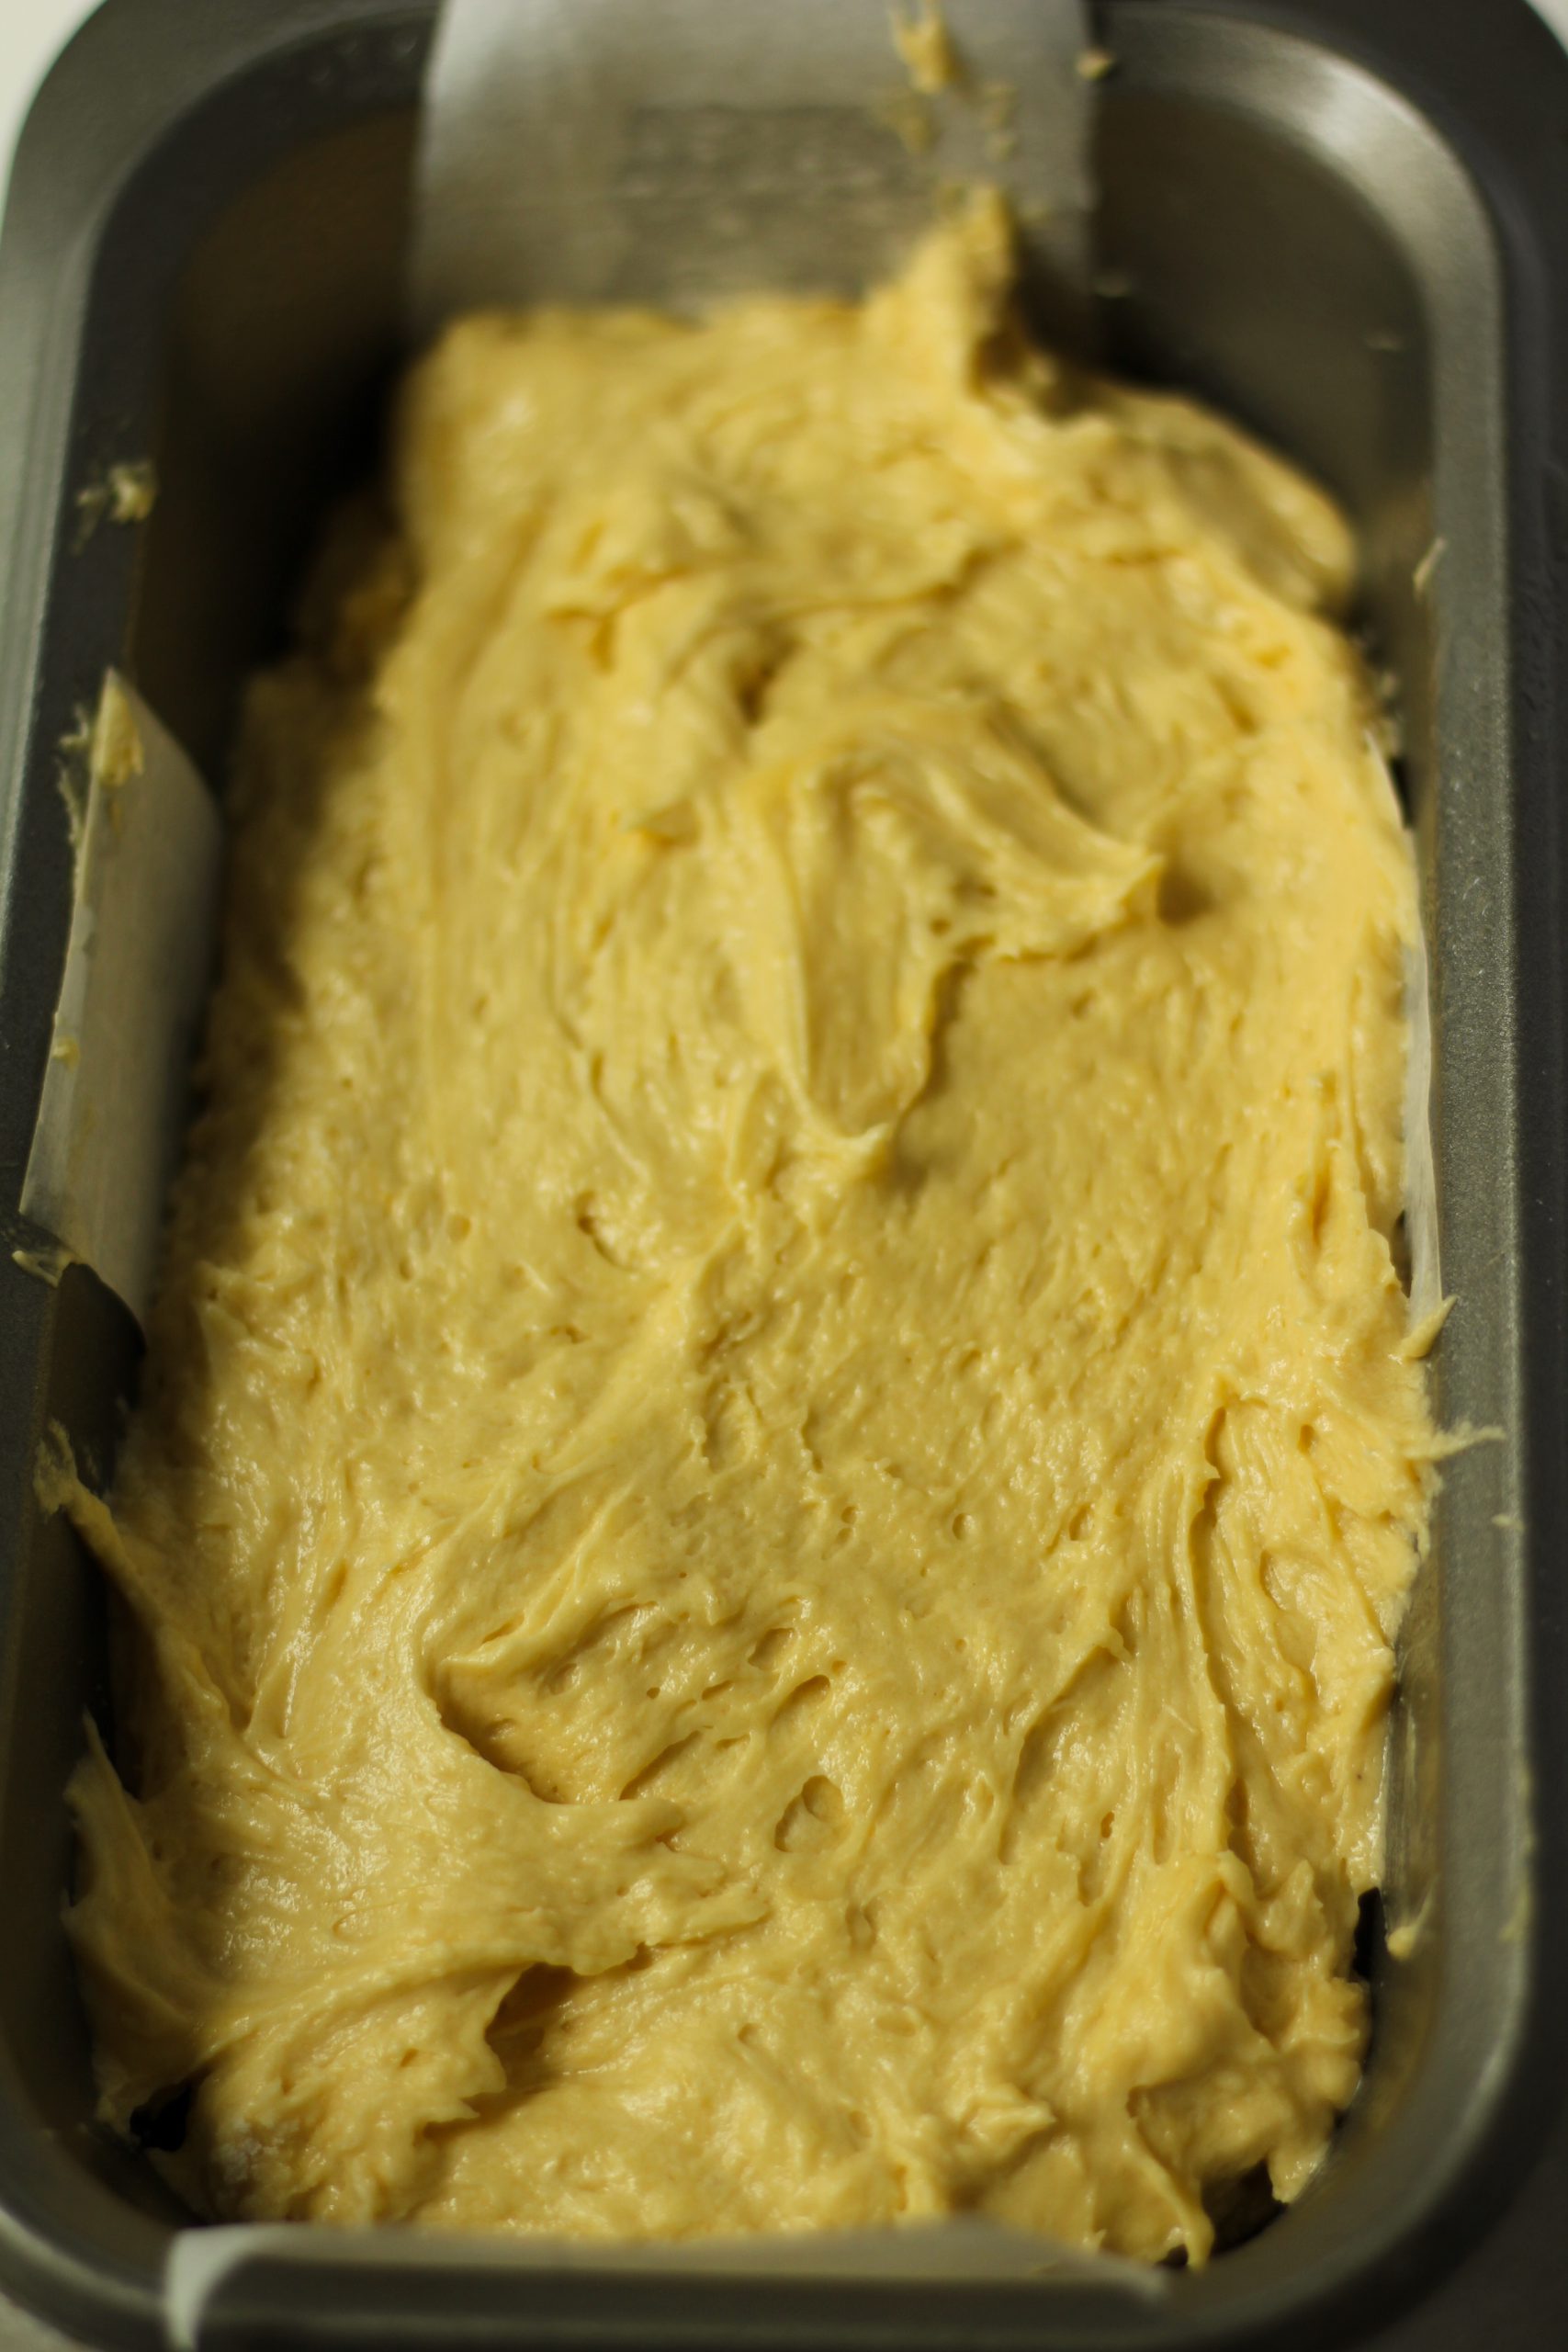
Gently pour the batter into your prepared pan, and smooth the top with a spatula.
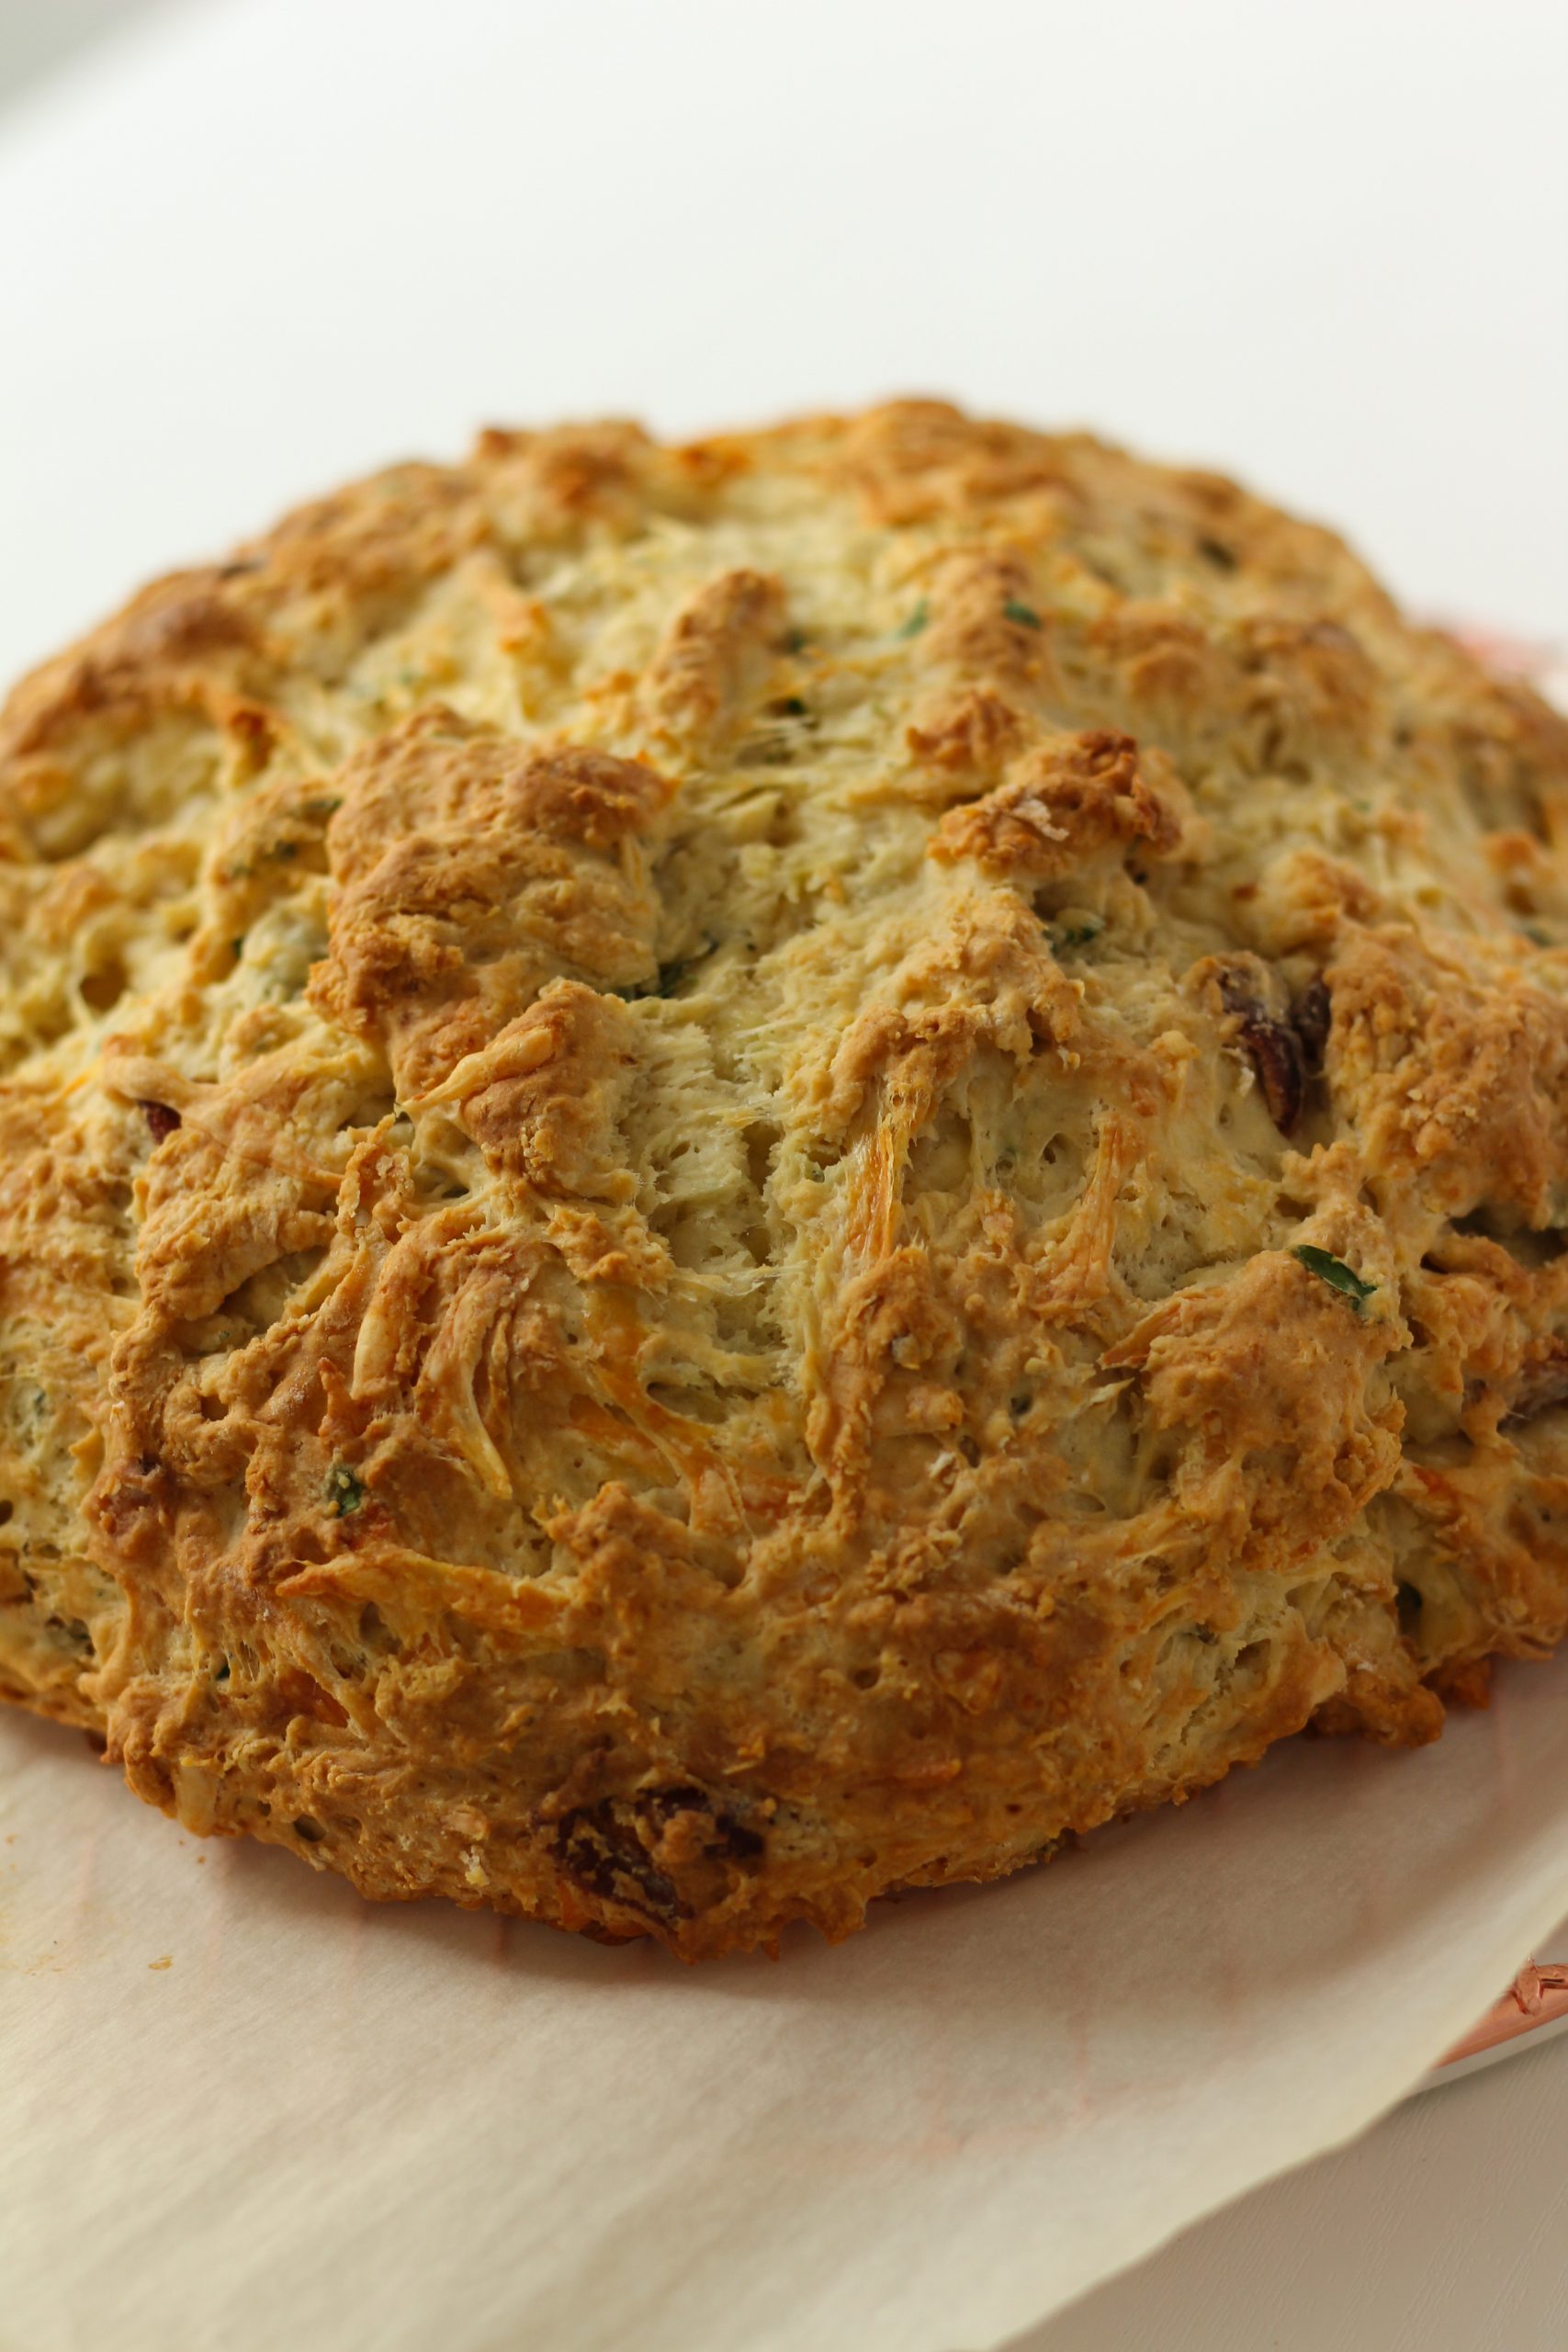
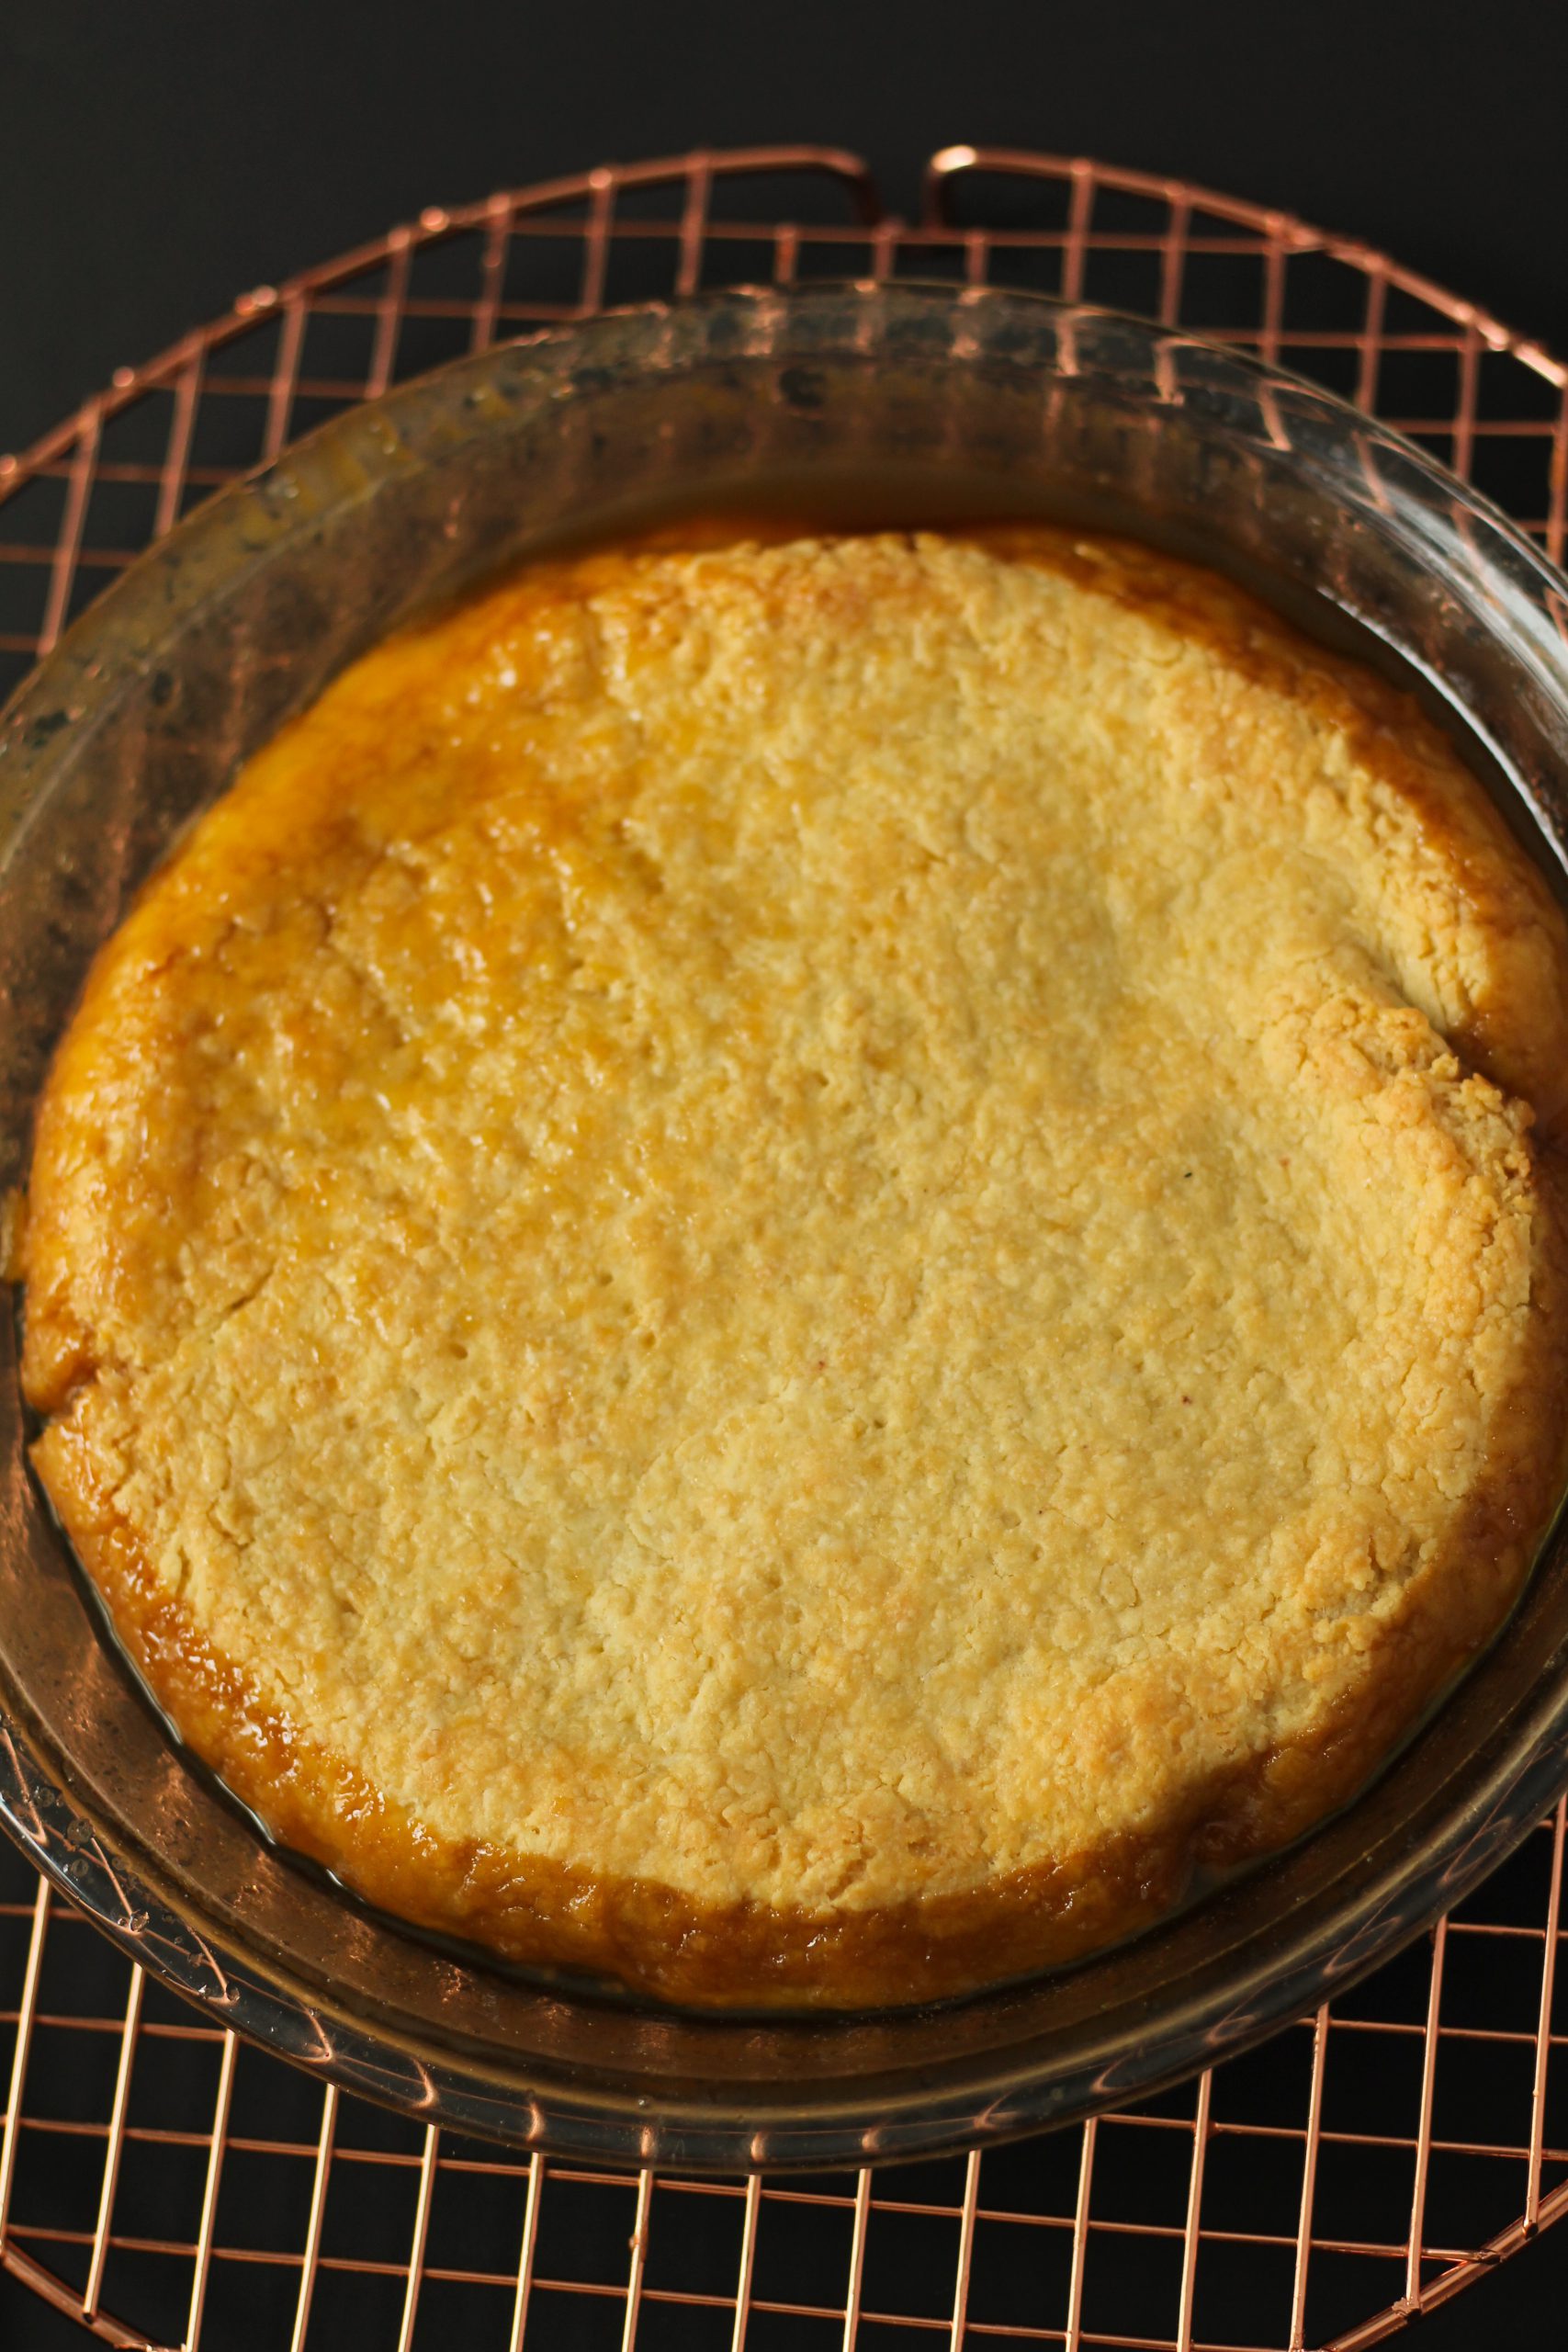
Bake in a preheated oven set to 325 degrees Fahrenheit until a toothpick comes out clean. This takes around 60-70 minutes. Every oven bakes differently so keep a close eye on the pound cake near the end.
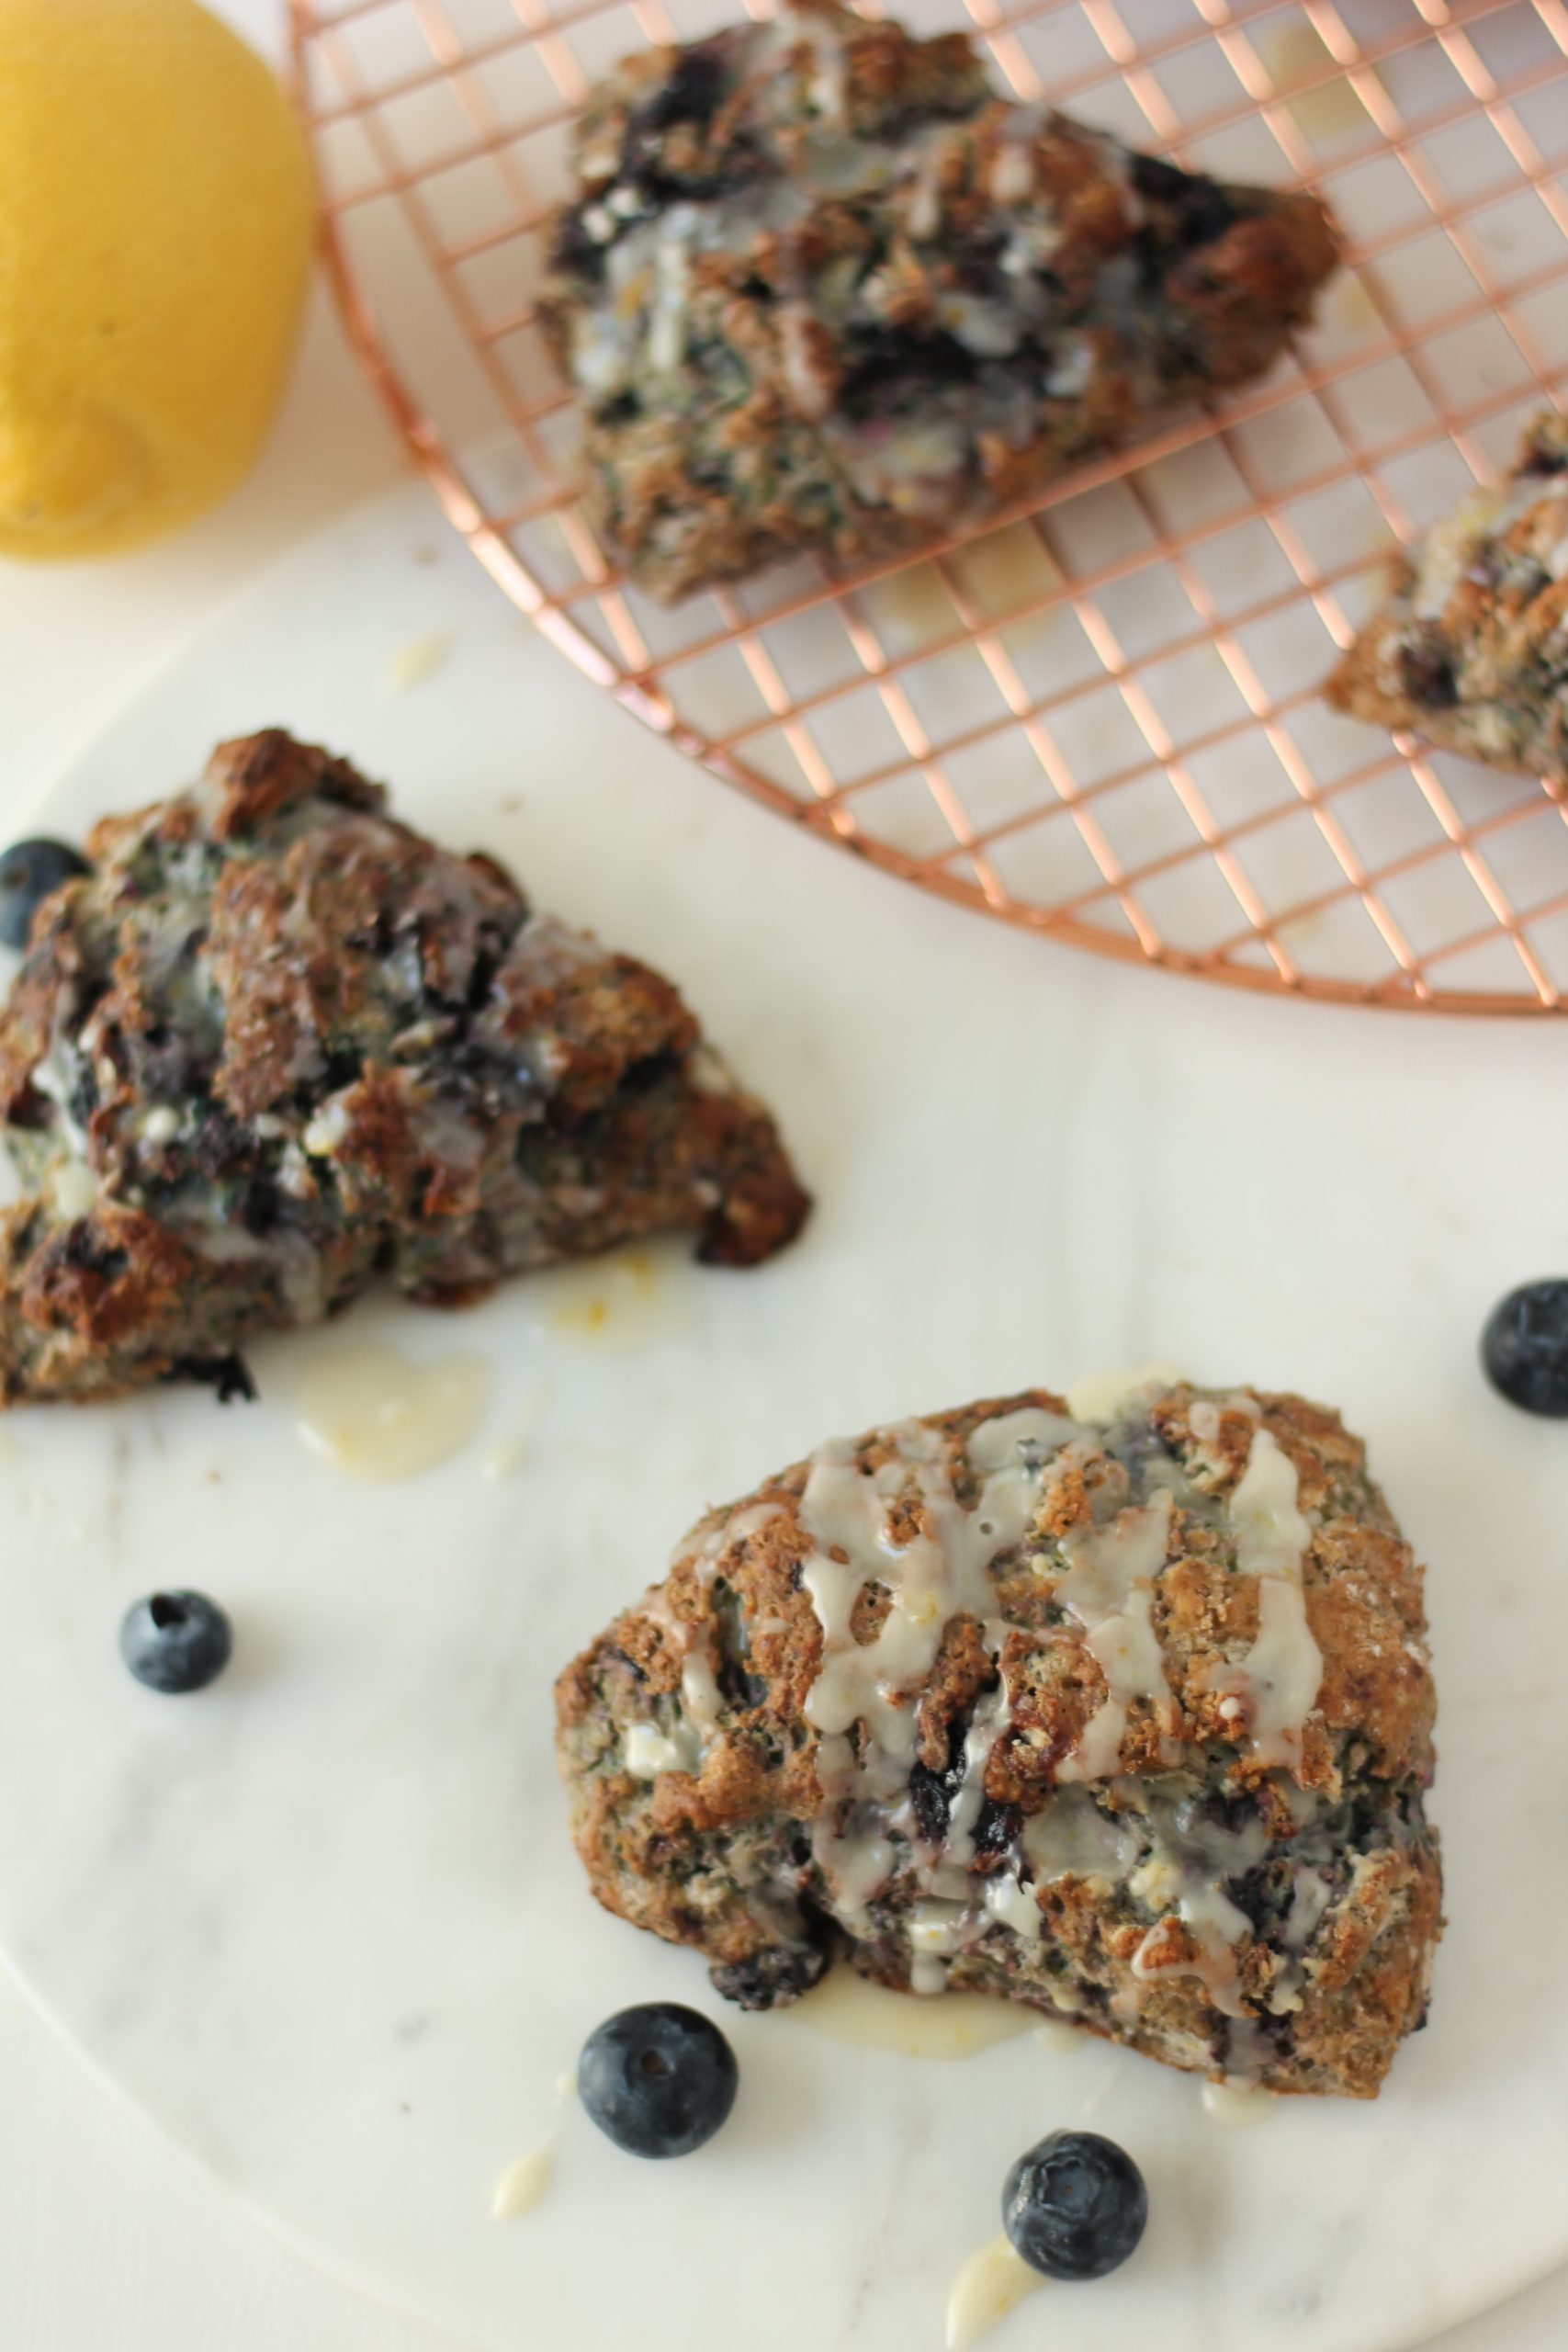
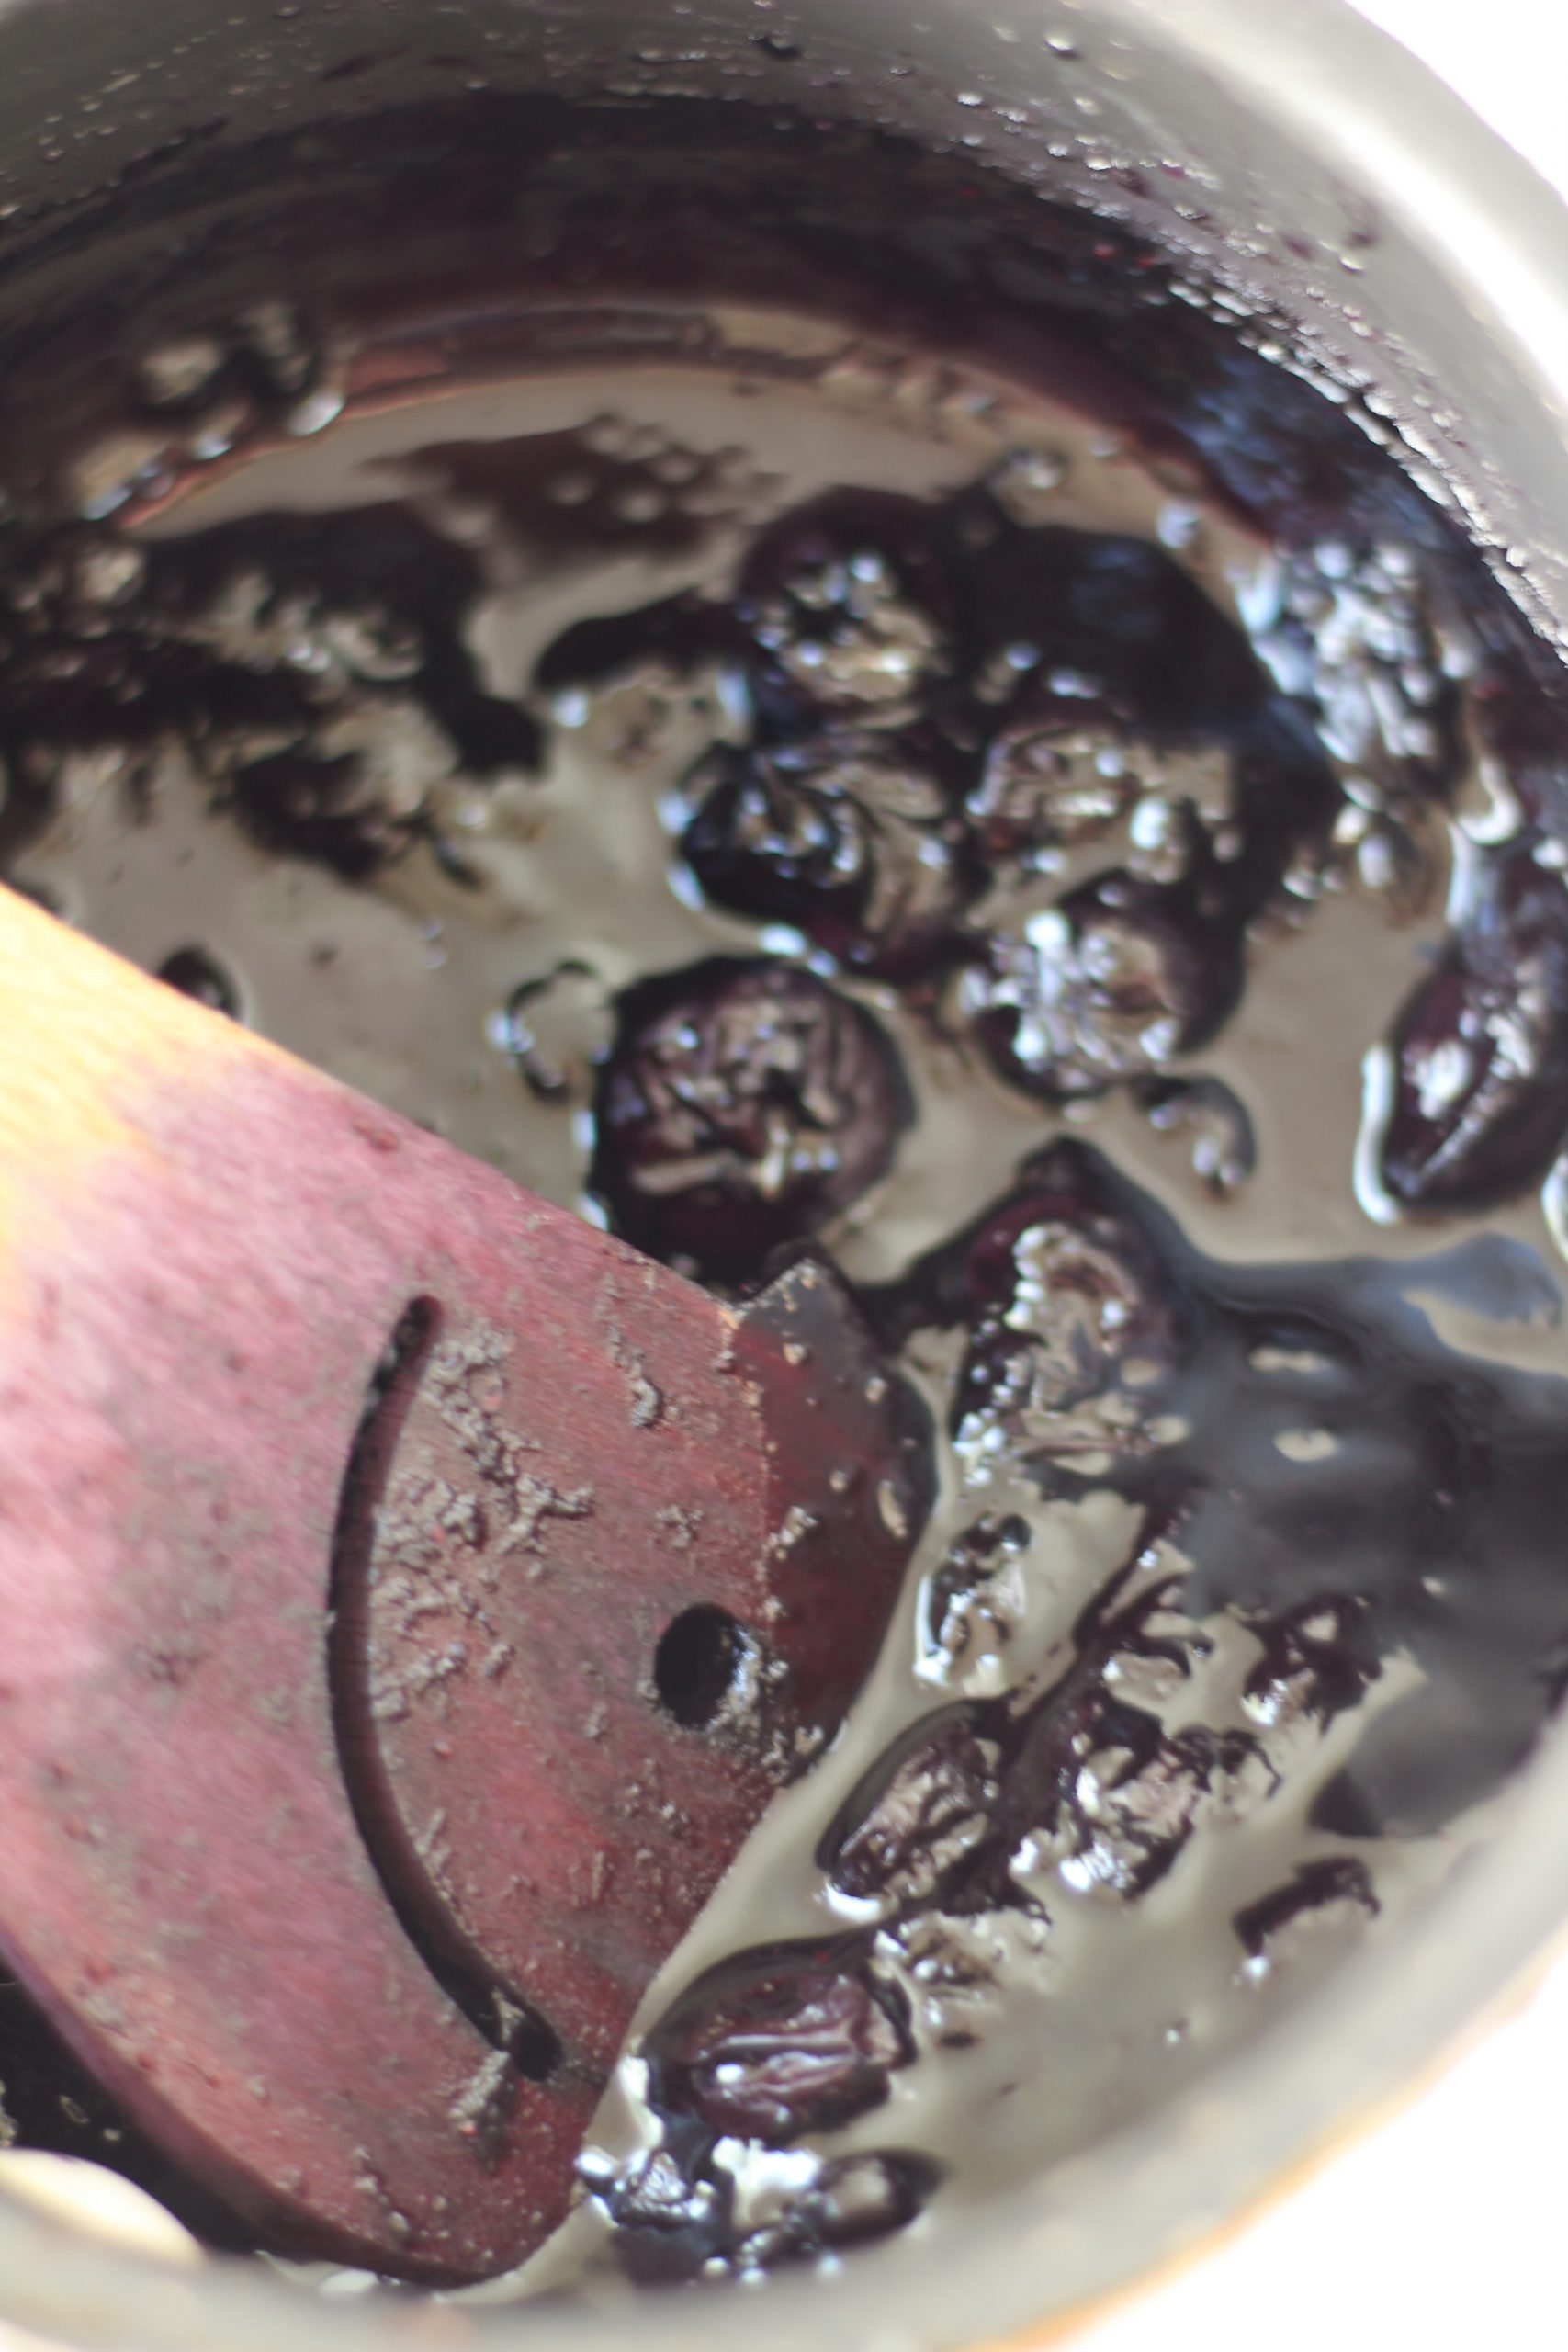
The cake can also be used in a trifle.

Pound Cake
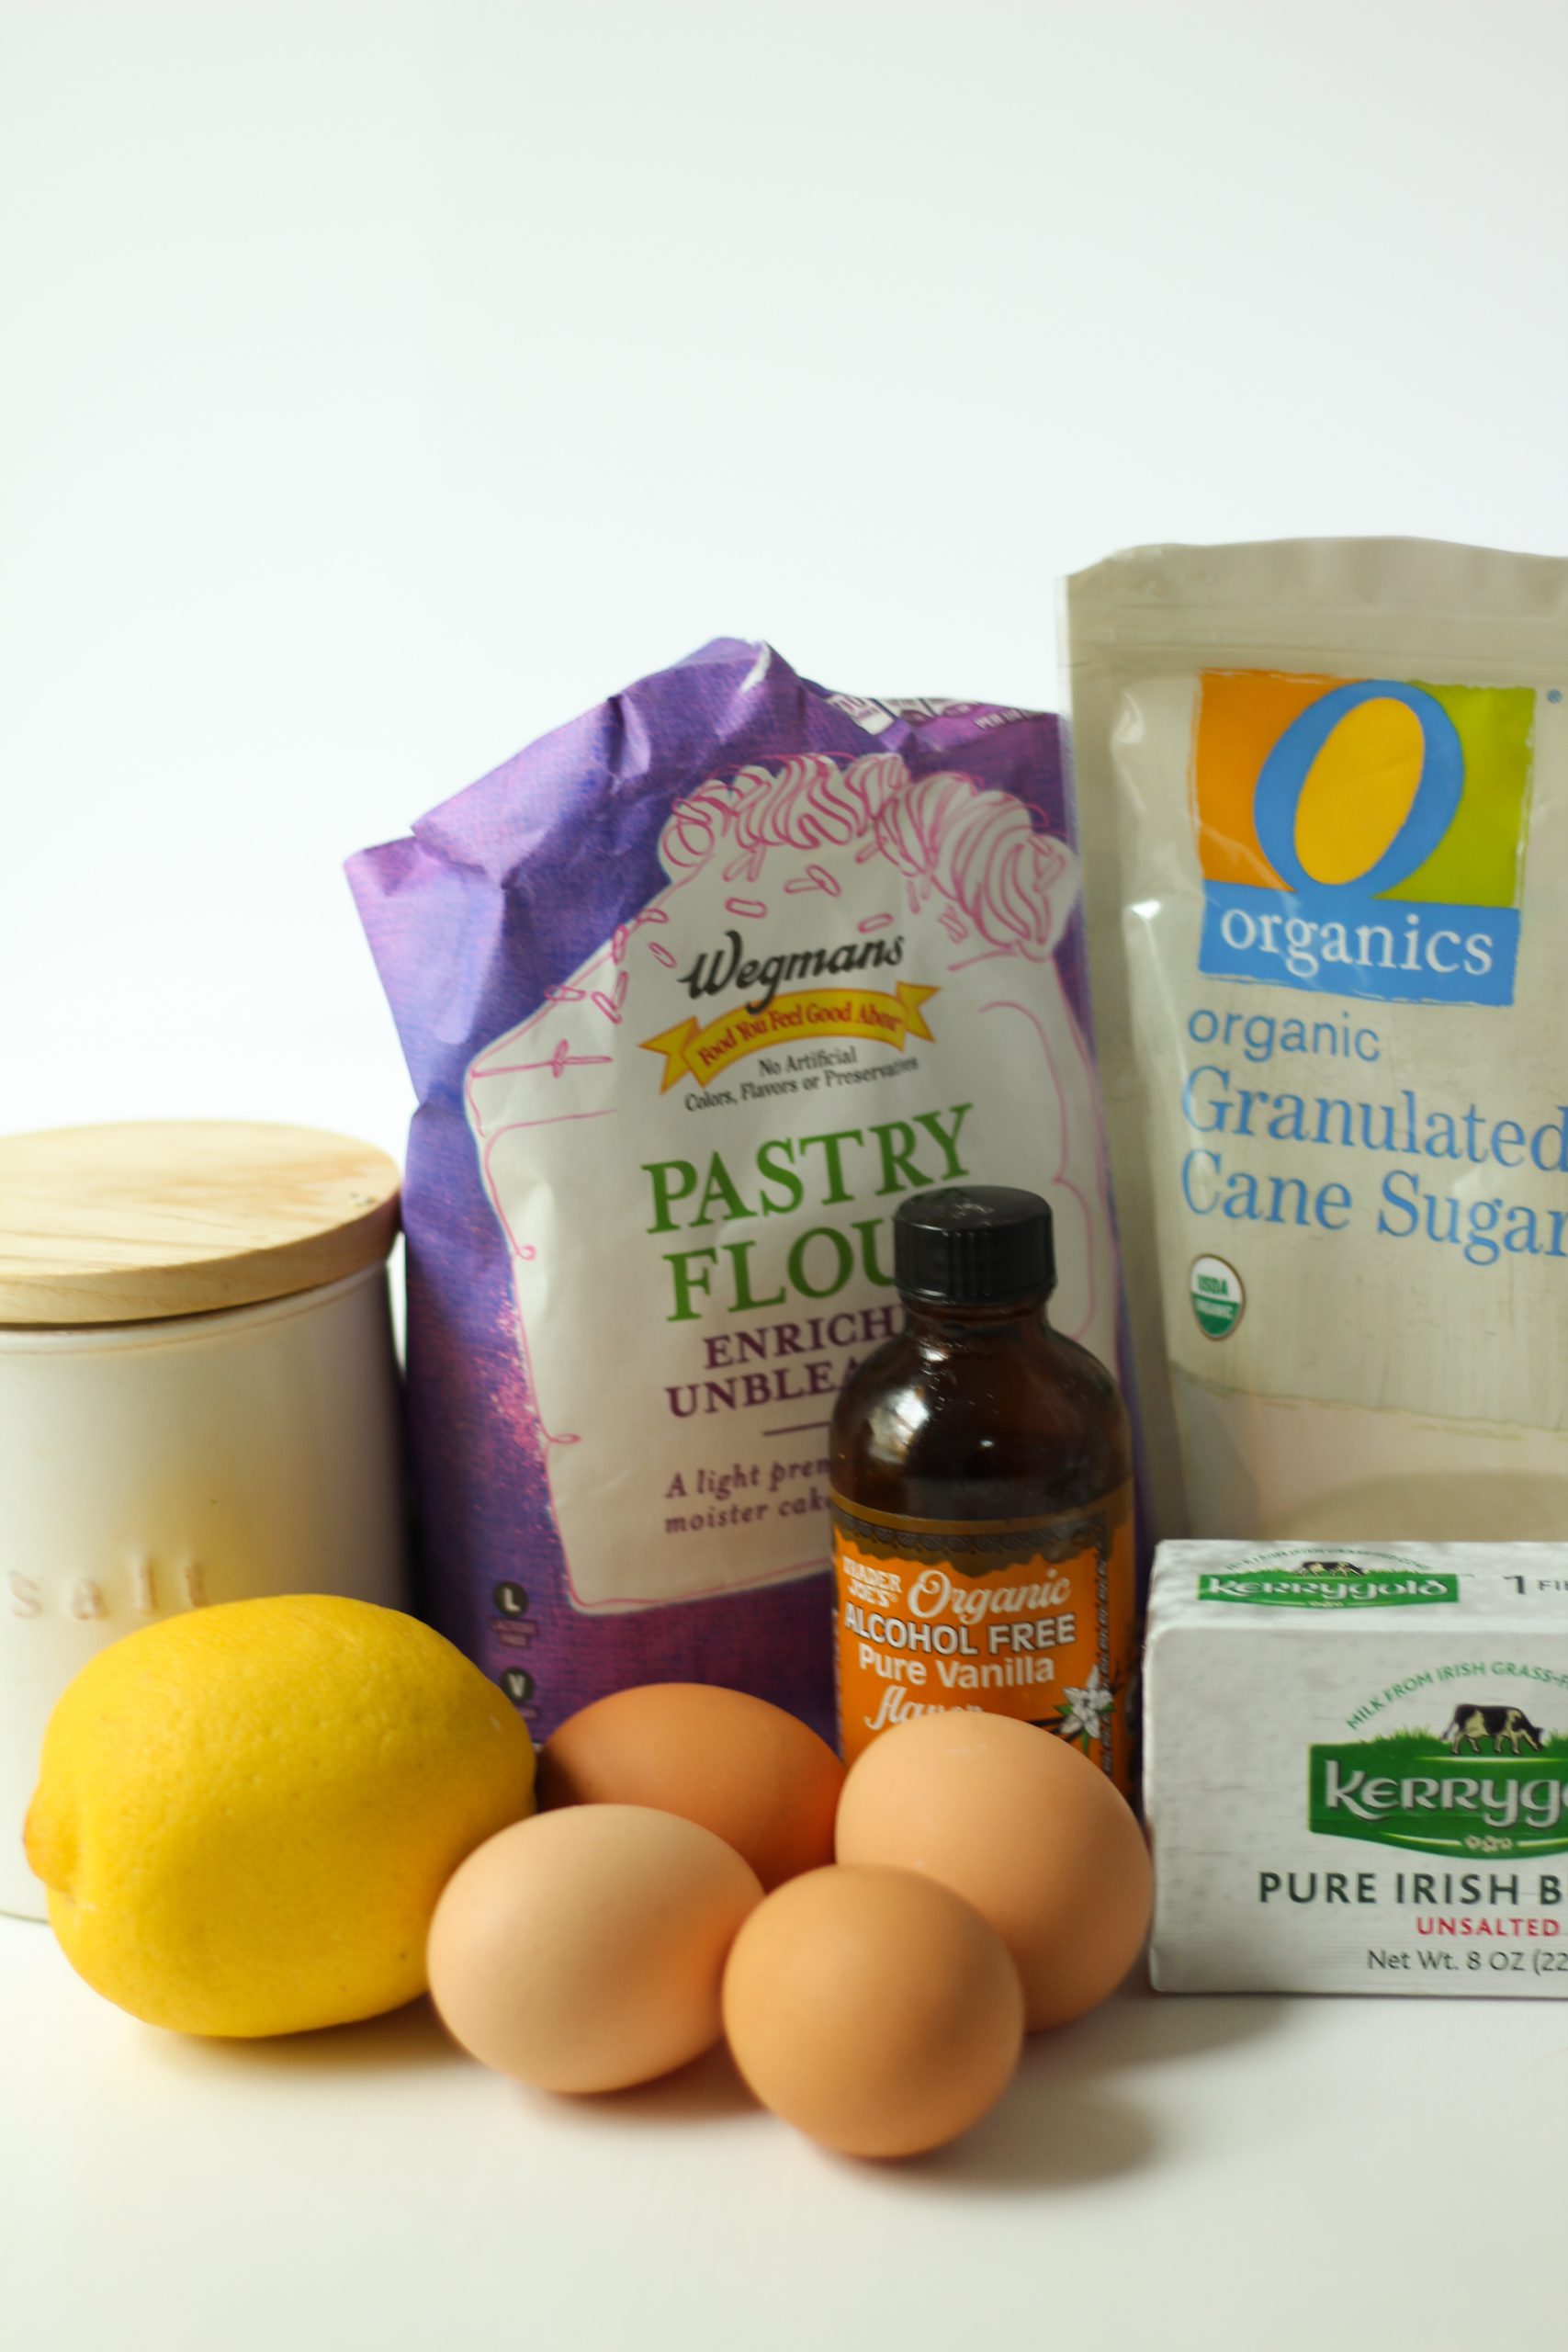
Ingredients
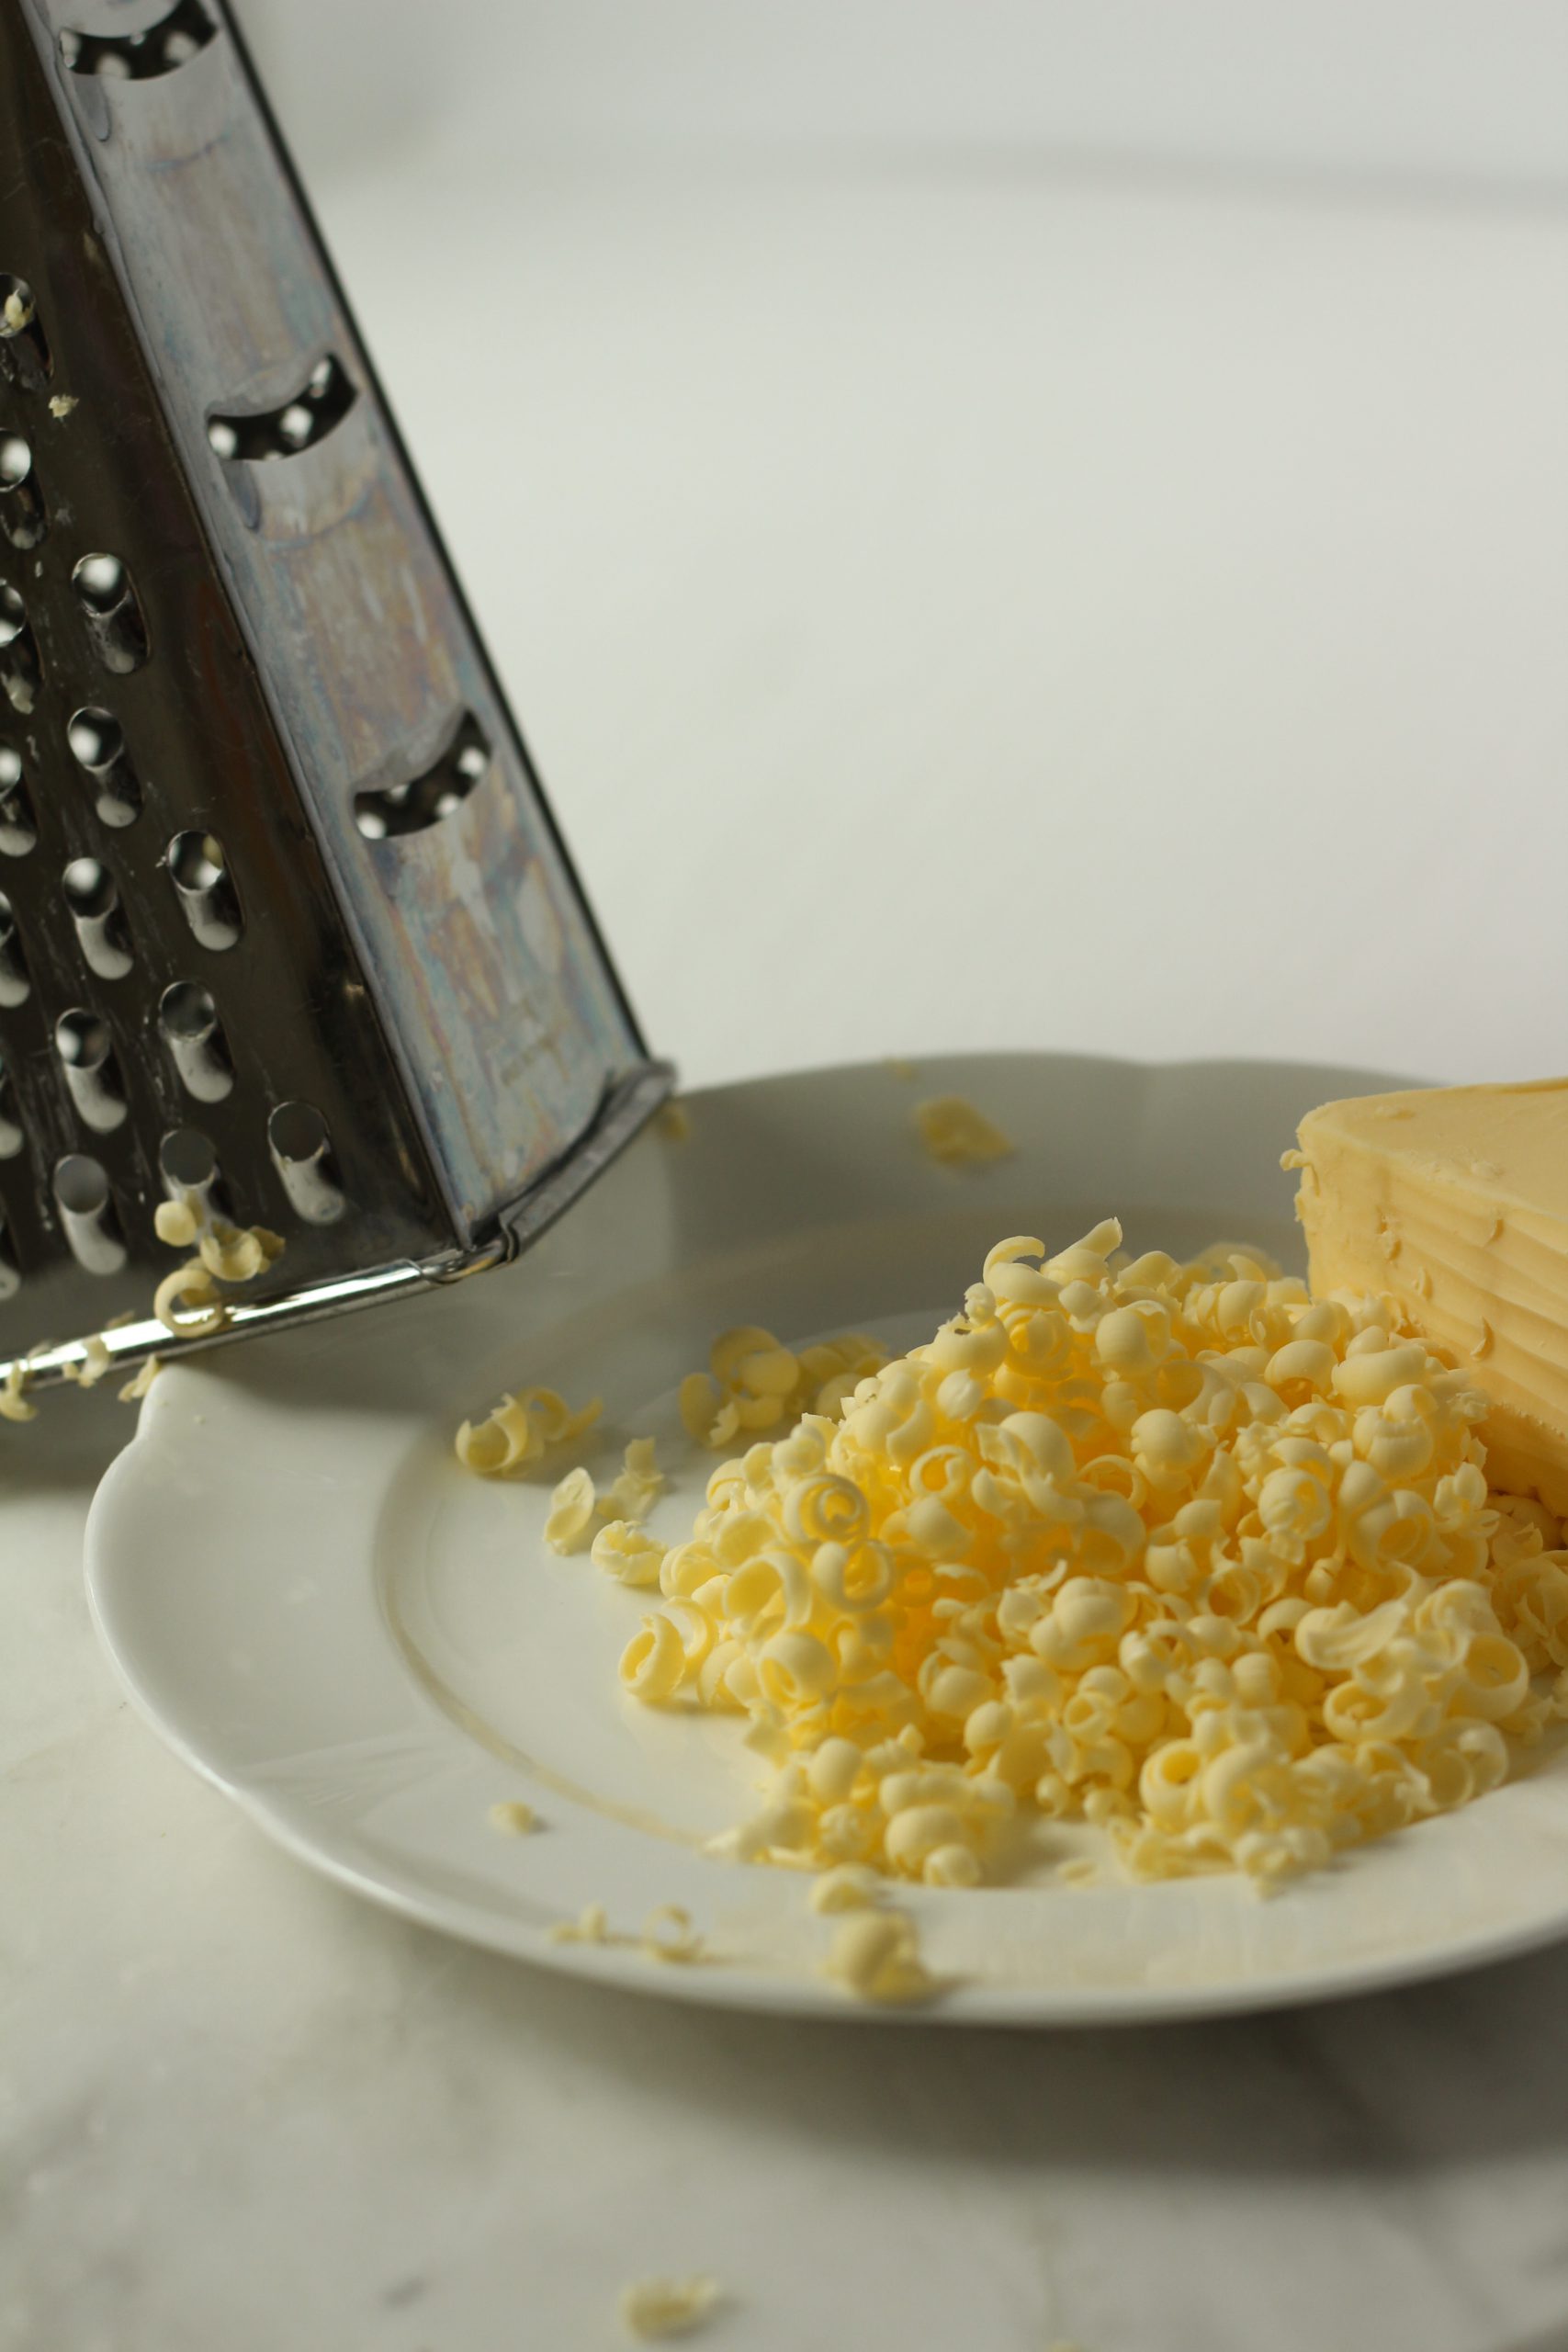
- 14 Tablespoons Unsalted butter room temperature
- 1 Cup Cane sugar
- 4 Eggs room temperature
- 1 1/2 Teaspoons vanilla extract
- 1 1/2 Tablespoons Whole milk
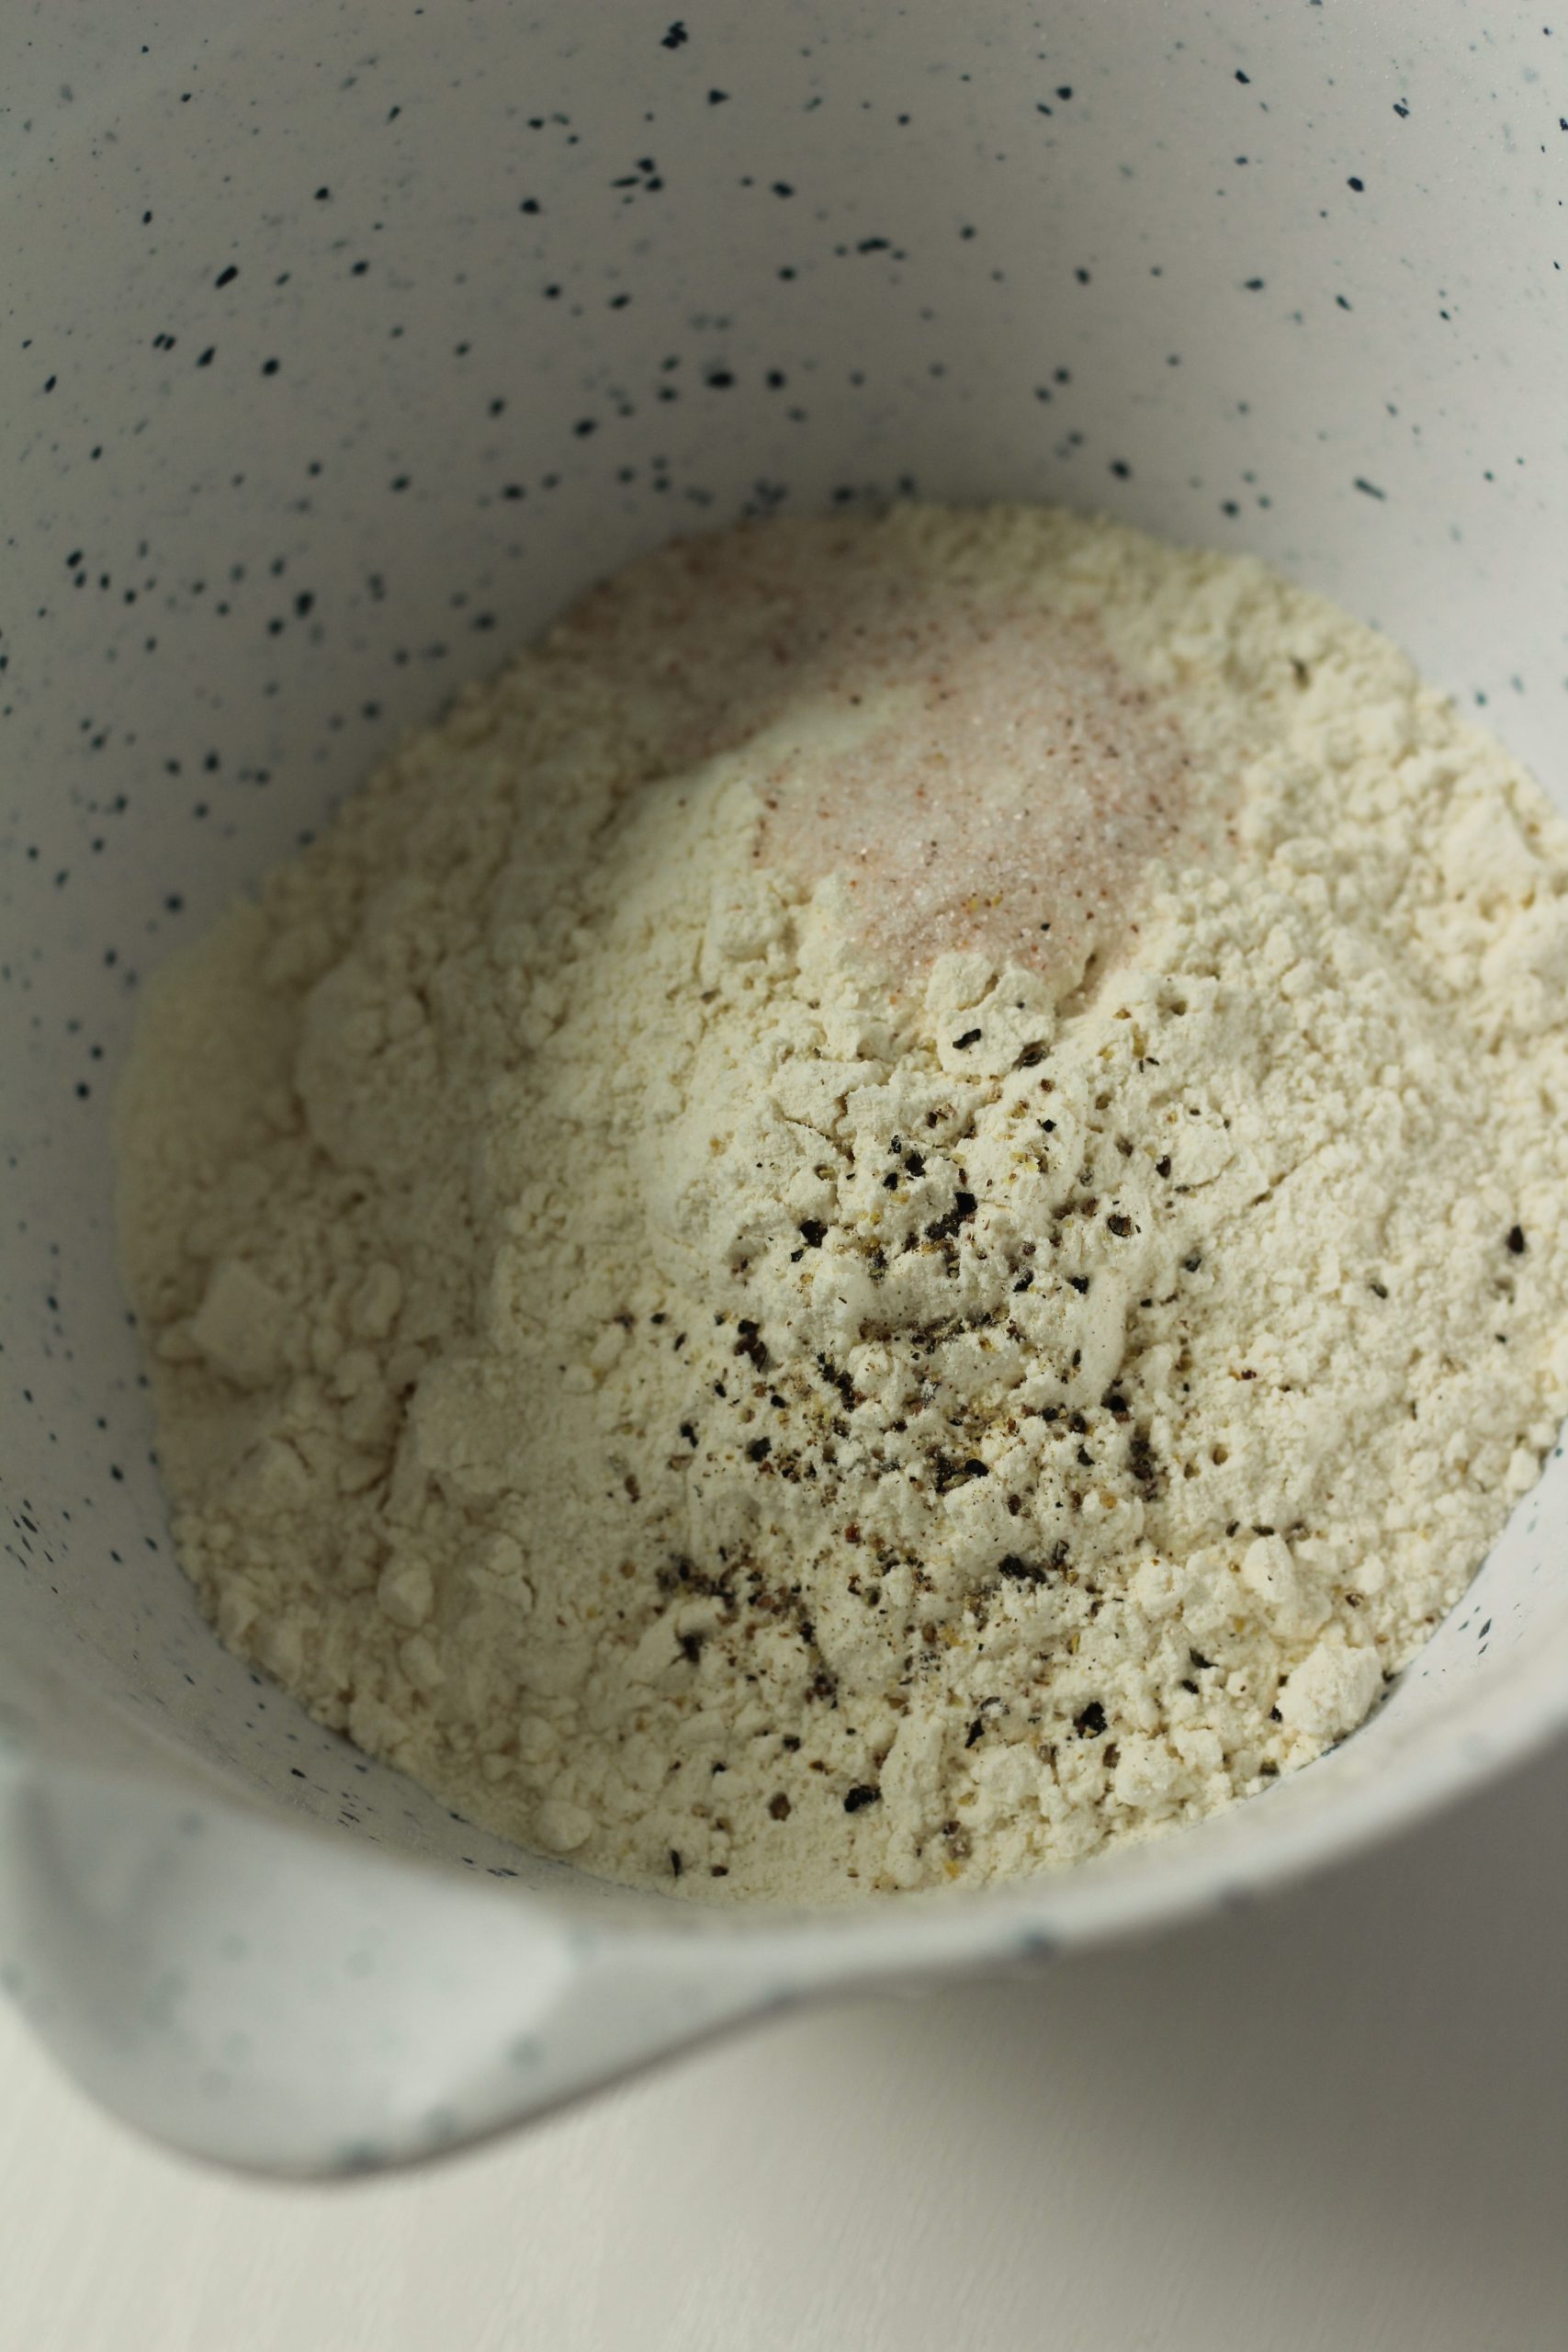
- 1/2 Teaspoon Salt
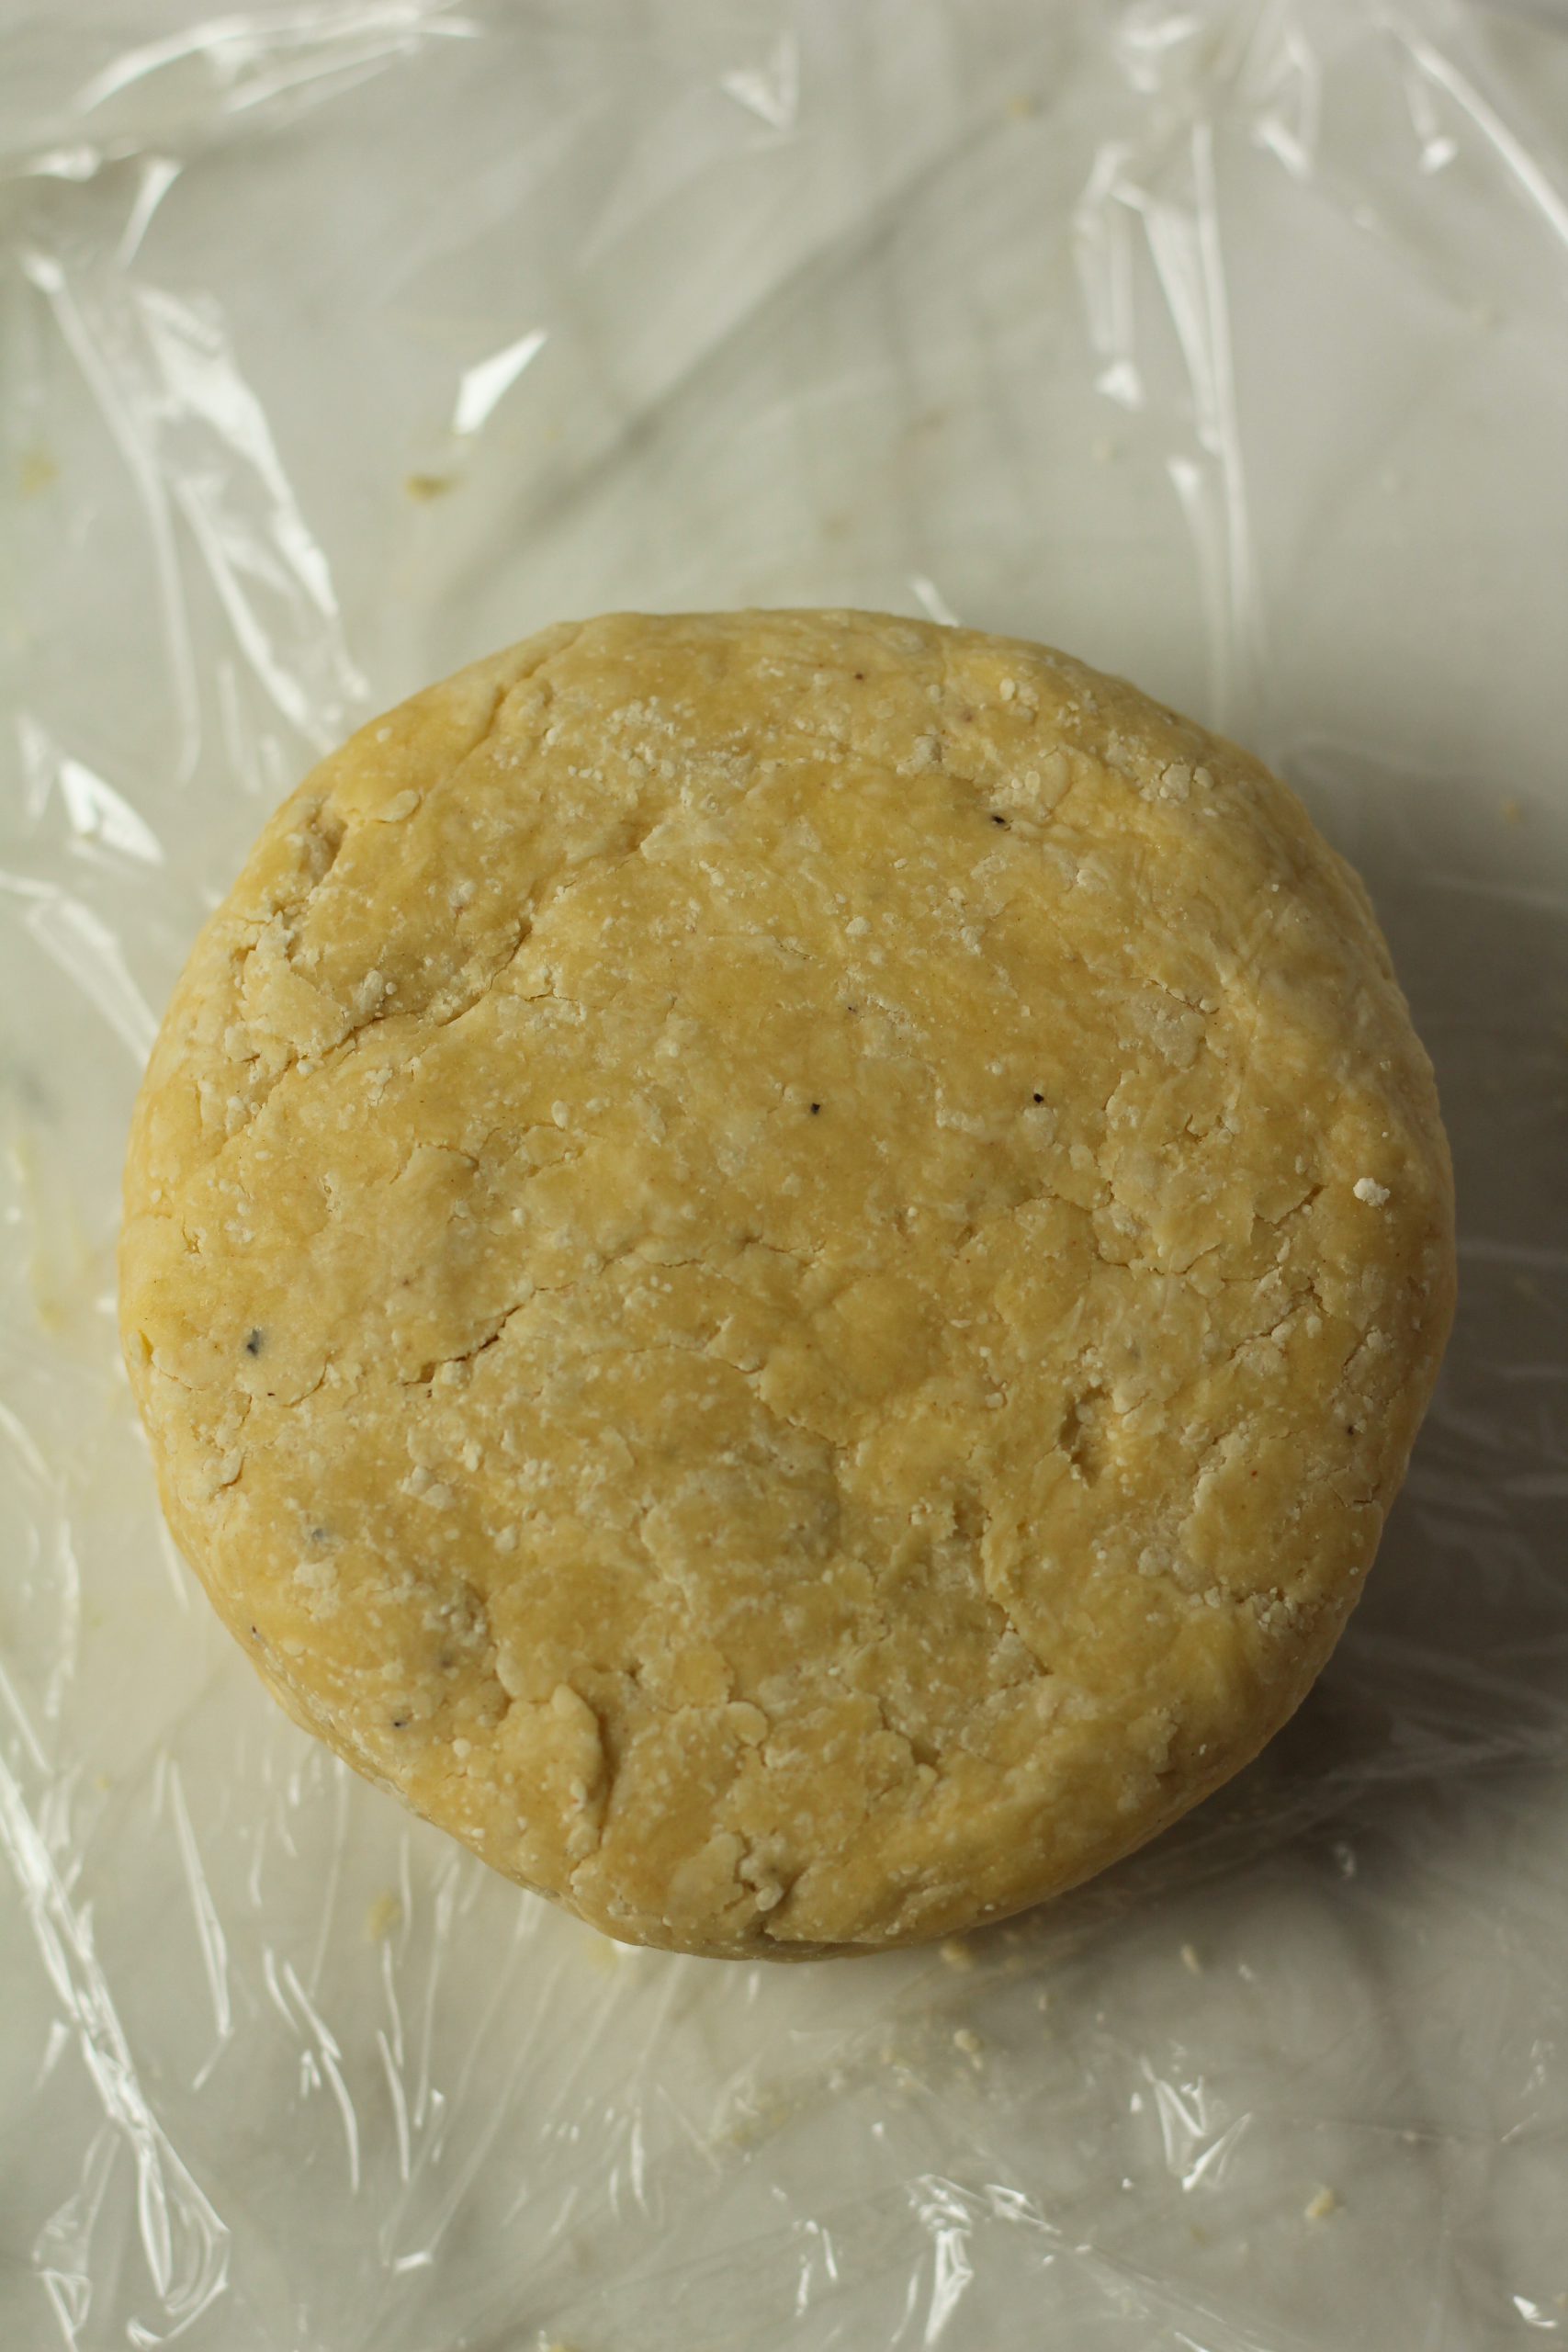
- 1 1/2 Cups Pastry flour
- Zest Lemon
Instructions
- Adjust the oven rack to the middle position and heat the oven to 325 Fahrenheit. Grease a 9” by 5” loaf pan. Line it with parchement paper and grease it.
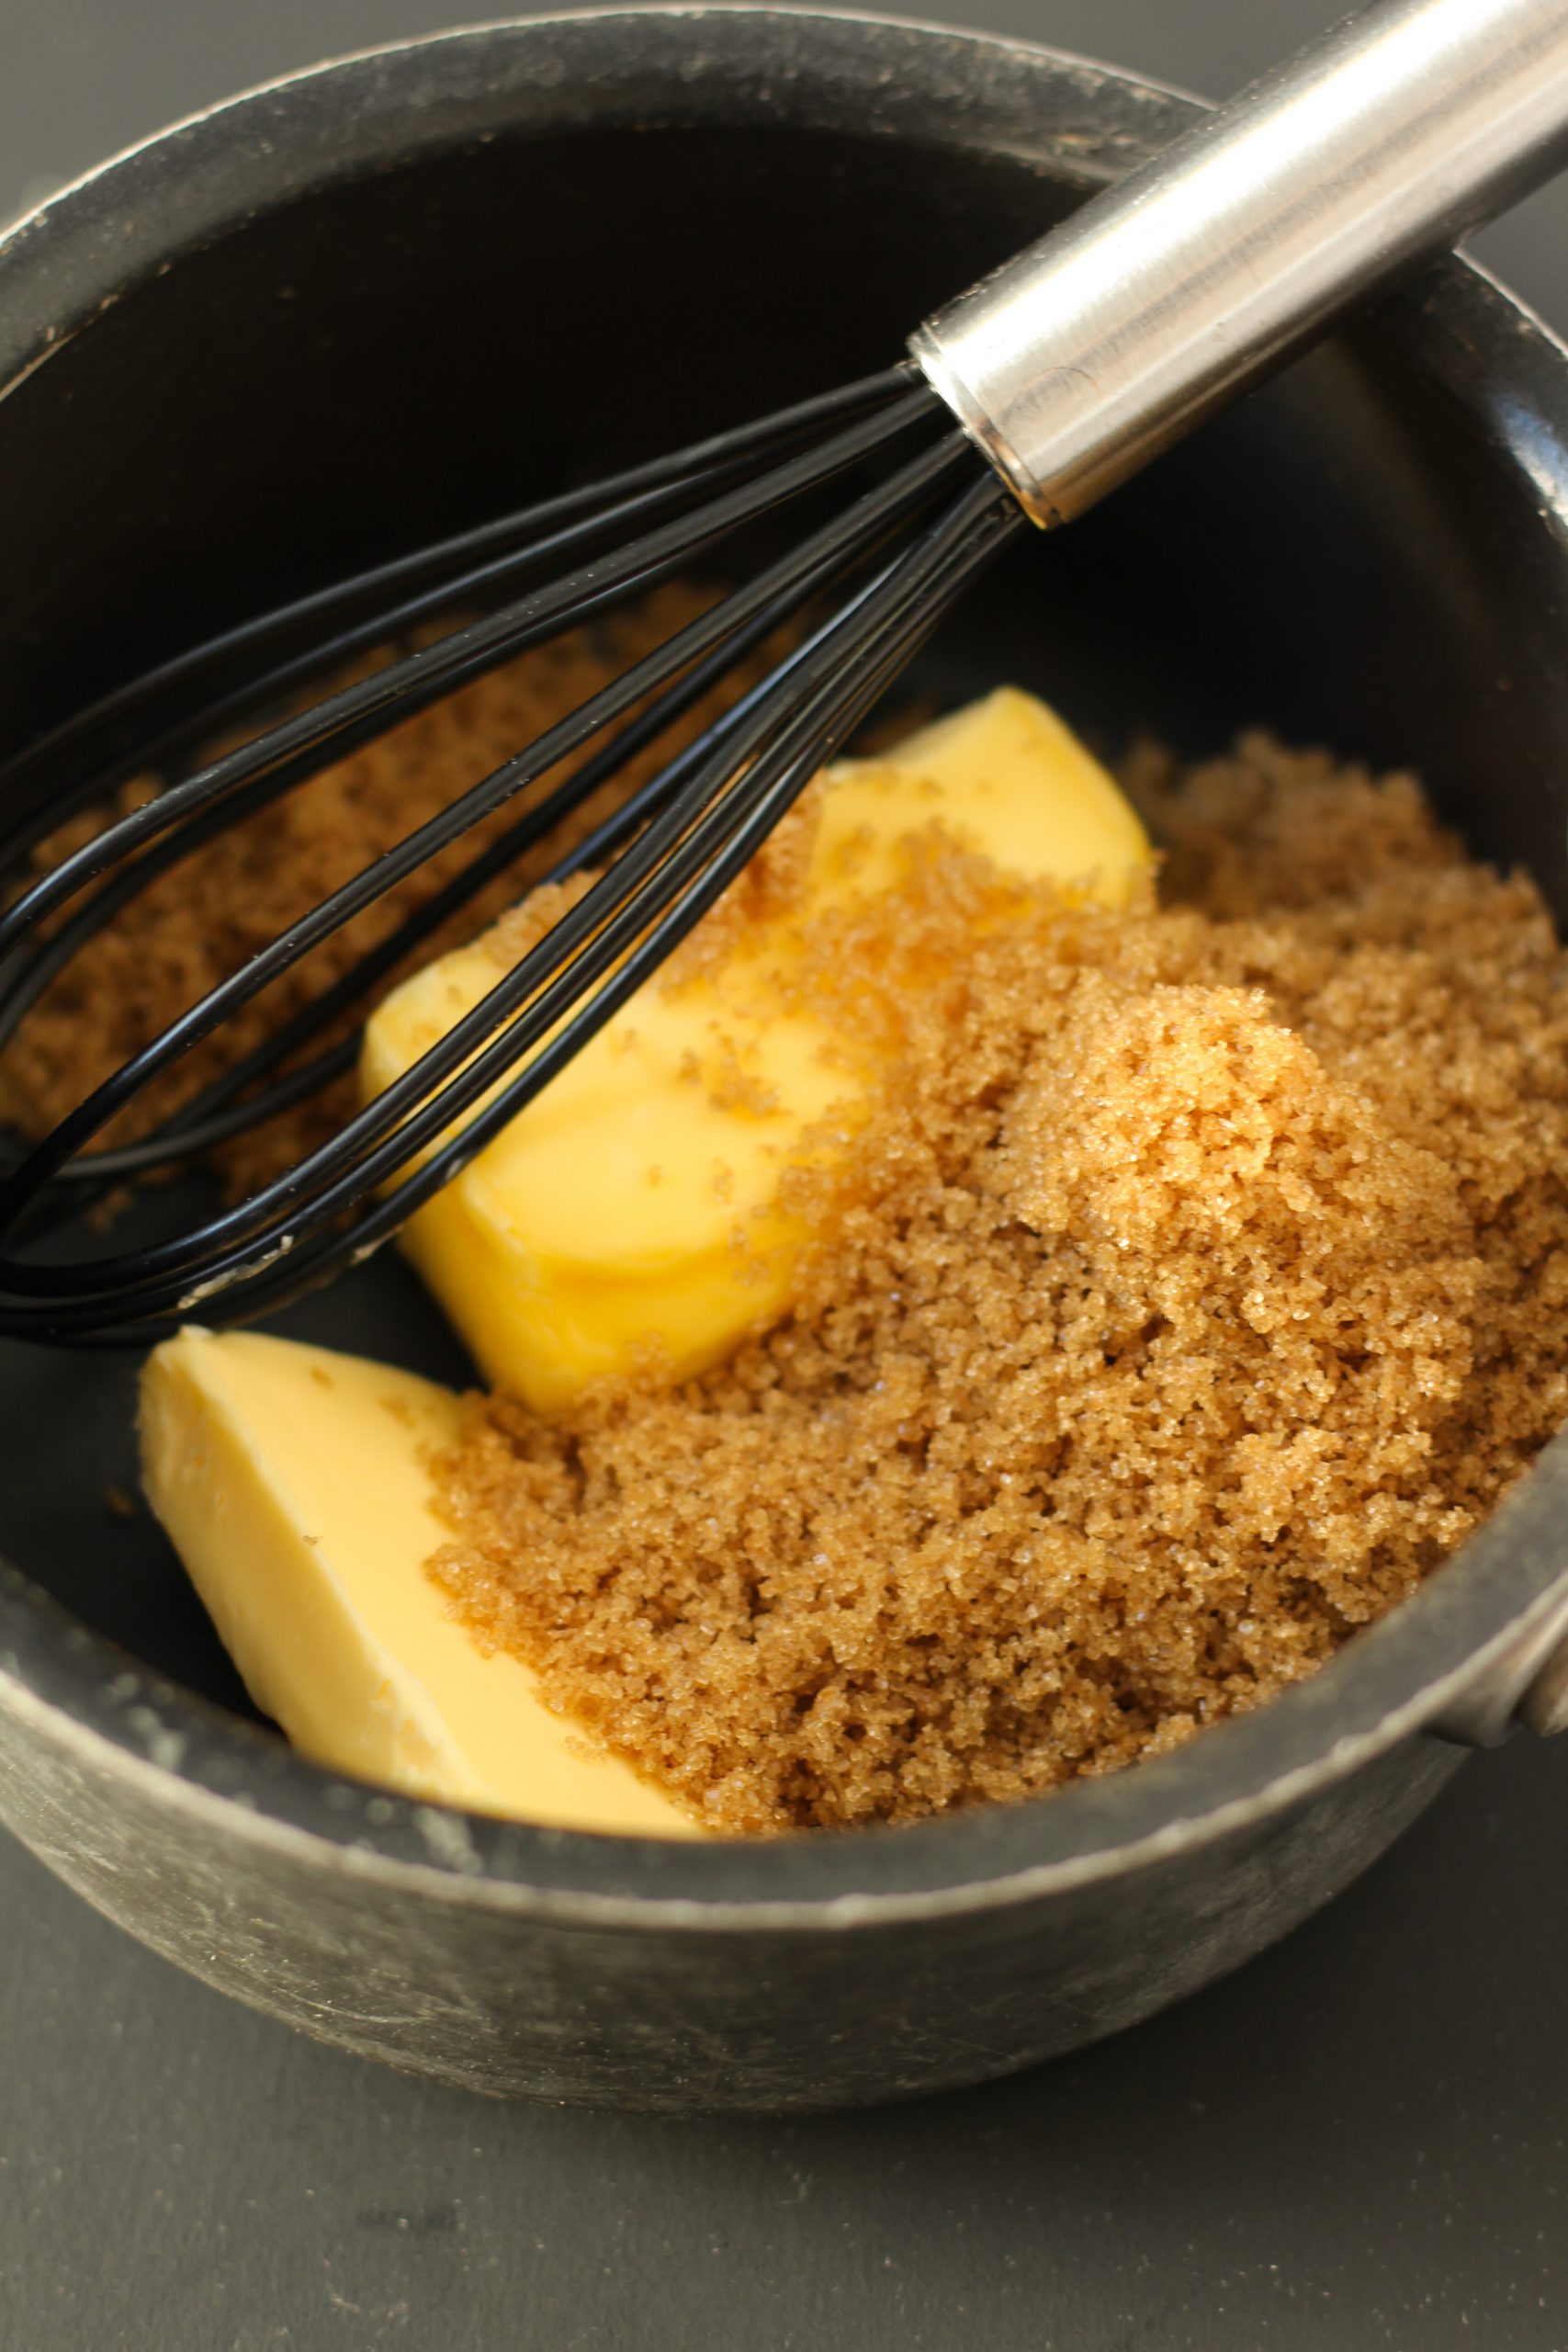
- Beat the butter and sugar in the bowl of a standing mixer at medium-high speed until light, fluffy and almost white. This takes about 4-5 minutes, stopping the mixer once or twice to scrape down the sides of the bowl.
- In a different bowl, stir together the eggs, vanilla and milk. With the mixer running at medium speed add egg mixture to the butter and sugar in a very slow, thin stream. Finally beat in the salt.
- Place 1/2 cup of pastry flour in a sieve and sift it over the batter. Fold gently with a rubber spatula, scraping up from the bottom of the bowl, until the flour is incorporated. Repeat twice more, adding flour in 1/2 cup increments.
- Pour the batter into the prepared pan, smoothing the top with a spatula.
- Bake in a preheated oven of 325 Fahrenheit until a toothpick comes out clean, about 60-70 minutes. The cake should be a nice golden brown.
- Let the cake rest in the pan on a cooling rack for 5 minutes before removing it from the pan. After you remove it from the pan, let it cool to room temperature.