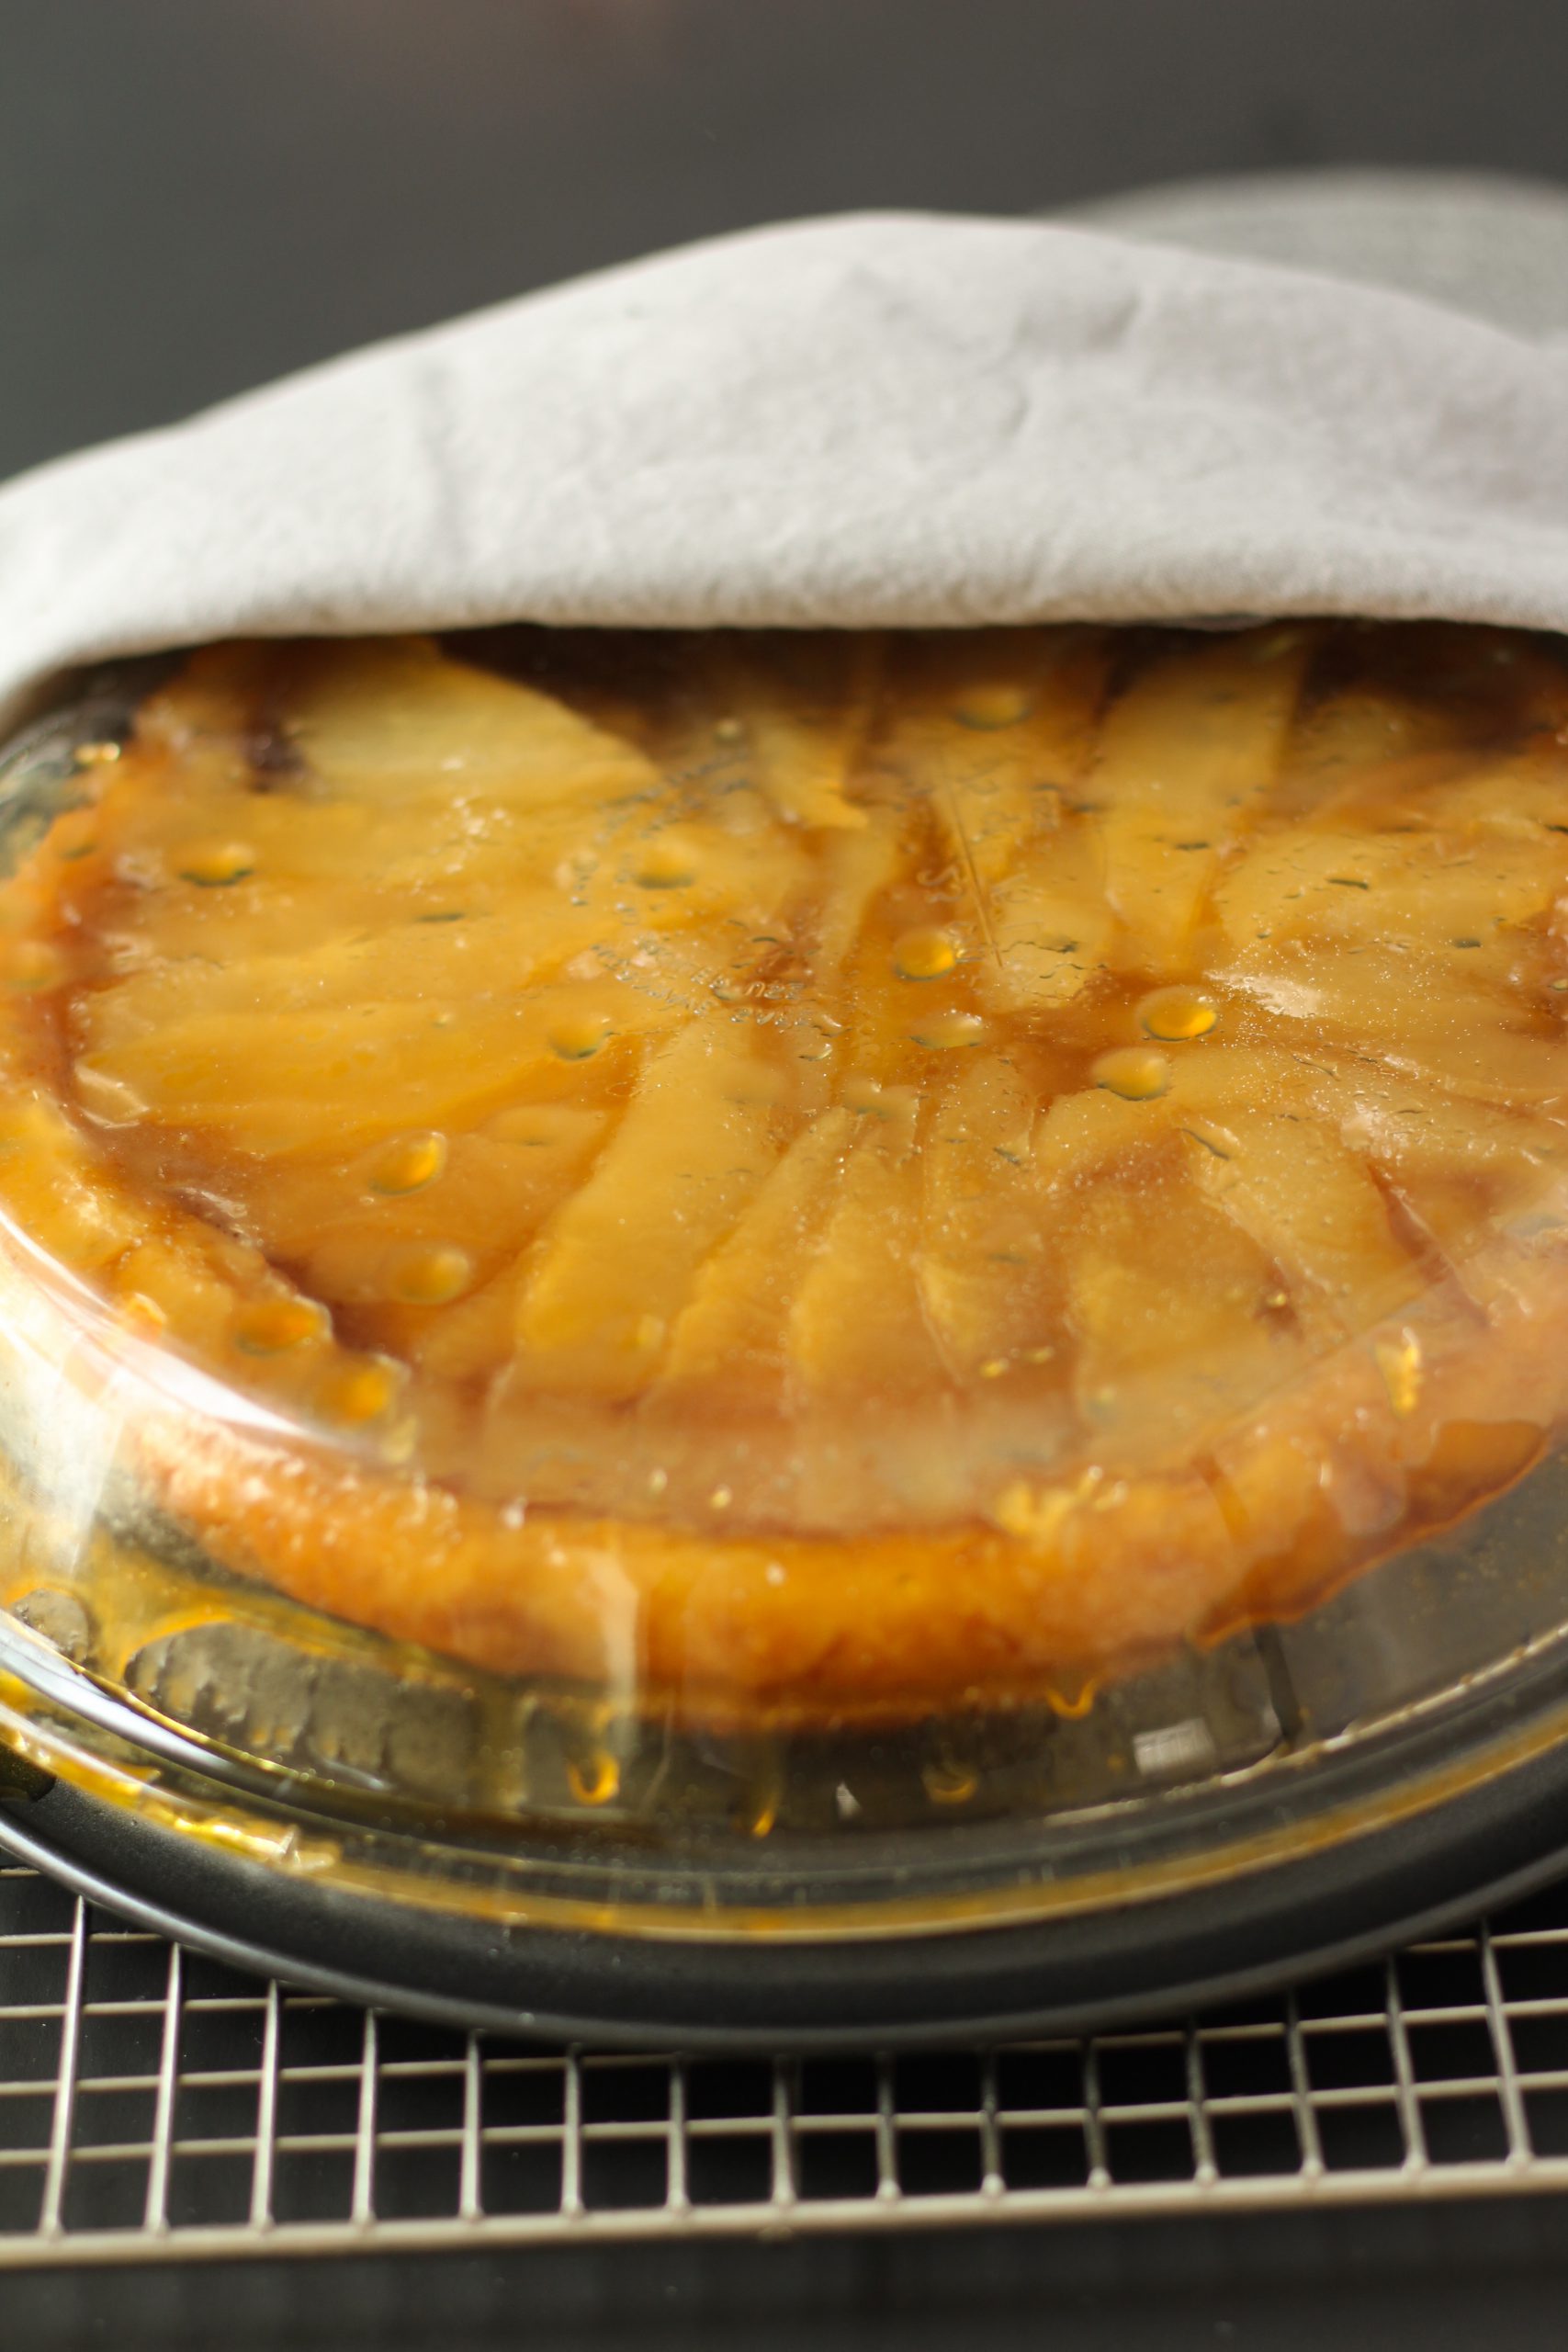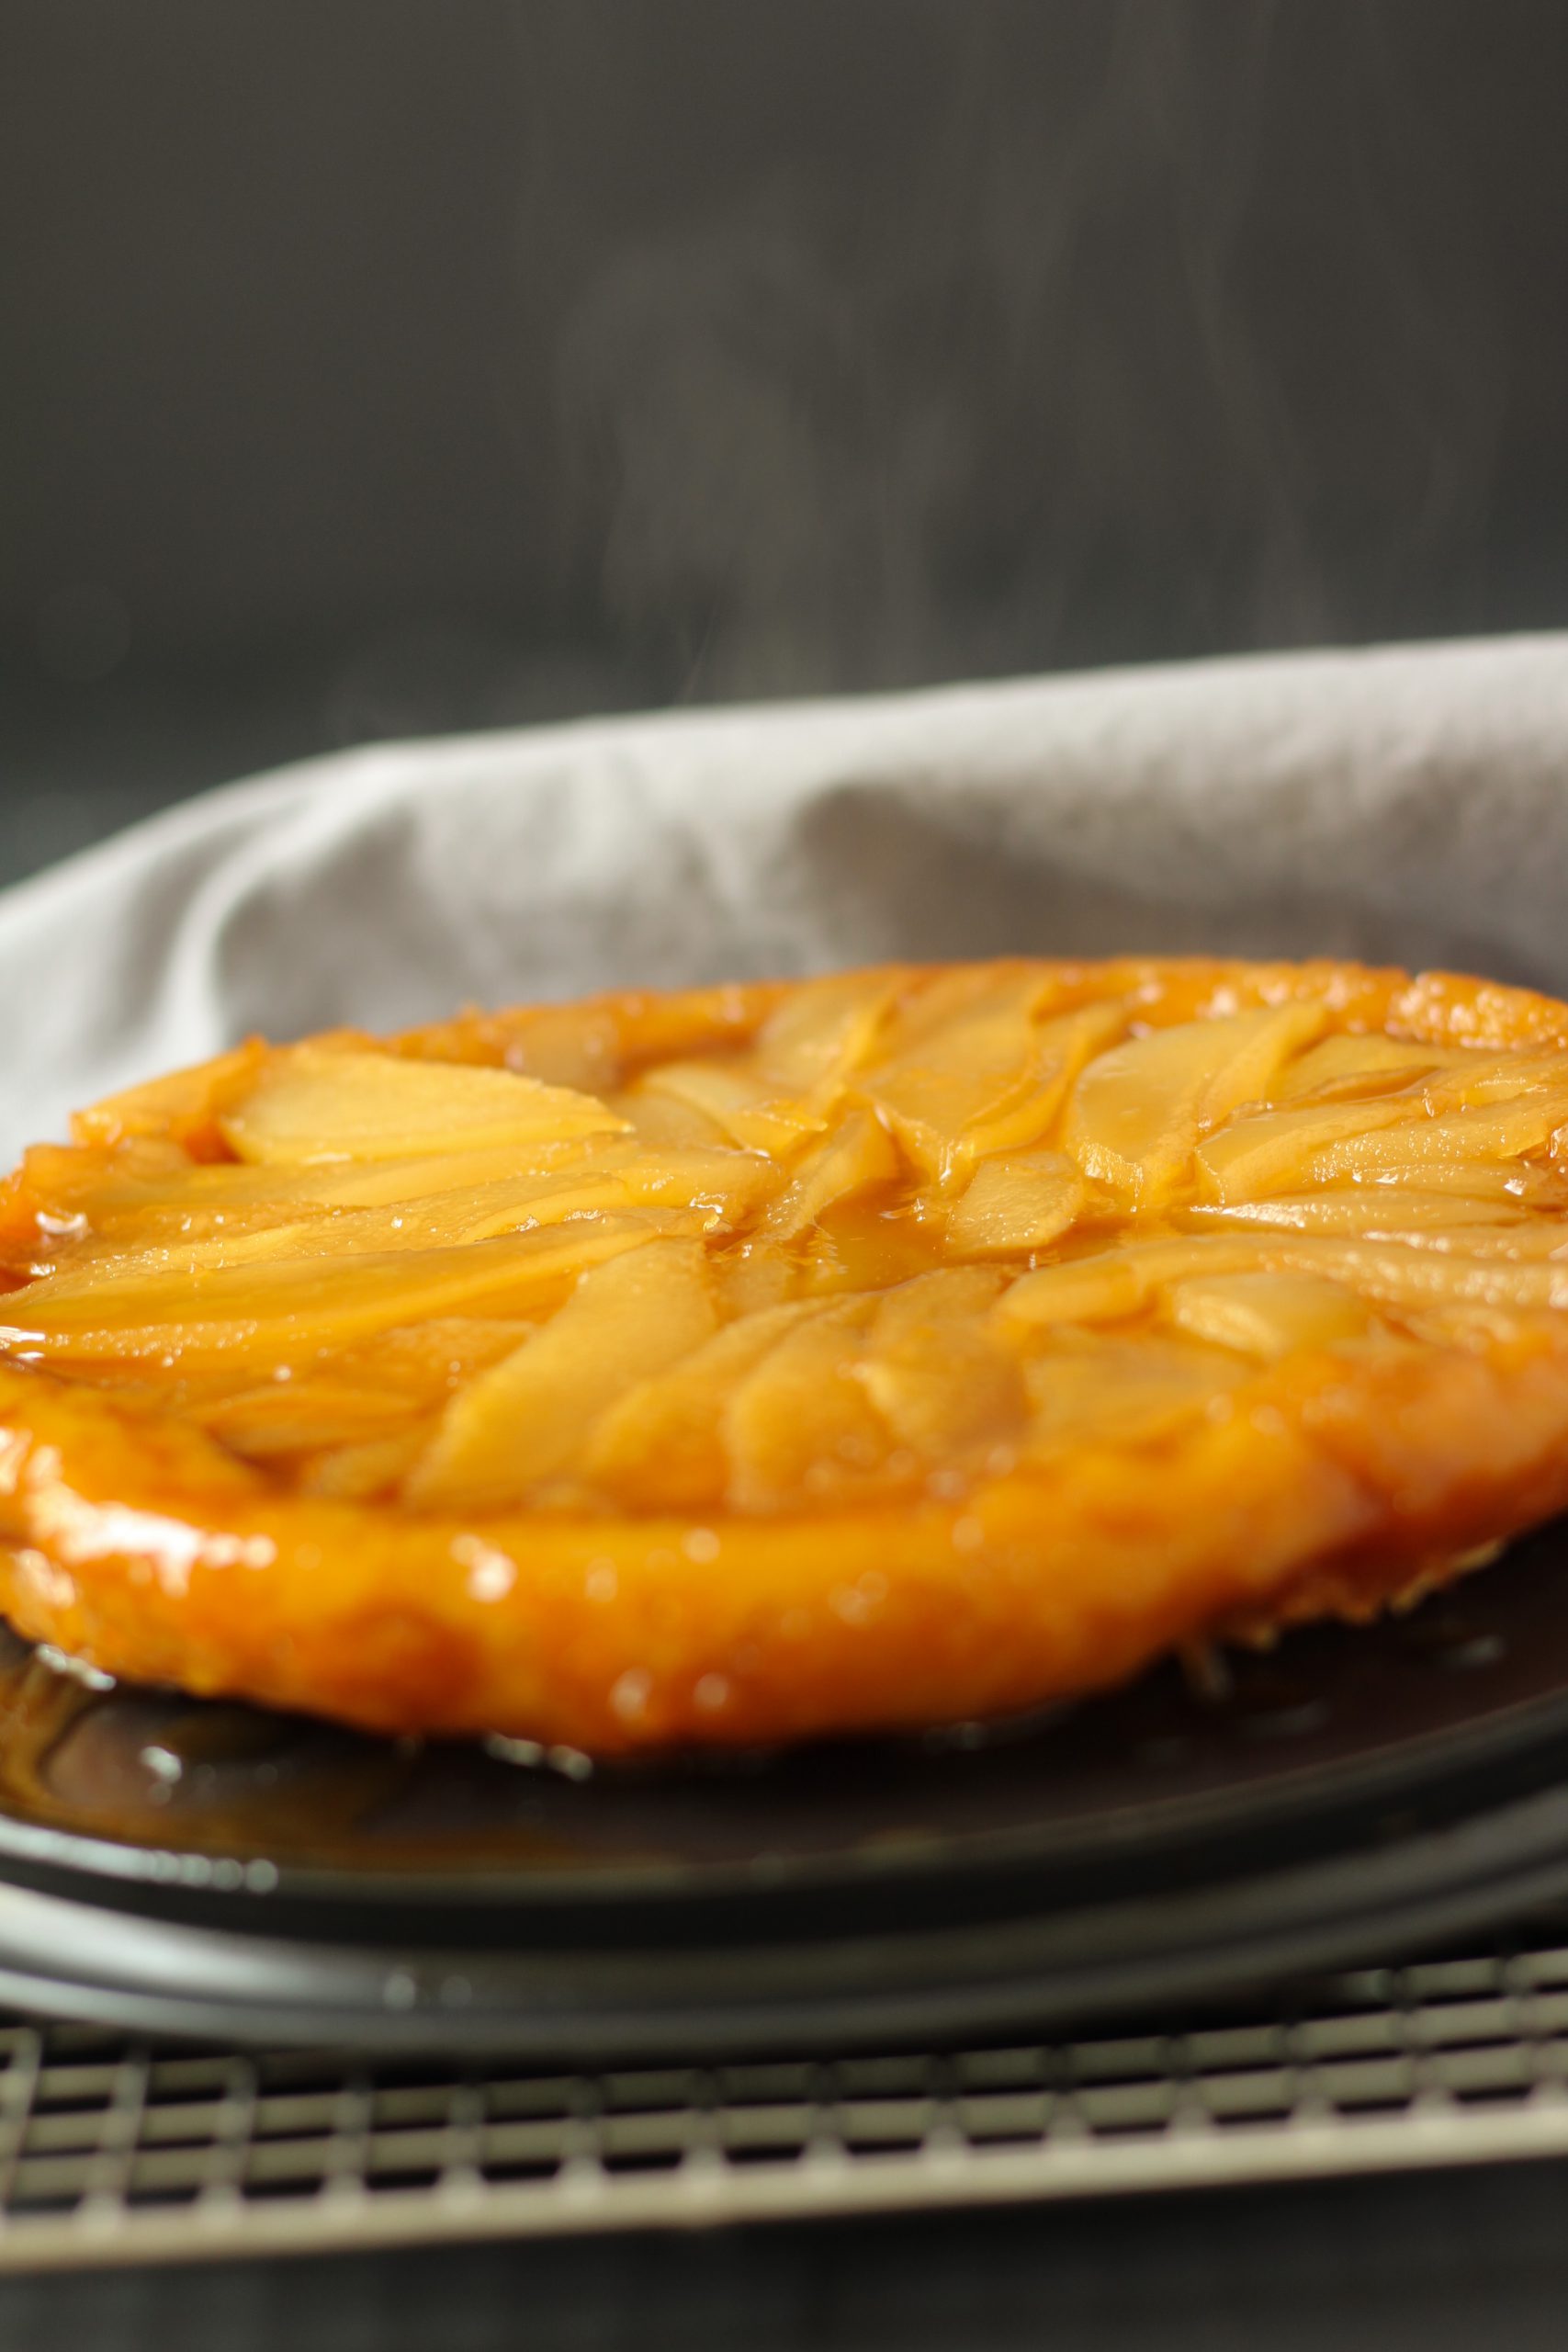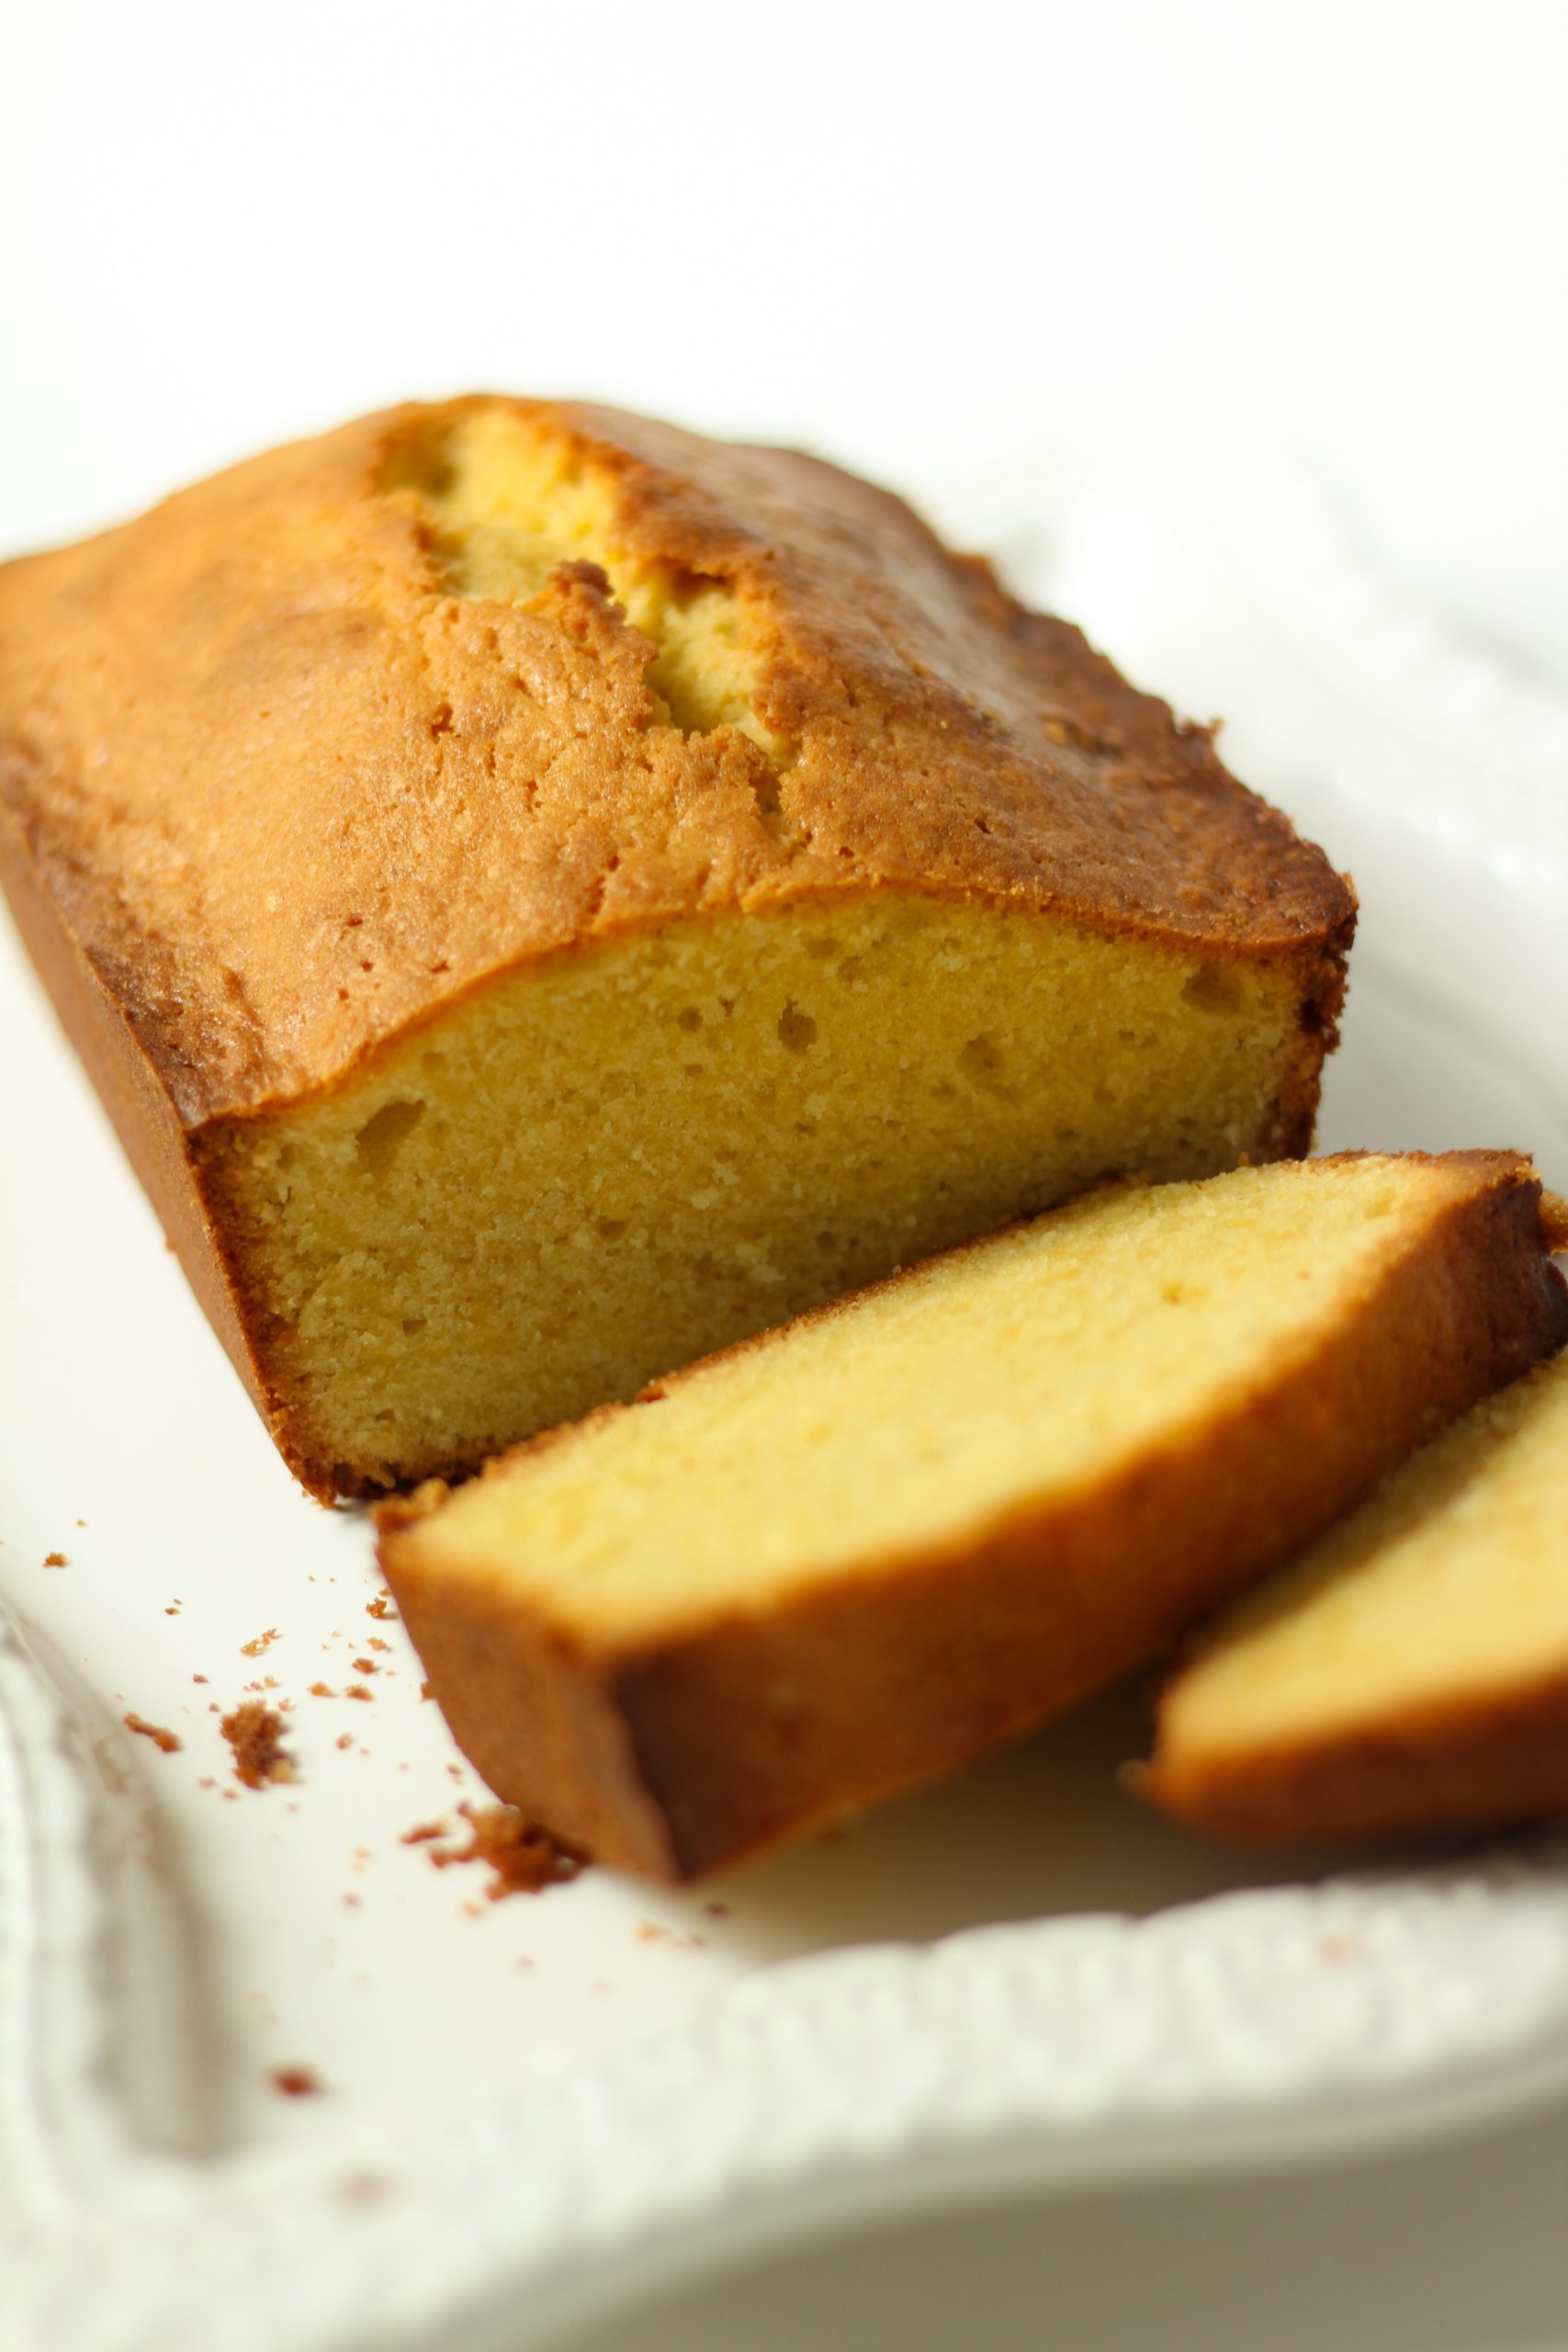
Pound cake

This rich, buttery pound cake melts in your mouth while maintaining a light, fluffy texture. The hint of freshness from the lemon zest balances out the sweet from the sugar and vanilla. Pound cake is good on its own and delicious with some fresh fruit or whipped cream on top. If you double this recipe it can be used it as a base for a birthday cake, layered with frosting. I recommend using round baking pans for a celebration cake.
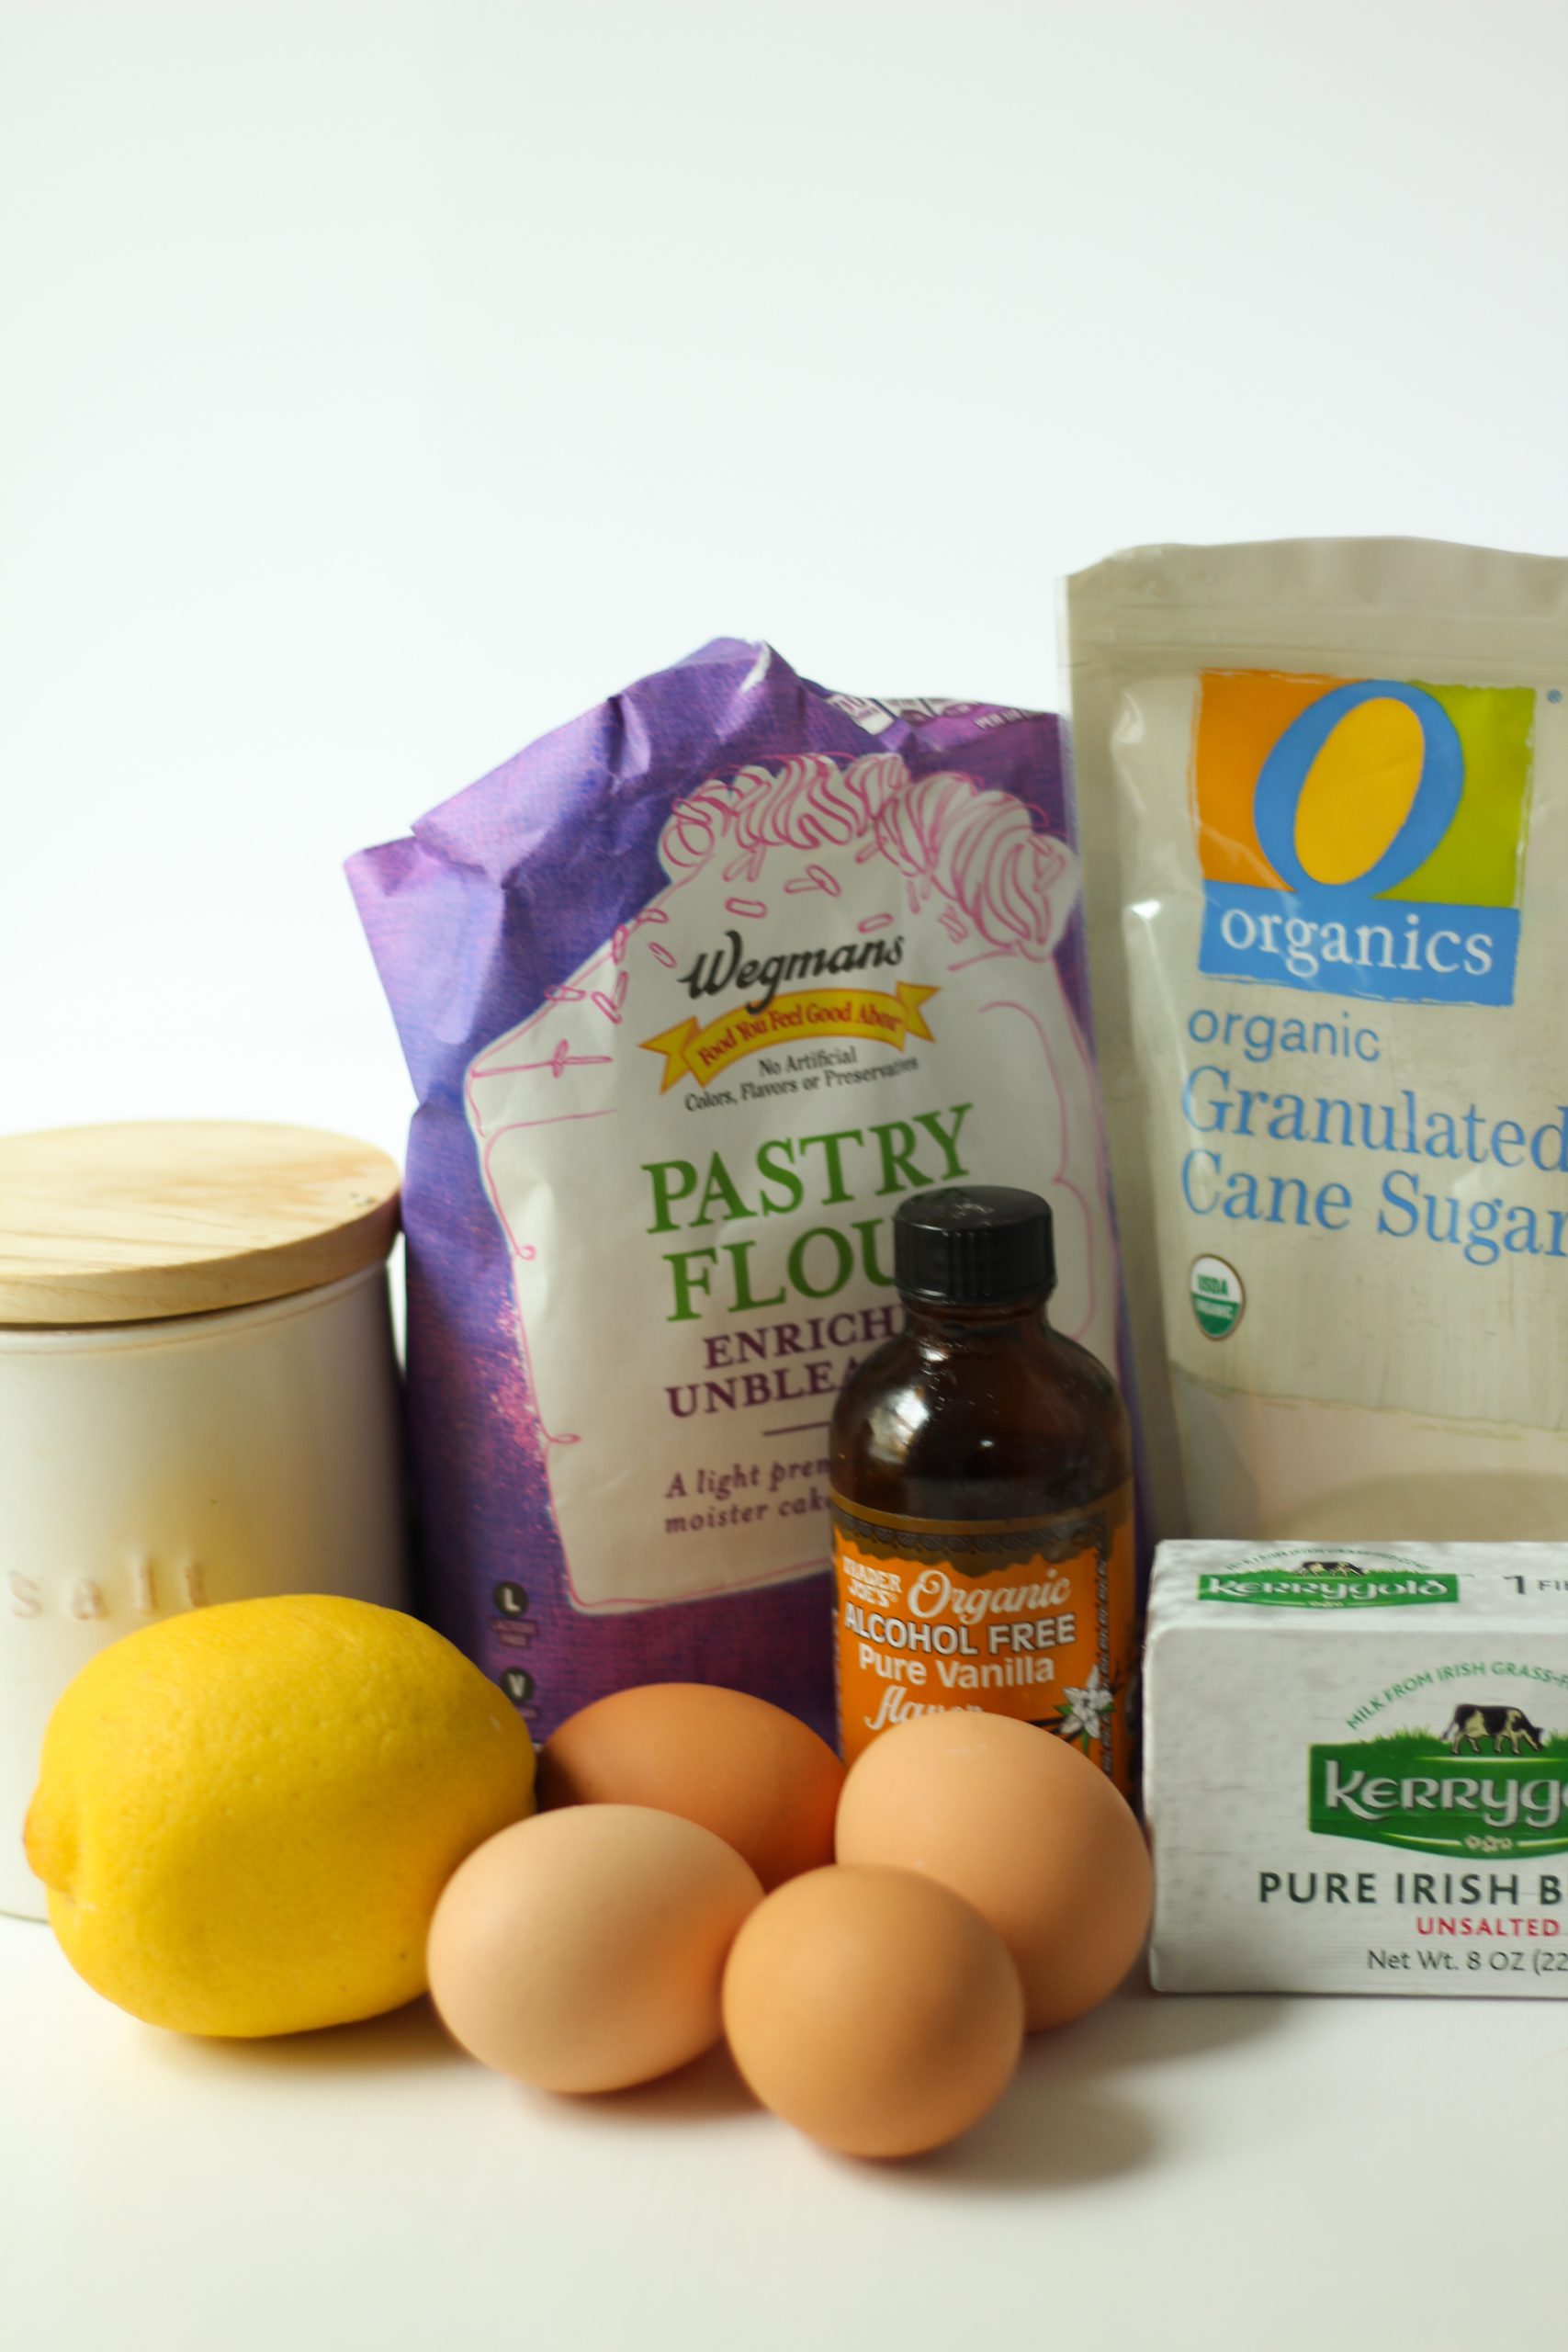
Ingrediënt pound cake

The recipe uses pastry flour instead of regular flour. Pastry flour is milled at a finer texture than all purpose flour and is made with soft wheat for a lower protein content. This helps baked goods to produce more tender results and a flakey crust. It is important to let your eggs and butter warm to room temperature. The day before I plan to bake a pound cake, I always take out my butter and egg to warm on the counter overnight. This allows me to start baking right away in the morning.
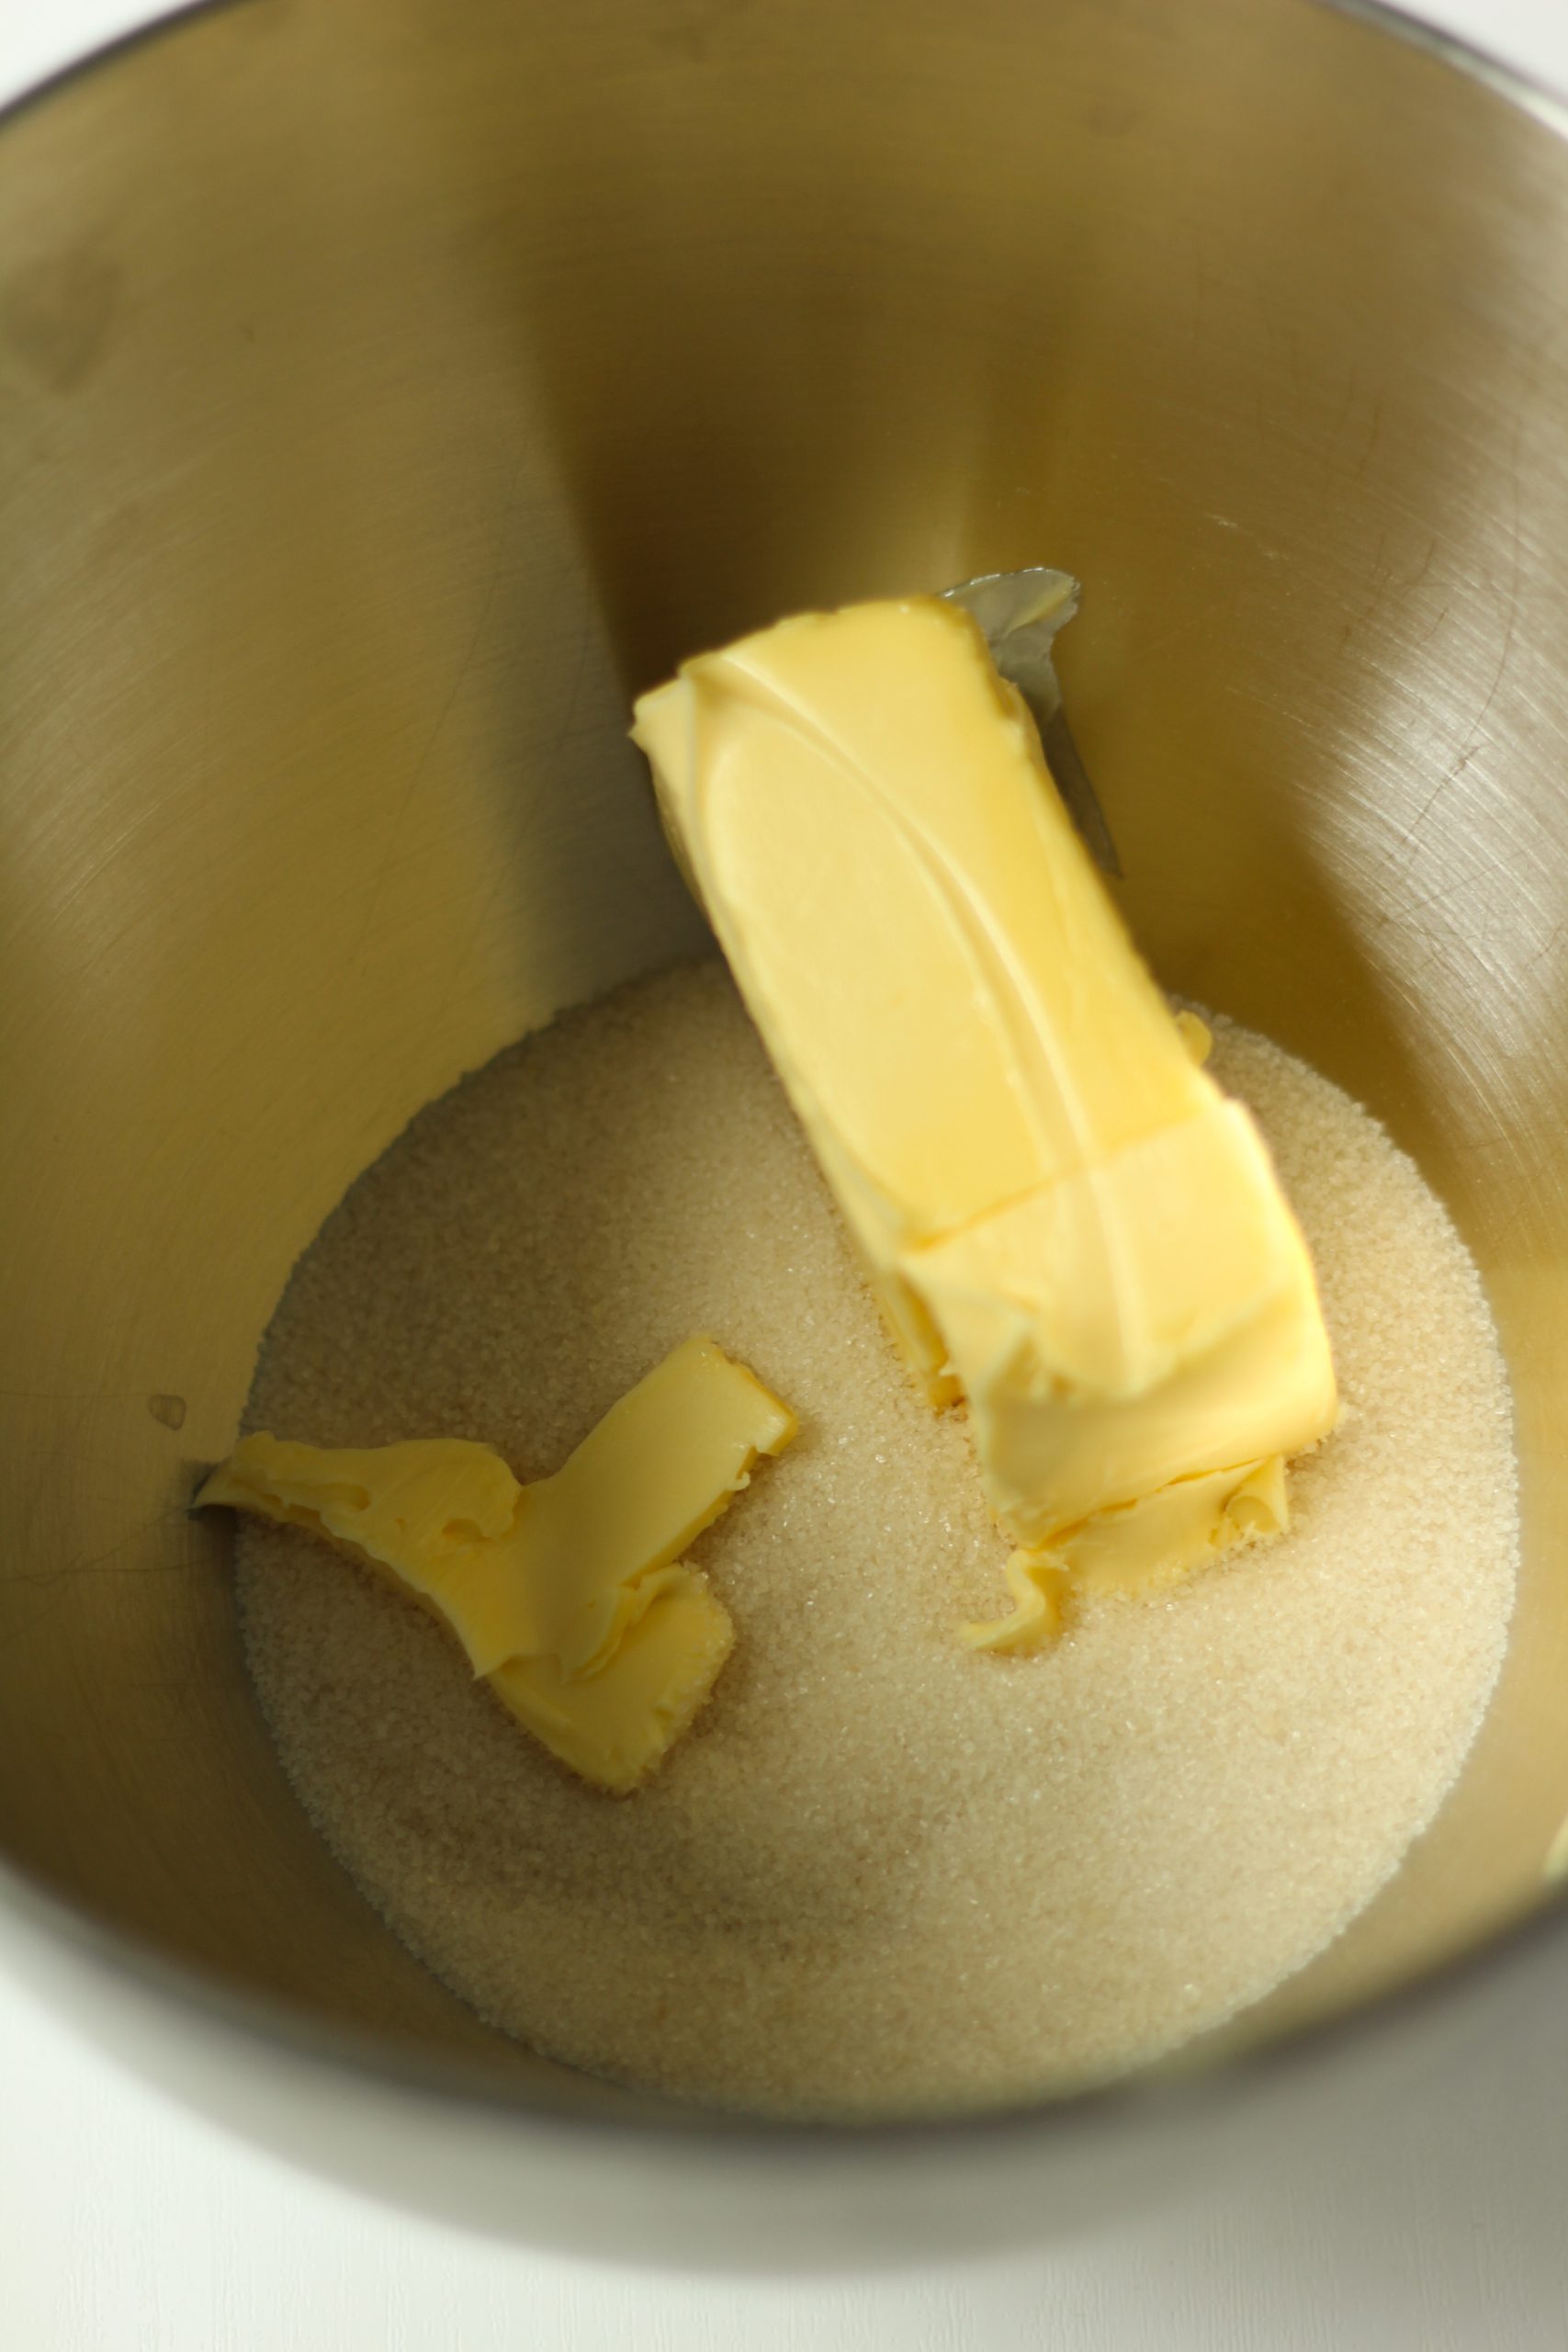
Cane sugar and softened butter

Room temperature butter is important for getting a nice, fluffy texture when beating it with the sugar. Soft butter blends really well with the sugar and gives the best results.
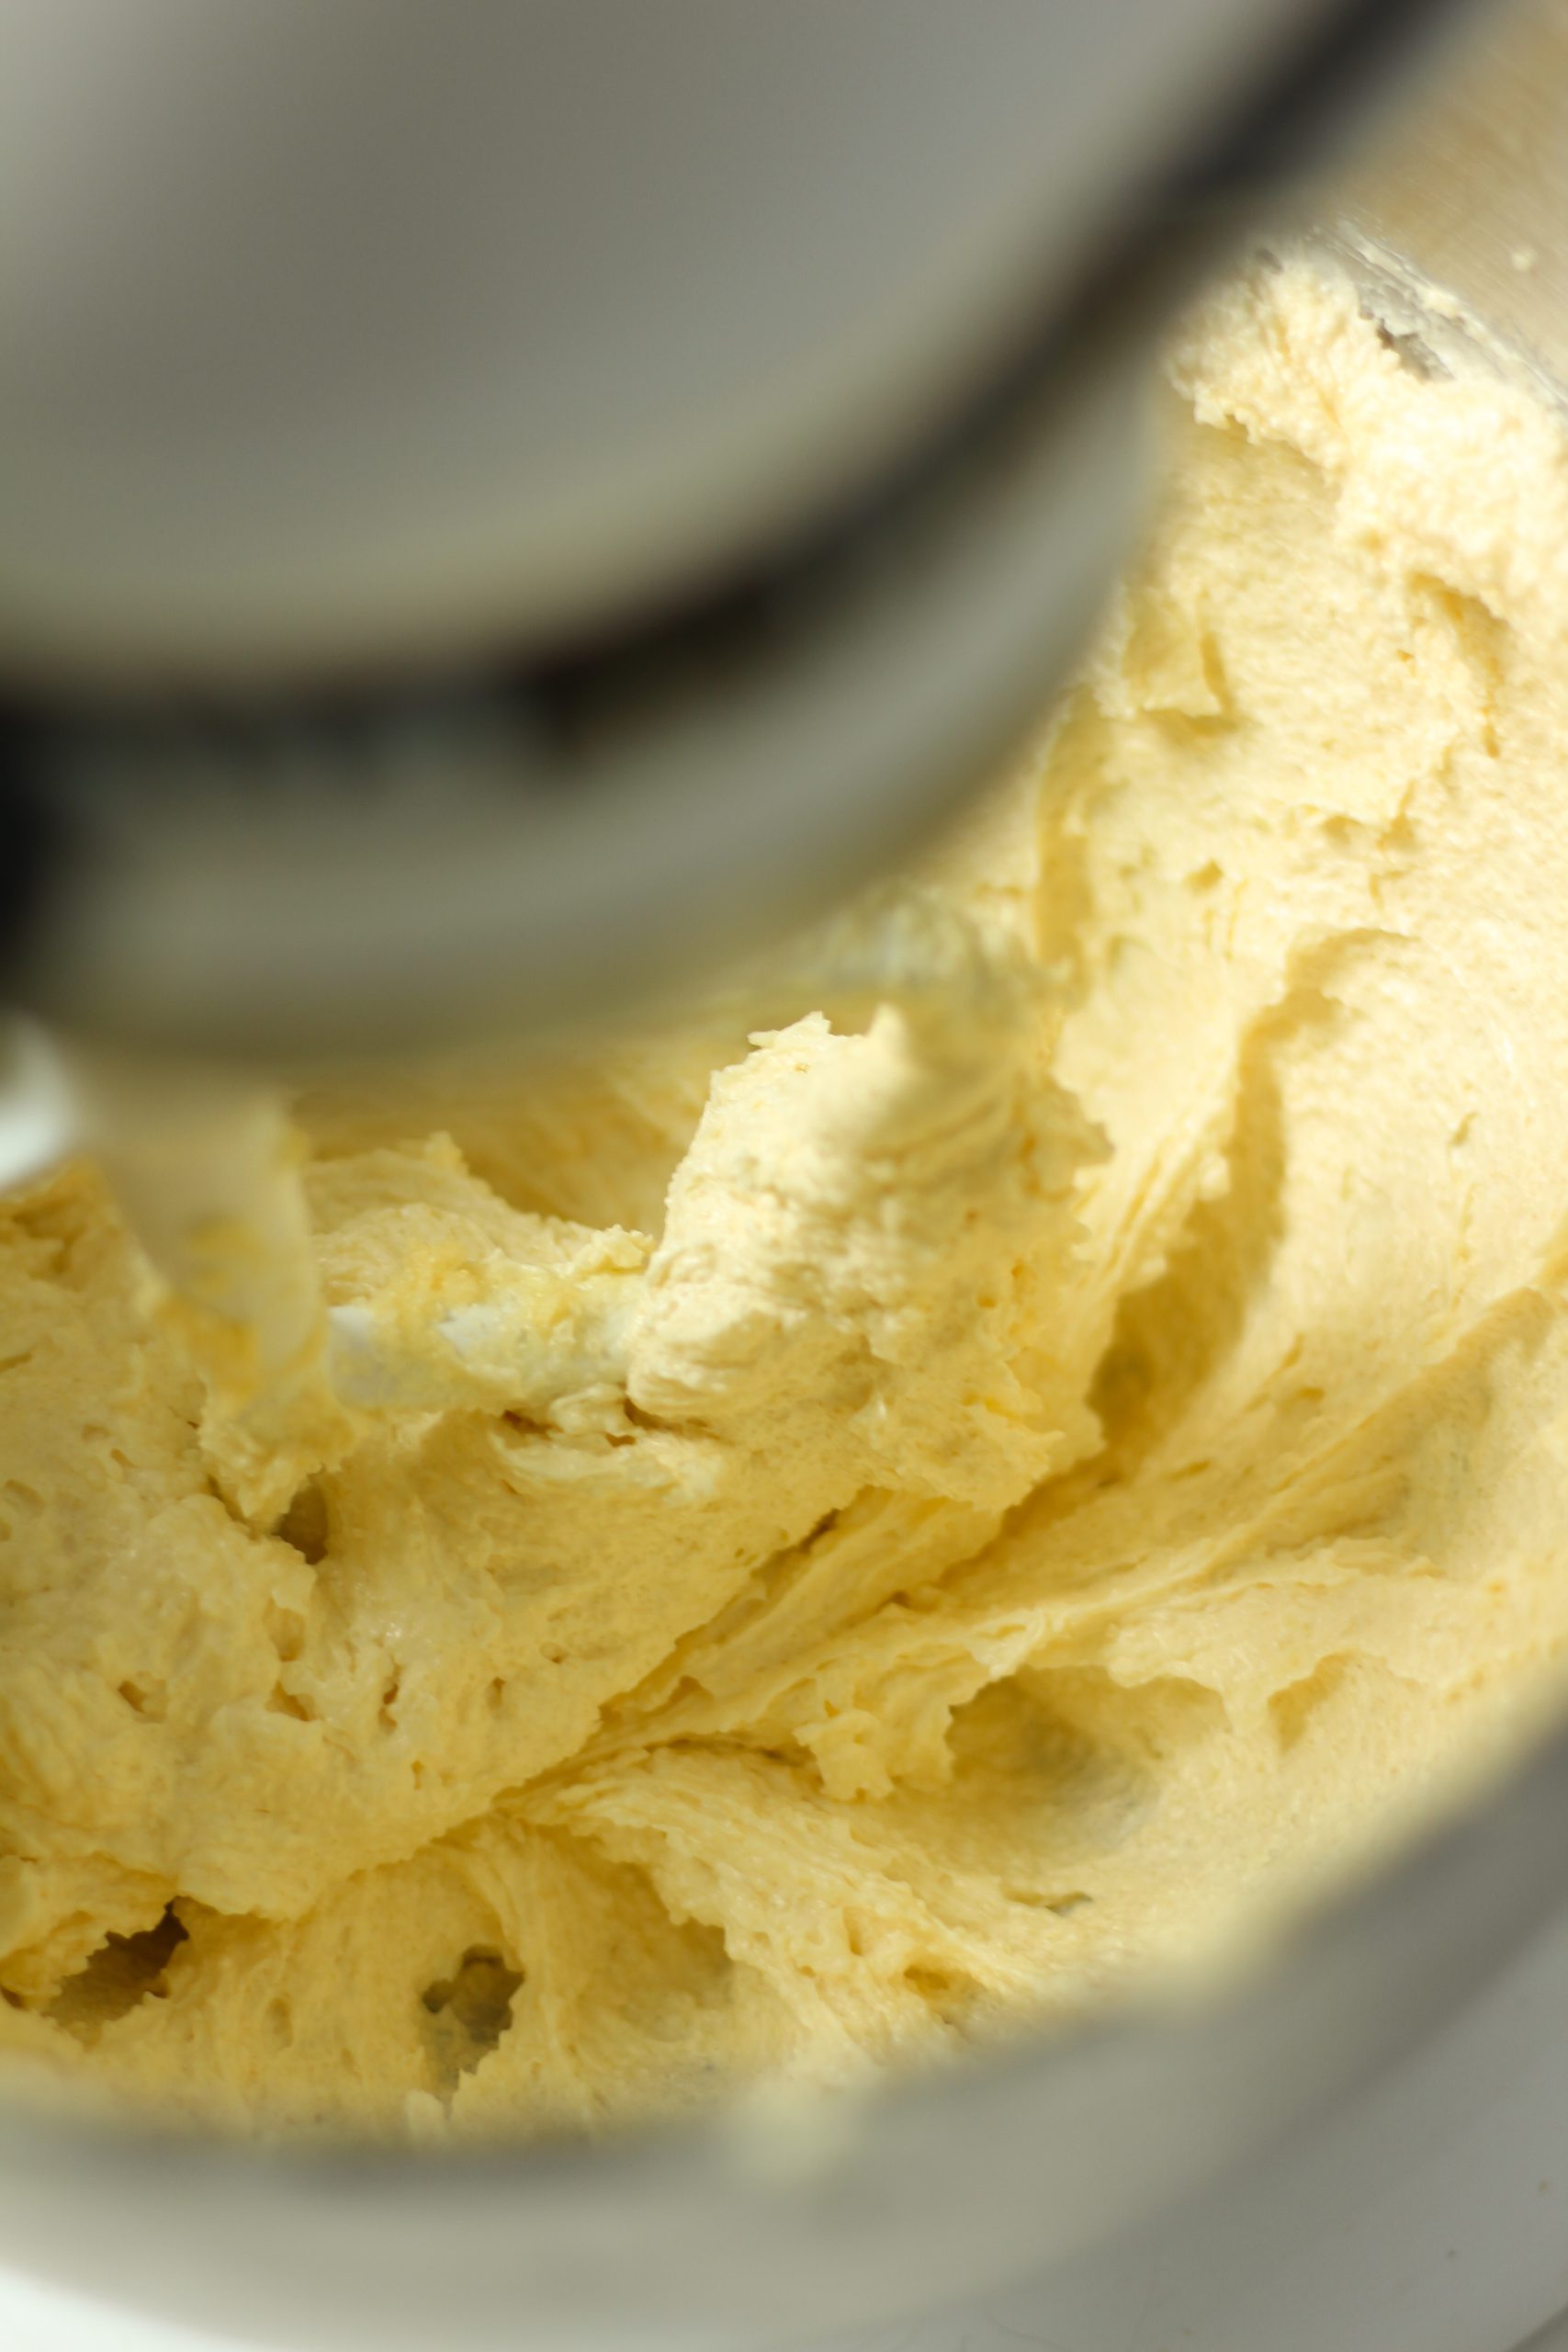
Fluffy white butter and sugar mixture

As you can see, in the standmixer bowl the butter is super fluffy here and ready to mix in the egg mixture.

Egg ilk and vanilla mixture

I added pure vanilla extract which gives the cake a delicious vanilla flavor. I put in 1 1/2 teaspoon of this vanilla extract before adding in the milk and giving it a gentle stir.

Egg vanilla and milk mixture

Now slowly add the egg into the sugar-butter mixture. In a thin stream, pour in the egg mixture. I tend to pour in one egg at a time, guiding with a spoon. I let each egg fully combine into the batter before adding the next one. 
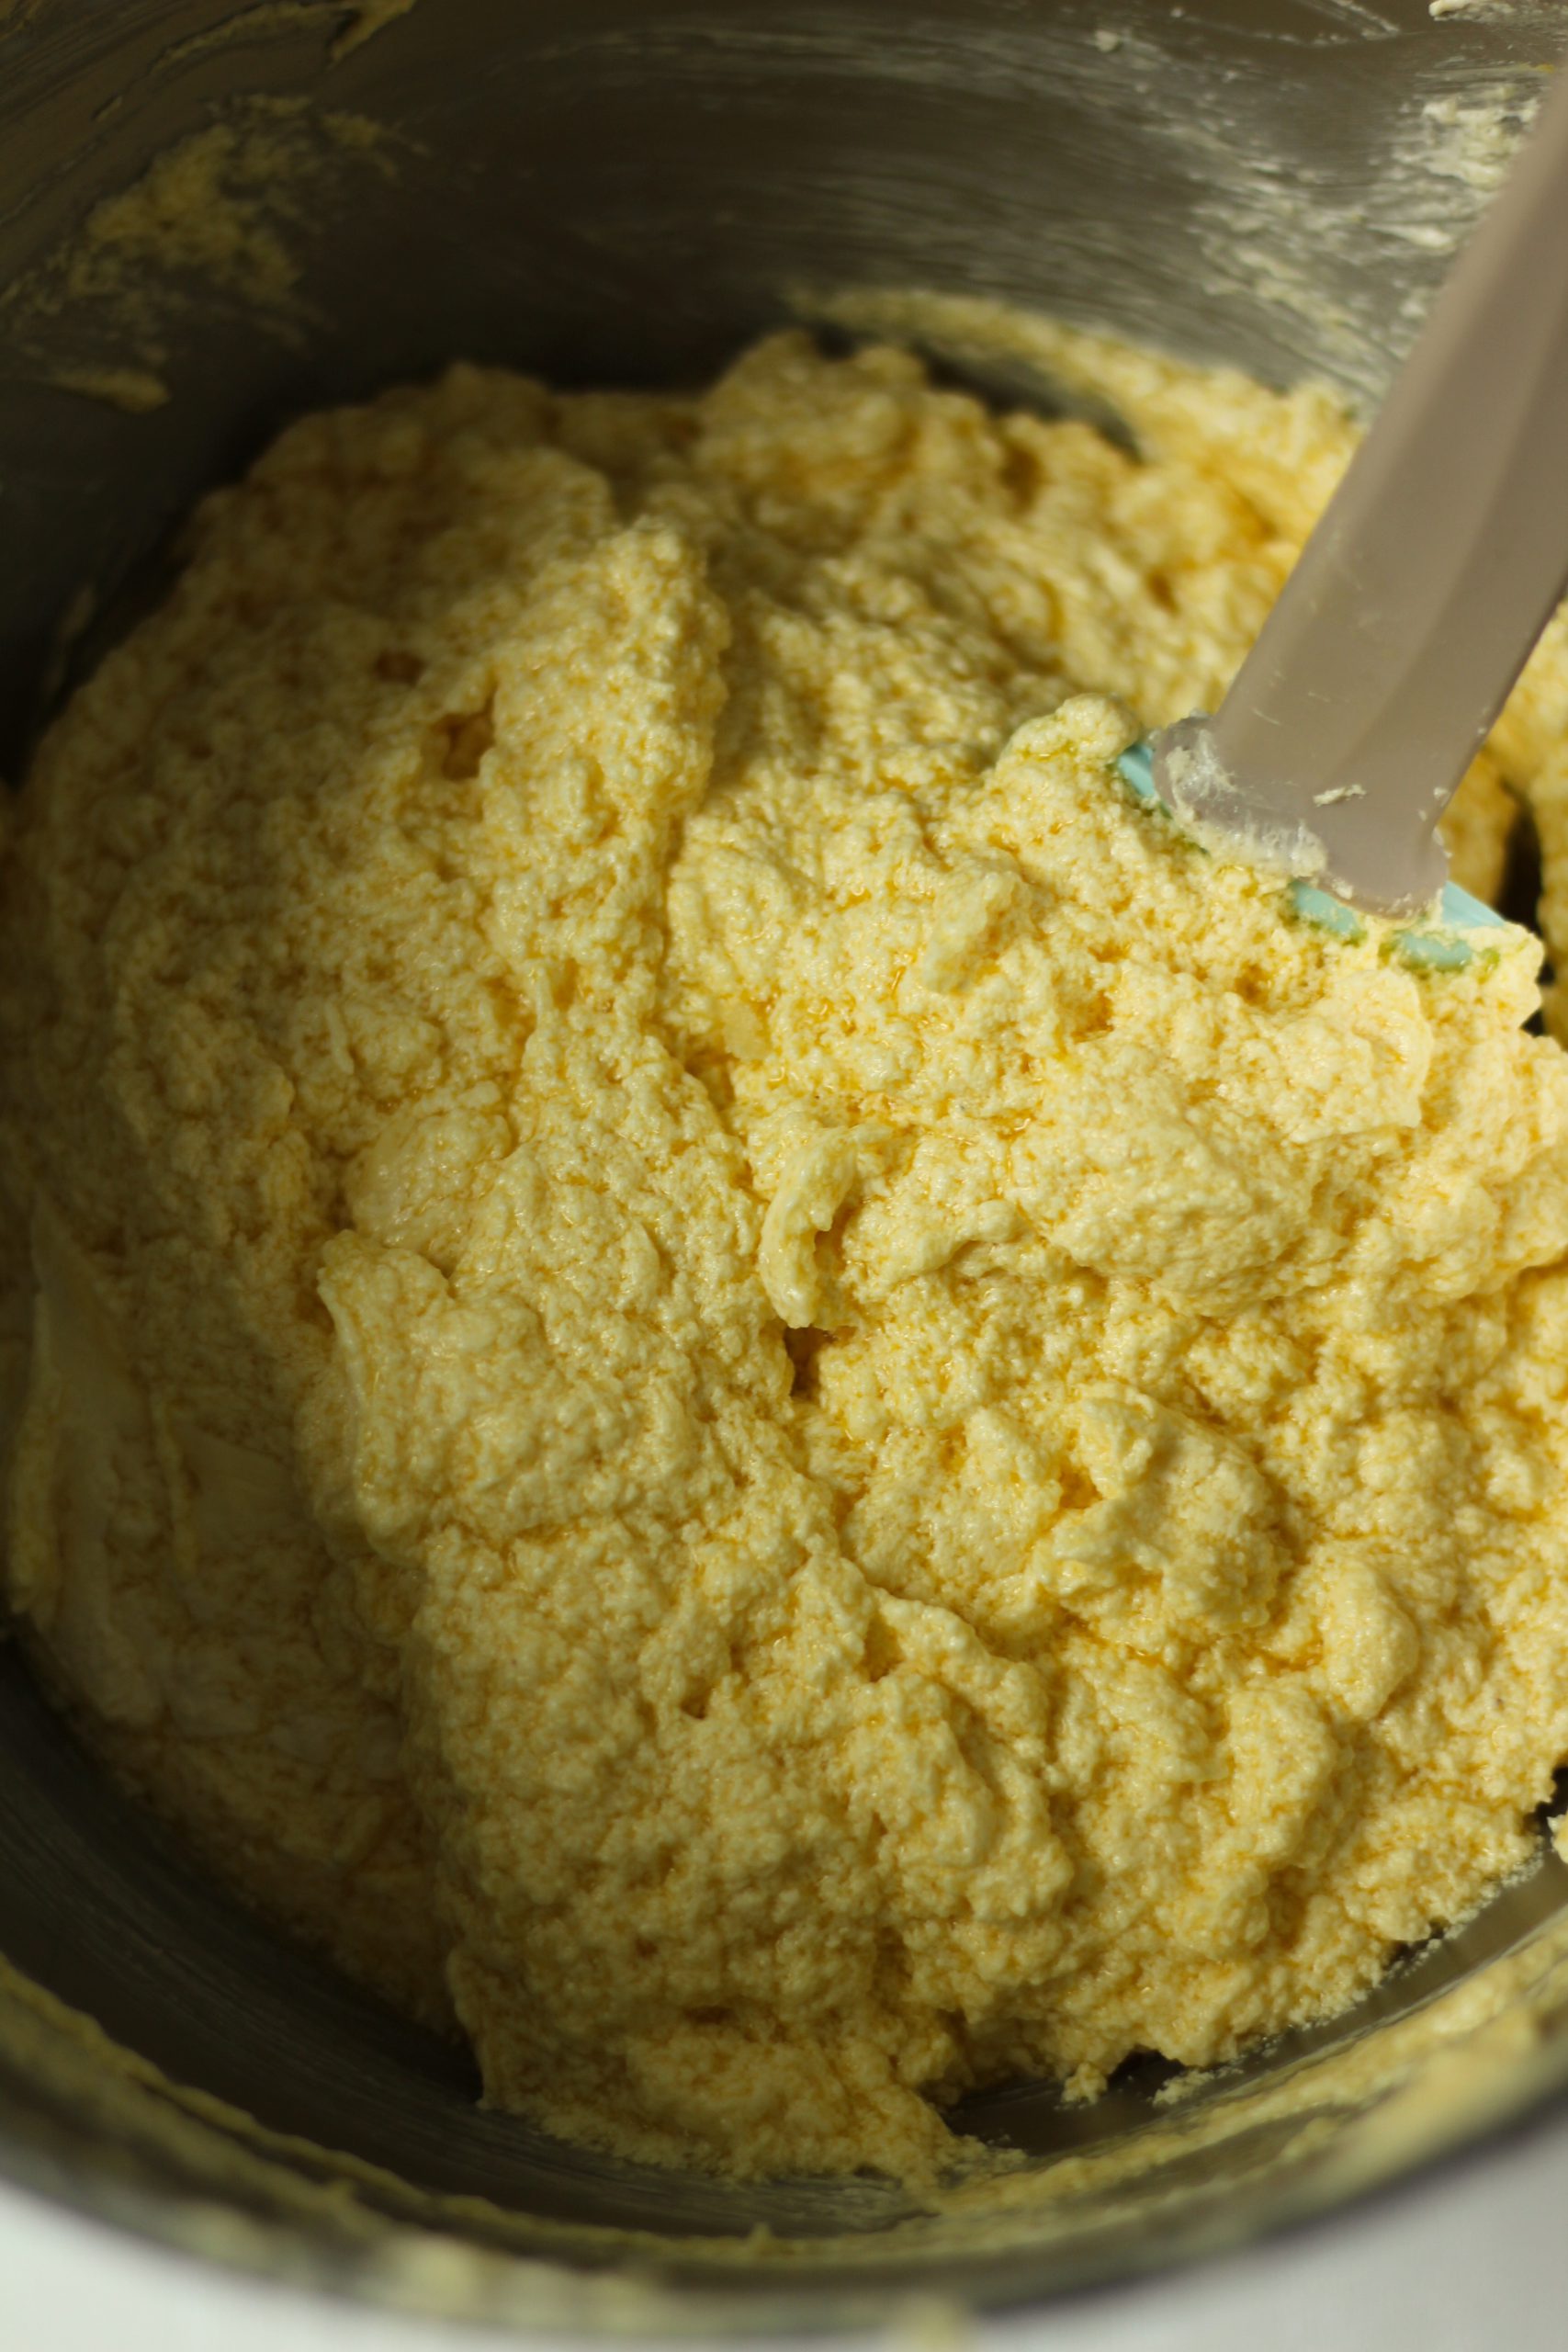
Butter, sugar and egg mixture mixed

The batter combined with the egg mixture resembles scrambled egg at this point. Don’t worry, as soon you add flour it will look perfect.
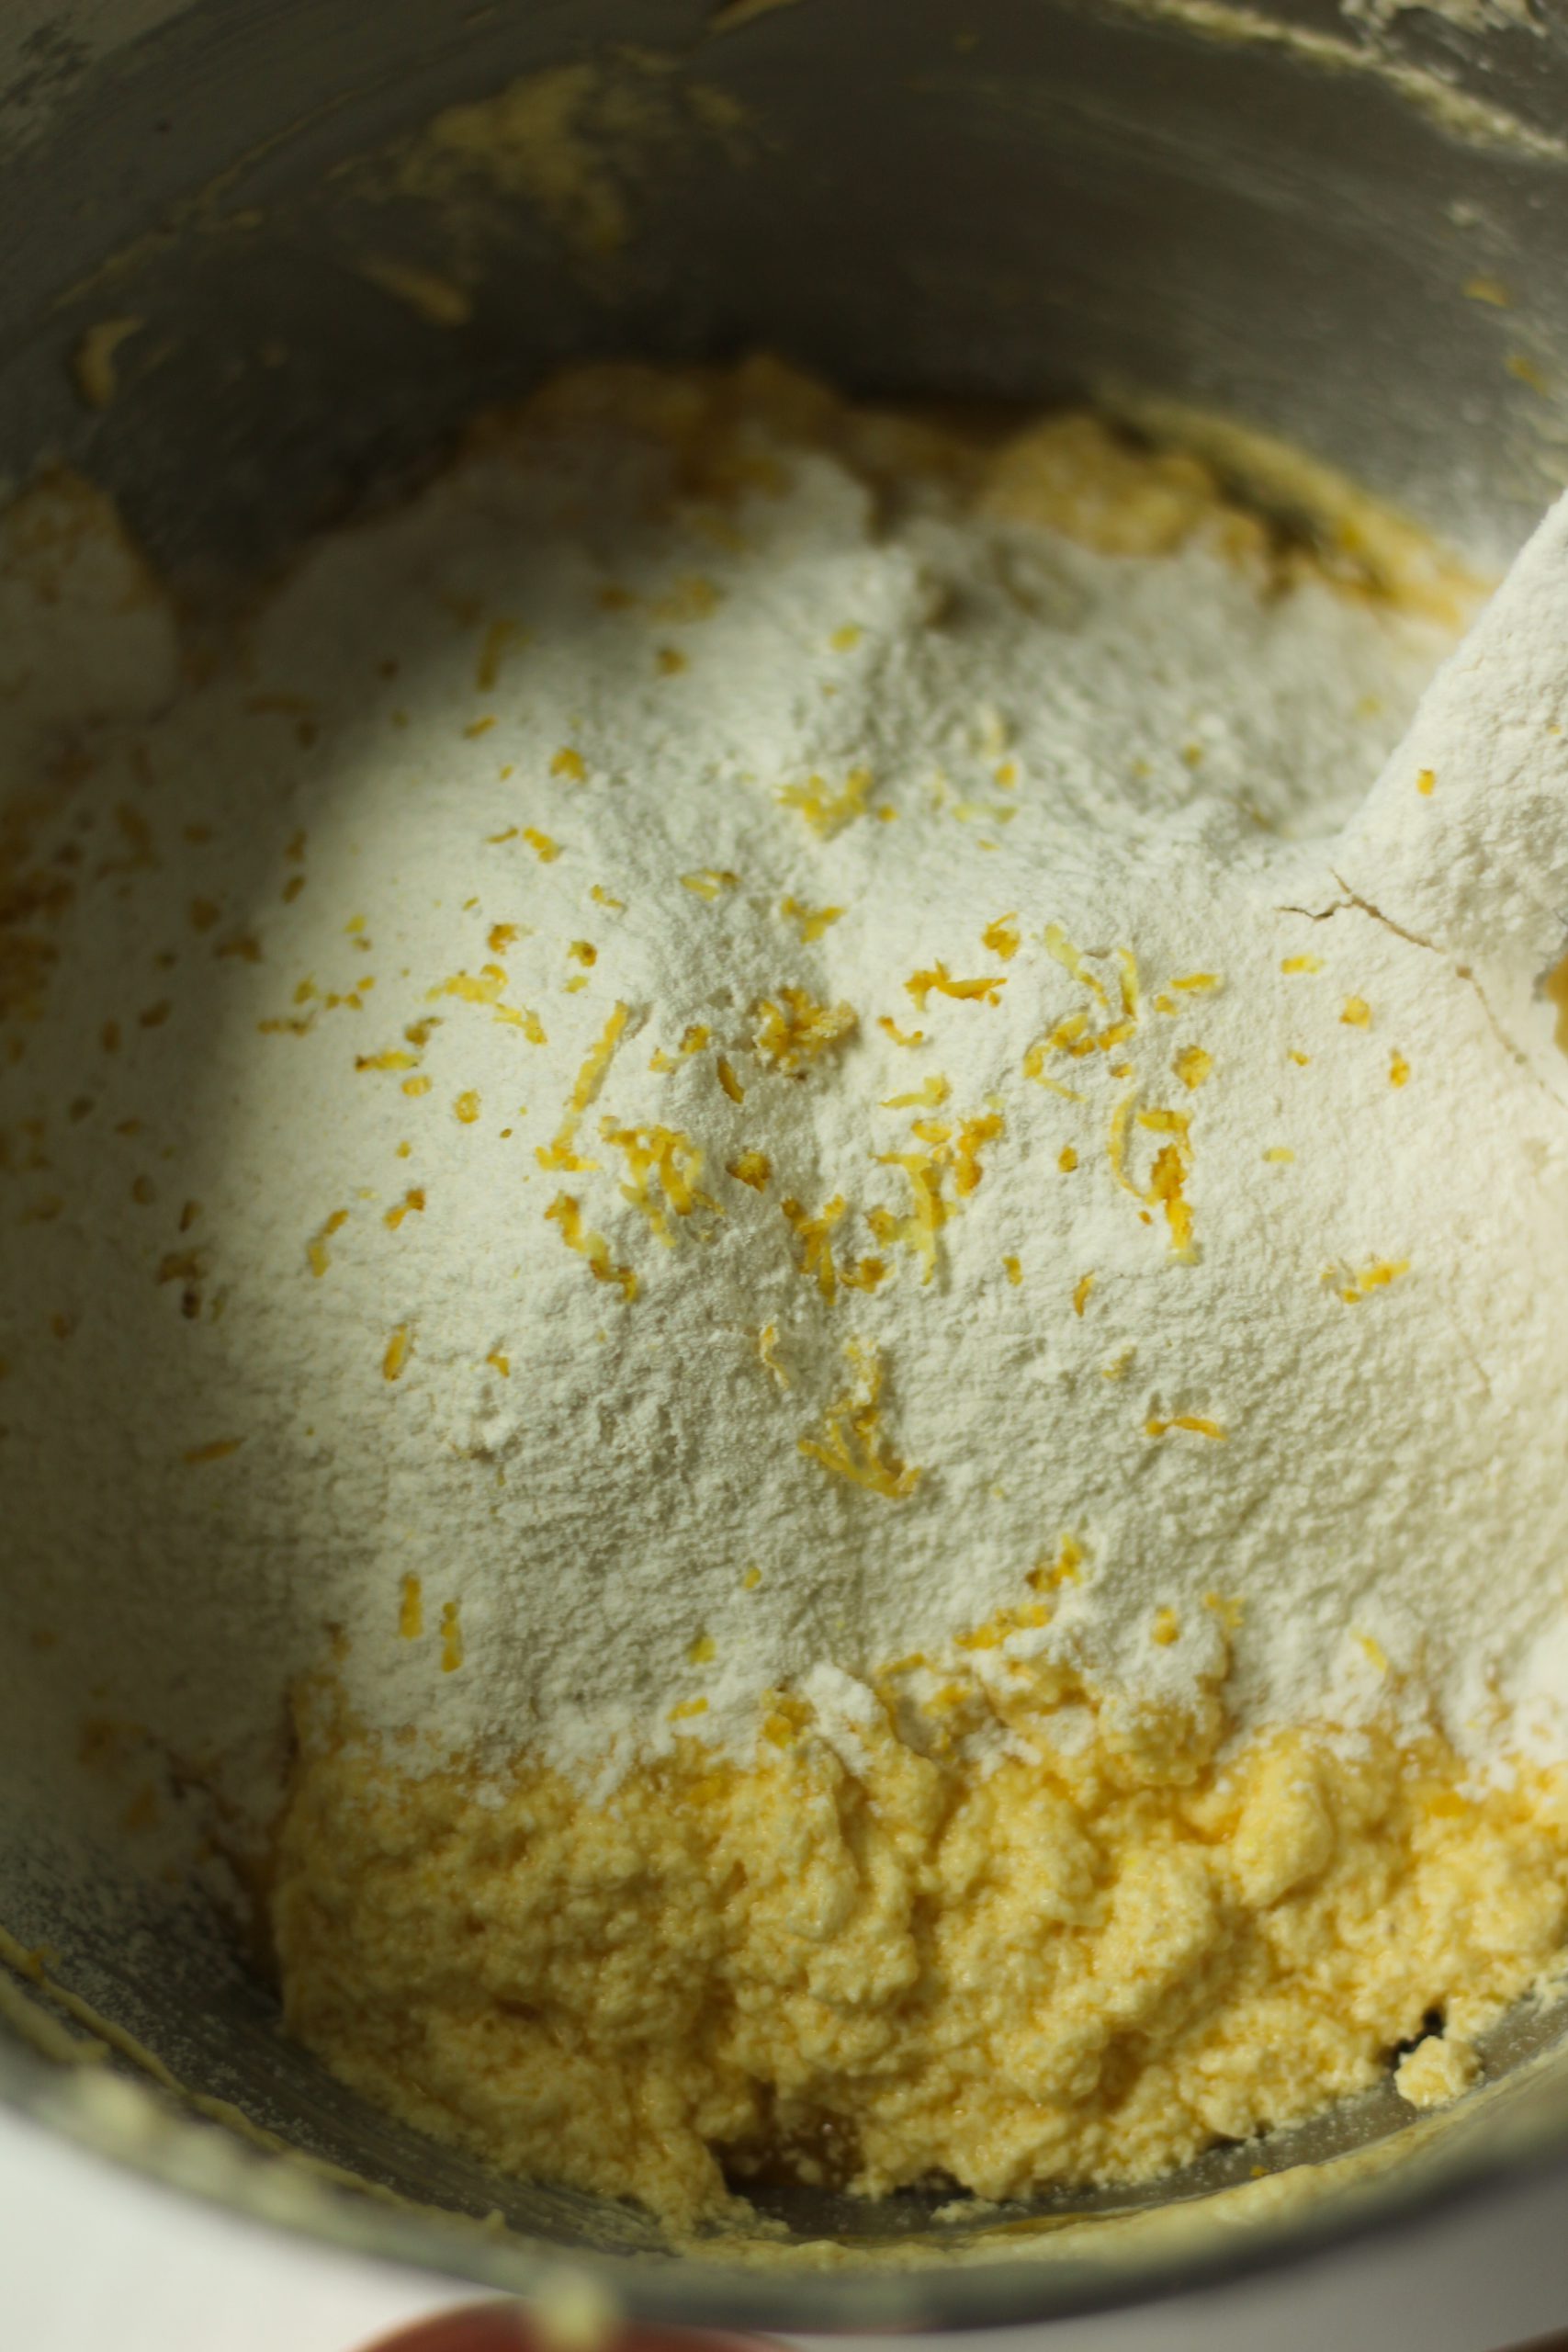
First 1/2 cup of pastry flour added with a hint of lemon zest

Place 1/2 cup of pastry flour into your butter and egg batter. Sift it over the batter and add a little lemon zest as well onto the flour. Now gently fold the flour in with a spatula. Be sure to do this gently so you keep all the beaten air in the batter. Once the first addition is incorporated into the batter, add the next 1/2 cup of sifted pastry flour, and repeat until all the flour is incorporated.
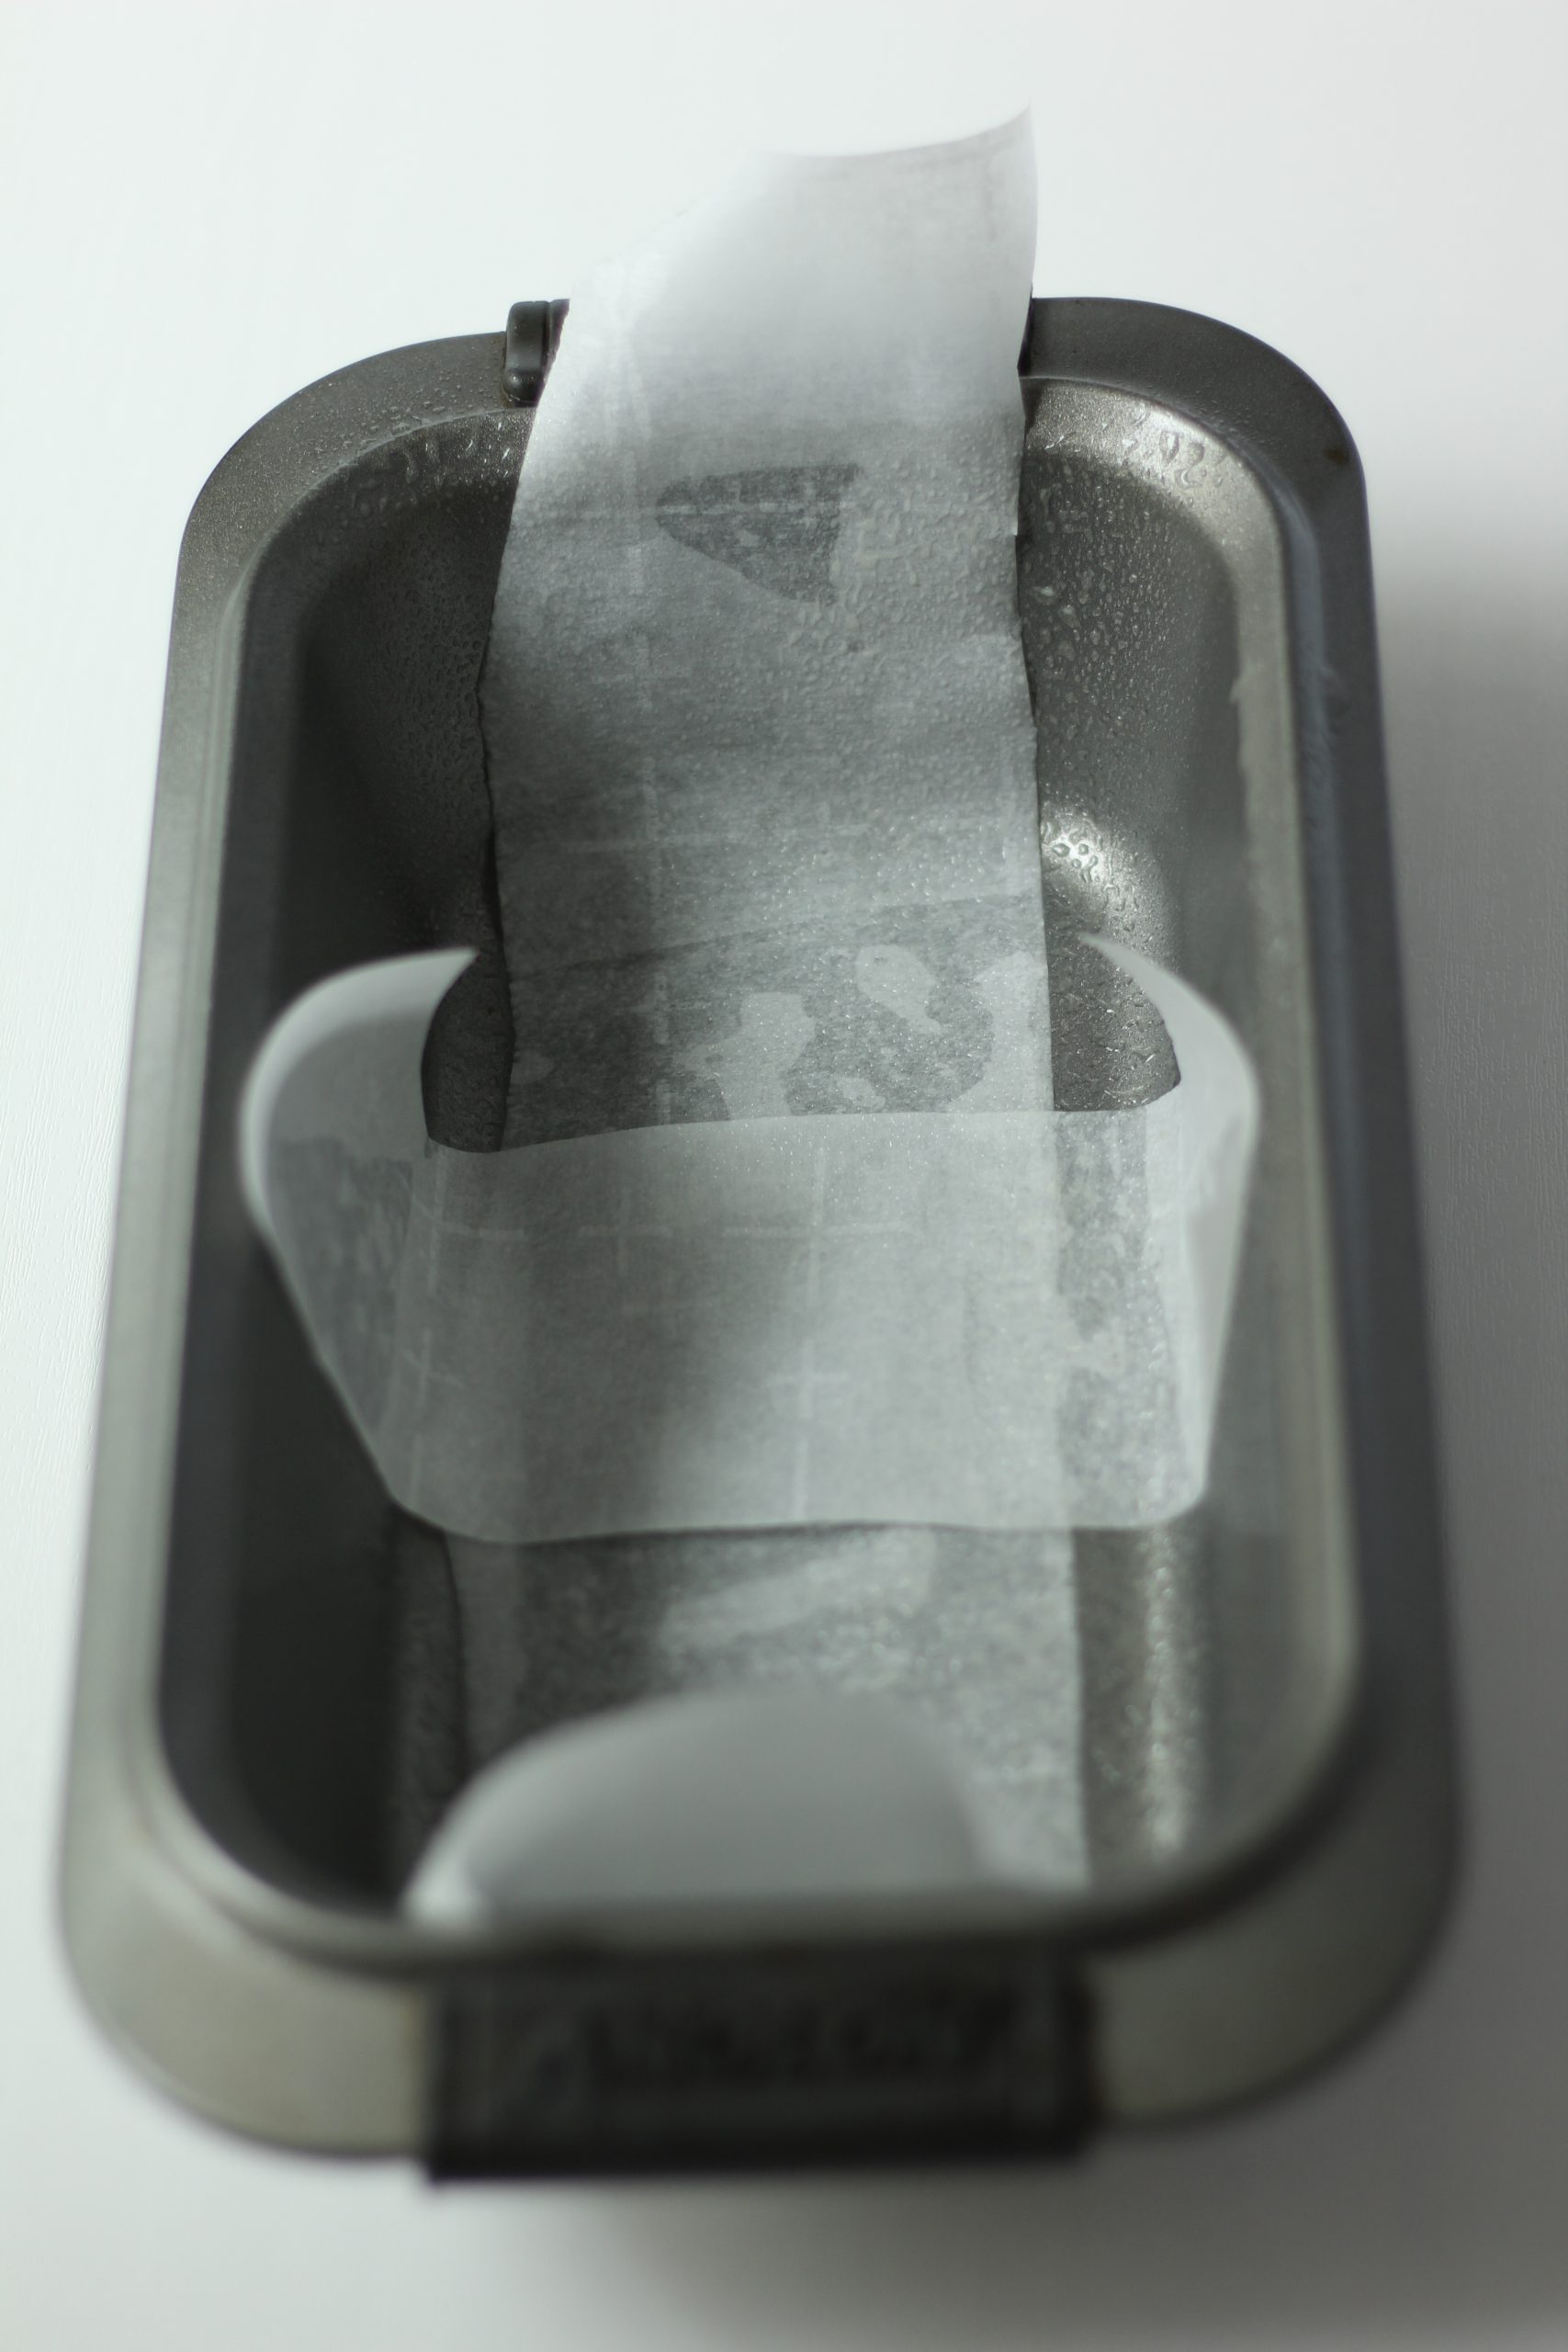
Prepared pan with parchment paper

Grease the baking pan and line it with parchment paper as seen in the picture above. The parchment will allow you to easily remove your cake from the pan when it is done baking.
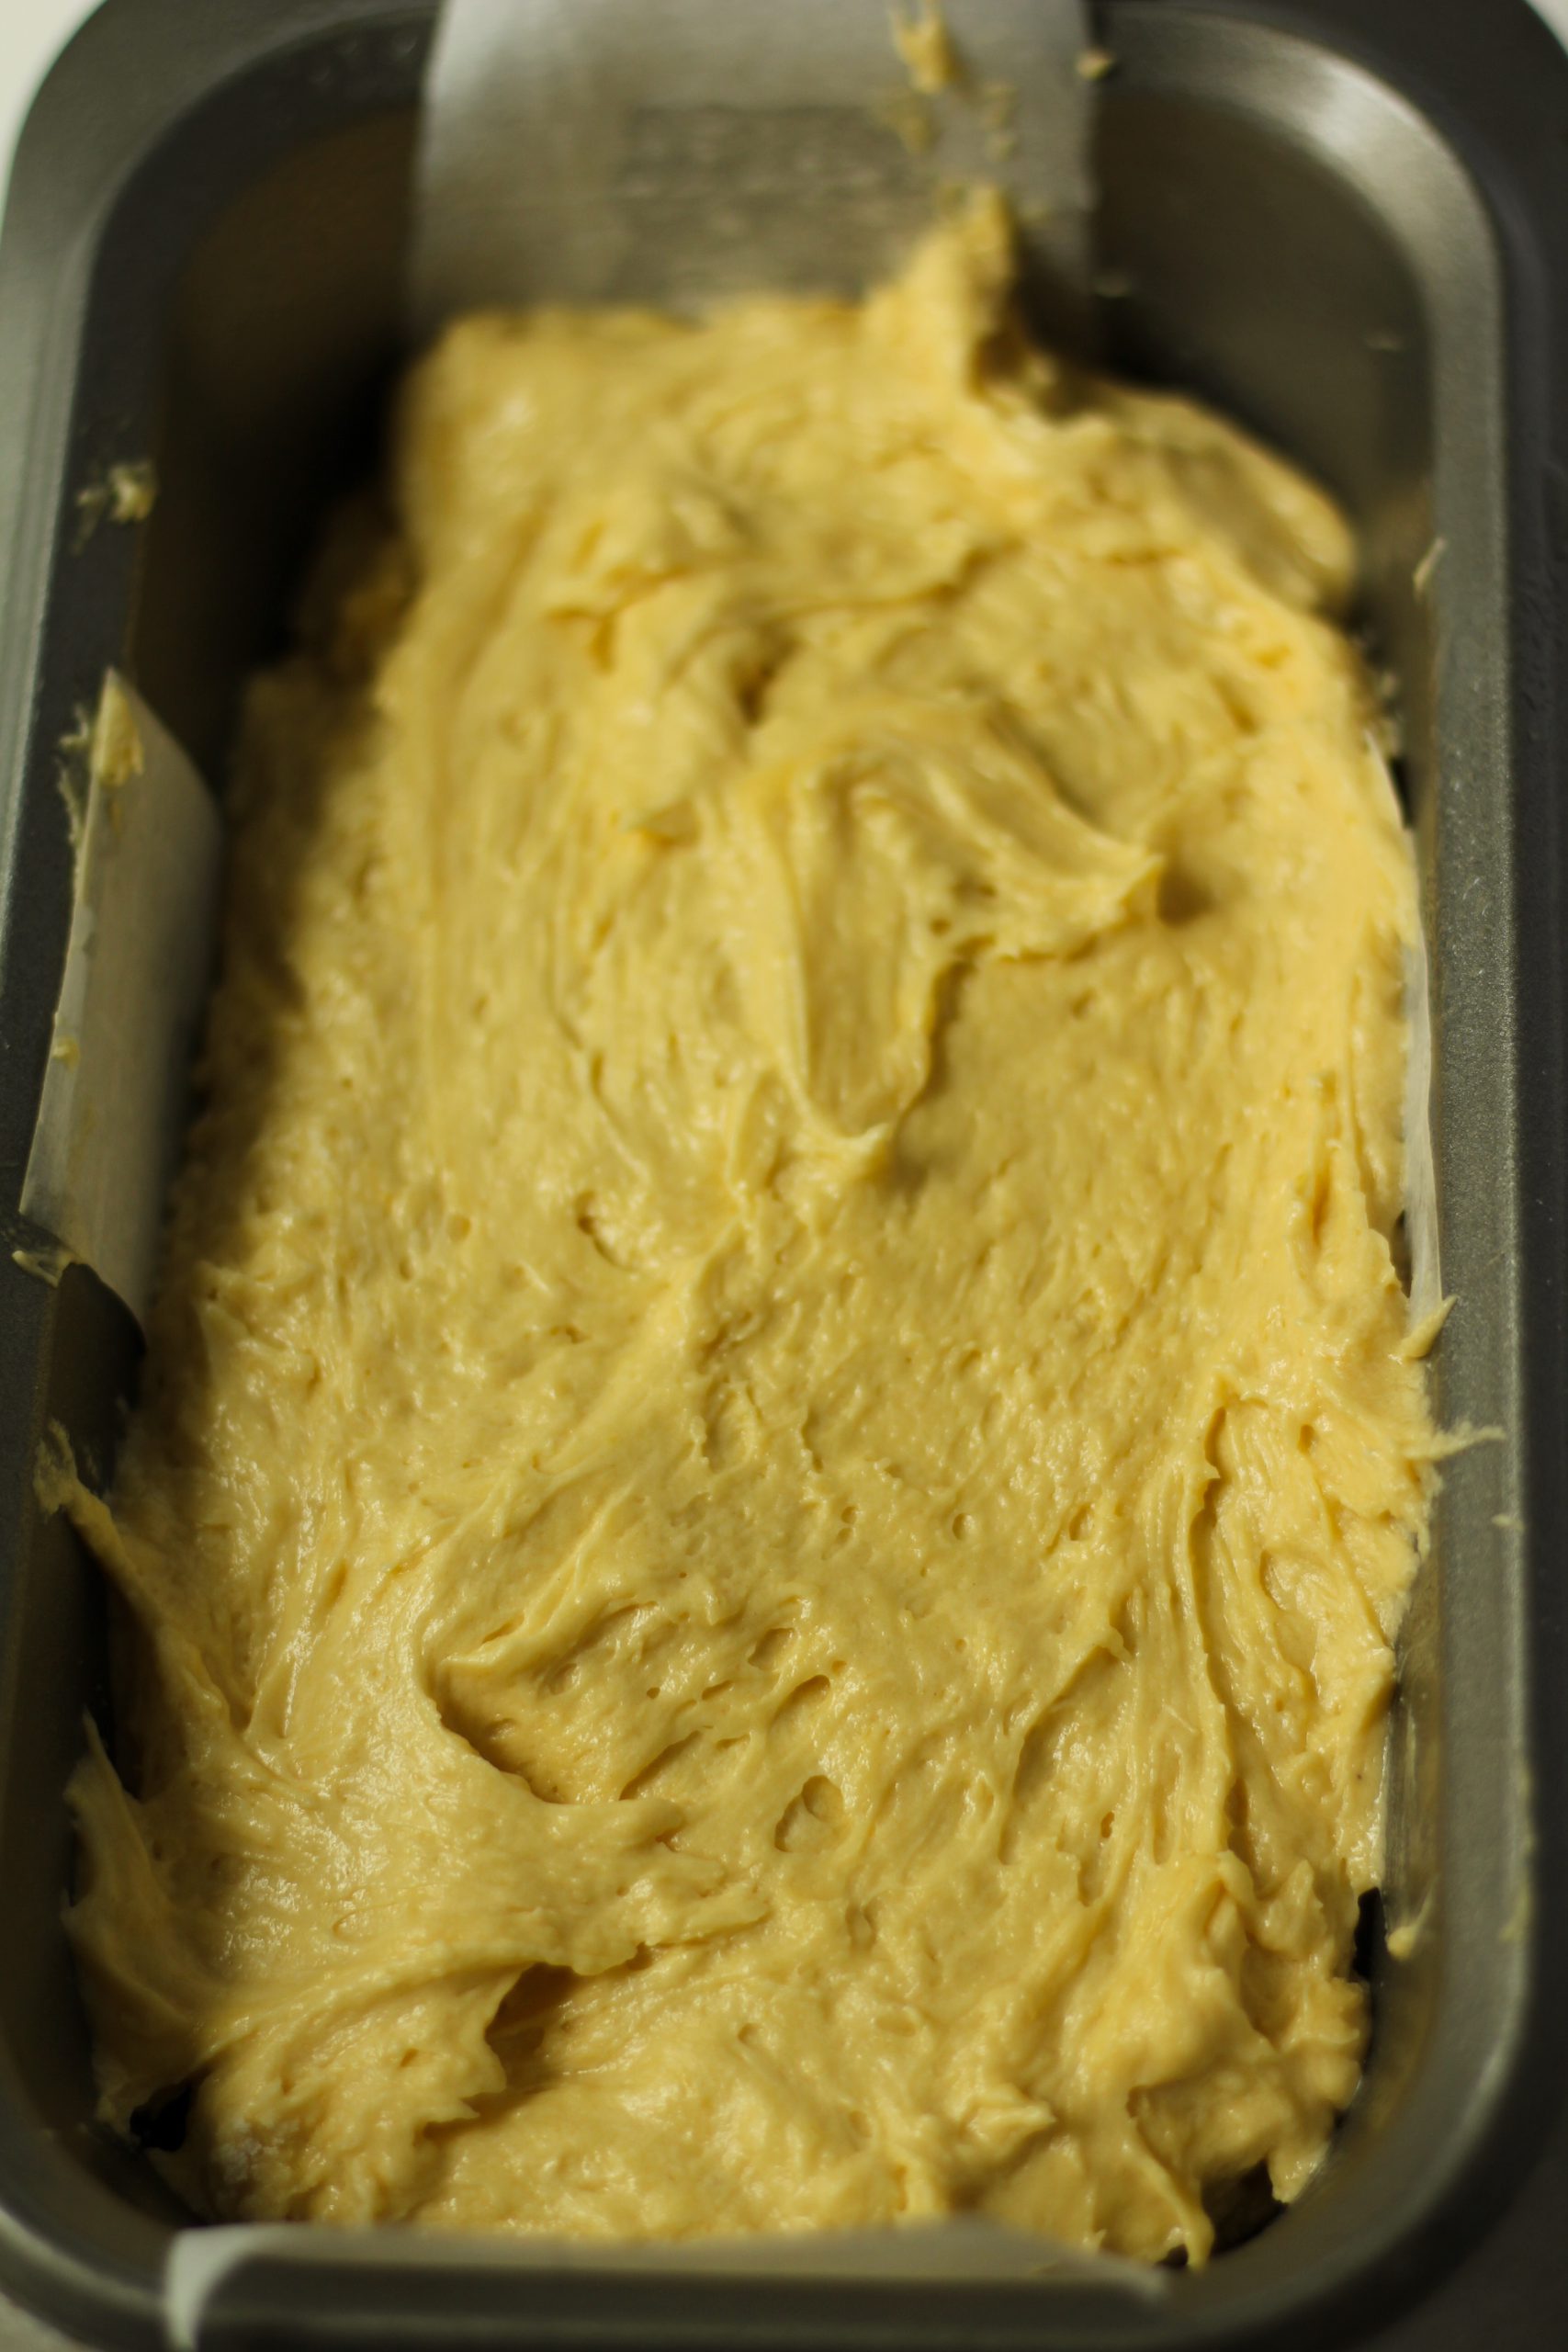
Pound cake batter in loaf pan

Gently pour the batter into your prepared pan, and smooth the top with a spatula.

Bake in a preheated oven set to 325 degrees Fahrenheit until a toothpick comes out clean.  This takes around 60-70 minutes. Every oven bakes differently so keep a close eye on the pound cake near the end.
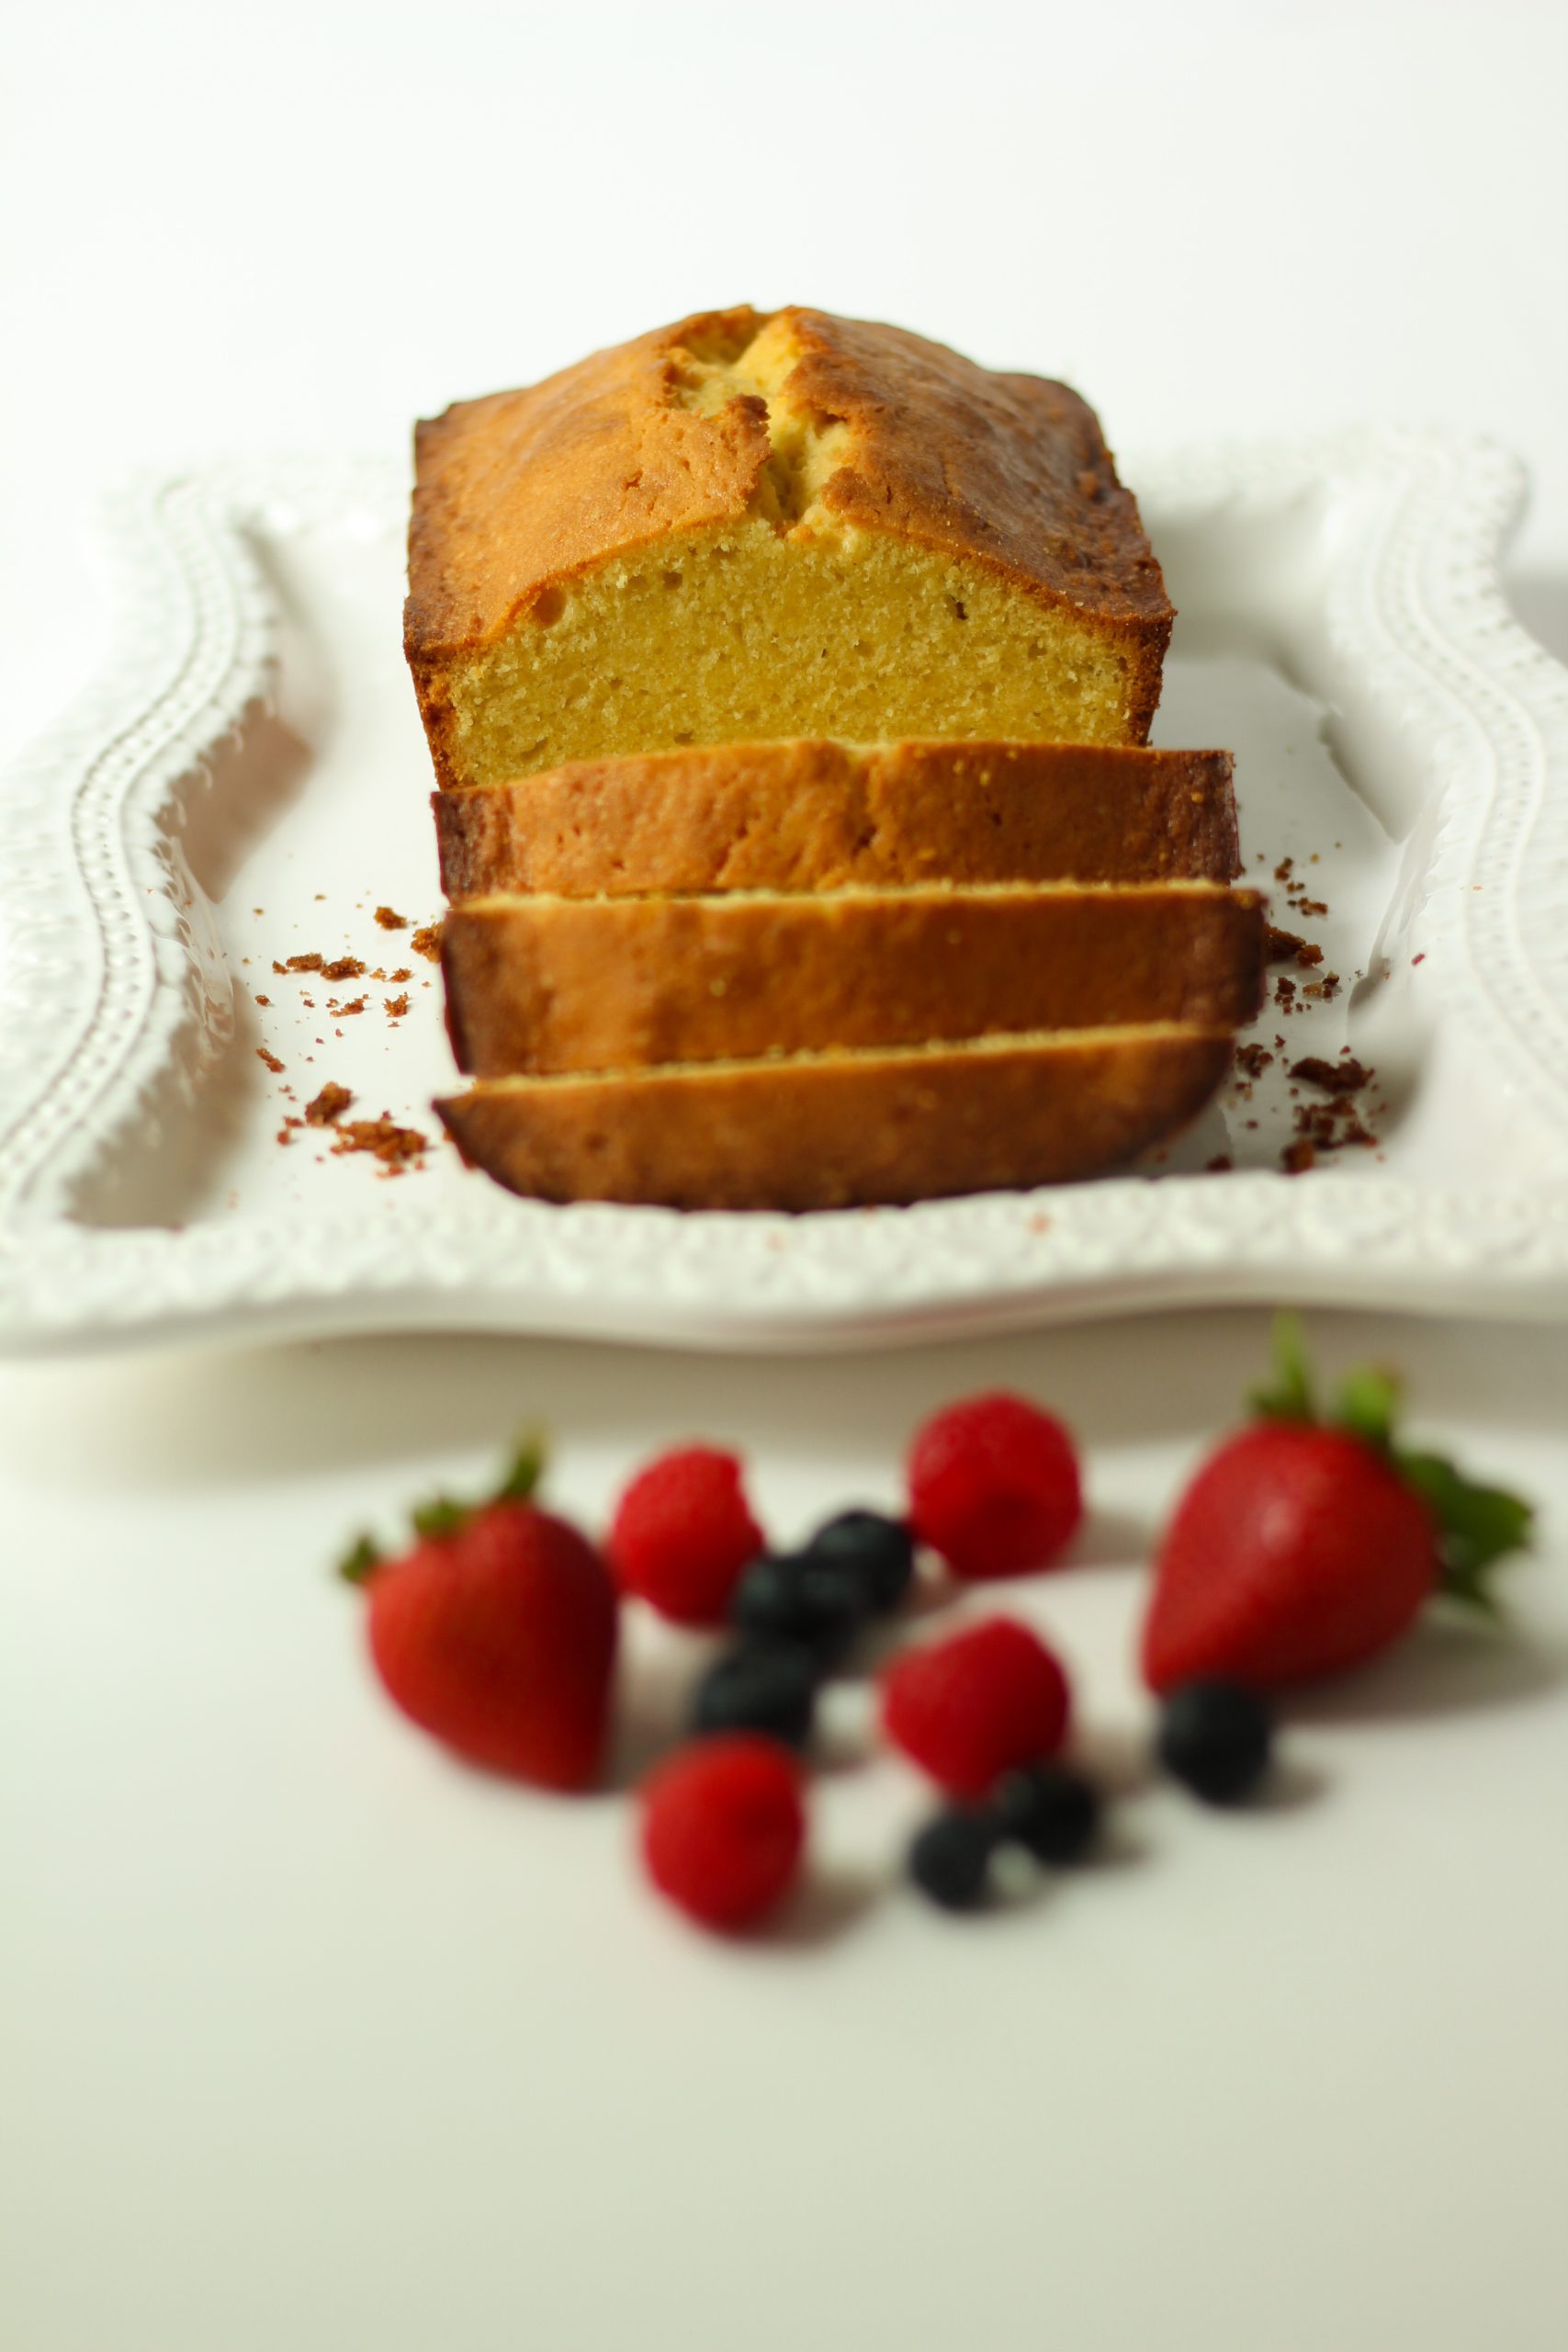
Pound cake

The cake can also be used in a trifle.

Pound Cake

This rich and buttery pound cake melts in your mouth. The hint of freshness from the lemon zest balances out the sweet from the sugar and vanilla. Pound cake is good on its own or delicious with some fresh fruit and whipped cream on top.
Prep Time30 minutes
Cook Time1 hour 10 minutes
Course: Dessert
Cuisine: cake
Keyword: pound cake, vanilla pound cake, vannila cake
Author: Ester van Boesschoten

Ingredients

  • 14 Tablespoons Unsalted butter room temperature
  • 1 Cup Cane sugar
  • 4 Eggs room temperature
  • 1 1/2 Teaspoons vanilla extract
  • 1 1/2 Tablespoons Whole milk
  • 1/2 Teaspoon Salt
  • 1 1/2 Cups Pastry flour
  • Zest Lemon

Instructions

  • Adjust the oven rack to the middle position and heat the oven to 325 Fahrenheit. Grease a 9” by 5” loaf pan. Line it with parchement paper and grease it.
  • Beat the butter and sugar in the bowl of a standing mixer at medium-high speed until light, fluffy and almost white. This takes about 4-5 minutes, stopping the mixer once or twice to scrape down the sides of the bowl.
  • In a different bowl, stir together the eggs, vanilla and milk. With the mixer running at medium speed add egg mixture to the butter and sugar in a very slow, thin stream. Finally beat in the salt.
  • Place 1/2 cup of pastry flour in a sieve and sift it over the batter. Fold gently with a rubber spatula, scraping up from the bottom of the bowl, until the flour is incorporated. Repeat twice more, adding flour in 1/2 cup increments.
  • Pour the batter into the prepared pan, smoothing the top with a spatula.
  • Bake in a preheated oven of 325 Fahrenheit until a toothpick comes out clean, about 60-70 minutes. The cake should be a nice golden brown.
  • Let the cake rest in the pan on a cooling rack for 5 minutes before removing it from the pan. After you remove it from the pan, let it cool to room temperature.

 Blueberry lemon scones

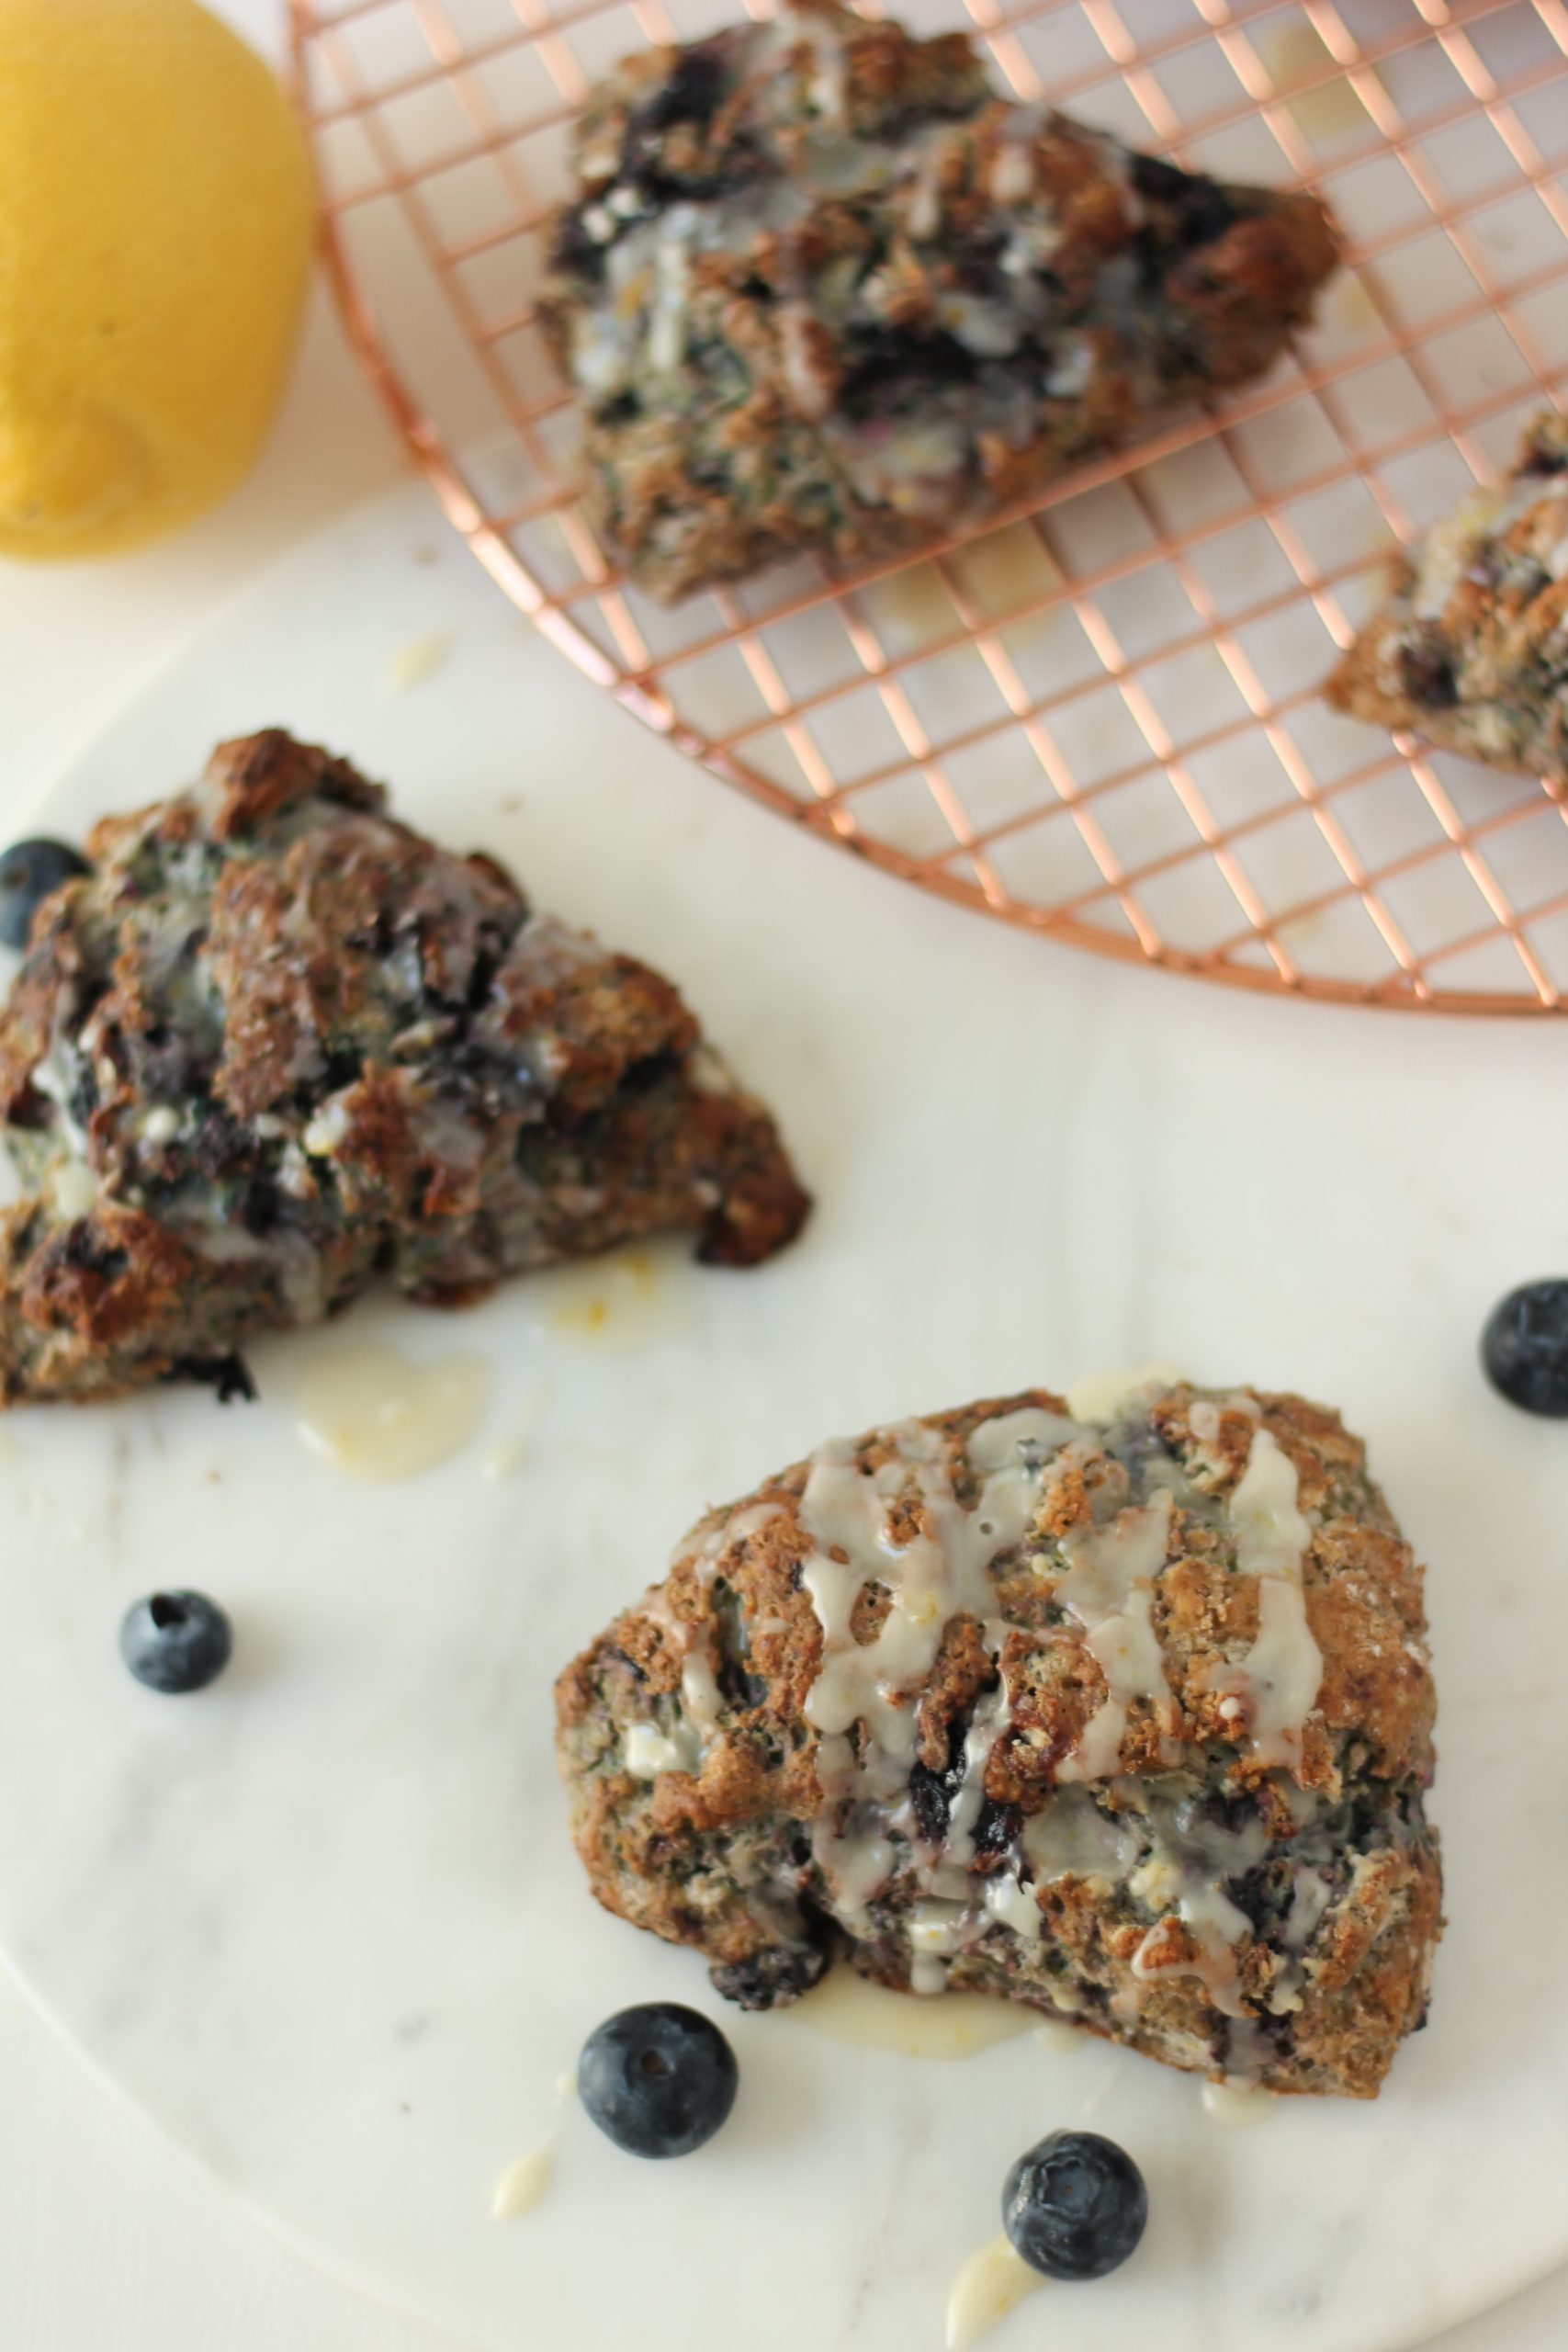
At my local coffee shop they have these delicious blueberry lemon scones. What I love about them is that they are blue on the inside. However, I often wish that blueberry taste was more powerful. I had to try and make my own version of them to kick that flavor up a notch!

These scones are light and have a cake-like texture. The blueberry compote I added made a beautiful blue dough that keeps its color even after it is baked. 
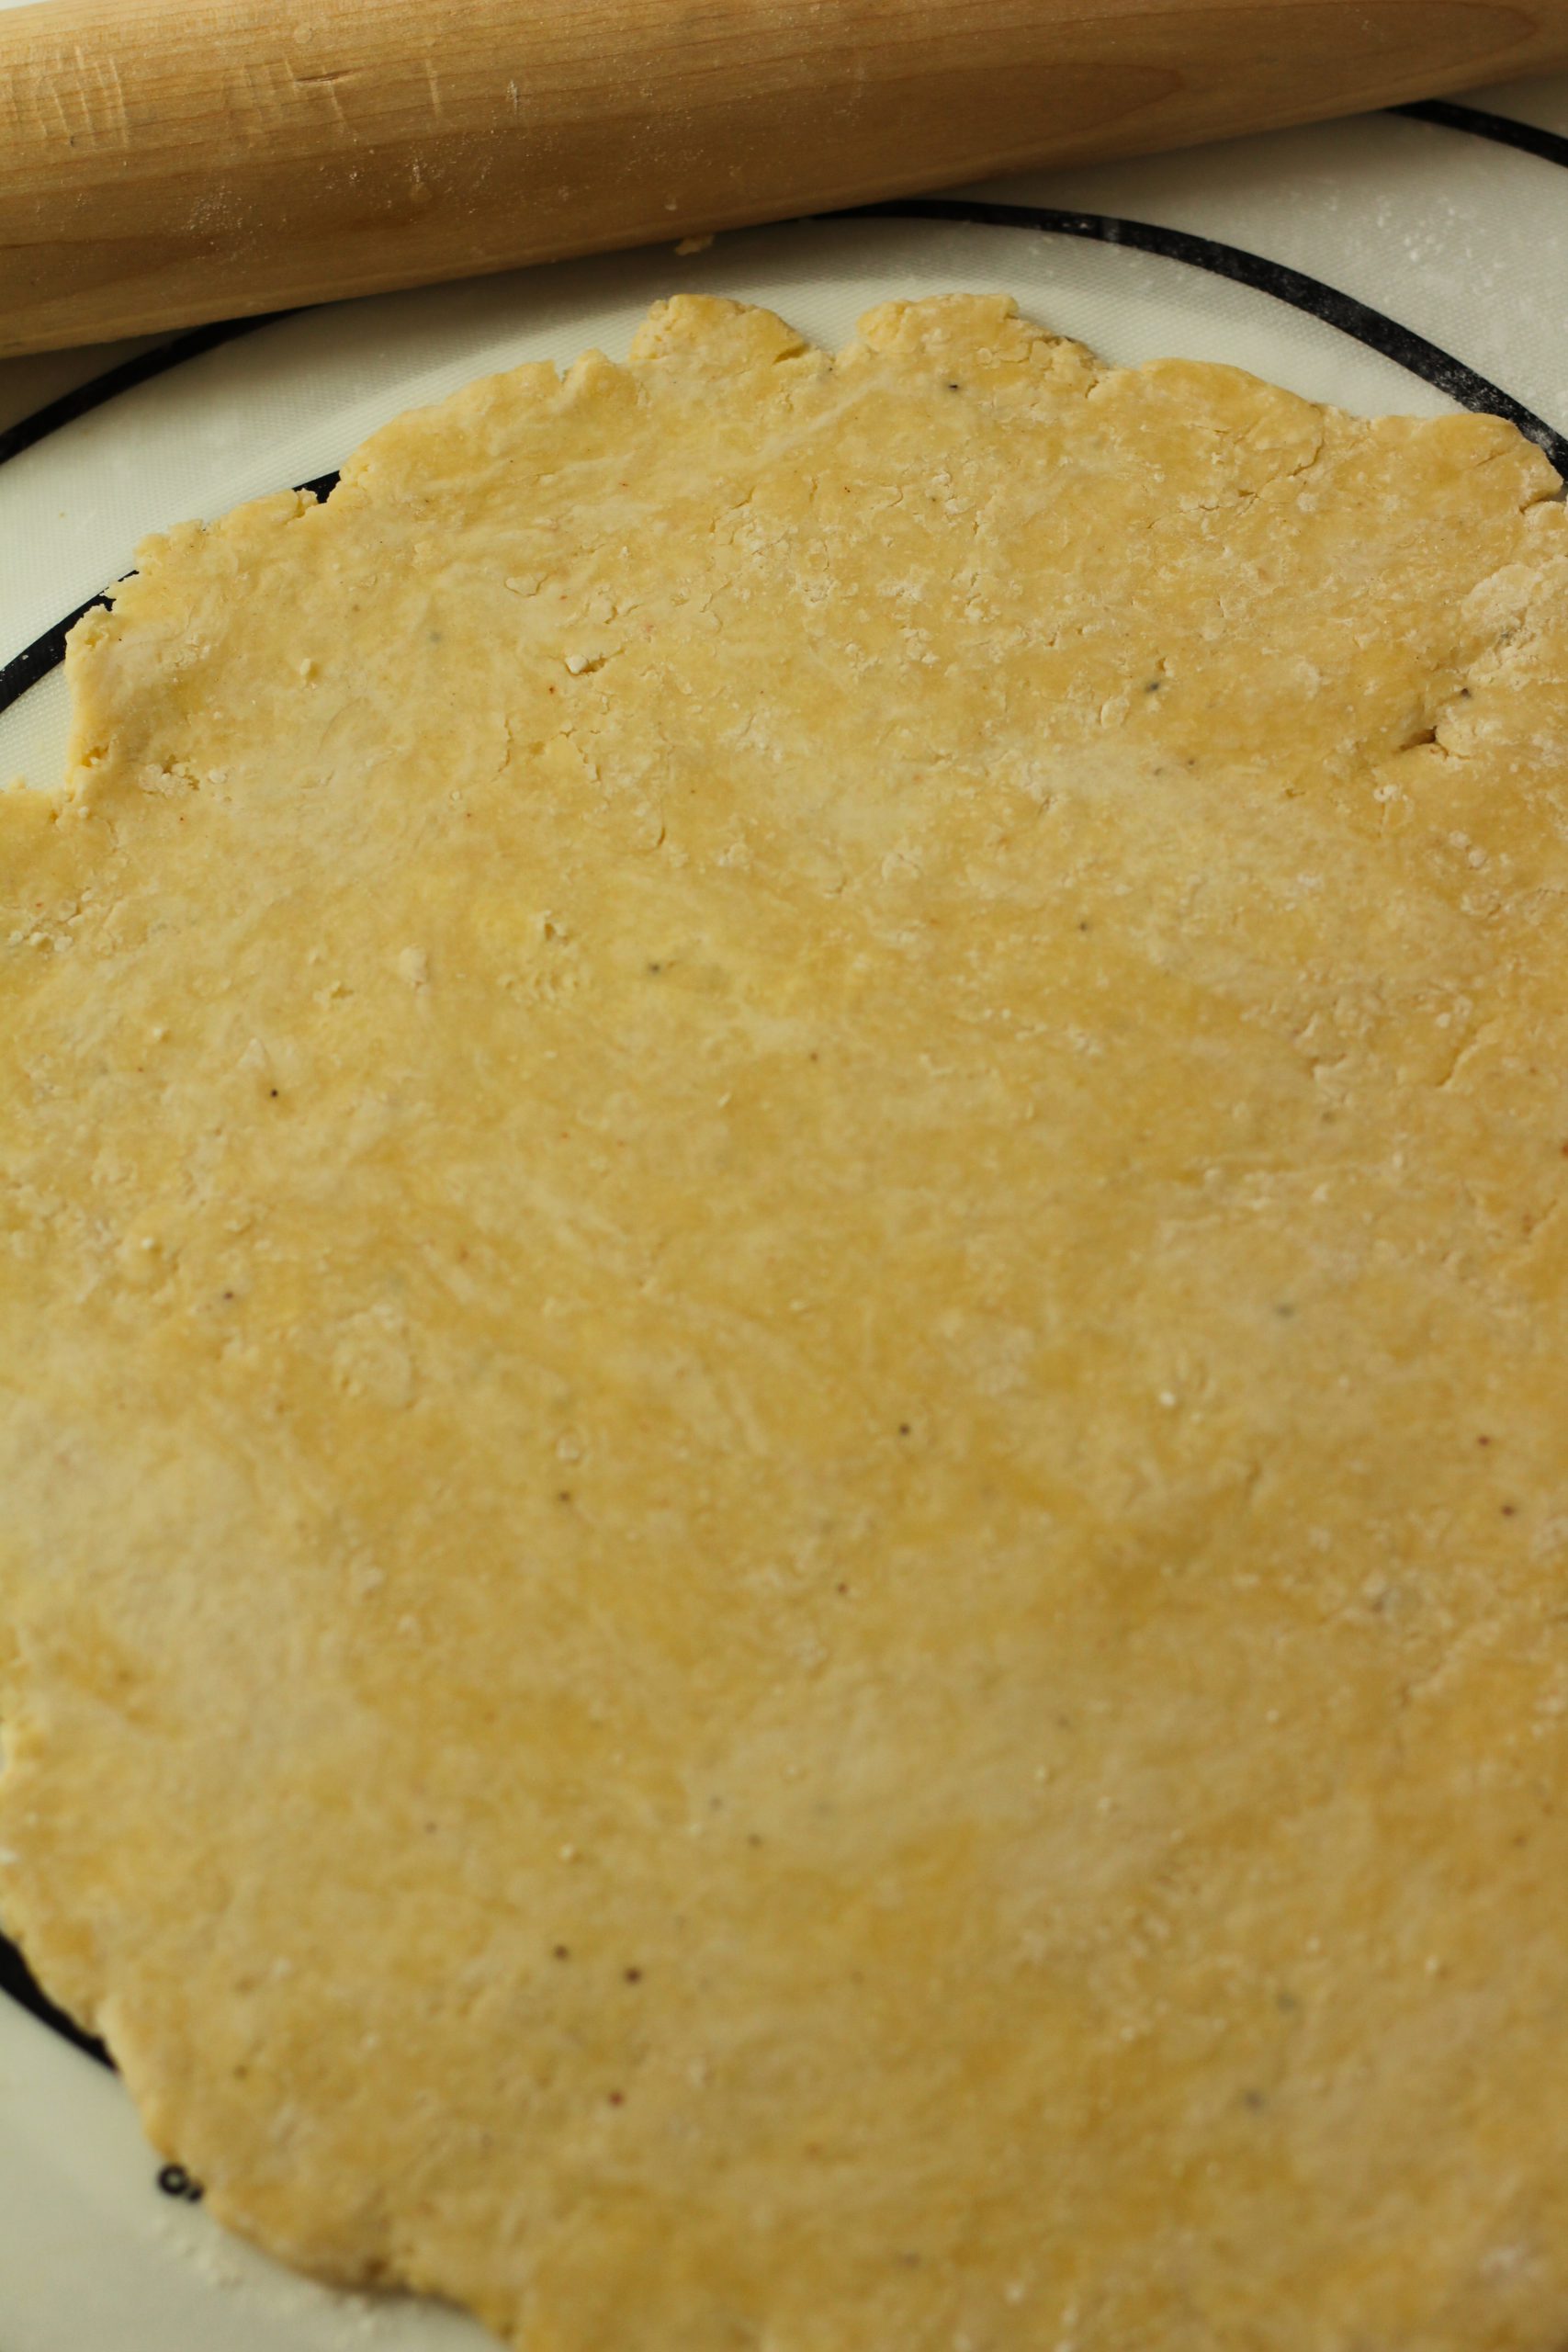
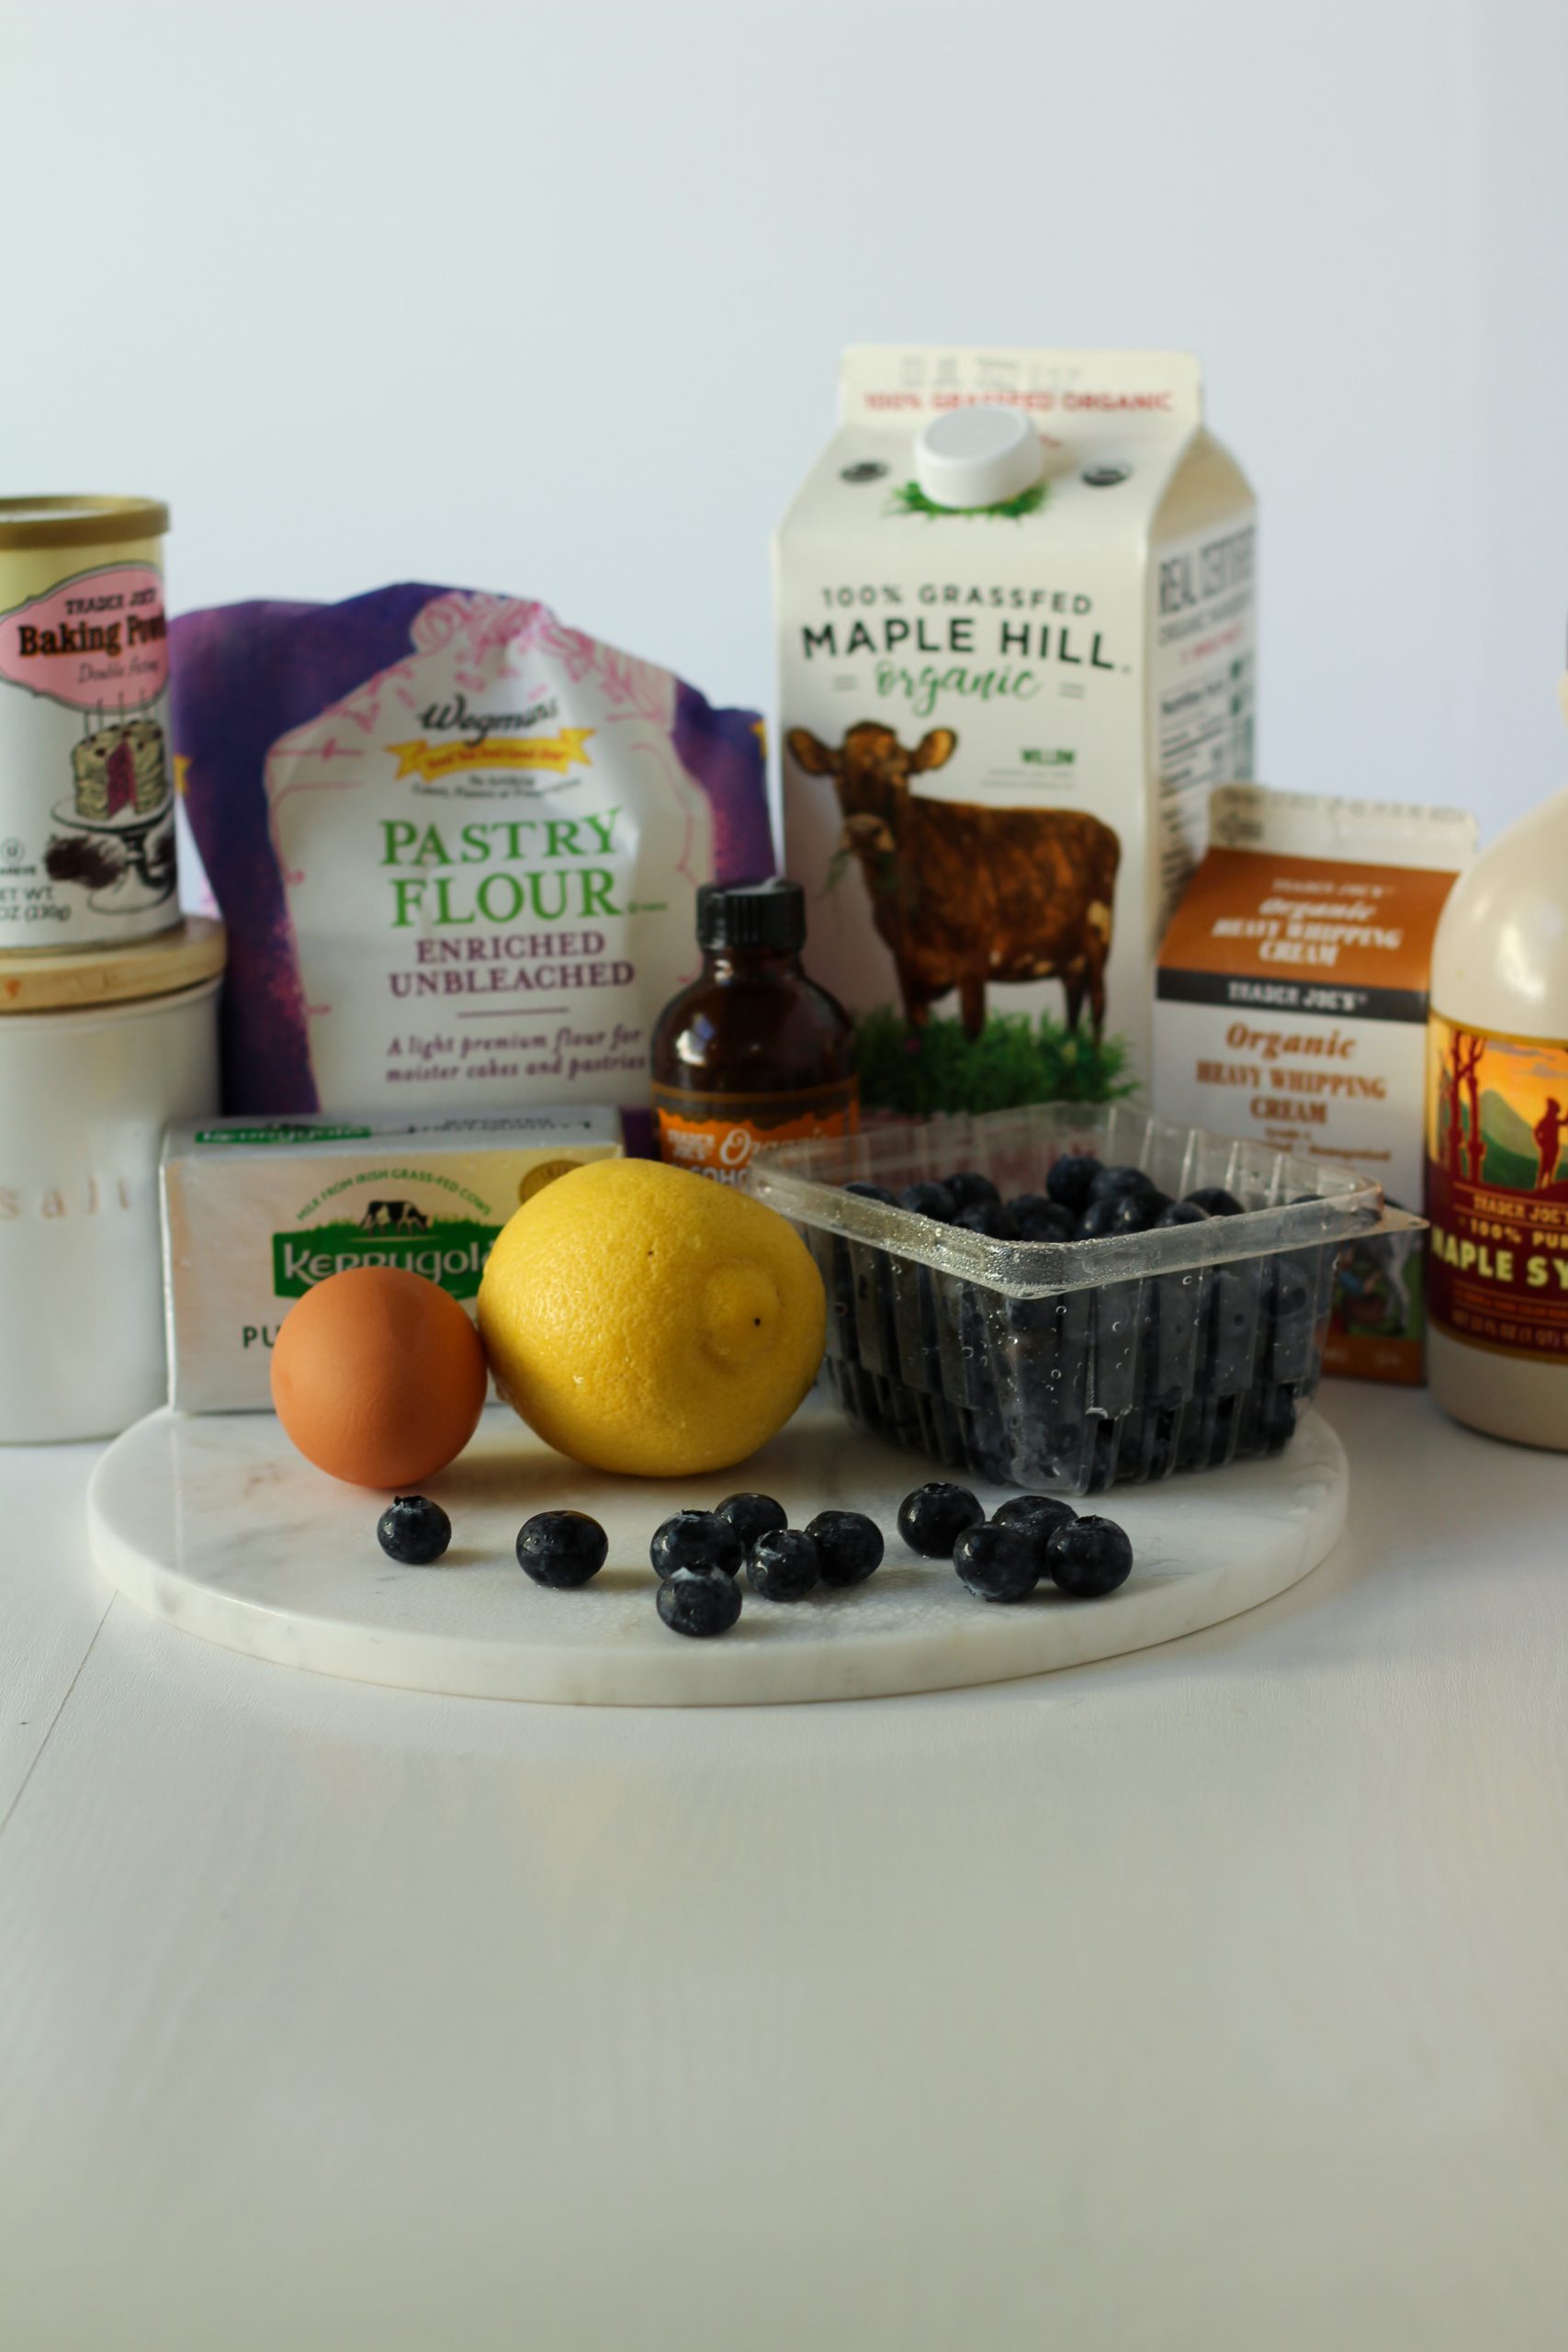
Ingredients for blueberry lemon scones

The base recipe for the blueberry lemon scones is similar to my other scone recipe you can find here. The added egg makes the scone have a nice cake-like texture and reduces the dryness. The combination of milk and heavy whipping cream makes it rich and creamy. Pastry flour is my preferred flour to use for any pastry I make. It is milled to a finer texture than all purpose flour, and is made with a soft wheat for a lower protein content, which helps baked goods produce very tender results.

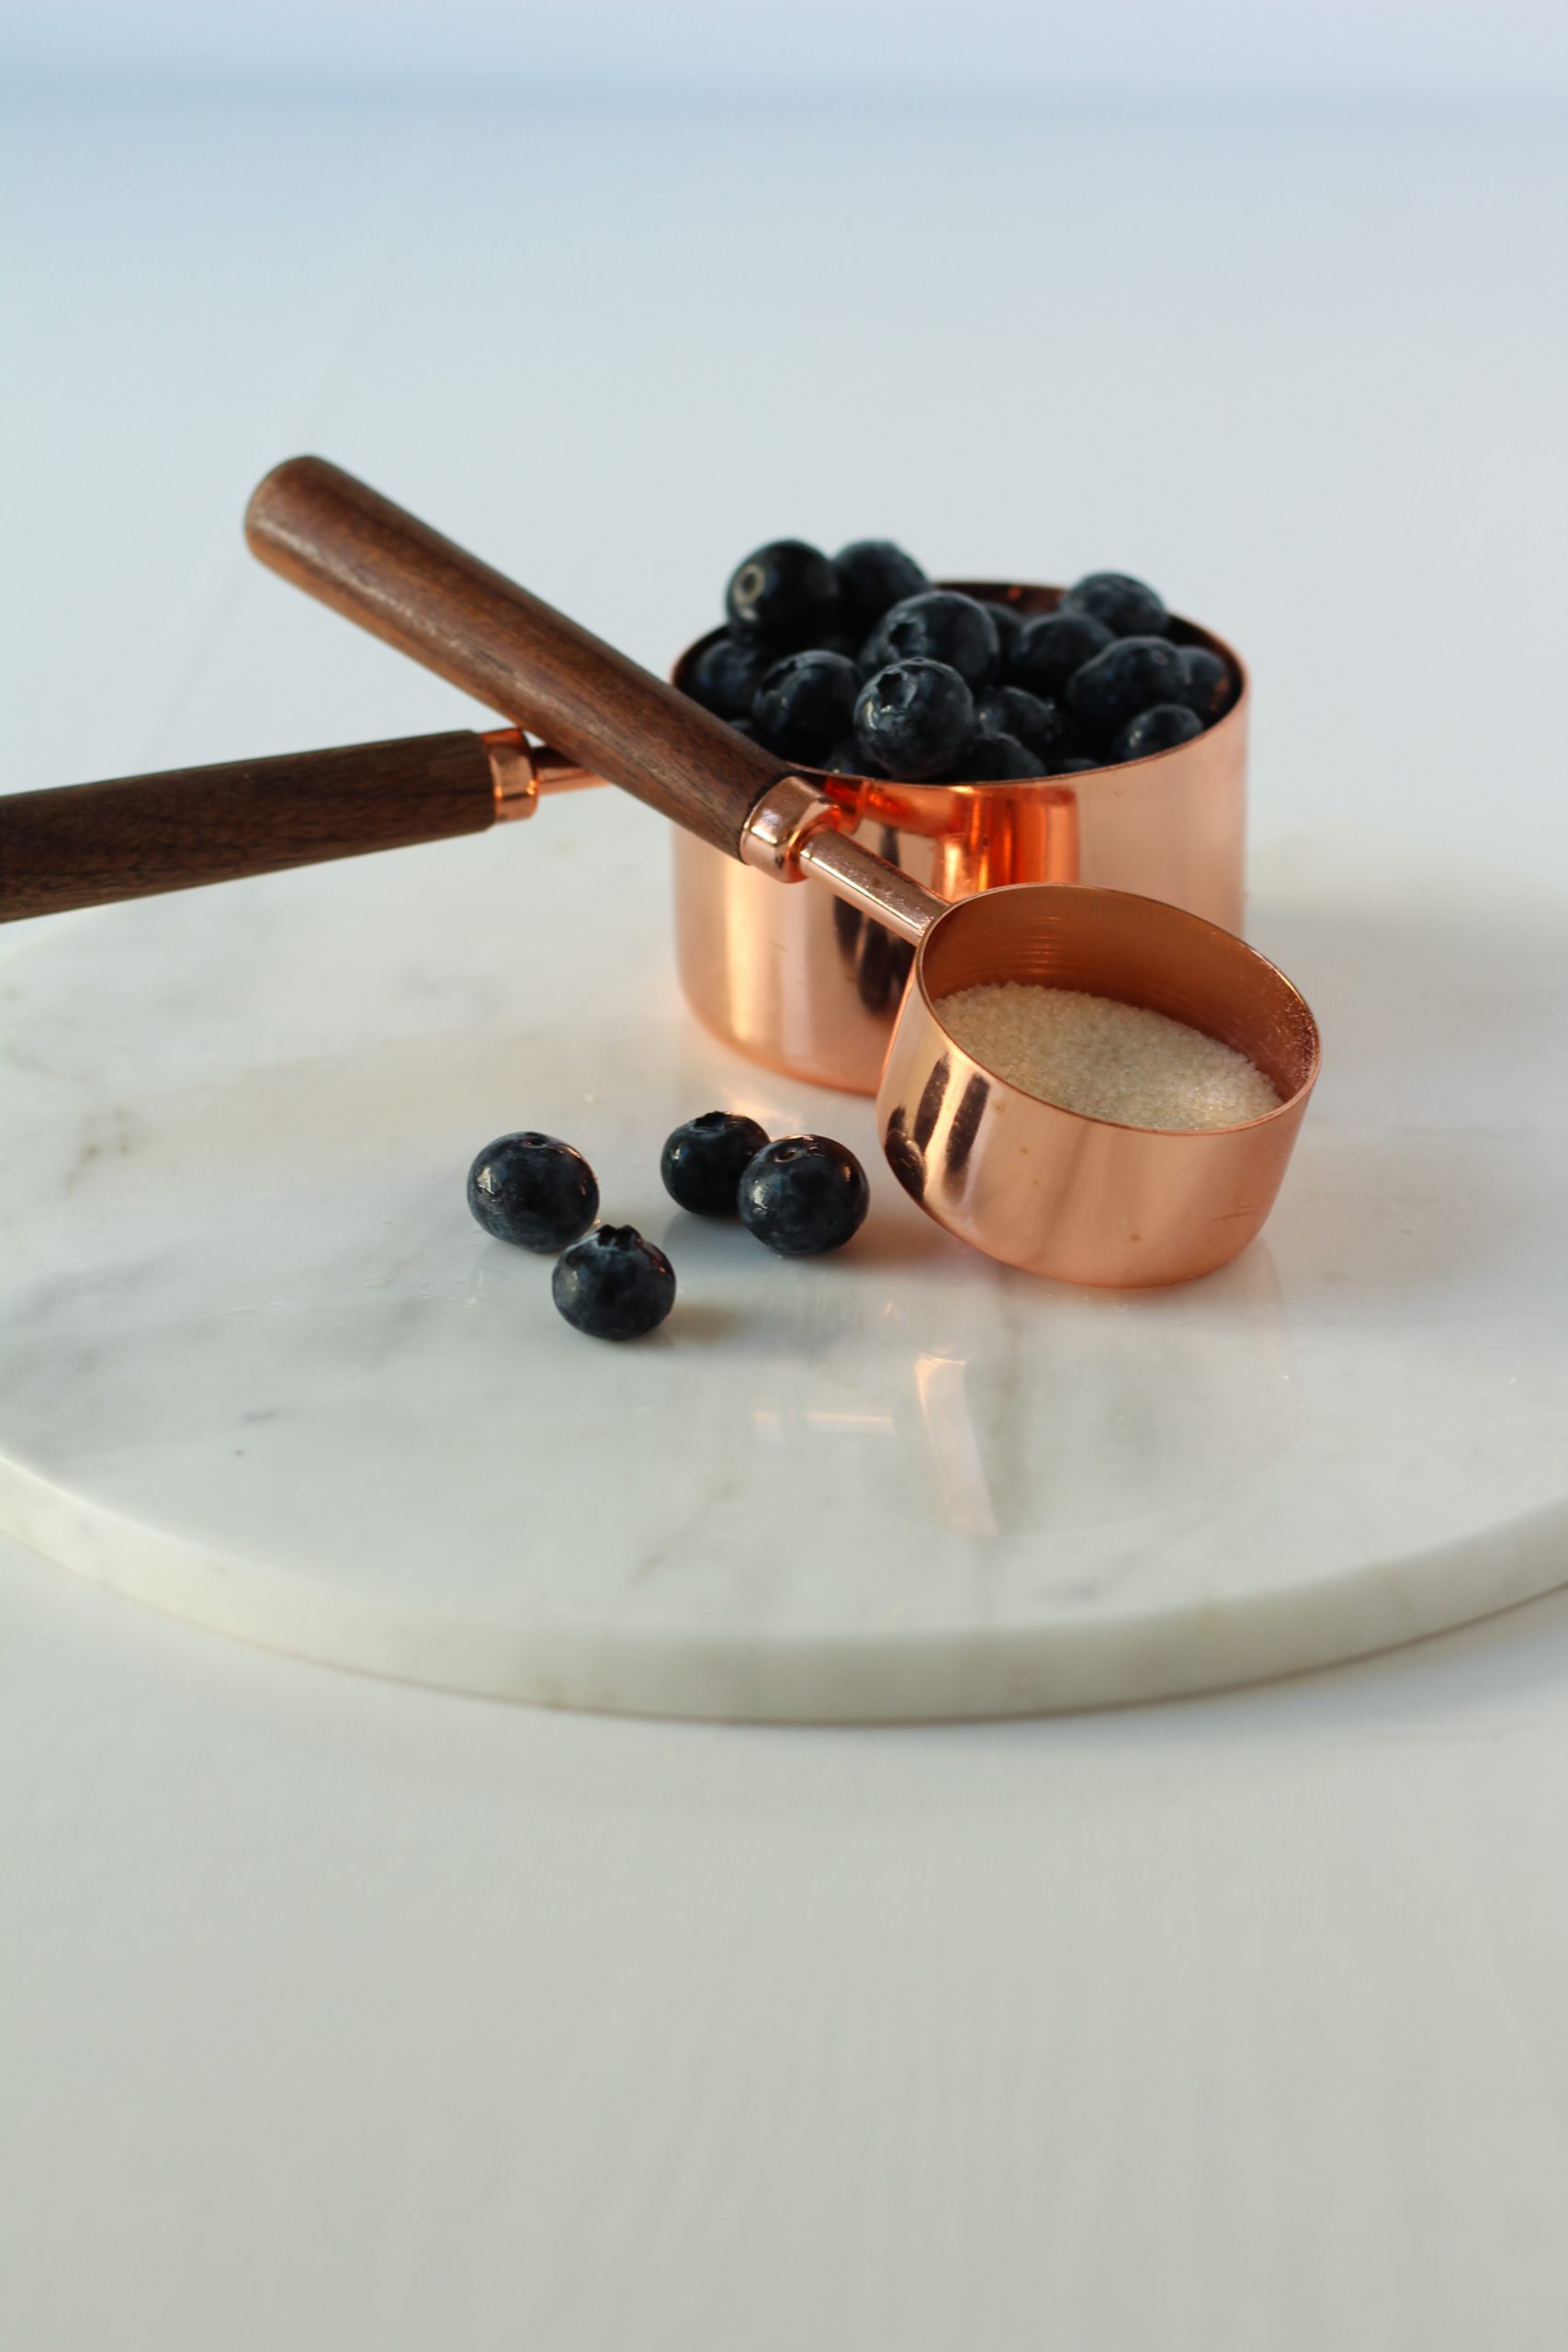
Ingredients for blueberry compote

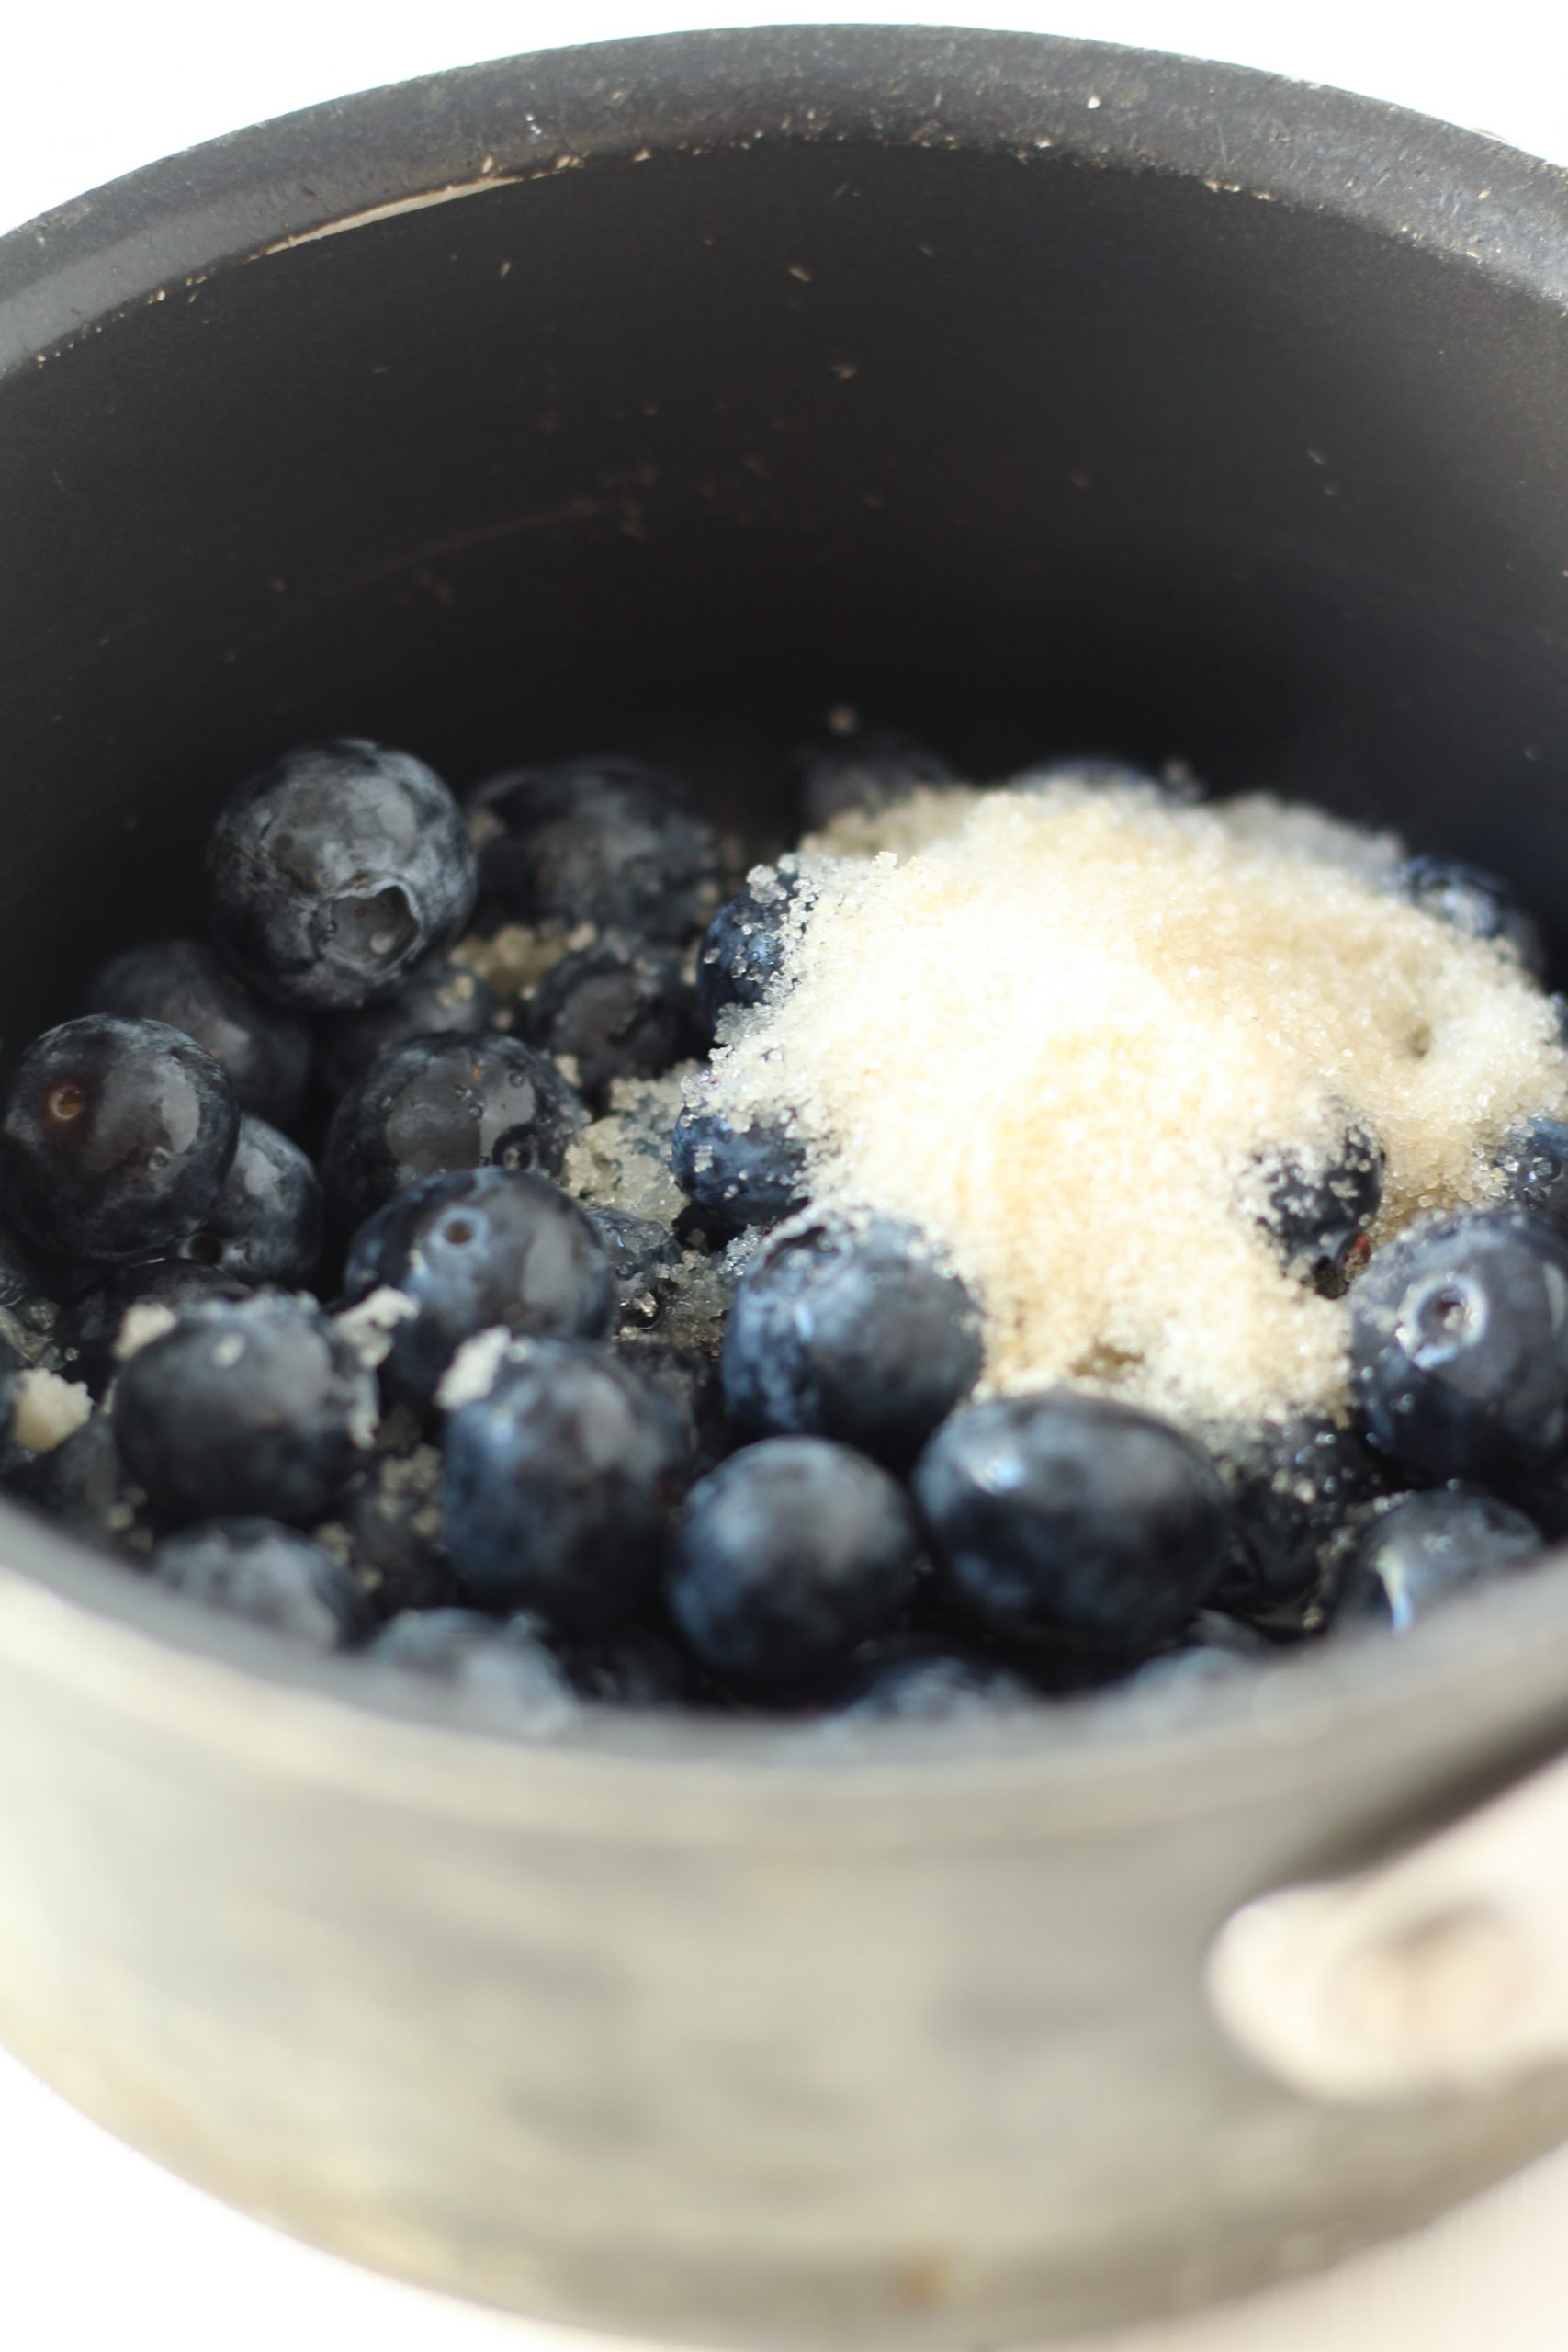
The compote is easy to make. Combine the blueberries, cane sugar, salt and water in a small saucepan. Over medium heat, slowly warm it until the blueberries burst open and the spoon or spatula you use leaves clear streaks on the bottom of your pan. When you can see the bottom of the pan you have the right thickness, and it is ready to be used in your scone mixture. Let it cool down while you prepare the rest of your dough.
Blueberries salt sugar and water in small saucepan


Compote done, clear streak on the bottom of the pan


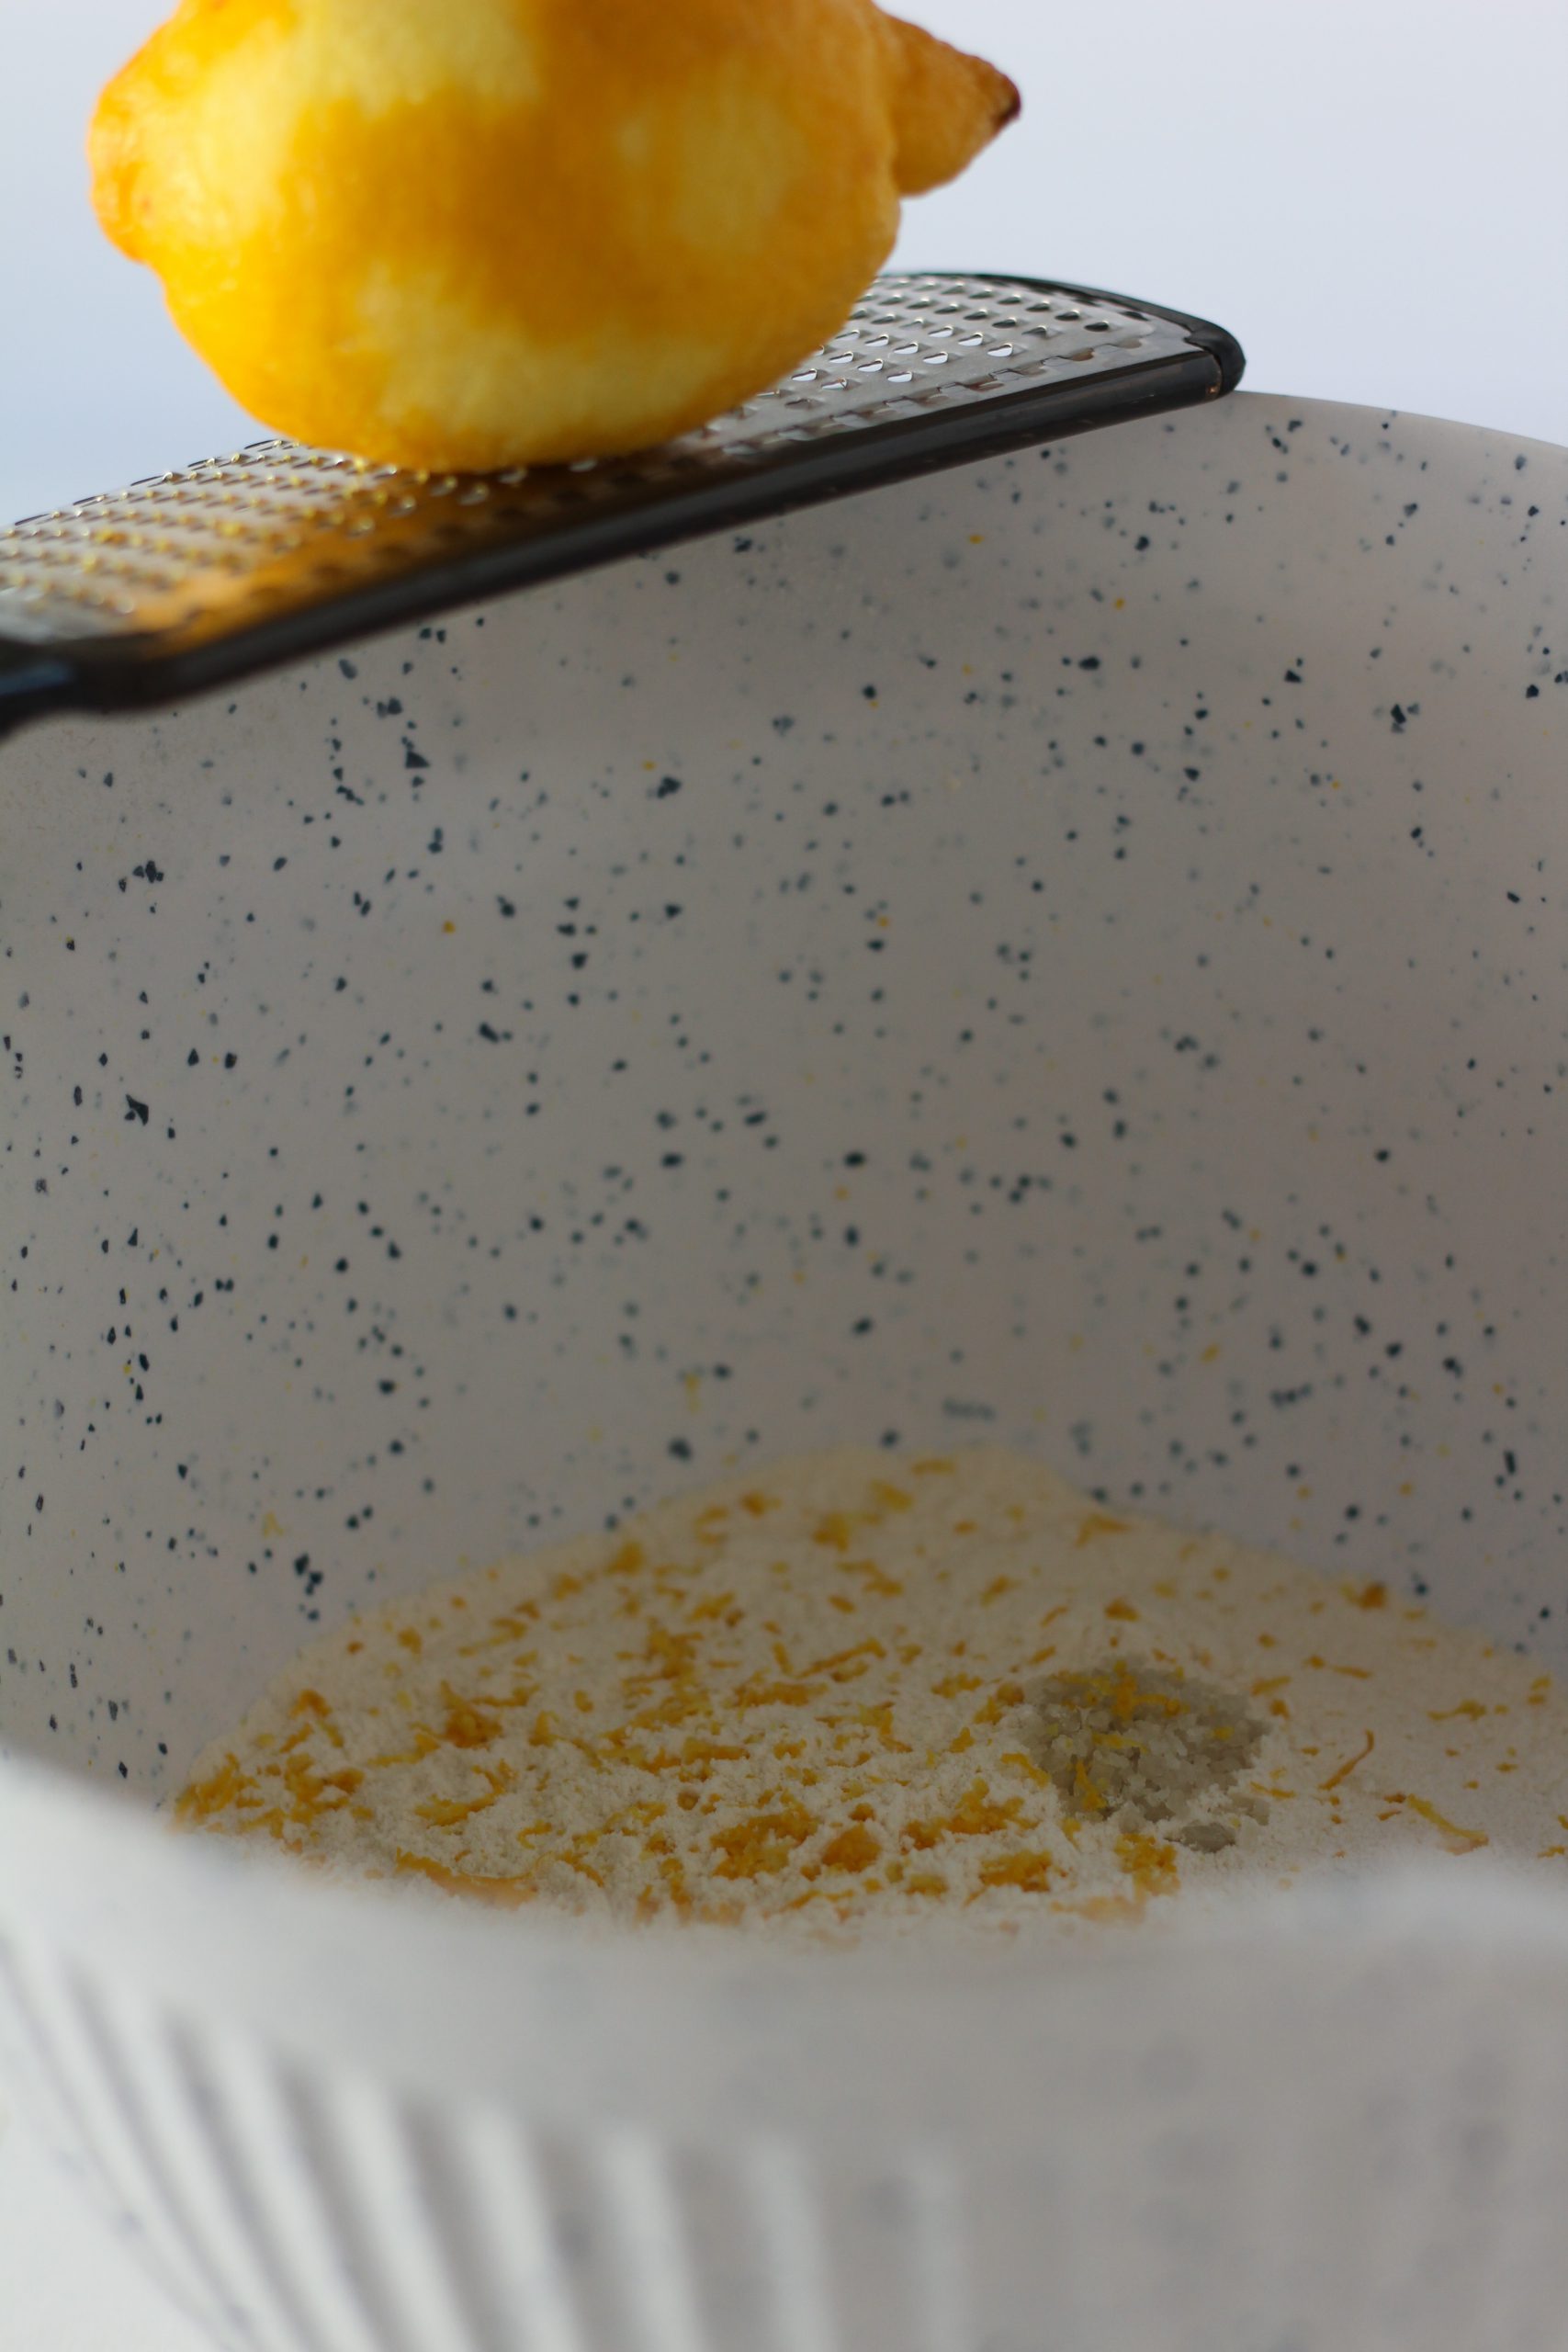
Pastry flour must be sifted before use. The flour is so fine that it can clump together very easily. While large clumps can be broken up with a spatula, small clumps are more easily missed and can show up as lumps of uncooked flour in your finished product if you are not careful. After sifting your flour, add the other dry ingredients, salt and baking powder. The lemon zest is also added at this point so it doesn’t stick together.

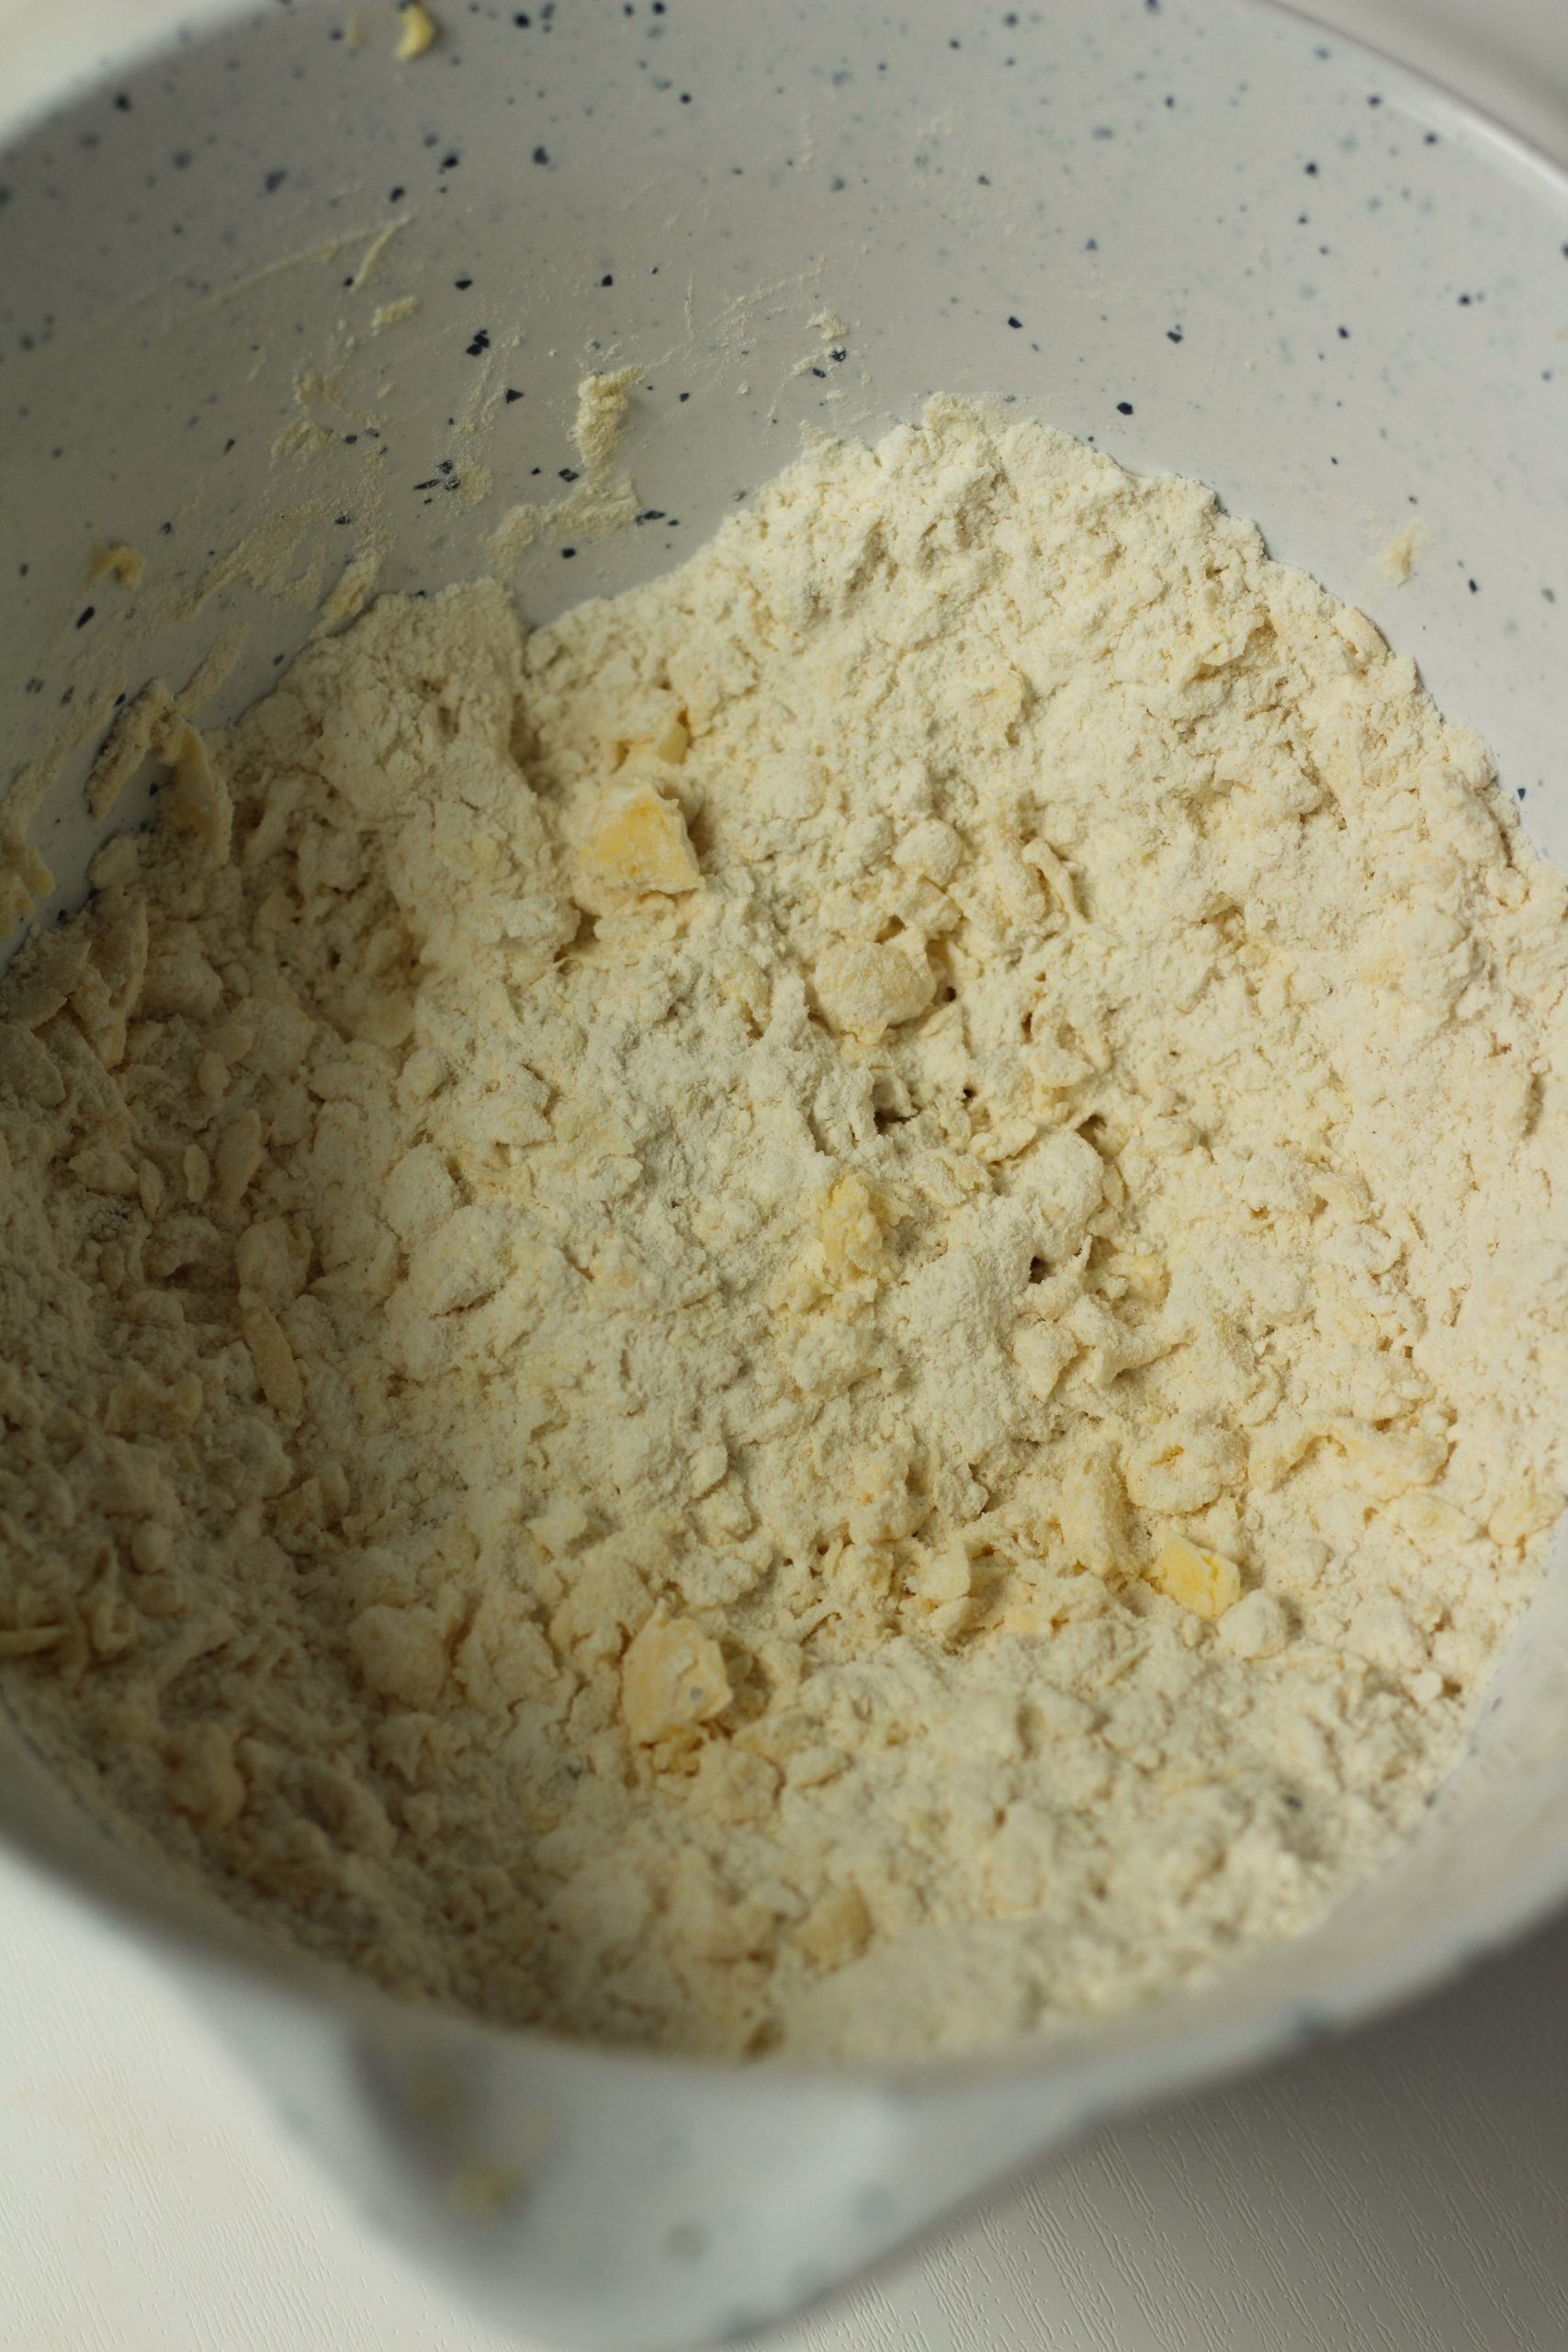
Cut in butter into flour mixture

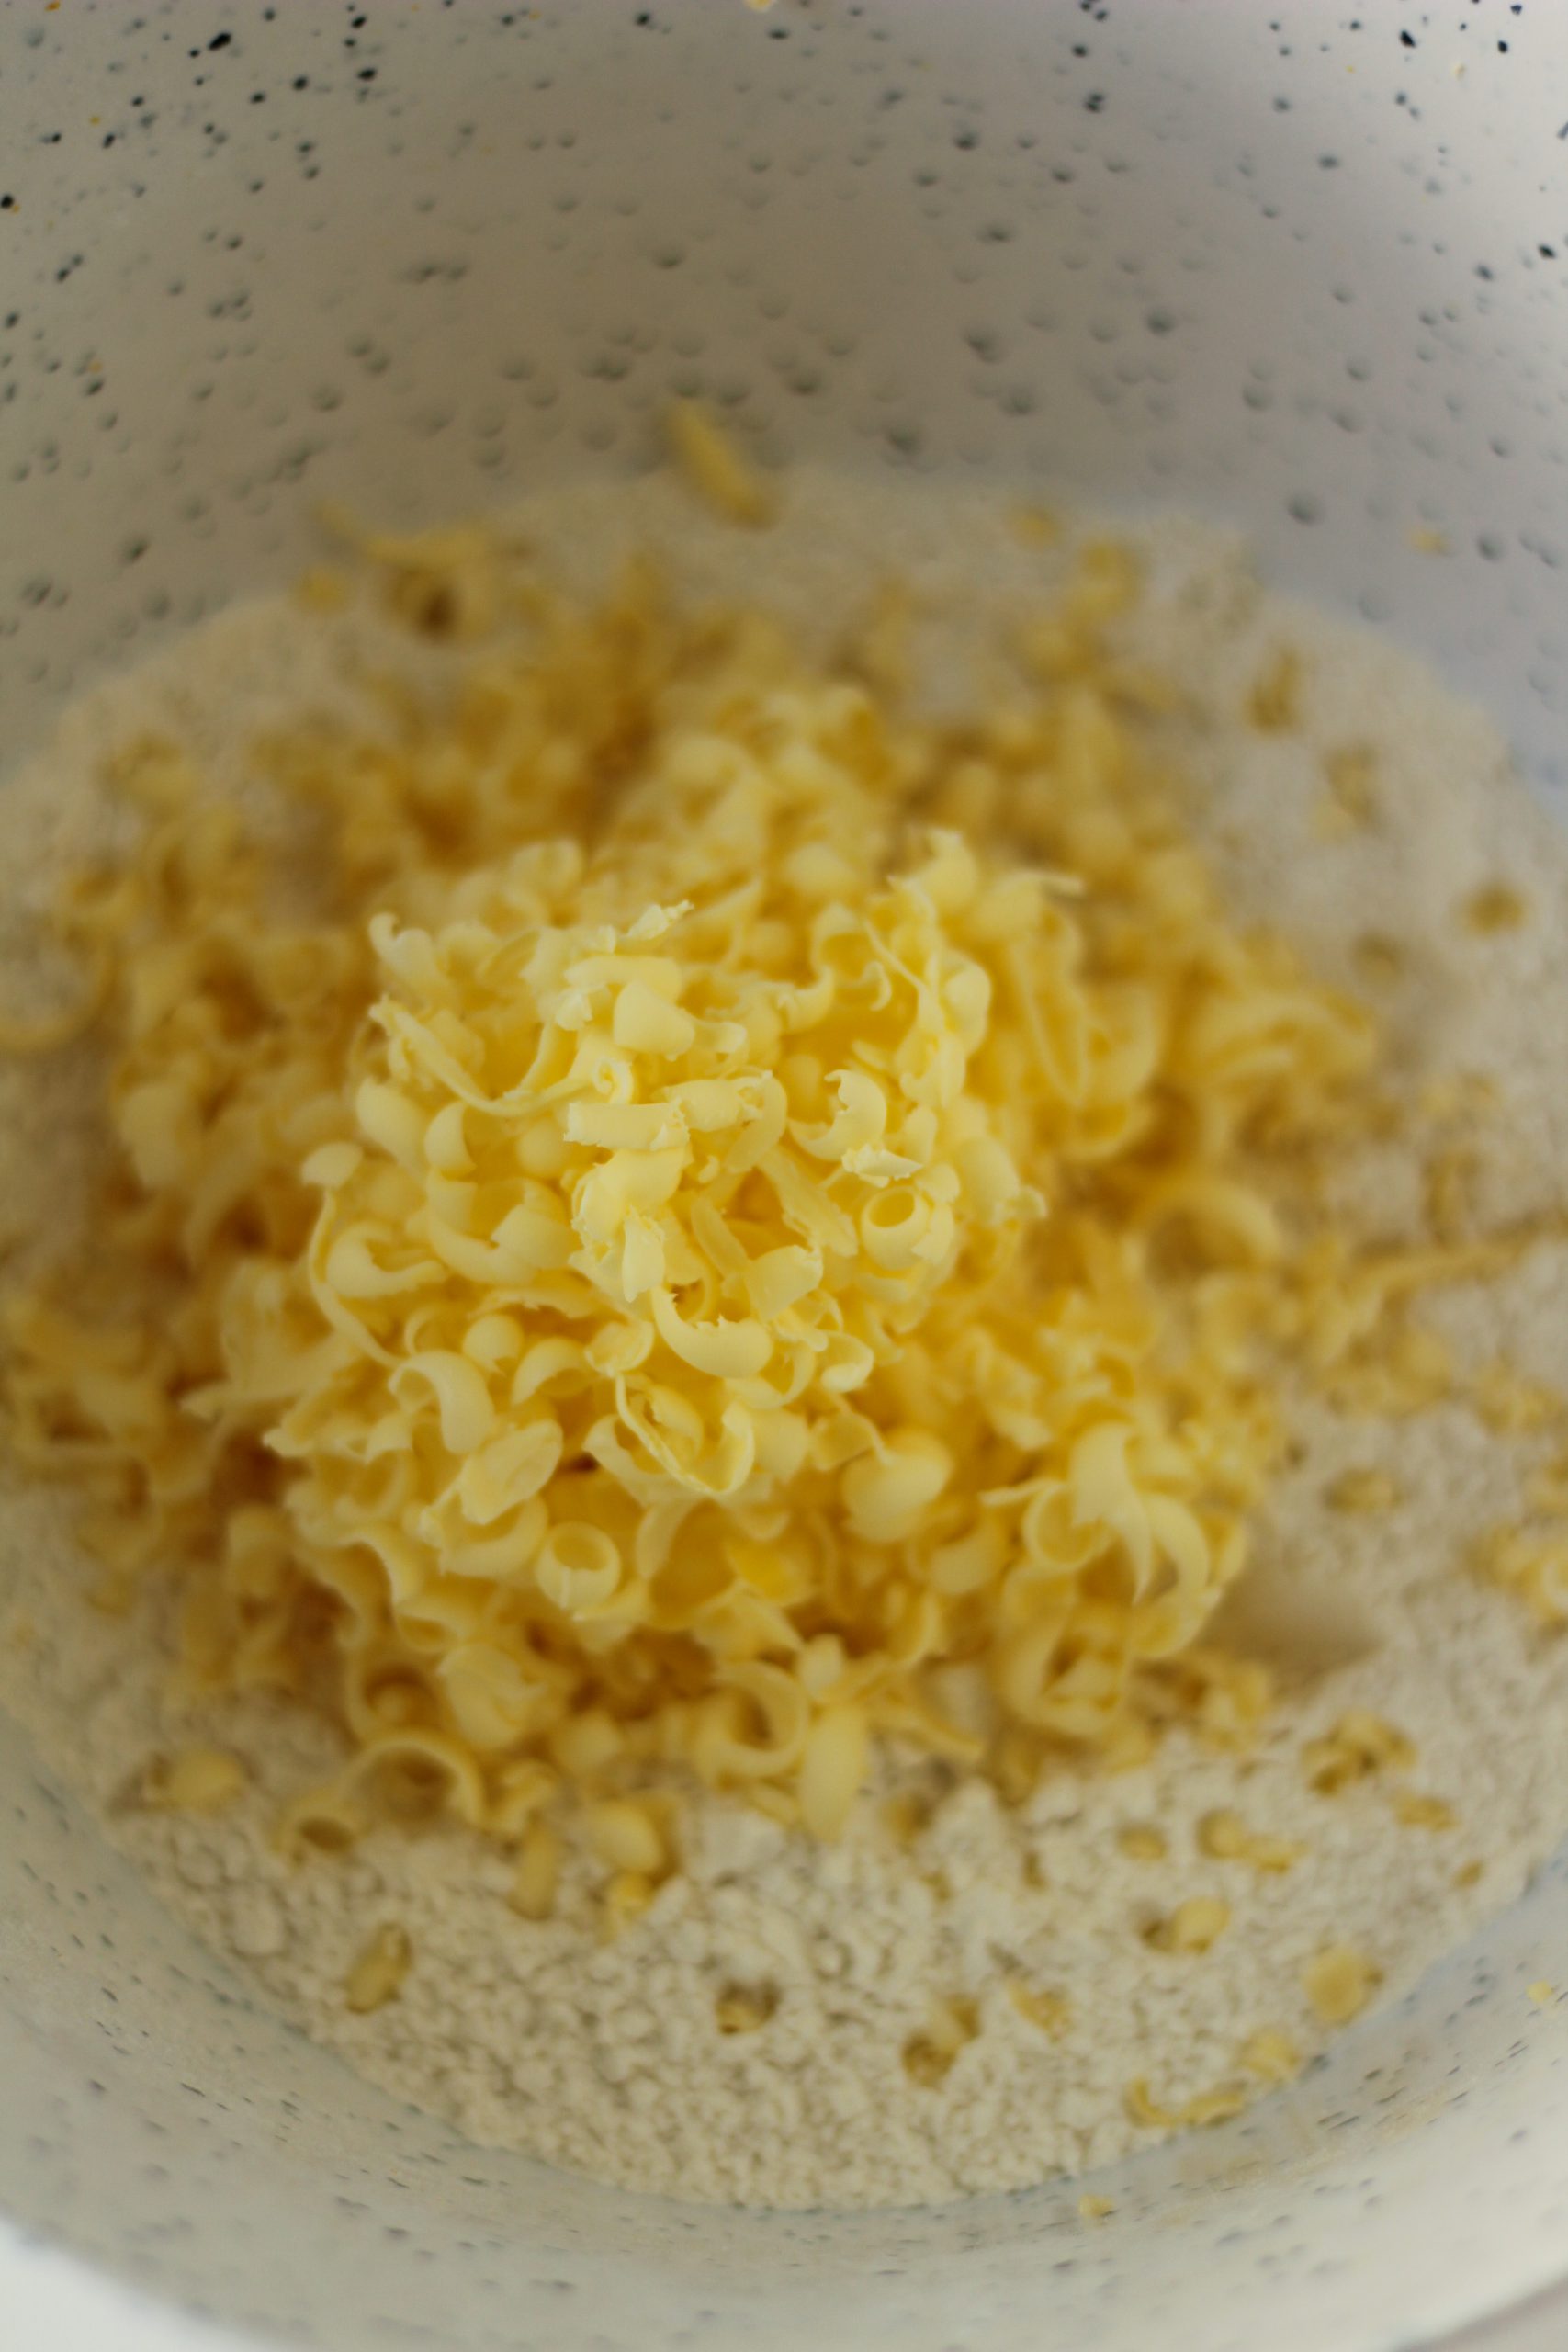
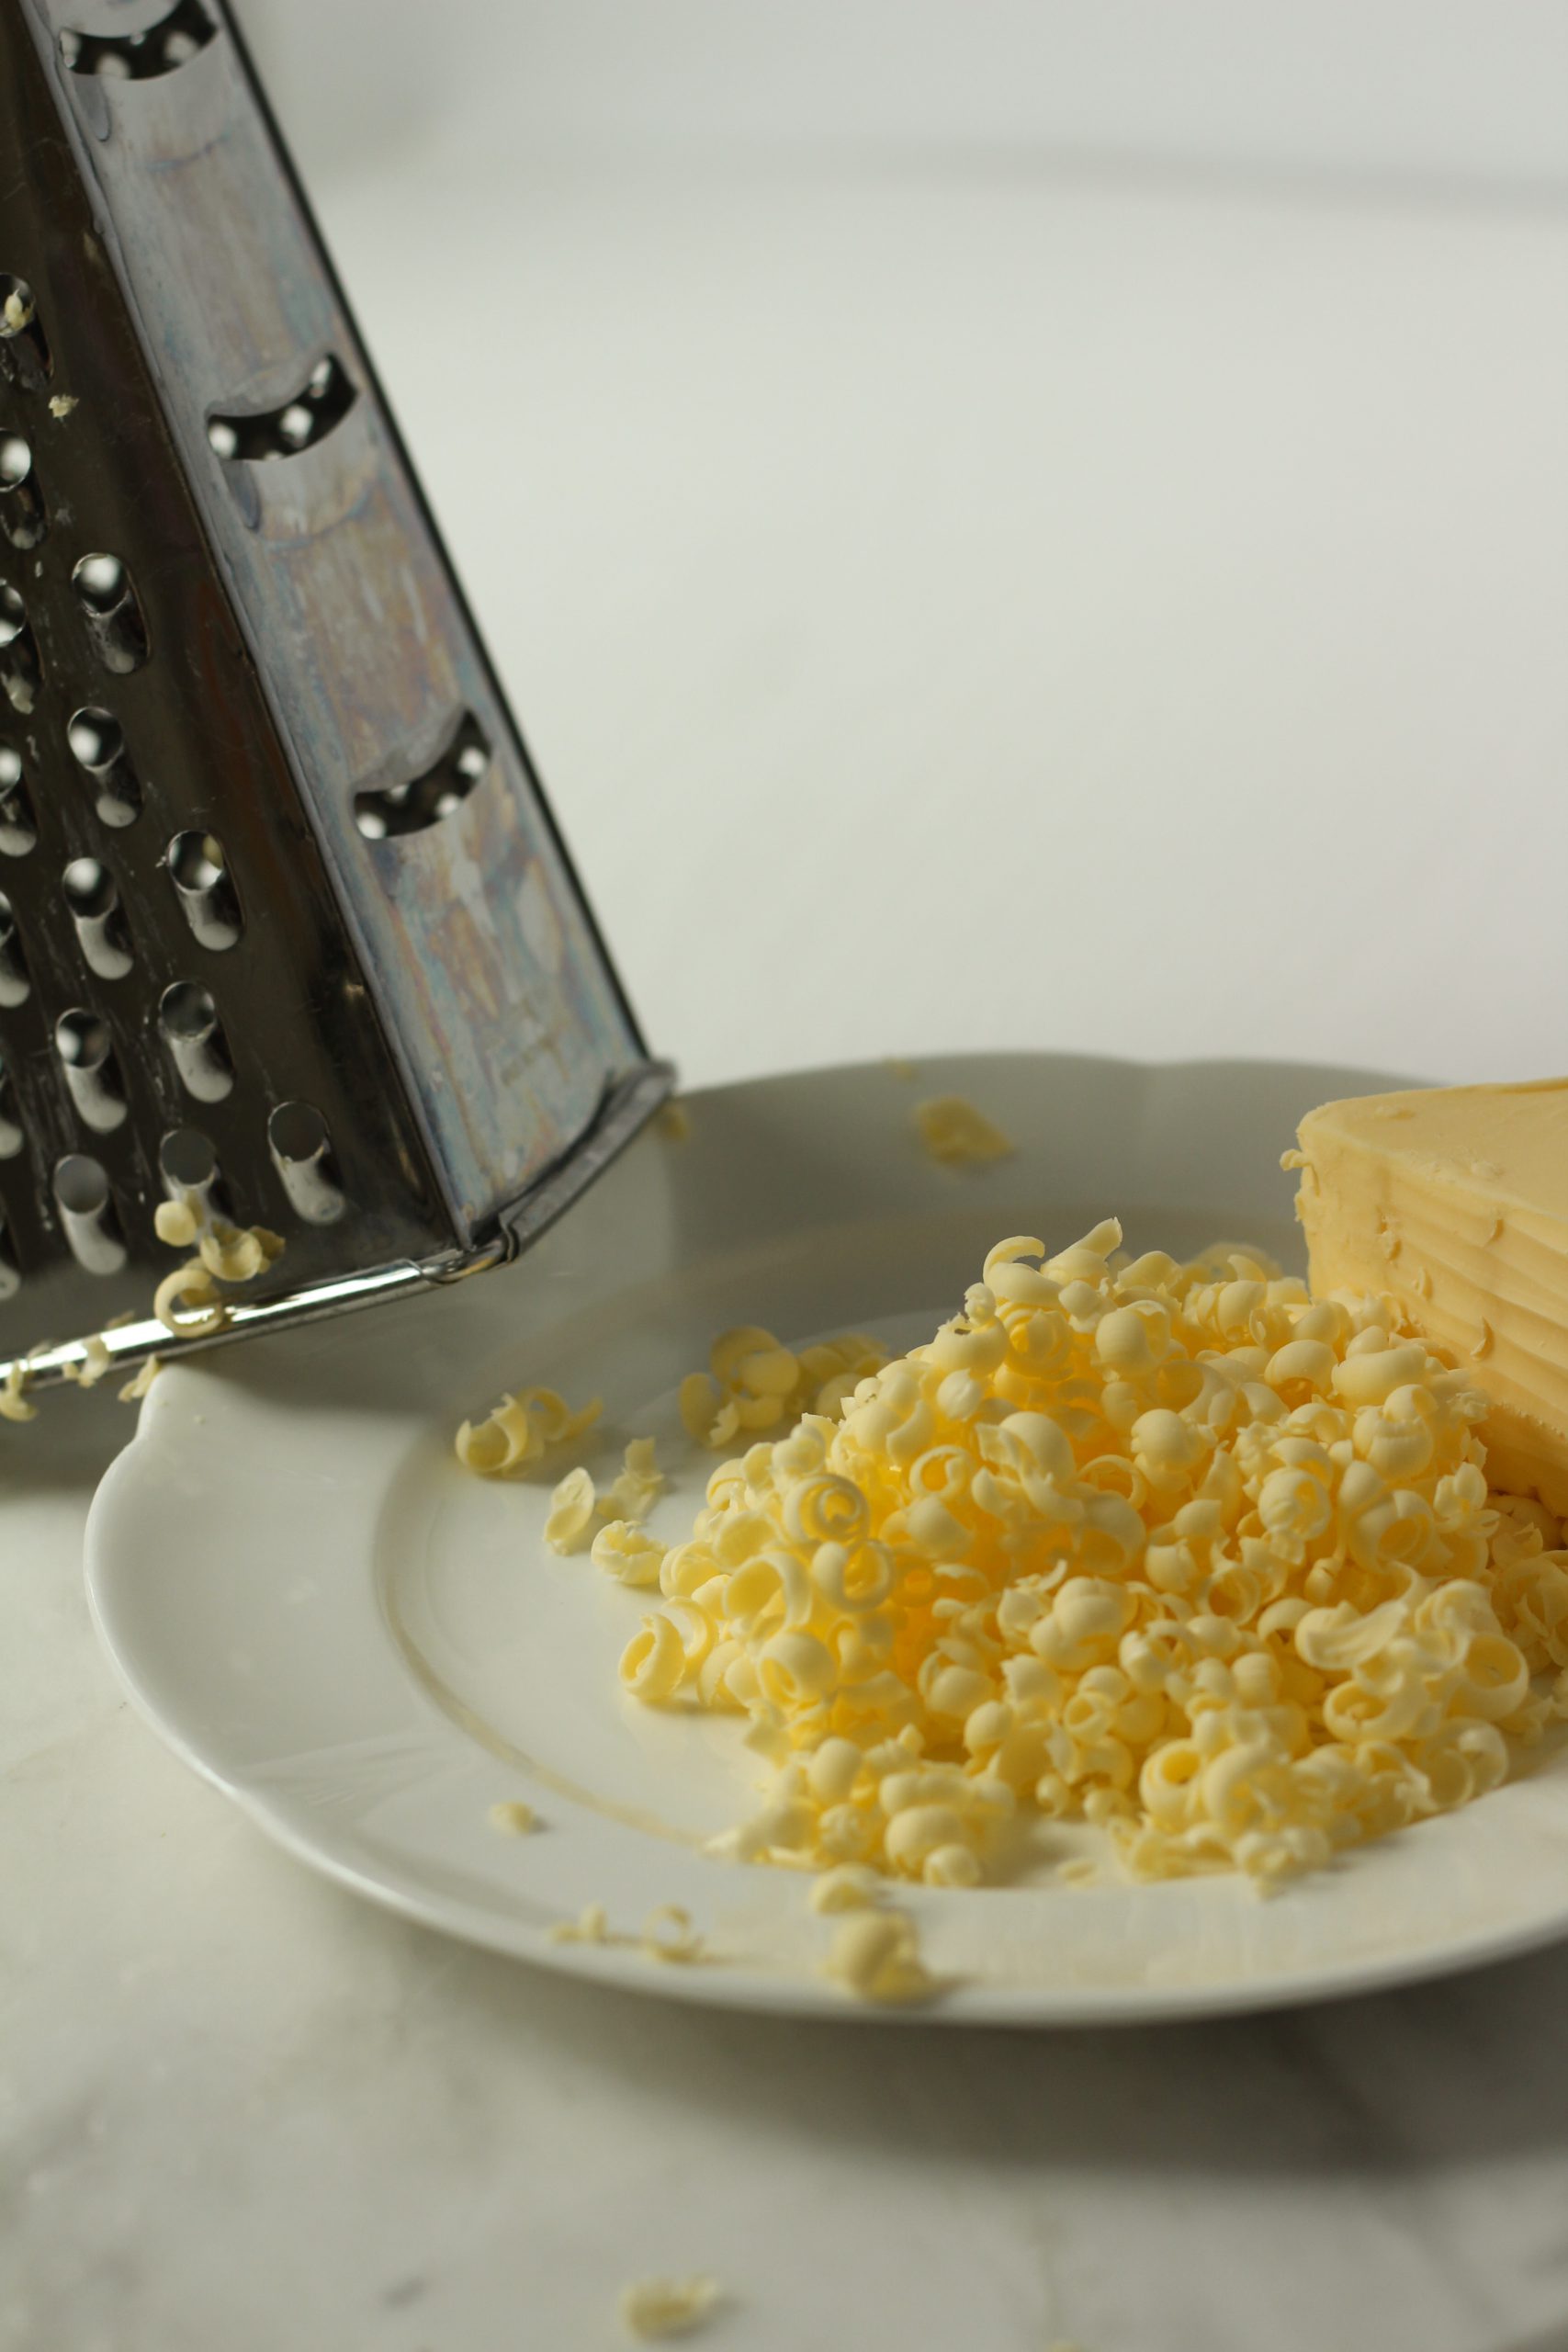
After the dry mixture is combined, grate your frozen, unsalted butter onto the flour mixture and cut it in with a pastry cutter. Grating the frozen butter is an easy process which prevents the butter from warming up too much since it can be done quickly.

Flour mixture with grated frozen butter

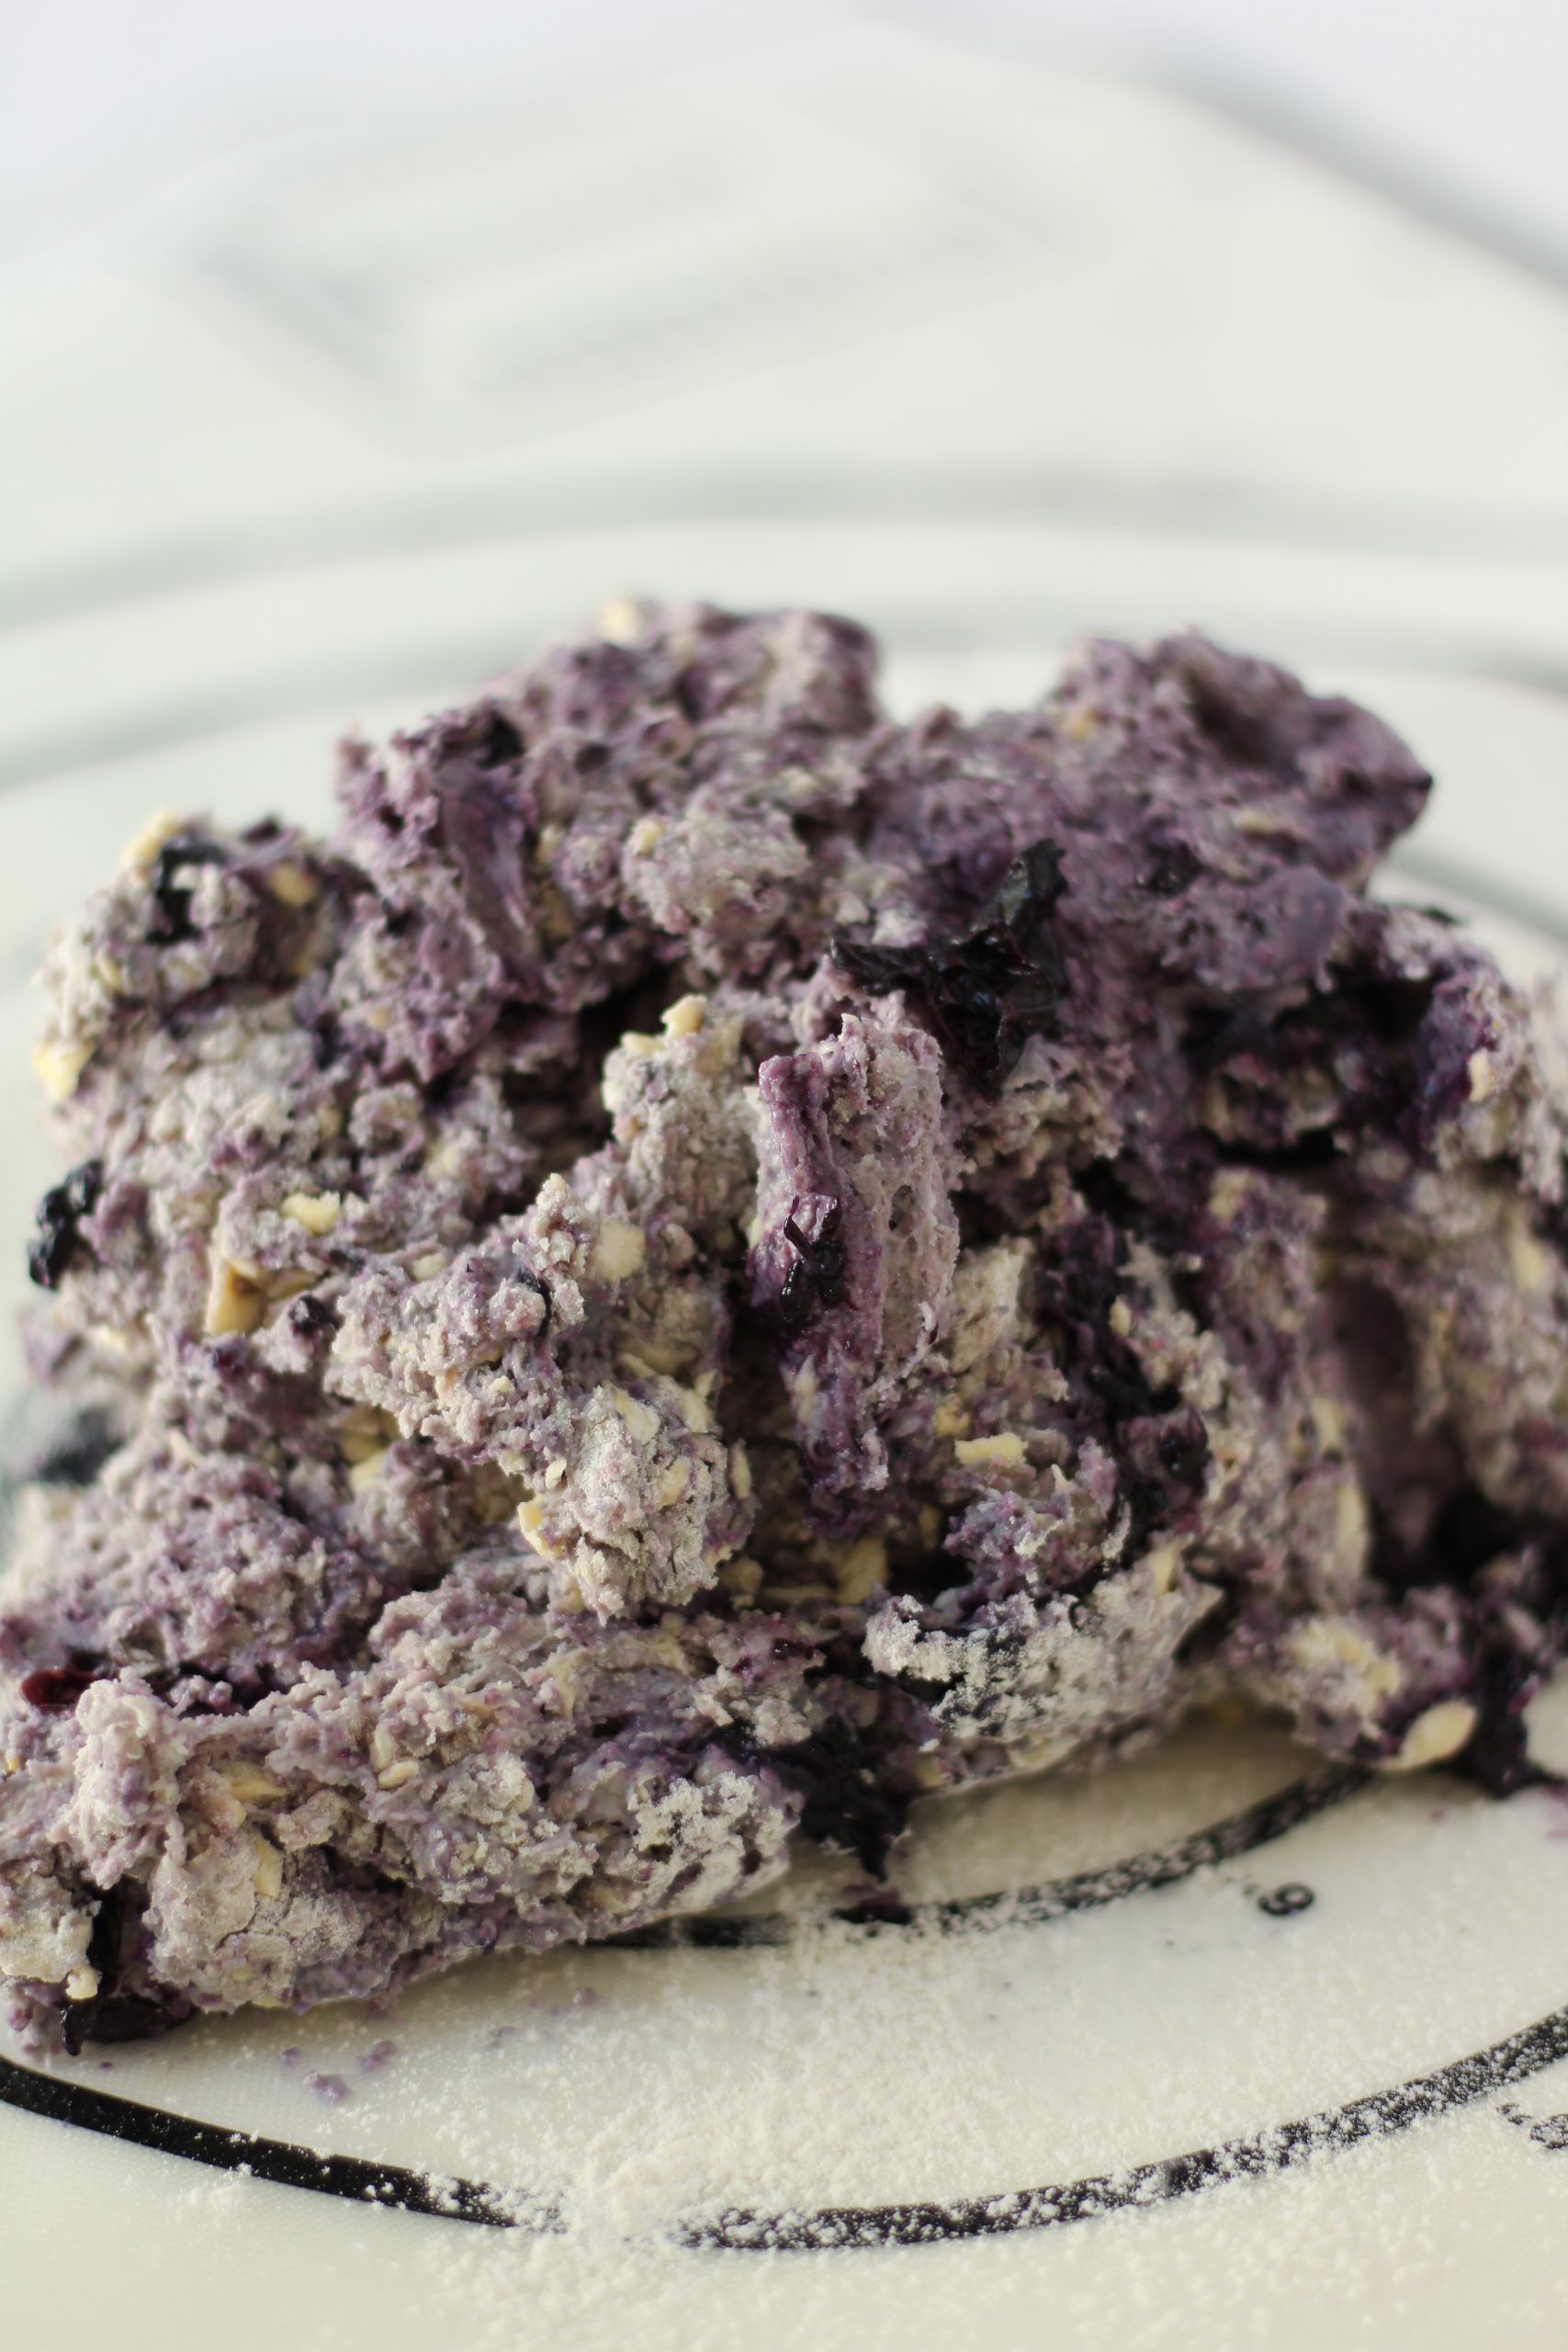
Combine all liquid ingredients, whole milk, heavy whipping cream, maple syrup and one egg. The cooled blueberry compote is adding after all the liquid ingredients are combined. The compote can be mixed in well with either a spatula or your hands. Work quickly so you don’t warm up the butter.

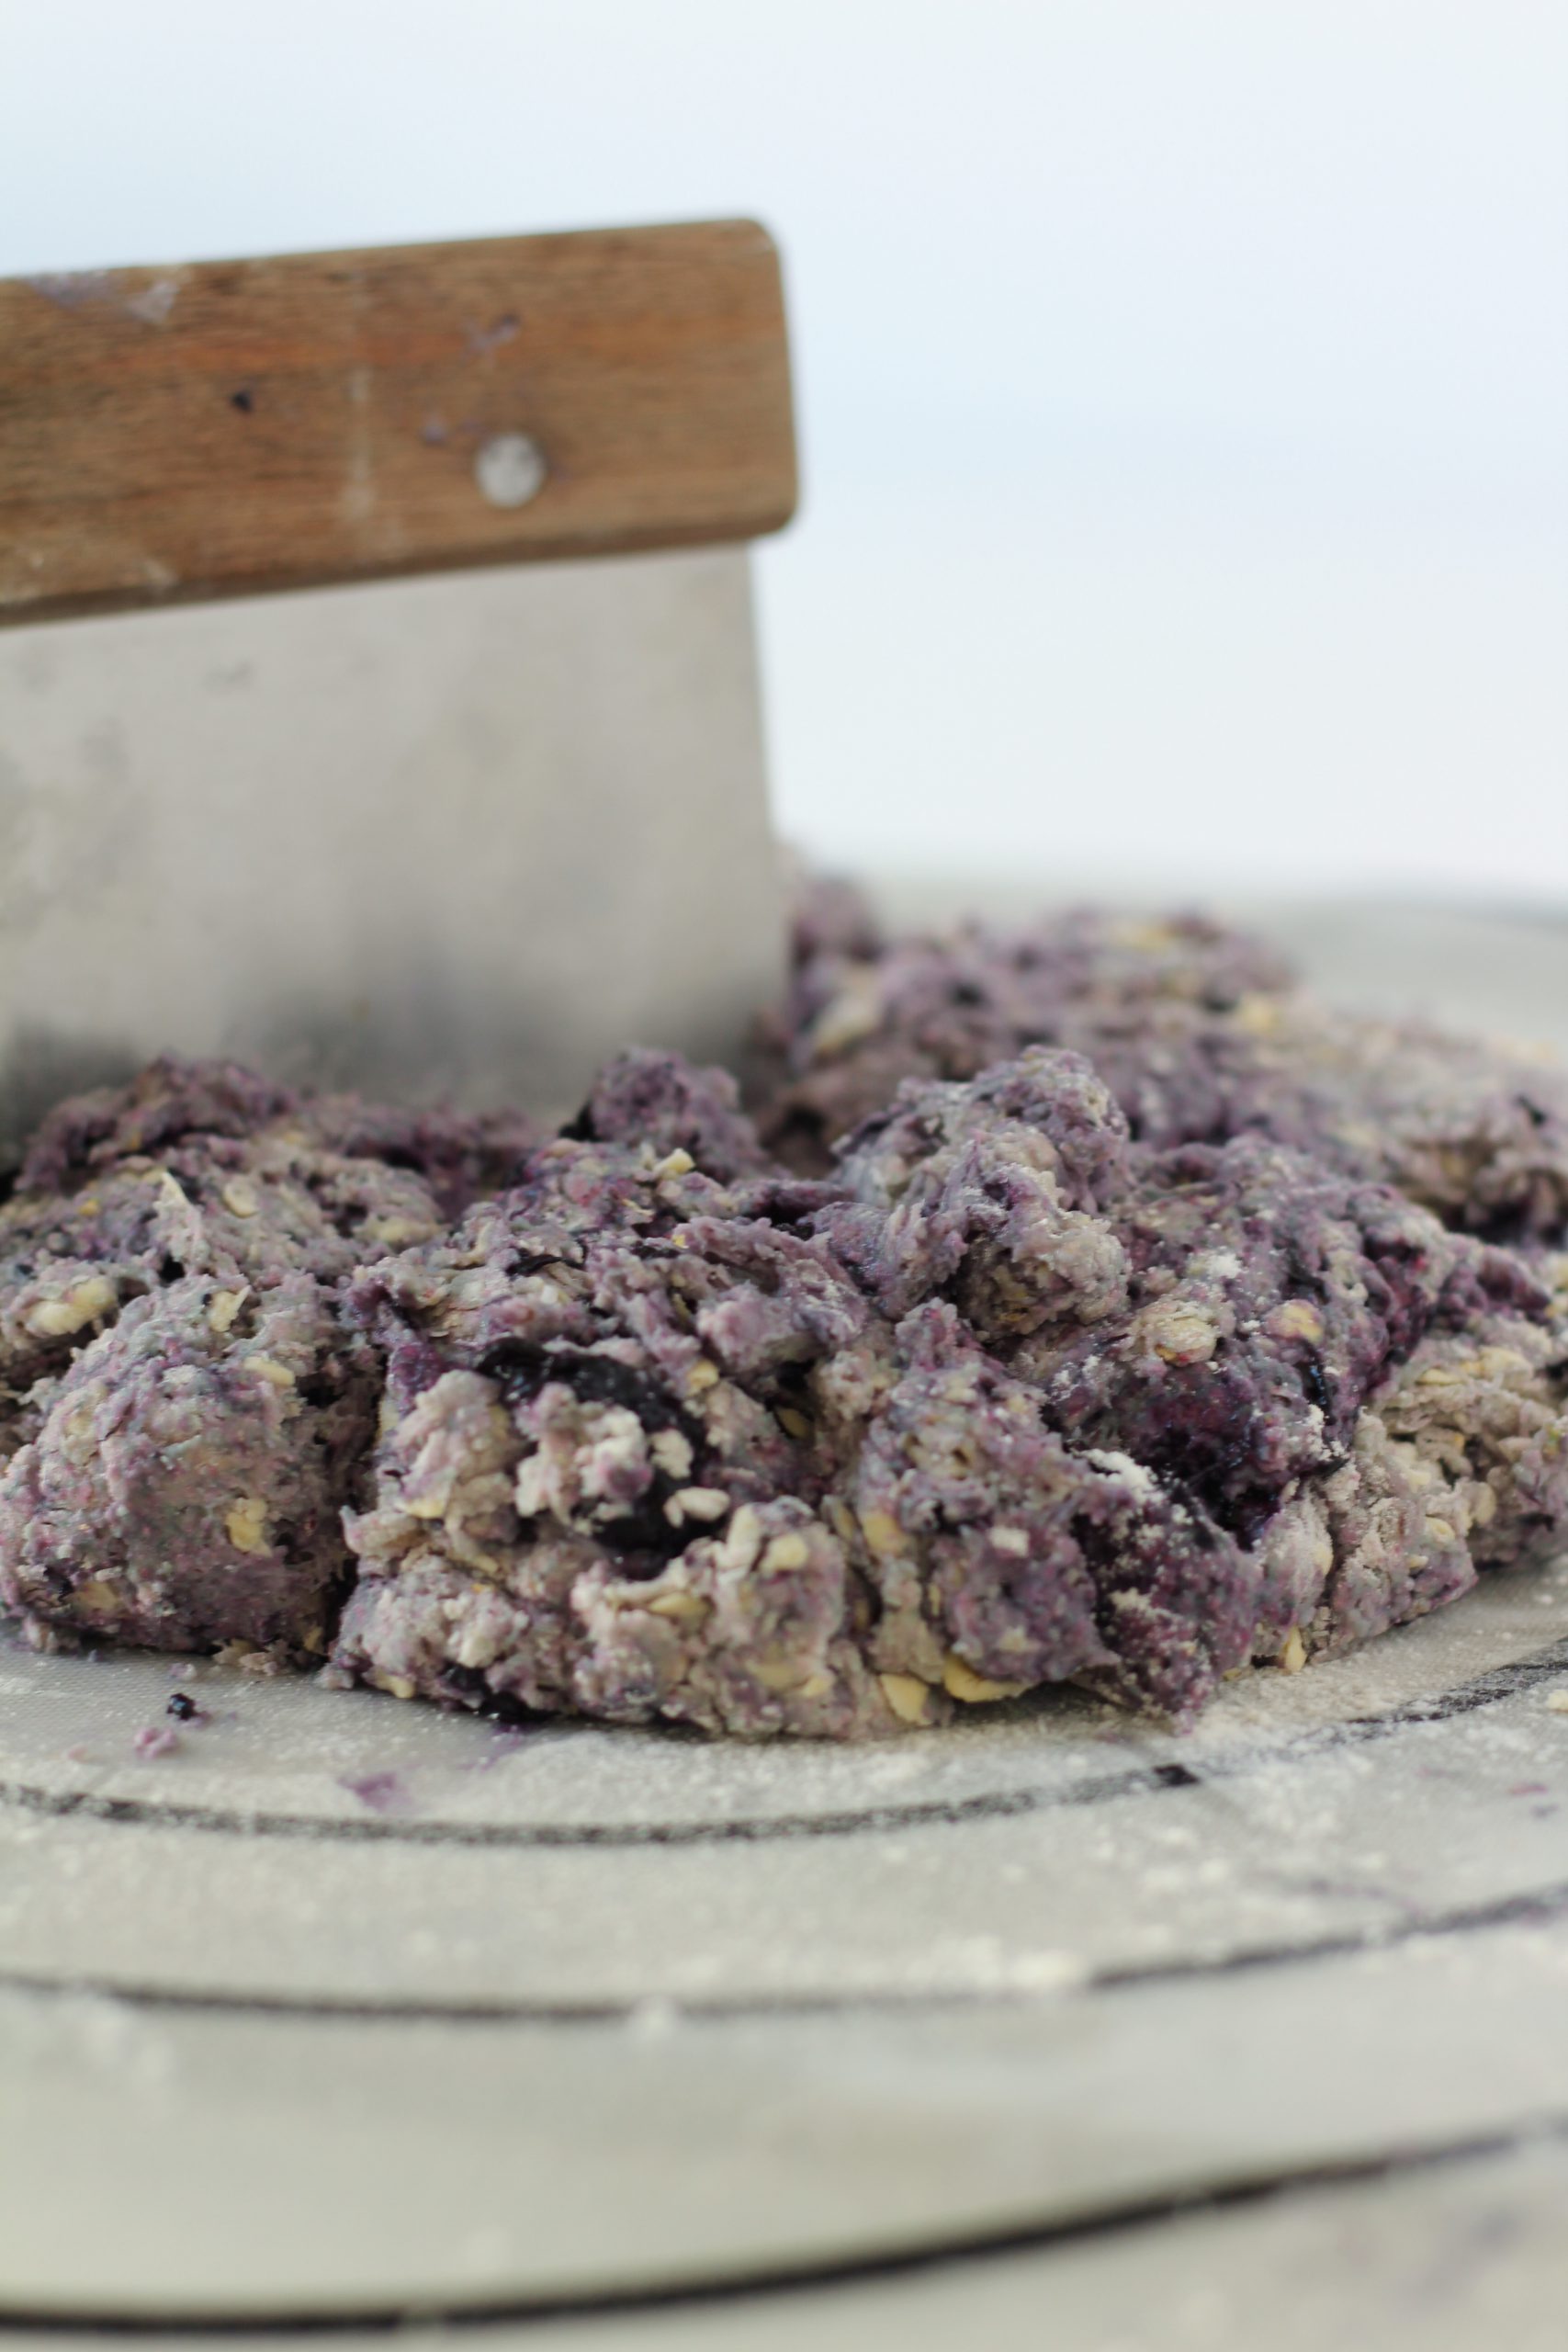
Combined blueberry scone dough

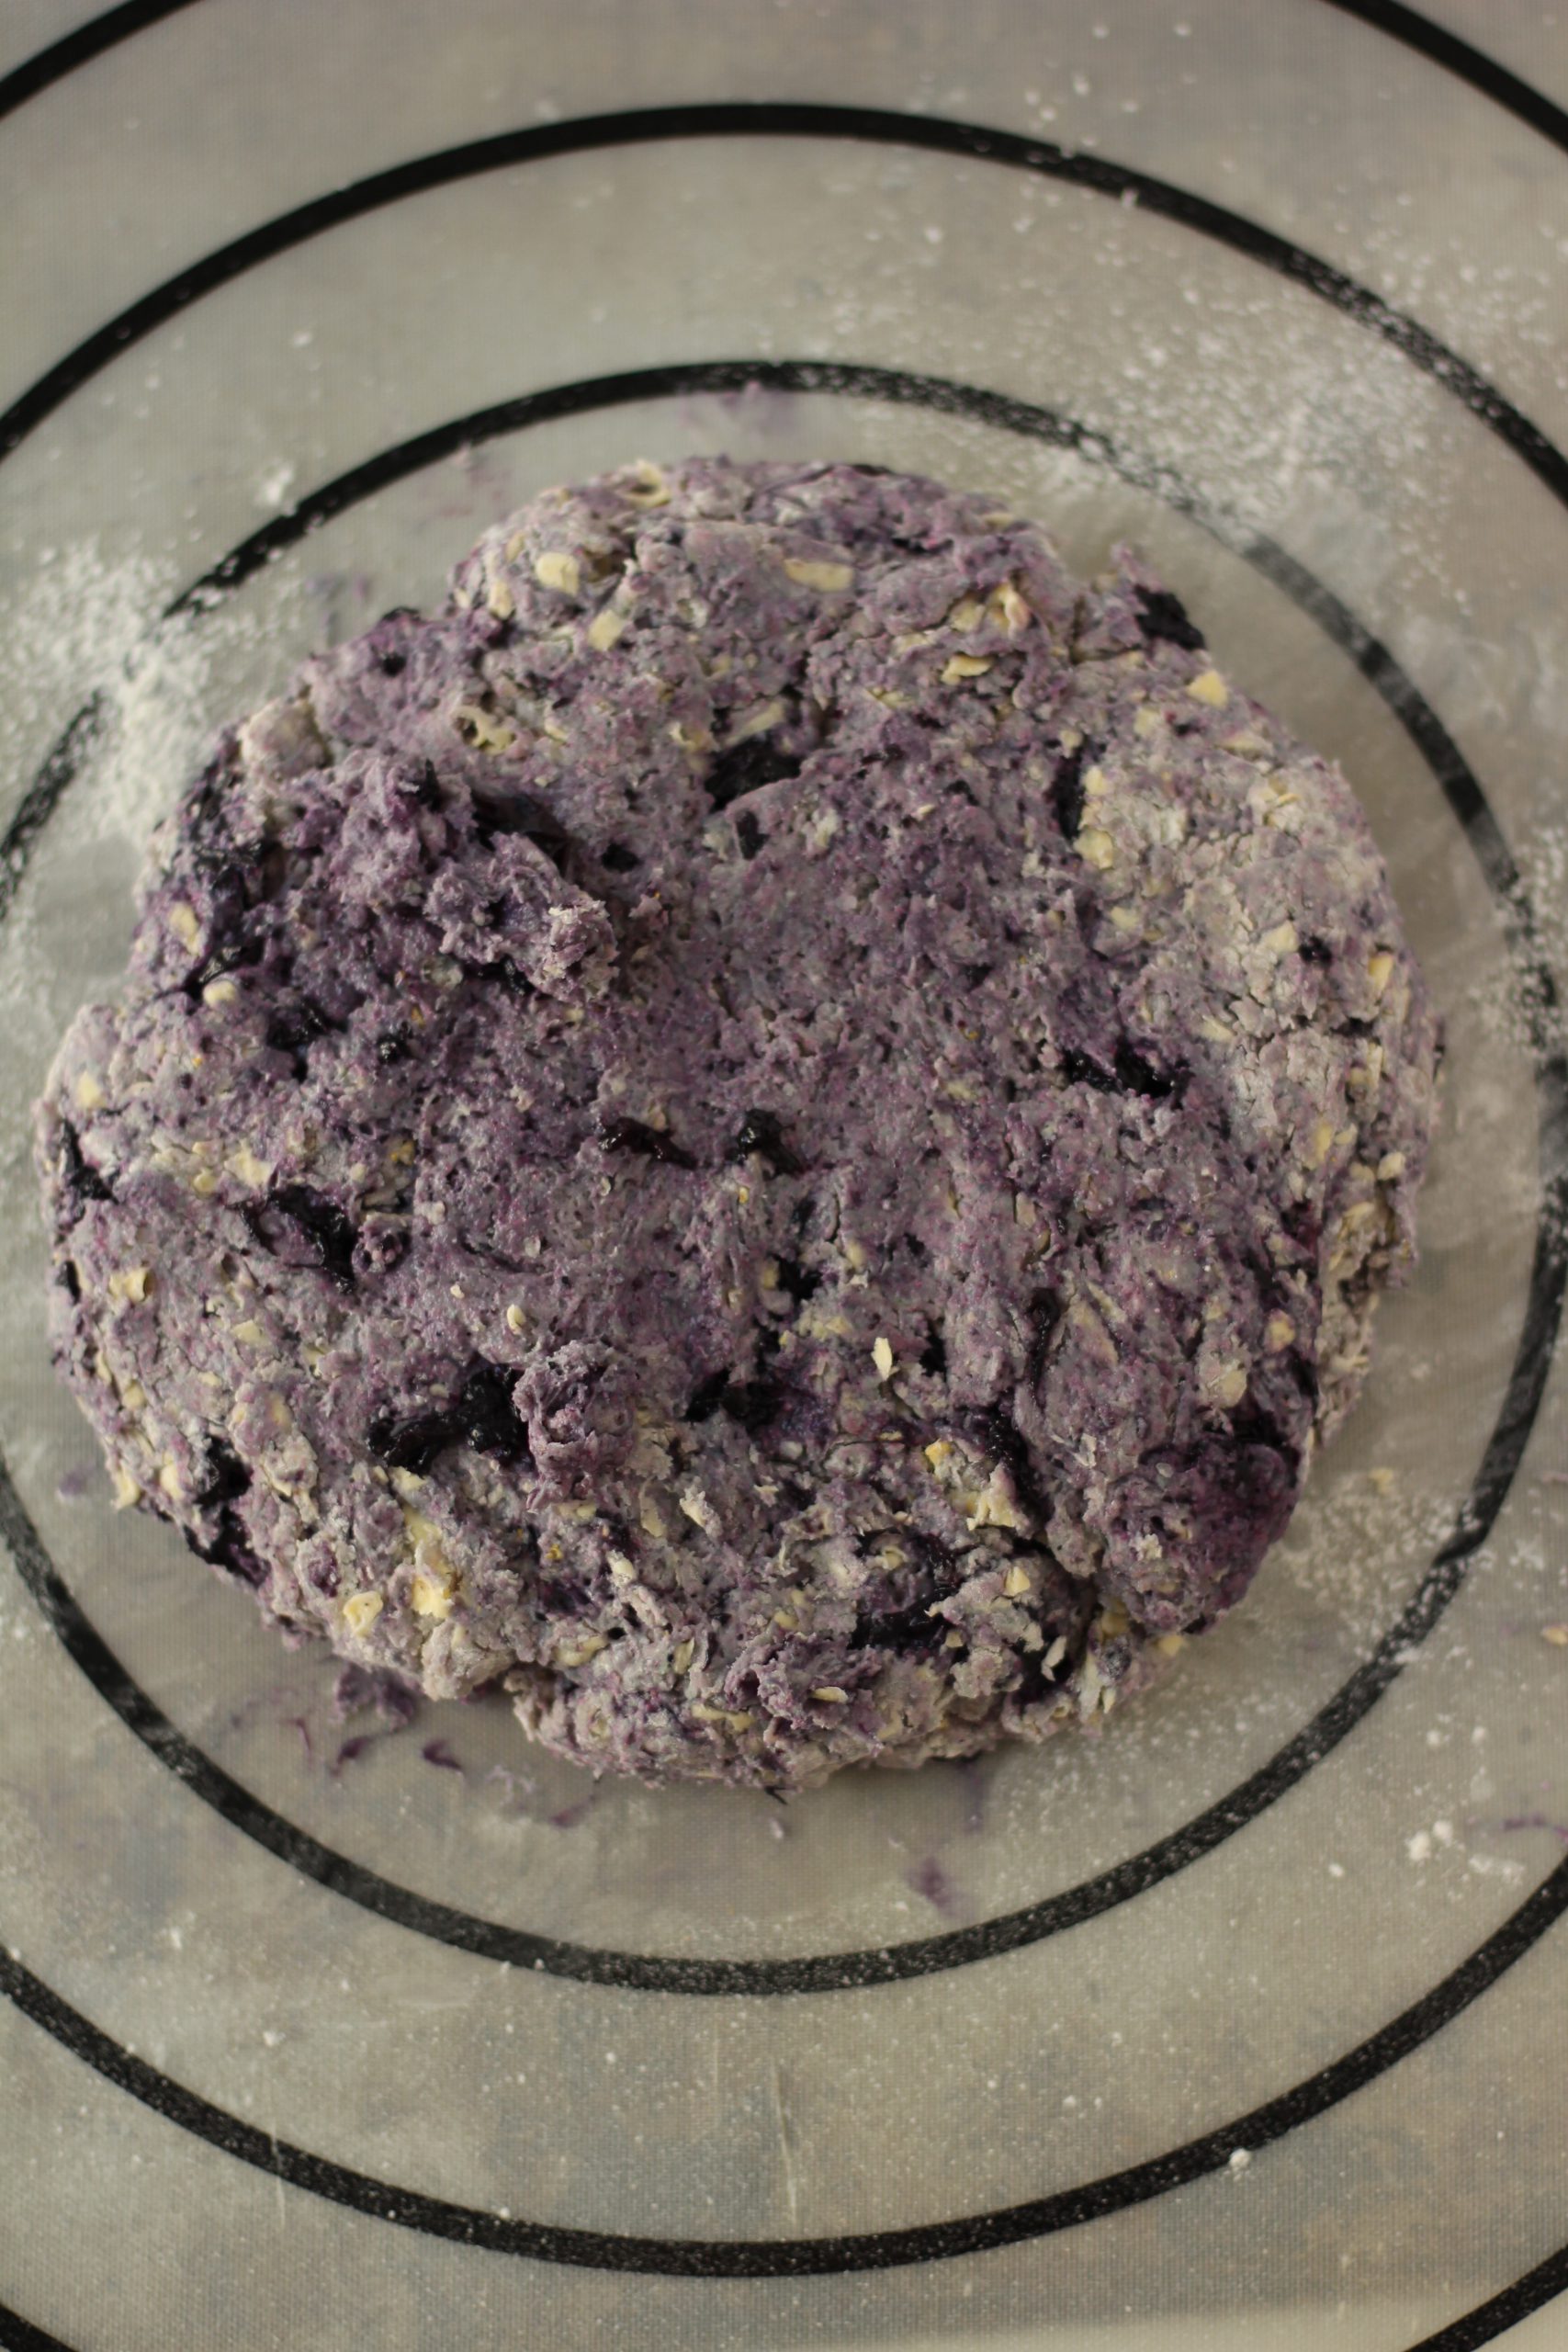
Remove the dough from your bowl onto a floured countertop. I love to use my silicone pastry mat for this because it is easy to use and clean. Gently form an 8 inch circle with your hands. Pat gently and don’t press too hard on your dough.

Cirkel or blueberry scone dough

After you form a circle, cut it into 8 equal triangles. The dough may be sticky, but adding a little flour to your knife will help to prevent it sticking.

Cutting of the blueberry scone dough

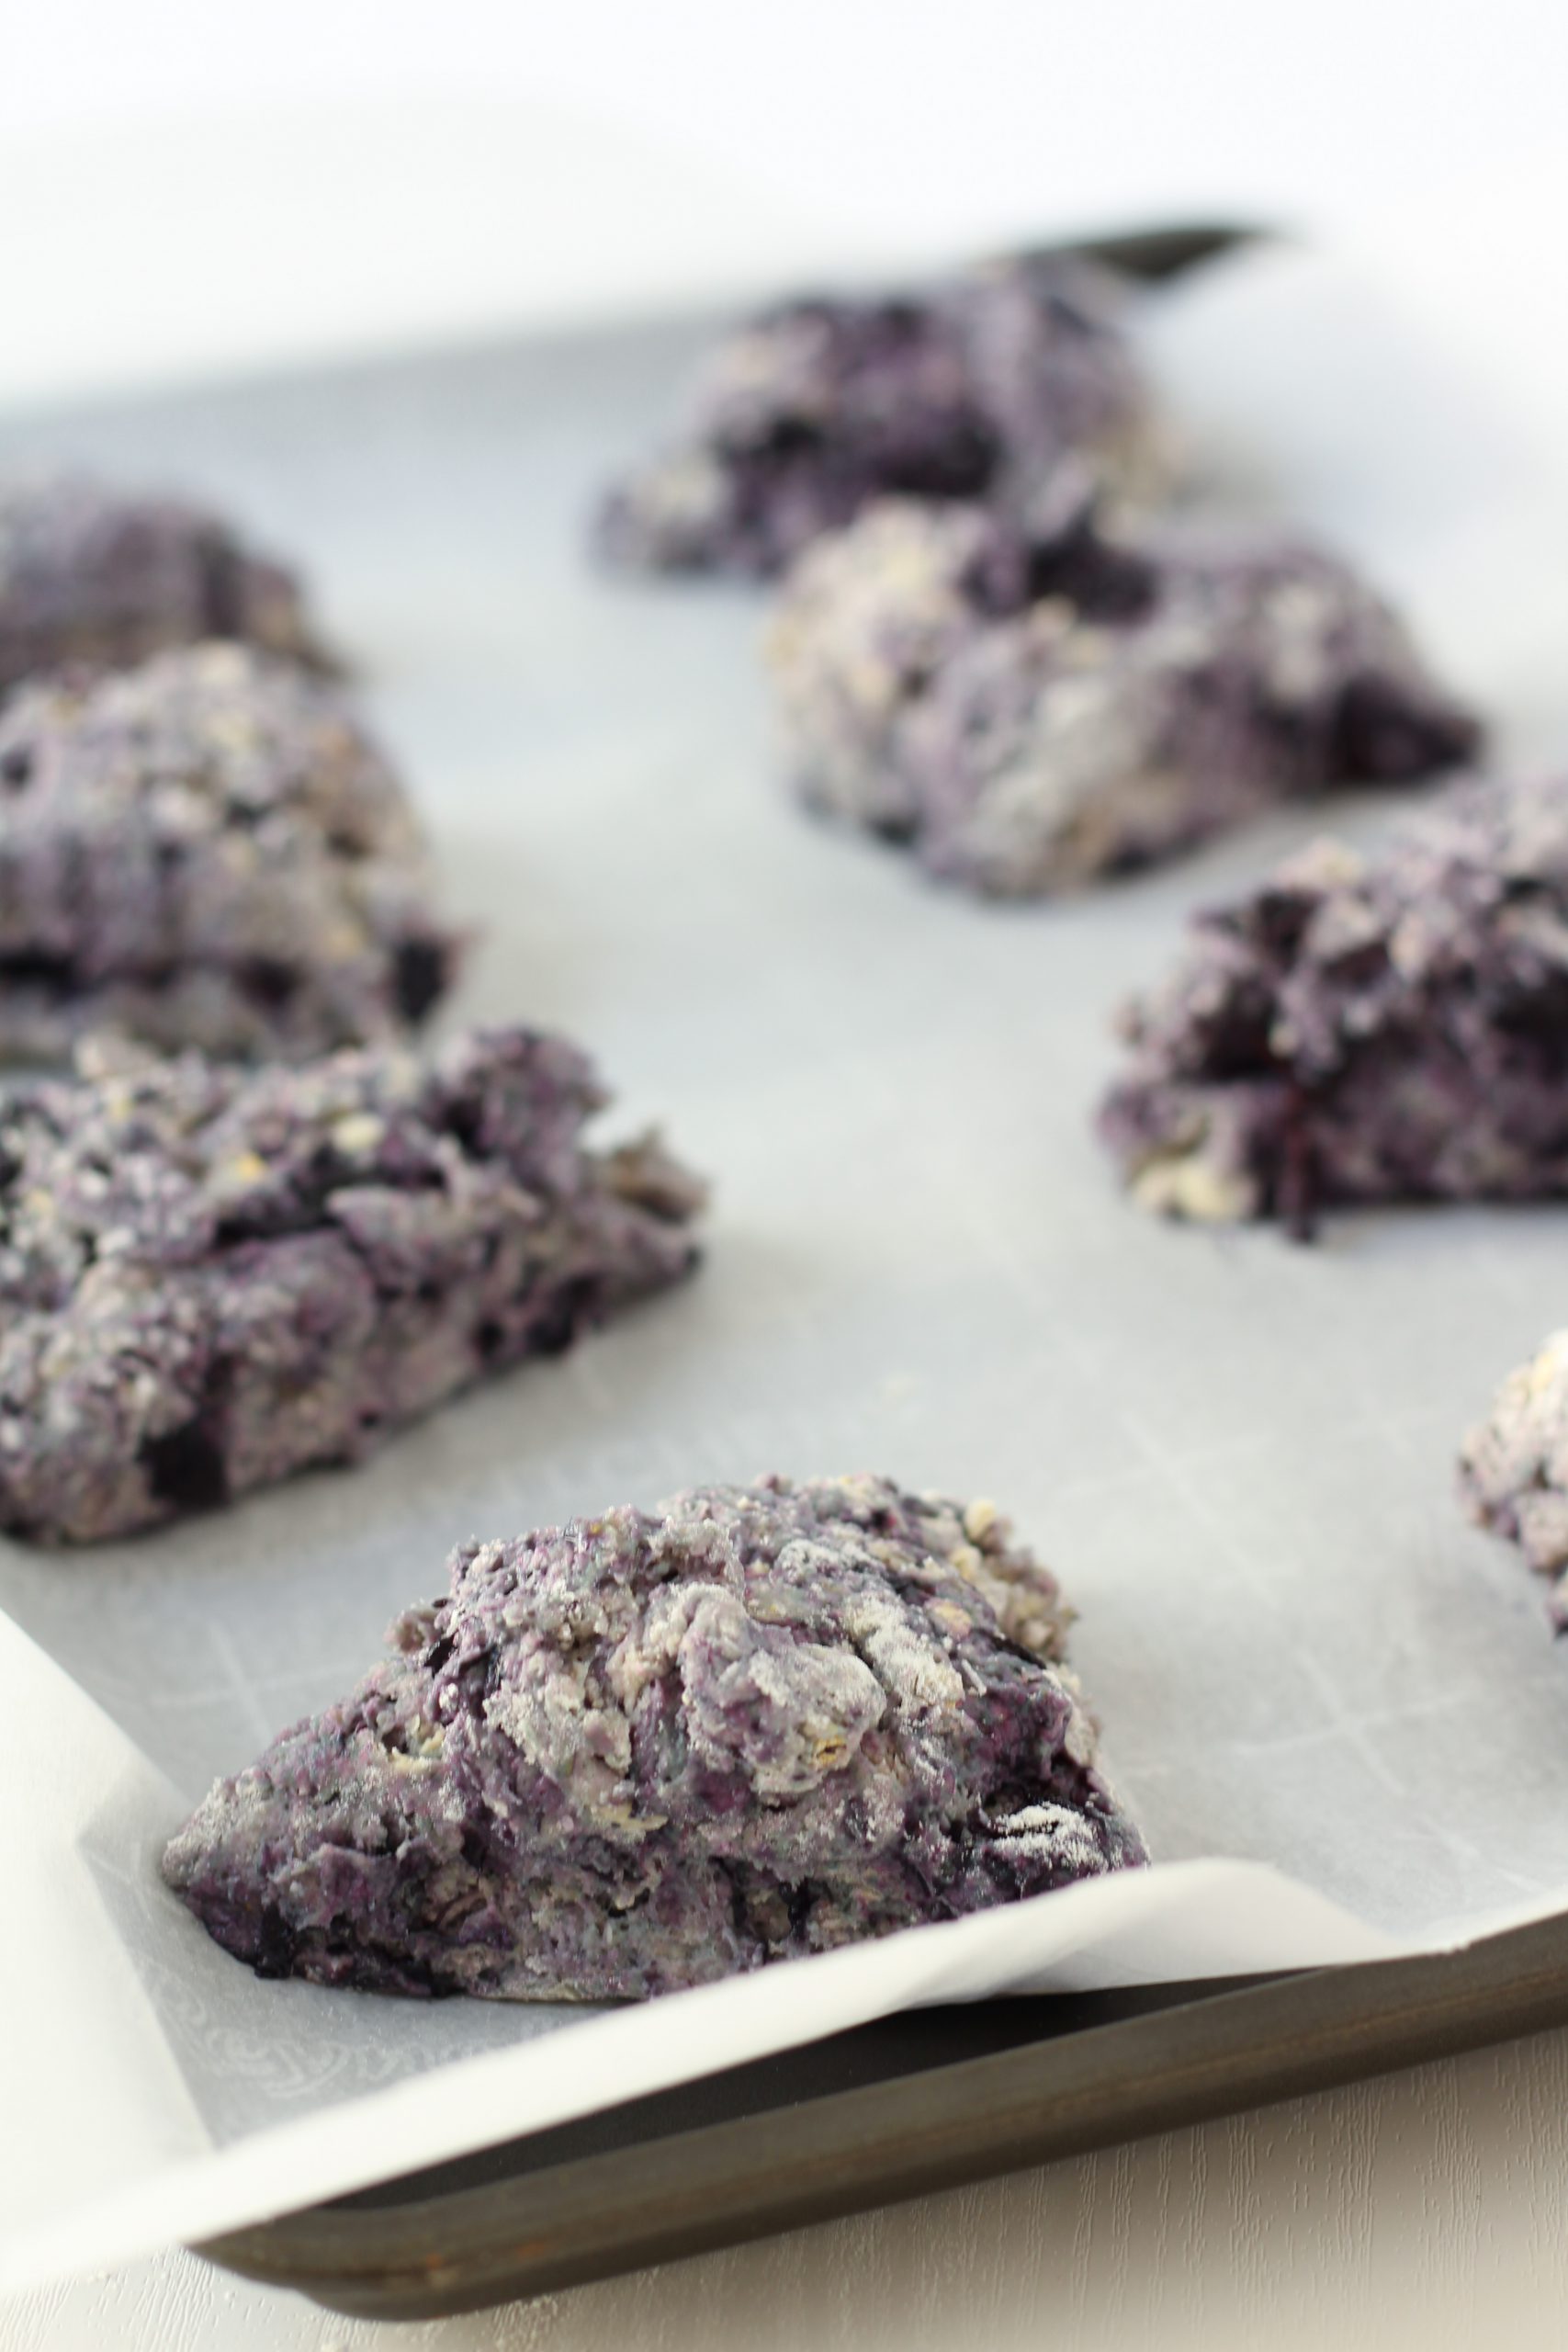
Put your scones on a baking tray with parchment paper. Bake them until golden brown in a preheated oven.

Blueberry scones on baking tray ready to bake

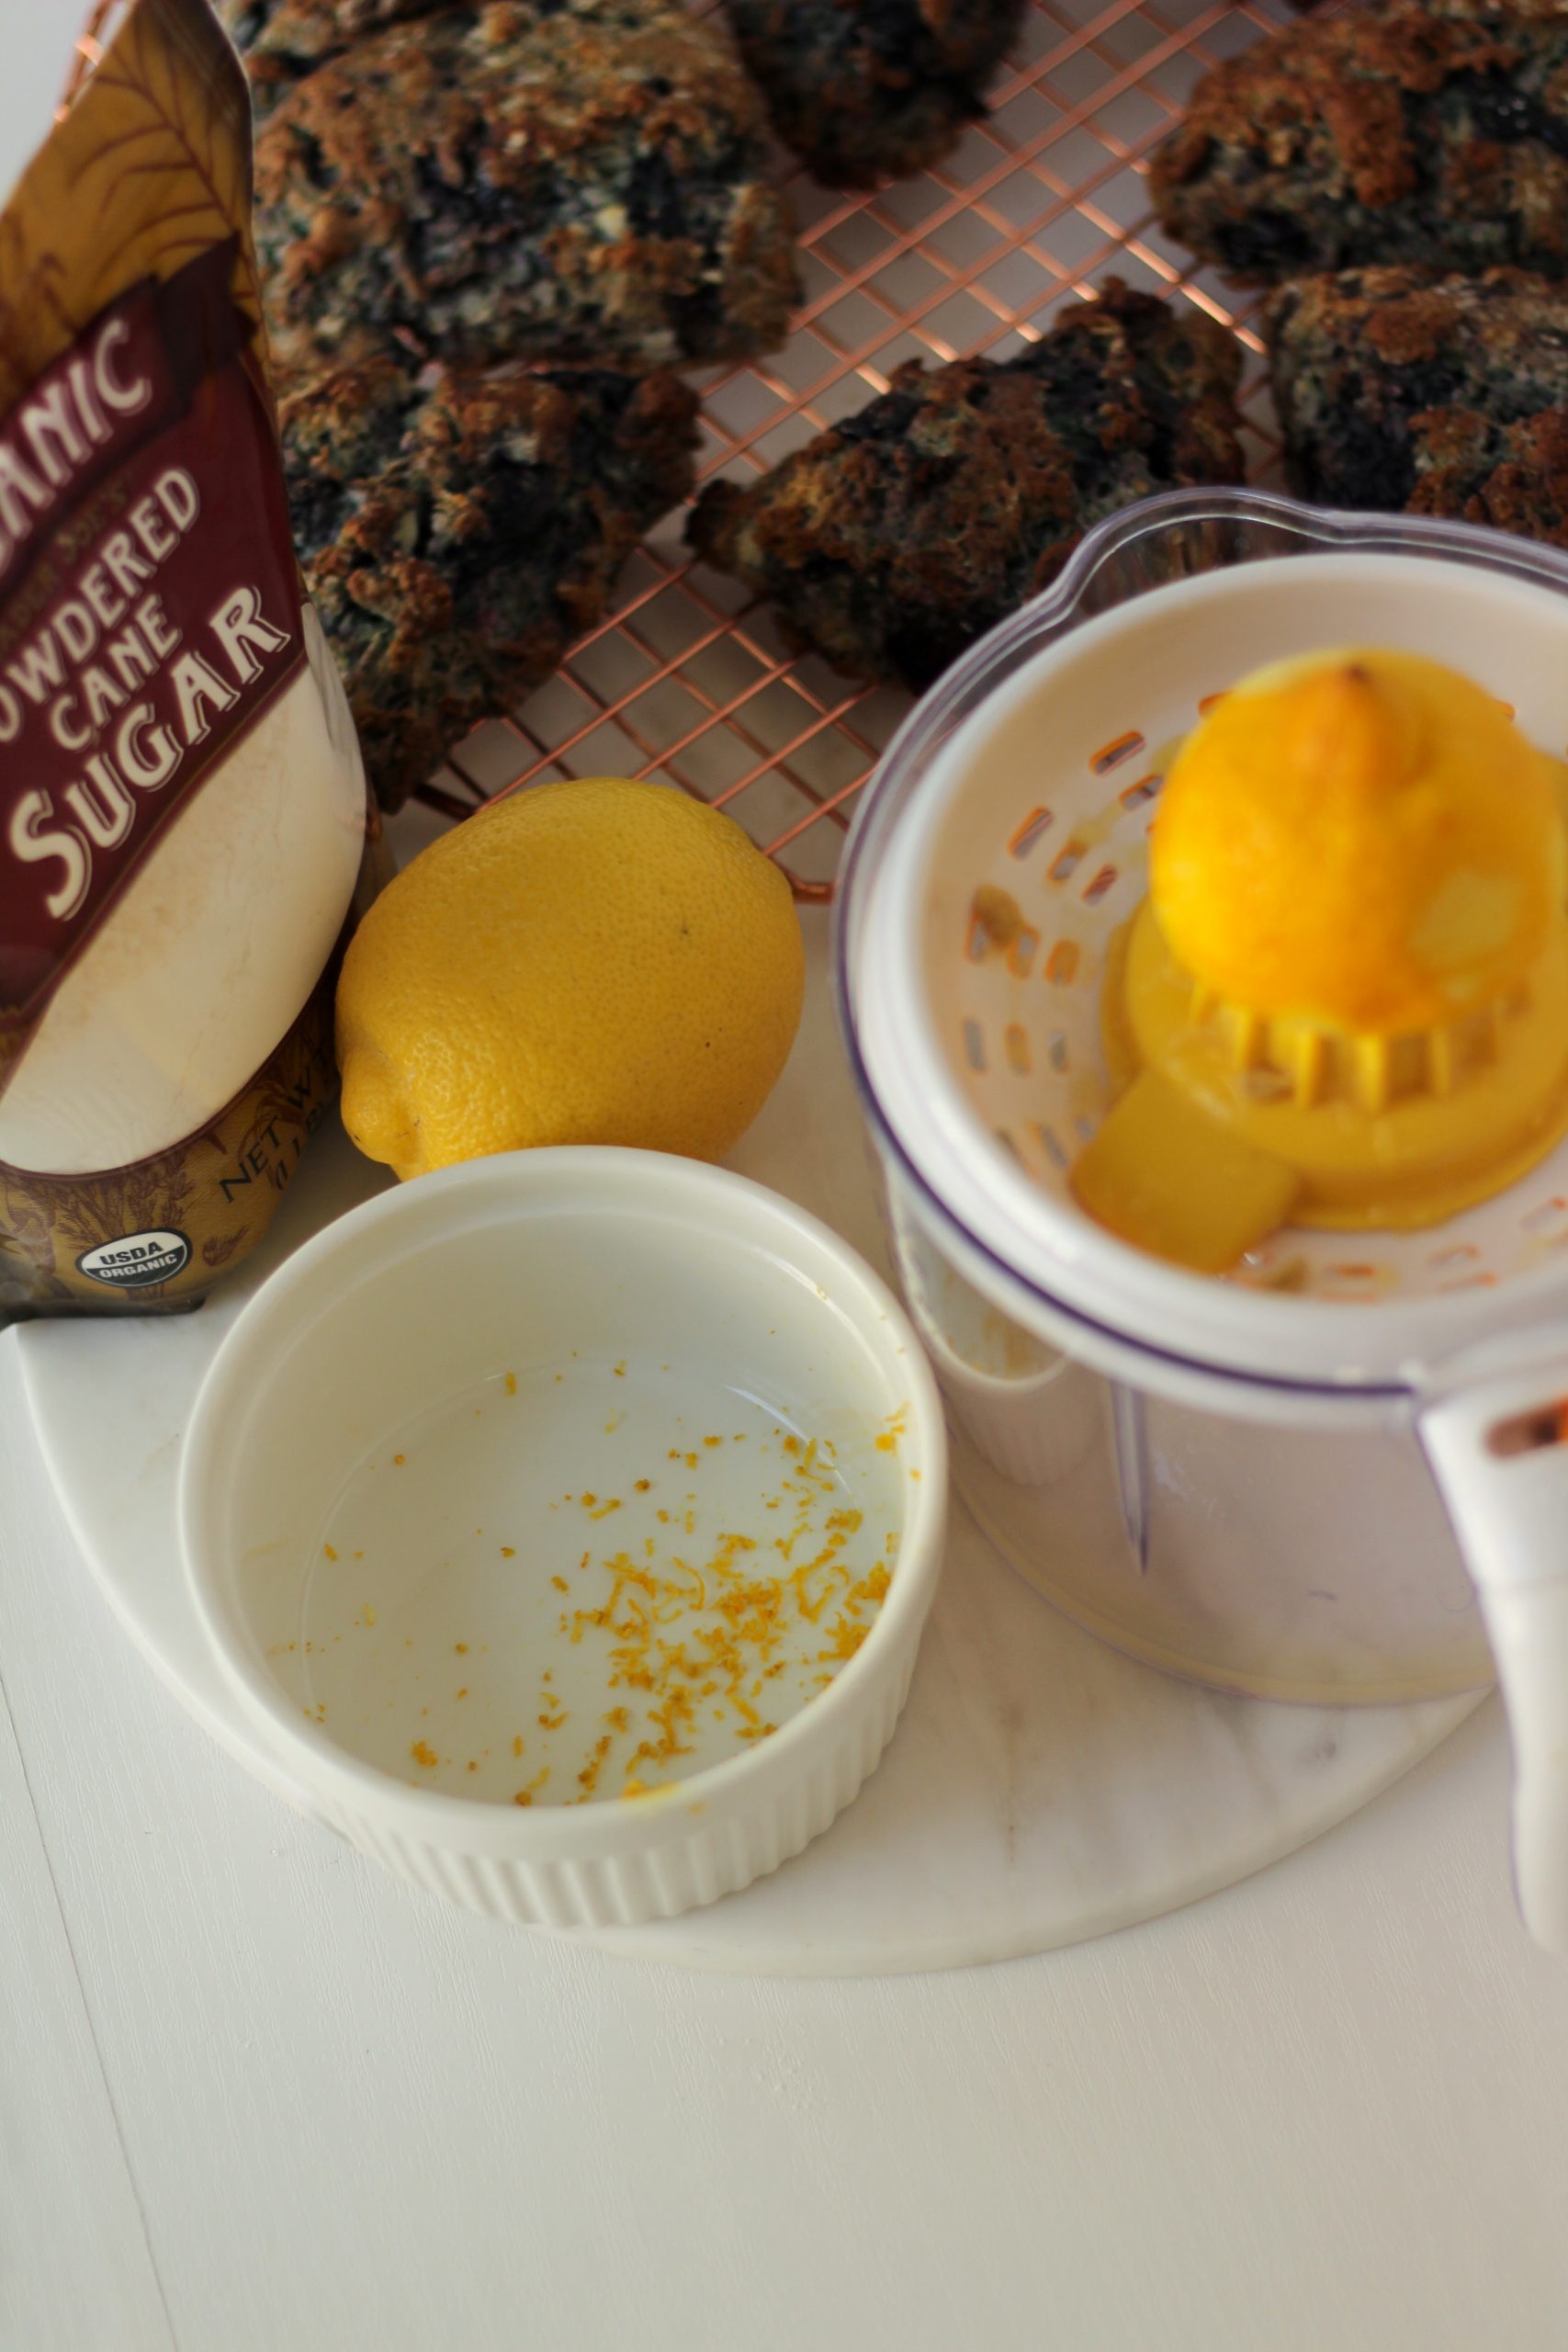
After the scones are done baking, let them cool completely on a cooling rack. While they are cooling prepare your lemon icing. Combine the lemon zest, lemon juice and the powdered sugar. The consistency of your icing depends on how much lemon juice you add. For a thinner drizzle simply add more juice. 

Preparing of the lemon icing

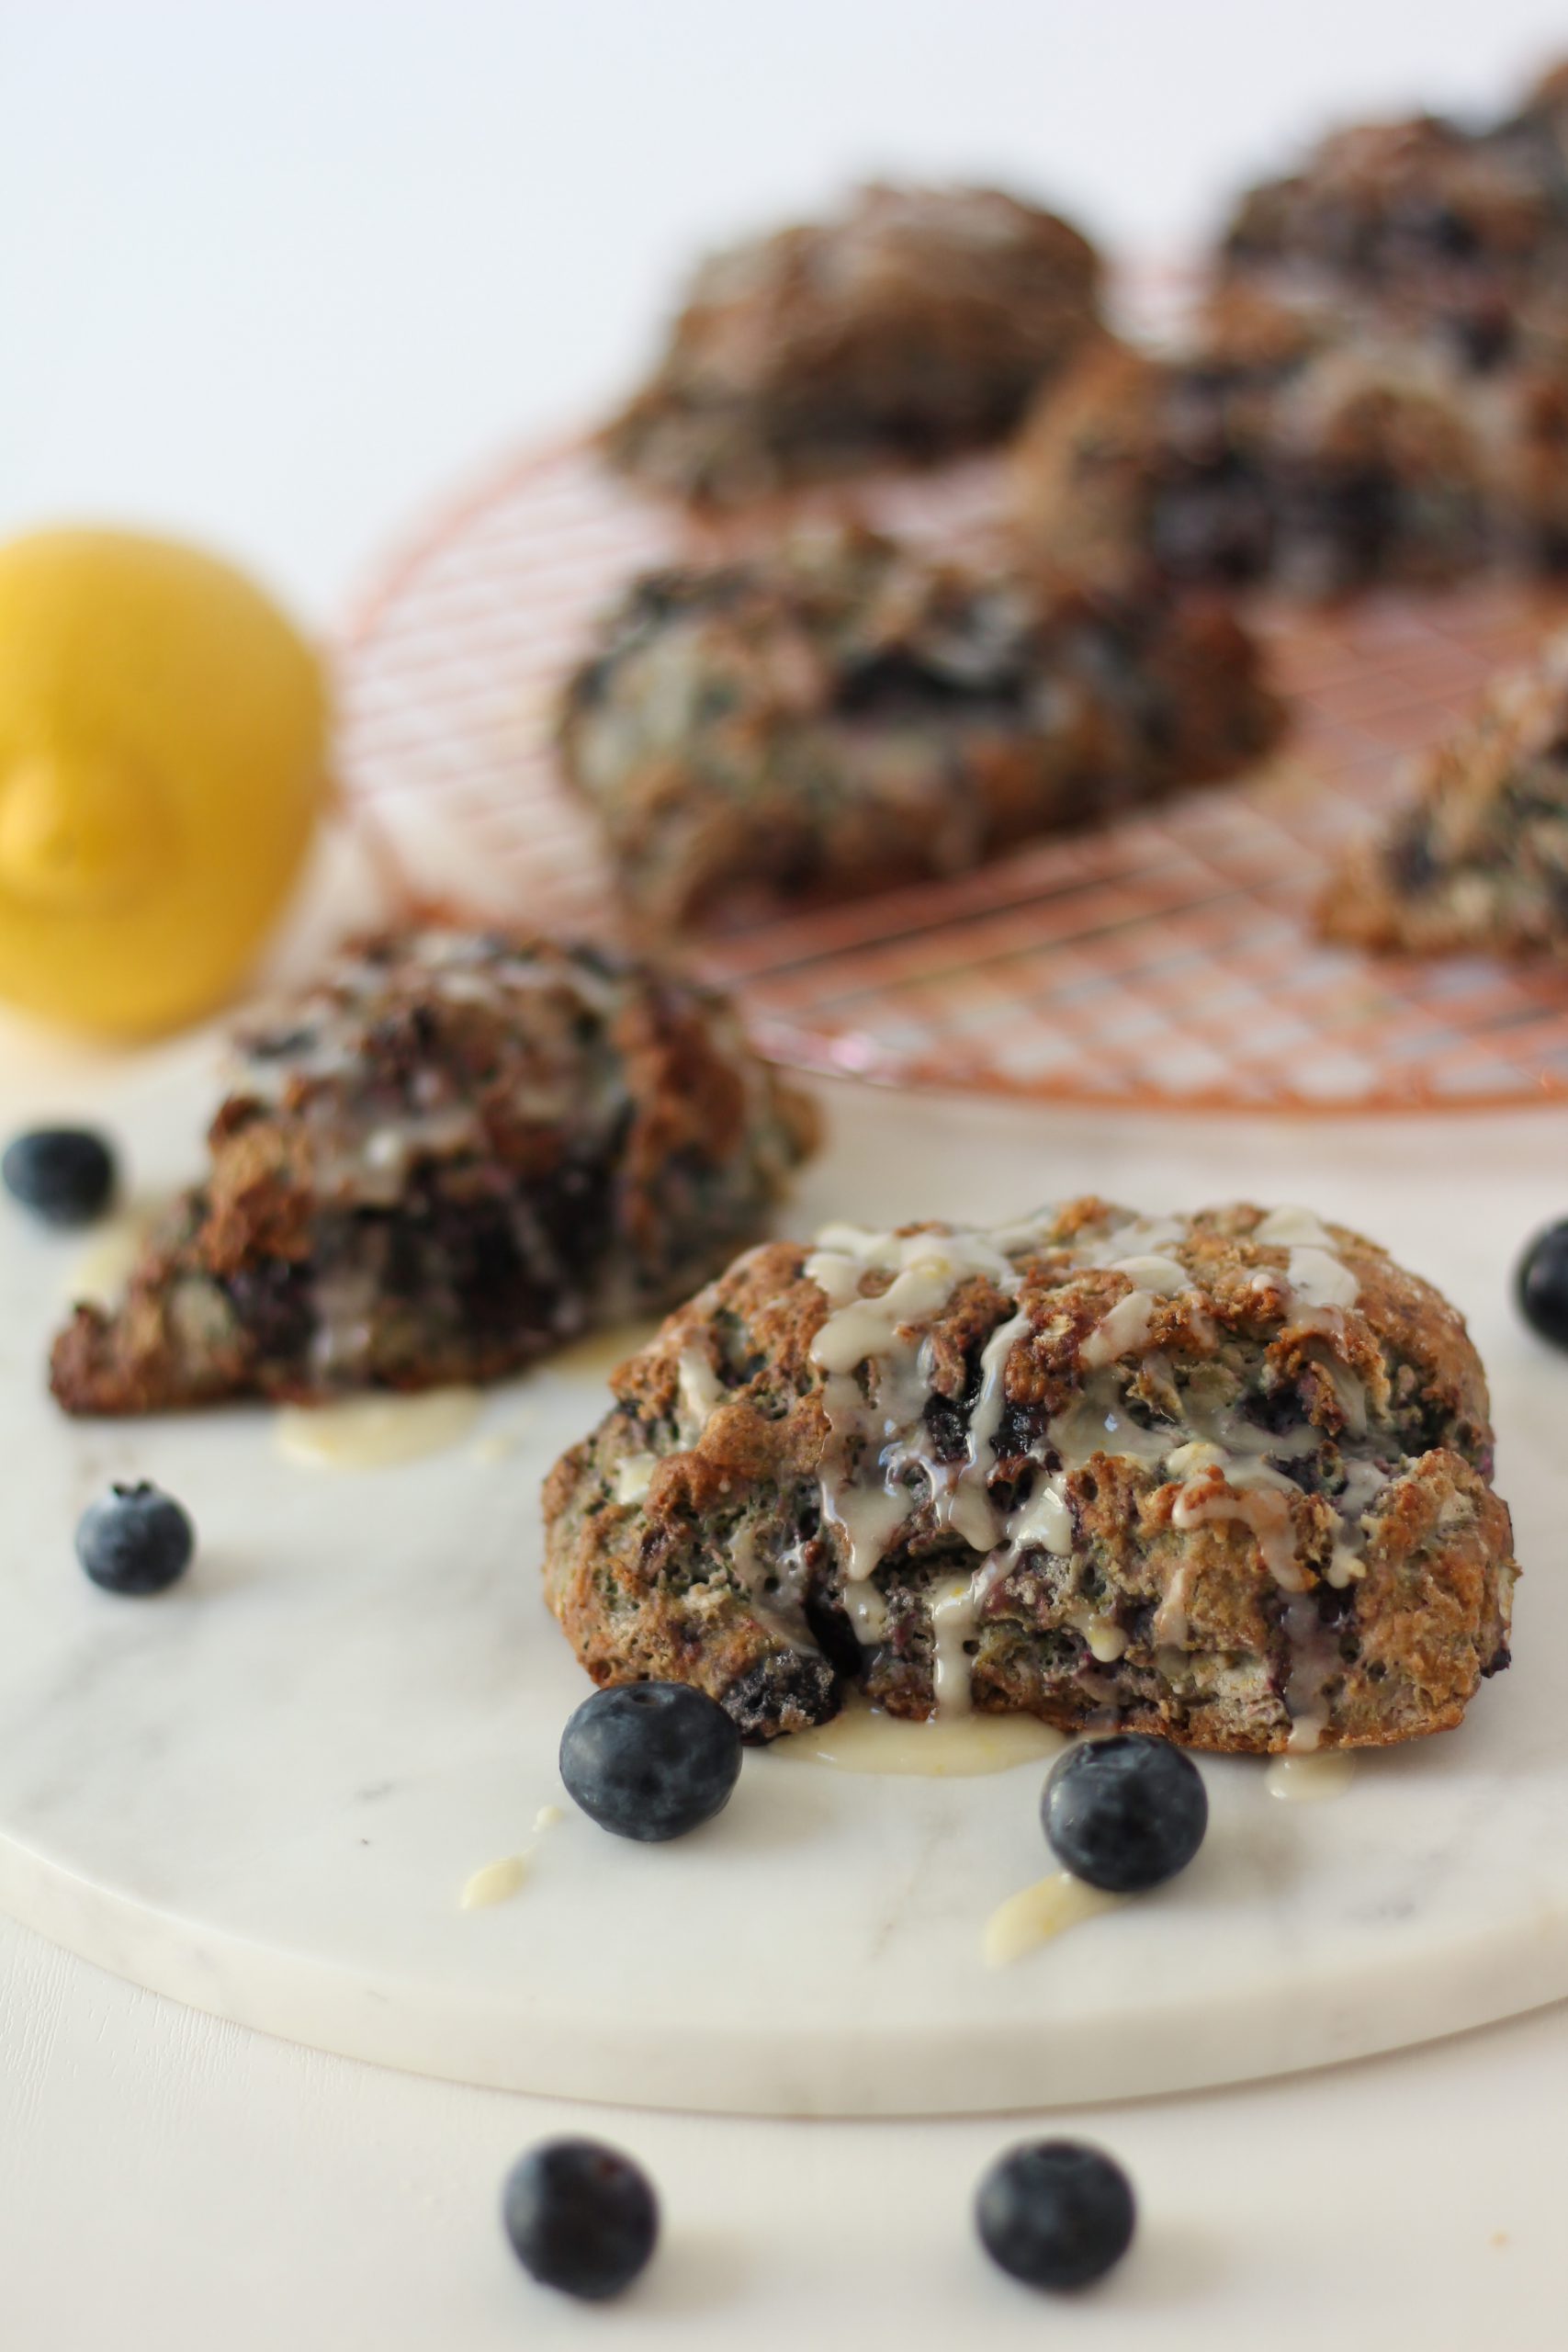
When the scone are completely cooled, drizzle on your icing. If you do this when they are still a little warm the icing will soak into the scones. 

Blueberry scones with icing


Blueberry Lemon Scone

These blueberry lemon scones are light and have a cake-like texture. The blueberry compote I added made a beautiful blue dough that keeps its color even after it is baked.  The added lemon zest in the dough gives it a freshness to it. The lemon drizzle on top is the right combination of sweet and fresh that really completes the scones.
Prep Time45 minutes
Cook Time15 minutes
Course: Breakfast
Cuisine: scones
Keyword: blueberry lemon scone, blueberry scone, scones
Author: Ester van Boesschoten

Ingredients

Blueberry compote

  • 1 Cup Blueberries fresh or frozen
  • 1/8 Cup Granulated sugar
  • 1/8 Cup Water
  • Pinch Kosher salt

Scone

  • 2 Cups Pastry flour or all purpose
  • 1 Tablespoon Baking powder
  • 1/2 Teaspoon Salt
  • 4 Tablespoons Unsalted butter frozen
  • 1 Tablespoon Maple syrup
  • 1 Egg
  • 1/2 Cup Heavy whipping cream
  • 1/2 Cup Whole milk
  • 1 Teaspoon Pure vanilla extract
  • Lemon zest of 1 lemon

Lemon drizzle

  • 1/3 Cup Powdered sugar
  • 1 Tablespoon Lemon juice
  • Zest Of one lemon

Instructions

Blueberry Compote

  • Combine the blueberries, sugar, water and salt in a small saucepan. Warm over medium heat untill the blueberries burst and a spoon or spatula makes a clear path on the bottom to the pan. This should take 10-15 minutes.
  • Take it off the heat and let it cool for 10 minutes.

Scone

  • Position your oven rack in the middle and preheat the oven to 425 Farhenheit *.
  • Sift your flour and combine it with salt, baking powder and lemon zest.
  • In a separate bowl combine the heavy cream, milk, maple syrup, vanilla extract and the whisked egg. Stir to combine. When your blueberry compote is cooled enough, add it to this mixture.
  • Grate the frozen butter over your flour mixture . Cut in the butter with a pastry knife.
  • Gently stir the liquid into the flour mixture until it is just combined. Be careful not to overmix it.
  • If preferred you can add some (up to a half a cup) extra whole blueberries gently at this point.
  • Transfer the dough to a floured counter top. Gently form the dough into a circle approximately 7” round and 1-1 1/2” thick. Cut out 8 triangles.
  • Place your triangles onto a baking sheet line with parchment paper.
  • Bake them in the preheated oven until they are golden brown. This takes around 12-15 minutes.*
  • When done let them cool on a cooling rack.

Drizzle

  • Combine lemon juice, zest and powdered sugar until smooth consistency. If you prefer a thin glaze slowly add more lemon juice.
  • Drizzle over your cooled scones and enjoy!

Notes

*Every oven is different, so time and temperature may be different for your oven. Keep a close eye on your scones in the end of the baking time.

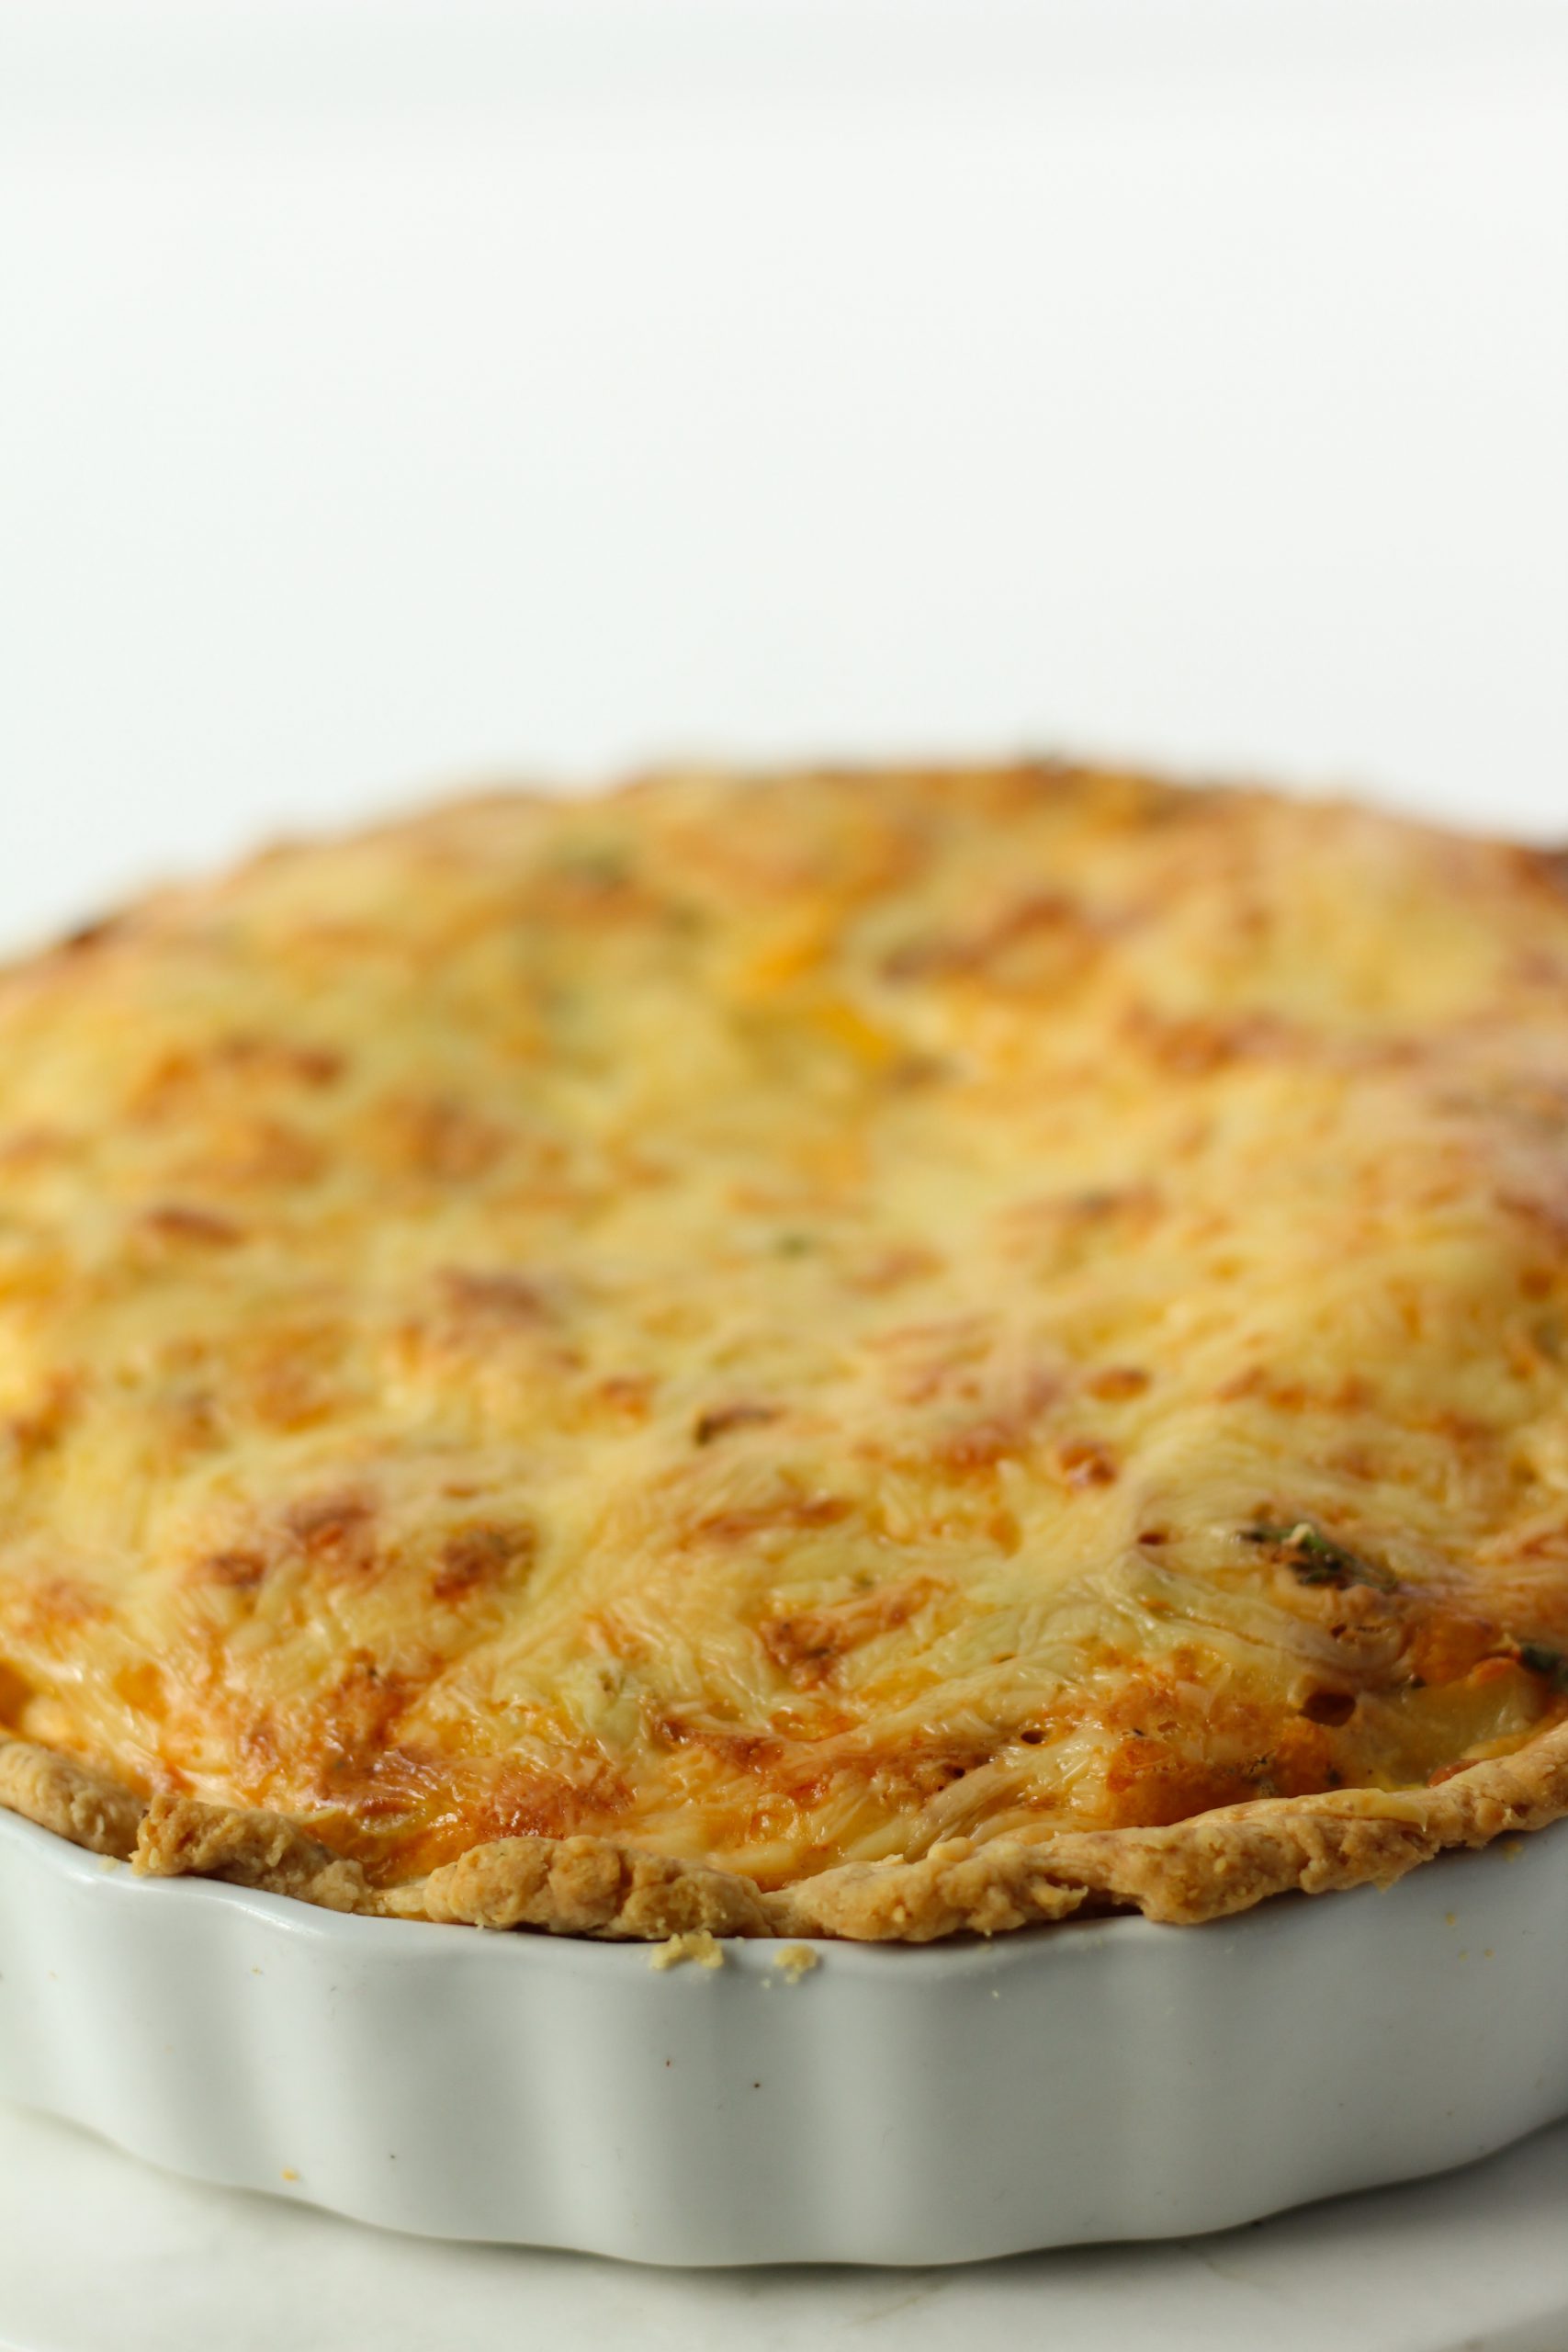
final result of the potato quiche

Quiches are one of my favorite dishes to bring to a potluck or share with a friend for dinner and this Potato bacon quiche is one of them. They are easy to make, and I typically have all the ingredients I need at home. To make it a complete meal just add a salad or some extra protein, but it can easily be filling enough all on its own.

The quickest option is to use puff pastry dough or prepared store bought pastry dough. However, when time allows, I prefer to use my own hearty pie dough. You can find the recipe here Savory Pie Dough on my blog.  Quiches are made with eggs and cream but the option of what else to add in is up to your imagination. For this recipe I used potato and bacon. Some additional ideas are: spinach, mushroom, tomato, cheese. This is originally a French dish and can be served hot or cold.

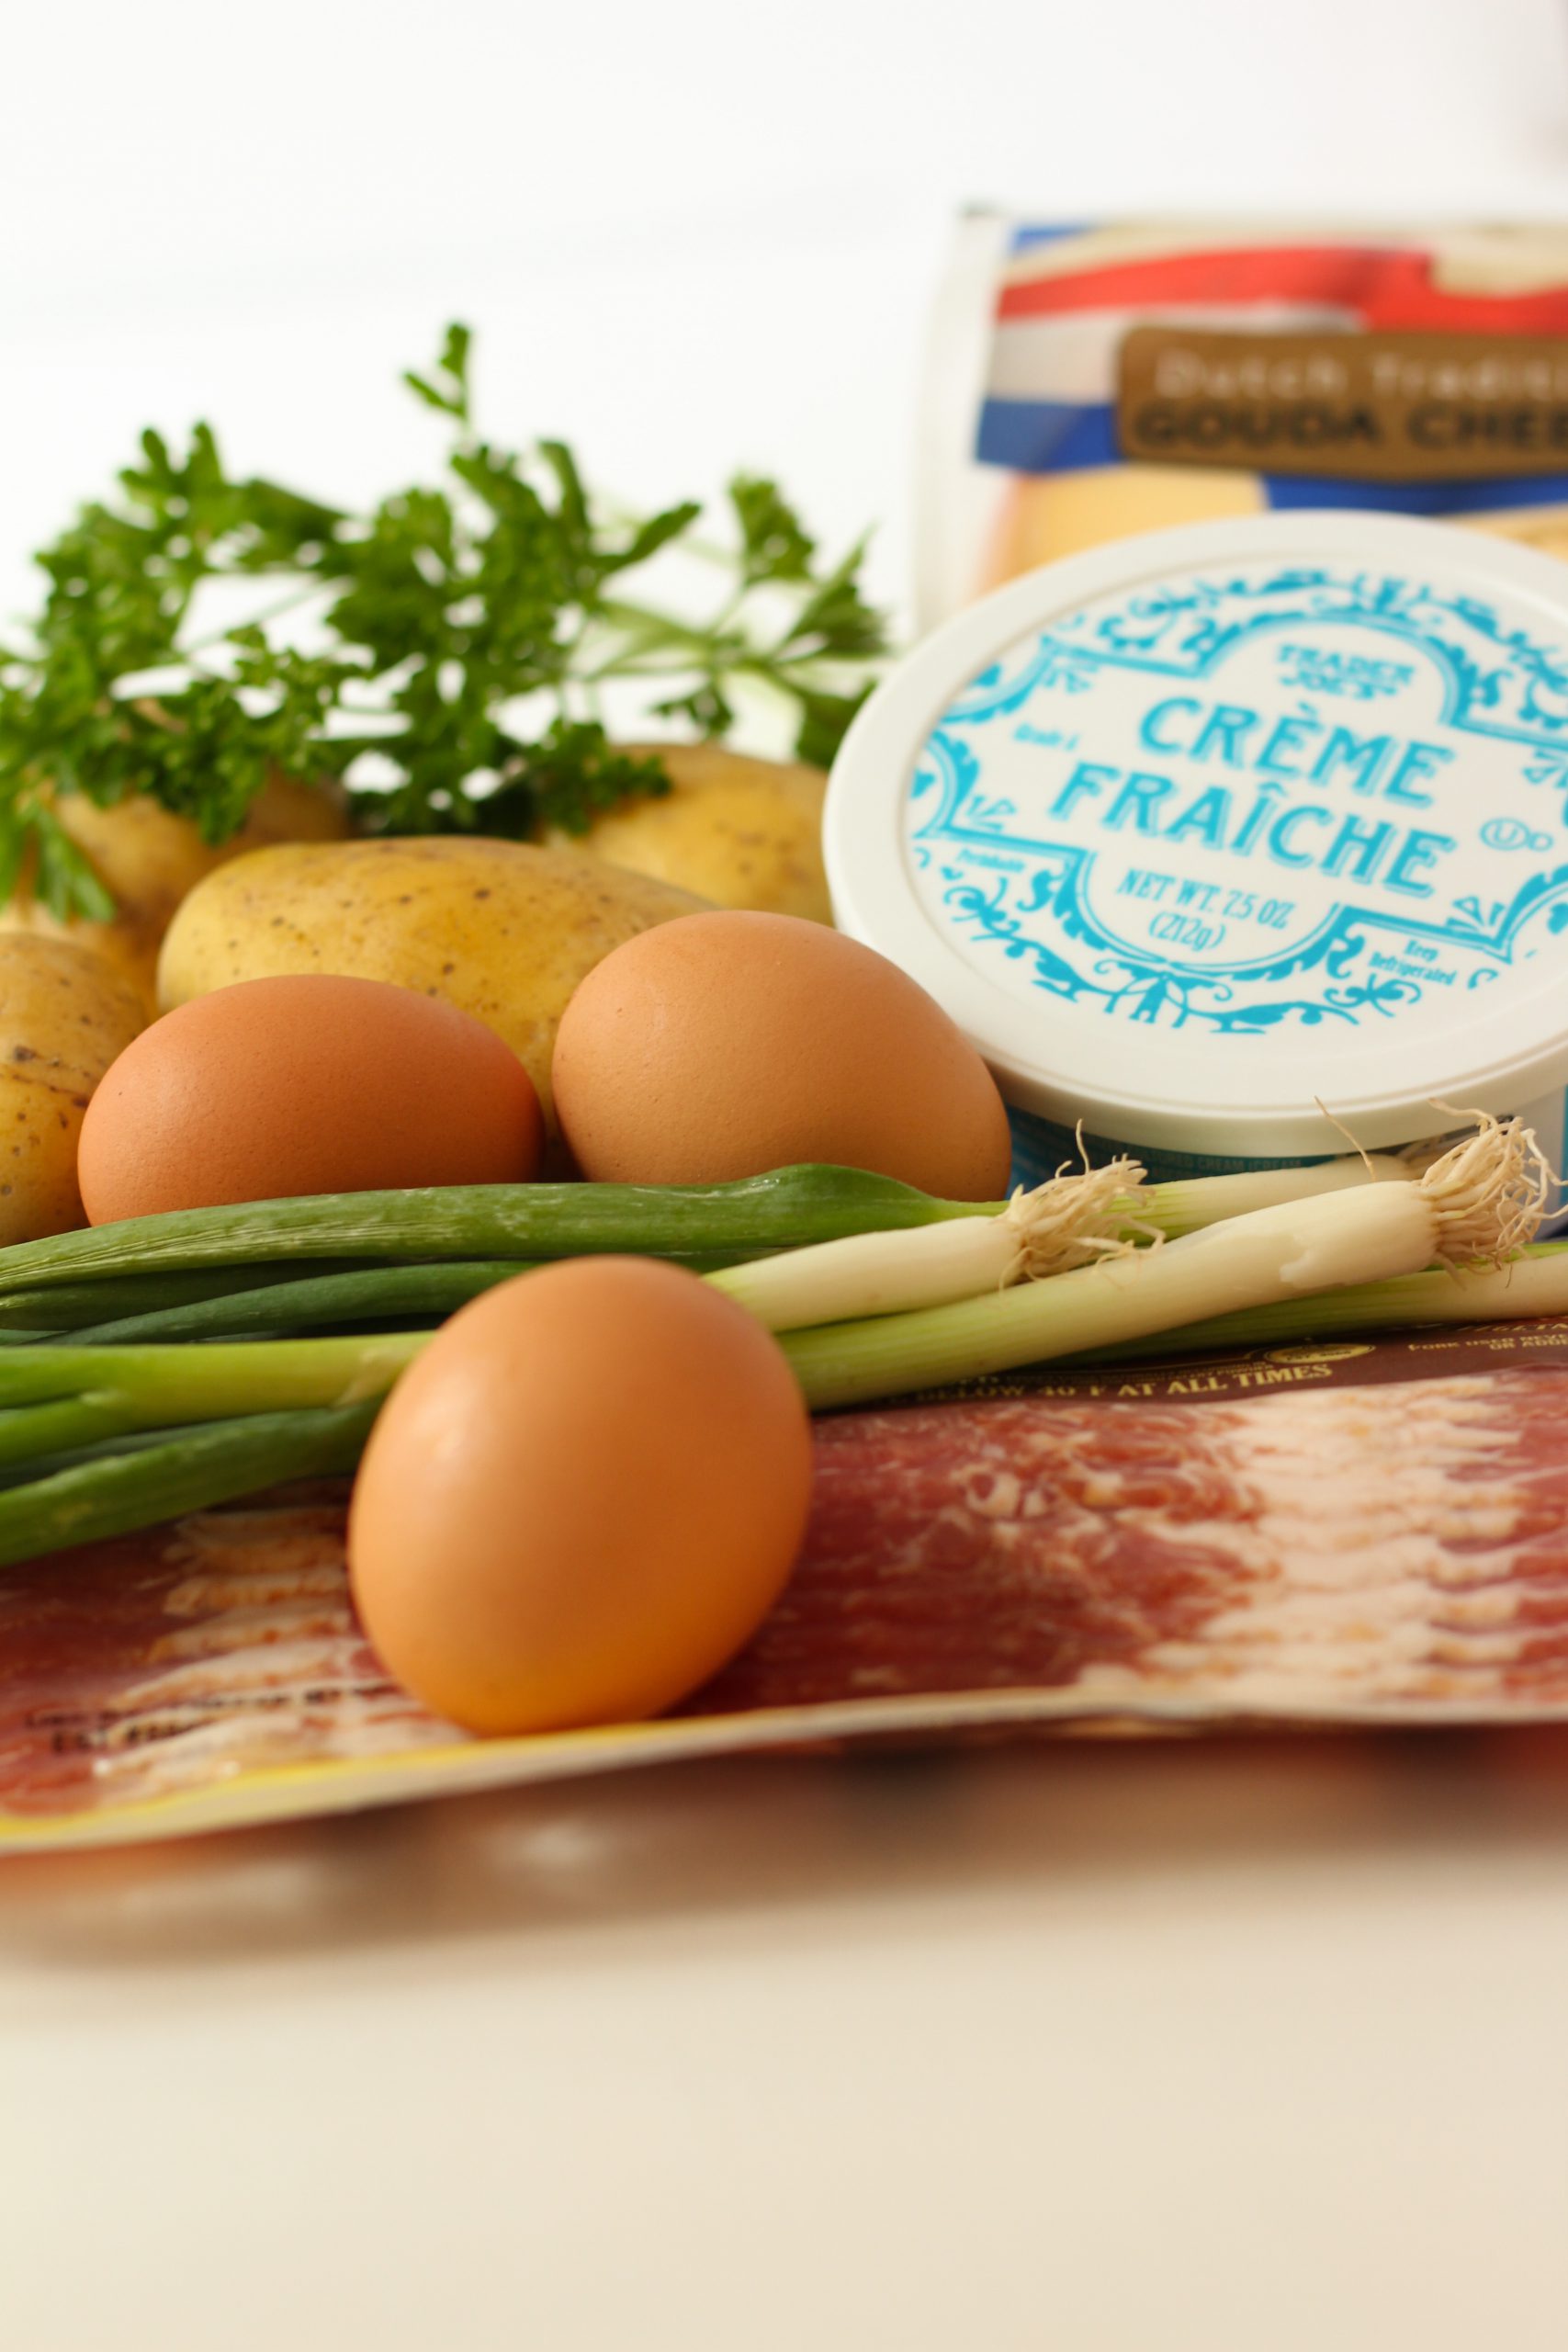
Ingredients filling of the potato quiche

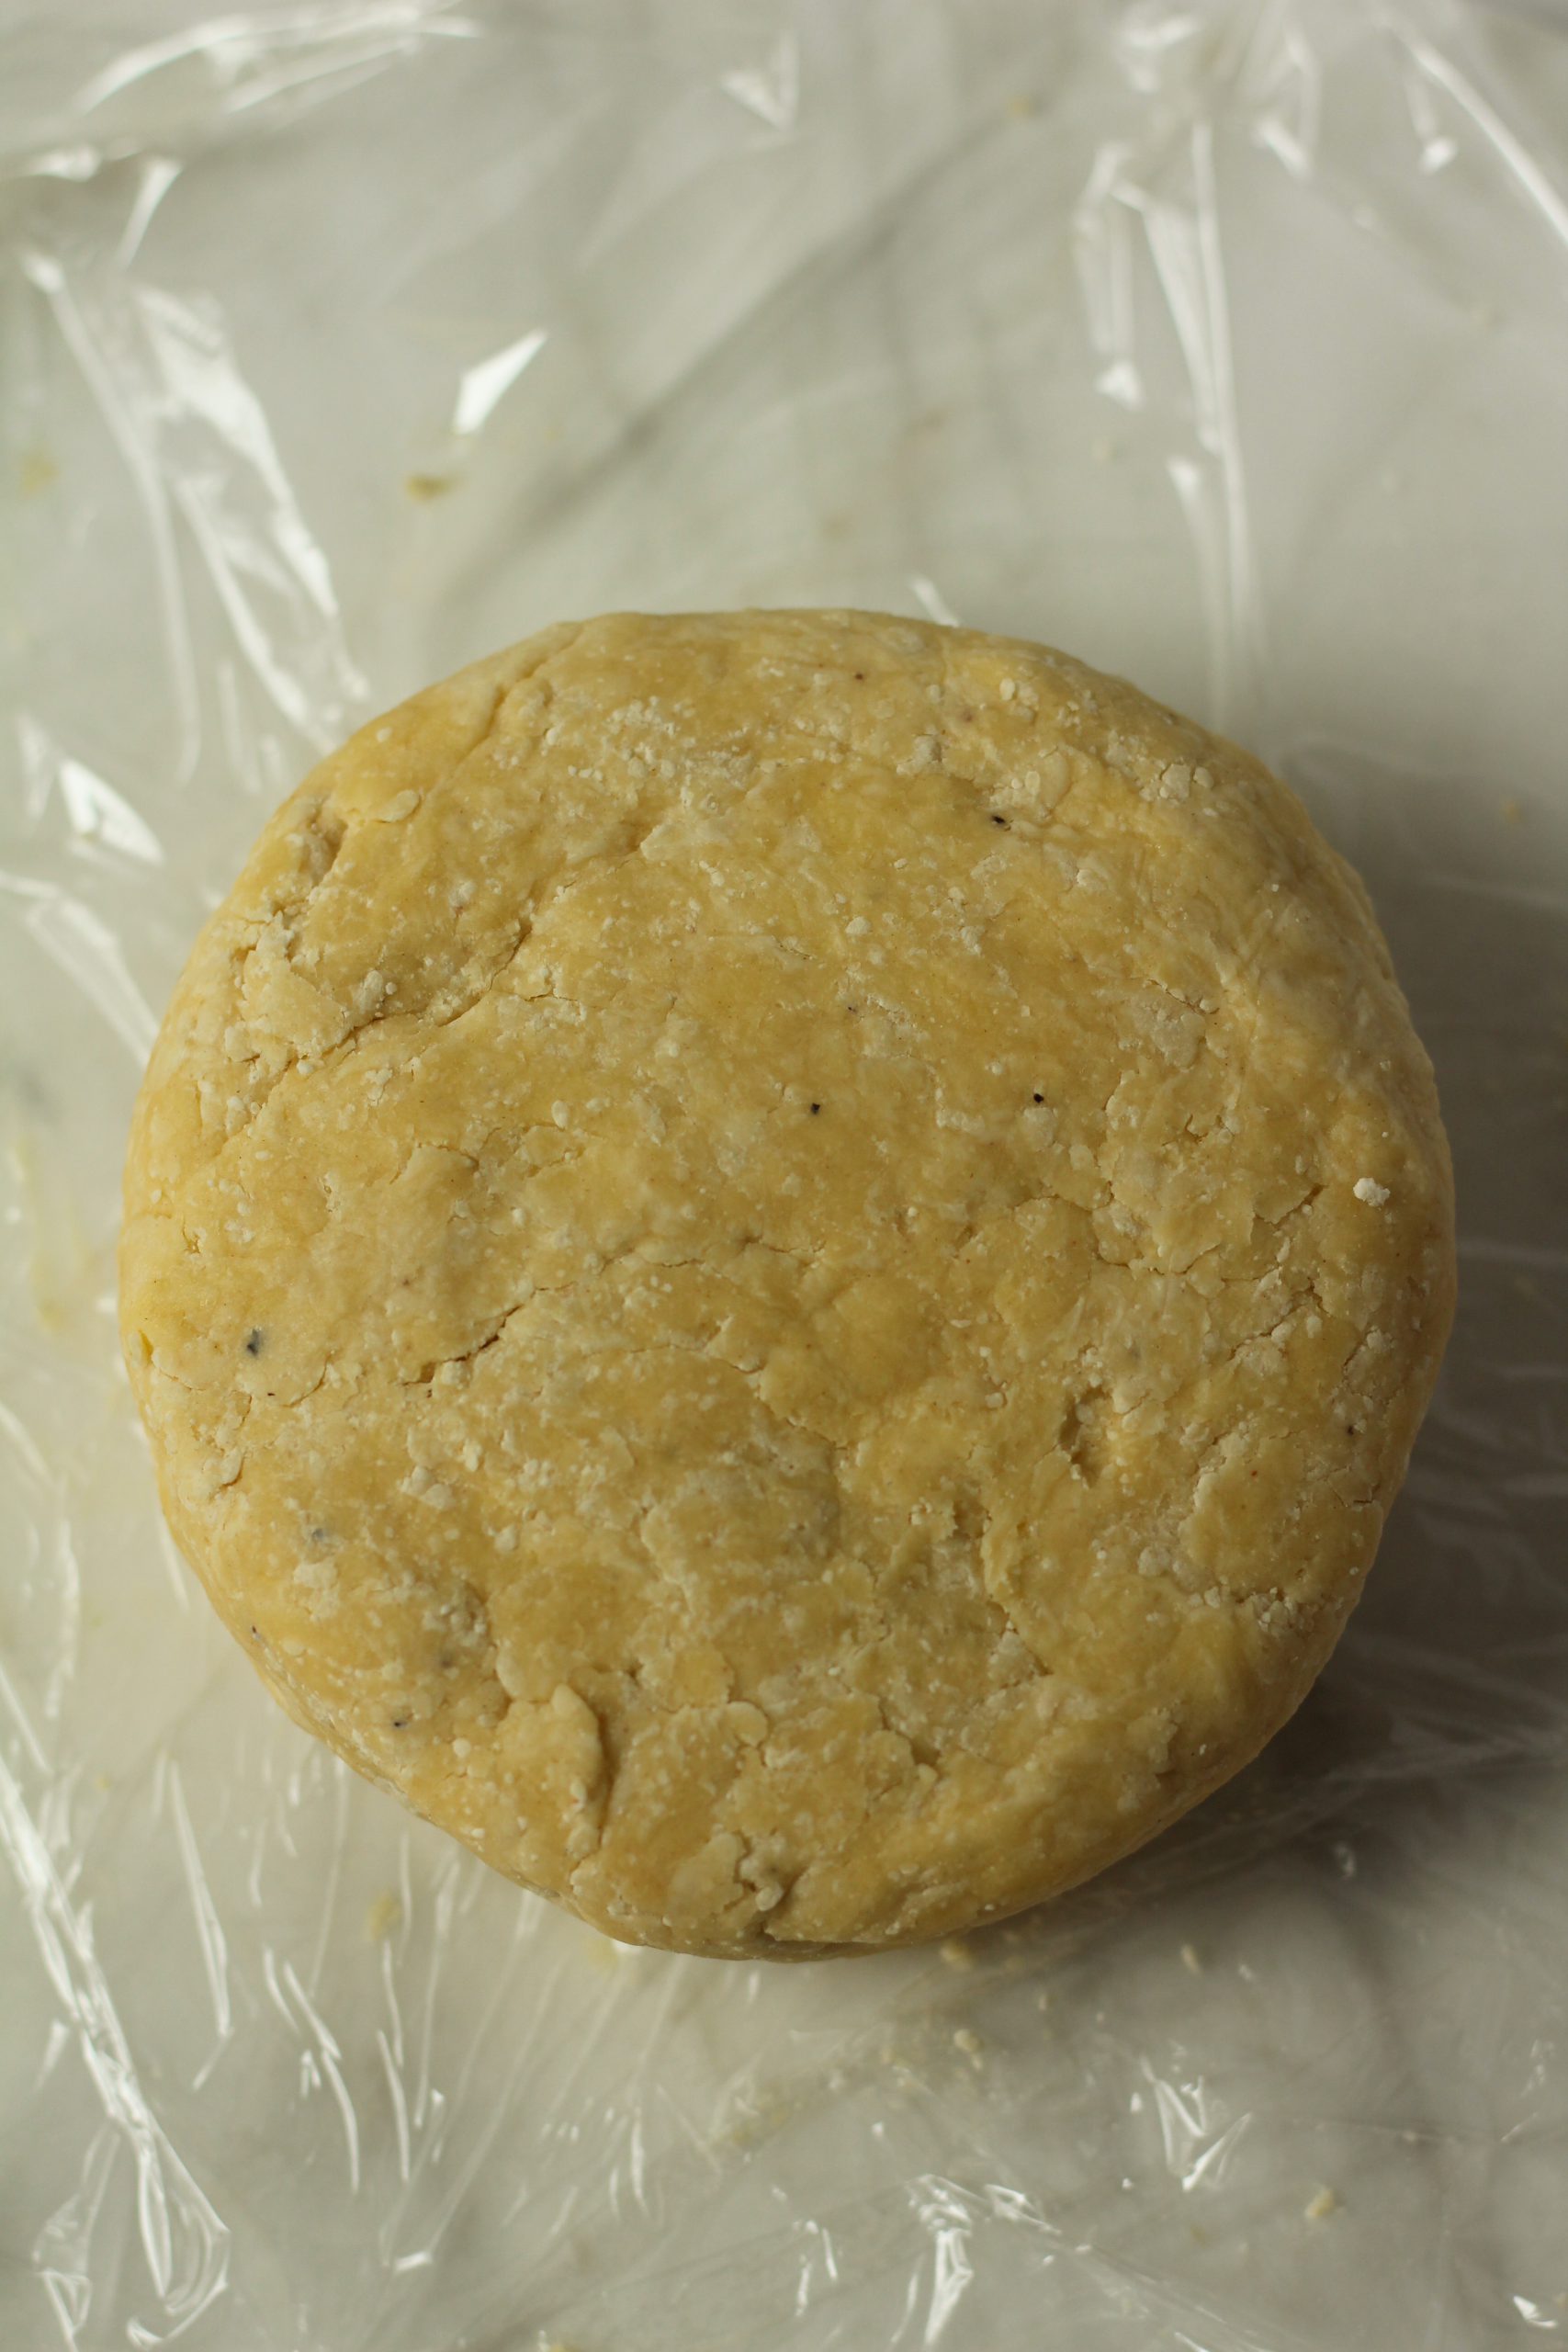
Savory pie dough ready to rest in fridge

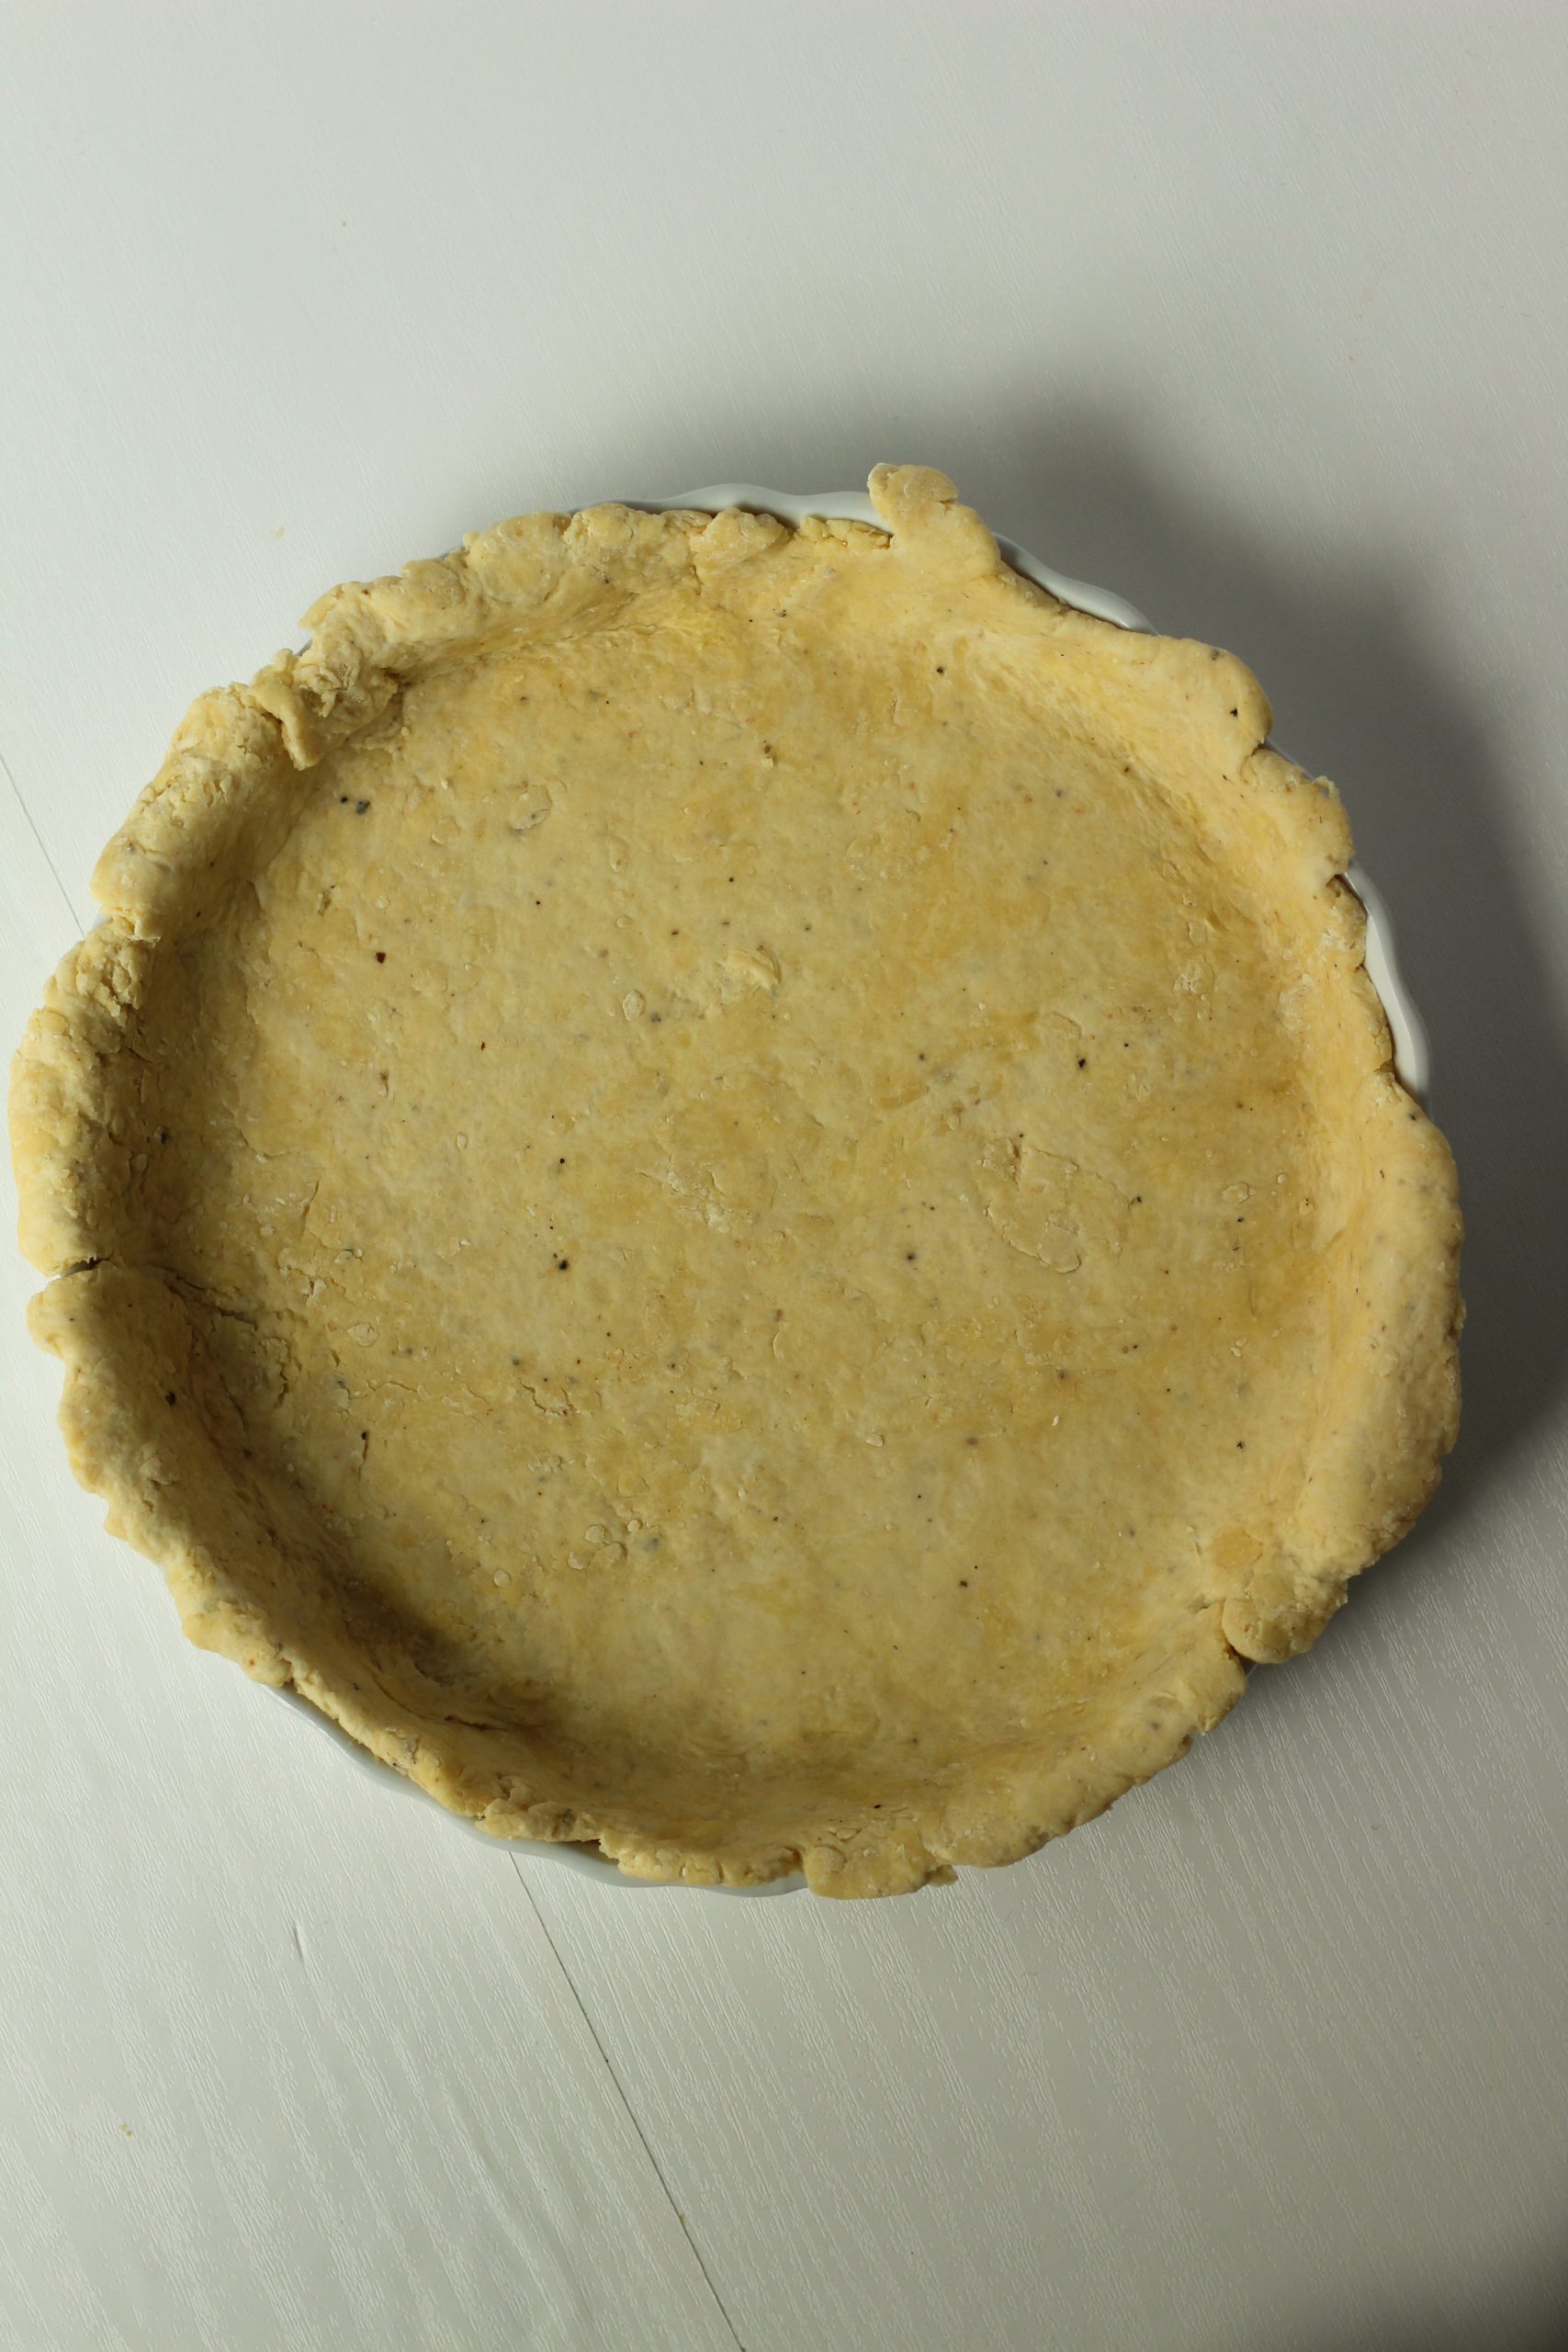
My savory pie dough has fresh ground black pepper in it. This adds extra flavor to the pie. You can see the pepper in the dough in the top picture. Typically, in my pie dough, I use ice cold Vodka instead of ice cold water. However, in this savory pie dough I used both water and Vodka. I just find it nicer to work with and the pies have always turned out really flavorful. When in a hurry, I sometimes use puff pastry or store bought prepared pie dough, because it’s quick and easy!
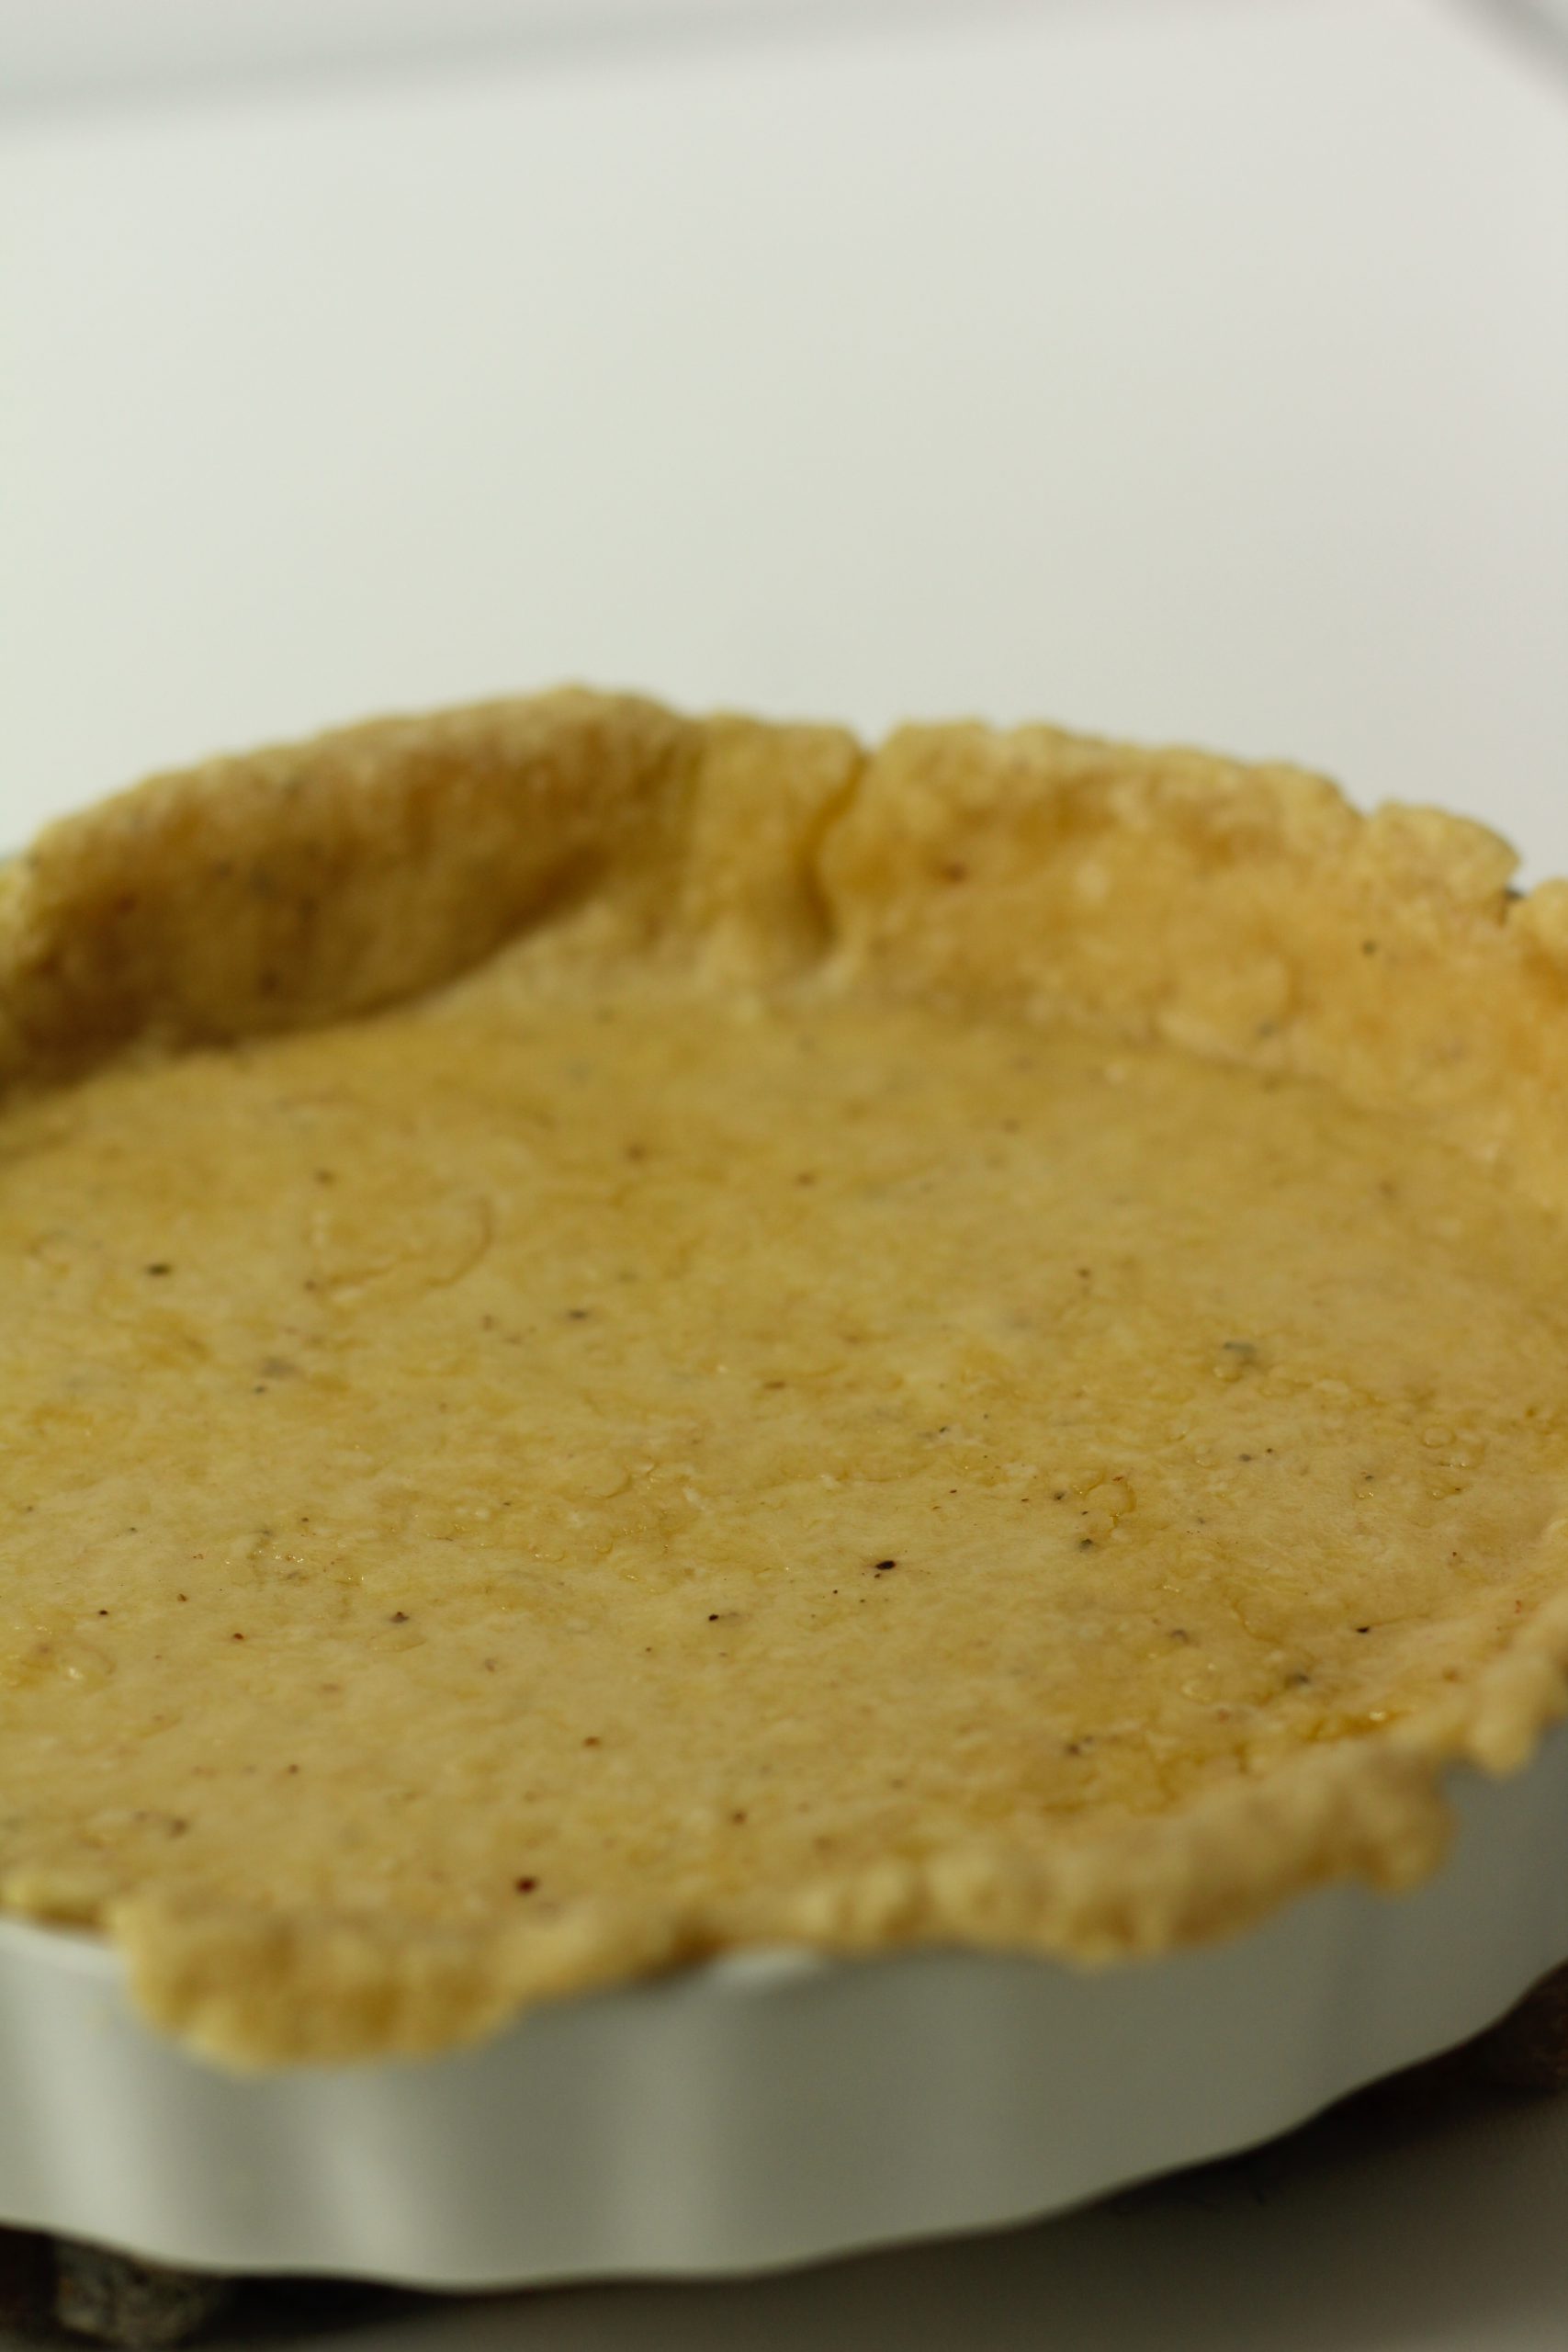
Pie dough rolled out in quiche baking dish

After you insert your pie dough into your greased quiche dish you blind bake it. For more details about blind baking check my pie recipe.

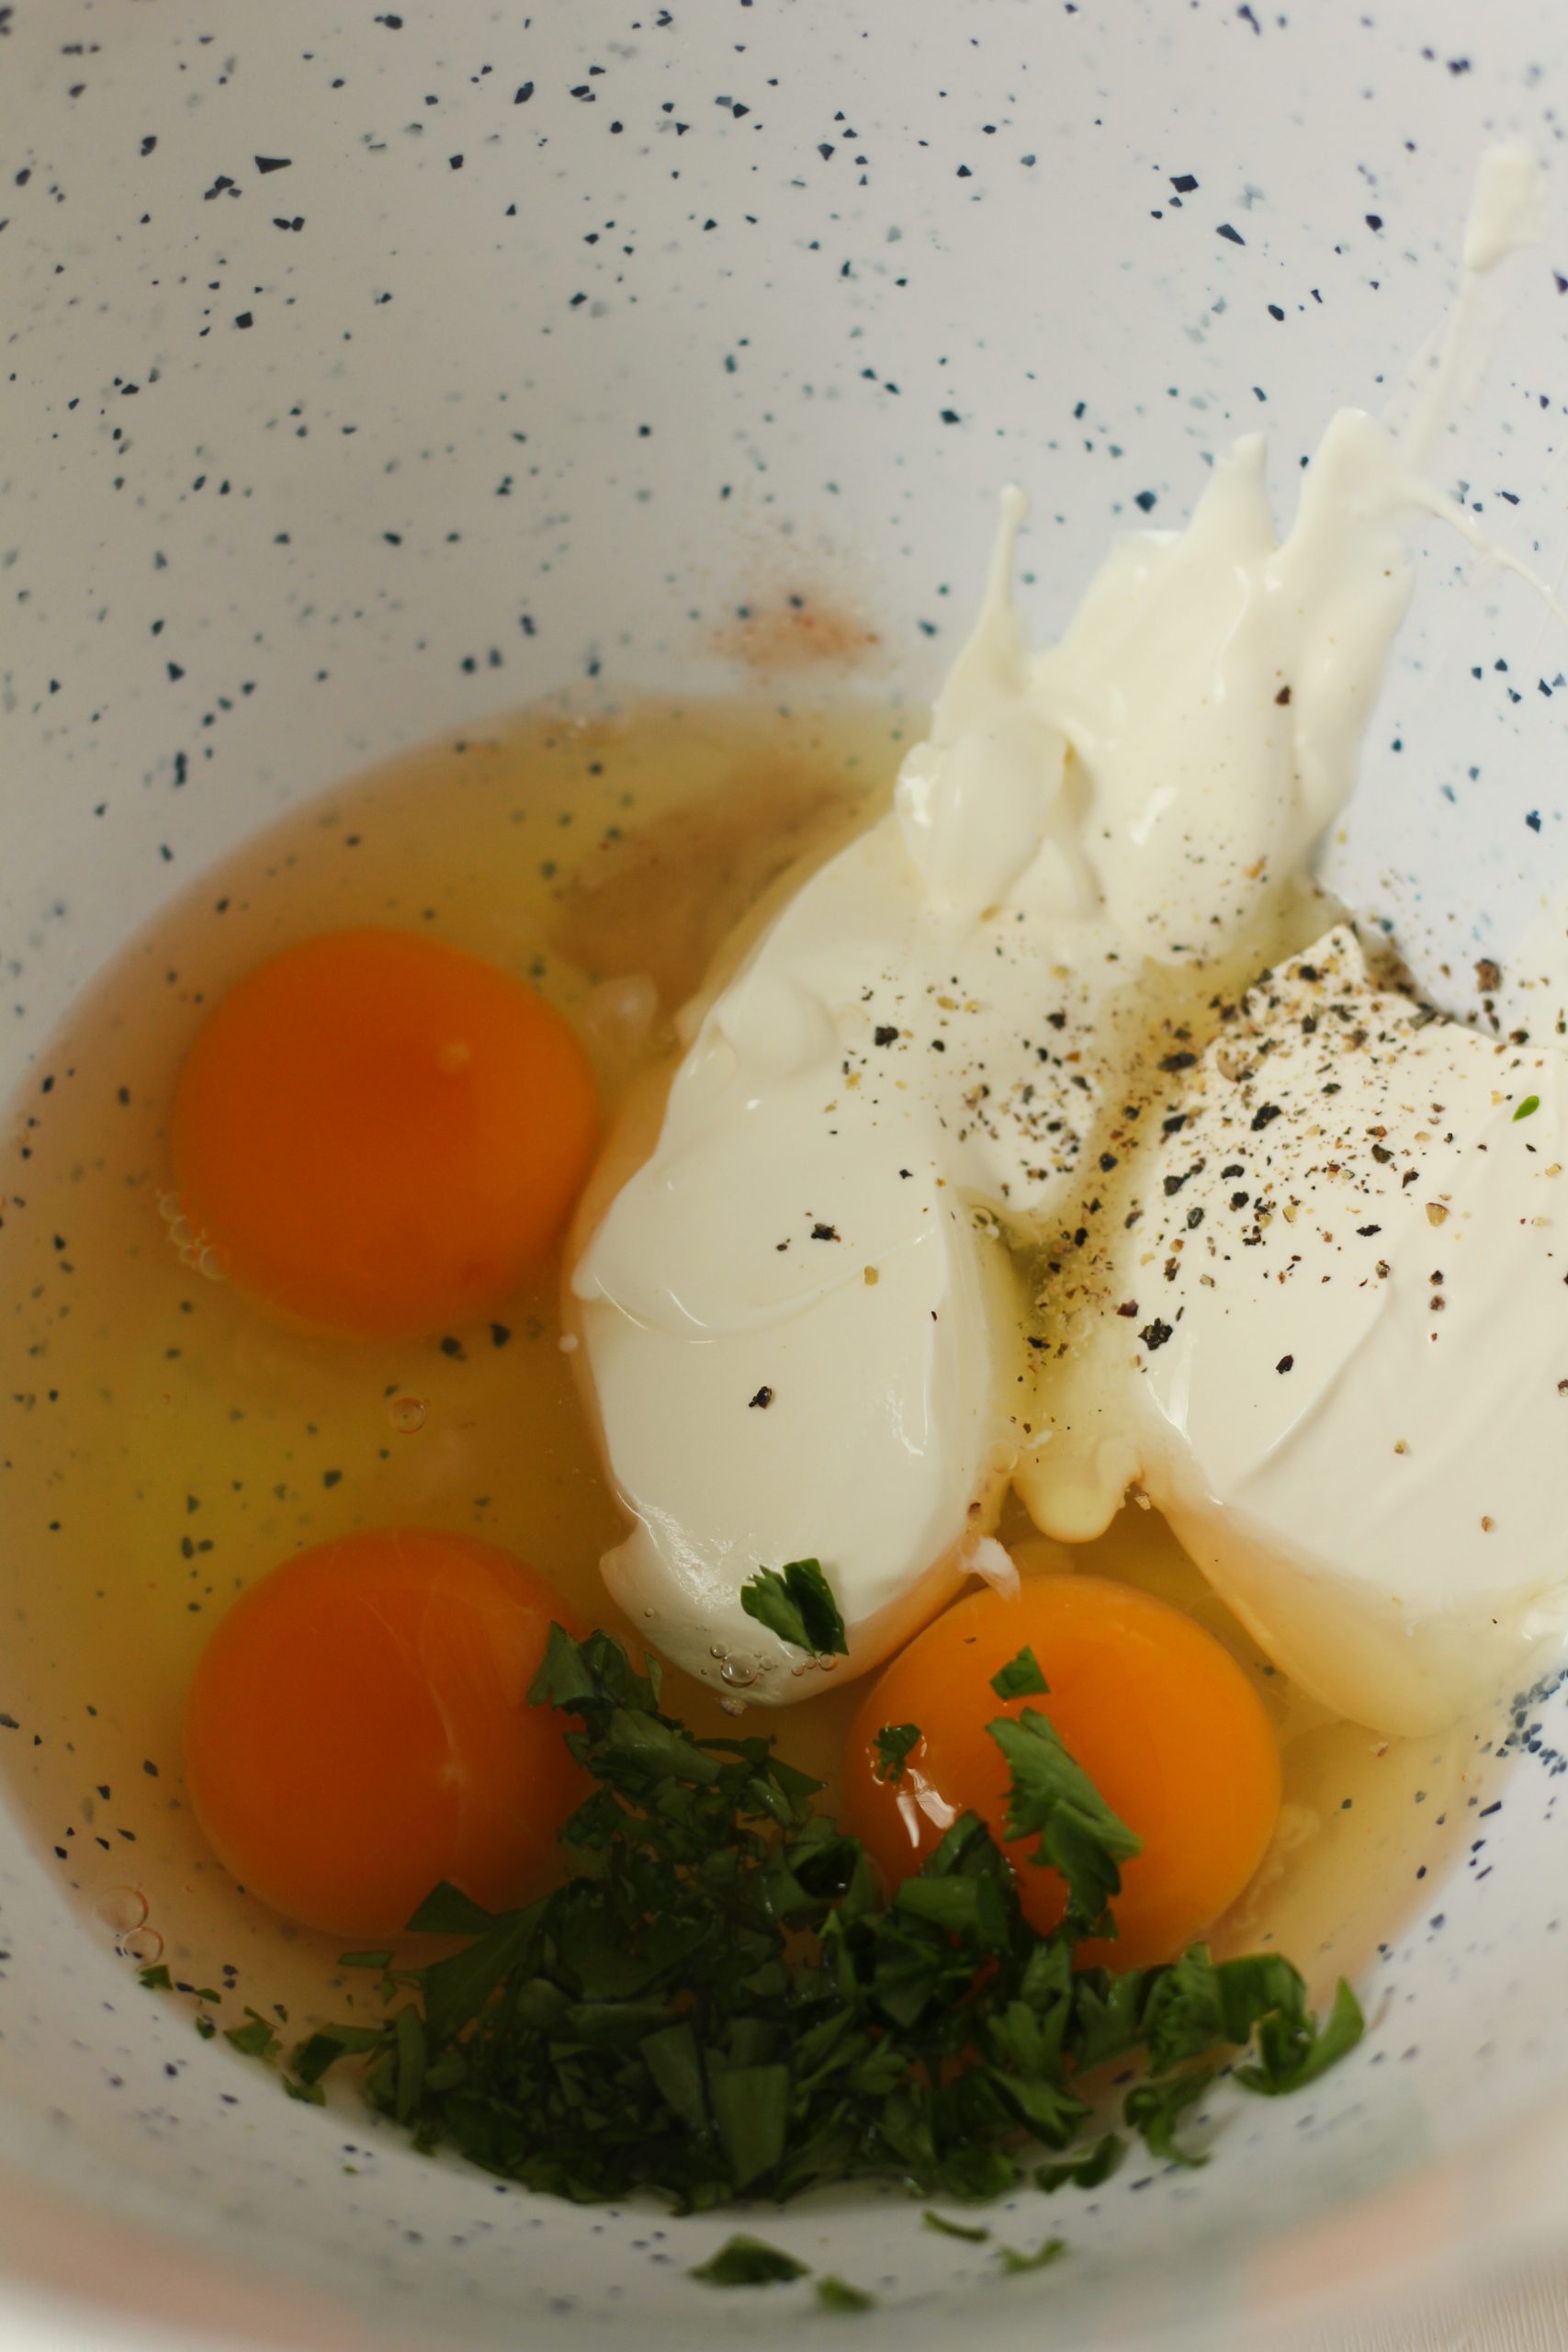
Egg and cream filling for the quiche

The base of the filling for any quiche is eggs and cream. I used crème fraiche, this is a French style of cultured cream. It is most similar to sour cream. If your store doesn’t have crème fraiche you can substitute it with sour cream. The difference is that crème fraiche is a bit less sour.

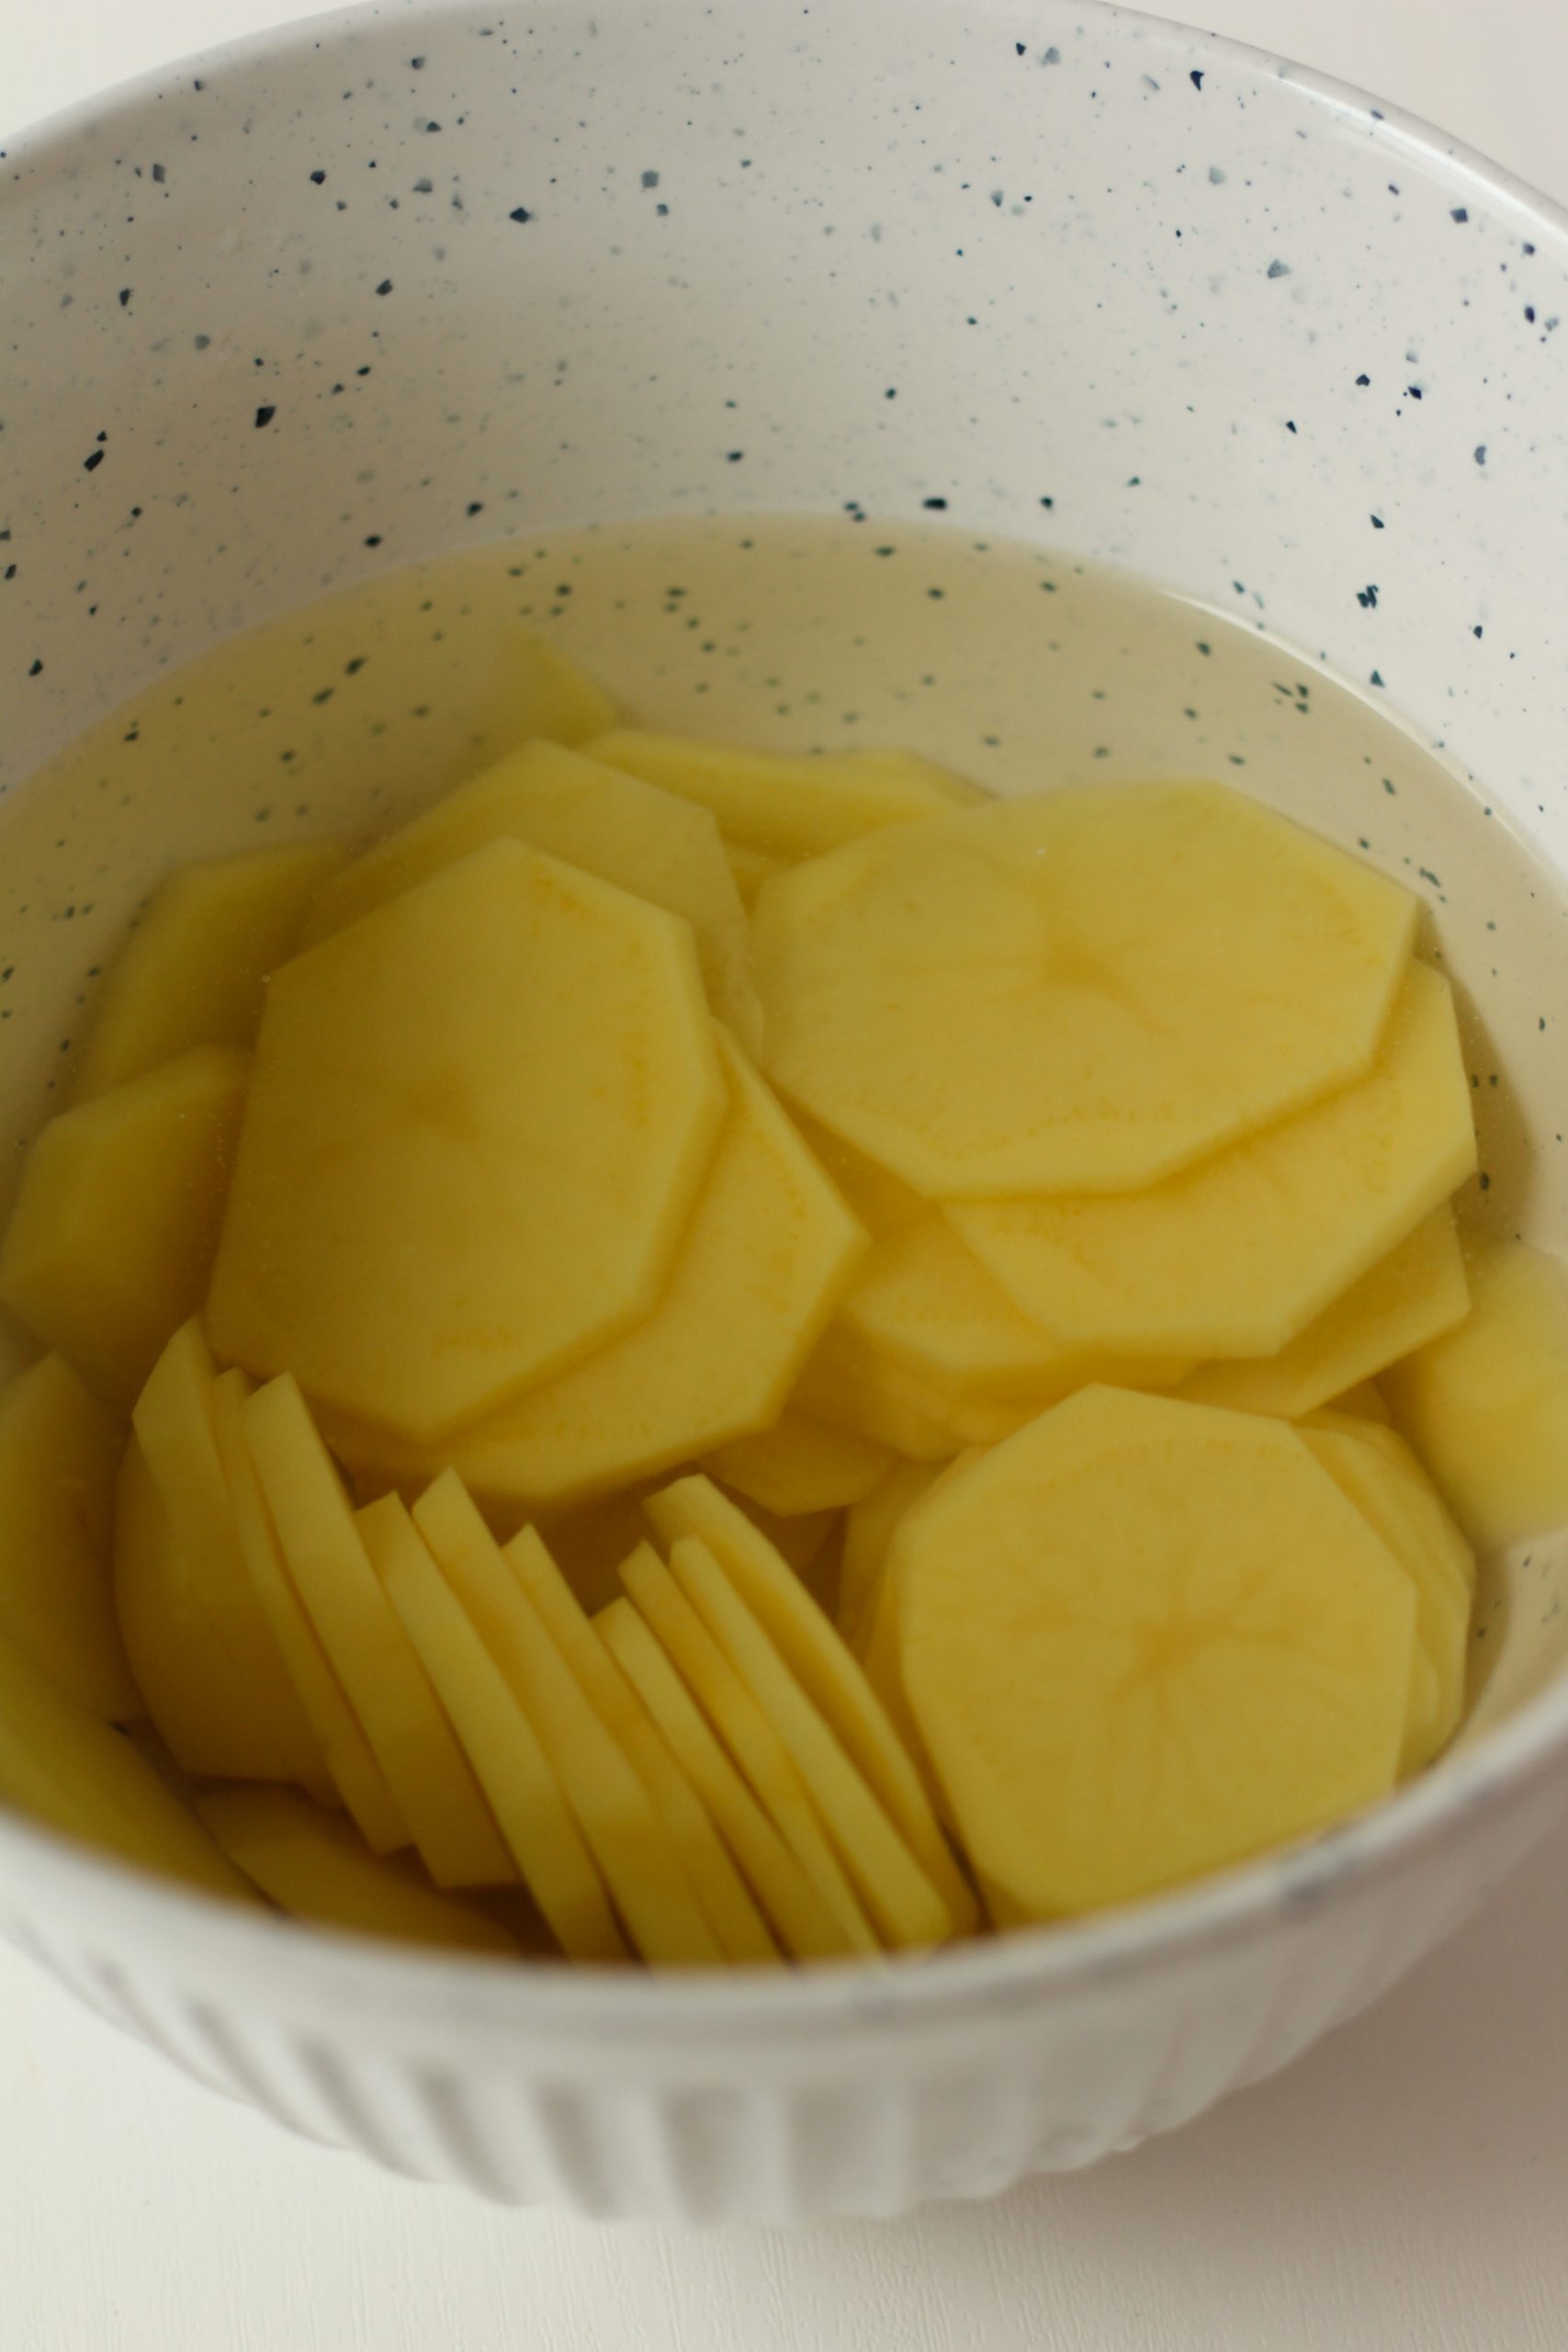
Potatoes soaking in cold water

After you peel the potatoes and thinly slice them, let them soak in cold water. This prevents them from turning brown due to the potato starch. Prepare the rest of the filling and drain the potatoes when you are ready to assemble the quiche. Dry the potatoes on a clean dish cloth and start to layer them into your quiche.

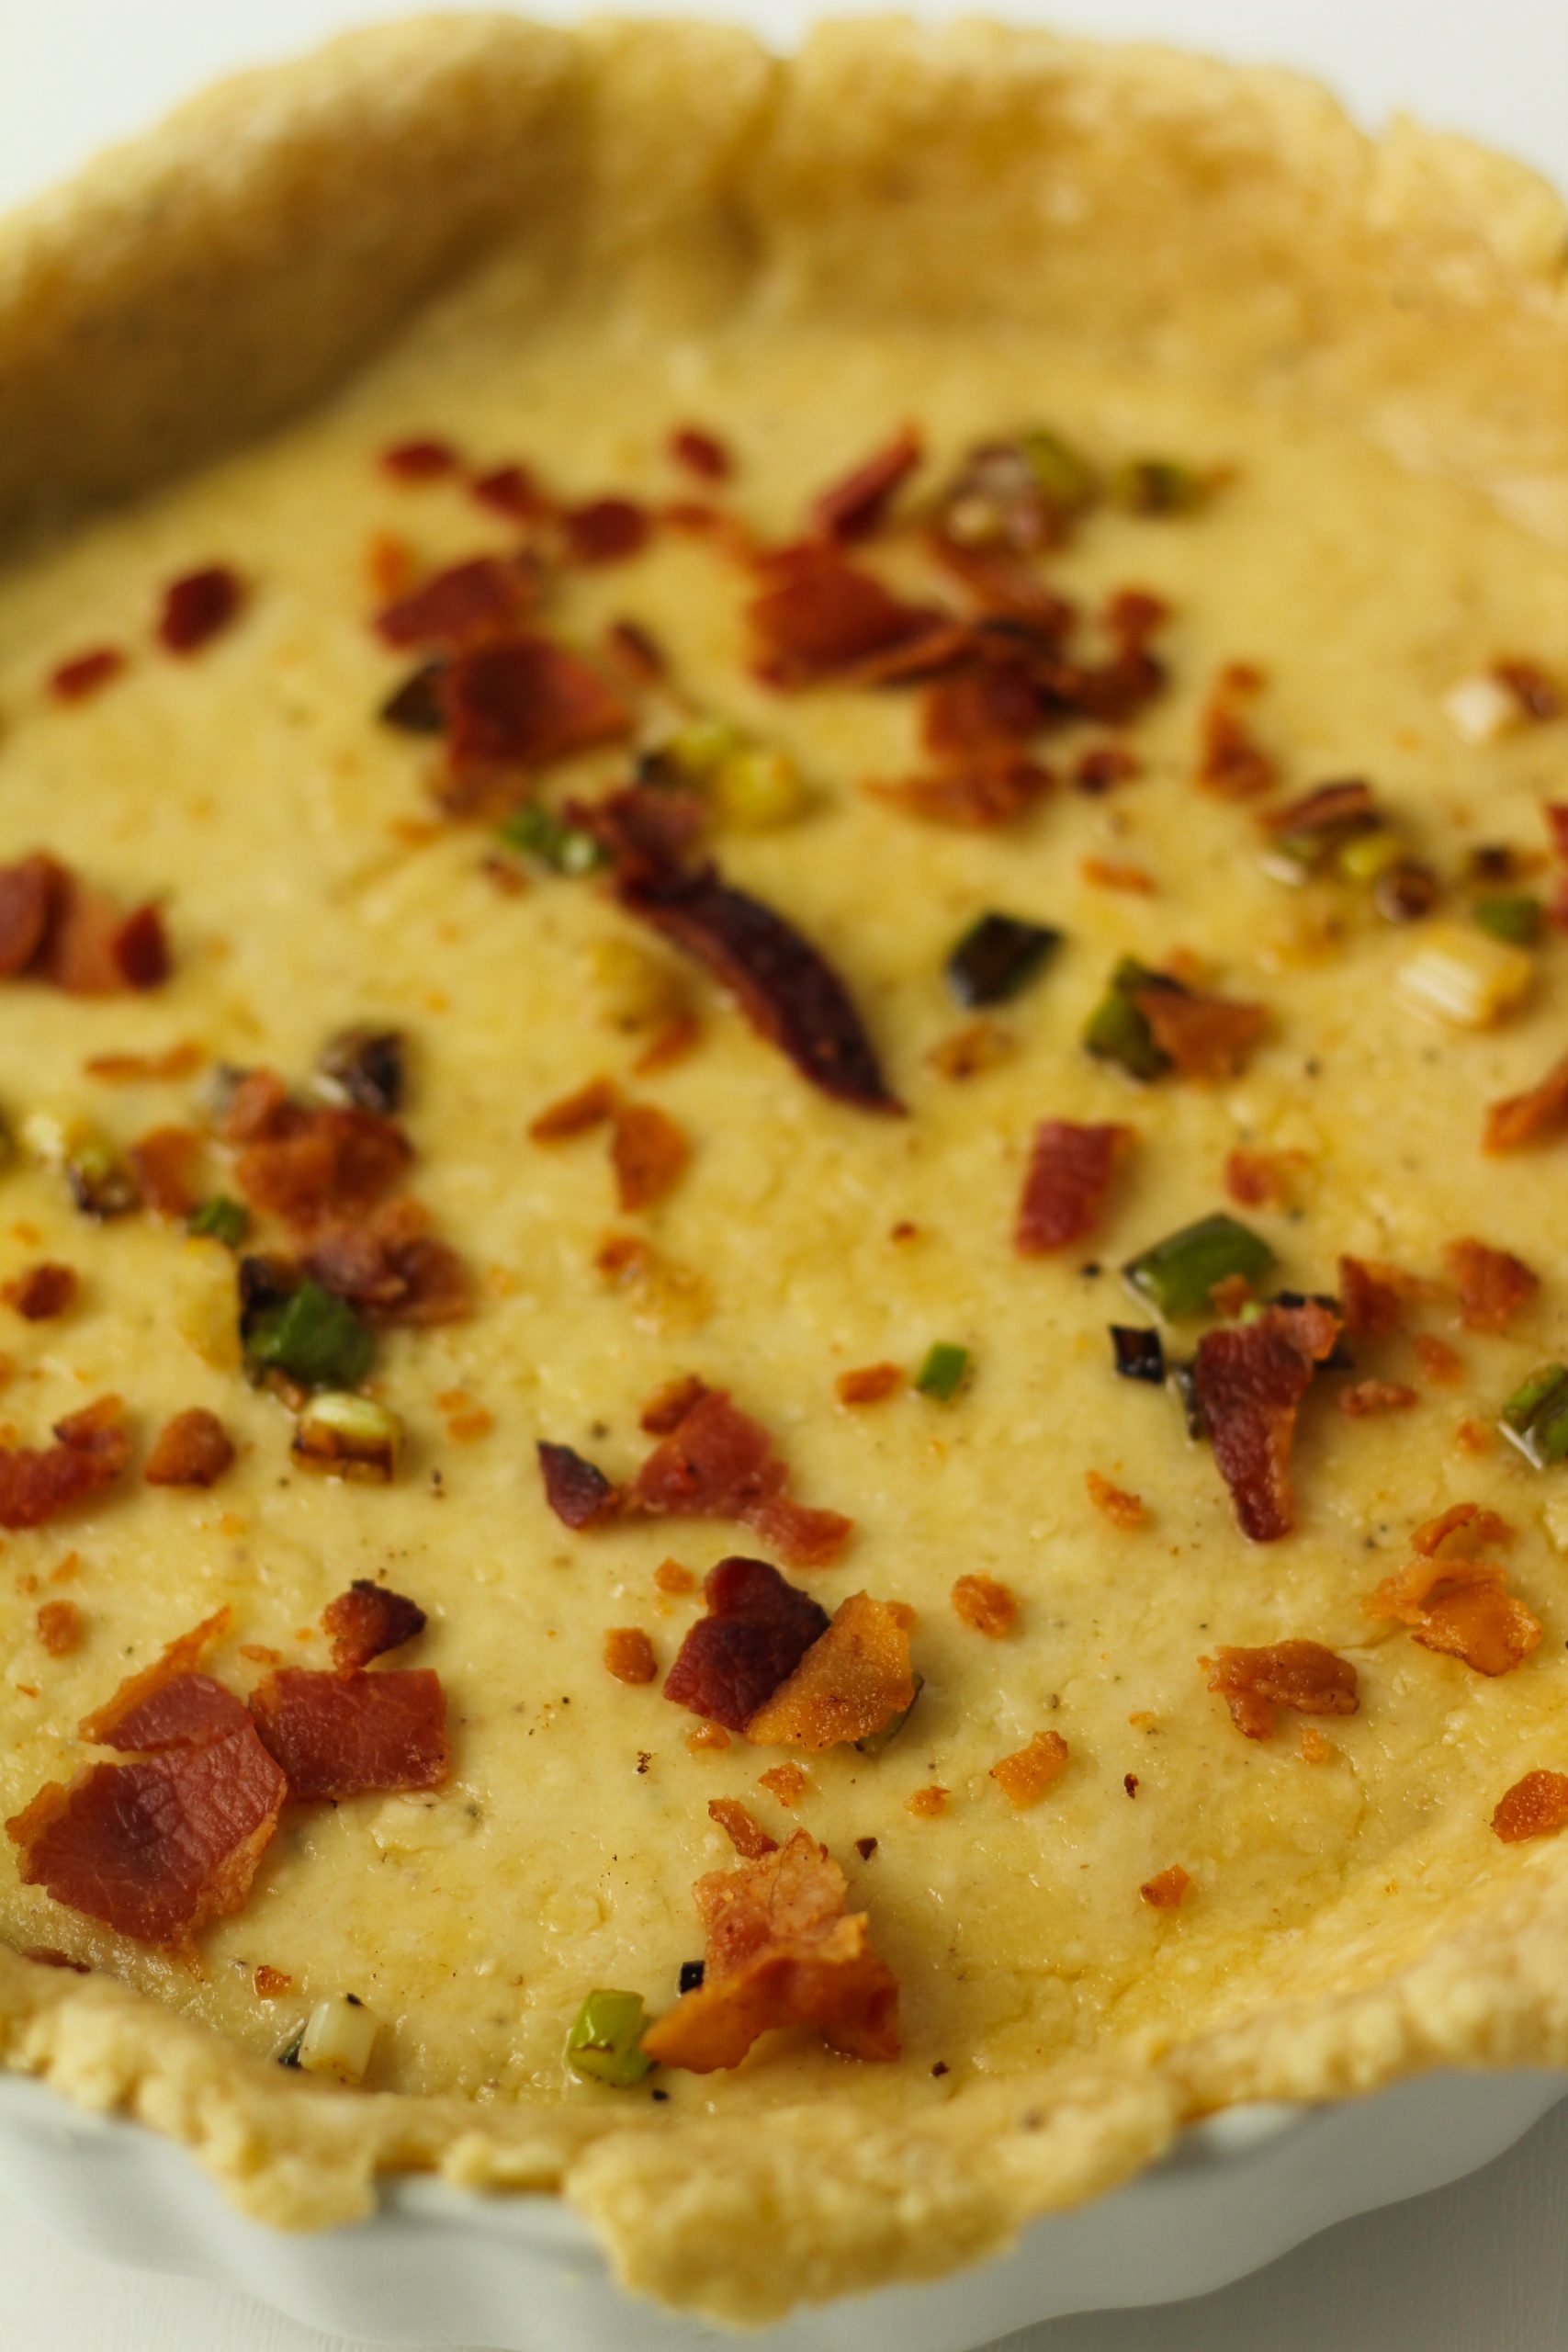
On bottom of quiche baked spring onions and bacon

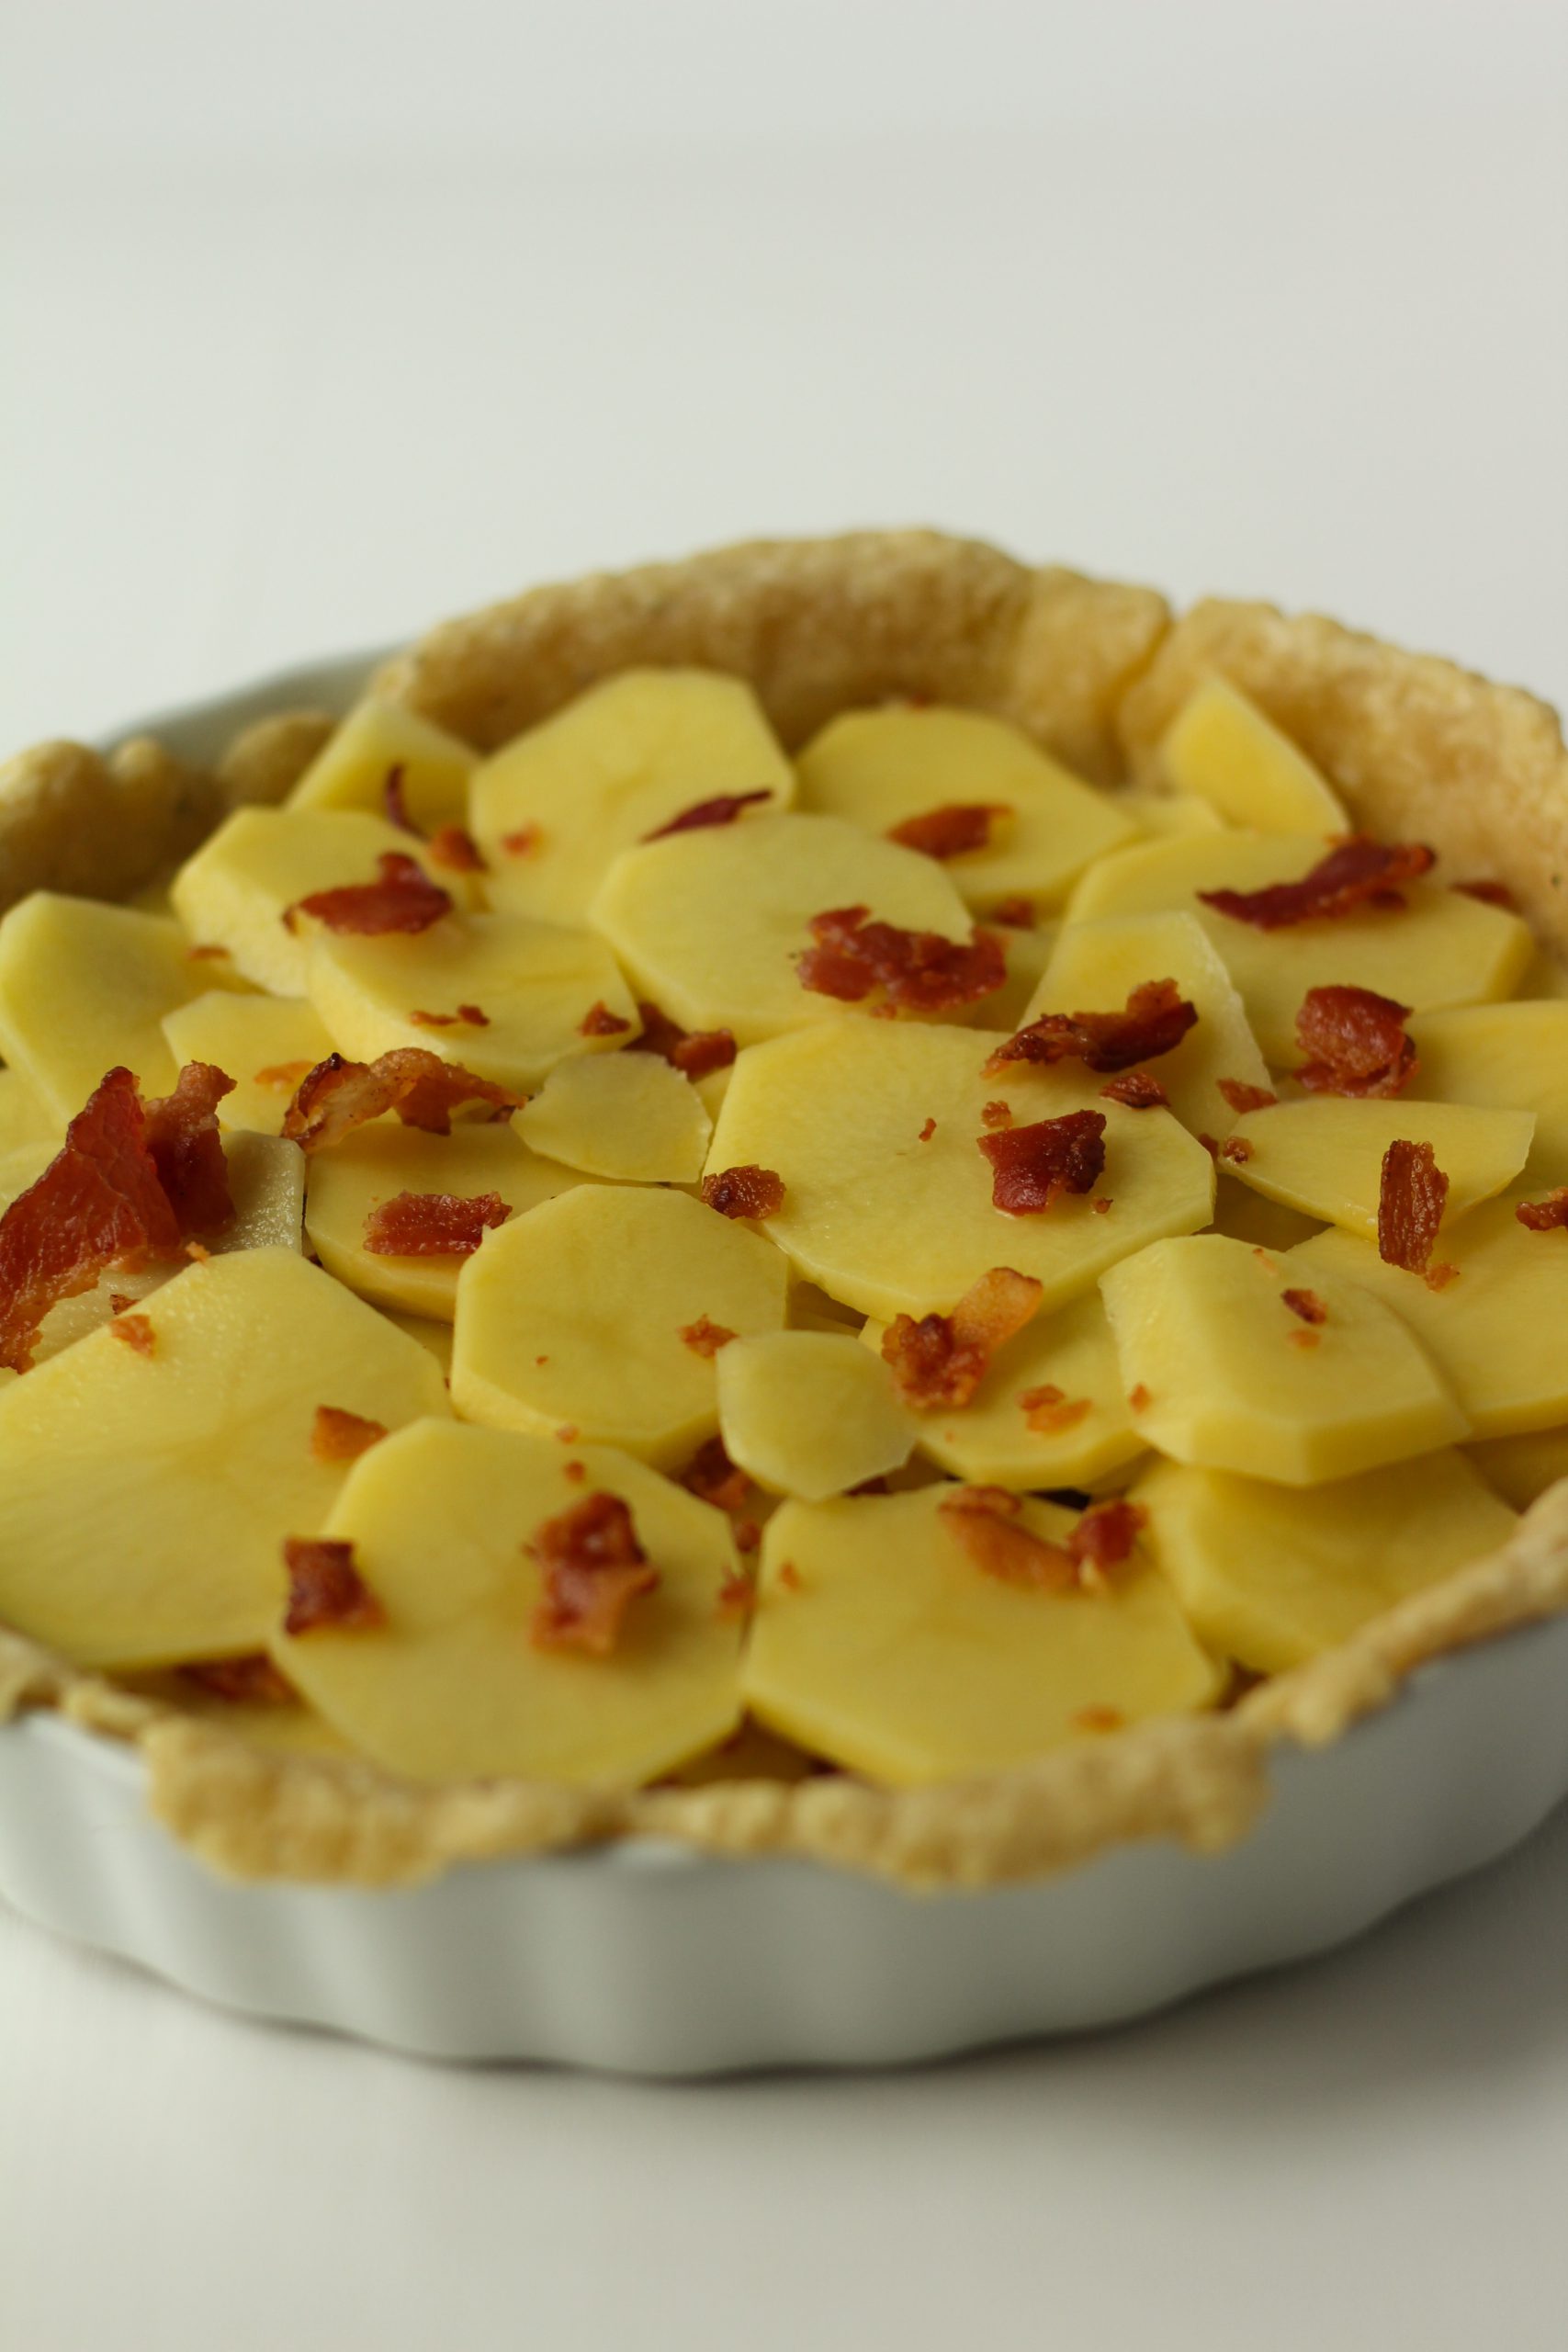
The first layer is the baked spring onions and 1/2 of the crisped bacon. The next layer is potatoes and then more bacon. Repeating these layers till the crust is full.

Second layer potatoes and bacon

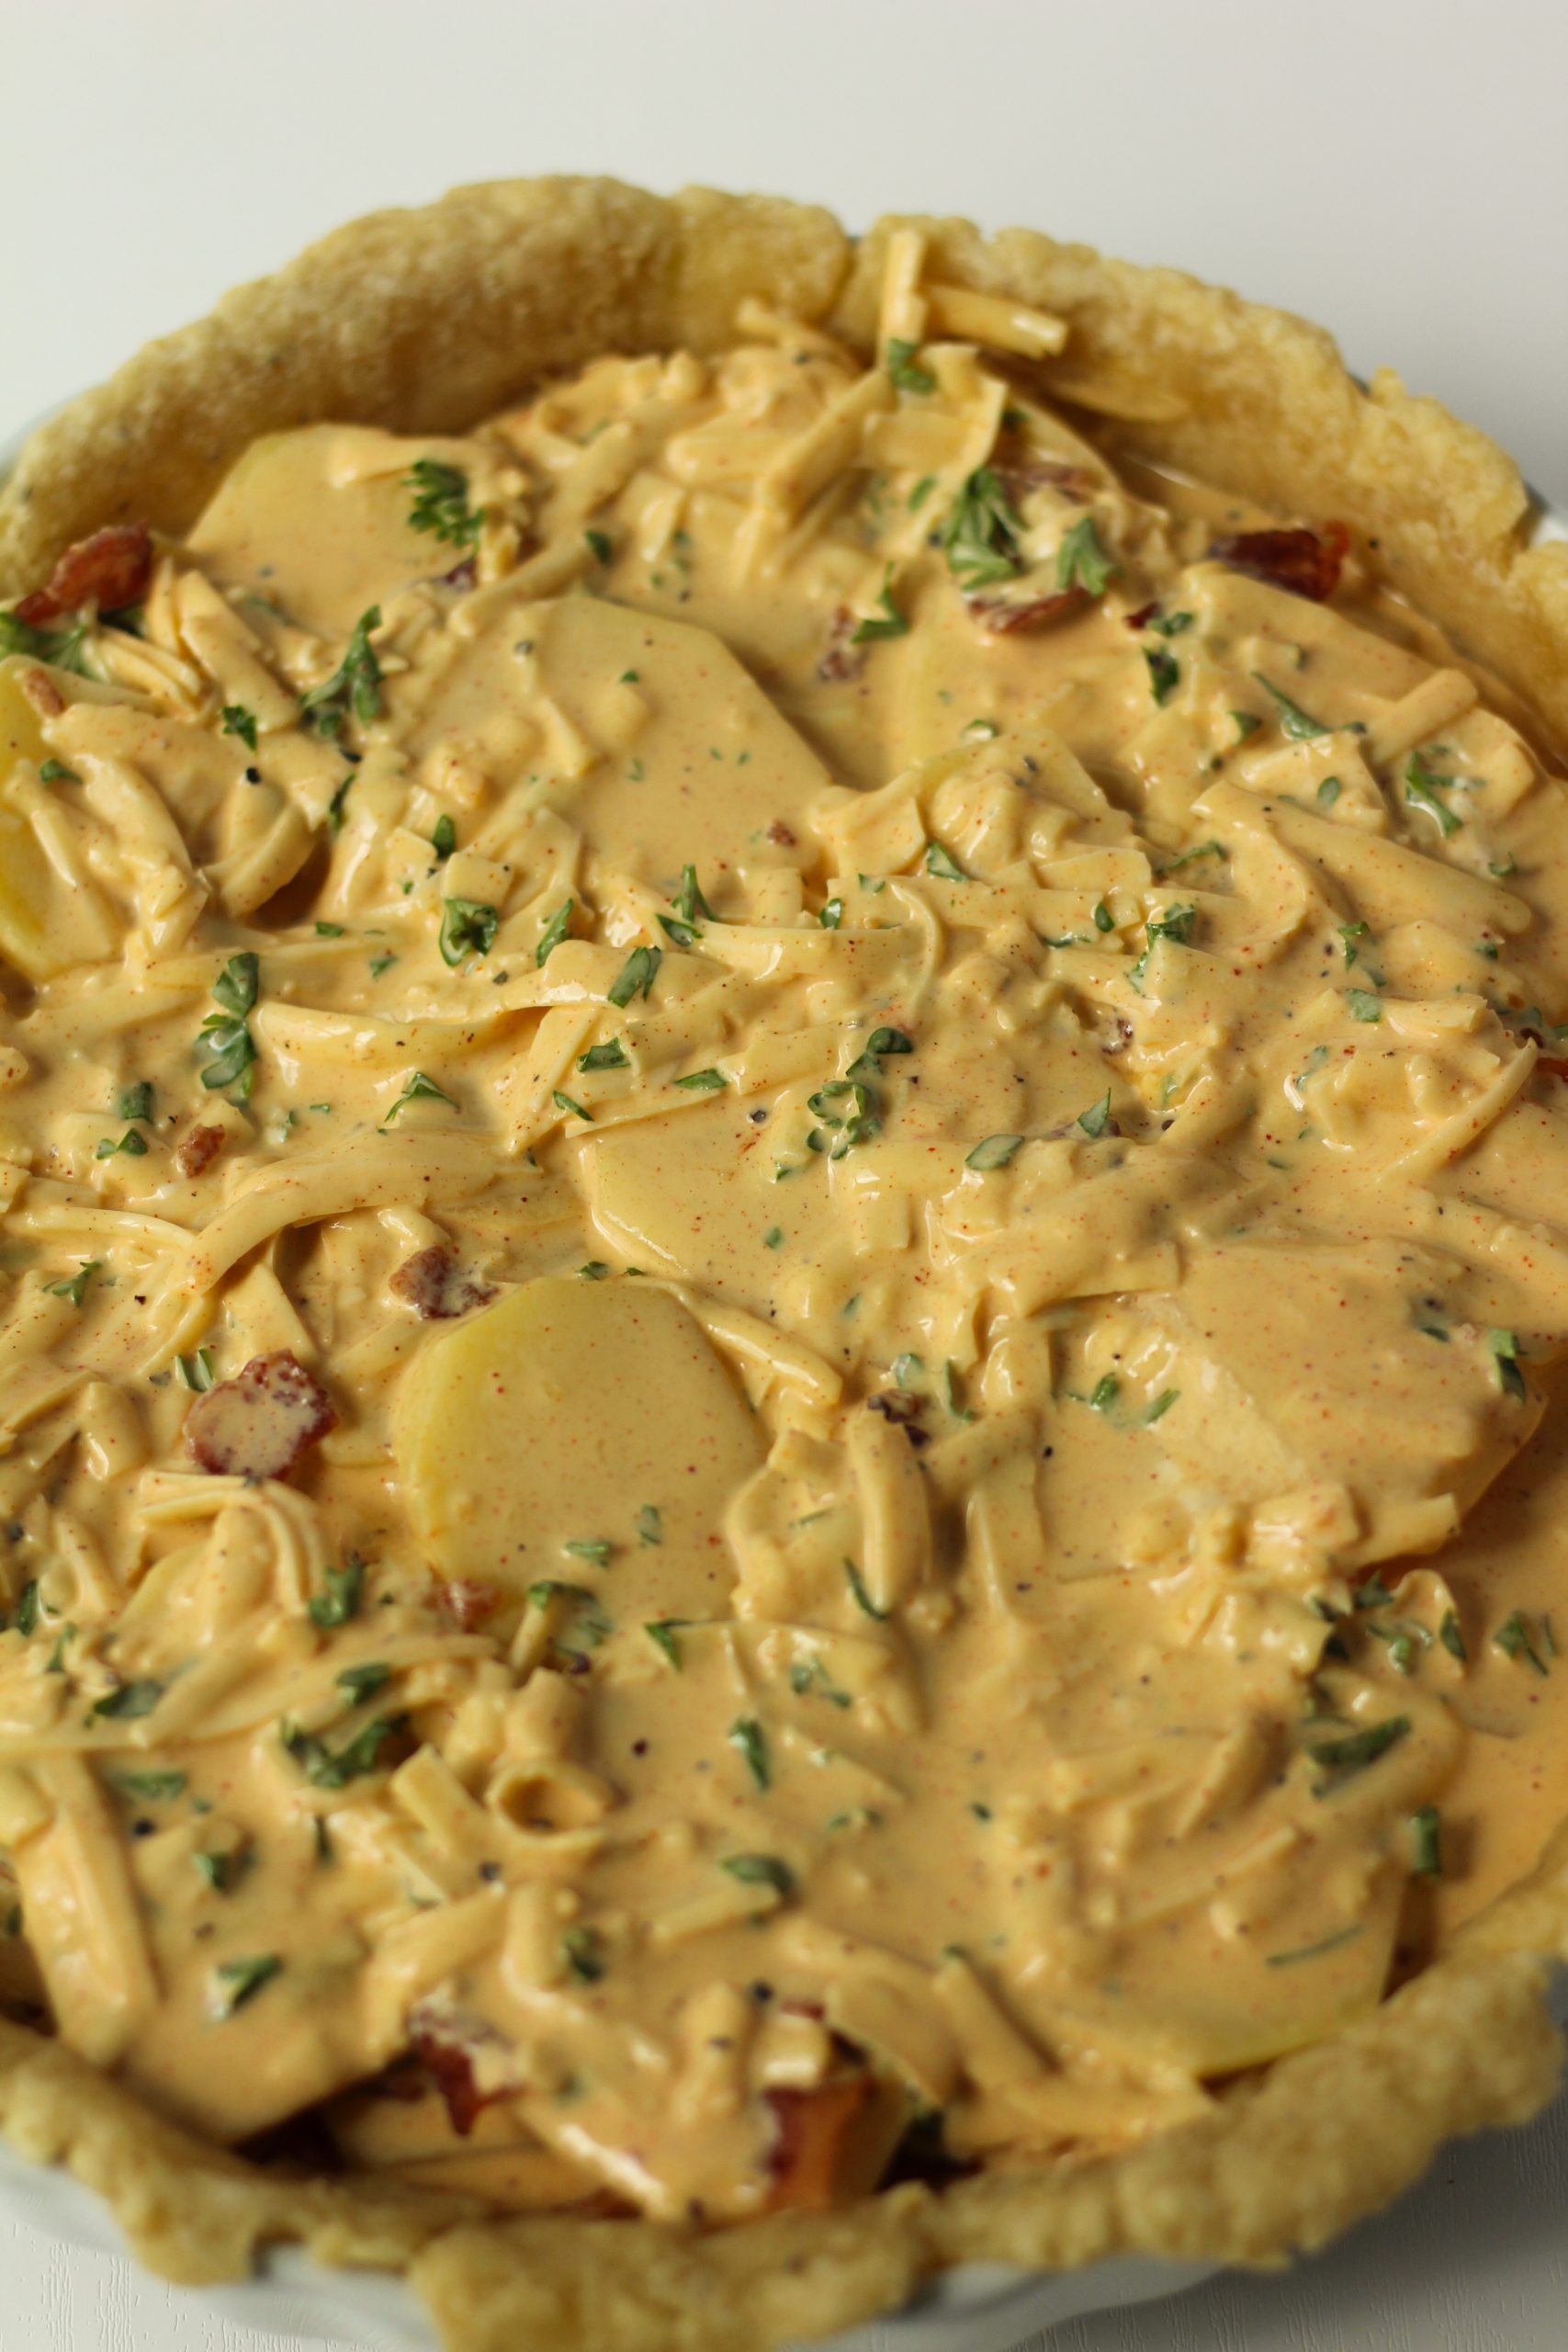
When you have layered all the filling you finish the quiche off by pouring the cream and egg mixture over the filling. Salt, pepper, paprika powder and chili powder were added to give it some extra depth of flavor. Fresh herbs is always a good addition, and I added some curled parsley.

Quiche topped with cream mixture

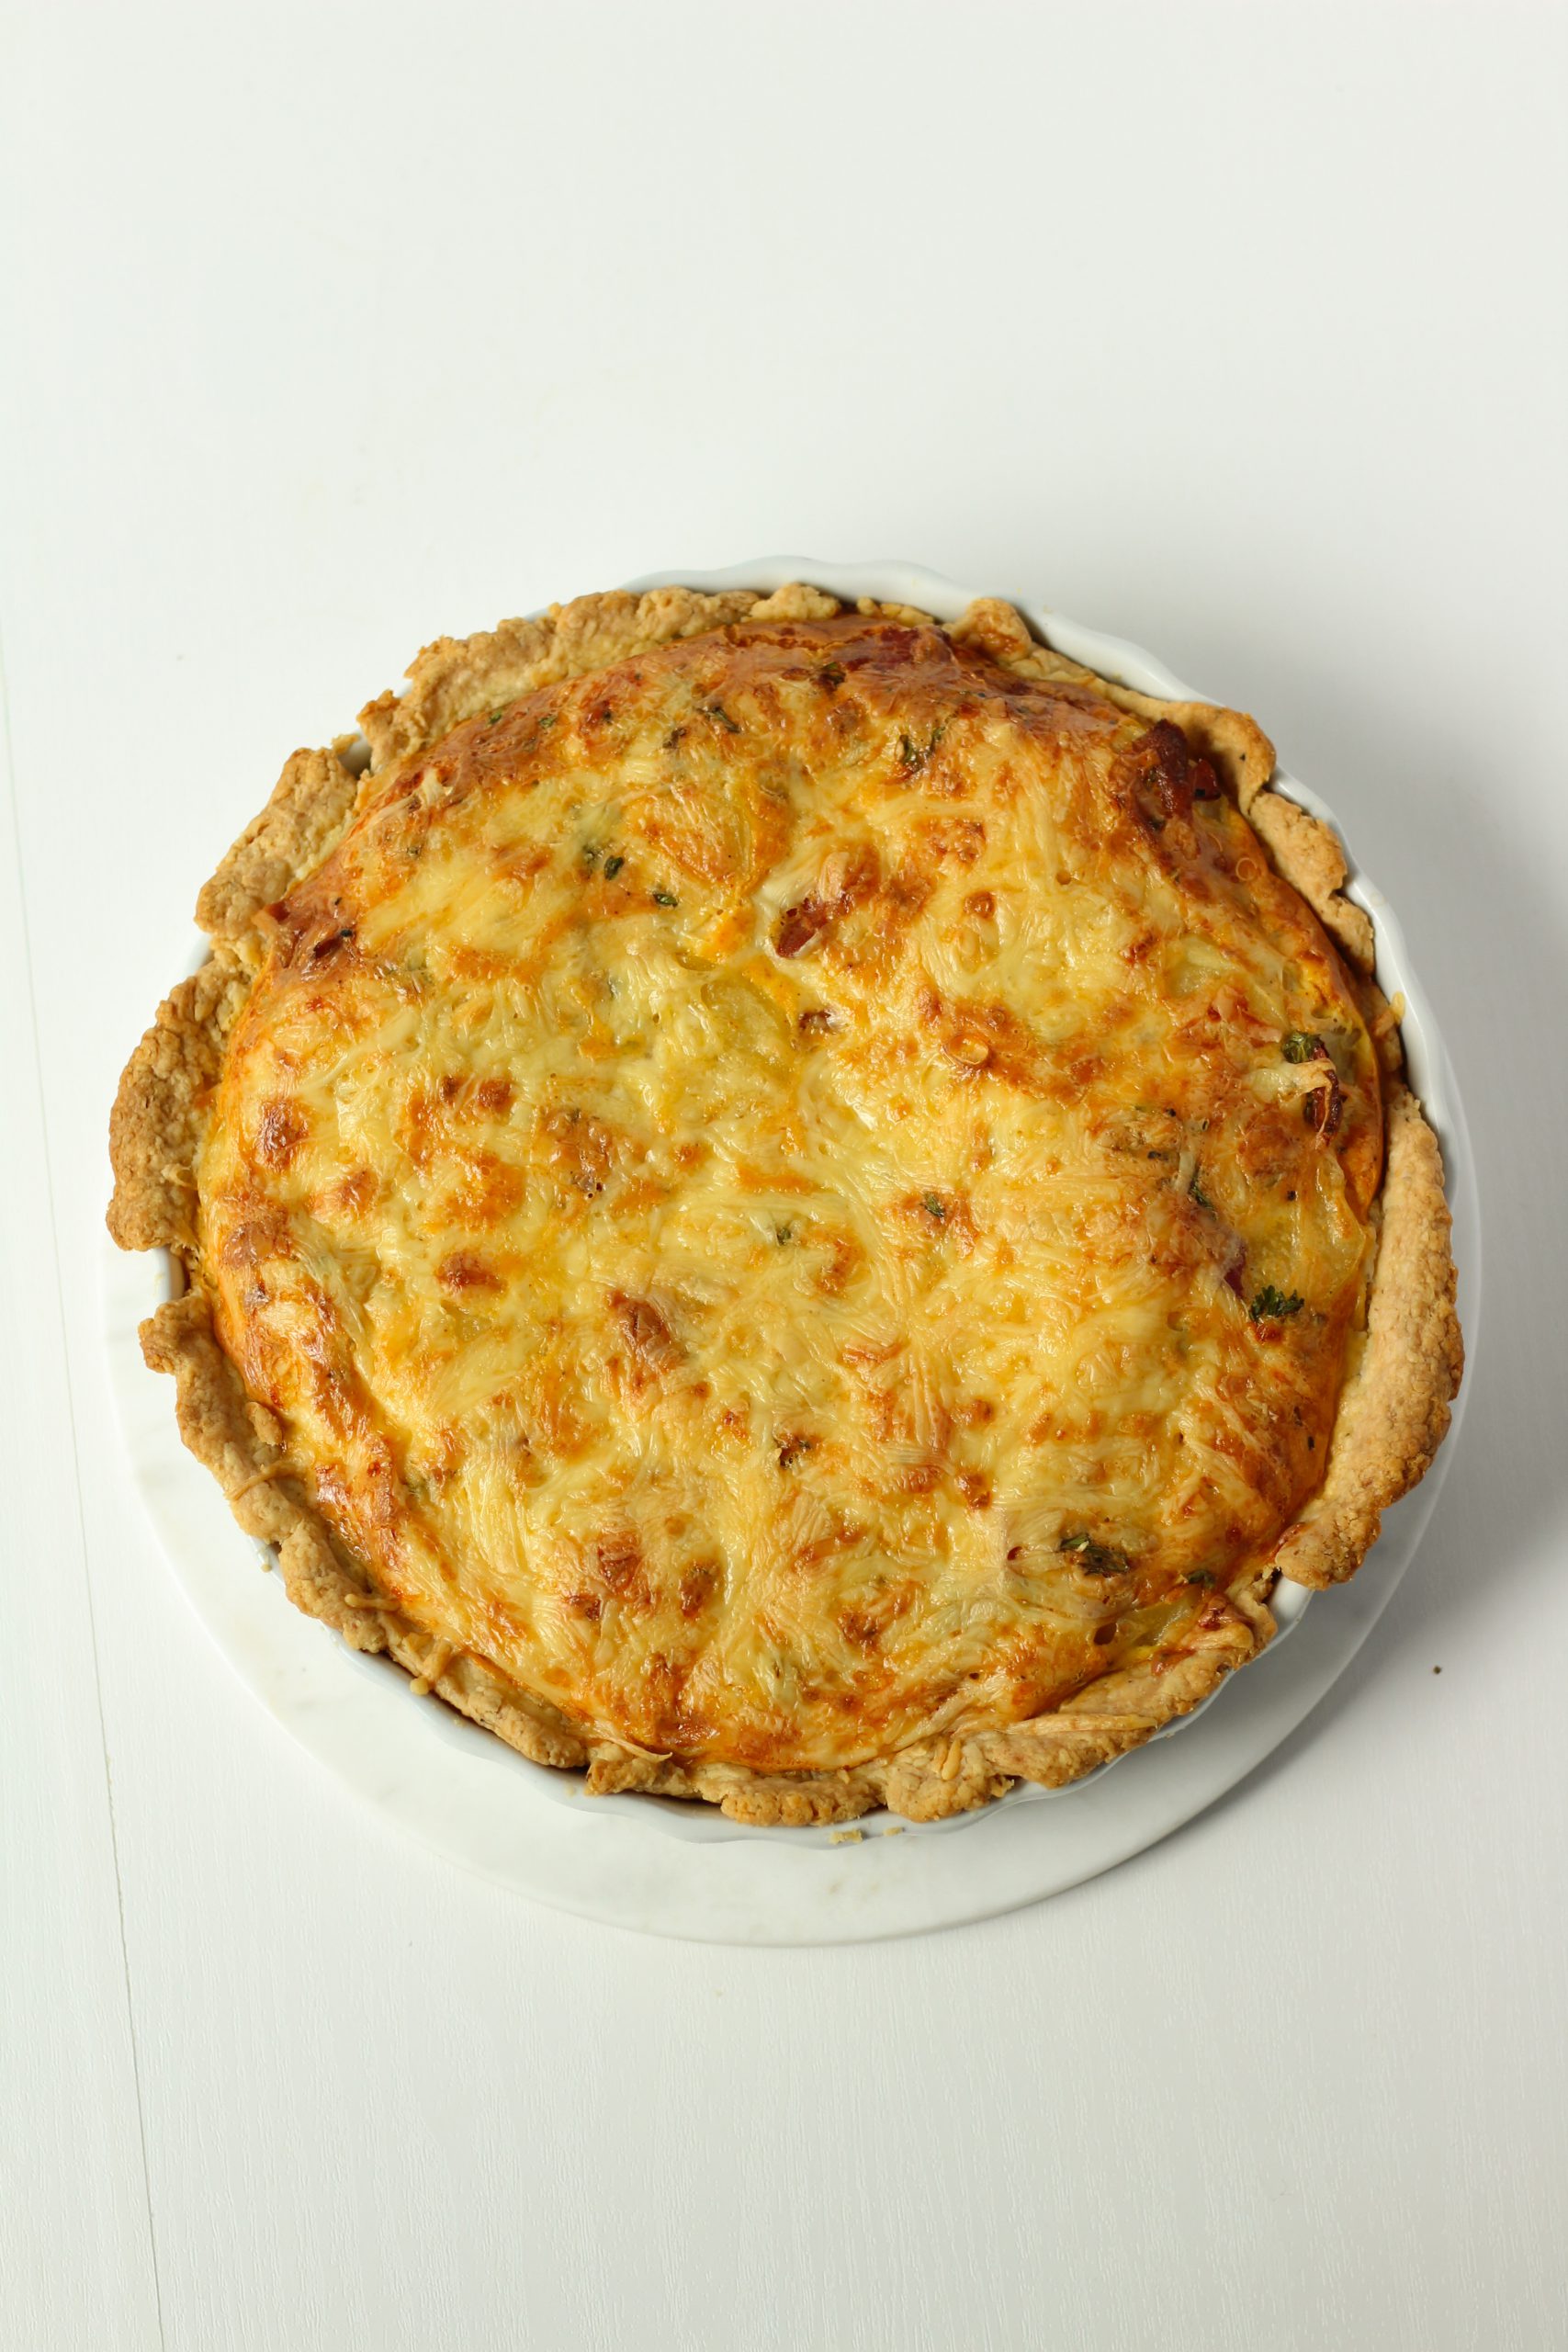
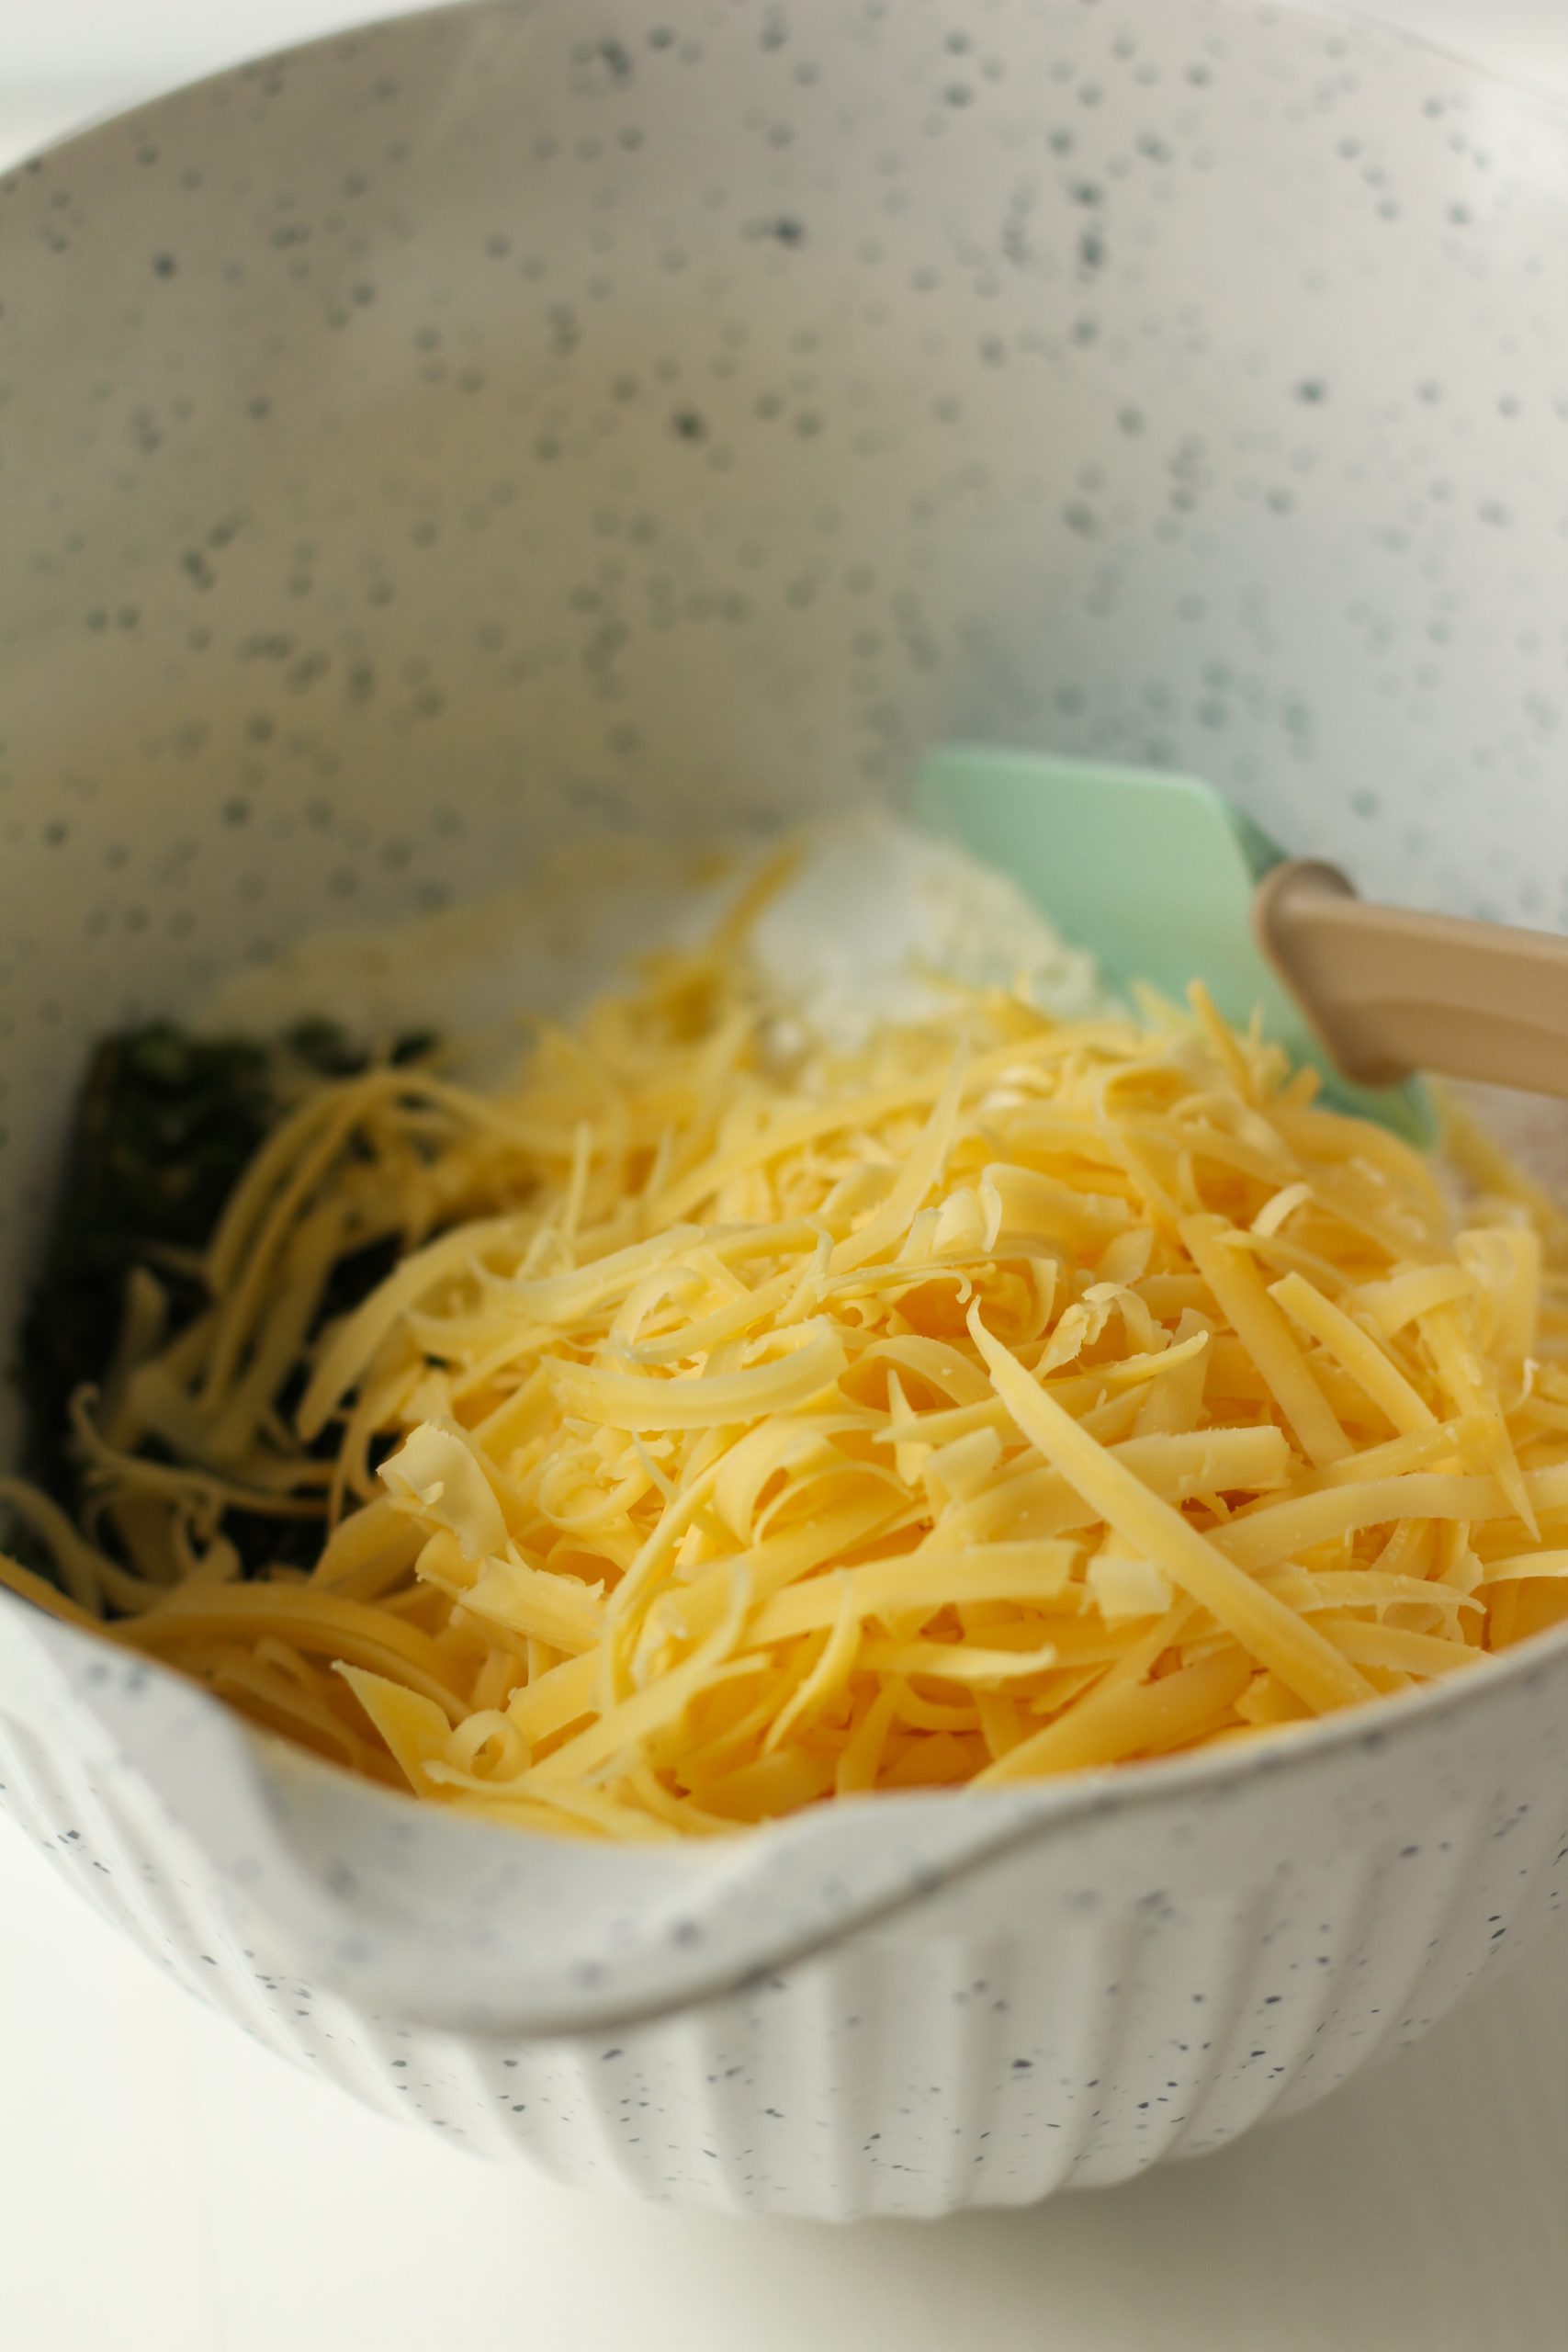
Final finishing touch is grated cheese, I use this grater by hand and “bigger” section of the grater. My preference is always Gouda, one of the few Dutch cheeses I can get here in the USA. Then you bake the quiche in a preheated oven at 375 Fahrenheit until golden brown and the potatoes are soft. The time required depends on each oven.

Note: my current oven takes some extra time to bake things, so always keep a close eye towards the end of your baking process.

Fished quiche ready to chill

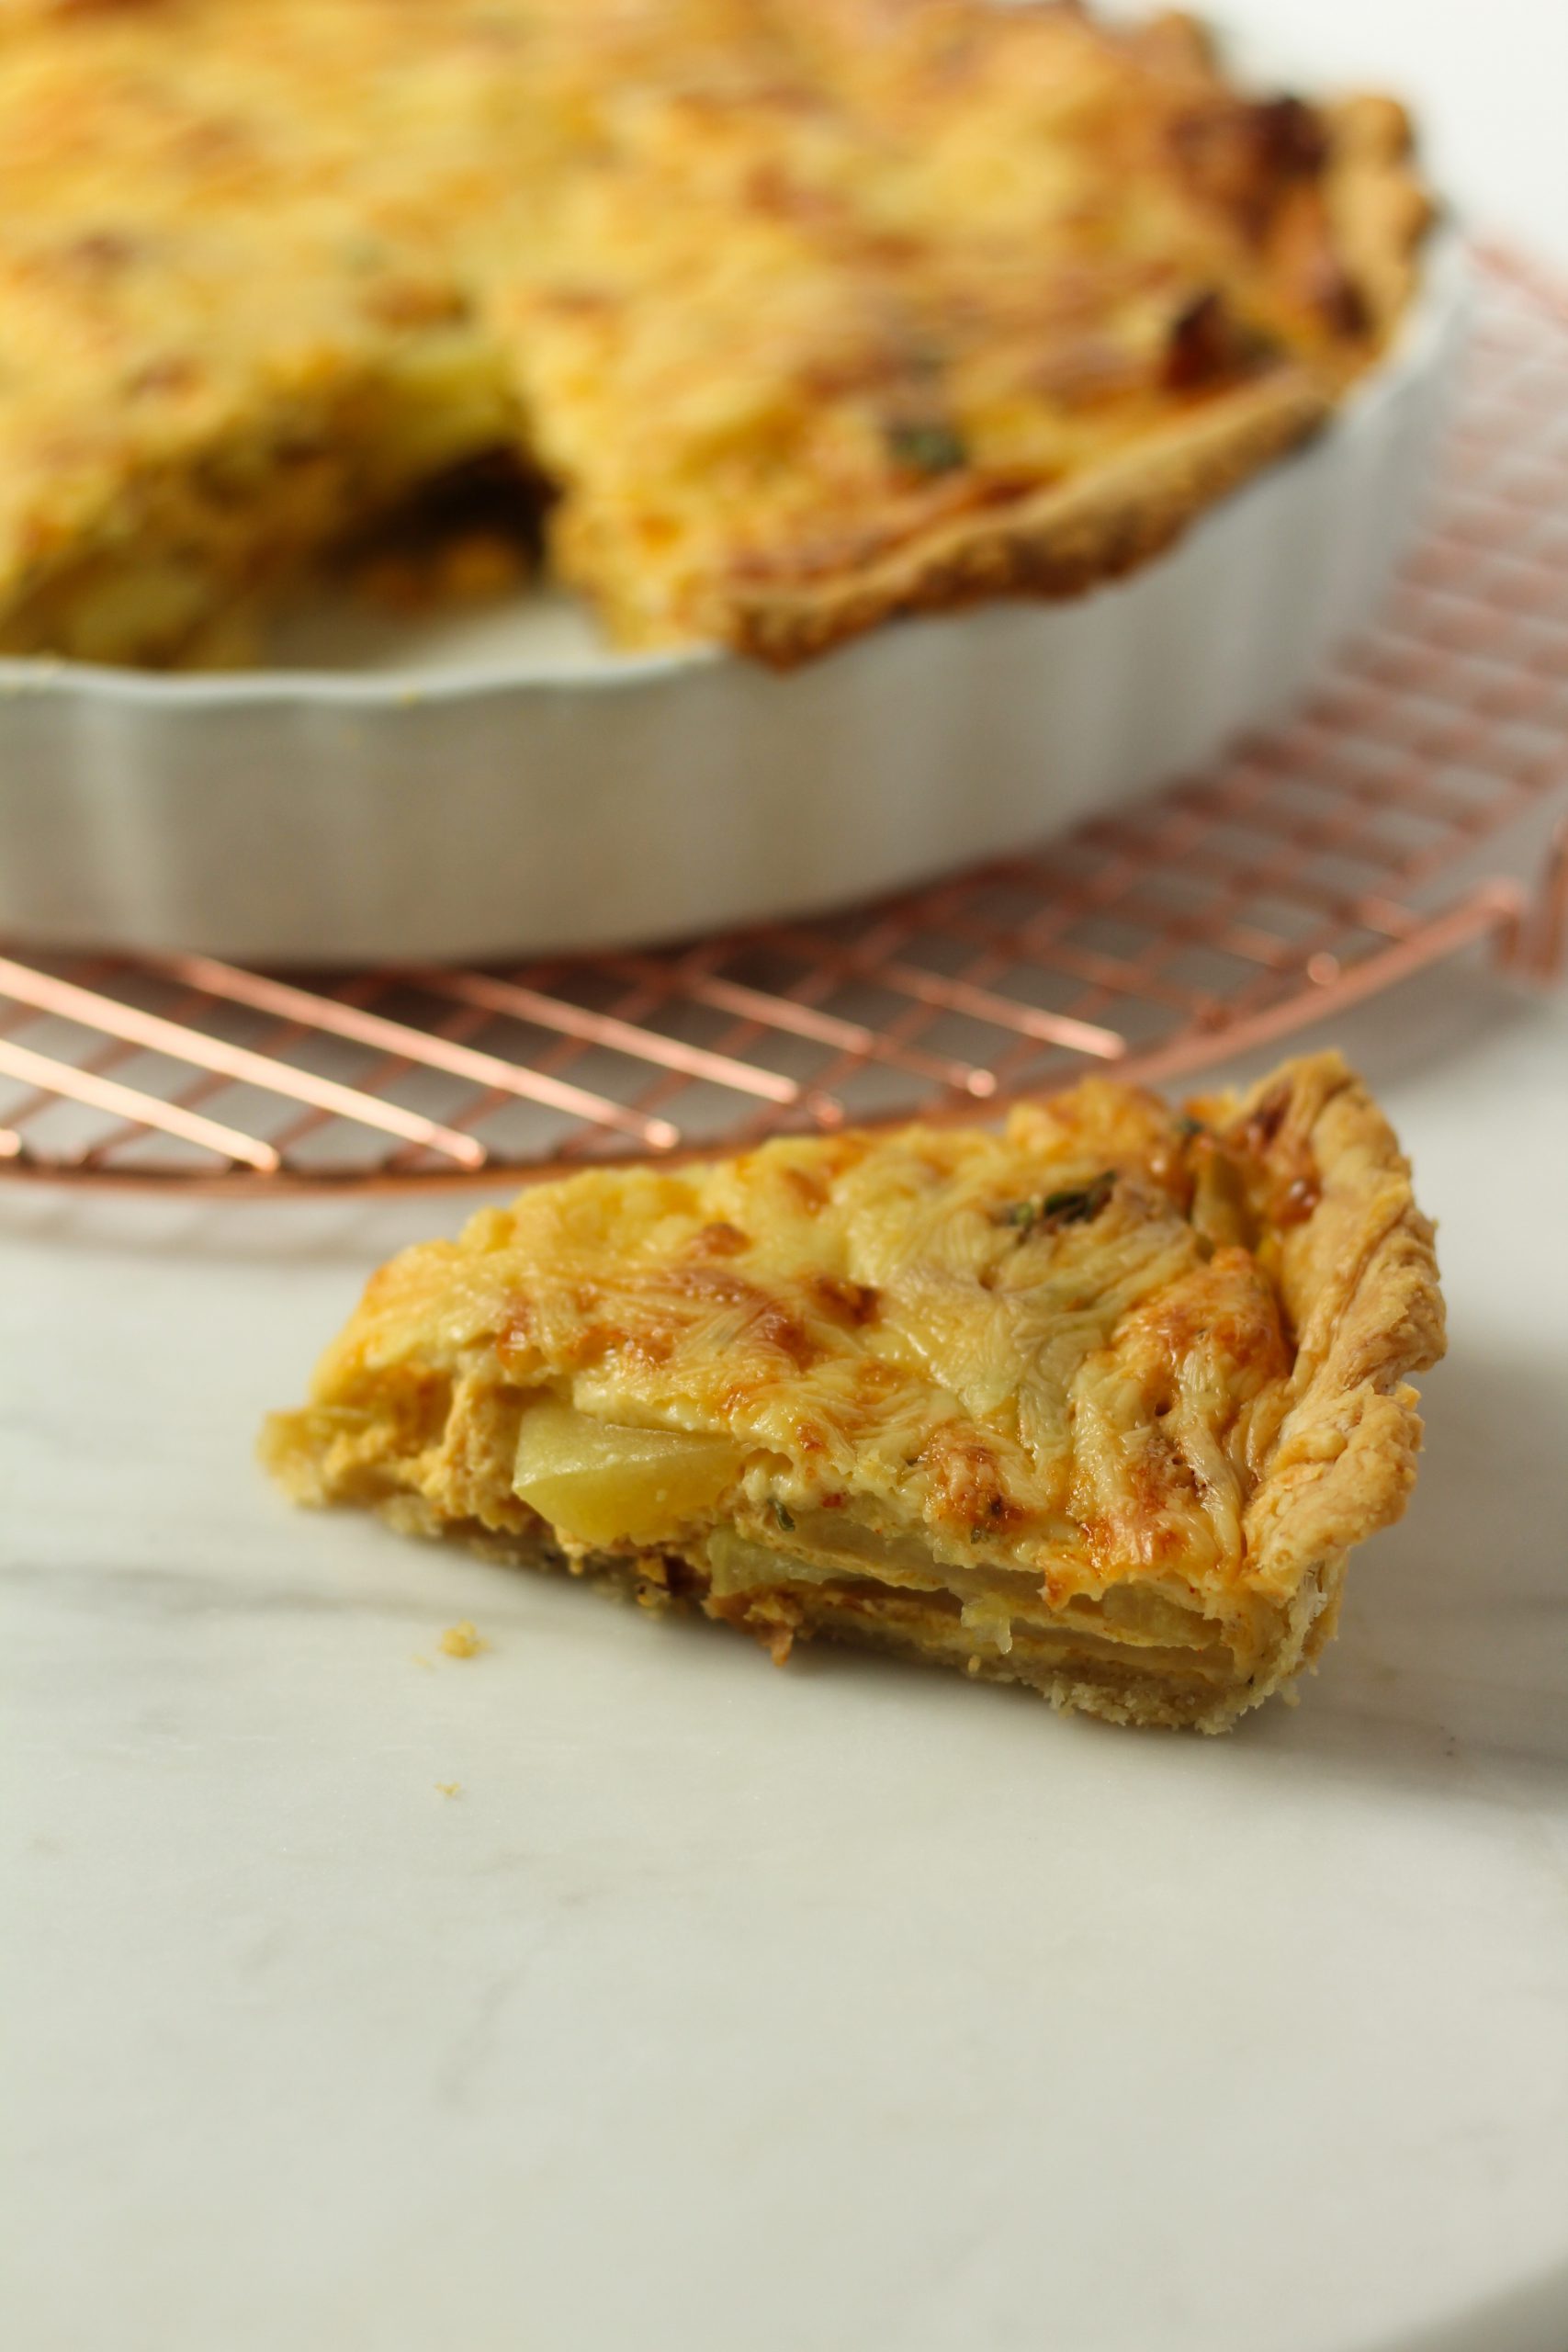
After the quiche is done baking let is rest for at least 10 minutes before you cut into it. Using a cooling rack is preferable. This is the one I like to use. 

Finished cut and cooled quiche


Potato Quiche

Quiche with potatoes, bacon and a cream fraiche filling combined with eggs and cream. Made complete with some spices and fresh herbs.
Prep Time30 minutes
Cook Time35 minutes
Course: Side Dish
Cuisine: pie
Keyword: potato pie, potato quiche, quiche

Ingredients

  • 1 Savory pie crust homemade or store bought
  • 3.25 Oz Creme fraiche or Sour cream (3 tablespoons)
  • 3 Eggs
  • 3 Potatoes thinly sliced
  • 3-4 Bacon baked crispy and chopped
  • 4-5 Spring onions chopped and sautéed
  • 1/2 Cup Gouda cheese grated
  • 1-2 Tablespoon Parsley finely chopped
  • 1/2 Teaspoon Salt
  • 1/4 Teaspoon Black pepper freshly ground
  • 1/2 Teaspoon Paprika
  • 1/8 Teaspoon chili powder
  • 1/4 Cup heavy whipping cream

Instructions

  • If you're using my homemade savory pie recipe, preheat your oven for 400 Farhenheit.
  • Roll out your dough thinly and place it in an 8 inch baking dish and softly press it into the pan. Place a piece of baking paper on the dough and add some pie weight. I used dry beans. Bake the crust in your preheated oven for 10 minutes.
  • Prepare your filling. Bake the bacon till crisp, cooling it on a paper towel. In the meantime, saute the spring onion until soft. Peel the potatoes and slice thinly.
  • Combine the eggs, creme fraiche, salt, pepper, paprika, chili powder, heavy whipping cream, parsley and half of the cheese.
  • When your pie is done with the blind bake, let it cool a bit until you can remove the weight from it safely.
  • Next we layer the filling into the pie crust. First put in your baked spring onions, and about half of your bacon. Then put a first layer of potatoes and the rest of the the bacon on top of that. Finish with a final layer of potatoes.
  • Carefully pour your egg mixture over the potatoes. Sprinkle the grated cheese over the top.
  • Lower the oven to 375 Farhenheit.
  • Bake the quicke until it is a nice golden brown. This takes around 35-40 minutes.
  • Let the quiche rest for 10 minutes on a cooling rack before cutting into it.

Savory pie dough ready to rest in fridge

This basic savory pie dough is easy to make and has a hint of black pepper combined with a buttery dough. It is a perfect base for all your savory pies or quiches. You will find it makes the perfect base for the quiche recipe on my website. 

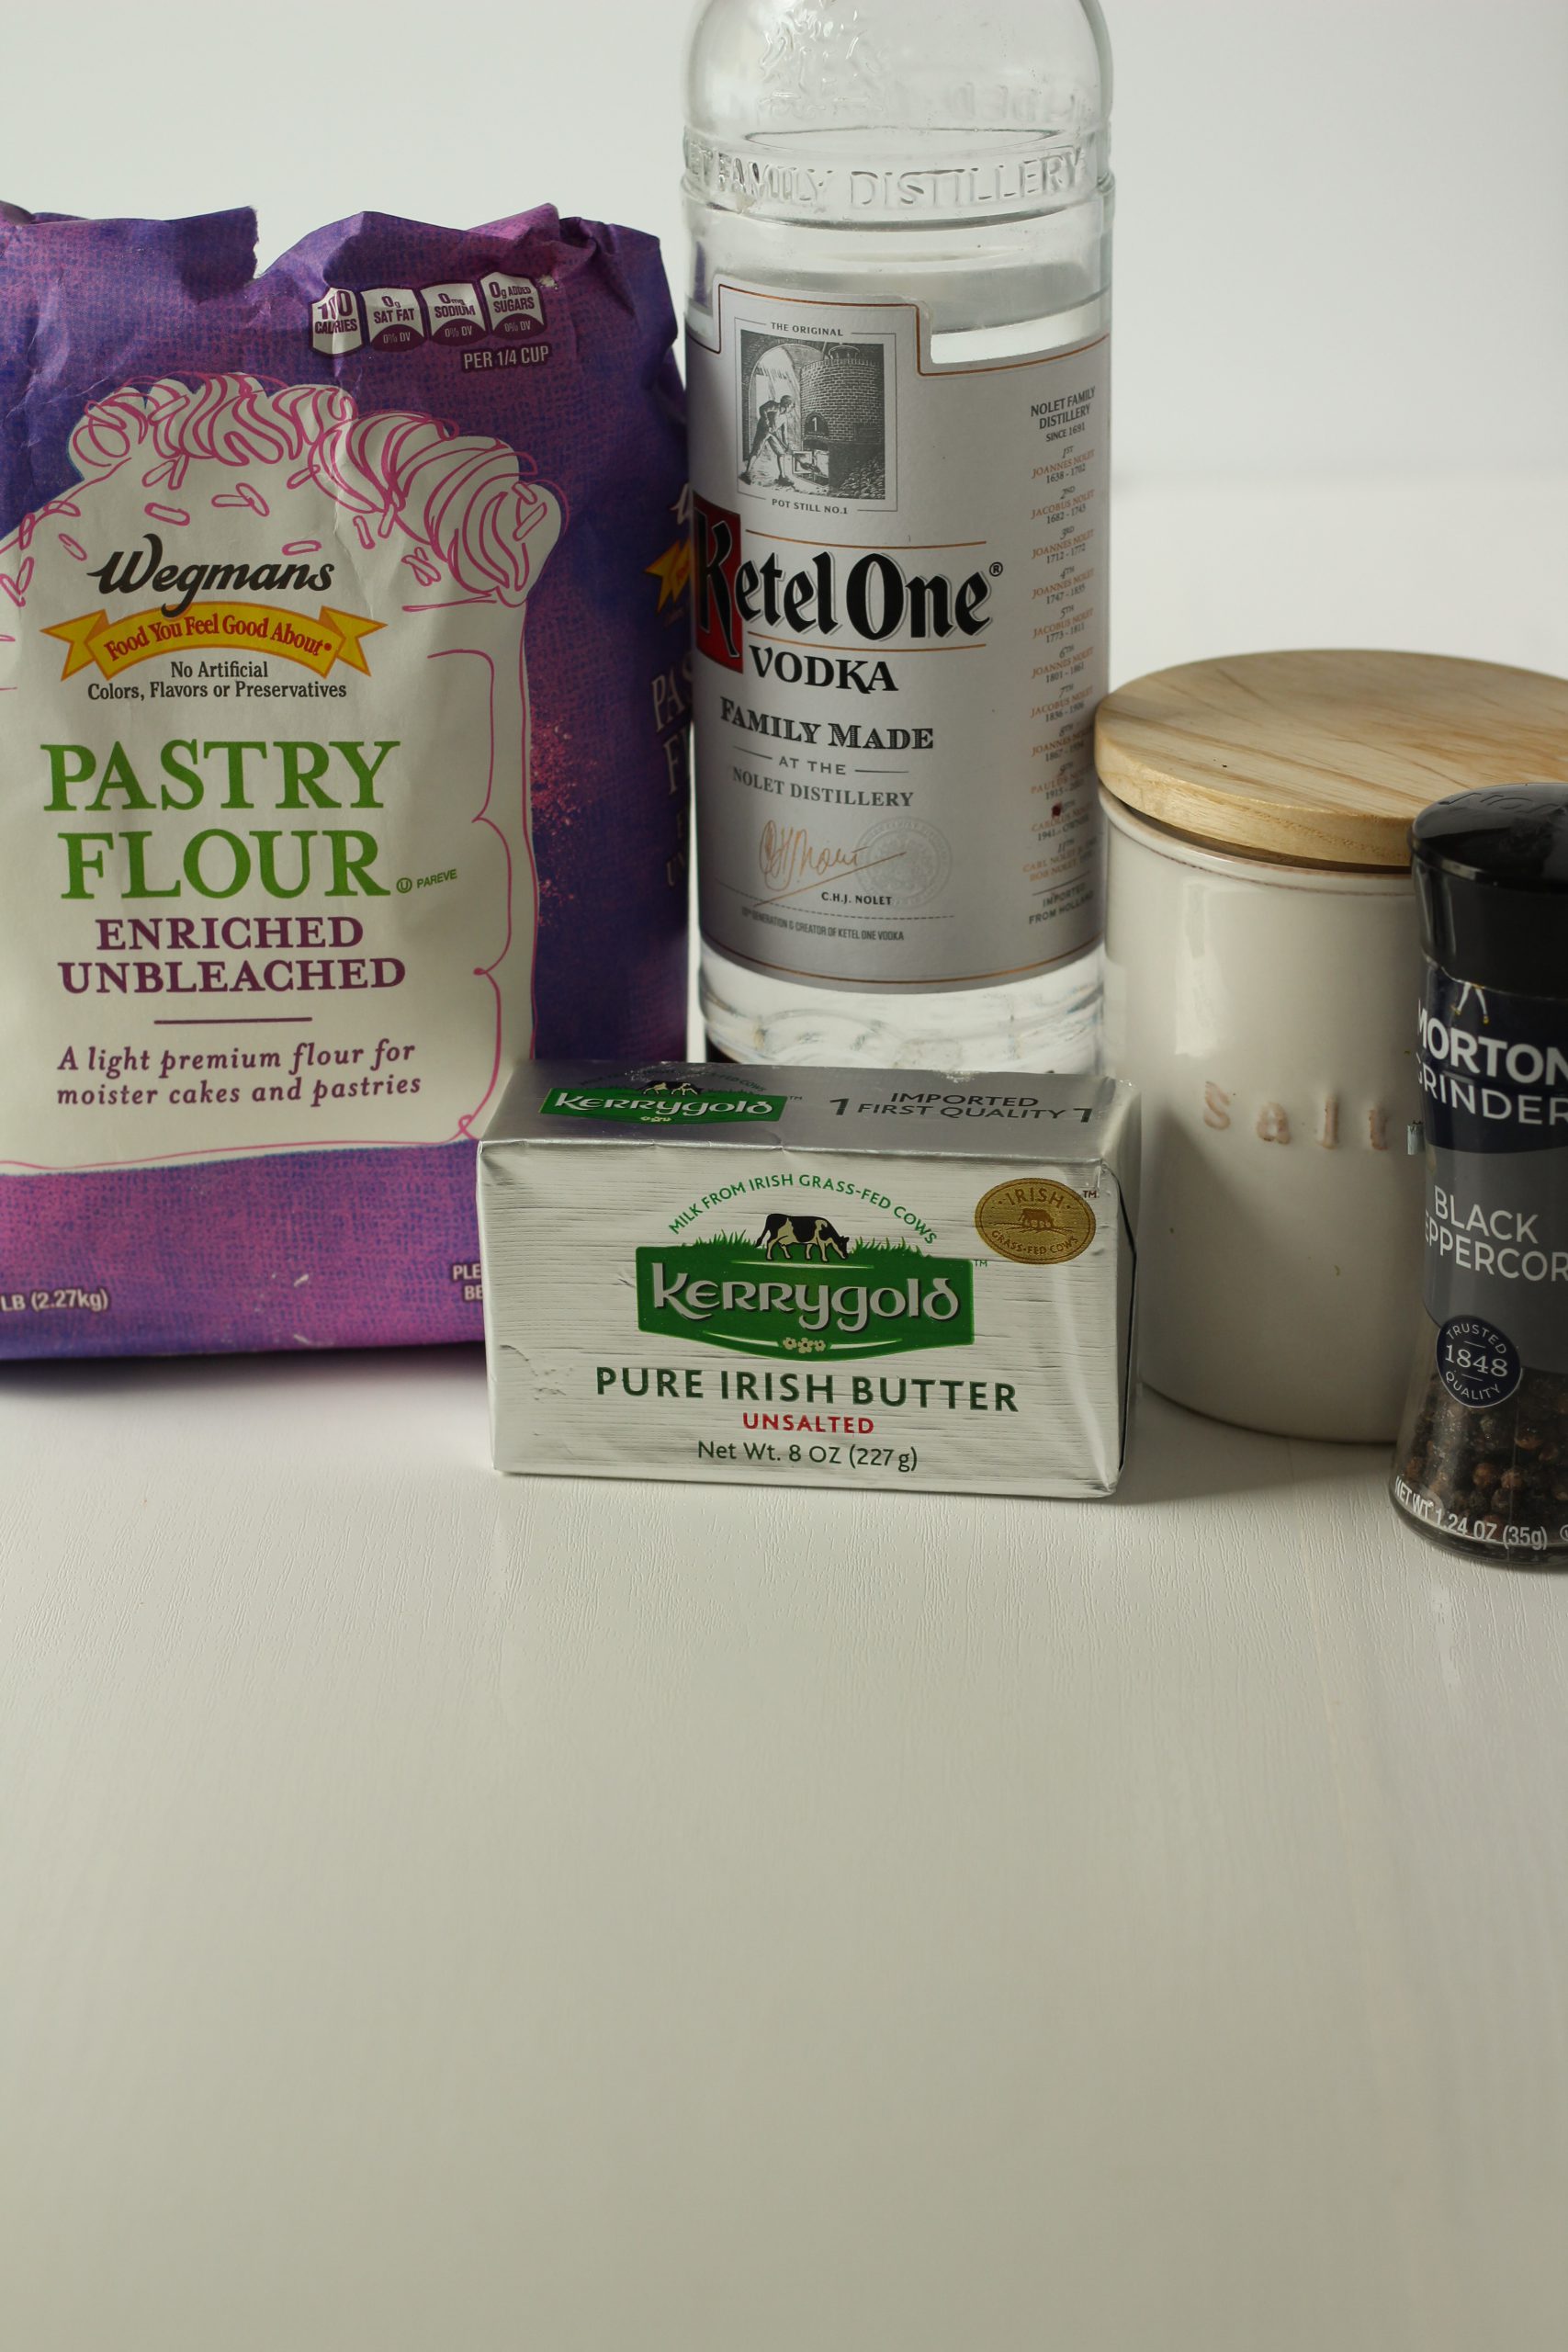
The ingredients are simple and typically I have them at the ready in my pantry/fridge. Thus when I want a nice hearty quiche for lunch, or need something easy and quick for a picnic, I don’t have to run to the store. I can quickly make this basic pie dough, let it chill for a bit, and I am ready to bake whatever I am up for. This dough makes a great substitute for recipes requiring a puff pastry as a base. Since I don’t always have puff pastry in my fridge I have substituted this dough several times and it works great.Ingredients for the savory pie dough

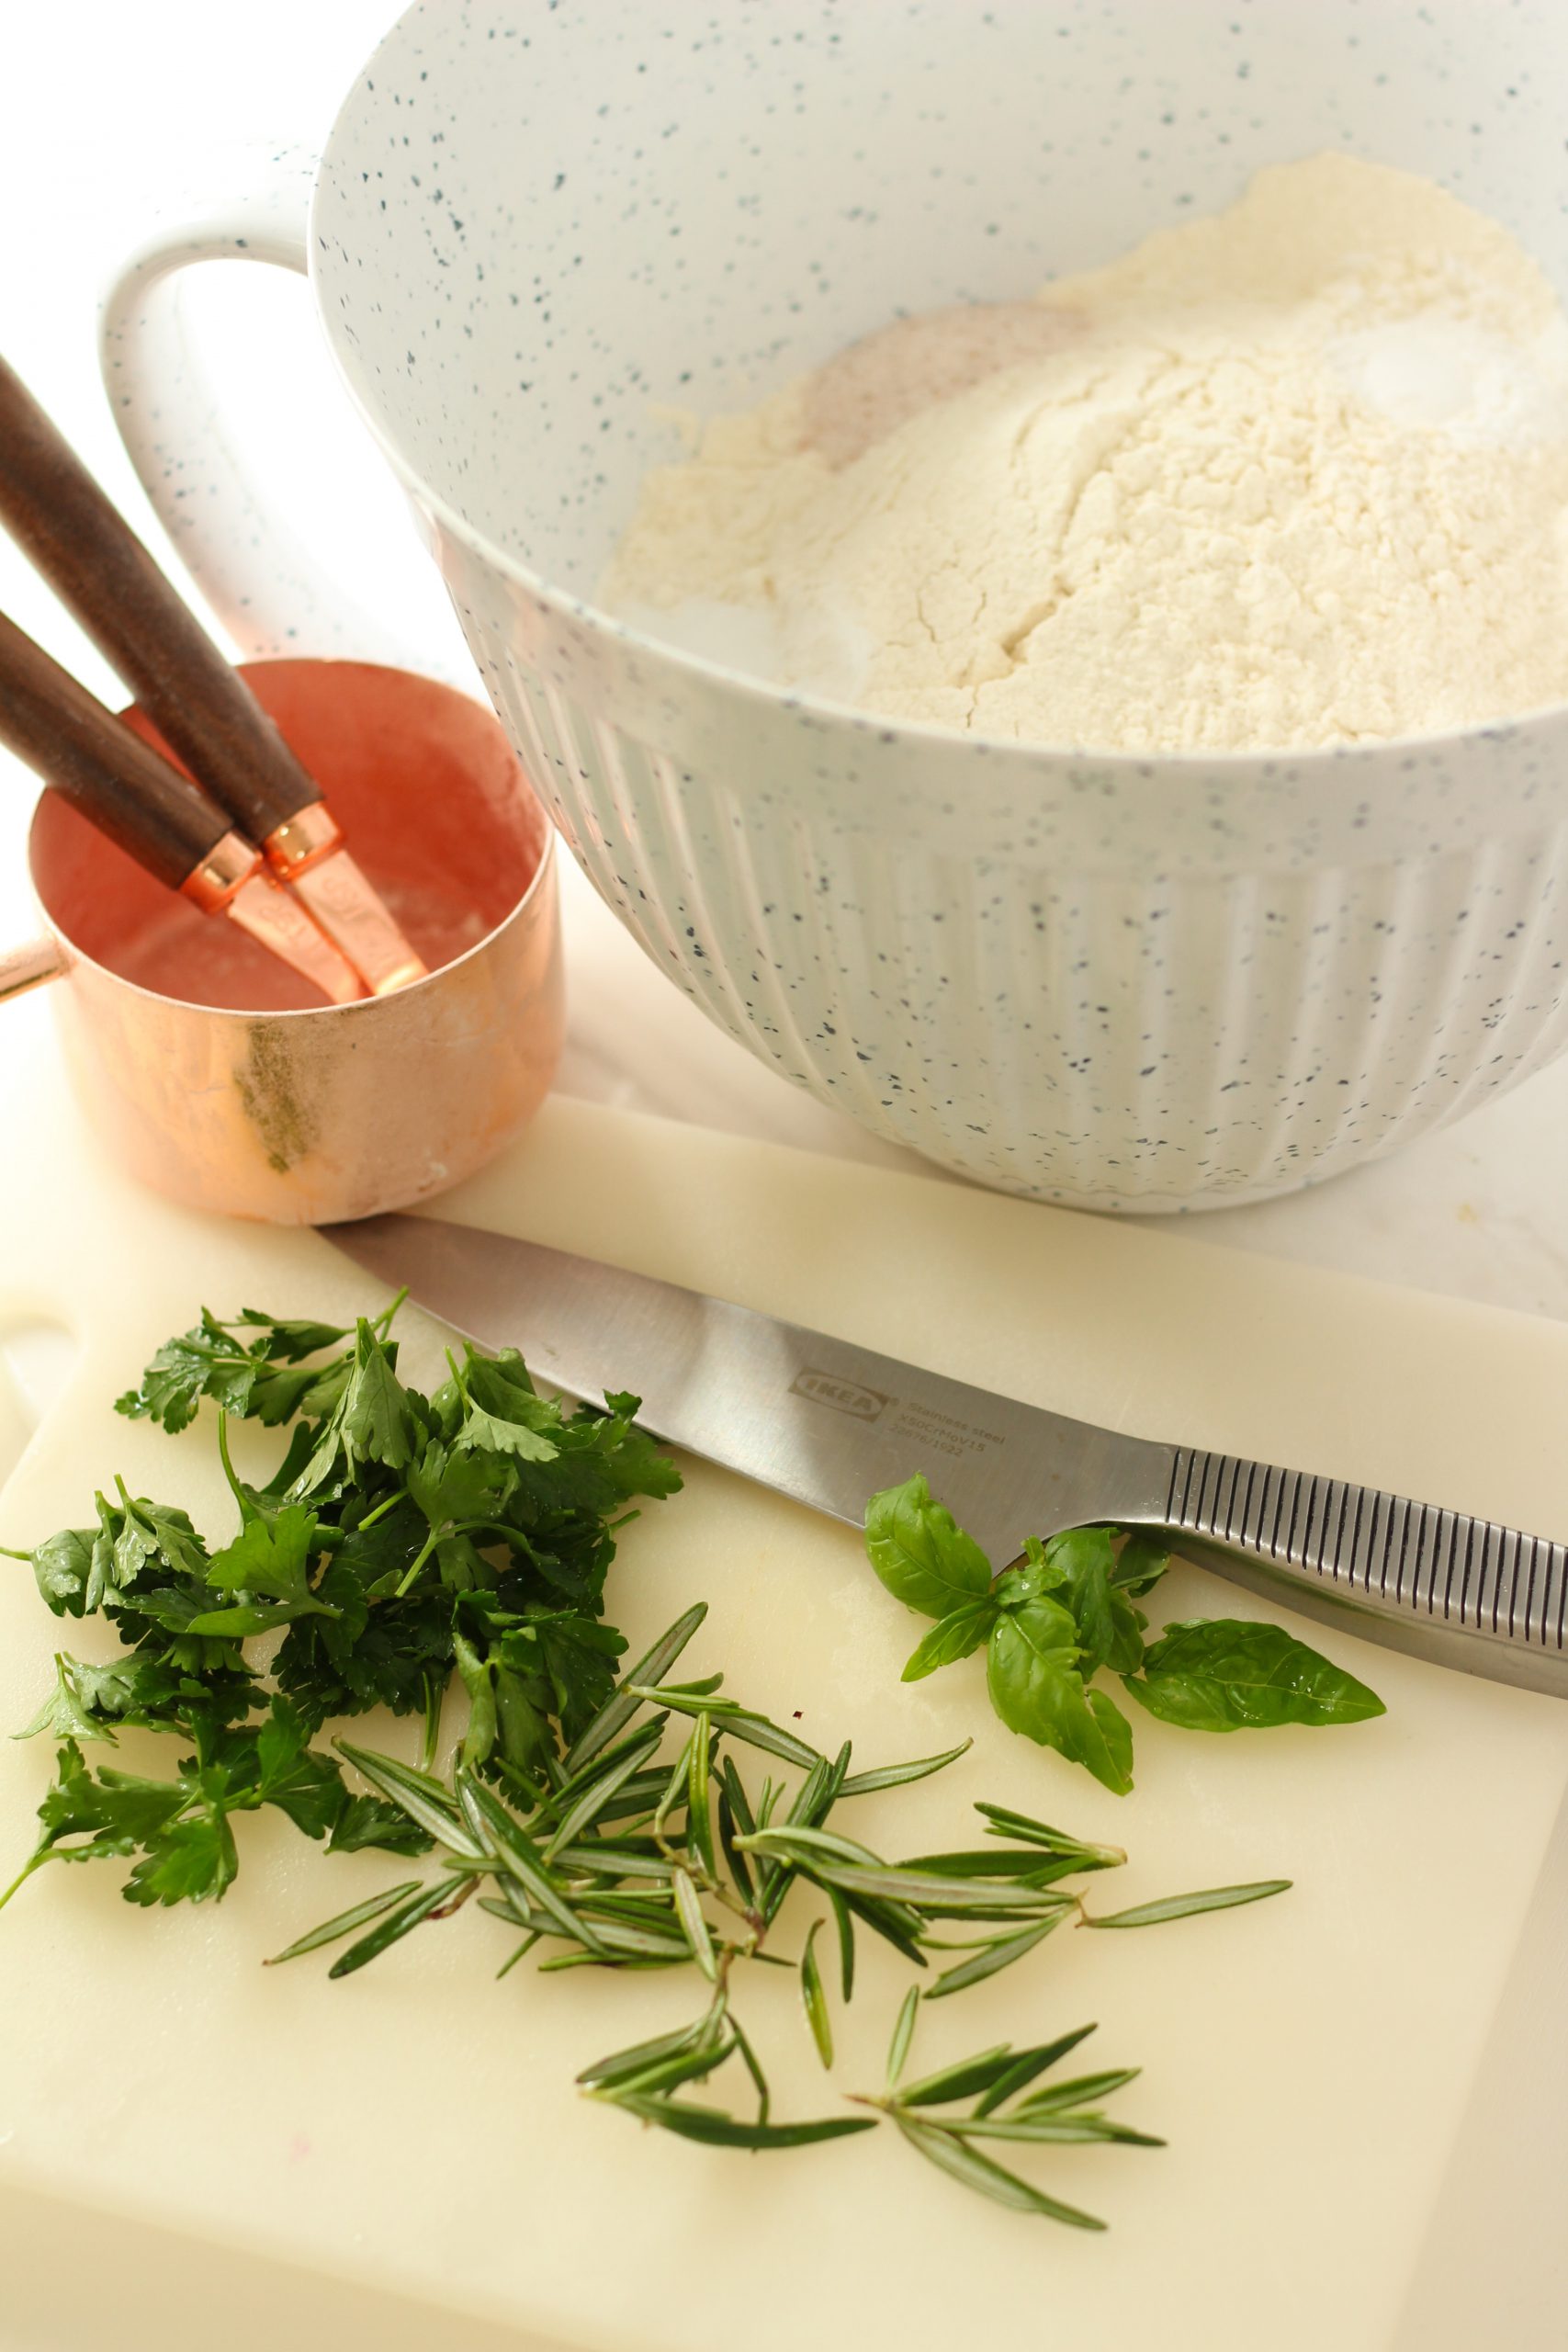
As you can see in the picture above I use pastry flour for this recipe. You can substitute it with all purpose flour, preferably an unbleached one. I think that pastry flour yields a nicer end result, but it is not essential that you use it. Pastry flour is milled to a finer texture than all purpose flour, and is made with soft wheat for a lower protein content. This helps baked goods, like pie crusts, have more tender results and a finer crust.

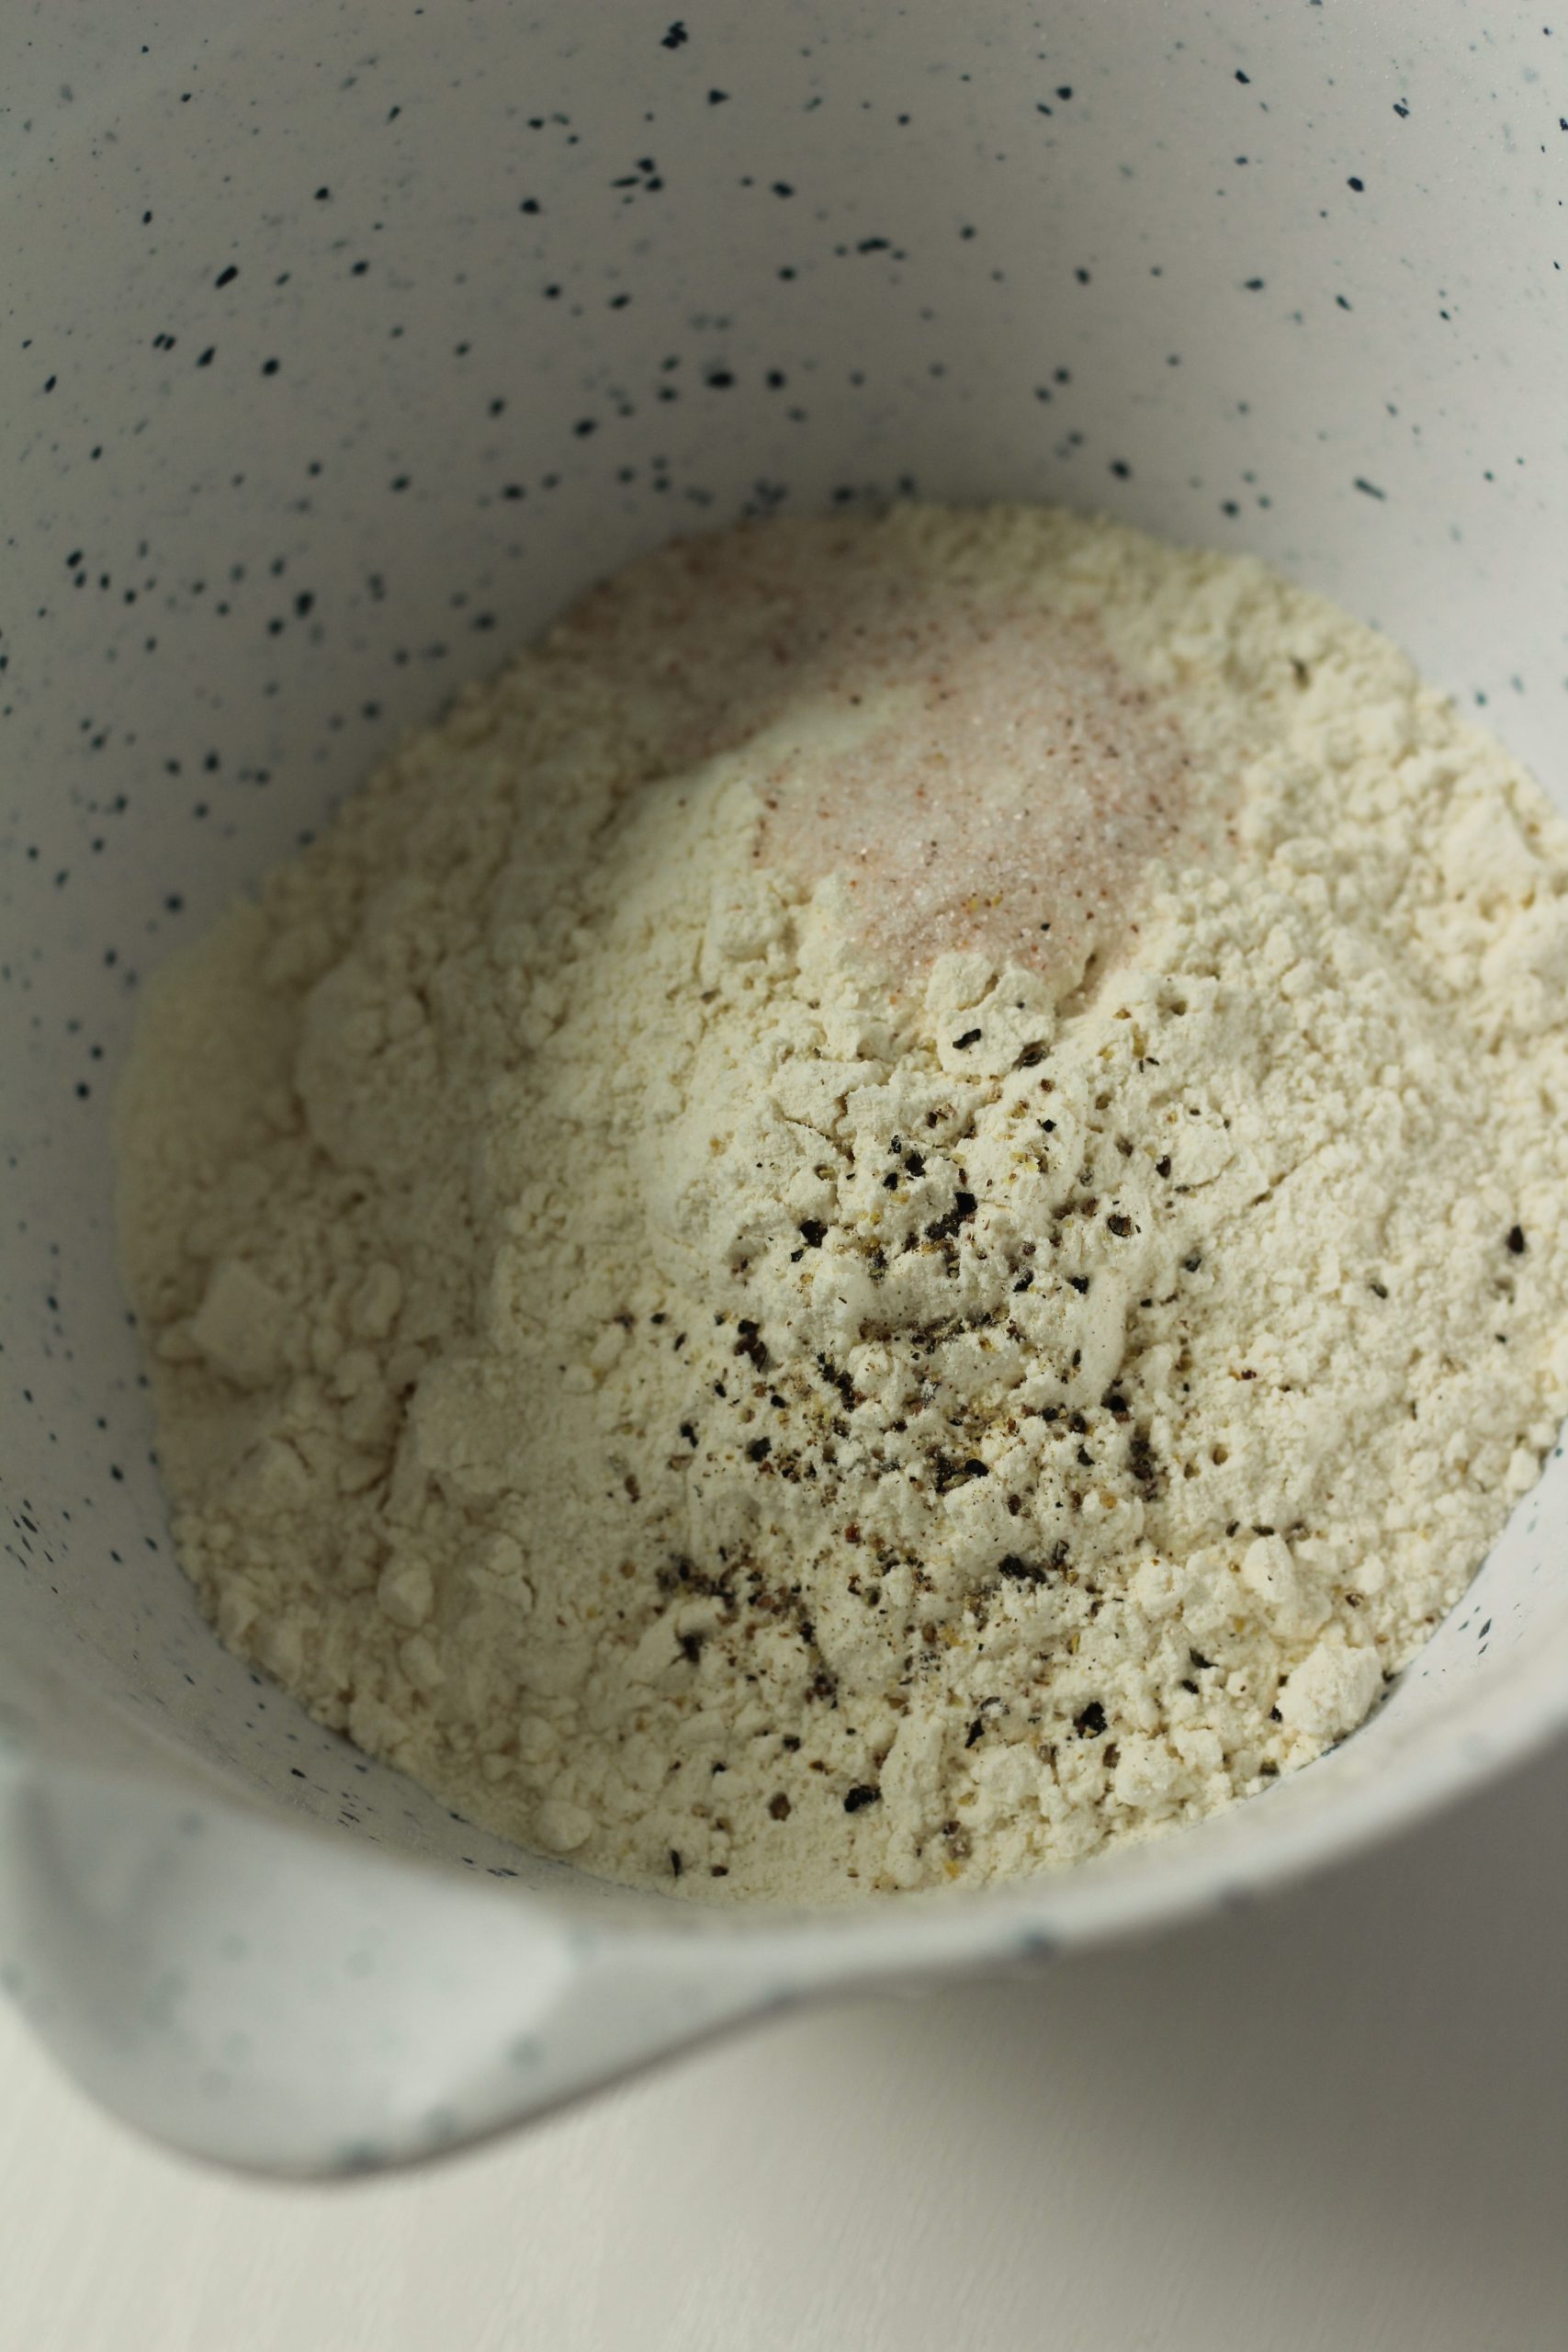
Pastry flour salt, black pepper

Before you add the butter and liquid make sure you combine all the dry ingredients well. The pastry flour is sifted before use. Sifting is a process that breaks up any lumps in the flour. I always sift my flour before I go to any next step of baking. Sifted flour is easier to mix into other ingredients. Another tip is to fluff up your flour before measuring. When flour sits in the package it gets compressed together.  Measuring before fluffing may cause too much flour to be added and you will need more liquid in your recipes.

Graded butter

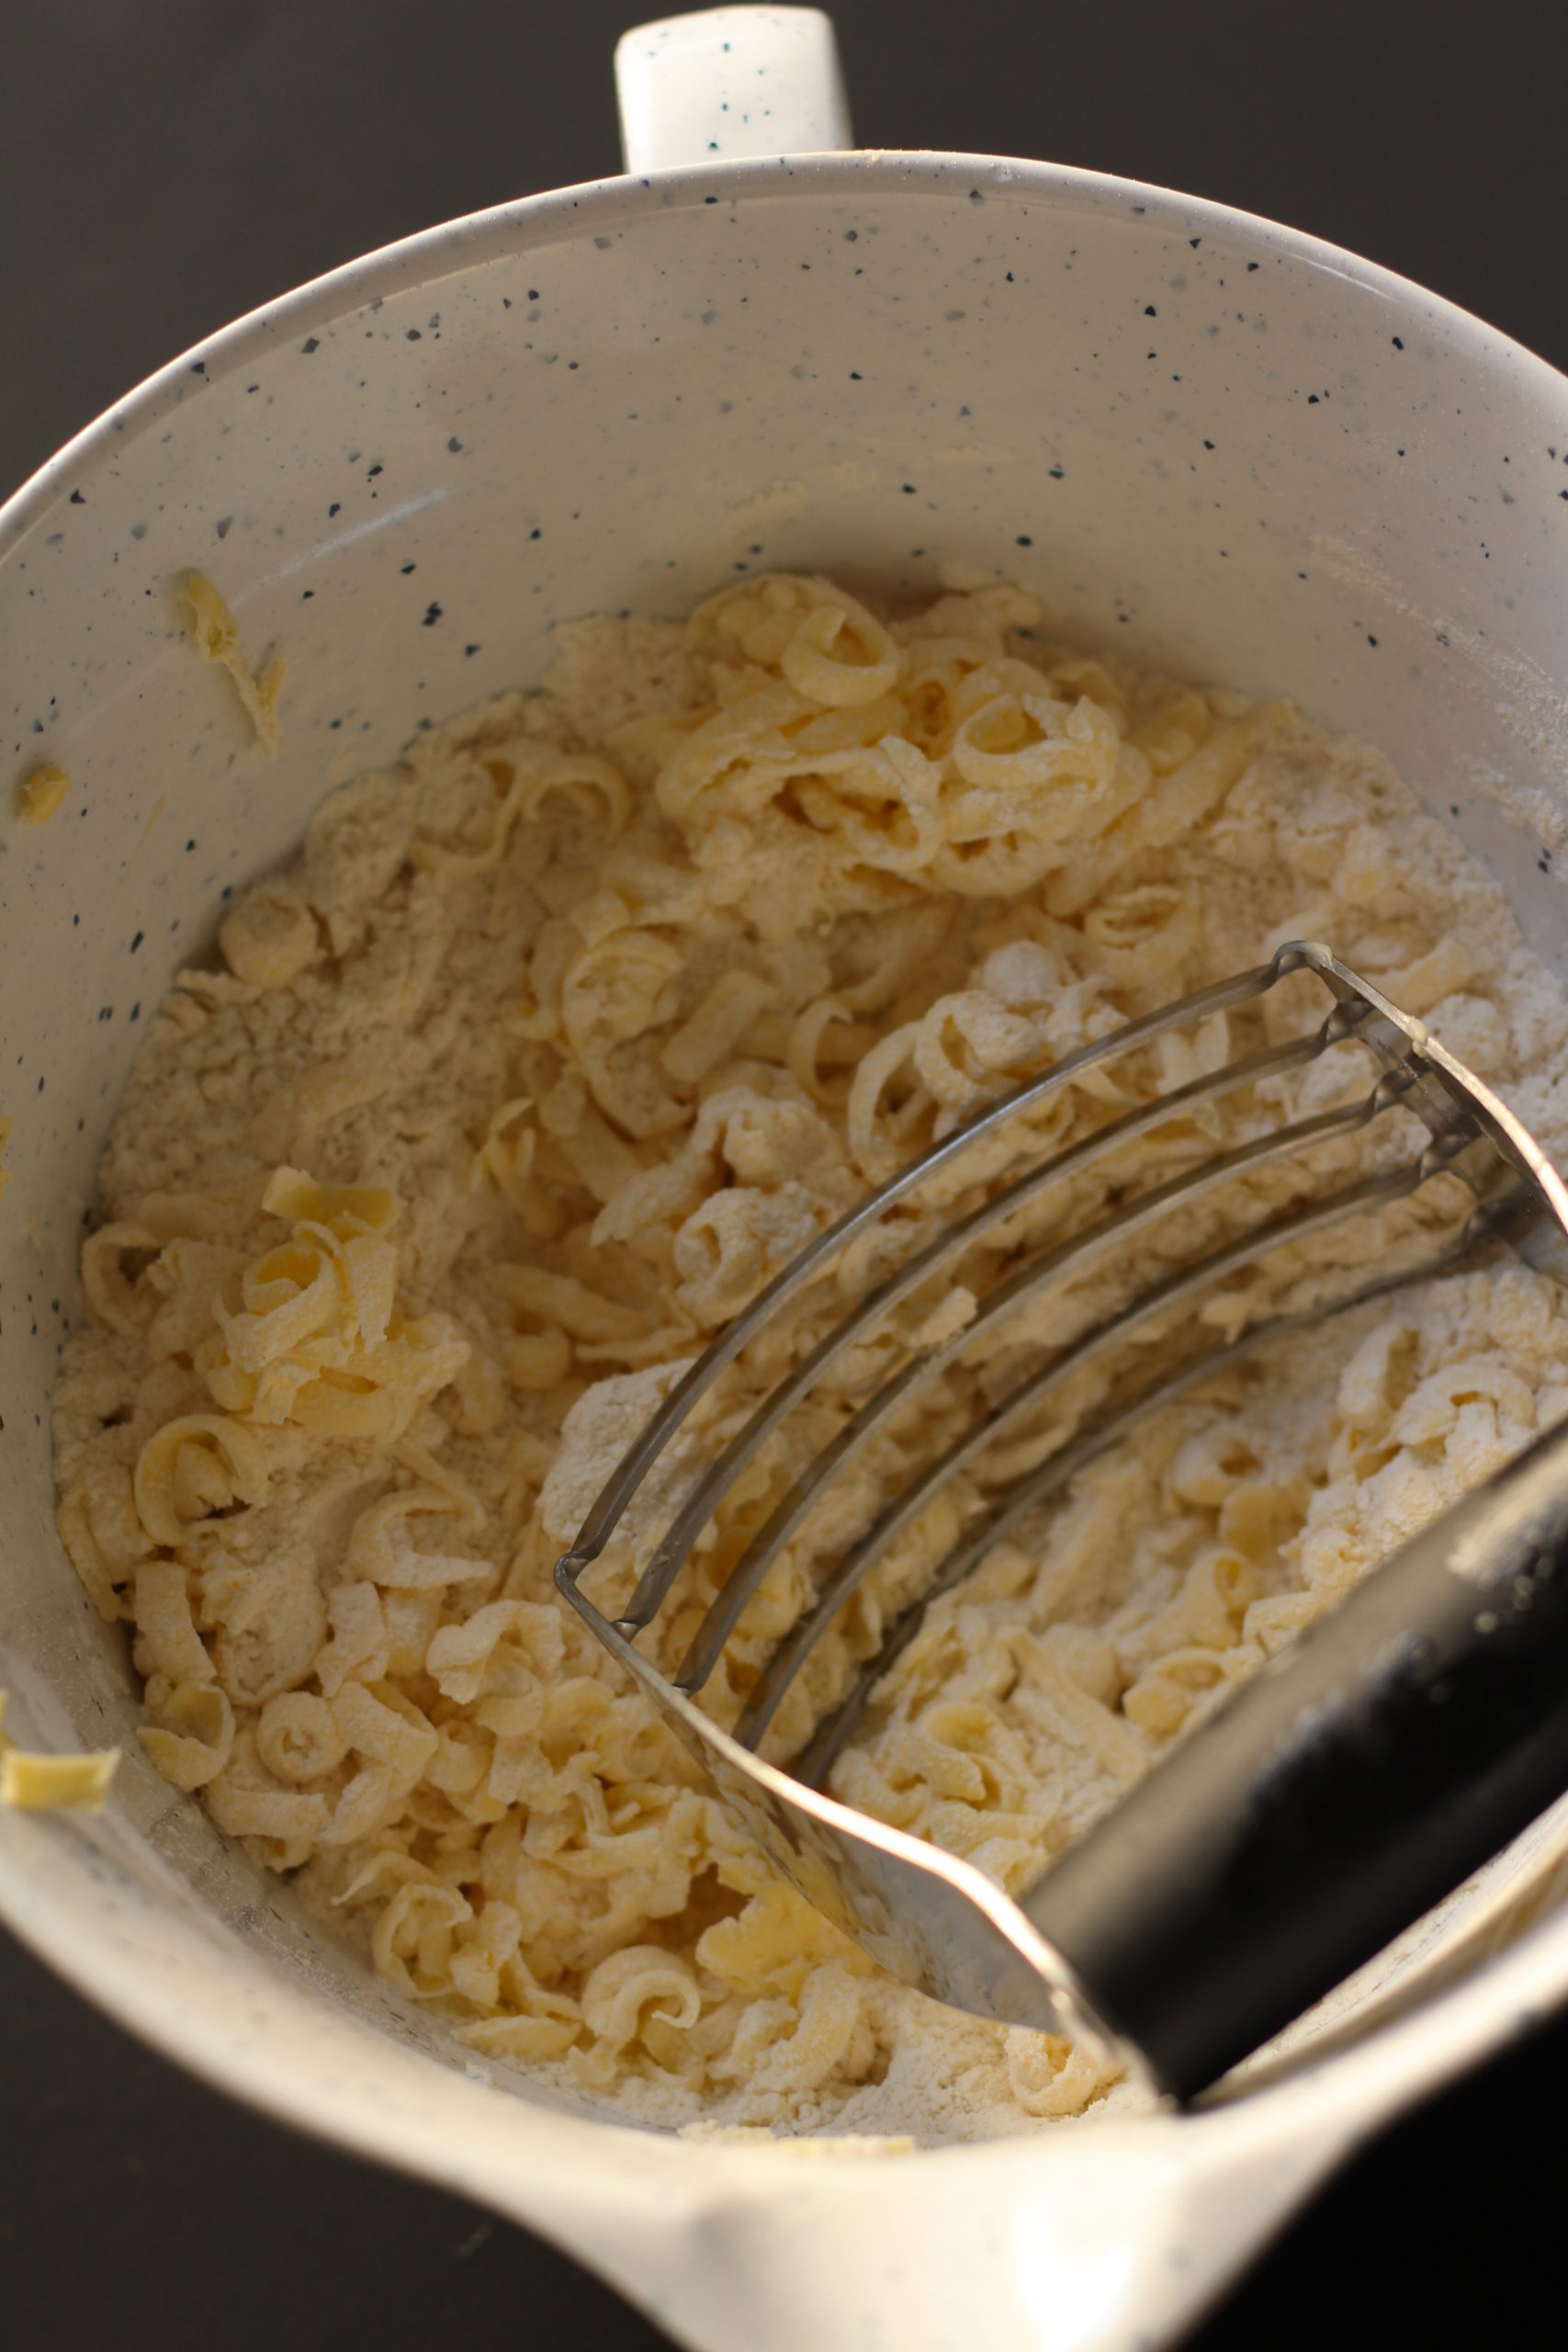
Frozen butter is easily grated and combined into the flour mixture with a pastry cutter.  It also doesn’t require as much strength as when you cut your butter into cubes and try to incorporate it with the flour. Since it is already tiny, it is quick and easy to cut in, and this prevents the butter from getting too warm. It is essential when making a pastry dough to work quickly and prevent warming the butter.

Cutting in th butter into the flour mixture

Butter combined with the flour mixture

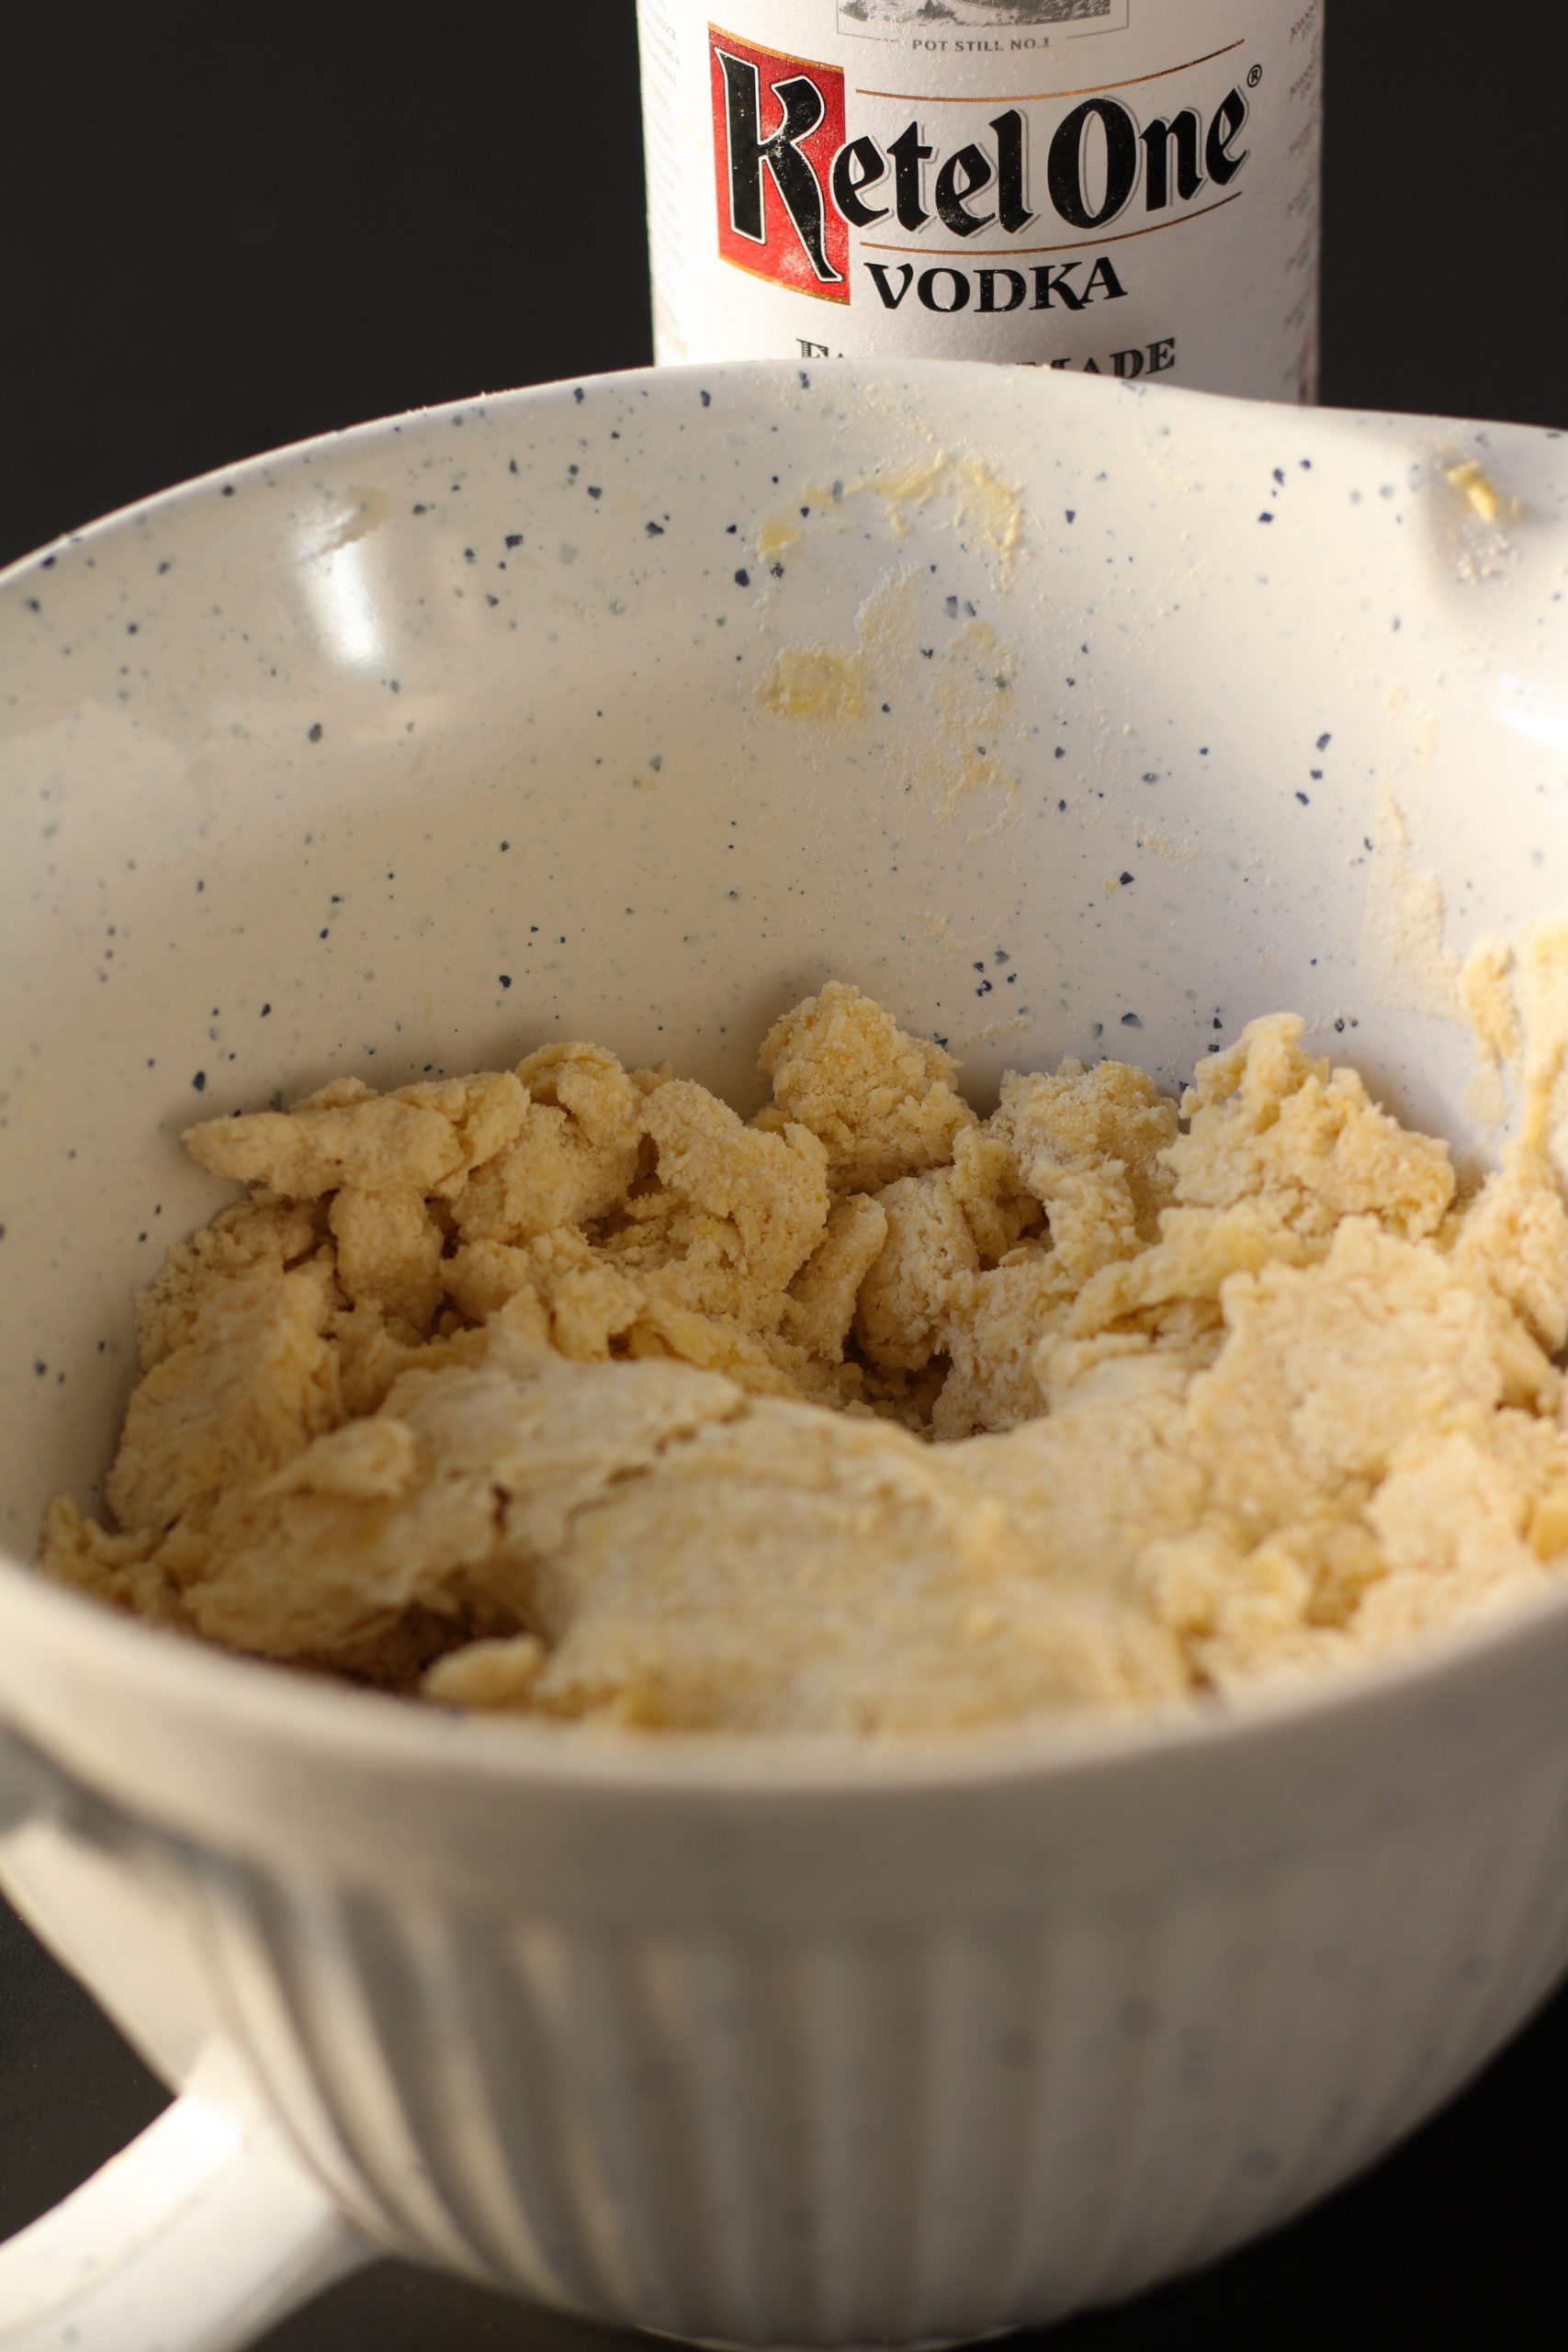
When the butter is well combined with the flour, it is time to pour in your ice cold liquids, starting with the Vodka. After the Vodka is combined with the dough, you add one tablespoon at a time of the ice cold water, until the dough comes together and no longer feels dry. Keep adding more until you are satisfied your dough isn’t dehydrated. You will need to add enough liquid to form a circle. If you add too little of the liquid the dough will crack later when you roll it out.

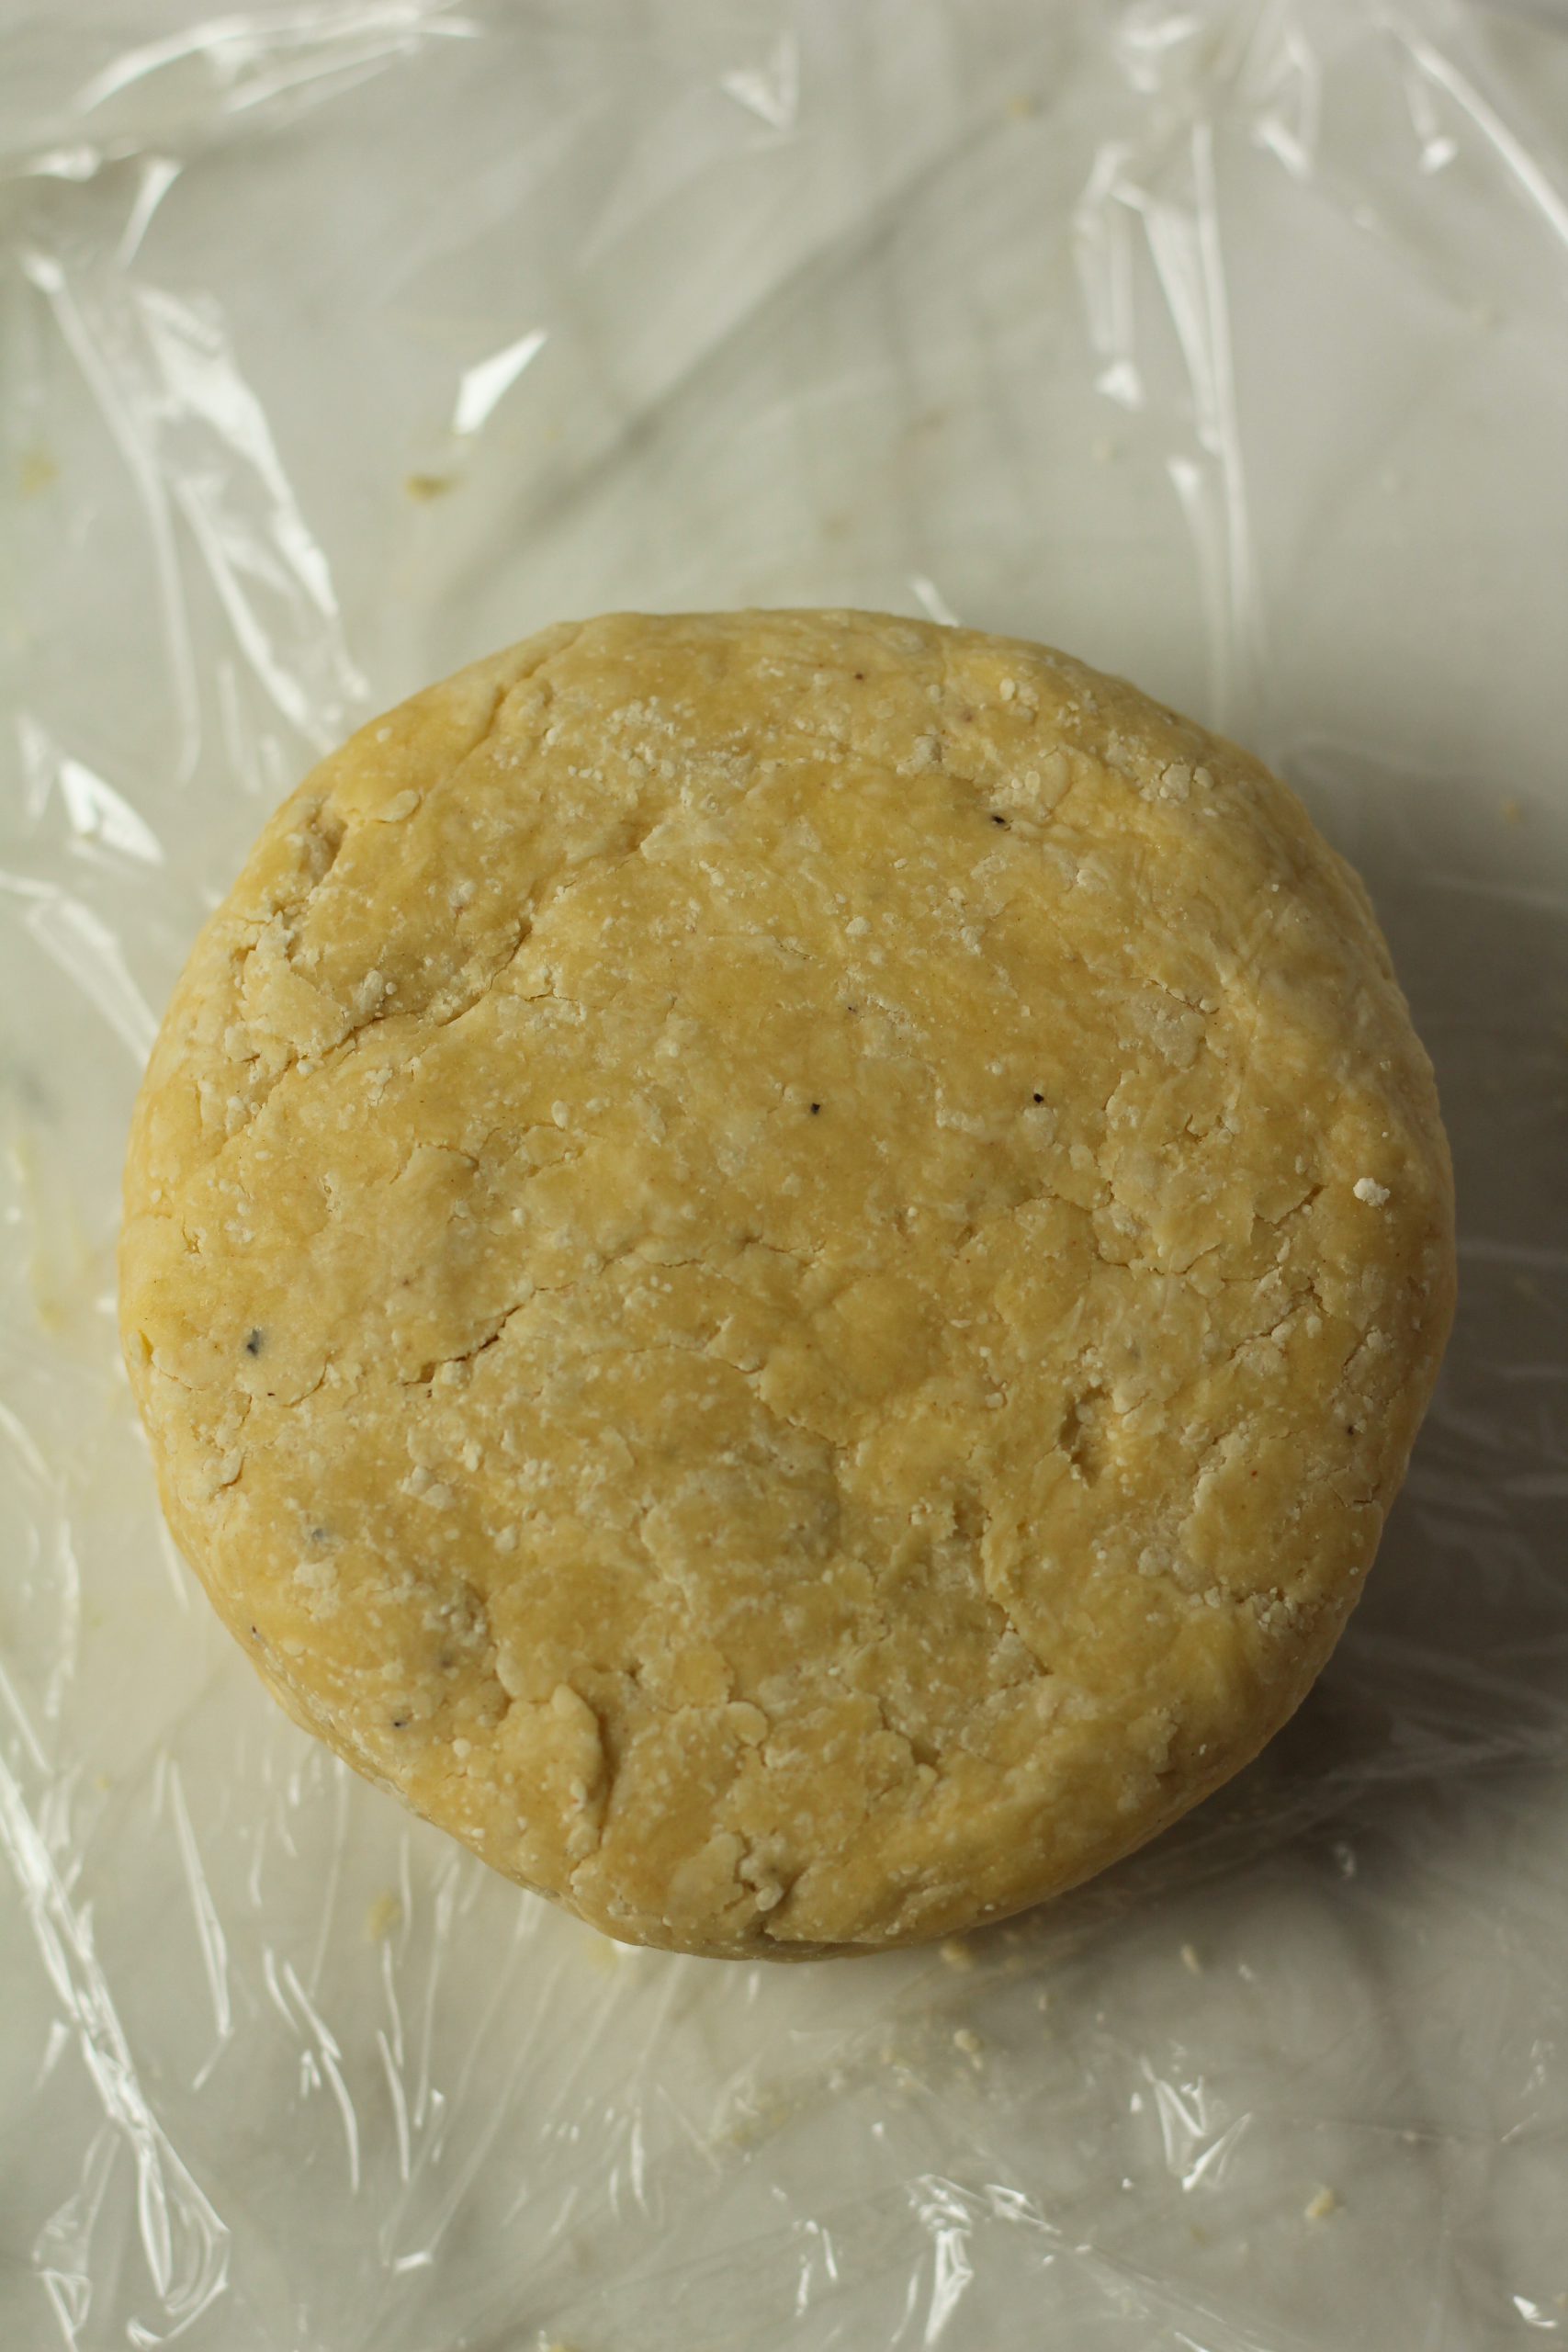
Savory pastry dough ready to chil

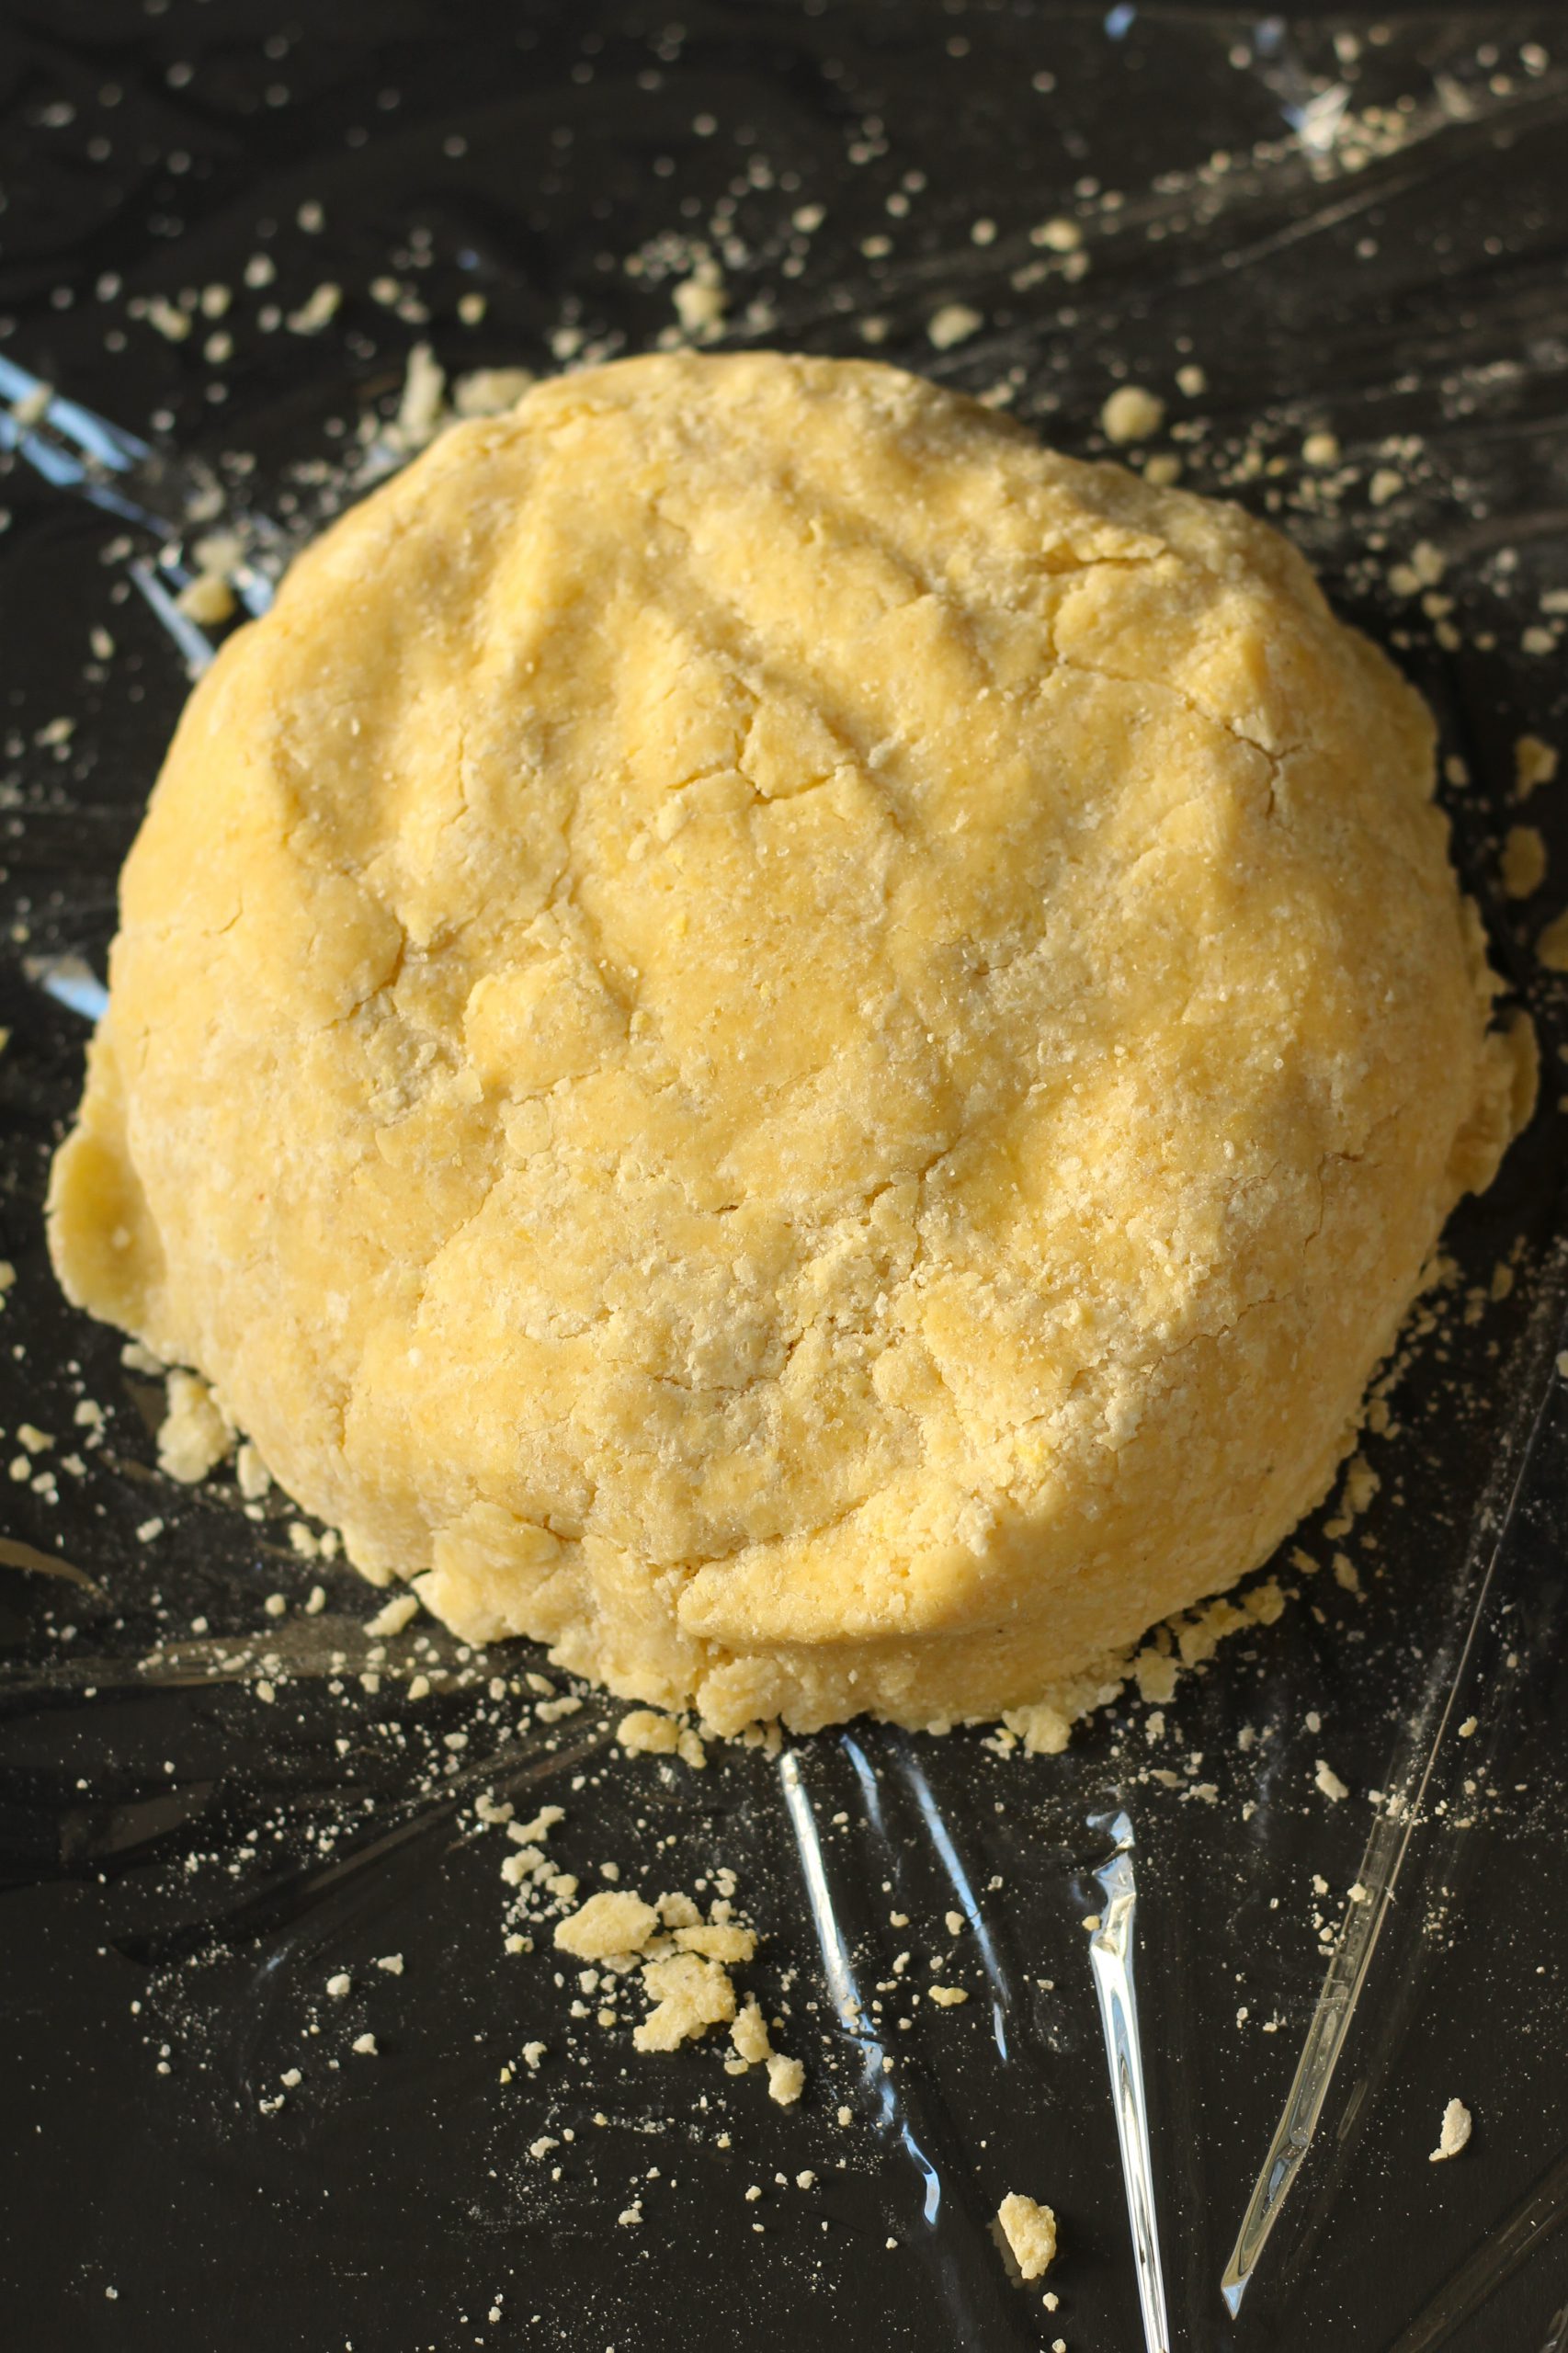
Form a circle, wrapping it air tight, and put it in the fridge to chill for at least one hour. You can also prepare it the night before you need it. If it made the night before you may need to take it out 30 minutes before you are ready to roll out your dough.

Rolled out dough

When rolling out the dough it helps to start from the center and then roll outward. After you have done one side, flip the dough to the other side and repeat the rolling out from the center. This method will help you create a nice even circle. It may be helpful to dust the rolling pin with flour to prevent it from sticking to the dough. Once you have your desired circle width, gently roll it over your rolling pin and transfer it to your oiled baking dish.

Rolled out dough in quiche dish

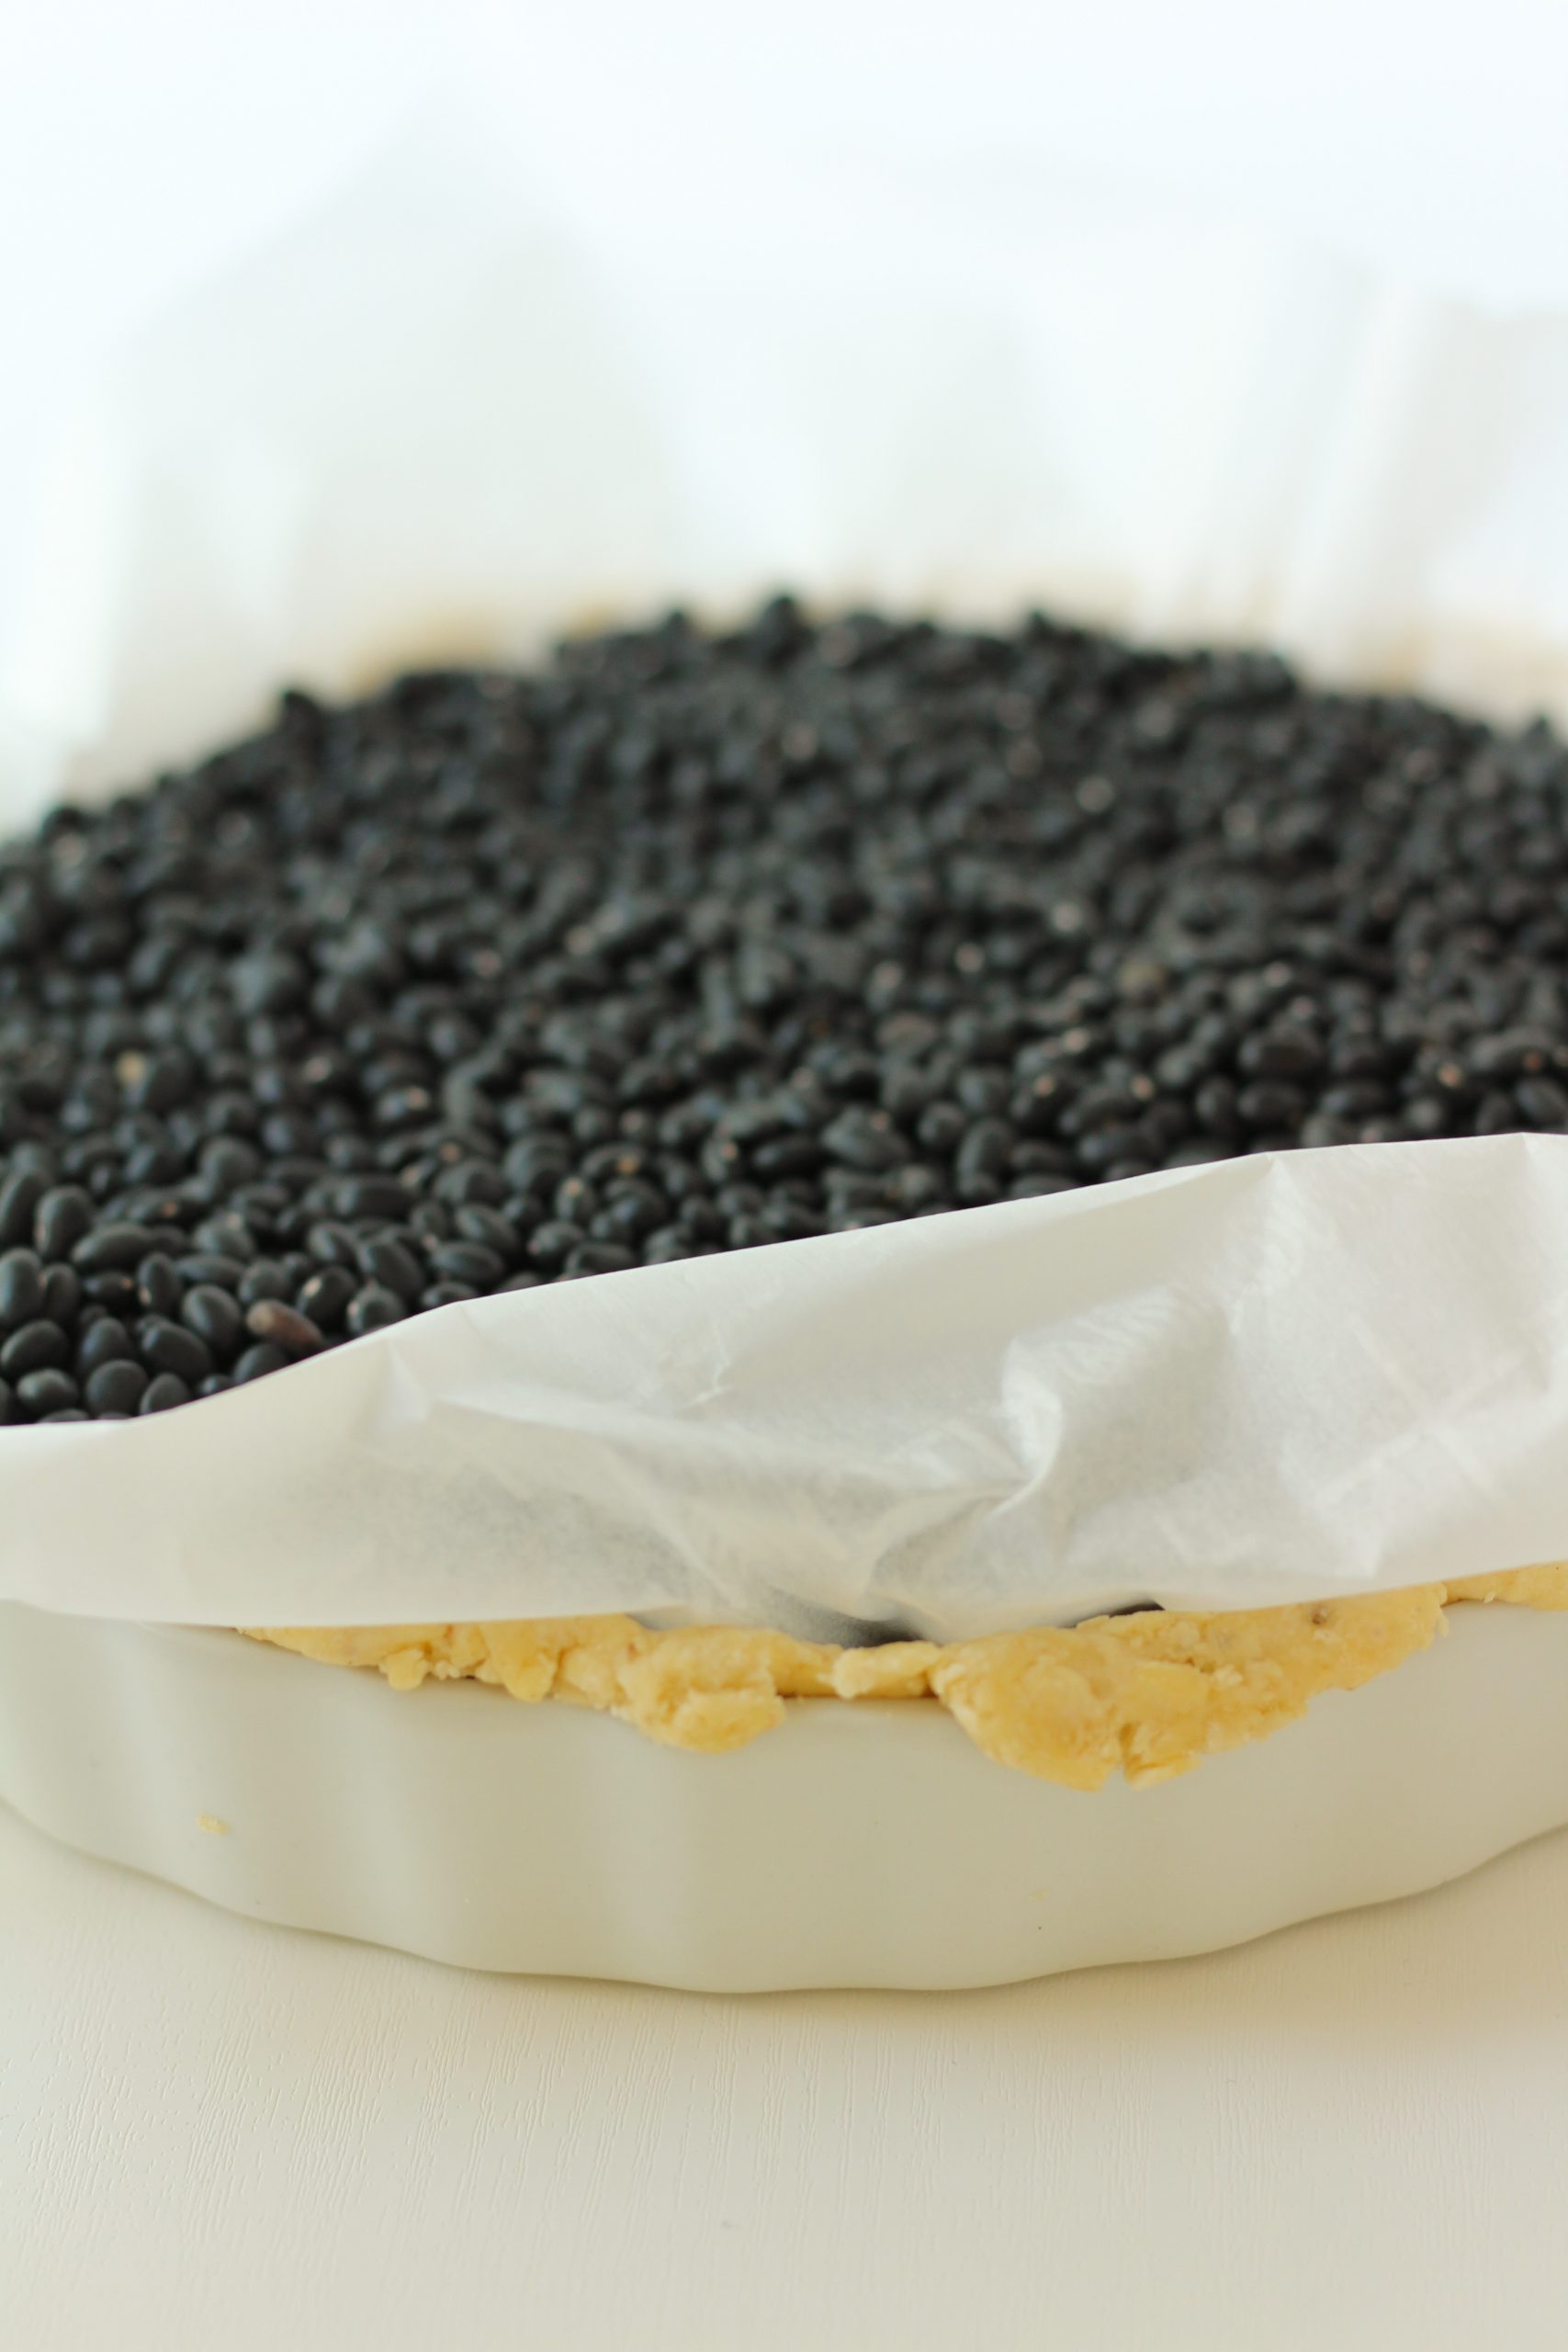
Make sure the dough goes over your edges of your pastry dish because this will be a blind bake. During a blind baking, the pastry will shrink, and if you cut off your edges before the bake you won’t have a nice edge on your pie. Before we put it in the oven, place some parchment paper on the dough and fill it with pie weights. There is no need to buy specially made weights. I typically use any dried beans I have on hand.

Pie dough with parchment paper and pie weight

Cover your pie dough and let it rest in the fridge while you preheat your oven to 400 Fahrenheit.

When the oven is preheated, remove the cover ,and place it in the center of your oven to bake for 10 minutes. After it is done baking, carefully remove the pie weights without burning yourself. Now the pie base is ready to be filled and baked.

Savory pie dough used with my quiche recipe


Savory Pie Dough

This basic savory pie dough is easy to make and has a hint of black pepper combined with a buttery dough. It is a perfect base for all your savory pies or quiches.
Prep Time30 minutes
Cook Time10 minutes
Course: Side Dish
Cuisine: pie
Keyword: pie dough, savory pie dough

Ingredients

  • 1 1/4 Cup Pastry flour or unbleached all-purpose flour
  • 1 Teaspoon Salt
  • 1/2 Teaspoon Black pepper freshly ground
  • 8 Tablespoons Unsalted butter frozen and grated
  • 2-3 Tablespoons Vodka ice cold
  • 2-3 Tablespoons Filtered water ice cold

Instructions

  • Combine the flour with the salt and black pepper.
  • Cut in the frozen butter with a pastry knife until you have a crumbled flour and butter mixture.
  • Slowly add one tablespoon at a time of the vodka. After combining, if the dough still feels dry, add one tablespoon at a time of the cold water. Mix quickly with your hands so you don’t melt the butter. When it no longer feels dry, and nicely comes together, your dough is done.
  • Form a circle and wrap it in cling wrap so it is air tight. Let it rest in the fridge for at least 30 minutes. If you have the time an hour is preferred. It is ready to be used once chilled.

Blind Baking

  • Roll out your pastry on a floured counter top. It is best to roll it out from the center towards the edge. After each roll turn the dough over and roll again from the middle to the outside. Repeat rolling until you have a big enough circle.
  • Spray your pie pan with some oil. I used avocado oil. Roll the dough over your rolling pin and transfer it into the dish. Do not cut off the sides before blind baking. Pastry shrinks so let the dough hang over the edges.
  • Put some parchment paper over the dough and fill it with pie weights. I used dried beans for this.
  • While you preheat the oven to 400 Farhenheit set the pie in the fridge to rest.
  • When the oven is warm blind bake the pie for 10 minutes.
  • After blind baking remove the parchment paper and the pie weights. Now your ready to fill it with whatever you like and finish baking.

Tomato soup with garnish and heavy cream

Our family loves a good soup. My kids’ favorite is my creamy broccoli soup but my favorite is this tomato soup. The combination of butter, tomatoes and cream makes this a rich, delicious and filling soup that is good for dinner or lunch.

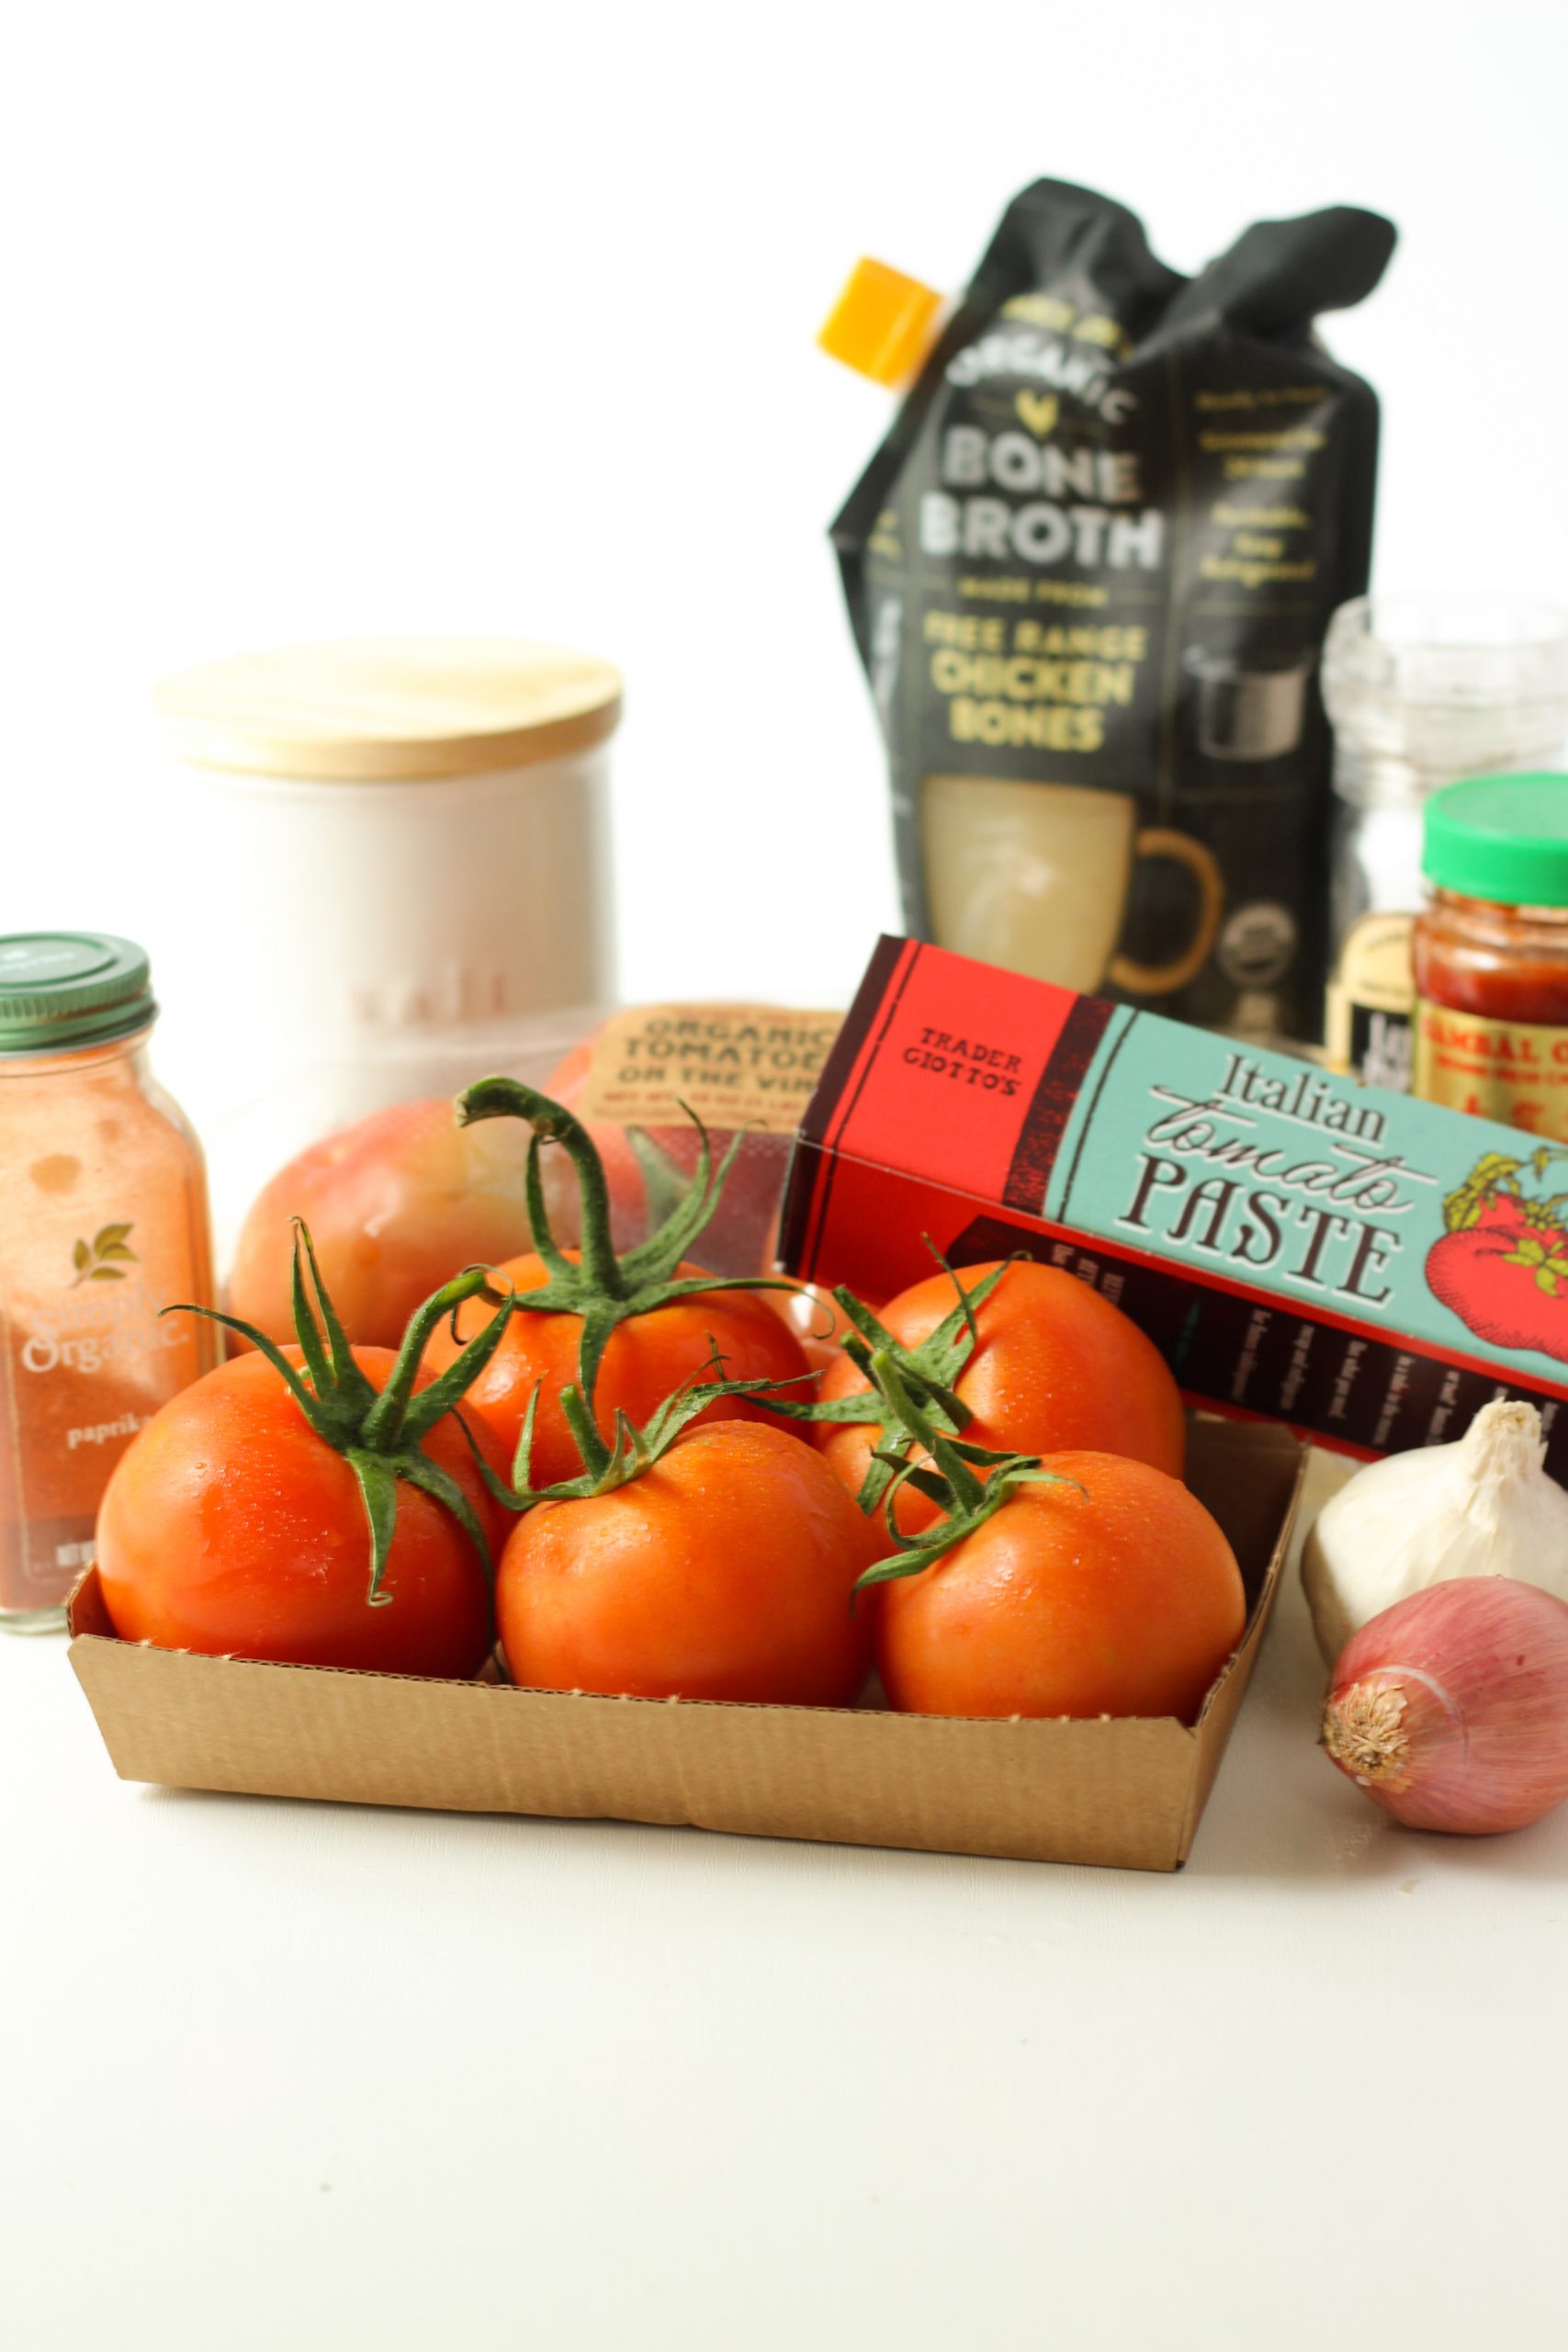
Ingredients for tomato soup

In addition to shallot, garlic and tomatoes, the soup is seasoned with salt/pepper, paprika and sambal oelek for an extra kick in this soup.

Fresh washed tomatoes

Nice fresh tomatoes can be either store bought or homegrown. Tomatoes are rich in lycopene, which is an antioxidant. They are also packed with vitamins A, C, calcium and potassium.

Cut up tomatoes

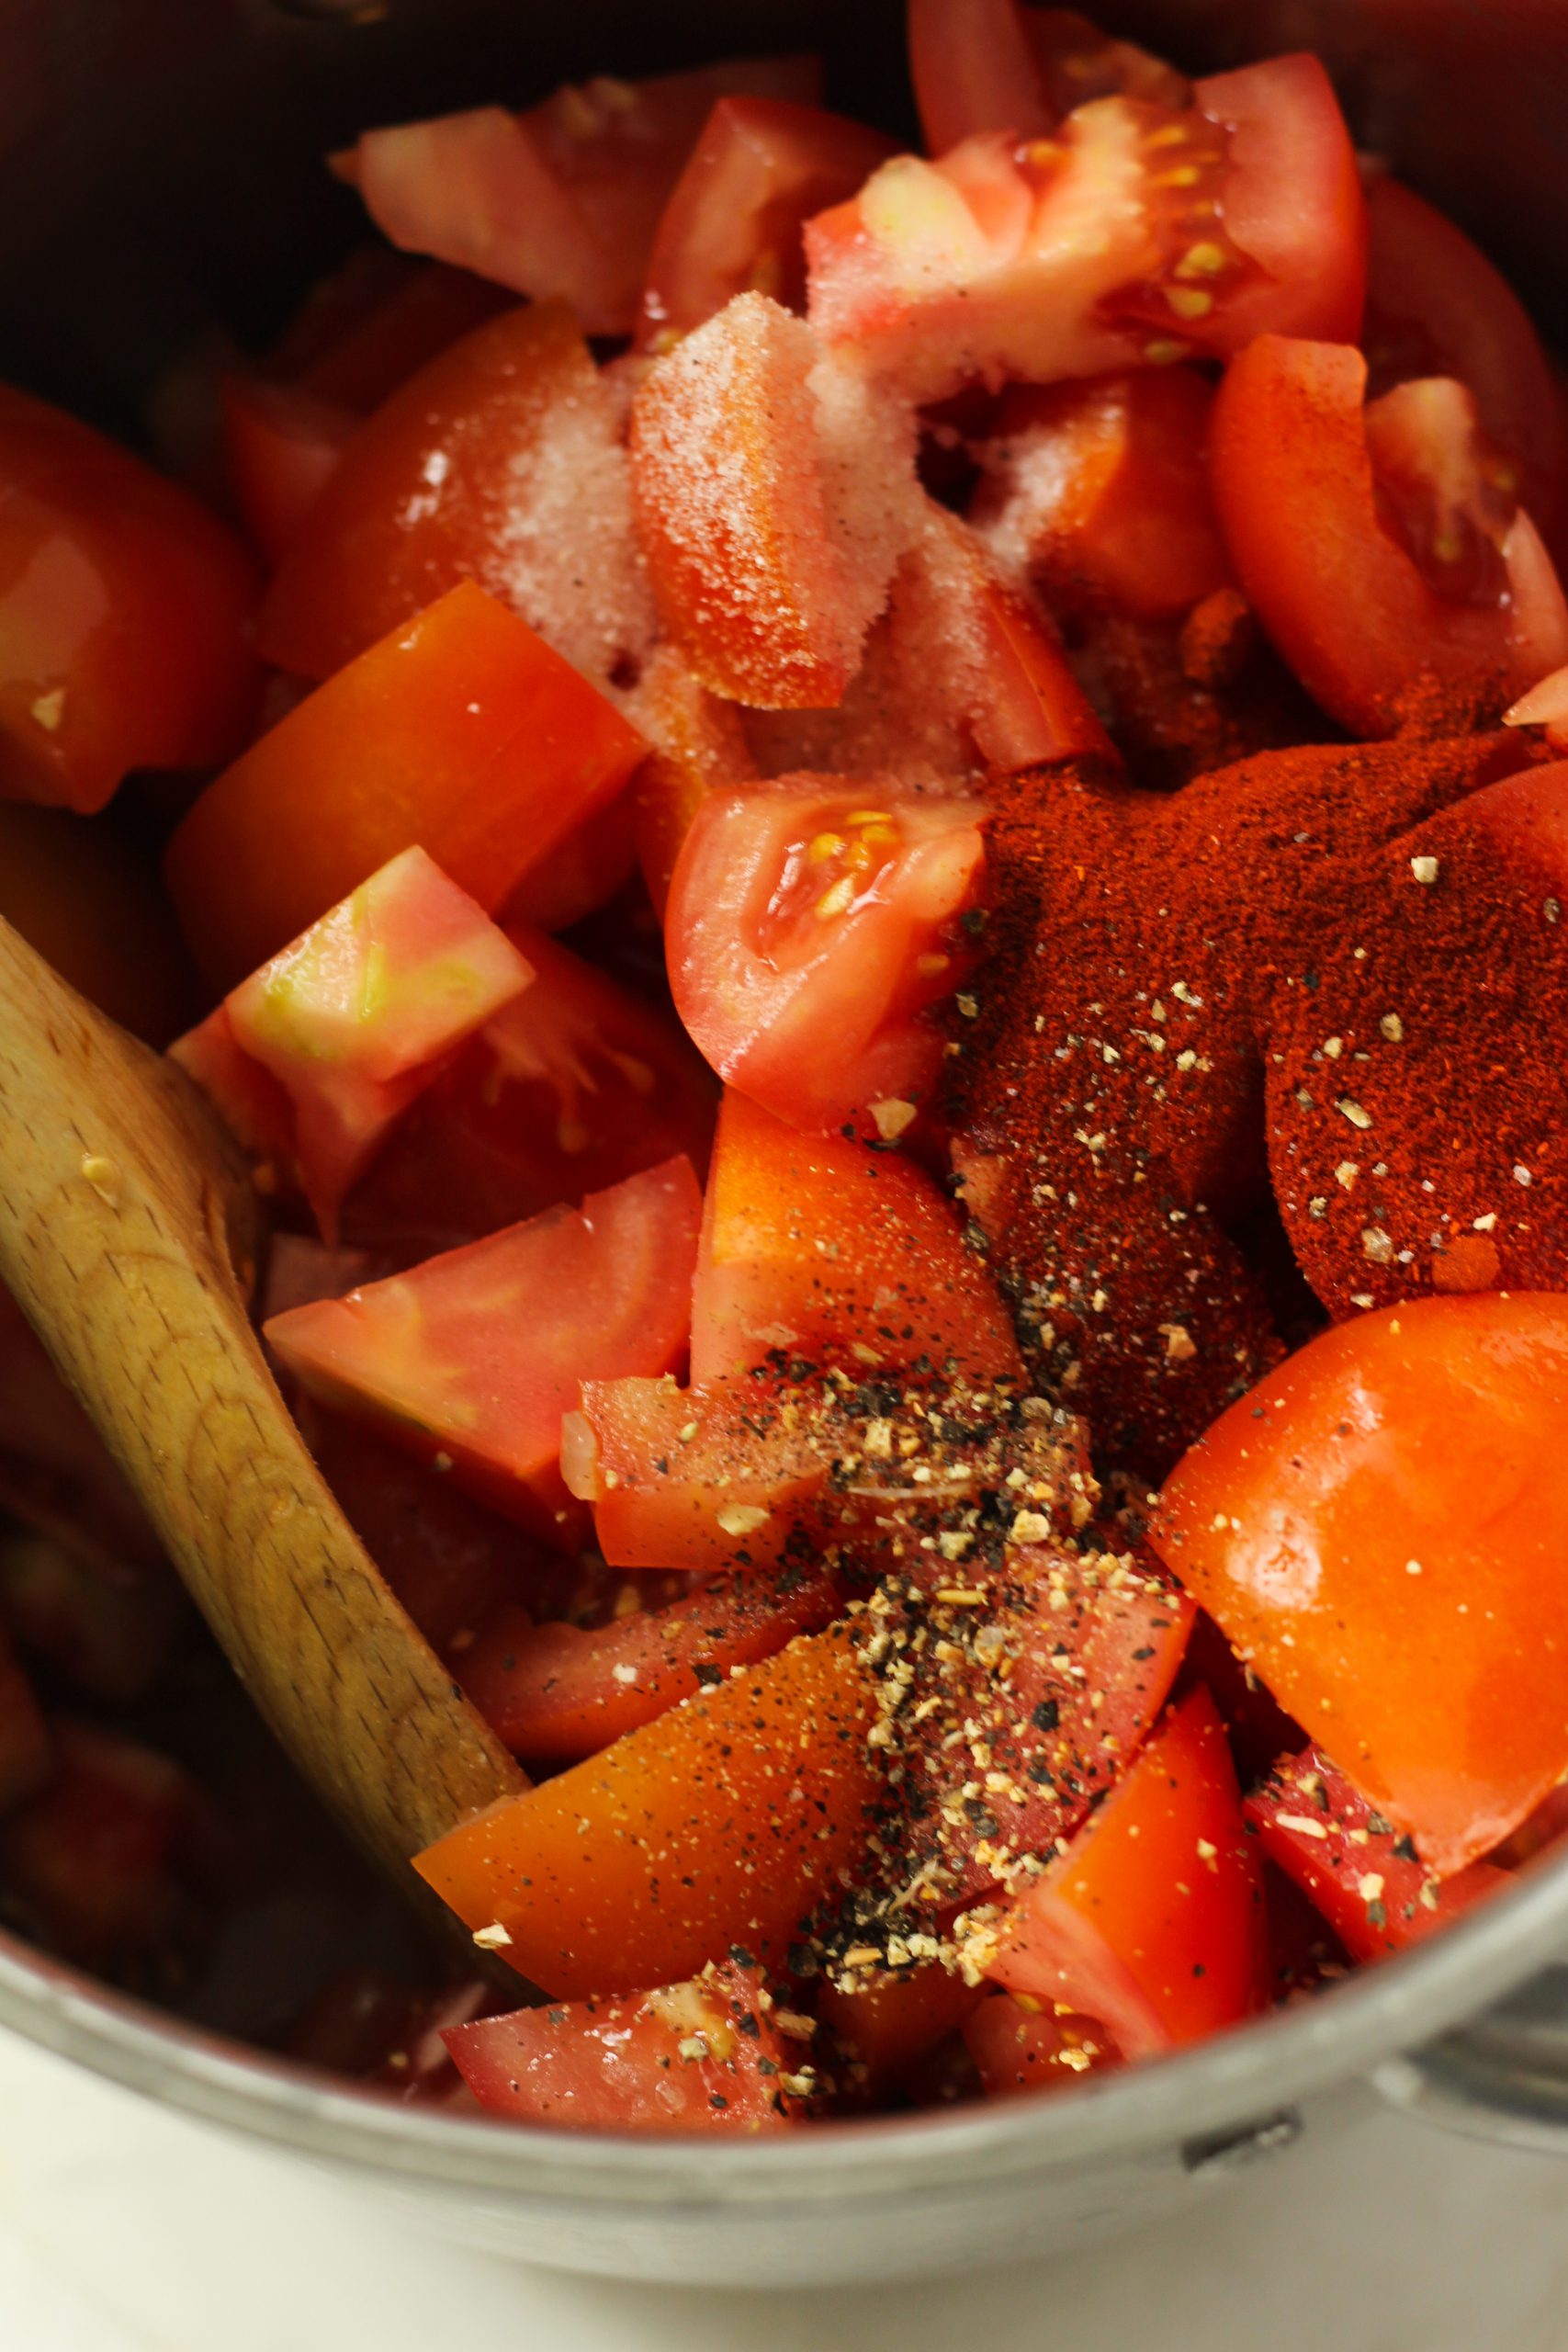
Cook your shallot until it is soft and light brown, then add in the garlic and simmer until it is fragrant. When it’s time to add these beautiful diced tomatoes we can include the spices as well. The paprika added with salt and pepper gives this soup more flavor and extra depth.

Added spices to diced tomatoes

Letting the tomatoes cook on low to medium heat with spices until they are nice and soft helps the flavors combine. Just before adding the broth, I like to stir in a little bit of sambal oelek for that extra kick of spice. You can find it in most supermarkets. If you can’t find it you can switch it out for a half a teaspoon of chili powder instead.

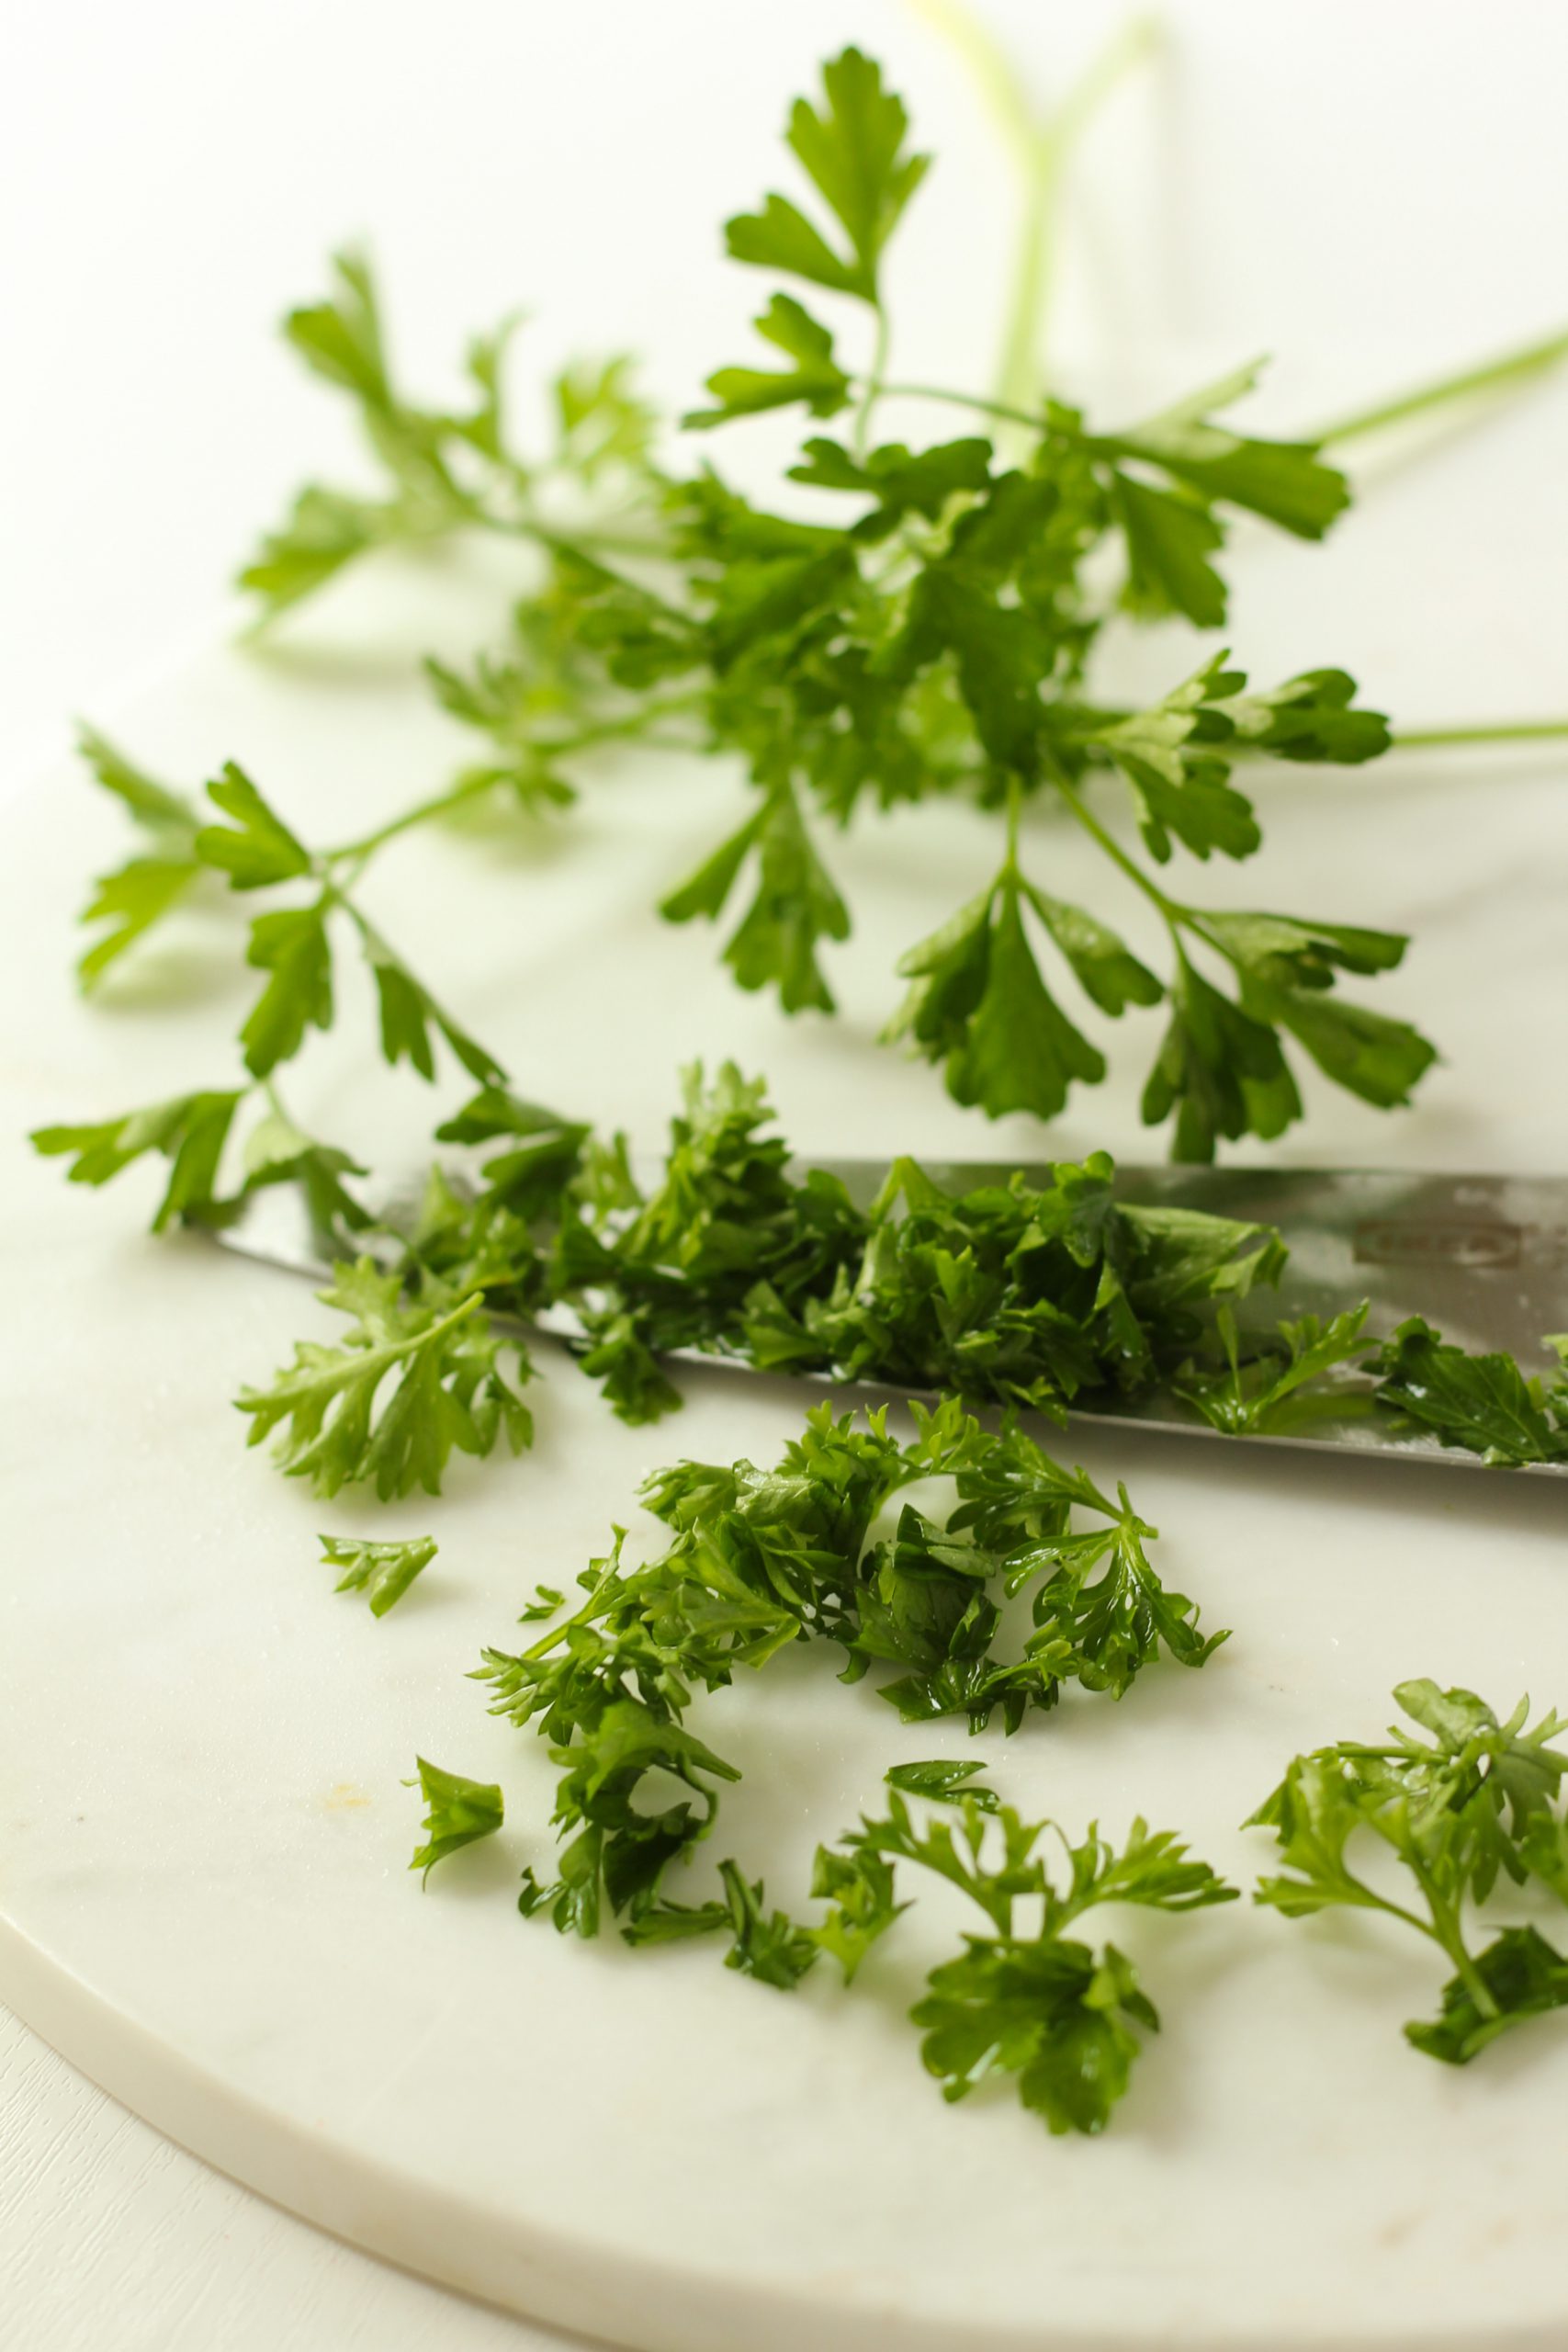
Parsley

I also enjoy adding in some fresh herbs depending on what I have in my garden or fridge. Either parsley or basil can make a nice addition to this soup.

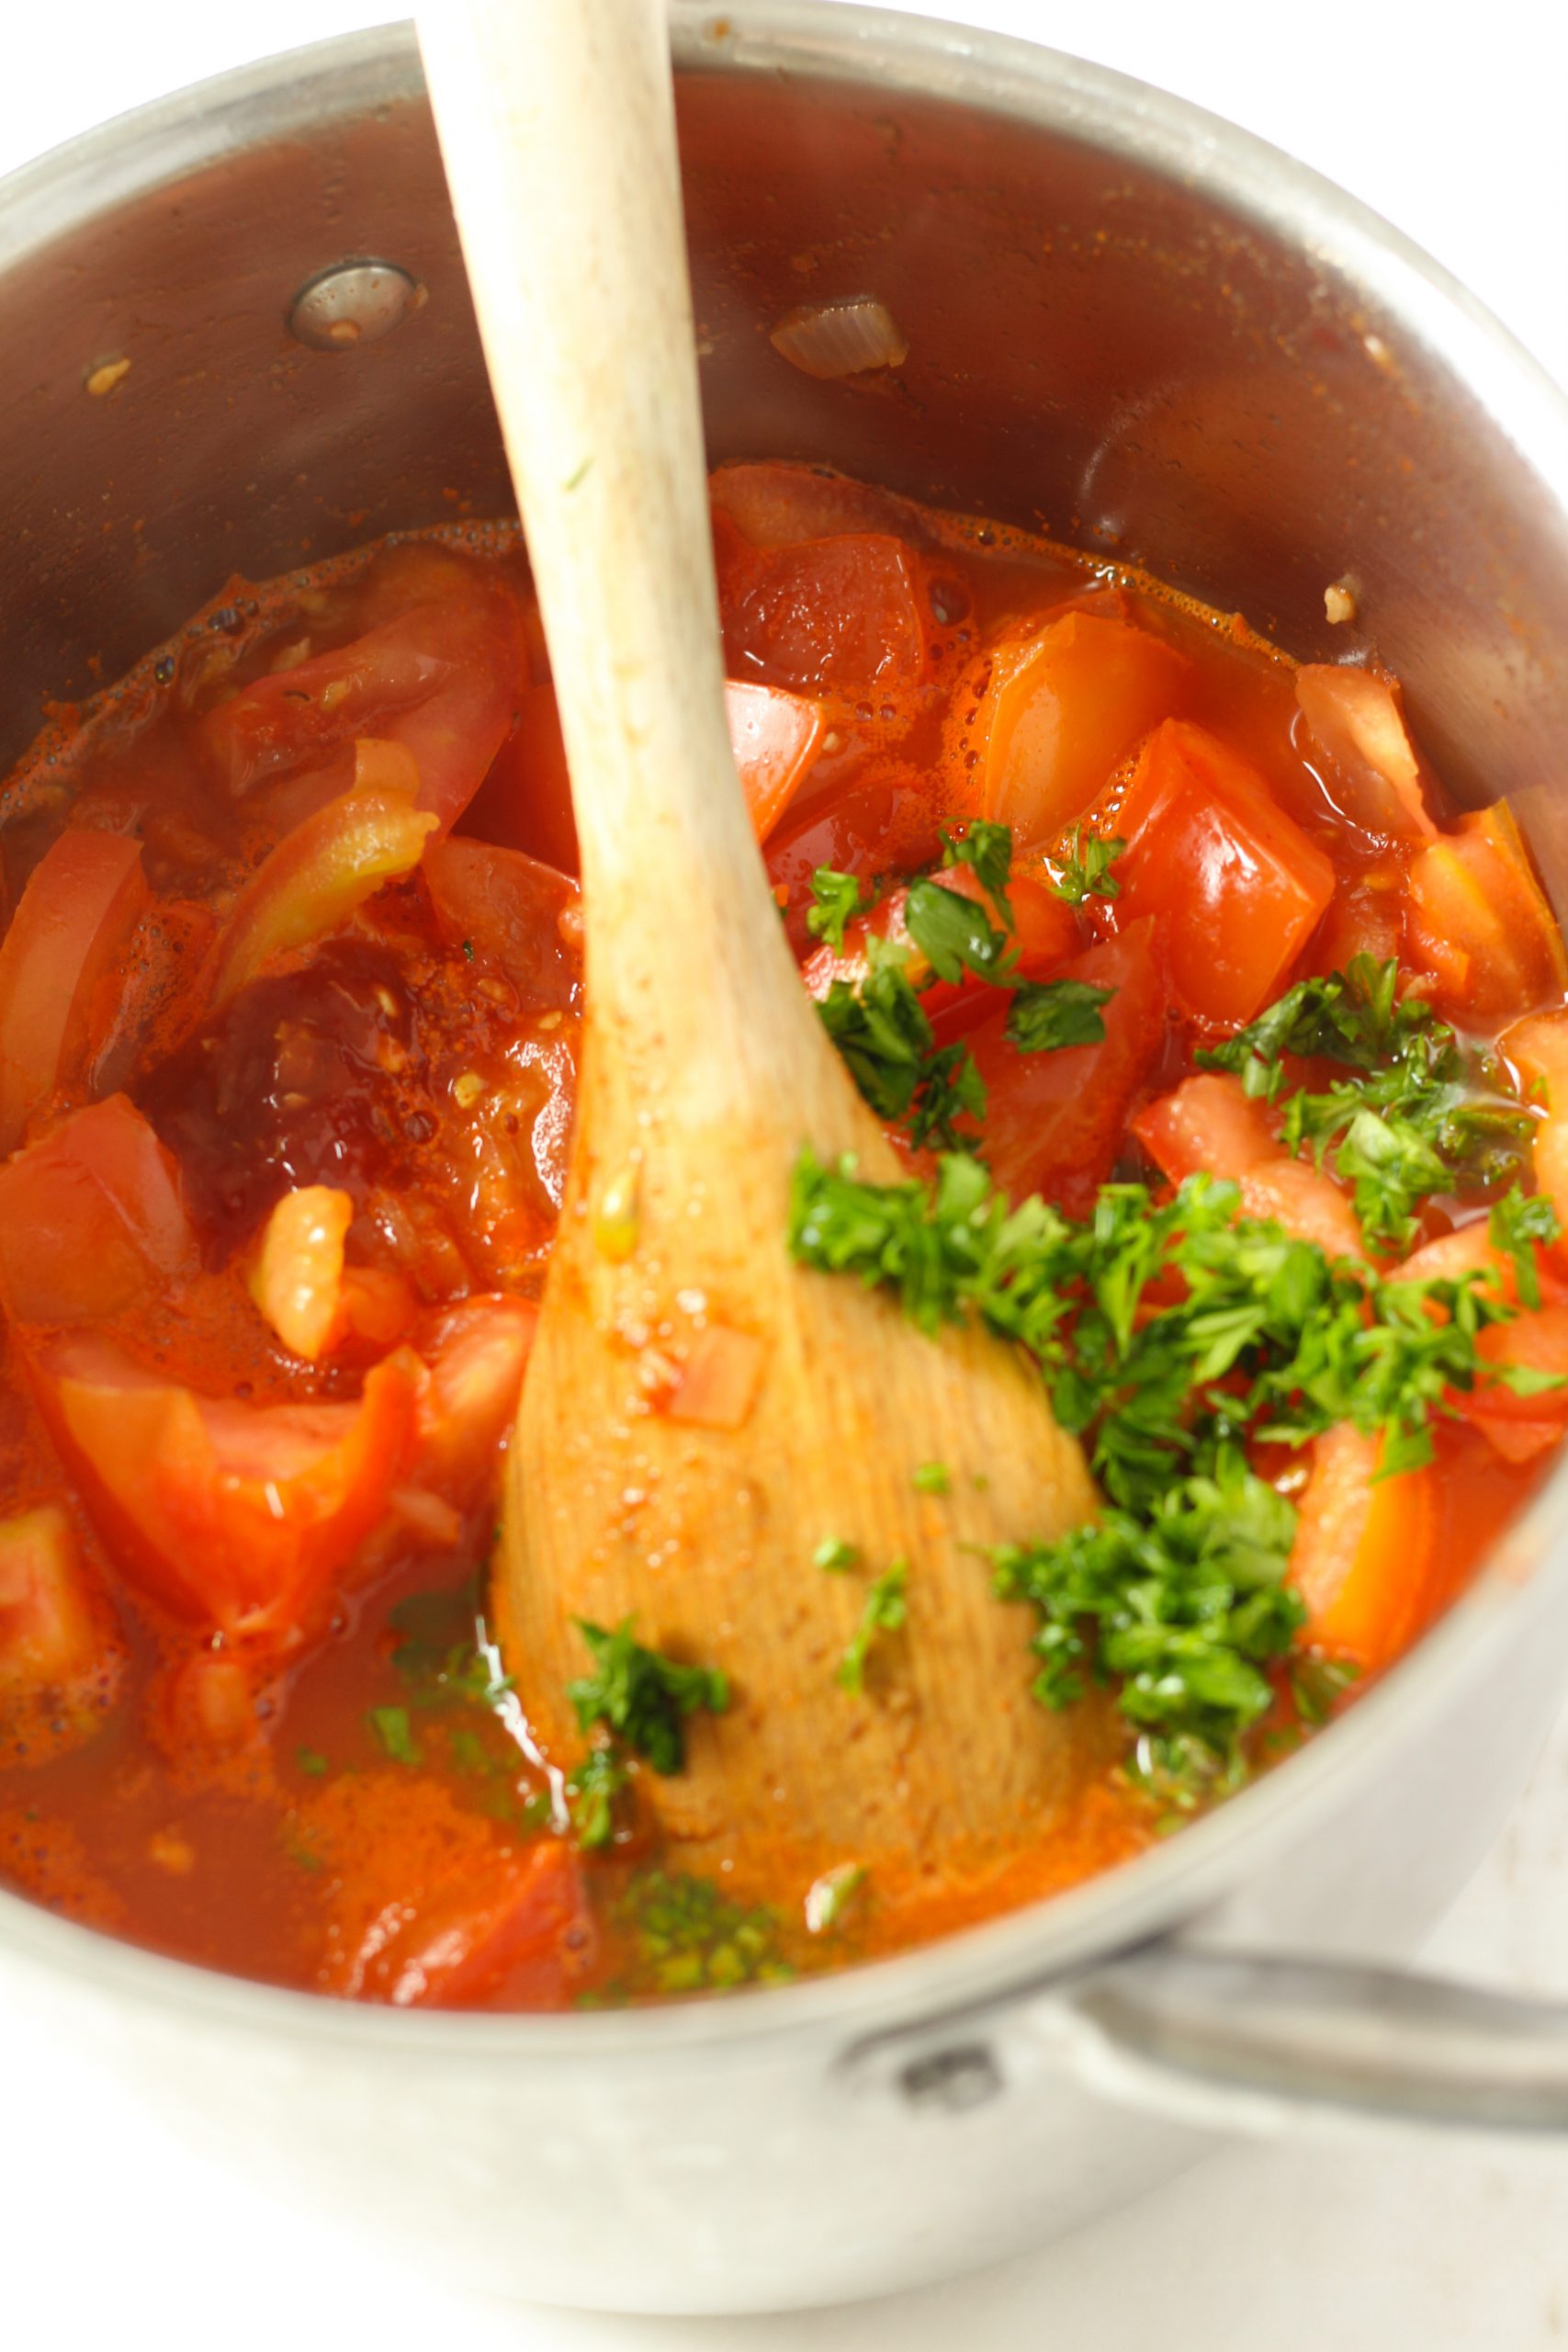
Added parsley and broth to the cooked tomatoes

Once all the ingredients are added bring the soup to a boil and let it simmer on low until the tomatoes are nice and soft and ready to blend. I use a hand held blender for this. My family prefers our soup very smooth. Finish the soup with some fresh squeezed lemon juice and a drizzle of heavy whipping cream. Finally if you have some herbs left over, you can add them on top to give it a nice pop of color just before serving.

Cooked tomatoes soup before blended

Tomato soup with garnish and heavy cream


Tomato soup

Comforting, creamy tomato soup with beautiful fresh tomatoes, shallot, garlic and herbs.
Prep Time5 minutes
Cook Time25 minutes
Course: Soup
Cuisine: soup
Keyword: creamy tomato soup, tomato soup

Ingredients

  • 1 Tablespoon ghee or butter
  • 1 Shallot minced
  • 2 garlic cloves minced
  • 32 Oz tomatoes diced ((908 gram)
  • 1 Teaspoon Salt
  • 1 Teaspoon Paprika powder
  • 1/4 Teaspoon Black pepper freshly ground
  • 1 Teaspoon Sambal oelek
  • 2 Tablespoon Fresh parsley or basil if prefer
  • 2.3 Oz Tomato paste 65 gram
  • 20 Fl Oz Chicken bone broth 591 ml
  • 1-2 Tablespoons Lemon juice more or less to taste
  • 1-2 Tablespoons Heavy whipping cream more or less to taste

Instructions

  • Sauté the shallot with a pinch of salt, on medium low heat, until soft. This takes around 3-4 minutes.
  • Add the minced garlic ,sauté until fragant, around 30 seconds.
  • Add the diced tomatoes to the pan with salt, paprika and black pepper. Cook until soft, around 5-7 minutes. Then add the sambal oelek, if using, parsley and the tomato paste. Stir to combine and let cook for 1 minute.
  • Pour in the broth and bring it to a boil. Then lower the heat and let it simmer for around 15 minutes.
  • Blend your soup to your prefered consistency. Add the lemon juice and heavy whipping cream. Stir and enjoy!

Focaccia bread
This super easy focaccia bread is delicious. Focaccia bread is the easiest bread you can make. The dough is similar to pizza dough but with lots of olive oil. The other ingredients are bread flour, yeast, honey and sea salt. The topping can be anything you enjoy. 

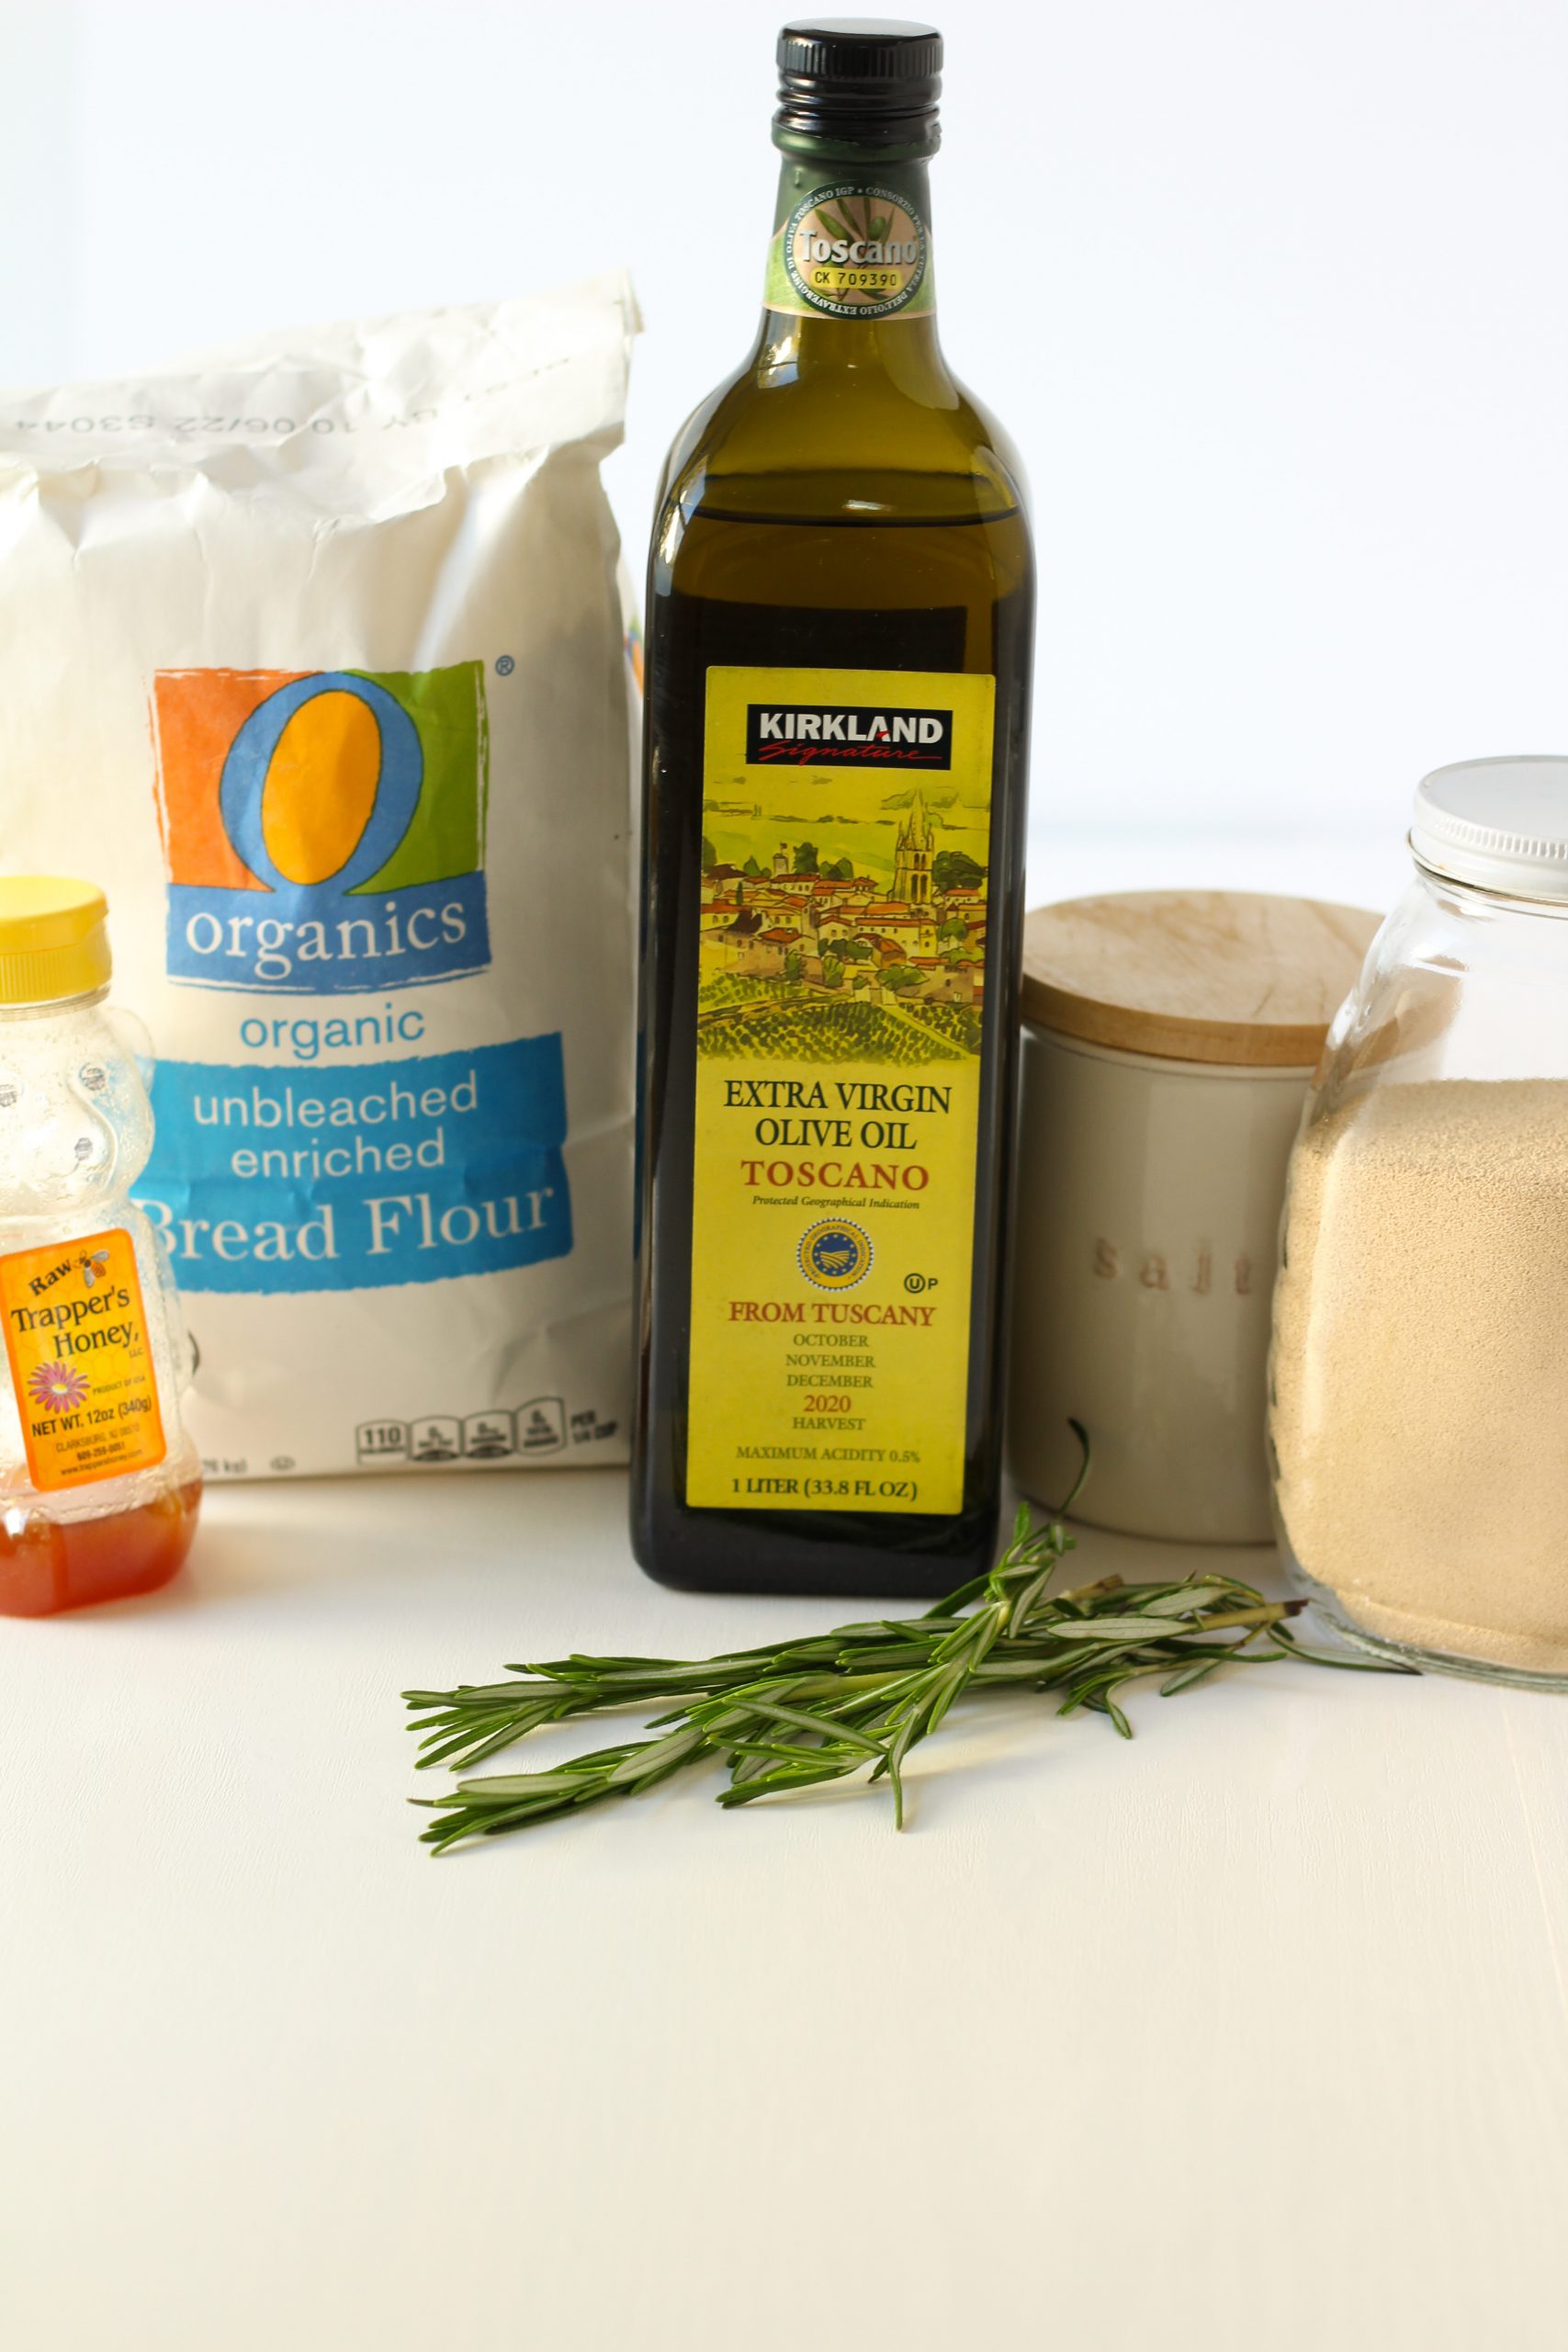
Basic ingredients for focaccia bread

Most bread recipes require sugar to activate the yeast. As I’m not a fan of refined sugar, I always look for an appropriate replacement. In this case, I found raw honey adds a delicious flavor while being able to activate the yeast.

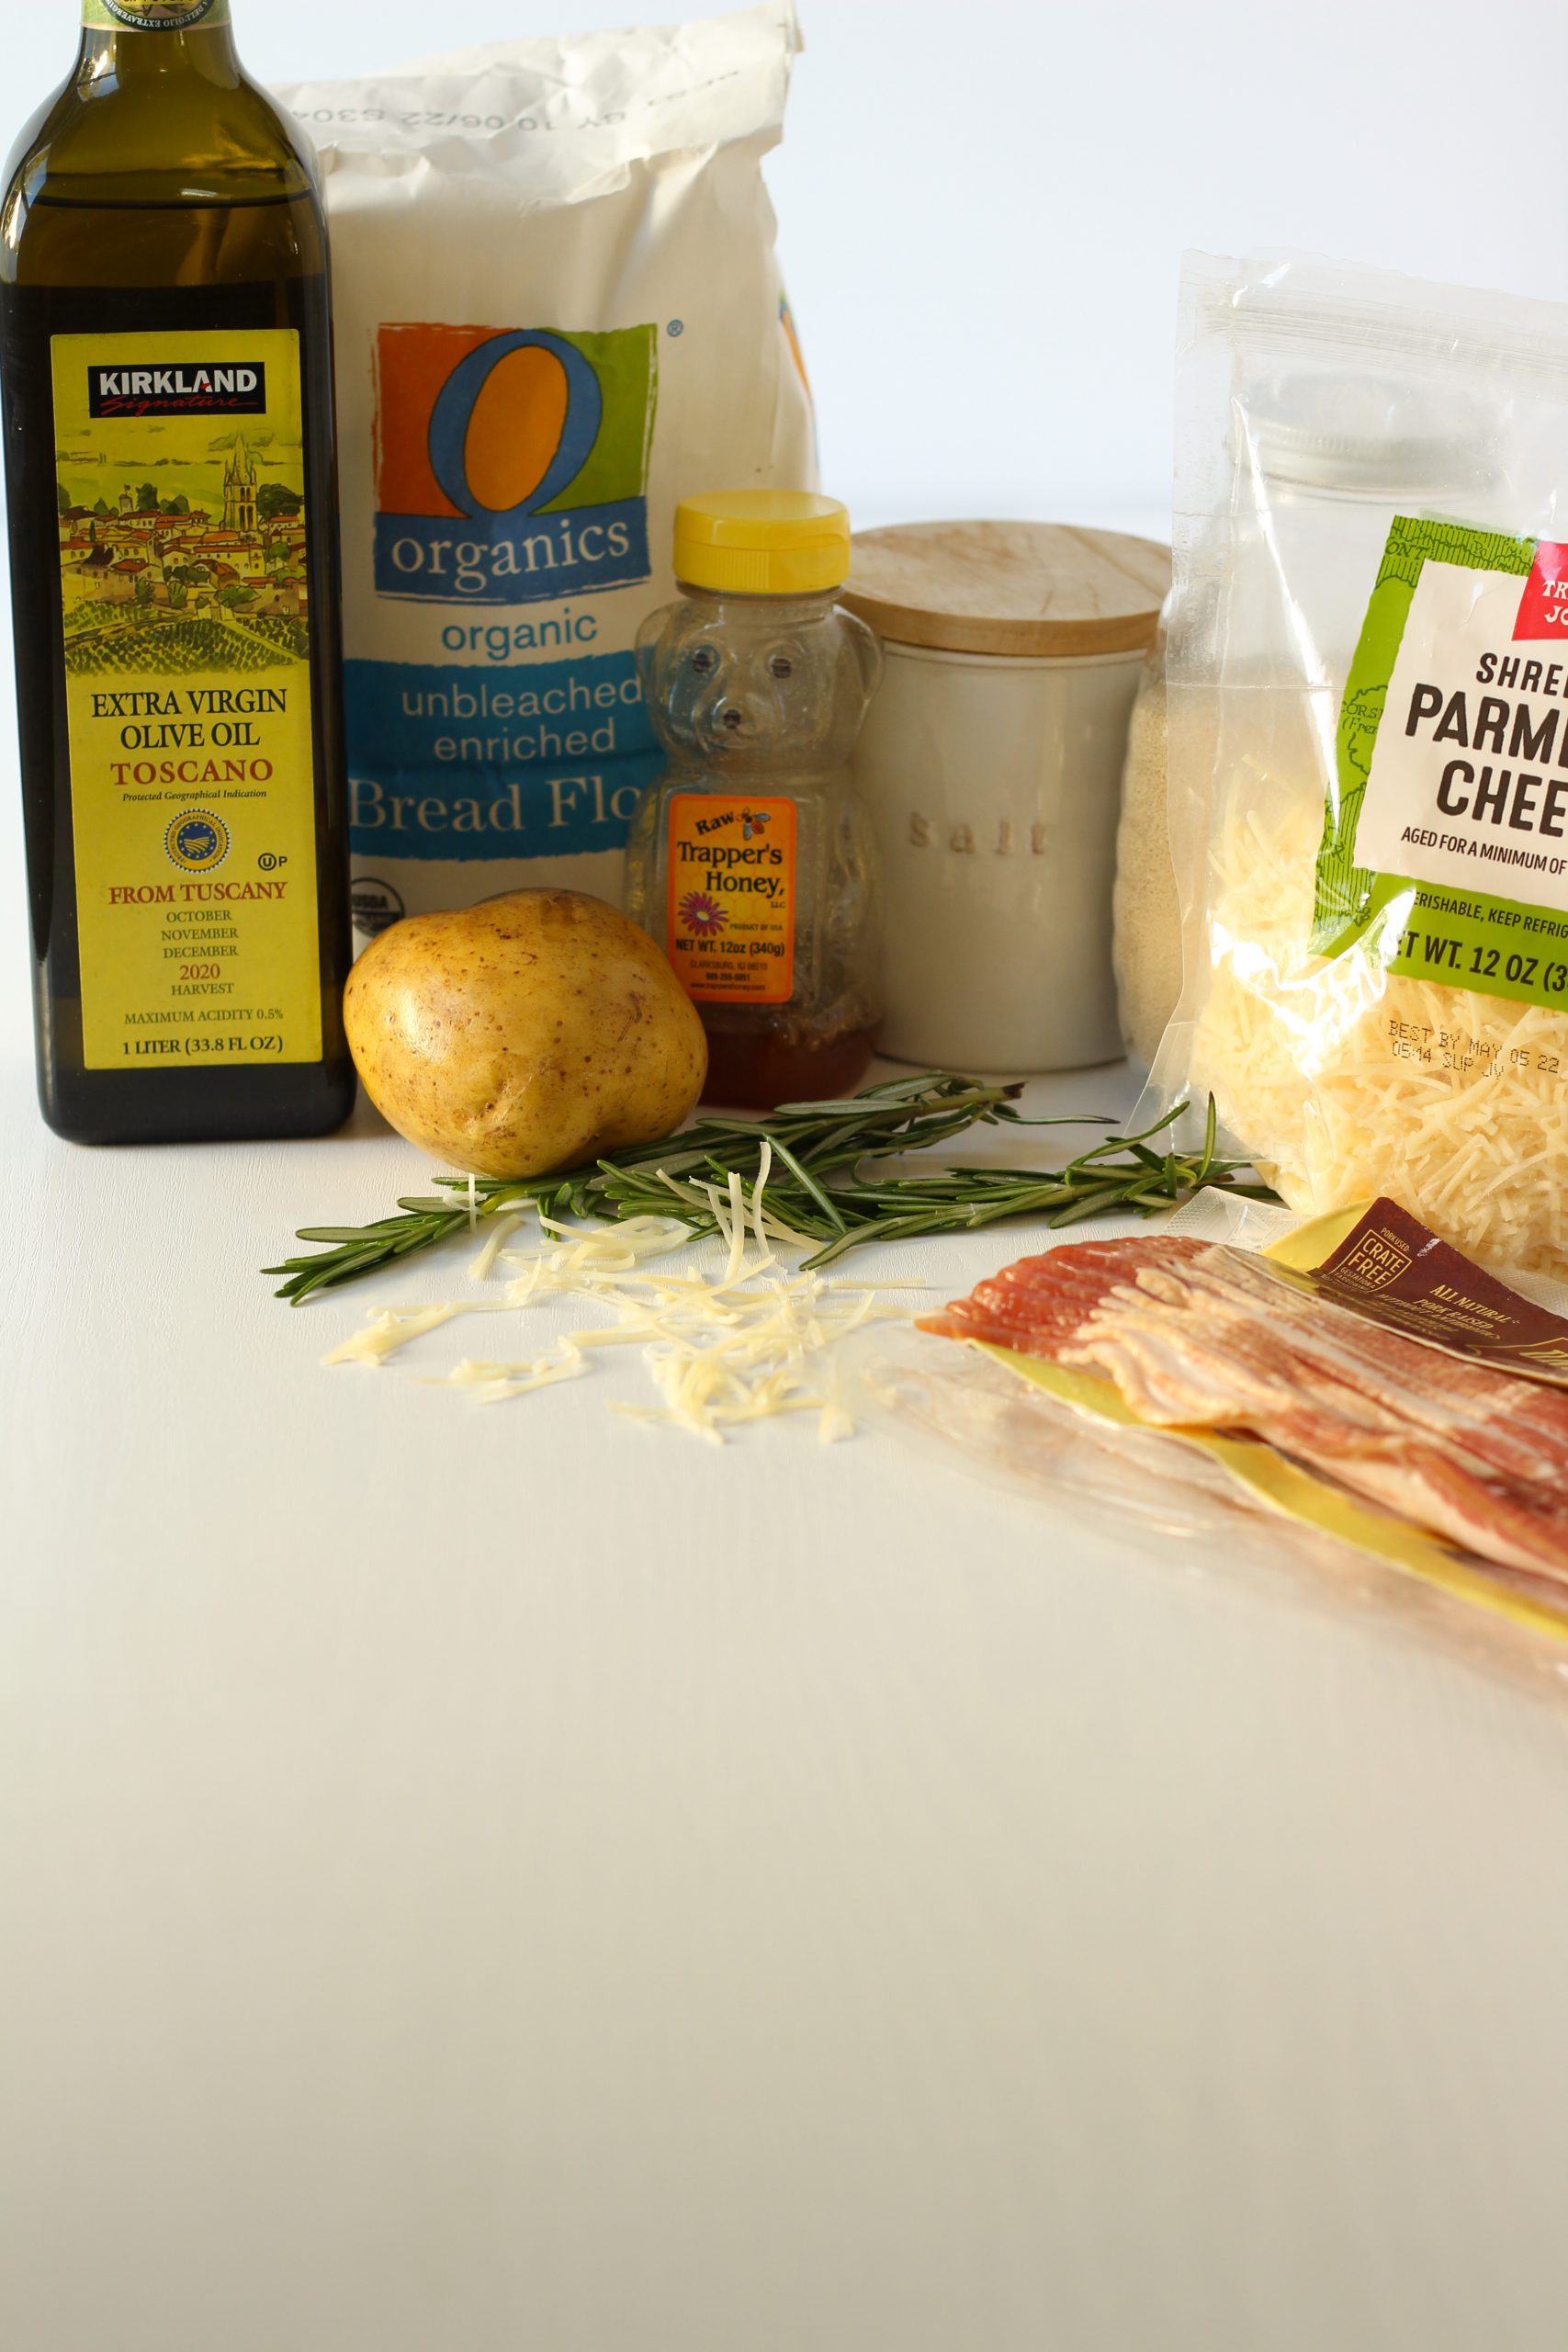
Ingredients for focaccia bread with topping ingredients

For the topping I experimented with potatoes, rosemary, bacon and Parmesan cheese.

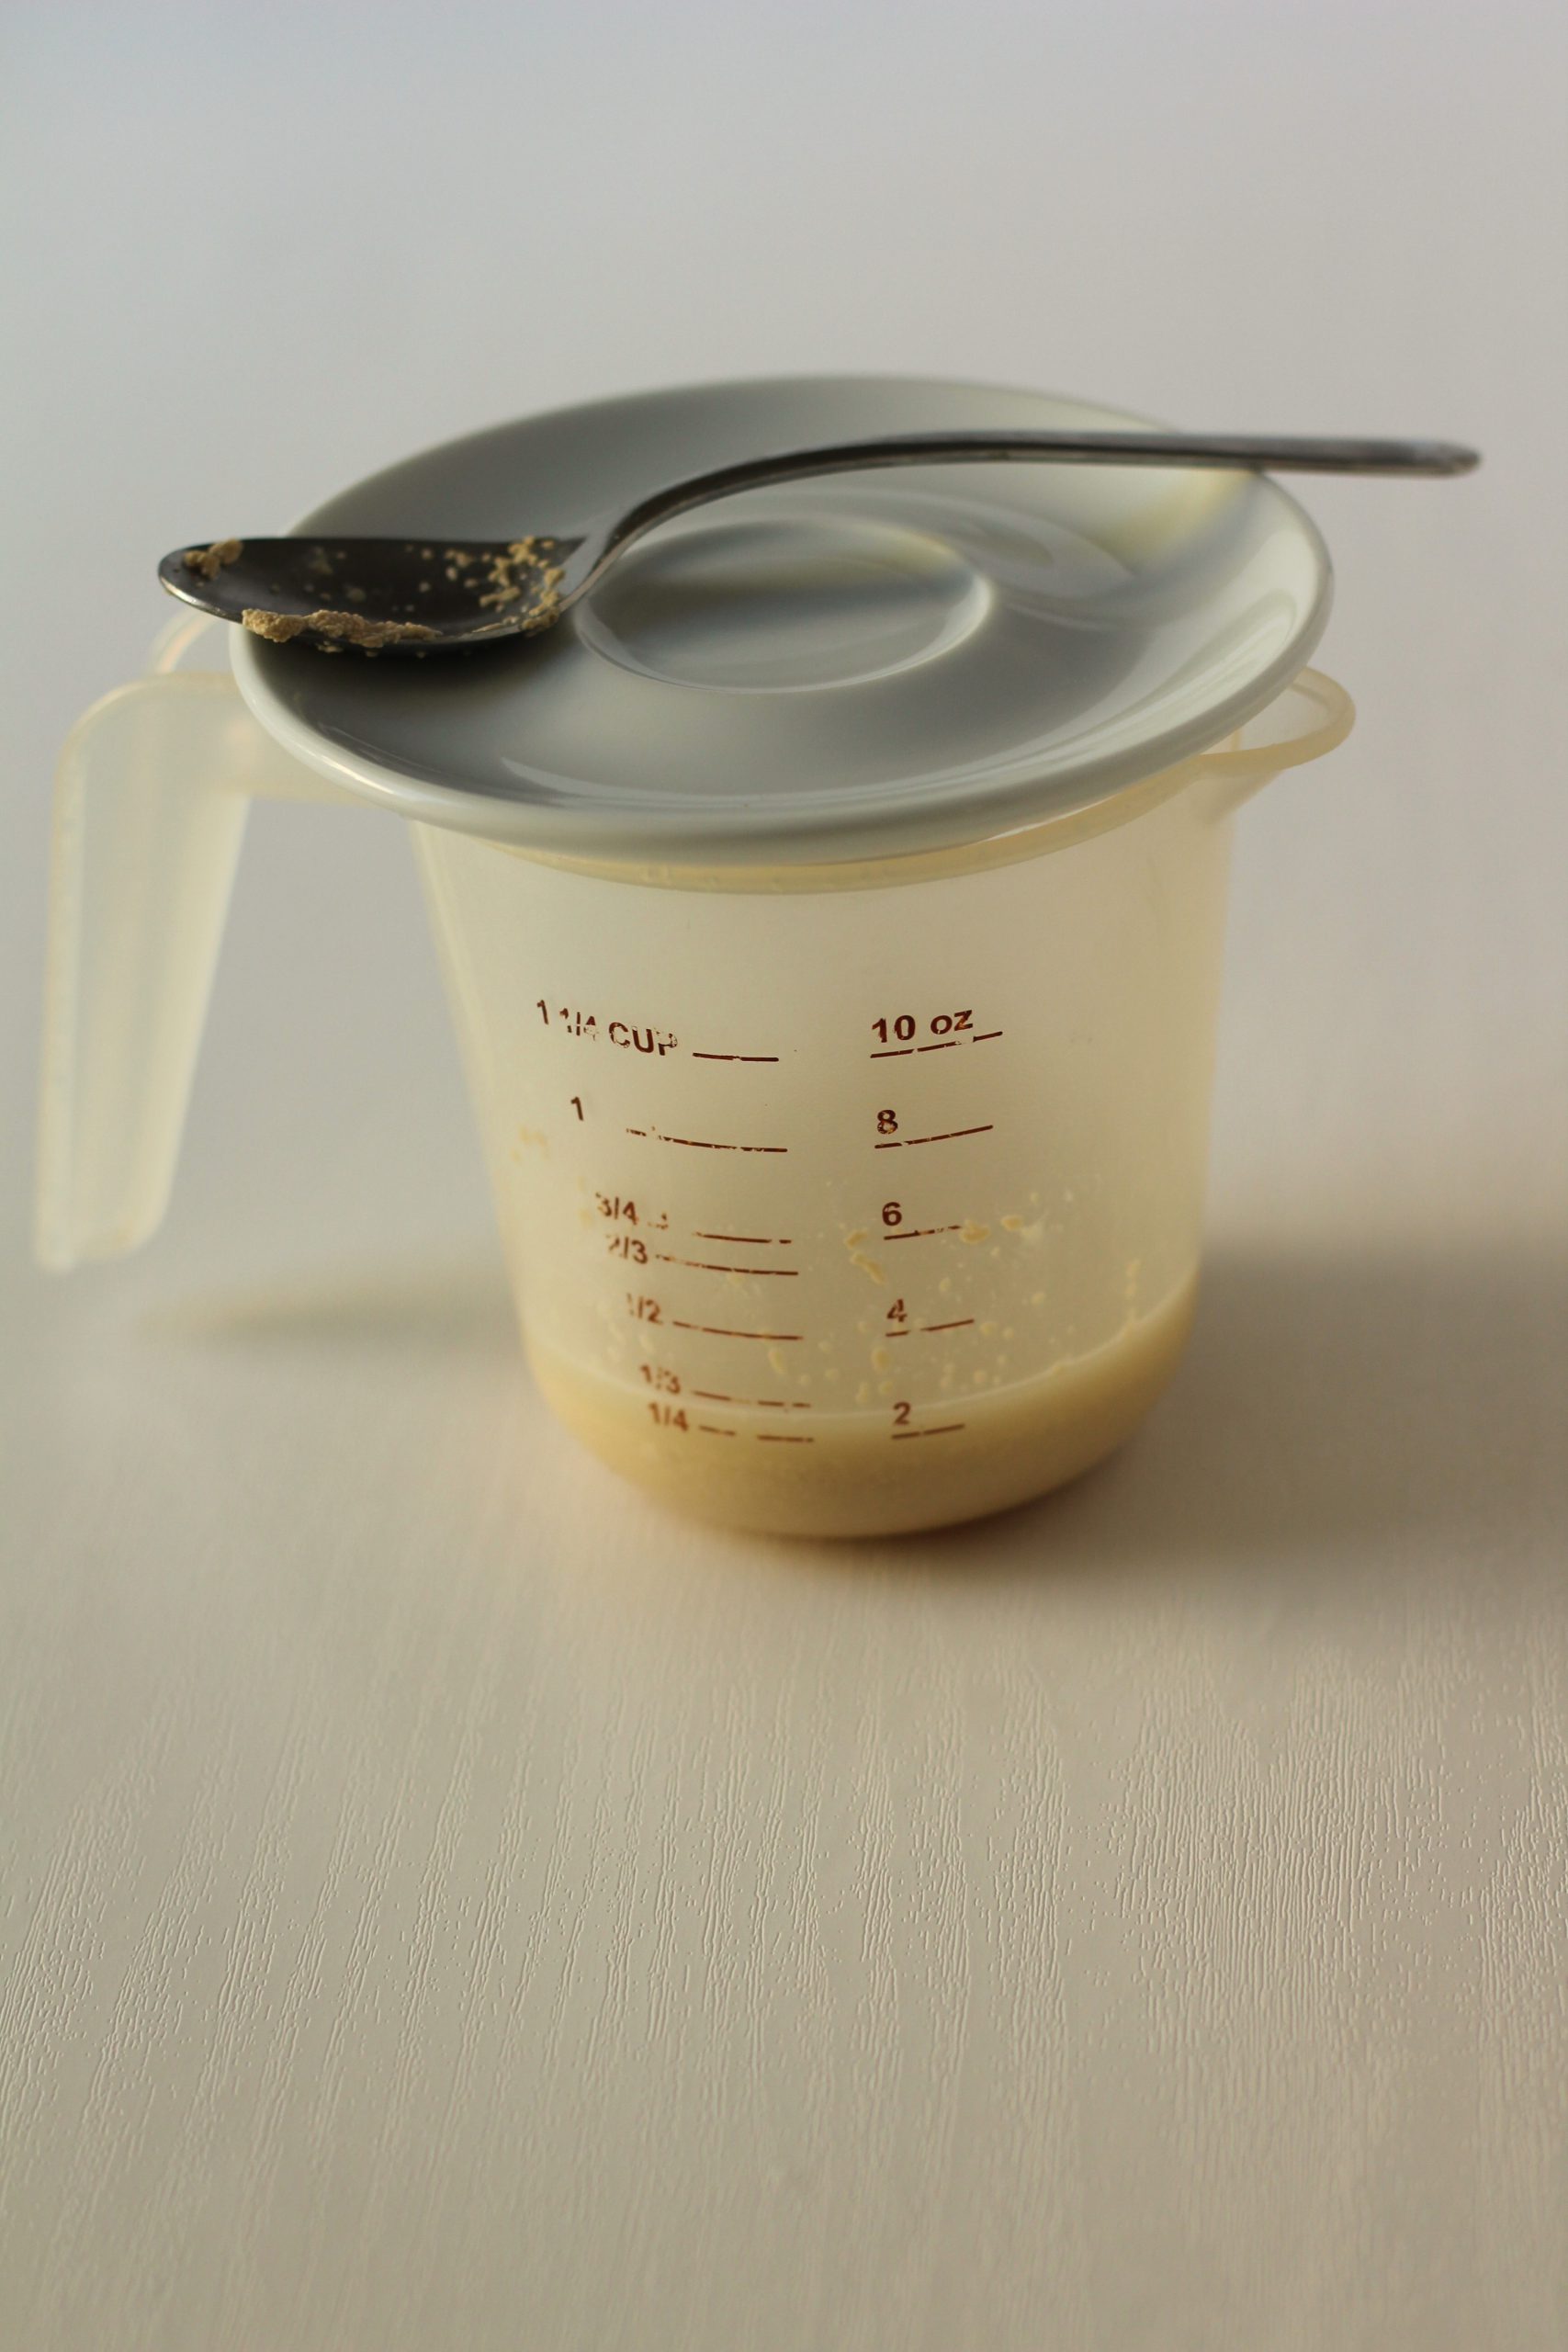
Active dry yeast with 1/4 cup of water and honey to active the yeast
To start begin by mixing the 1/4 cup of warm water with the yeast and honey. The water needs to be  around 110 Fahrenheit to dissolve the yeast with the honey and to activate the yeast. It is important to let it stand until it is foamy and bubbly, around 5 minutes.

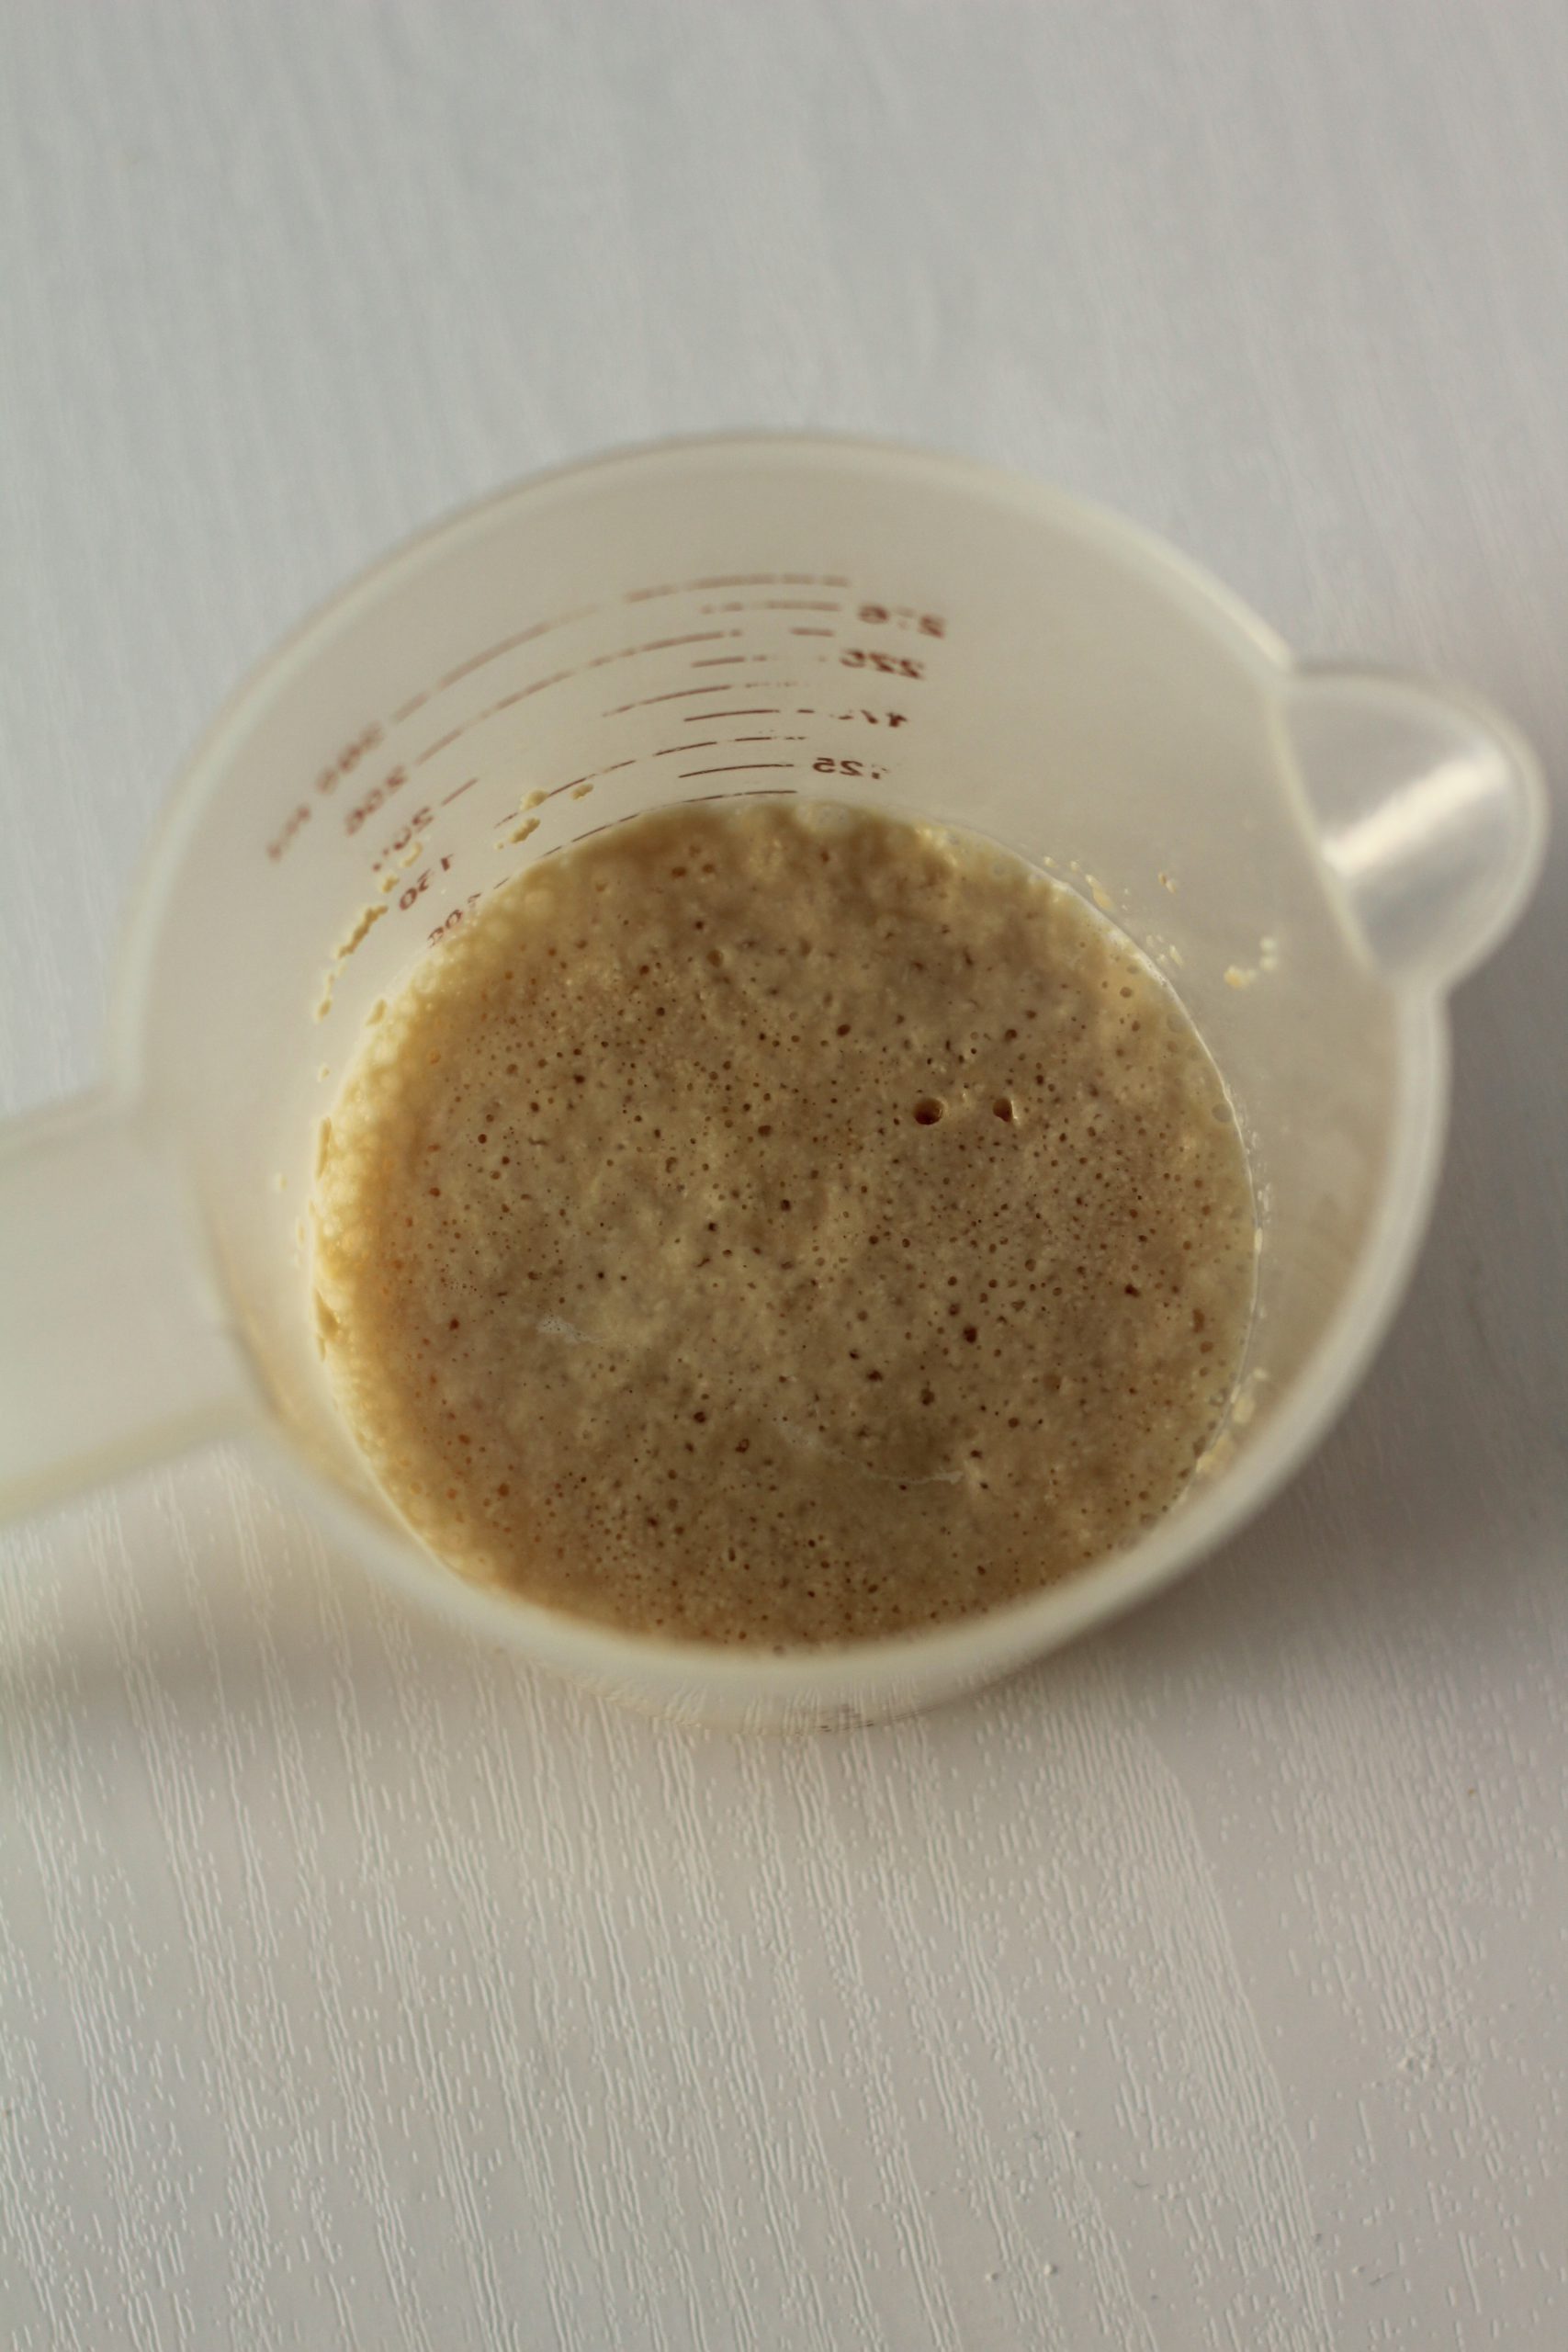
Active dry yeast mixture, nice foamy and bubbly

Here you can clearly see the foam and bubbles from the active dry yeast. It is ready to mix in with the flour and salt mixture after you can see the bubbles.

Salt and bread flour mixture

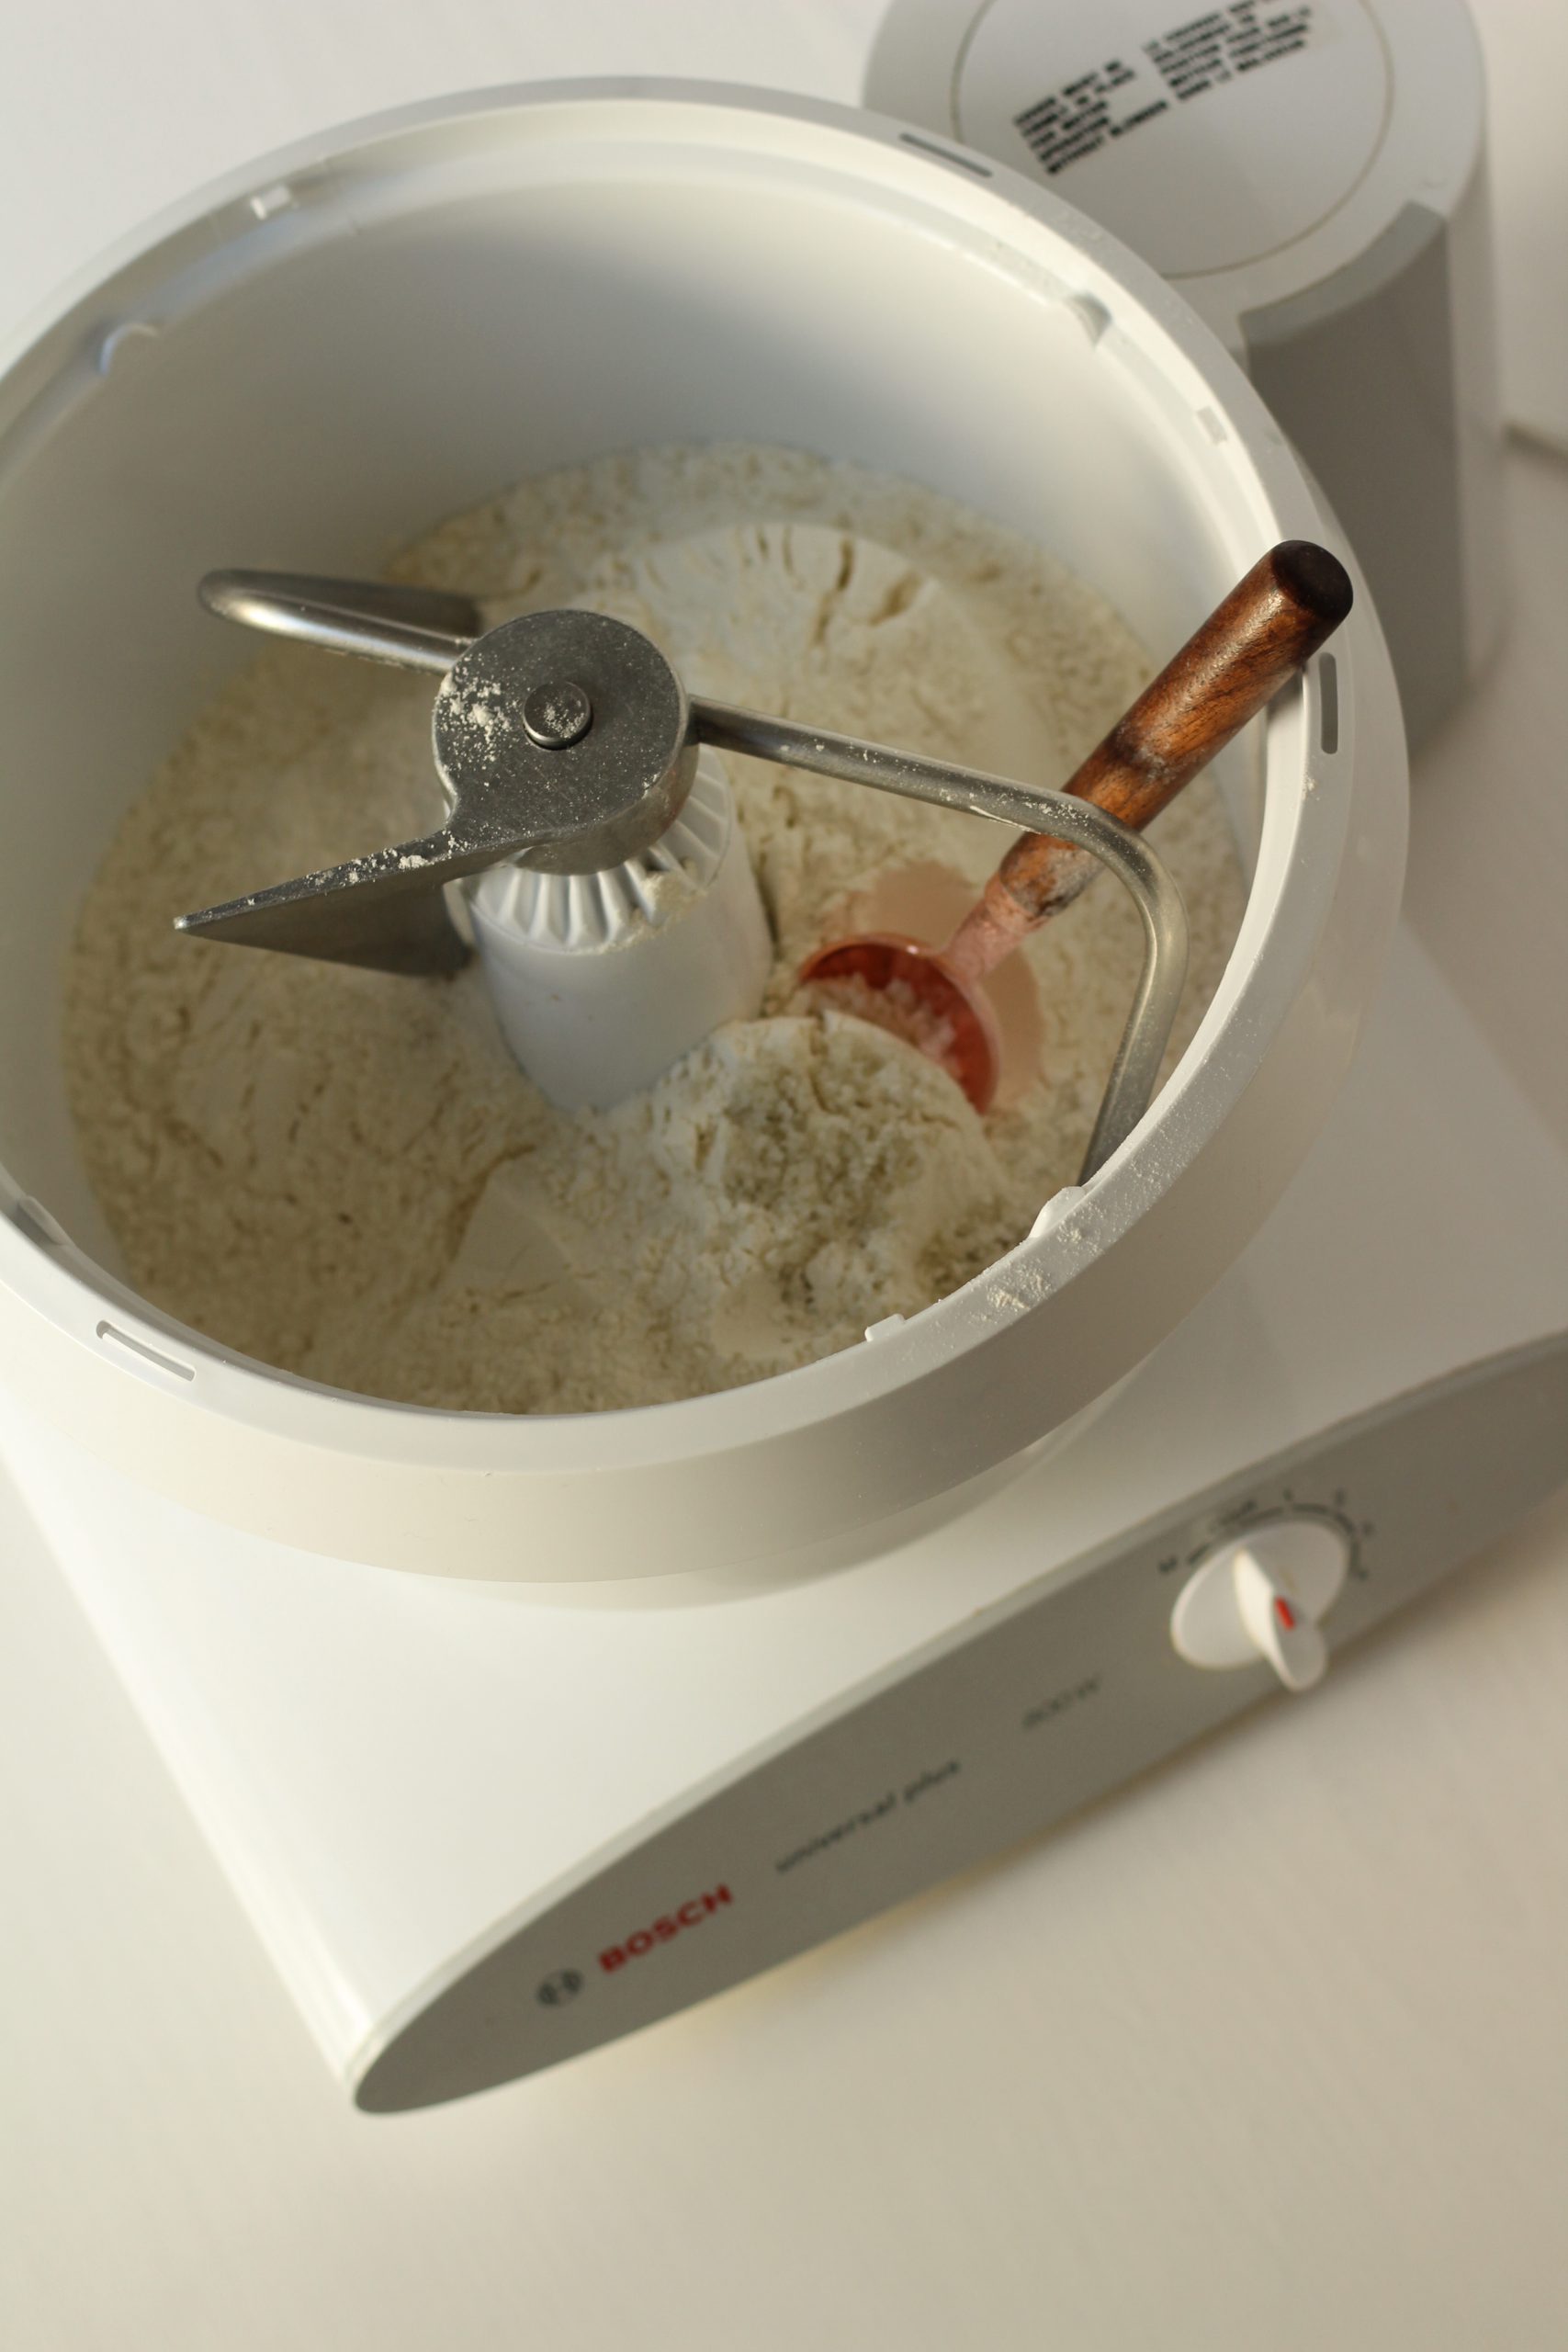
This recipe works best with a stand mixer and you will need to use the dough hook. My mixer https://www.boschmixers.com/product/bosch-universal-plus-mixer/ is Bosch, but any mixer with a dough hook will do.

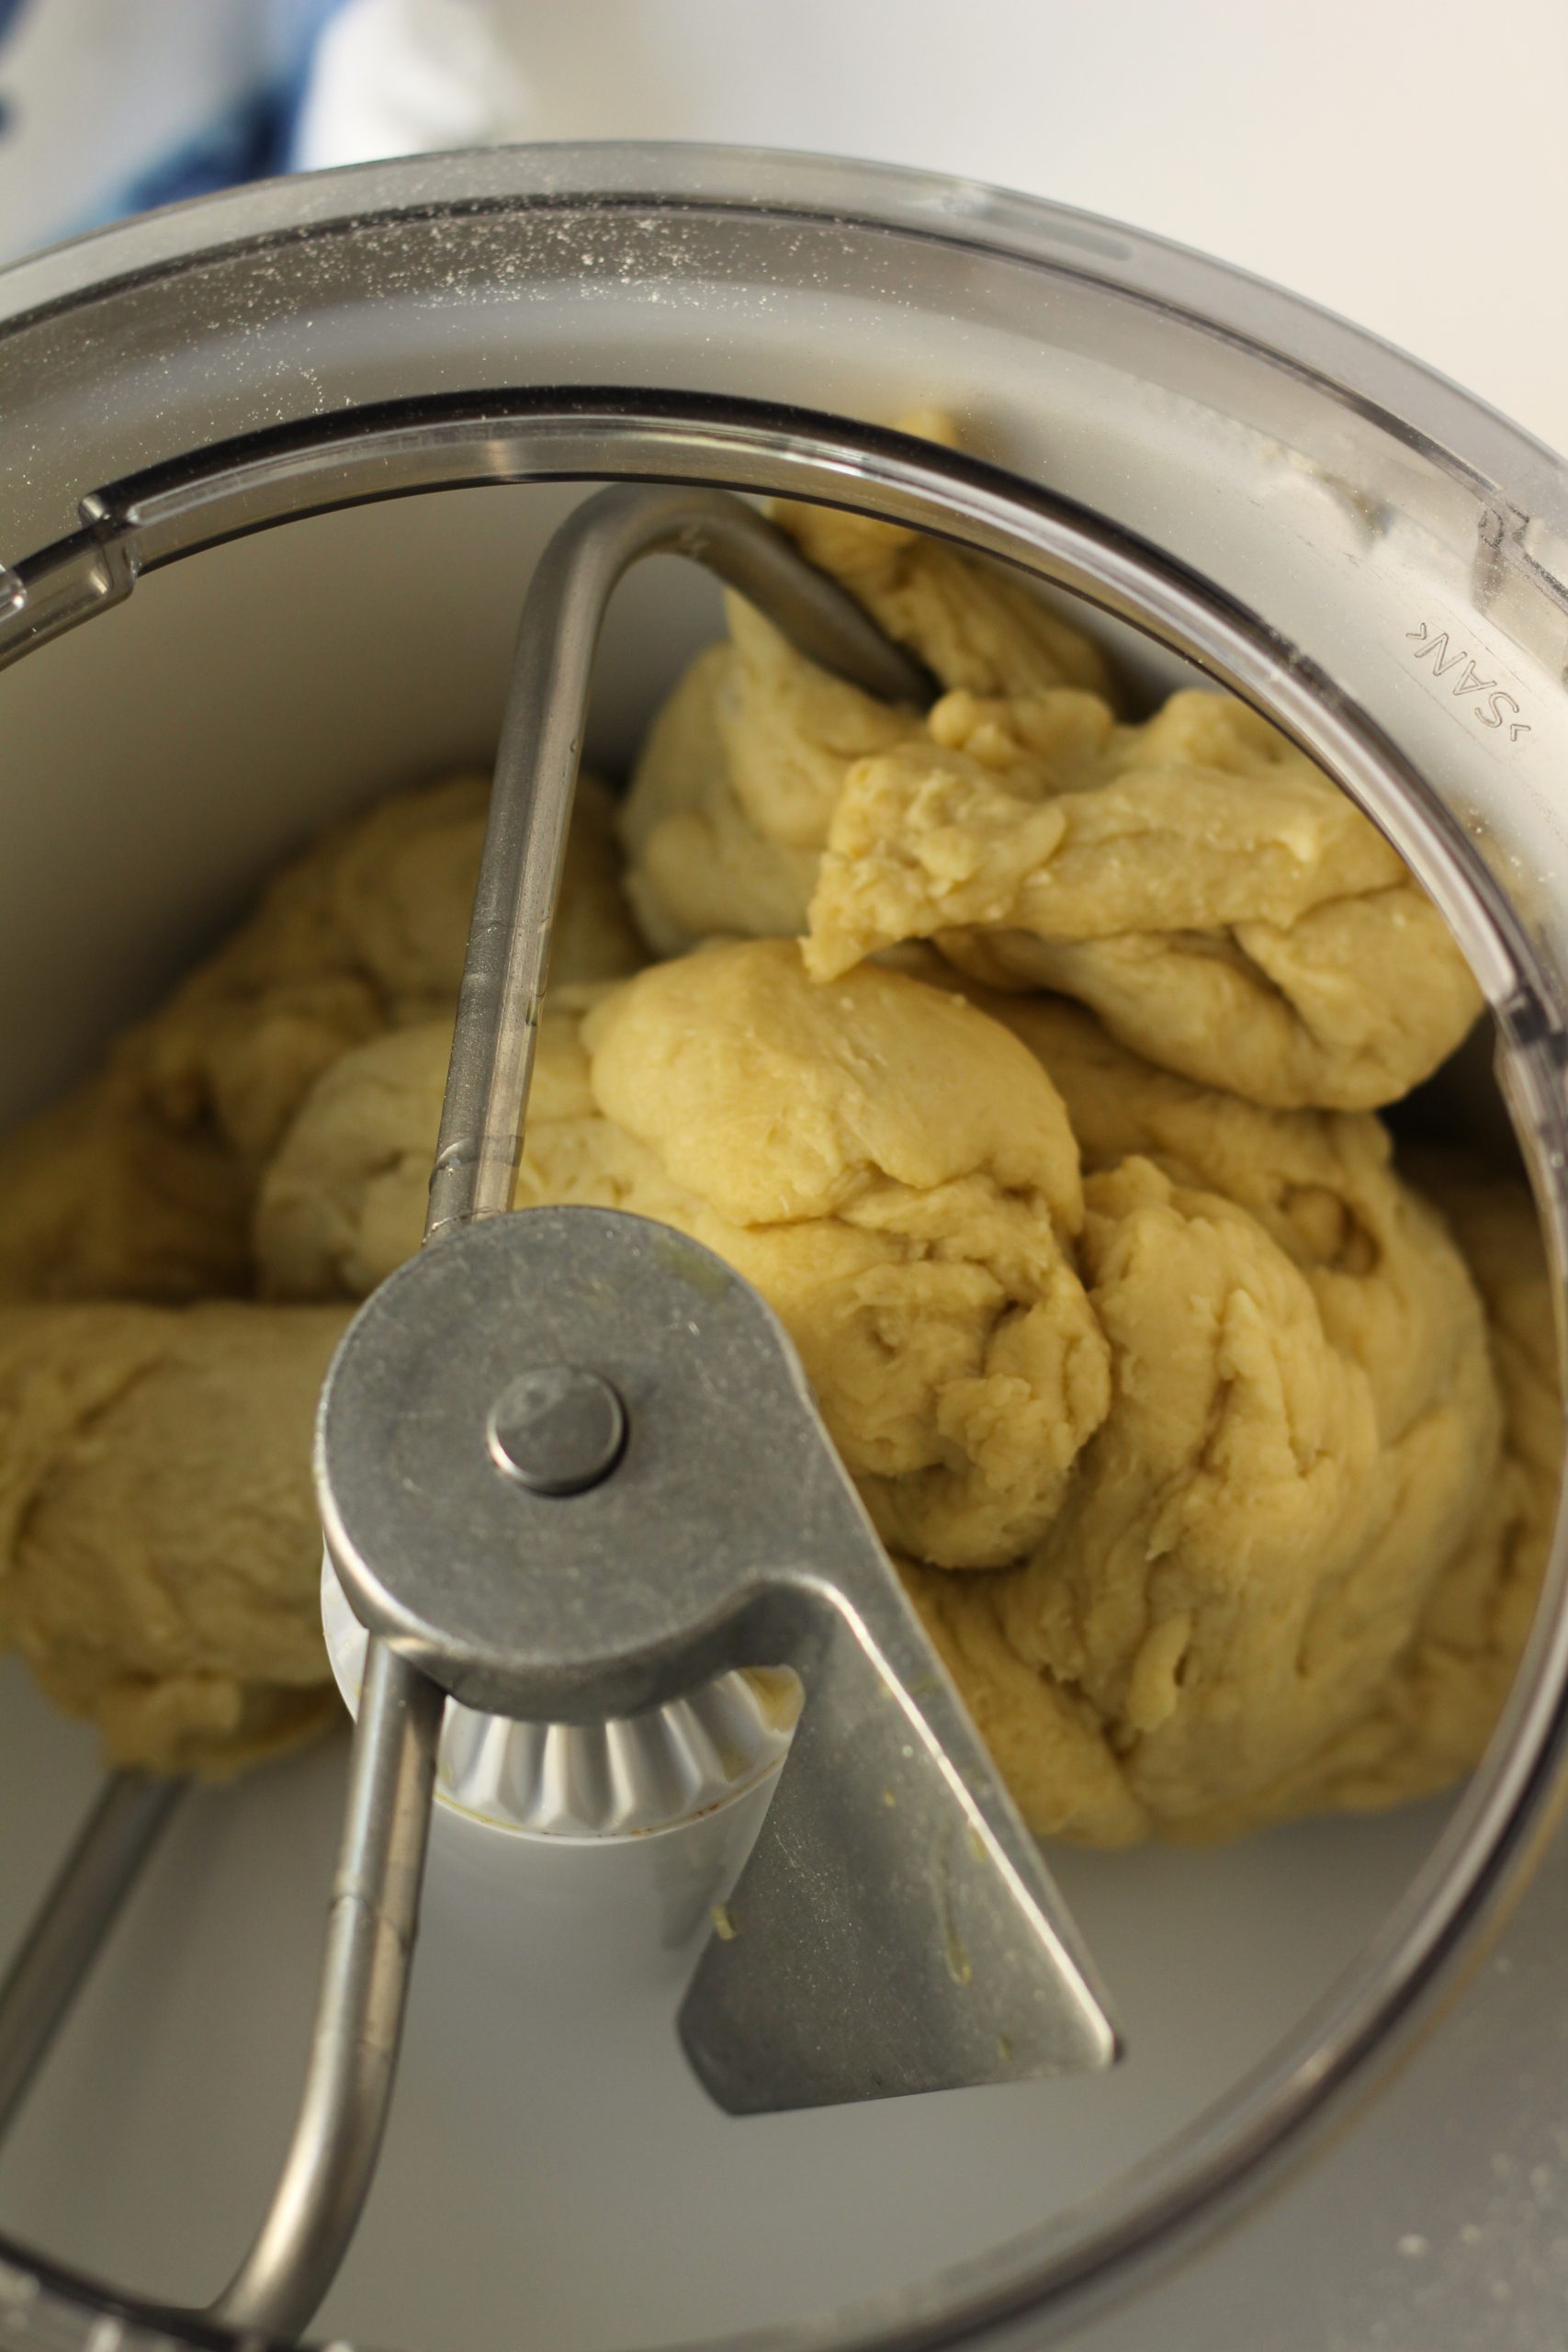
The focaccia dough mixed and combined and coming away from the sides

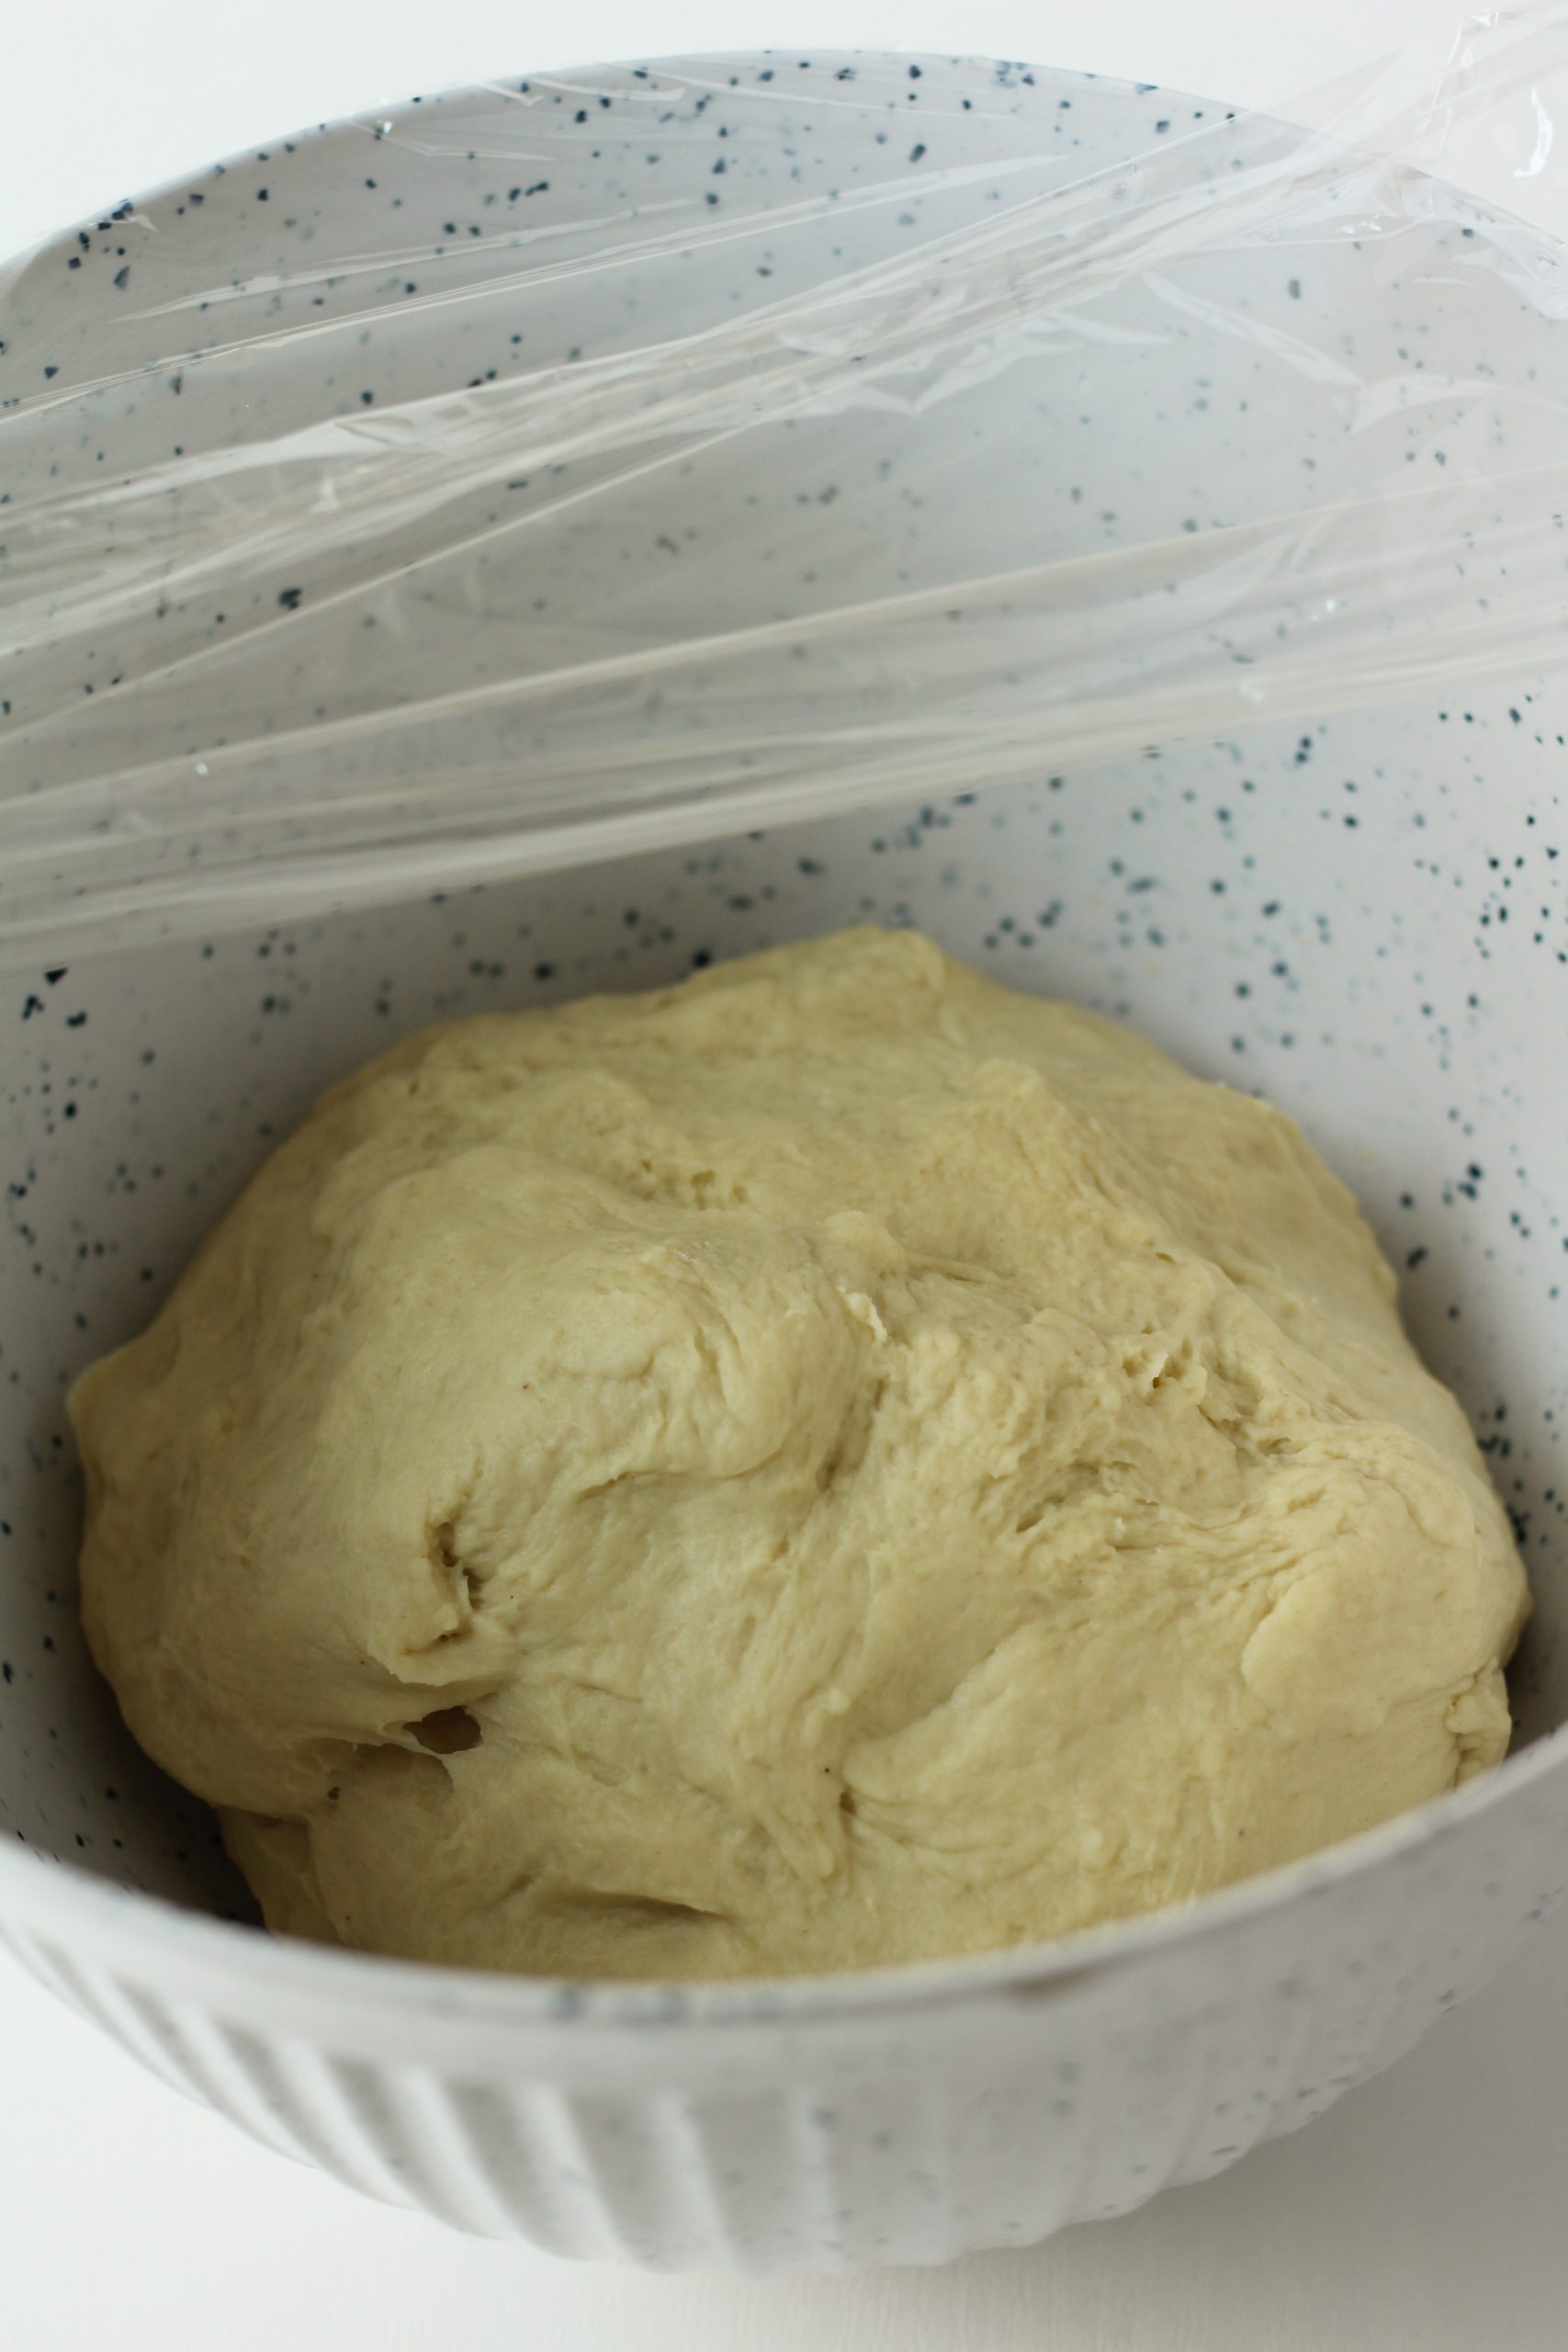
When the dough comes away from the sides and is tacky, but doesn’t stick to your hands, it is ready. Grease a bowl with olive oil, and let it rest until it is doubled in size.

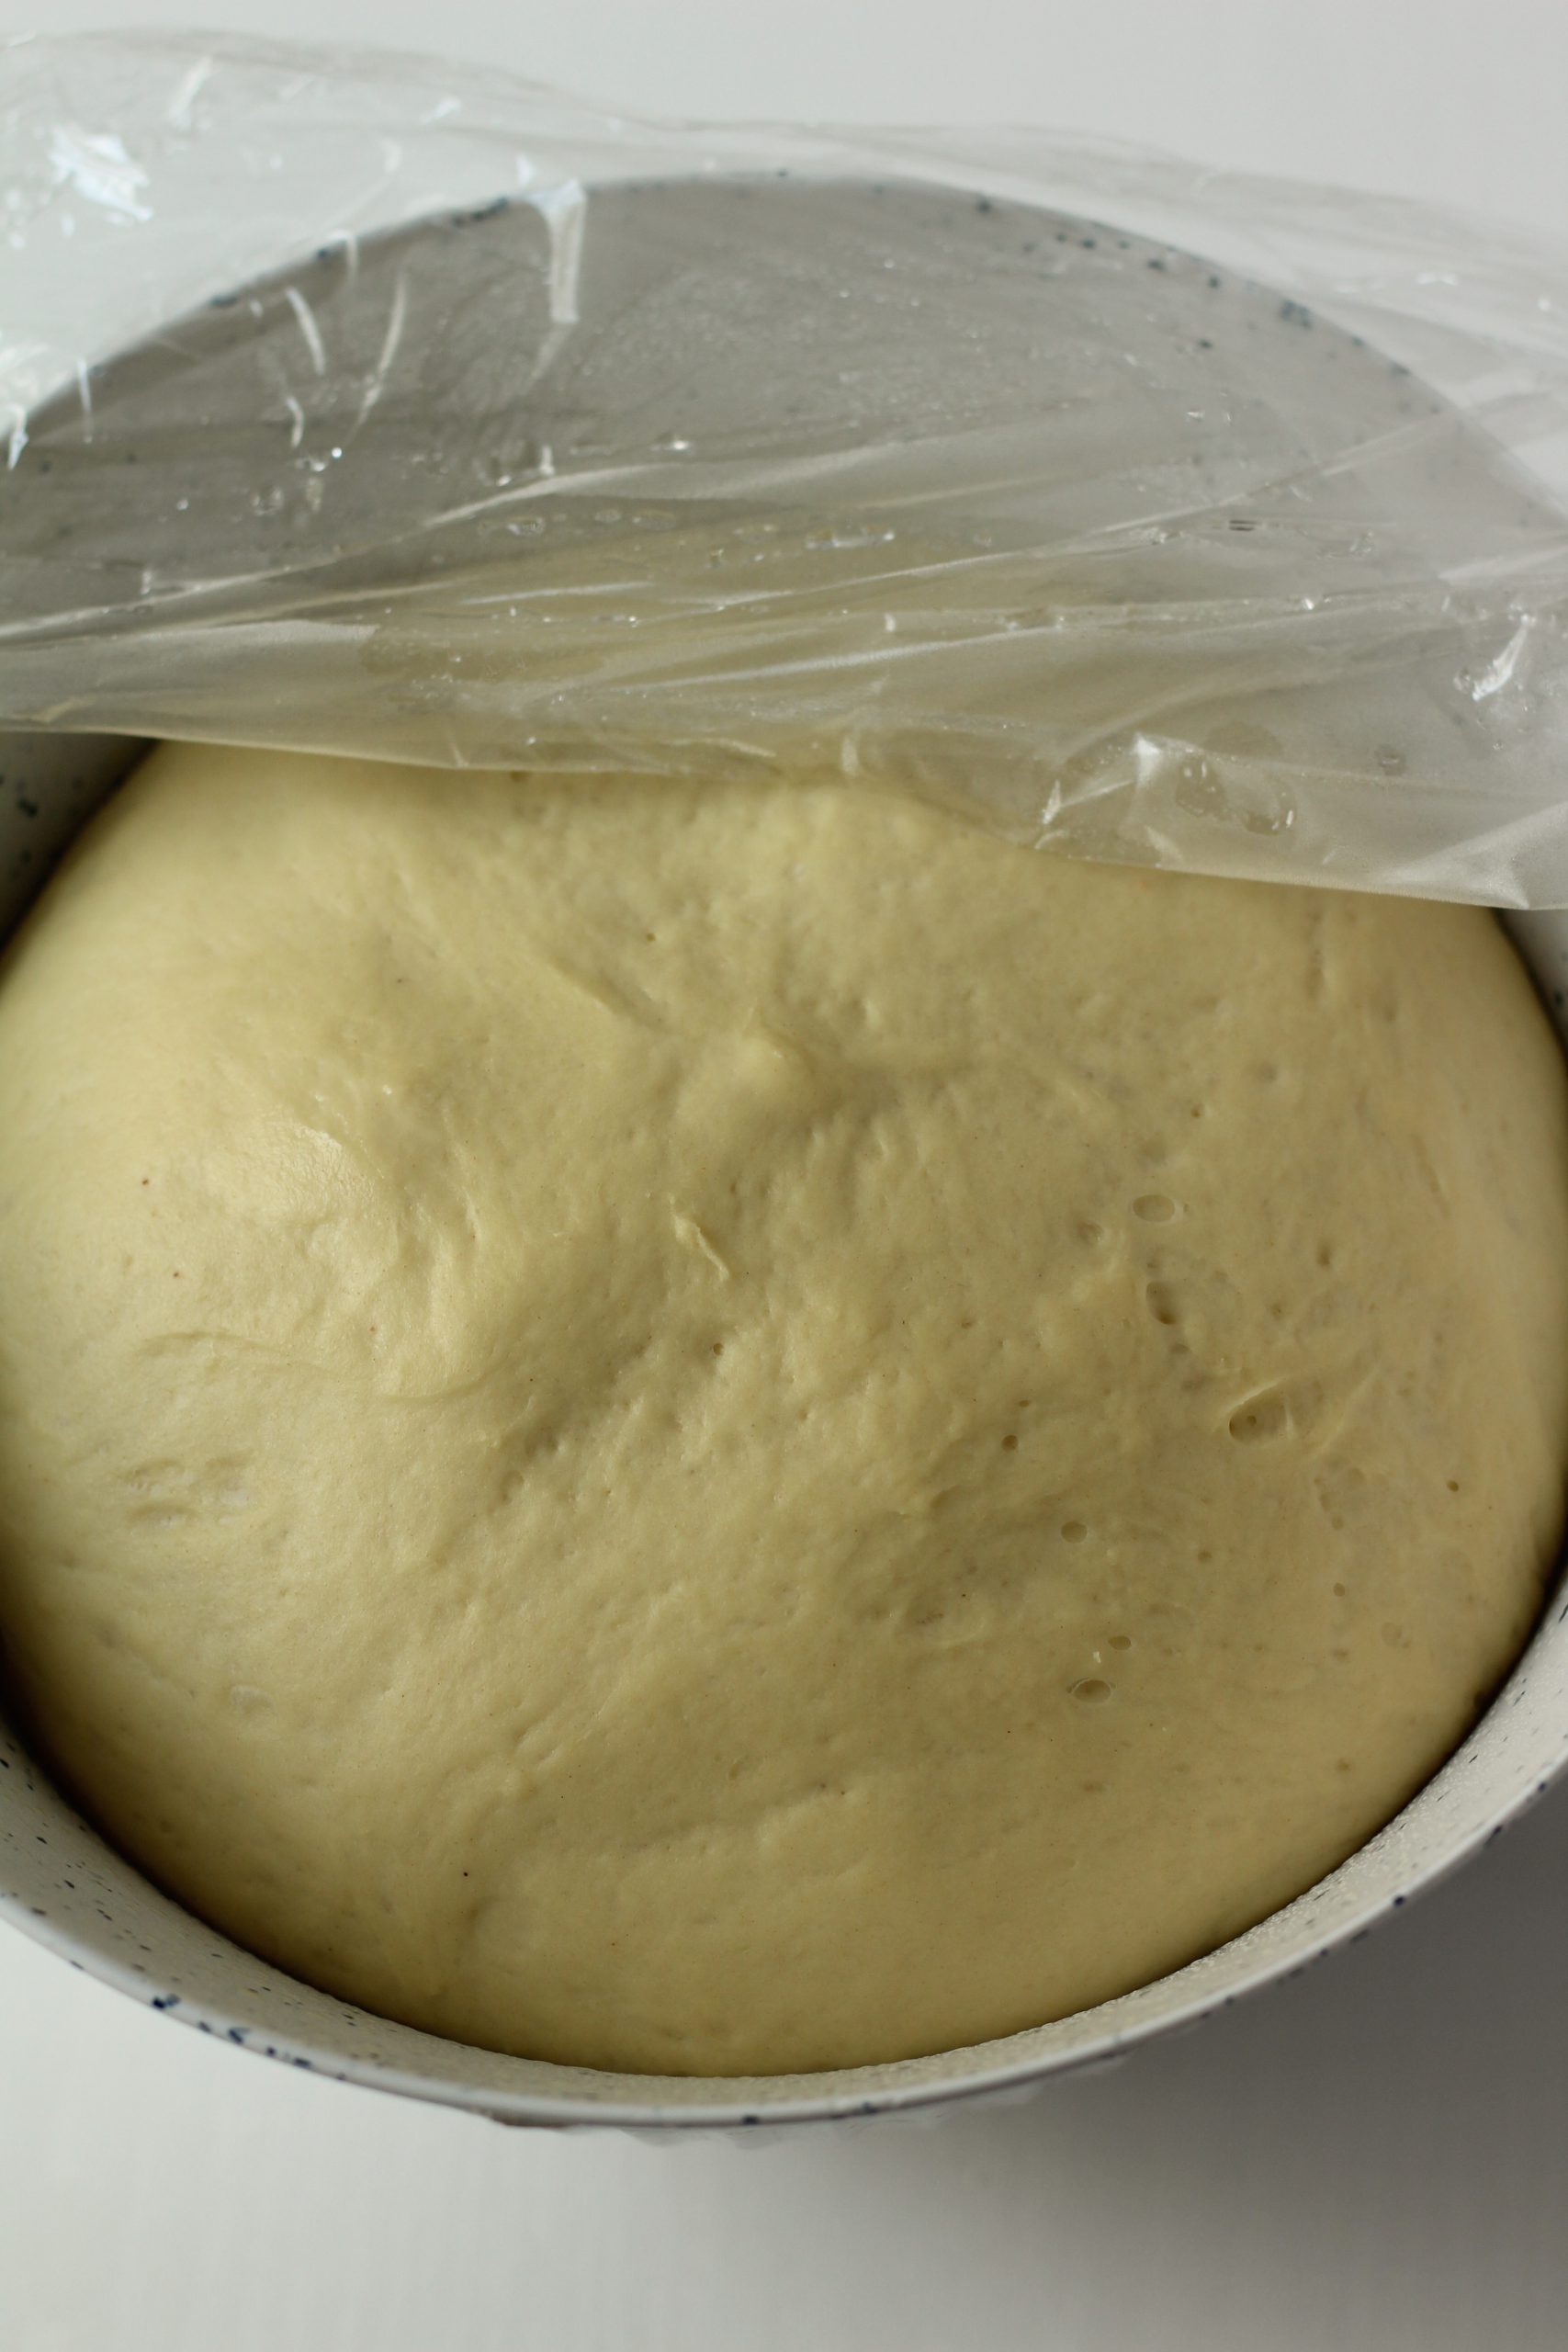
Focaccia dough before first riseWhen the dough has doubled in size you are ready to place it on a greased baking sheet, and shape it into a rectangle.  However, first you have to punch out the air in the dough.

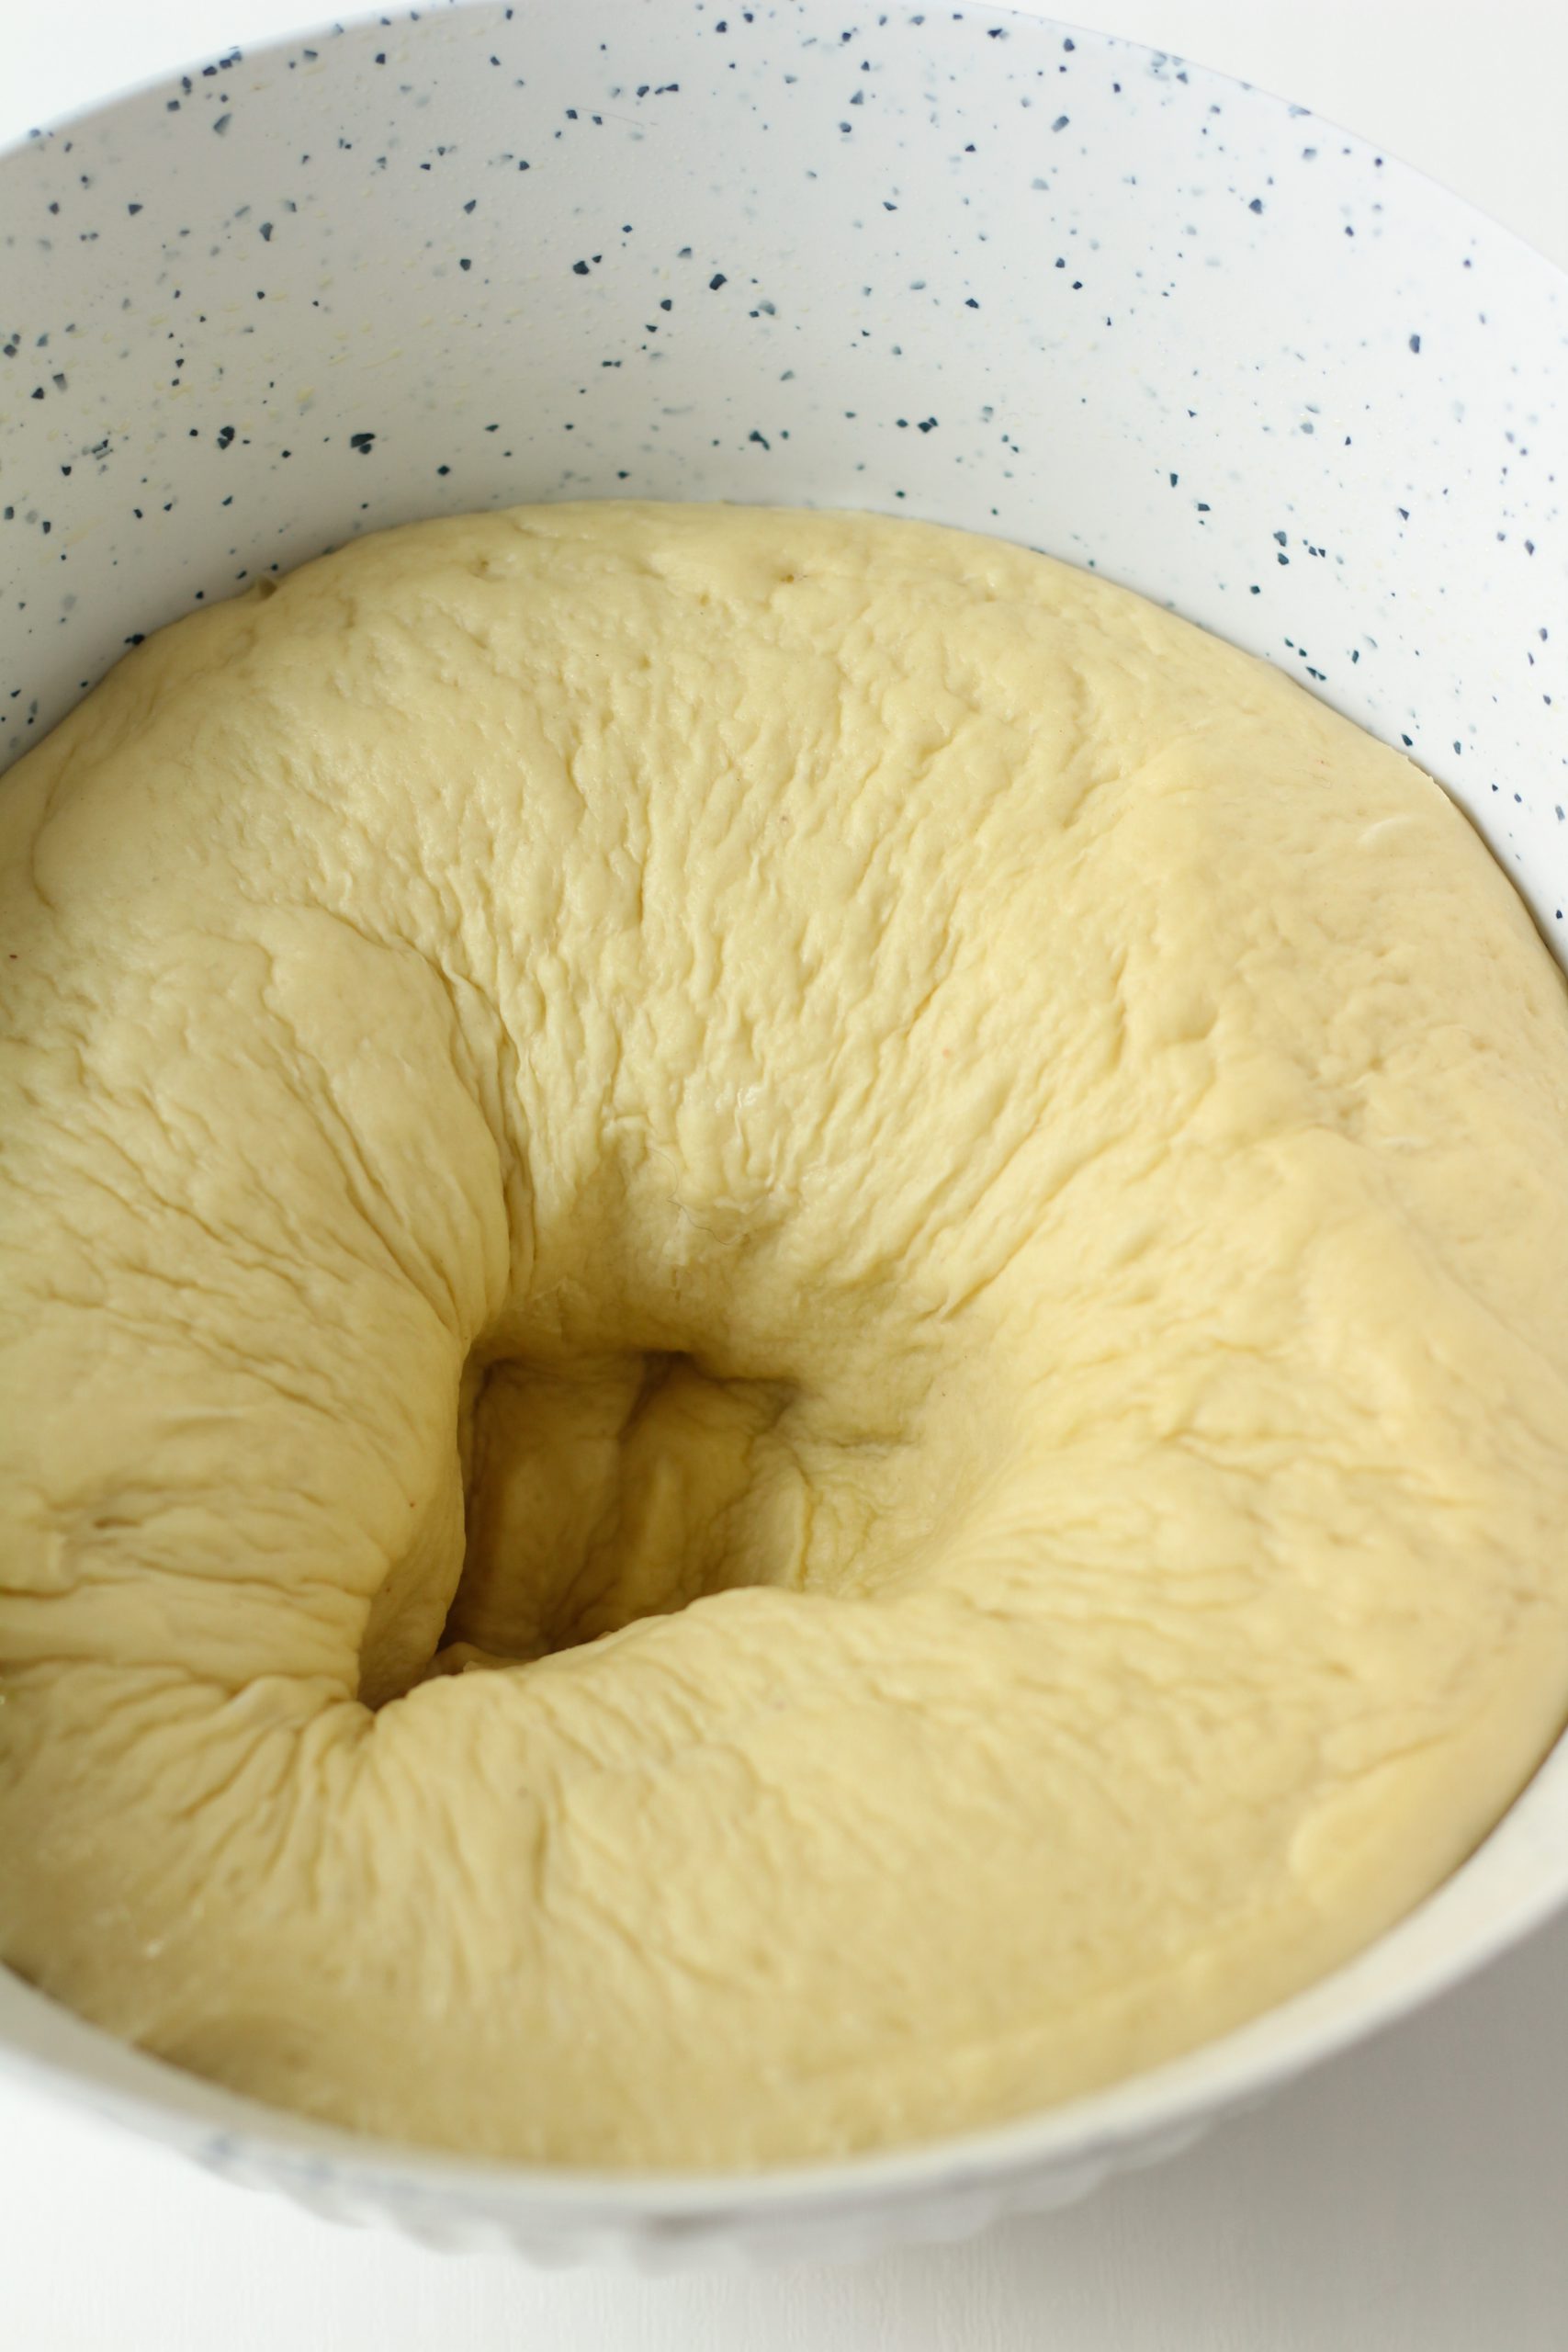
After first rise dough doubled in size

Air punched out of the dough

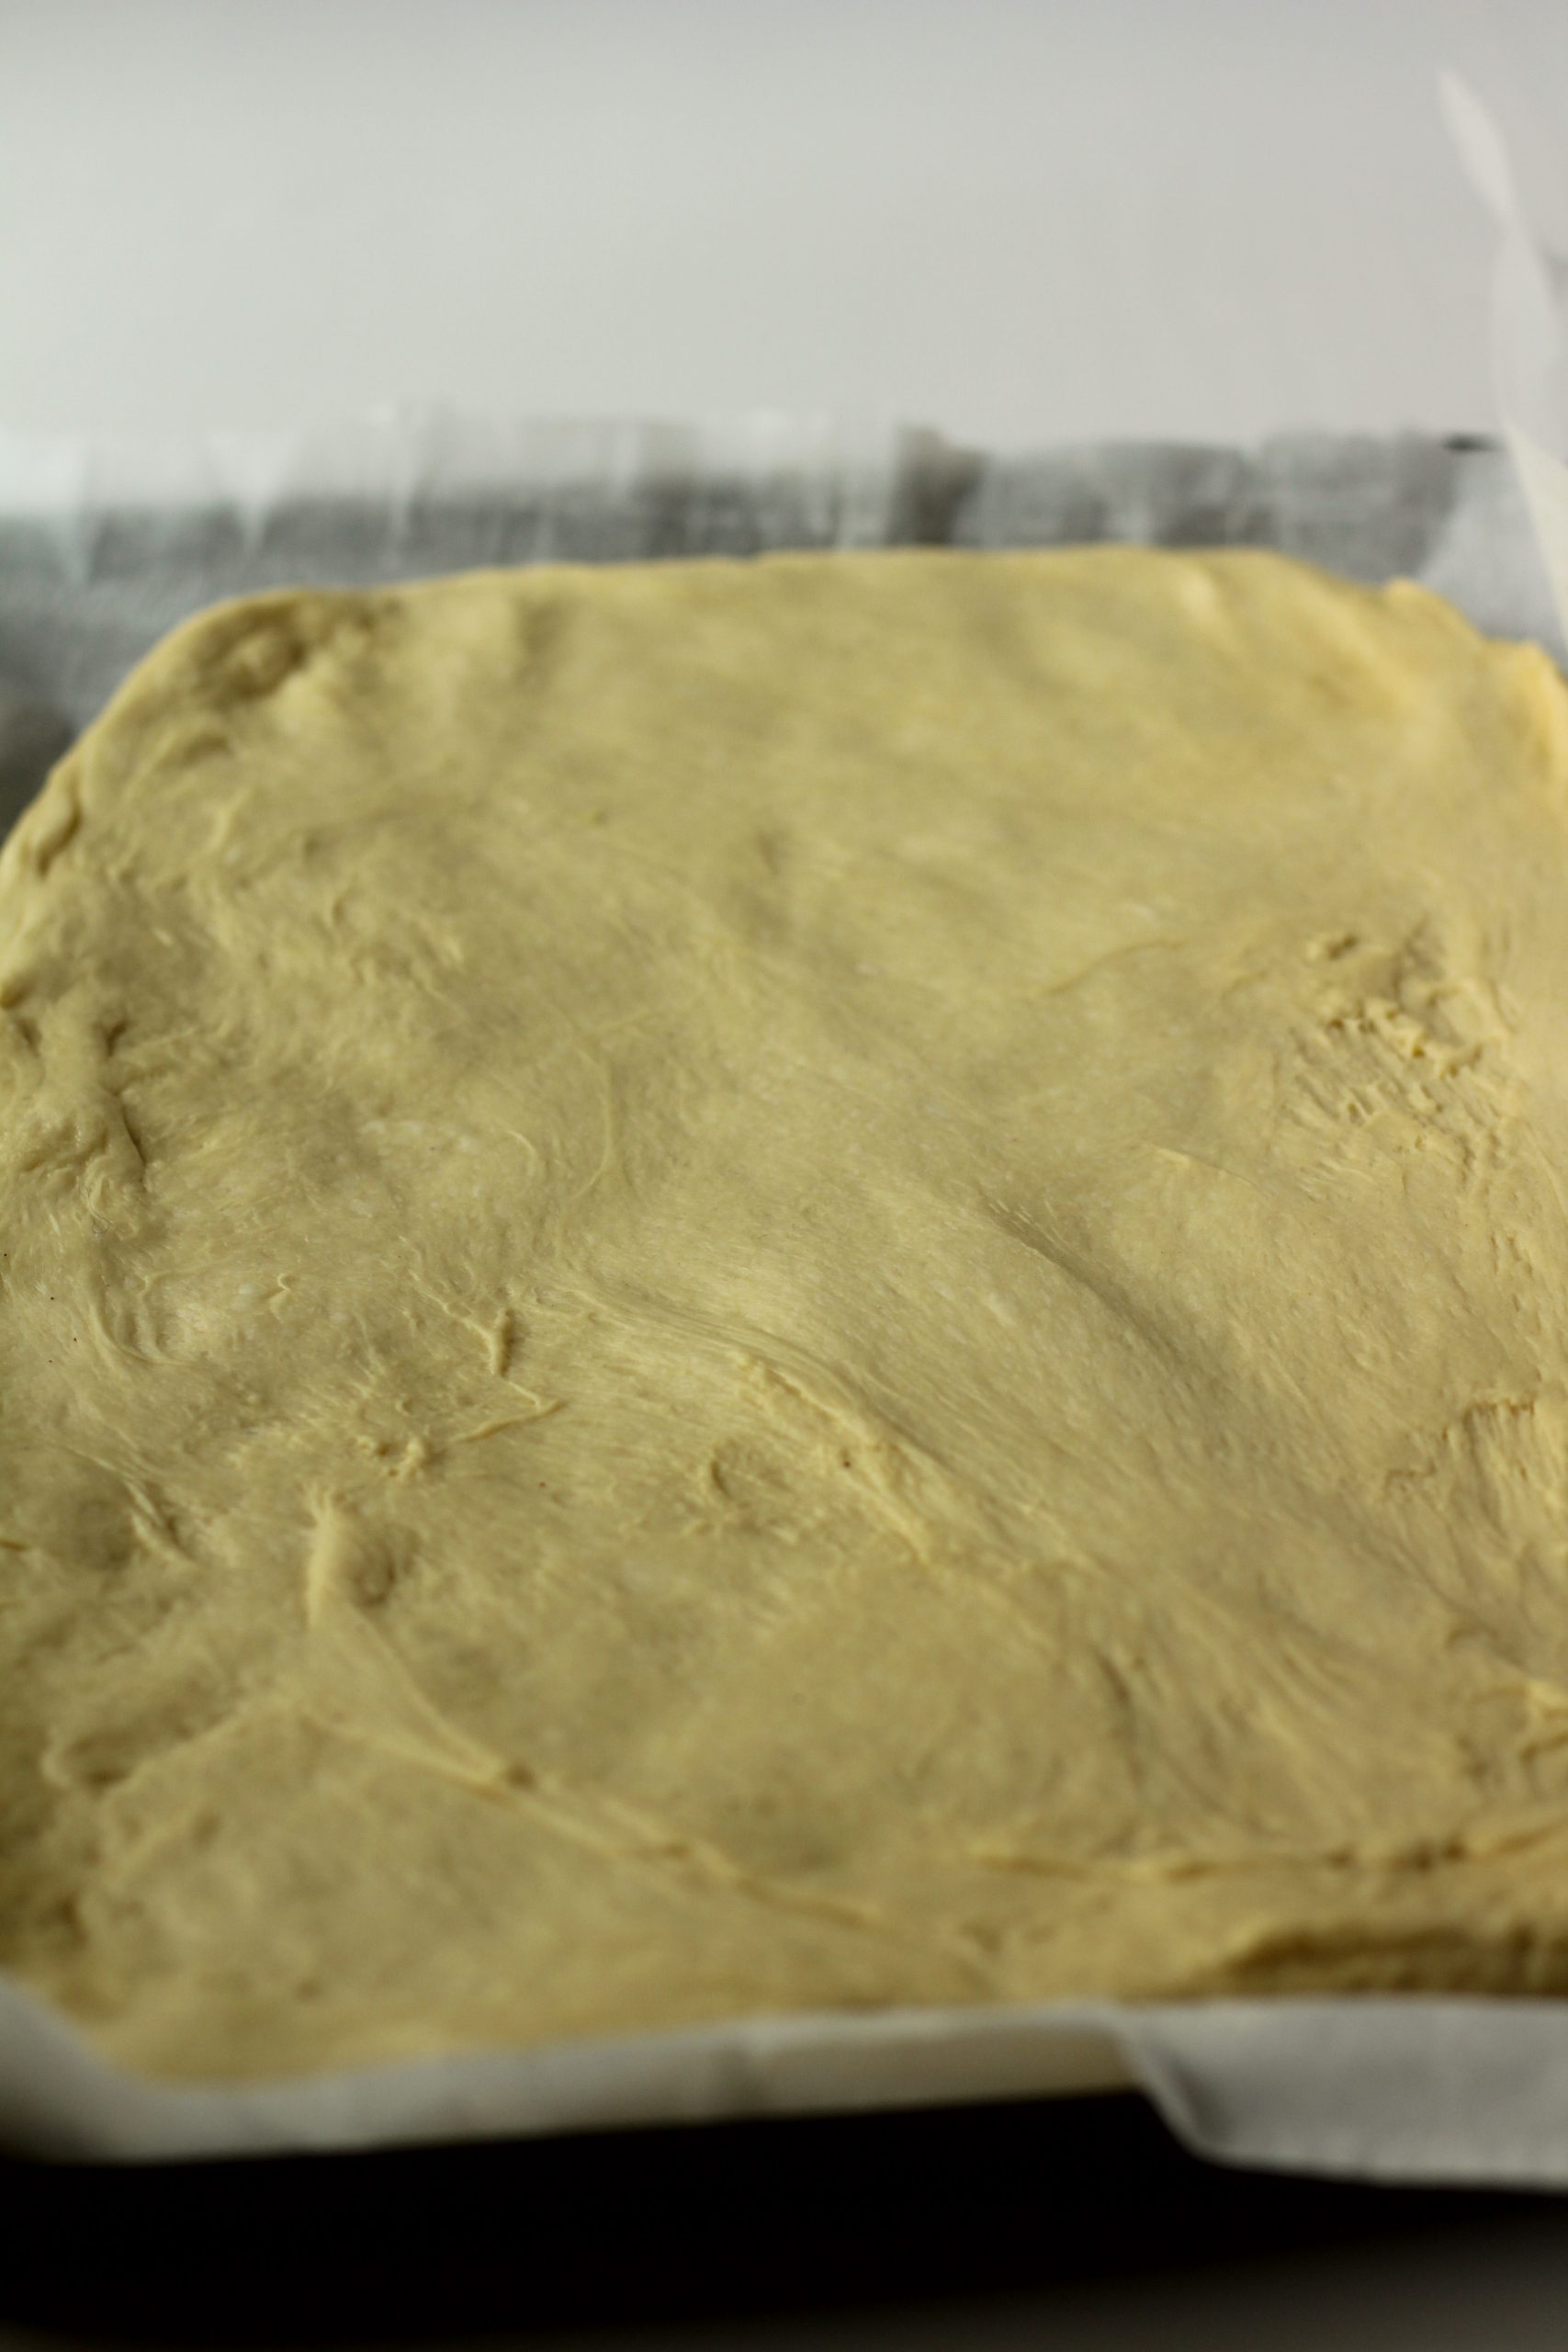
After the air is out you shape it into a rectangle on the baking sheet. I used parchment paper on the baking sheet to make it easier to transfer to a cooling rack later.

Focaccia dough formed in rectangle

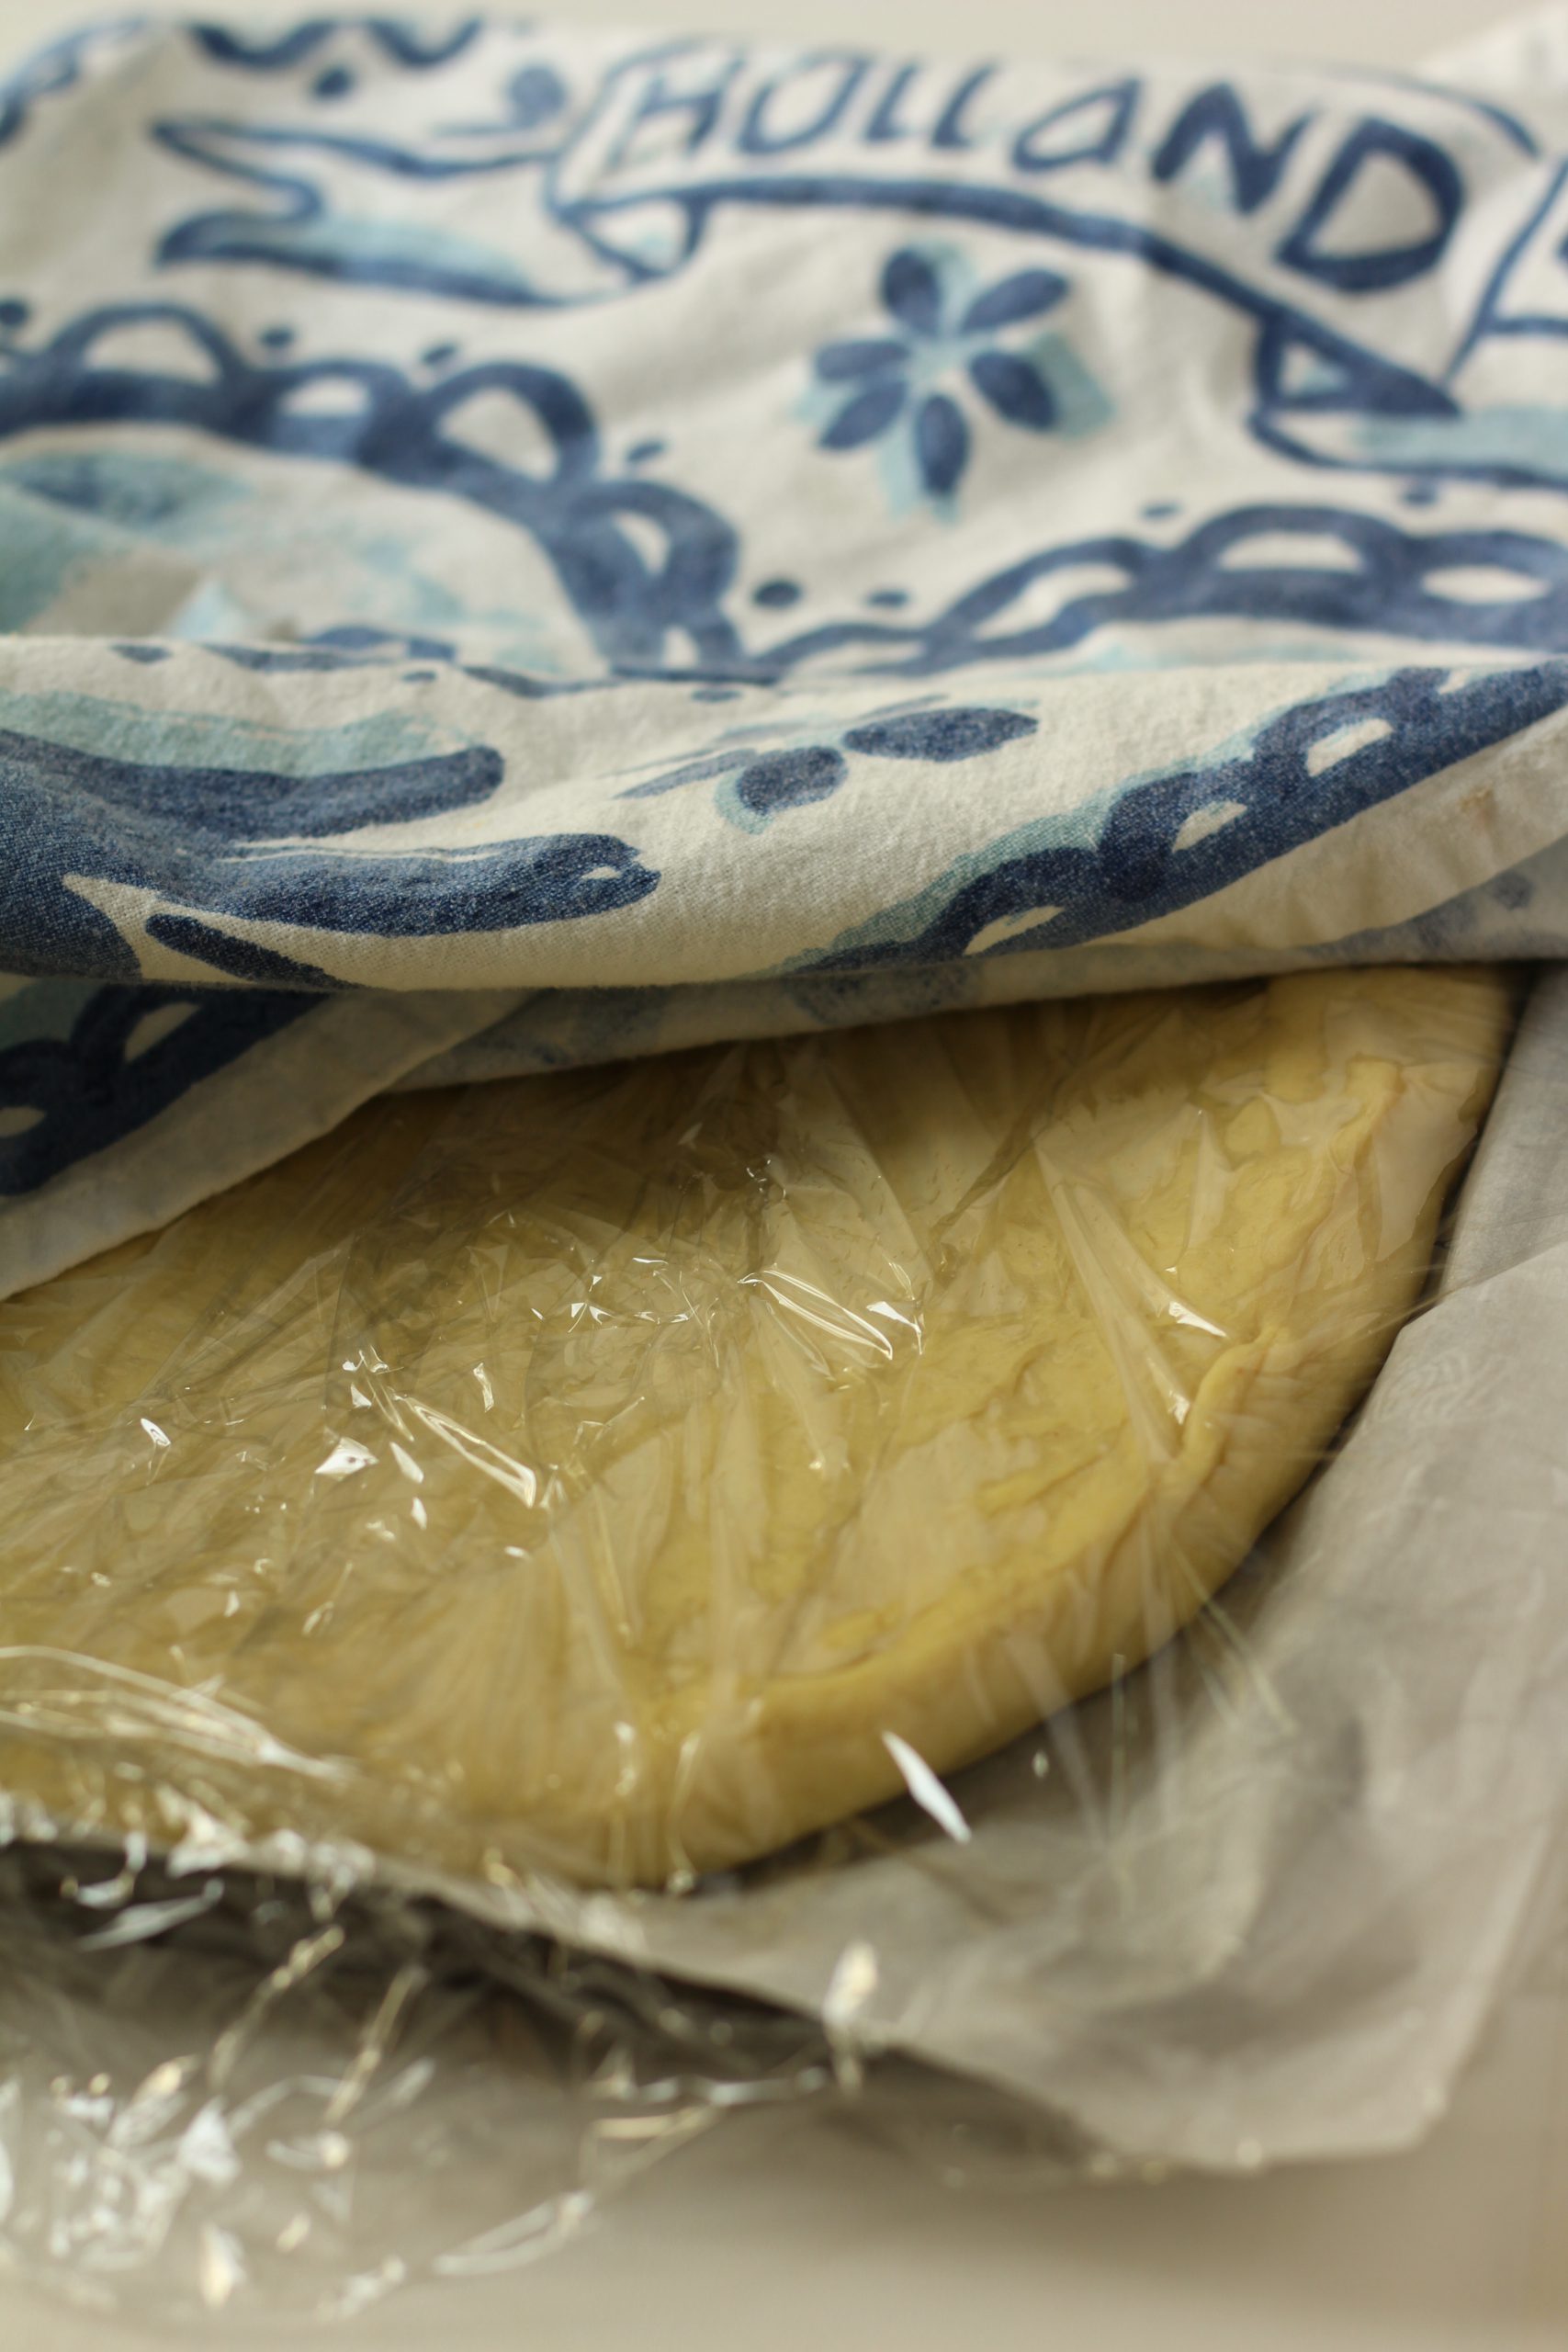
Focaccia dough covered for second rise

After you formed a rectangle with your dough, you cover it and place it in a warm area on your counter until it is doubled in size. This length of this rise will vary based on where you live and what season it is. It can take up to 1 hour or more if it is colder weather. It is important that you cover your dough and put it in a warm draft free area.

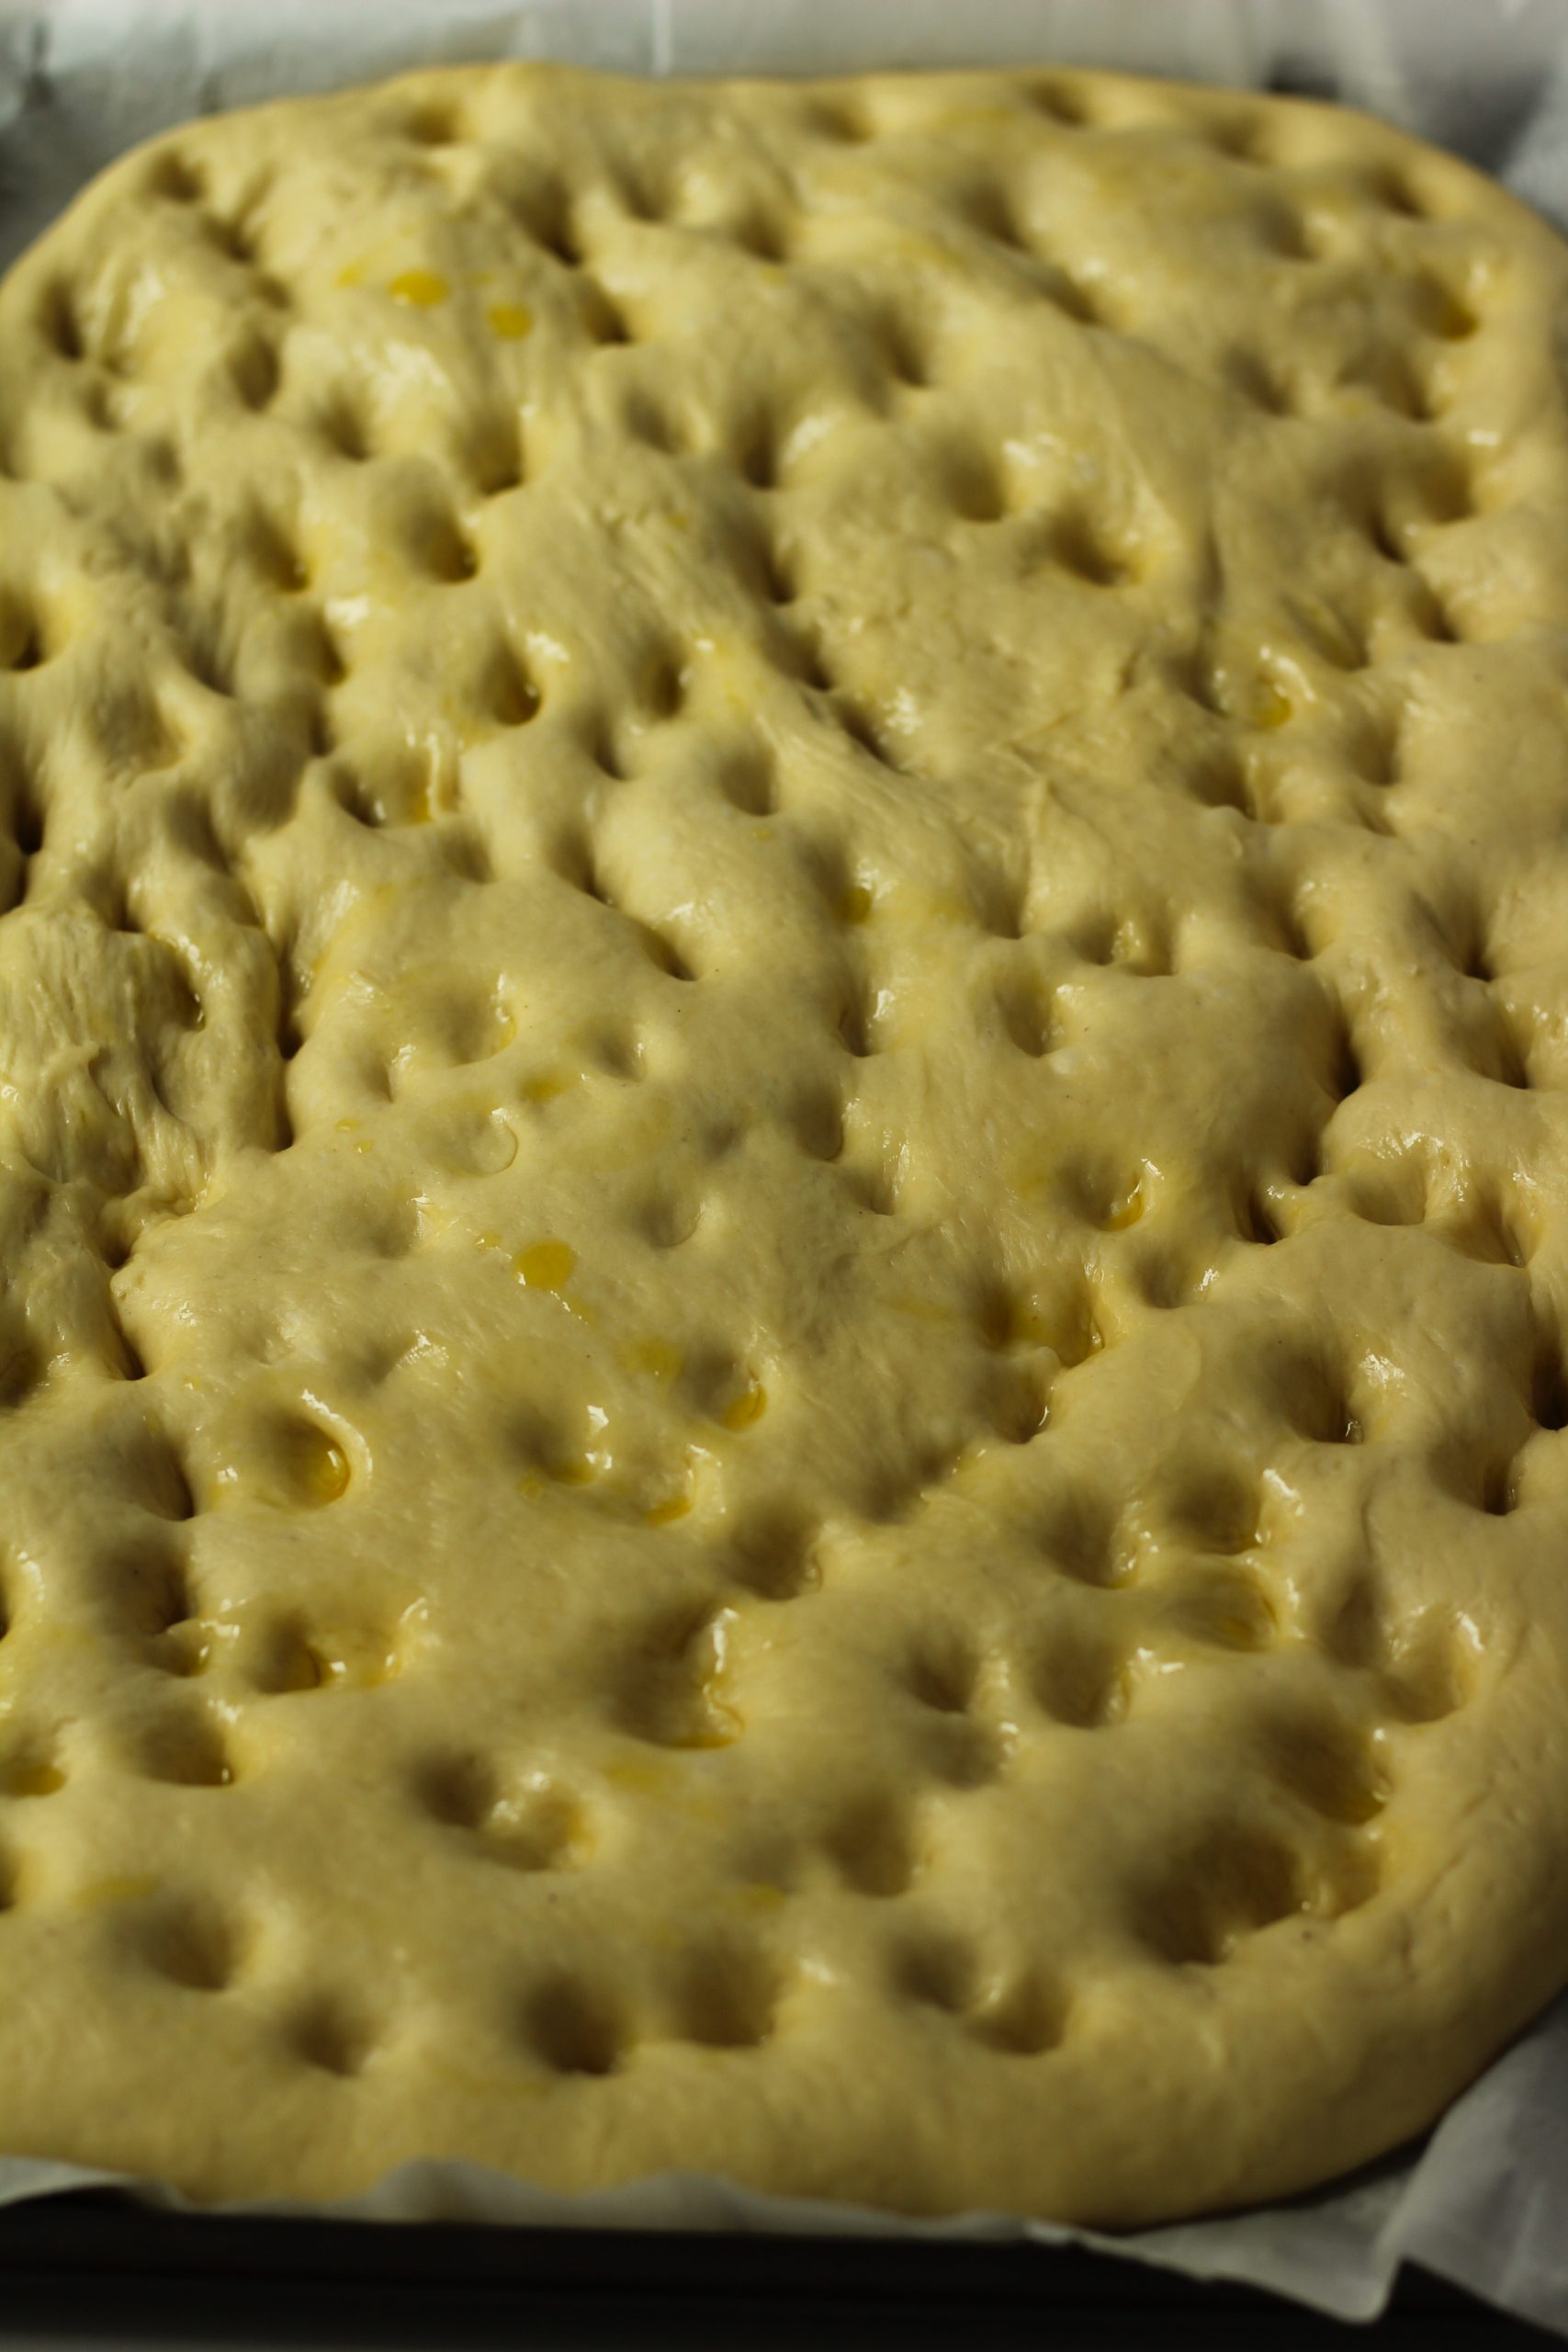
When it has doubled in size, you drizzle it with olive oil and make deep holes in the dough with your fingers. Don’t be shy!  Dig them in far, until you feel the baking dish.

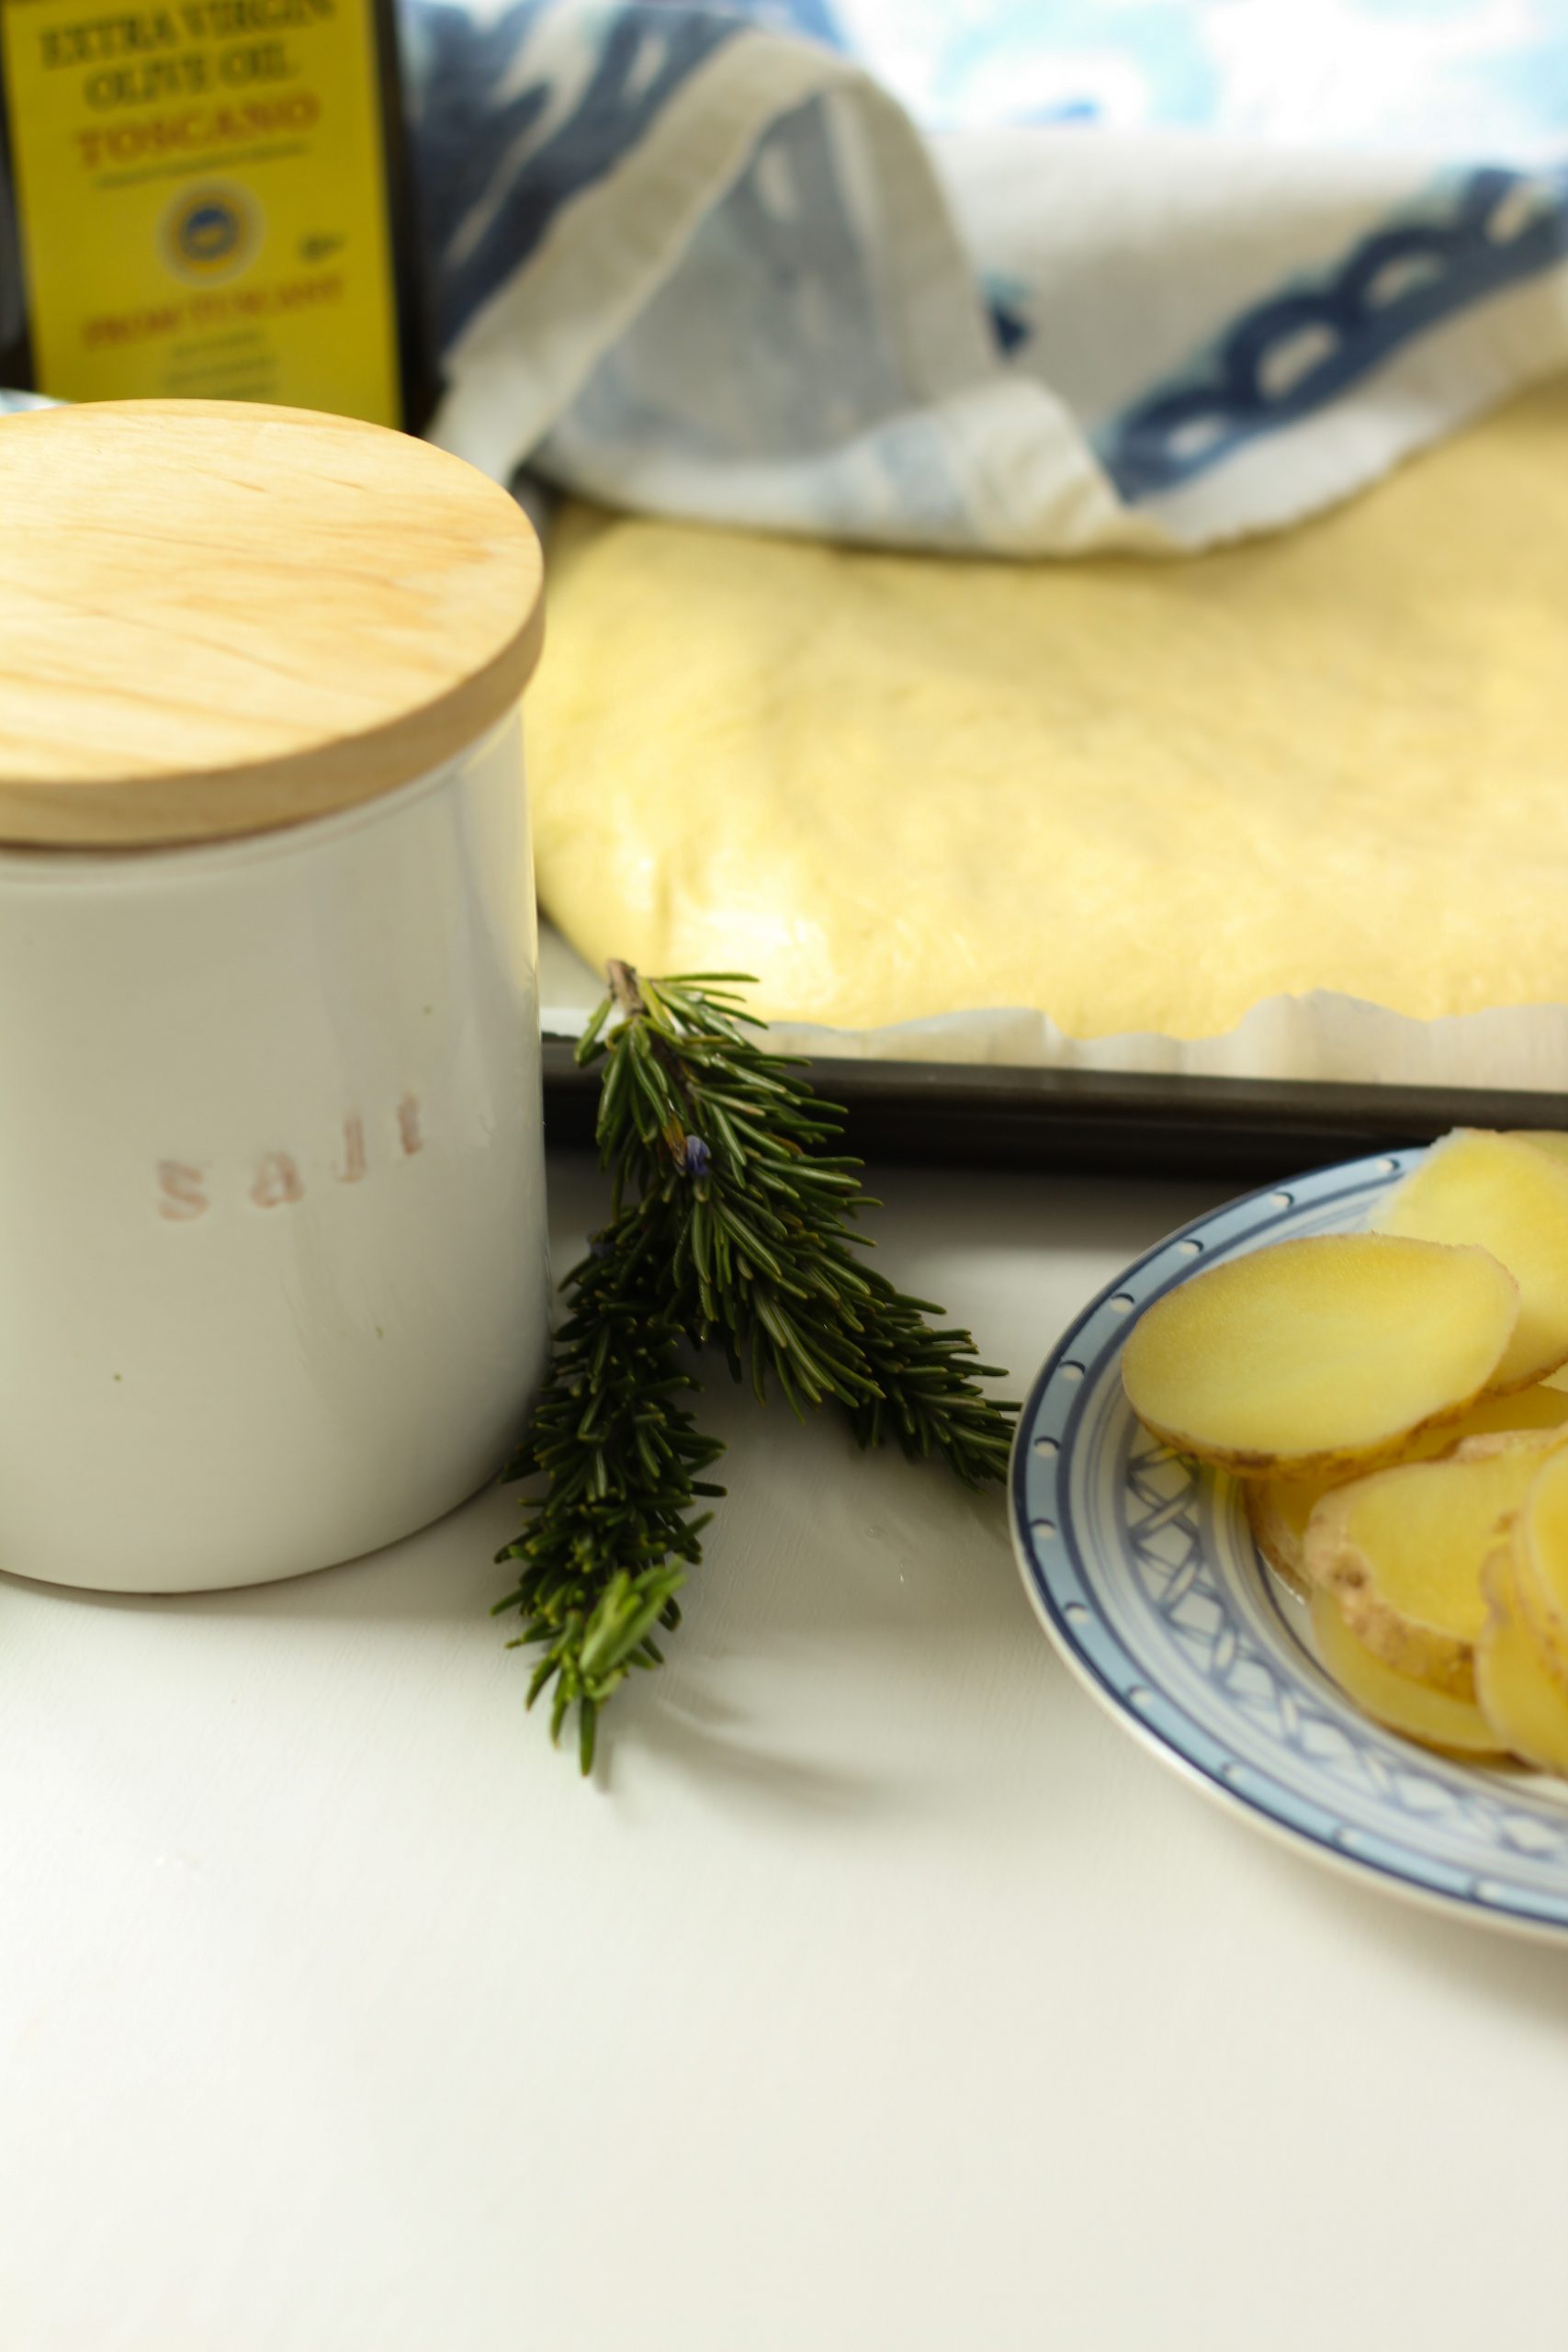
Focaccia dough ready to be prepped to bake

Focaccia dough with finger holes

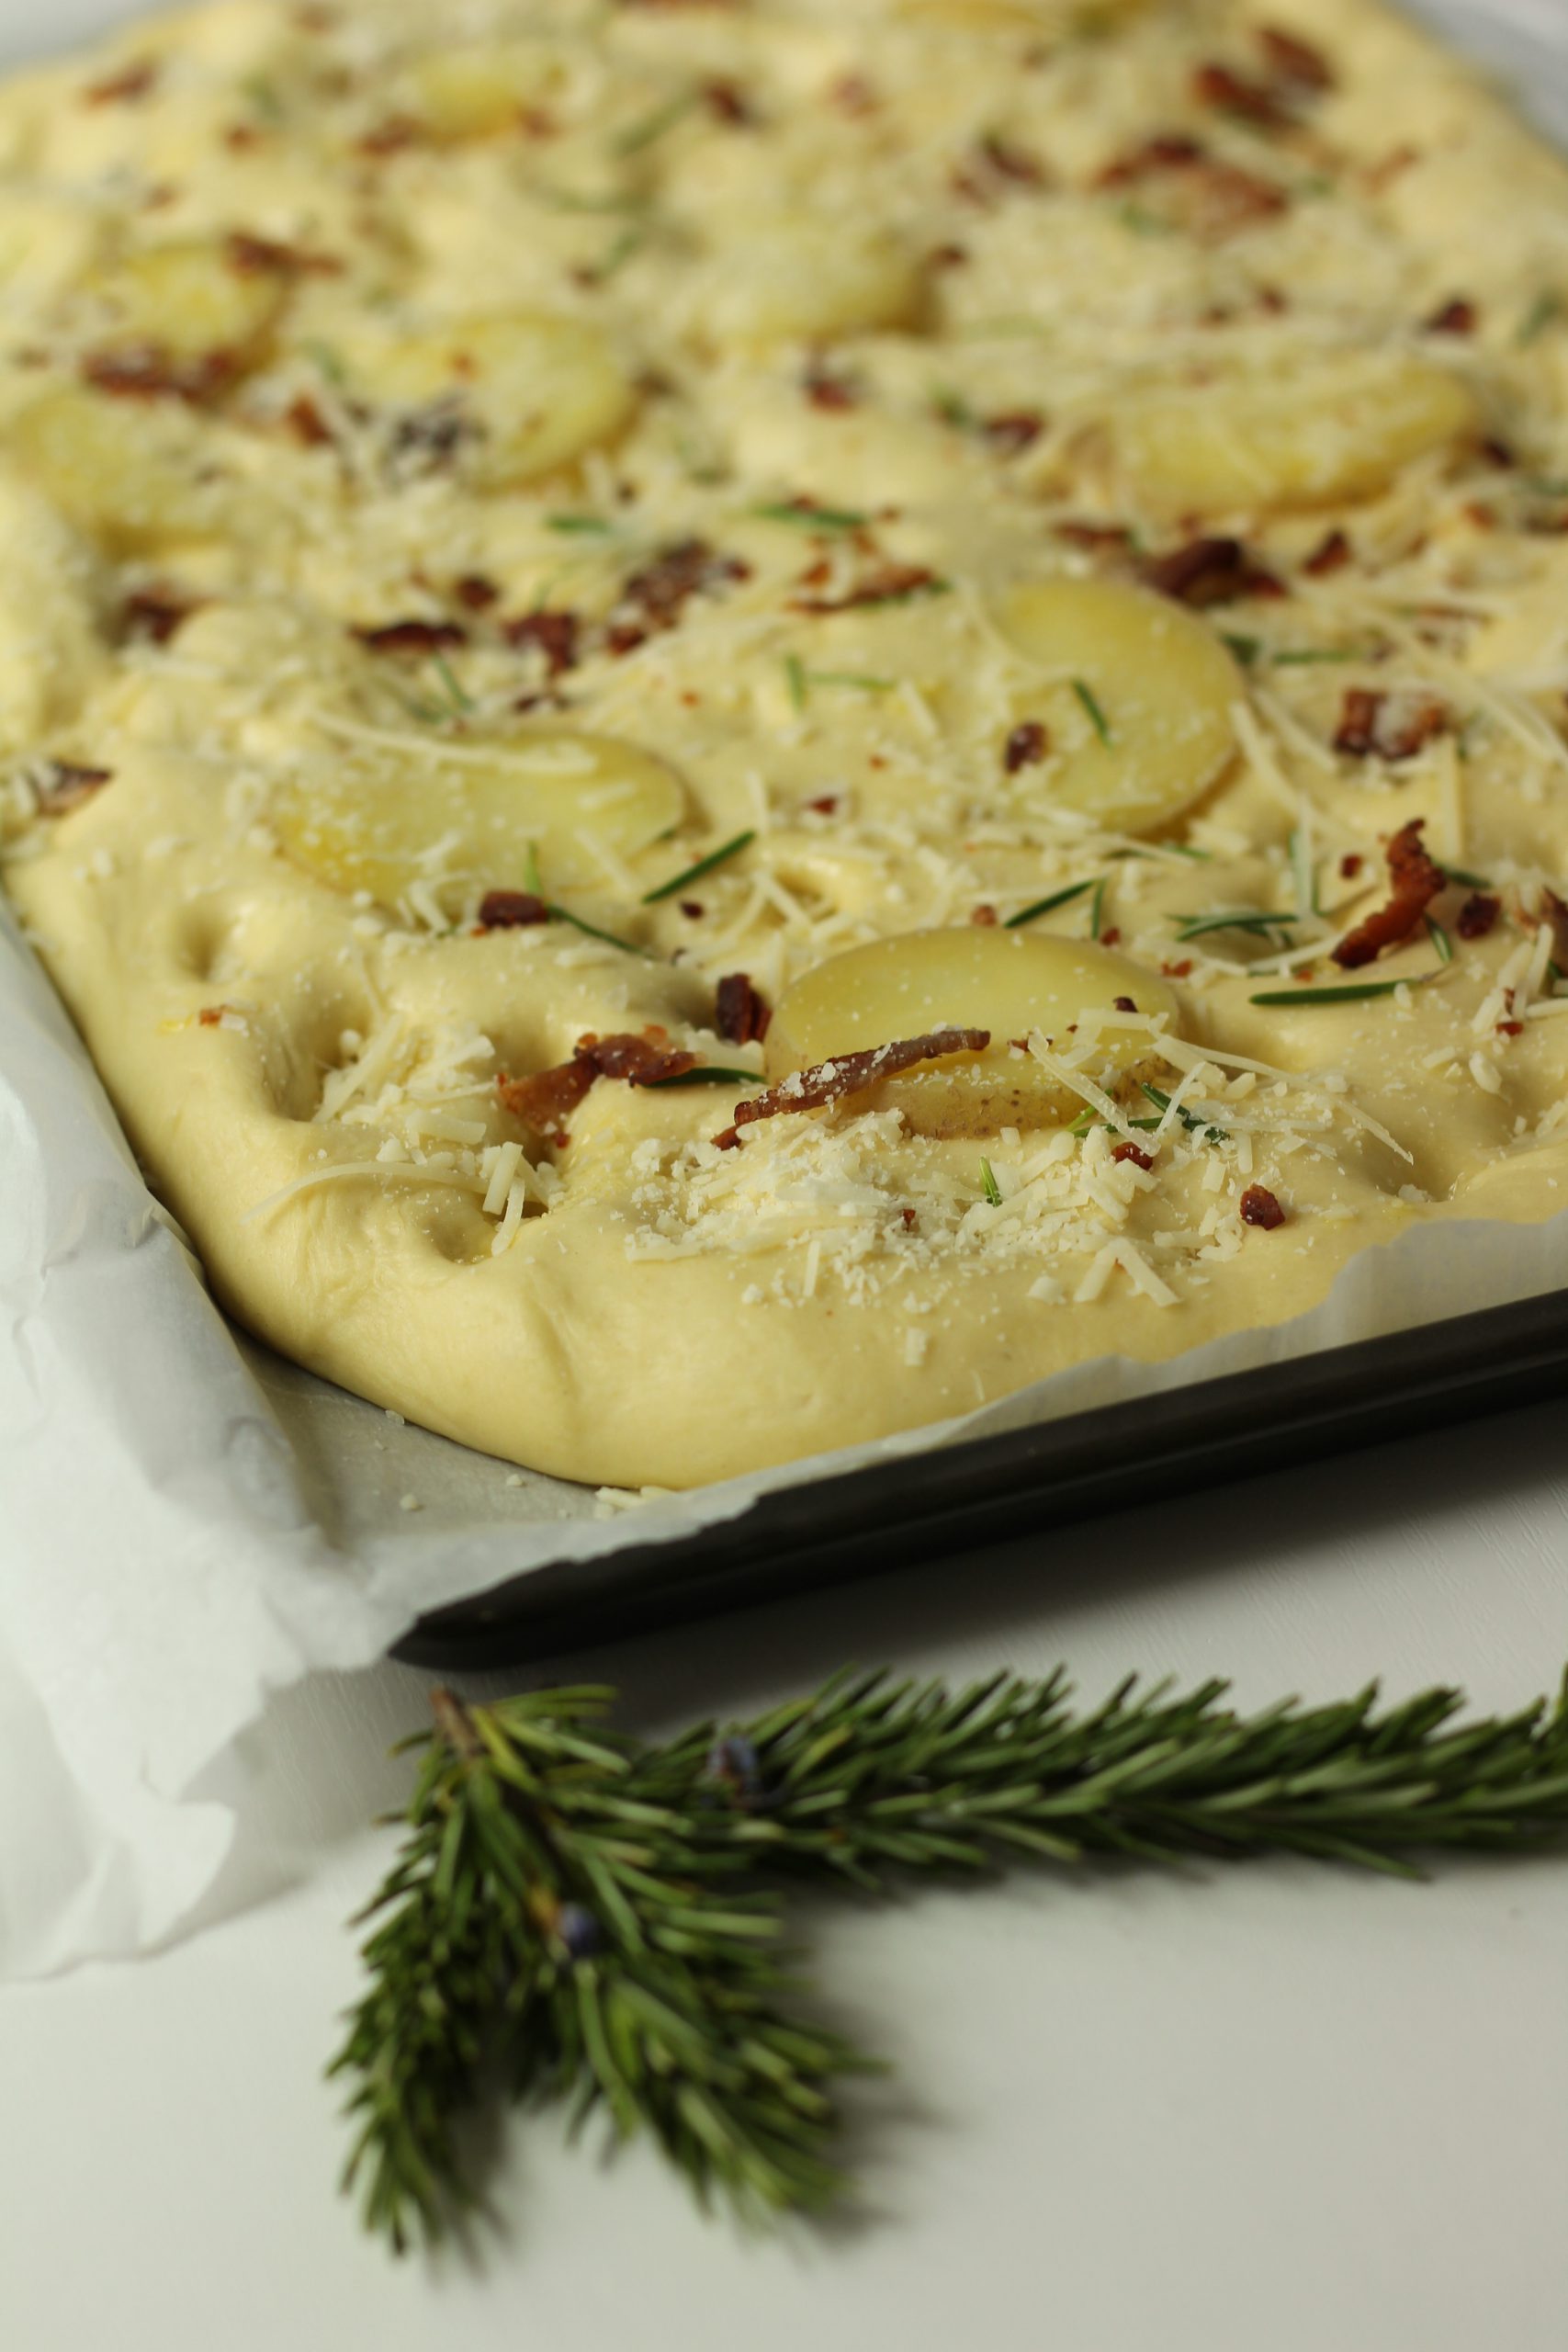
When you’re satisfied with the amount of holes, sprinkle the dough with sea salt (I used this French salt) and add your washed rosemary. You can bake it now, or add some extra toppings. I added potatoes, bacon and Parmesan cheese.

Focaccia bread with toppings

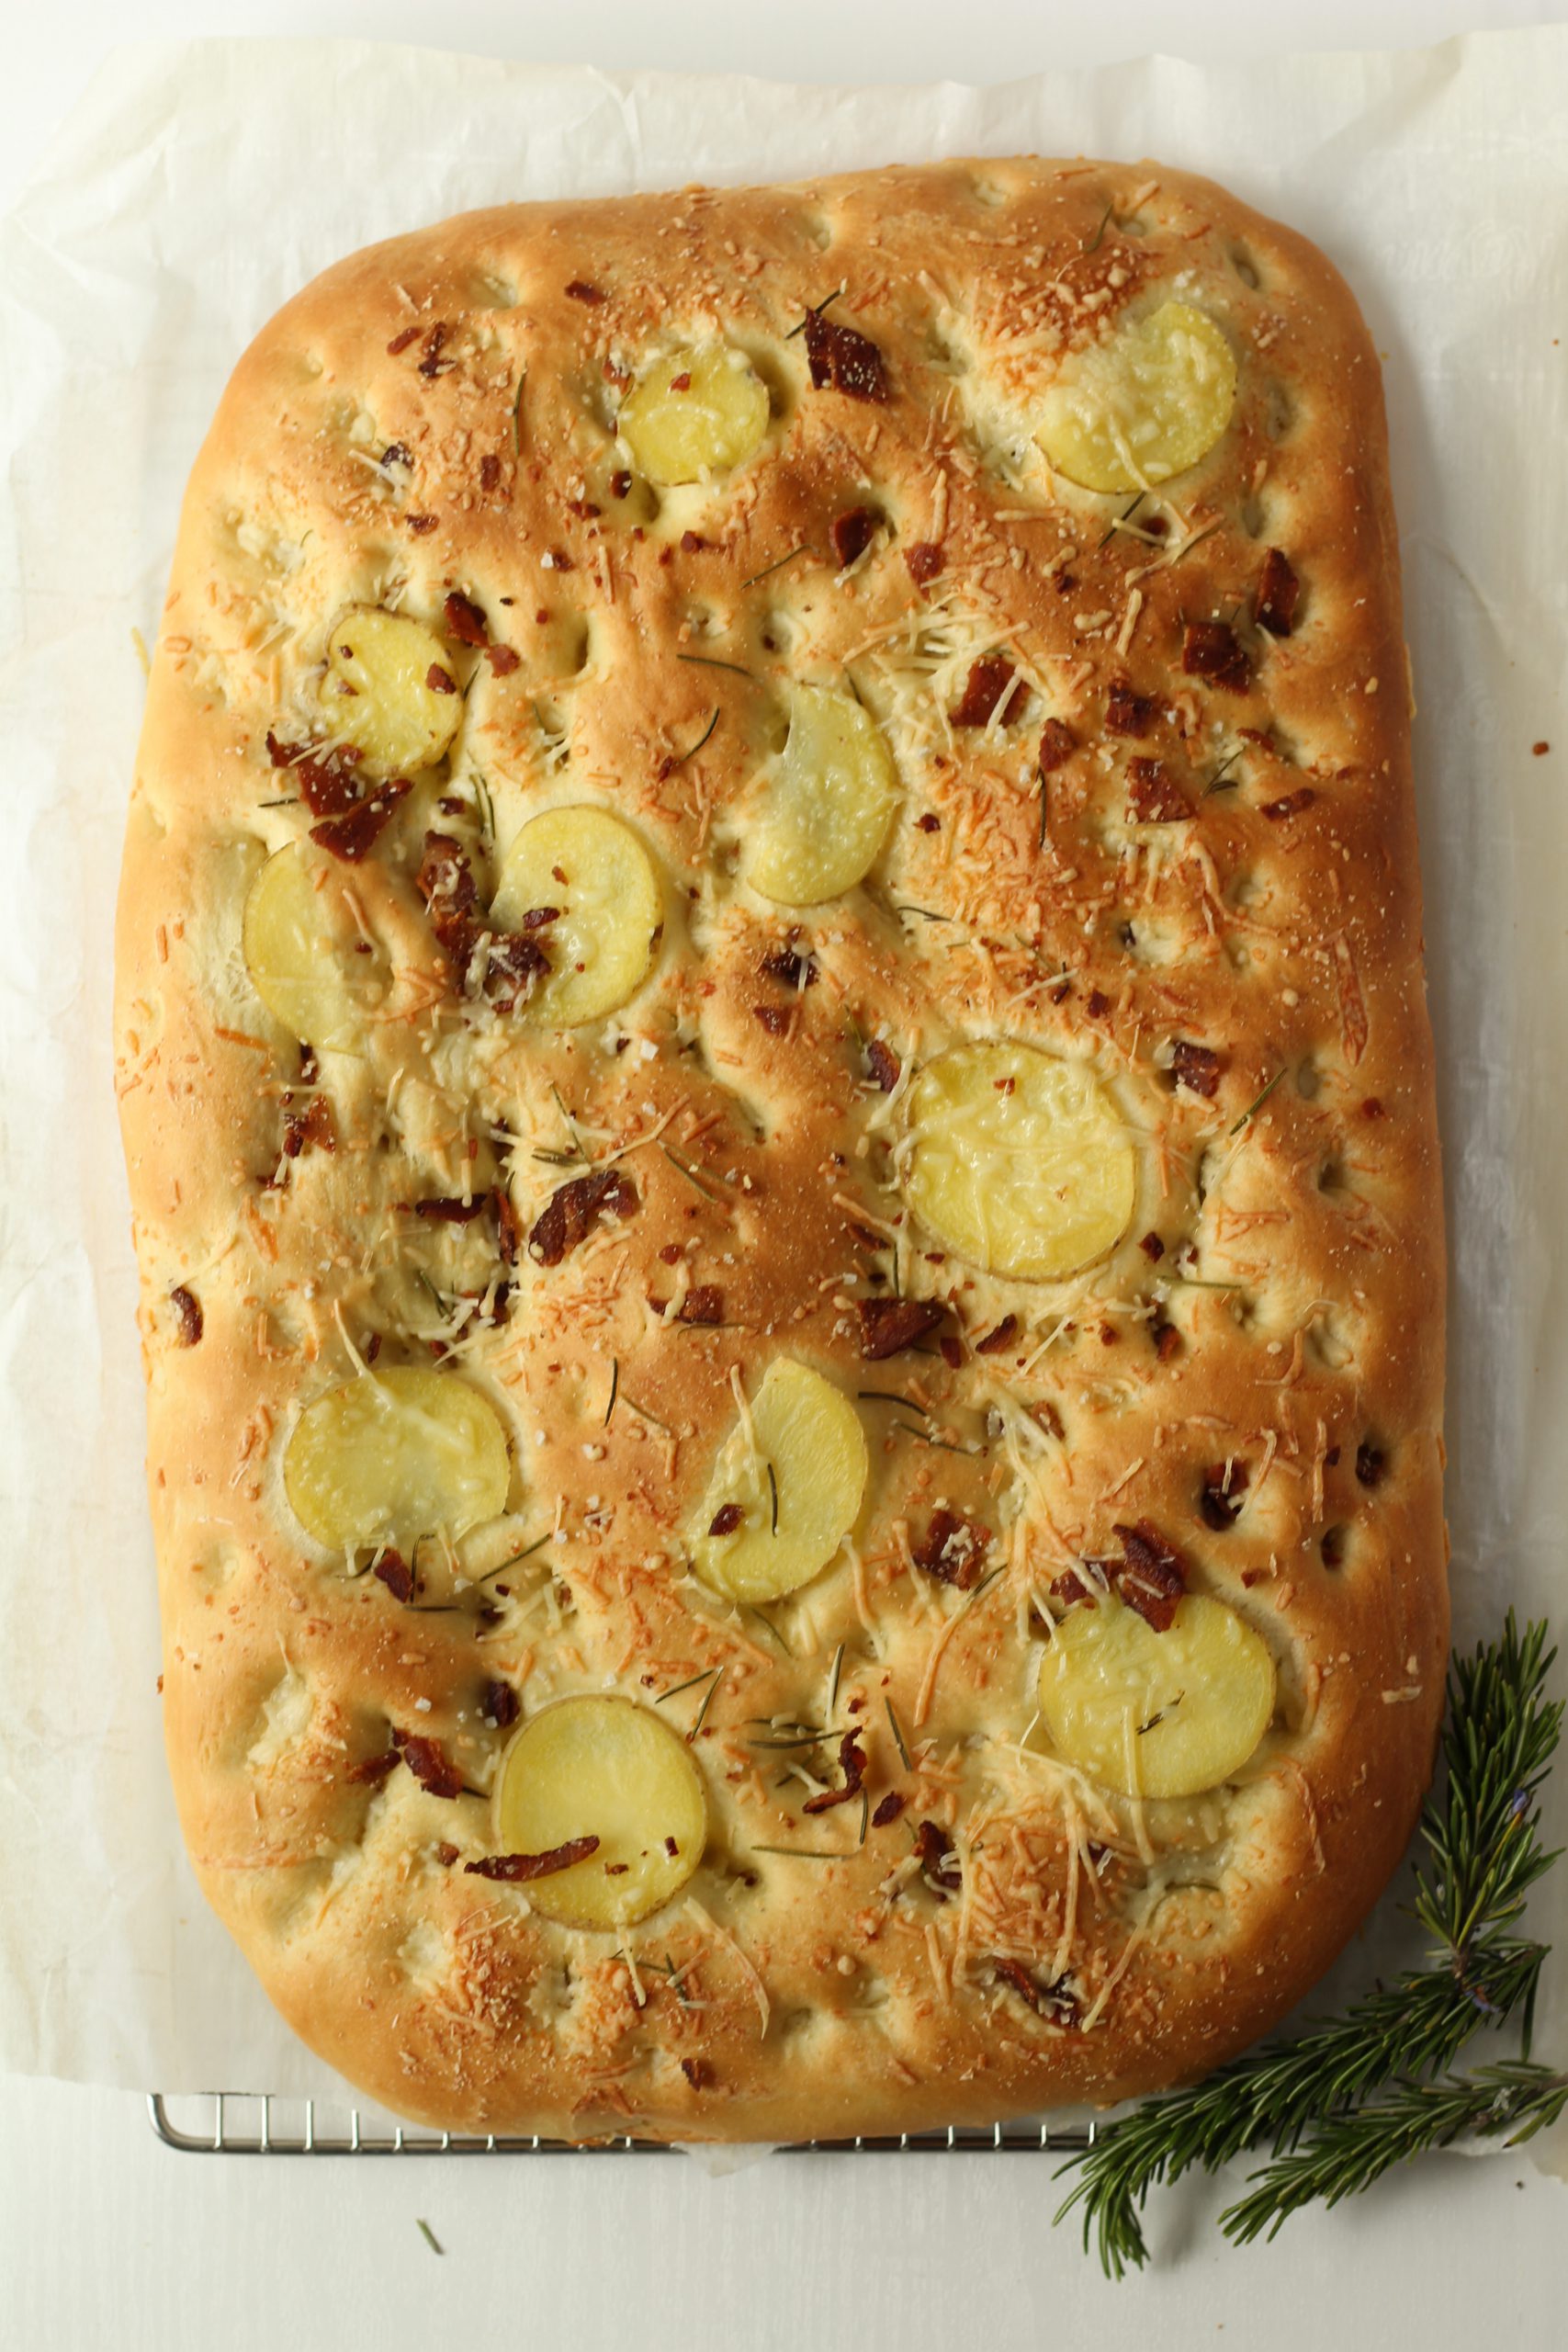
After adding the toppings, bake your dough in a preheated oven until it is golden brown. This can take around 20 minutes. Keep in mind that every oven is different, so the baking time may be more or less. Keep a close eye on the bread in the final baking minutes.

Golden brown baked focaccia

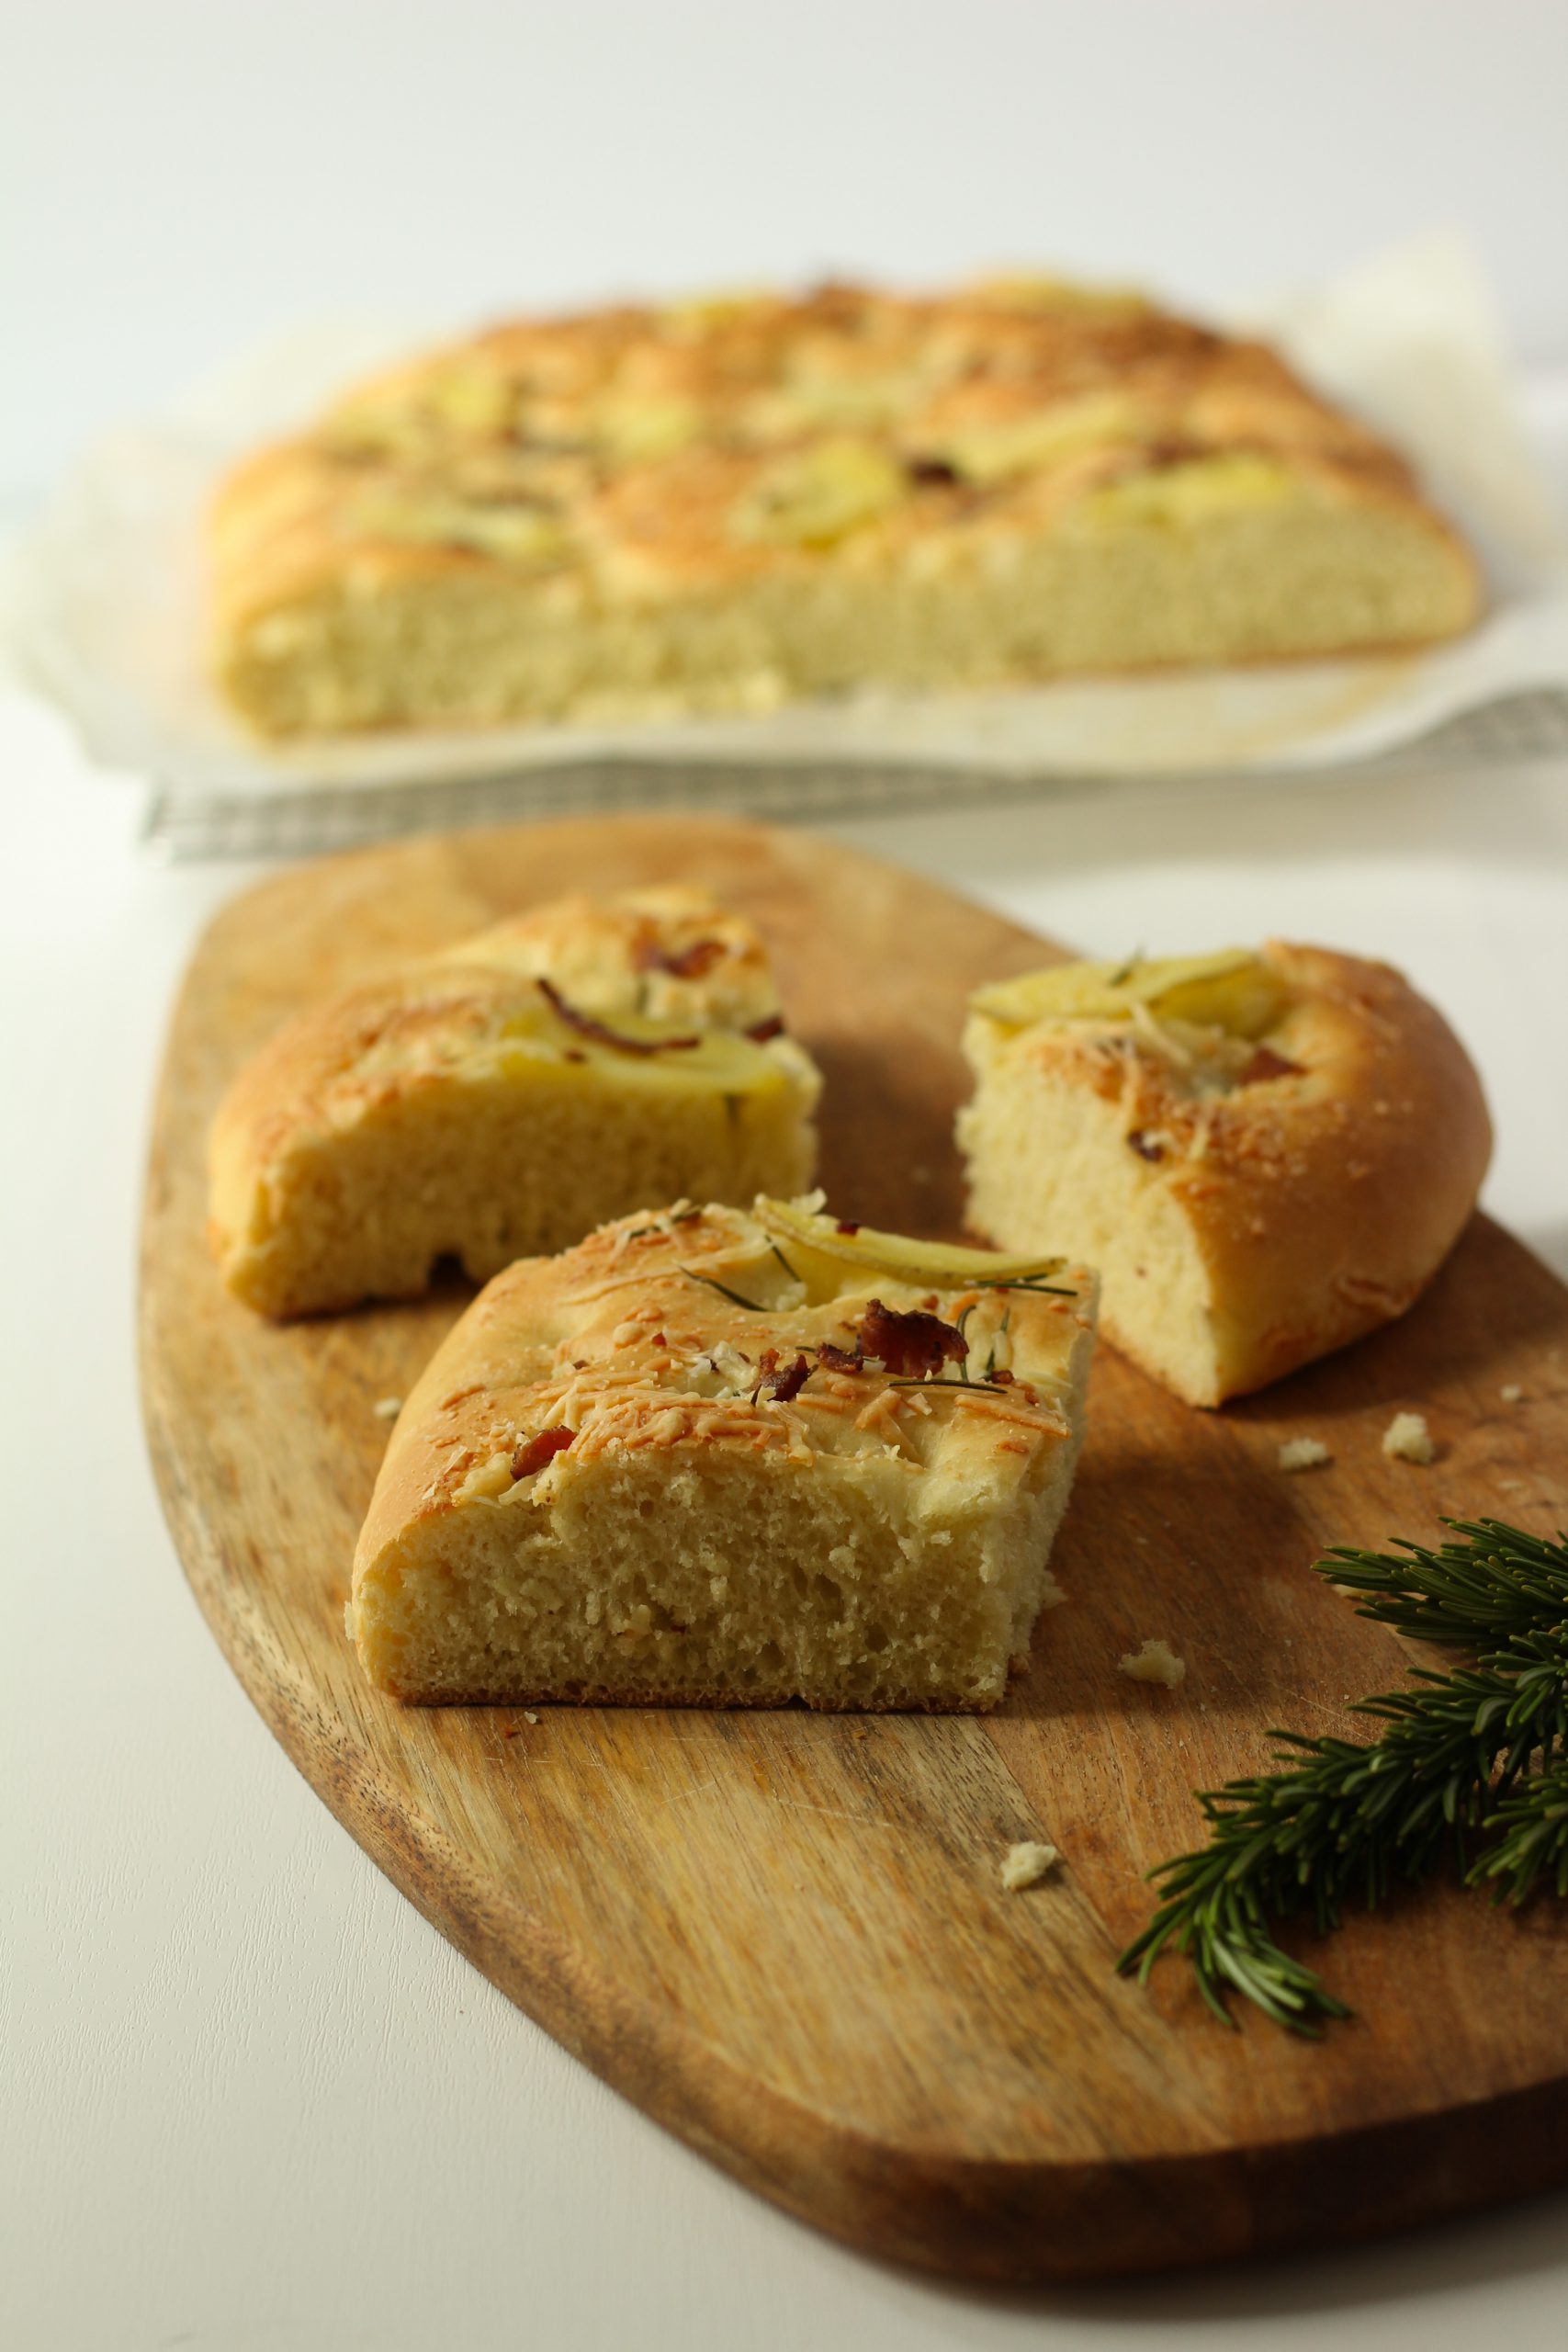
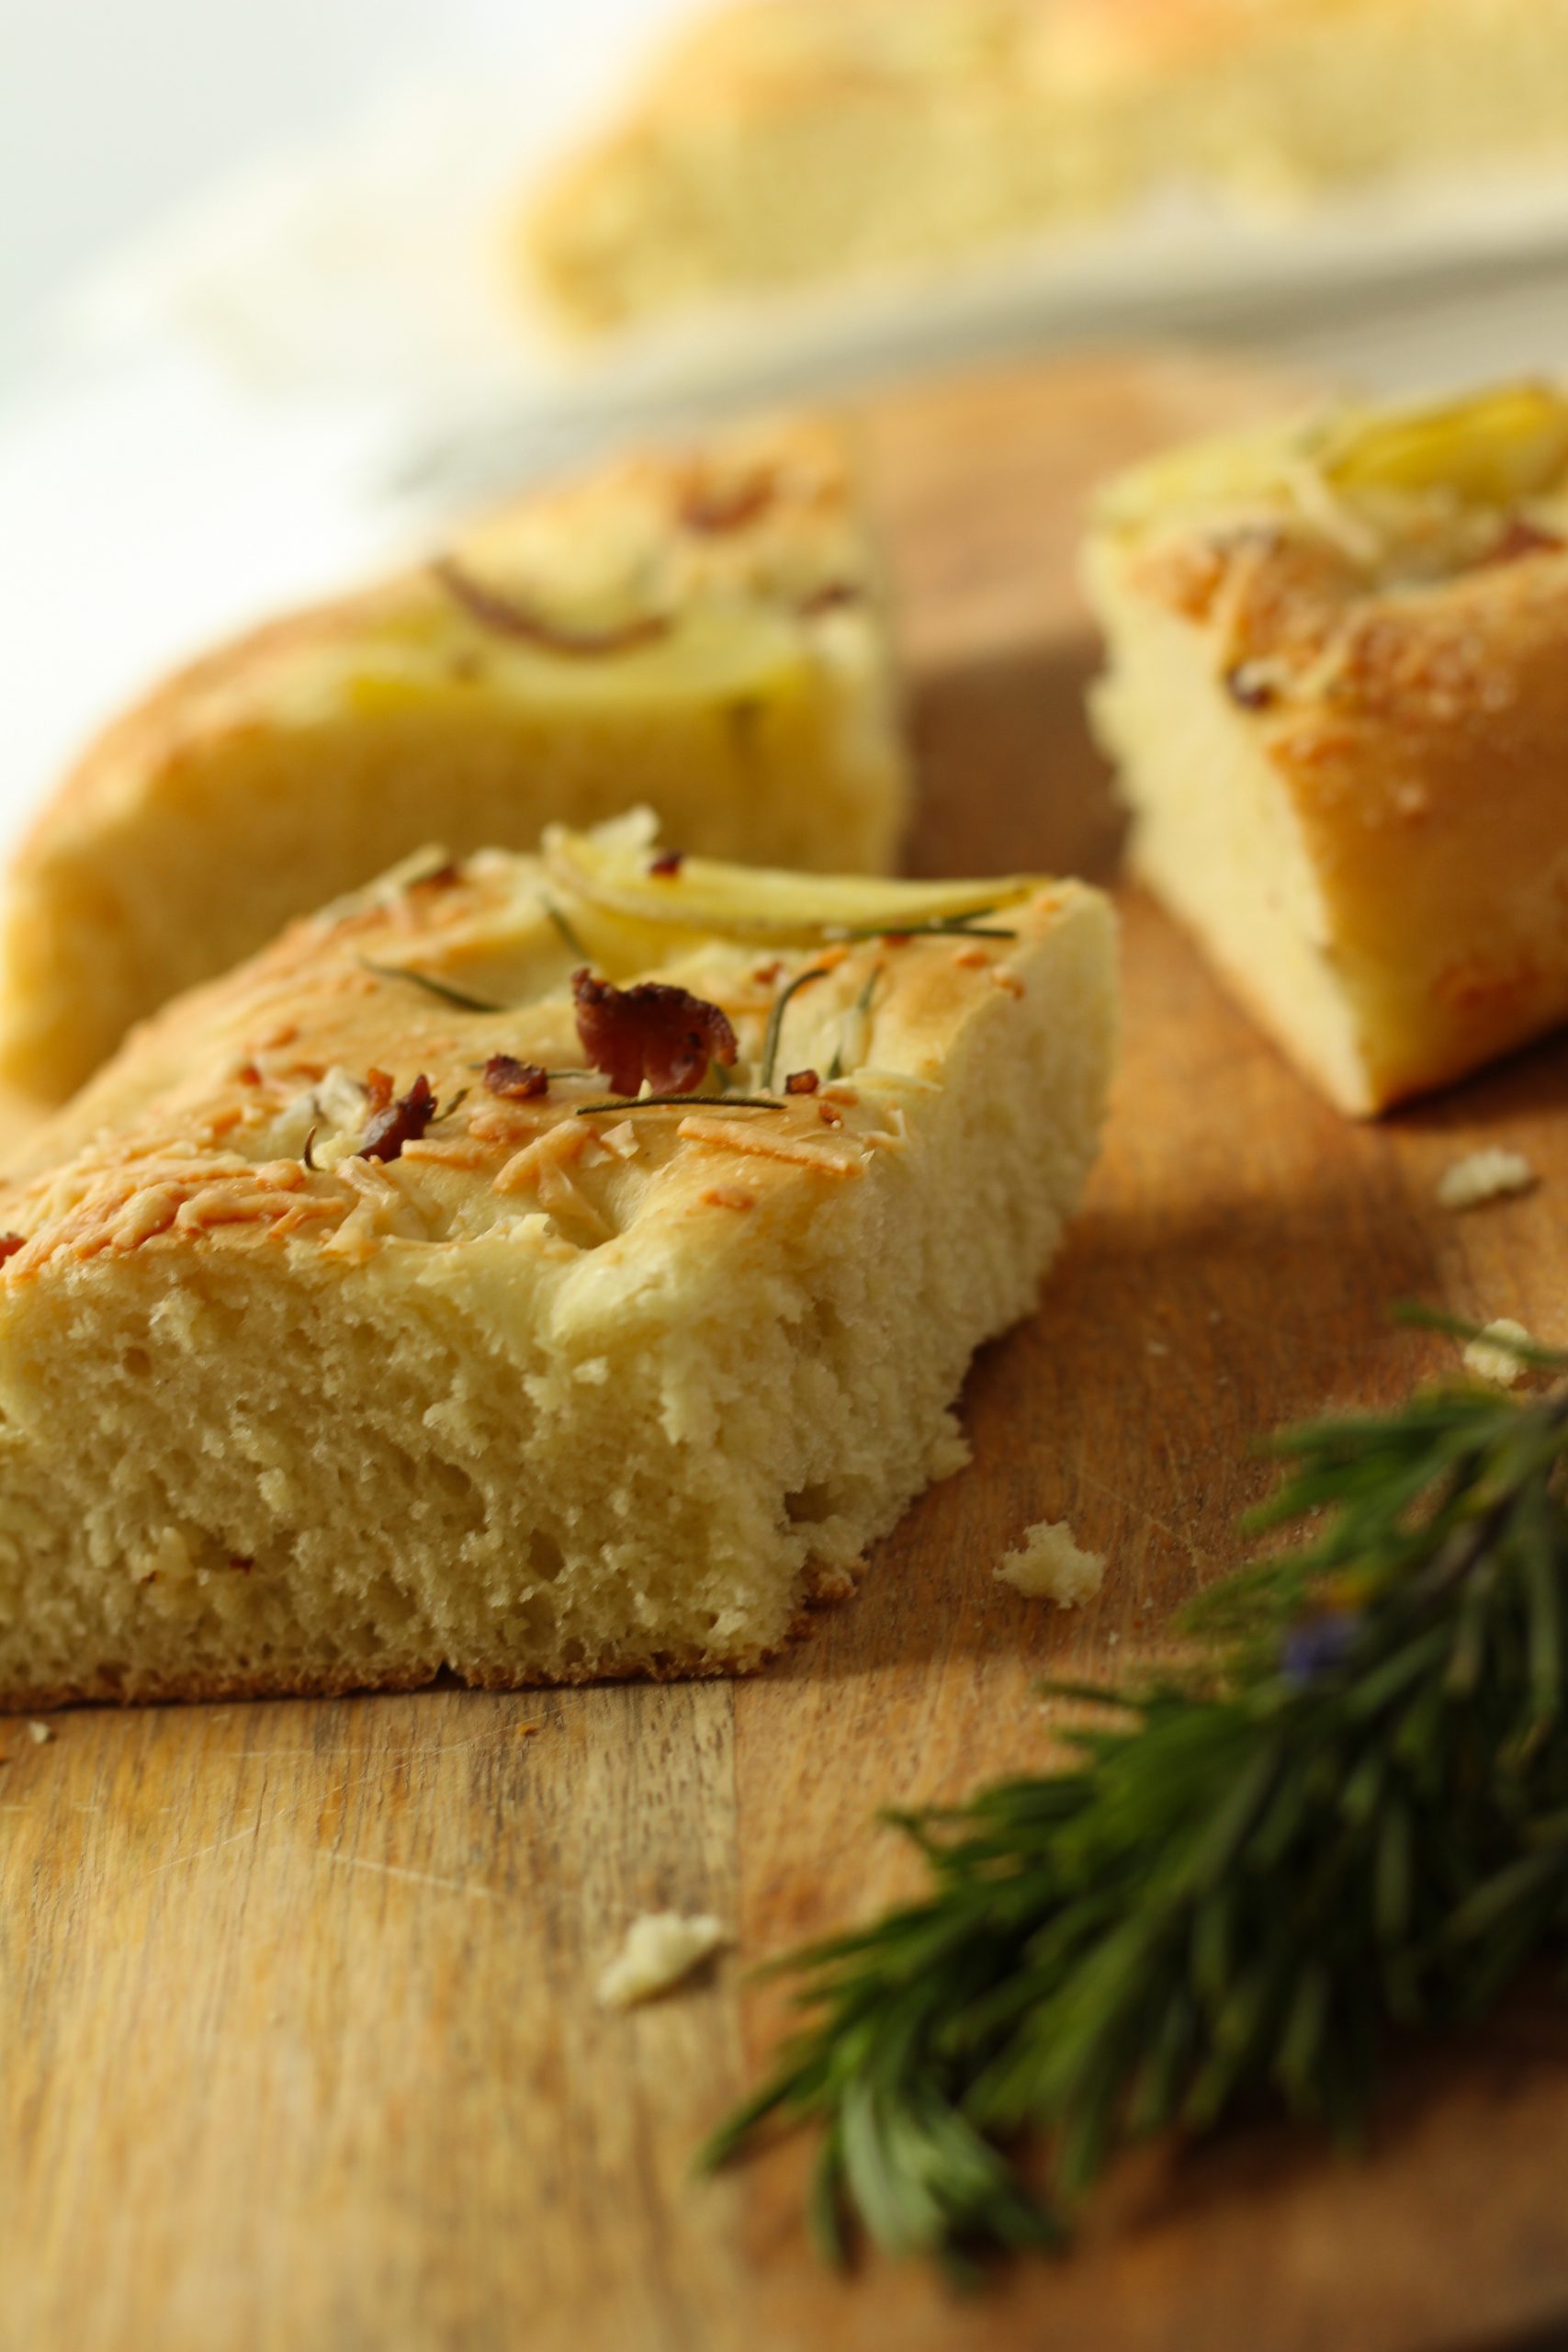
Light brown baked focaccia bread cut

You can enjoy this light, airy and delicious Focaccia bread after it cools a bit on a cooling rack!

Focaccia Bread

Flat Italian bread. The dough is similar to pizza dough but has the addition of a generous amount of olive oil. It is crispy on the outside while remaining soft inside. It is versatile enough to be served as a side dish or used as a sandwich bread.
Prep Time2 hours 25 minutes
Cook Time25 minutes
Course: Side Dish
Cuisine: Bread
Keyword: focaccia, focaccia bread
Author: Ester van Boesschoten

Ingredients

Bread

  • 1 3/4 Cups Warm water 95-100 Farhenheit
  • 2 1/4 Teaspoons Active dry yeast
  • 3 Teaspoons Raw honey
  • 4 Cups Bread flour
  • 1 Tablespoon Salt
  • 1/2 Cup Olive oil extra for greasing the tin

Topping

  • 3 Tablespoons Olive oil
  • 1 Tablespoon Coarse sea salt
  • 1 Tablespoon Fresh rosemary

Instructions

Bread

  • In a small bowl combine 1/4 cup water, yeast and one teaspoon of honey. Stir and let it stand until it is foamy. This takes around 5 minutes.
  • In the bowl of your mixer, with a dough hook, combine bread flour and salt. With the mixer on low slowly pour in the yeast mixture. When combined, add the rest of the honey, remaining water (1 1/2cup) and half a cup of the olive oil. Mix it on medium speed for 3-4 minutes.
  • Grease a bowl with olive oil. Place the dough in the greased bowl. Cover and let it rest in a warm, draft free area until it is doubled in size. This takes around an hour.
  • Drizzle 2 tablespoon of olive oil in a rimmed sheet pan that is about 17×13 inches.
  • After the first rise, punch the dough down to release the air. Place the dough on the prepared sheet pan and shape the dough into a rectangle. The dough should be a 1/2 inch thick.
  • Cover the dough with cling wrap and place it in a warm draft free area on your counter until it is doubled in size. This takes about 1 hour.
  • Preheat your oven to 400 degrees Farhenheit.
  • After the second rise, use your fingers to poke and create deep dents in the dough. Then drizzle with a tablespoon of olive oil and top with fresh rosemary and sea salt. You can bake it now or add extra toppings.

Topping

  • Cook your bacon to a crisp and let them rest on a paper towel.
  • Thinly slice your potatoes and grate your cheese. Add your extra toppings to the bread.

Baking.

  • Bake the focaccia until it is slightly golden and cooked through. This takes around 20 minutes.
  • Let it cool on the cooling rack.

If you’re looking for more bread ideas, check out this Irish soda bread on my blog.


Creamy broccoli soup
This easy broccoli soup is one of my family’s favorite! Super easy and quick to make. The combination of broccoli with the potatoes makes it extra creamy and delicious. Sautéed shallot gives it an extra flavor.

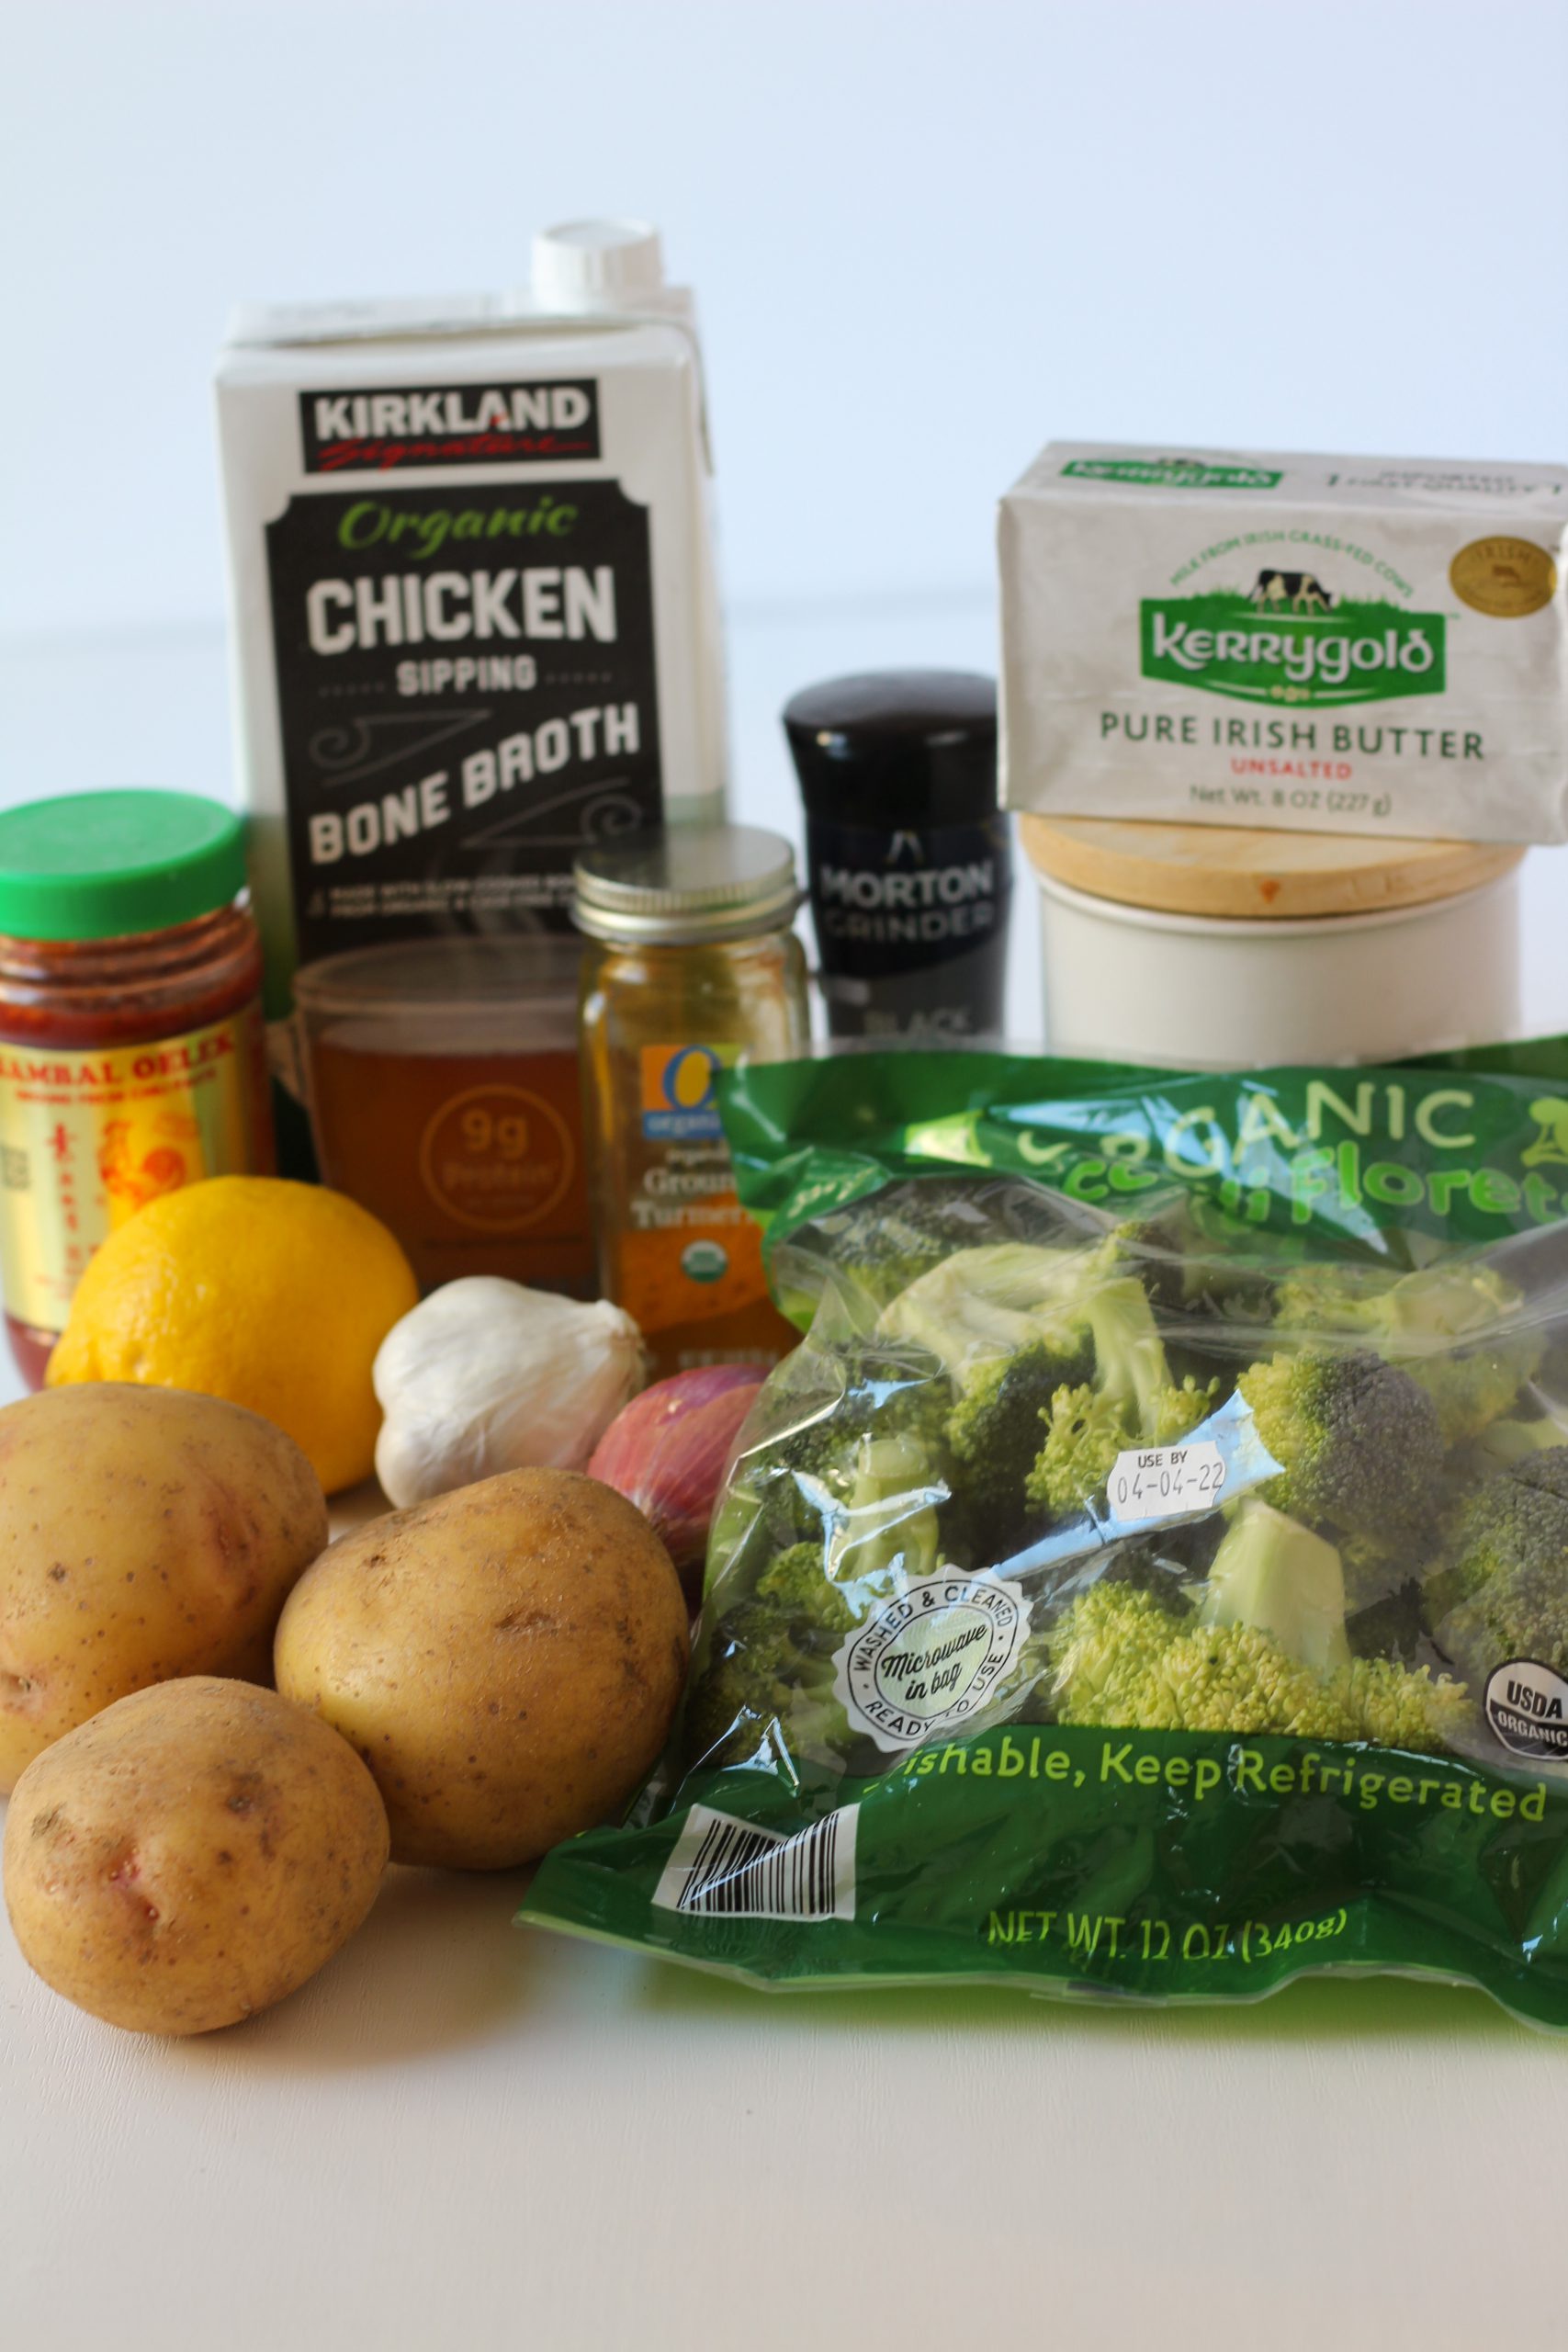
Ingredients for broccoli soup

In my kitchen I use a lot of sambal oelek

Sambal oelek, heavy whipped cream, lemon

Essentially Sambal Oelek is an Indonesian raw ground chili paste that isn’t very spicy. The spice levels are comparable to Sriracha but have far less lemon, making it less sour. The ingredients include chili peppers, vinegar and salt which add a little extra kick to your dish. I have been able to find it in most supermarkets. If you can’t find it, don’t worry, because this dish will still be delicious without it.

Adding lemon juice to this meal makes a difference because it adds a high back-note. The acid activates your taste buds the same way salt does. For this reason I always add a little to my soup towards the end of cooking. The addition of heavy whipping cream gives the soup its extra creamy texture. Once the cream and lemon are added to the soup, and it is fully incorporated, then you can taste if the soup needs more spices to suit your personal preference.

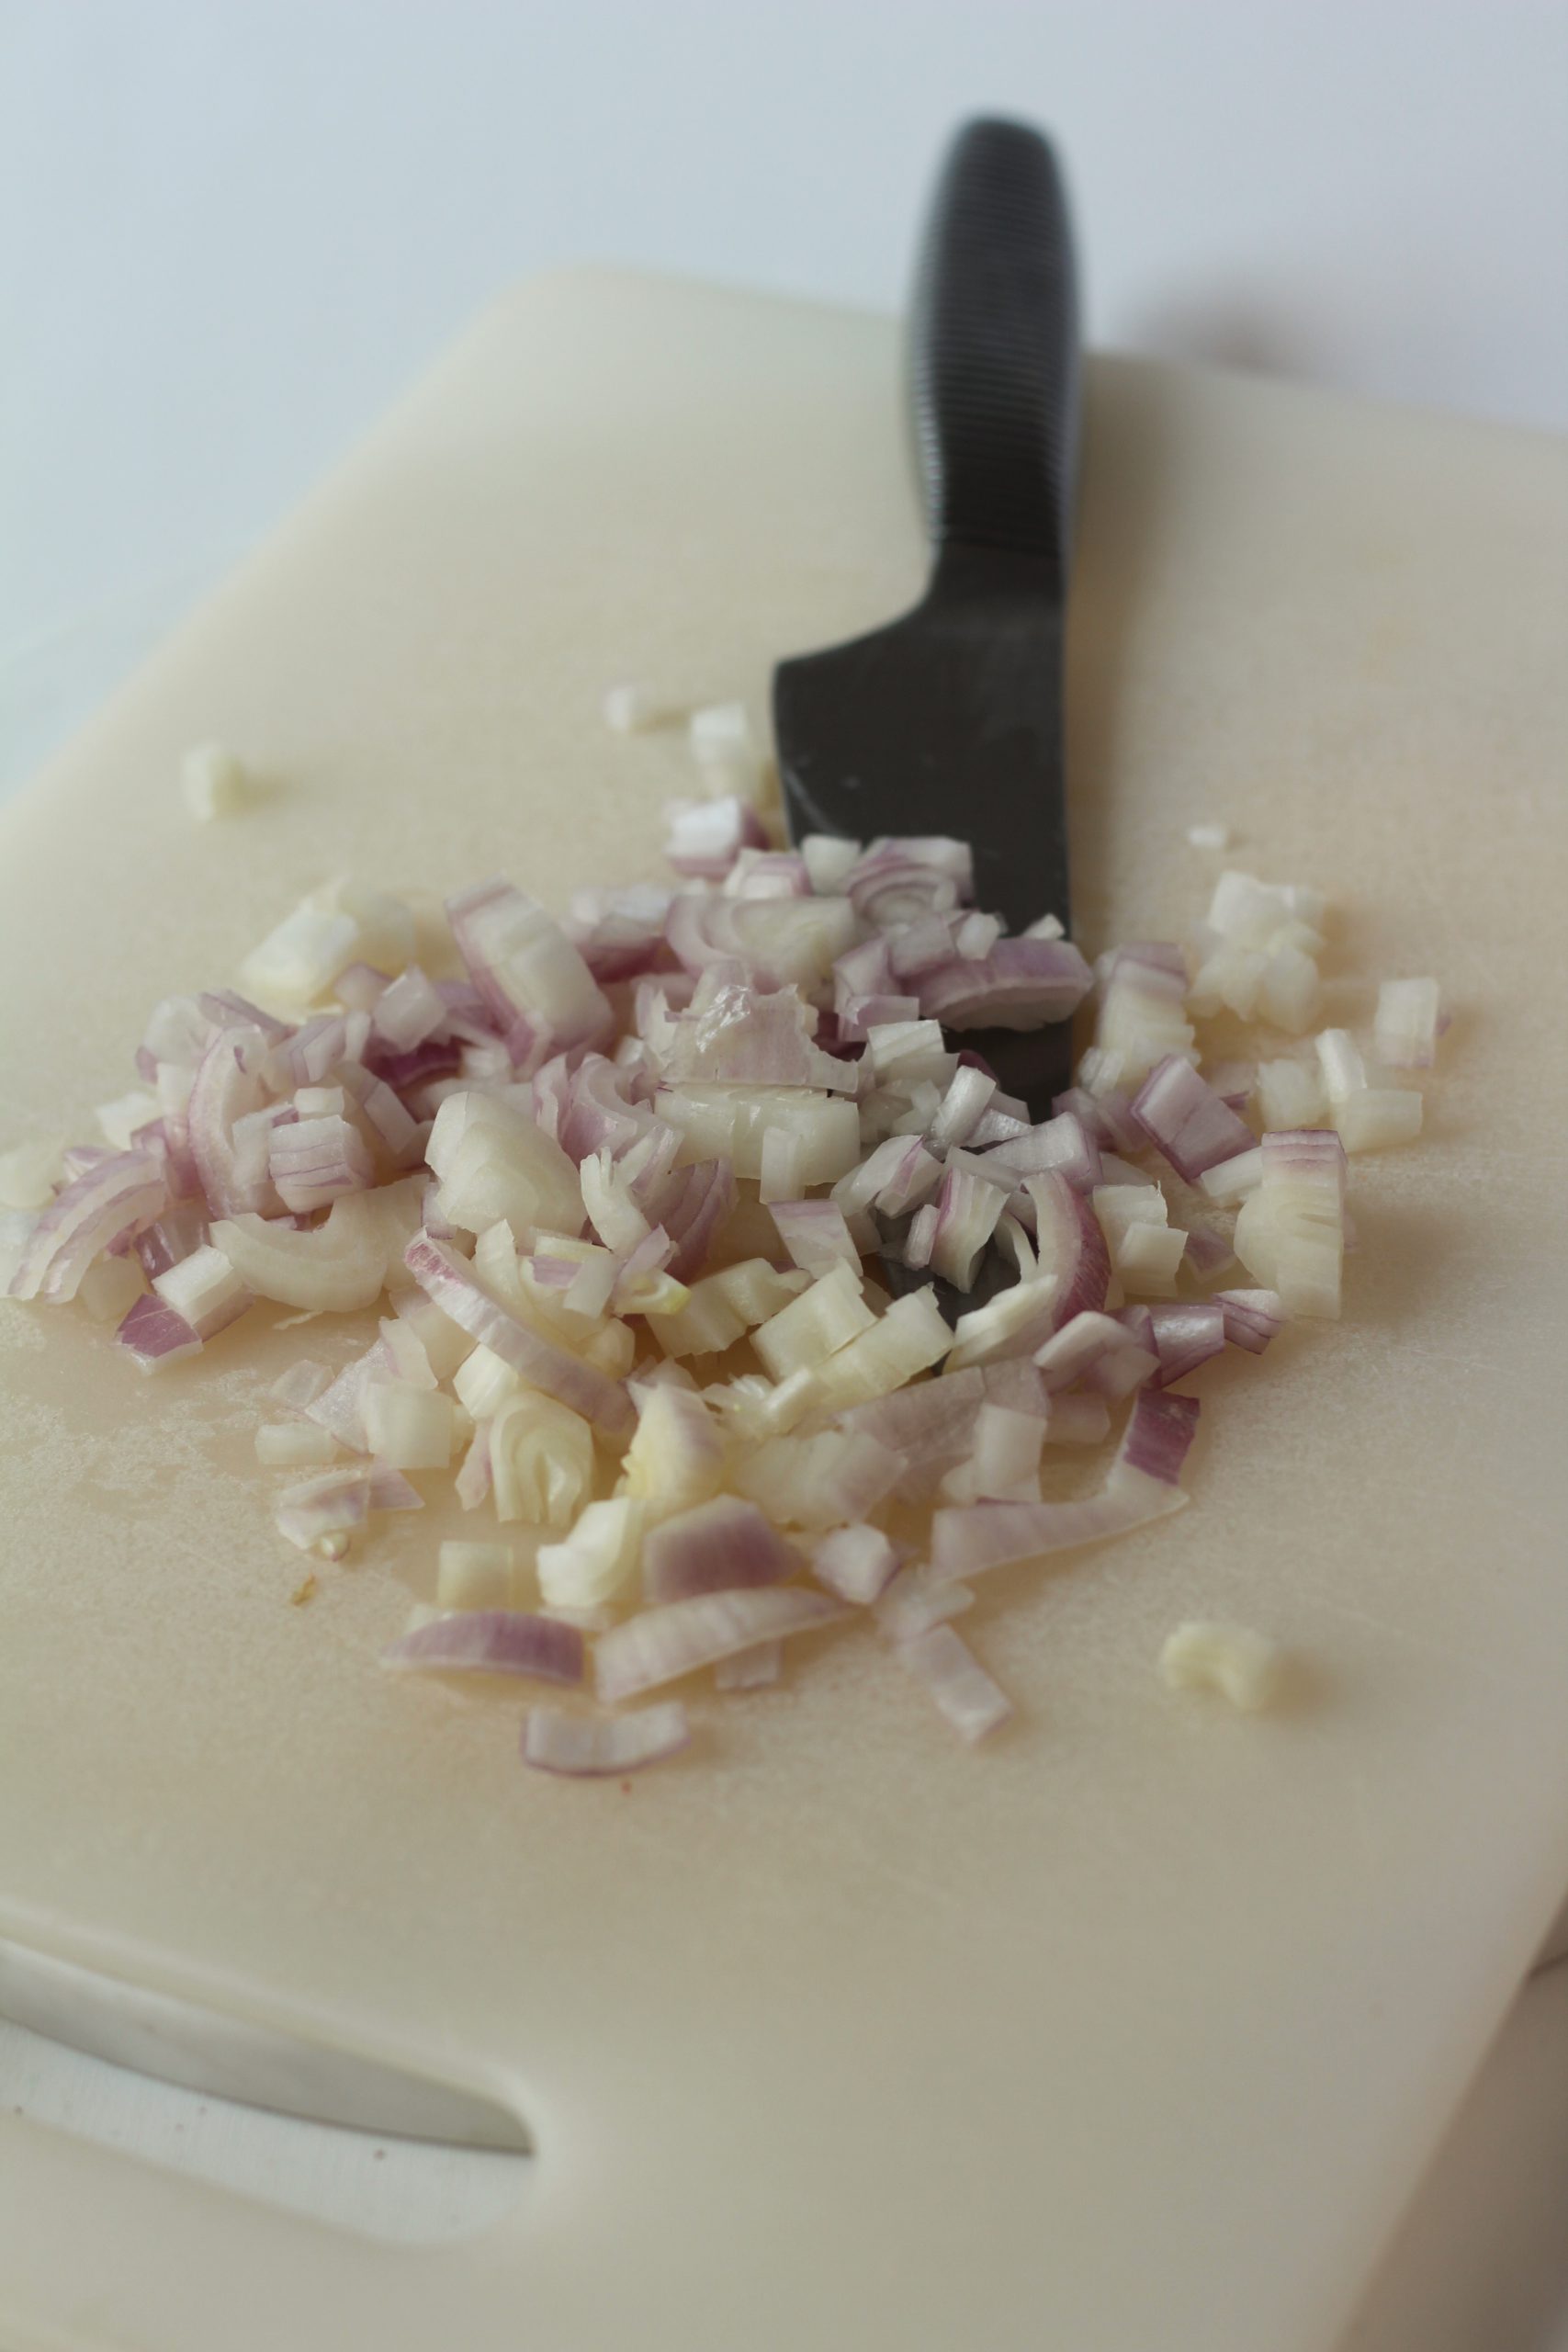
Chopped shallots

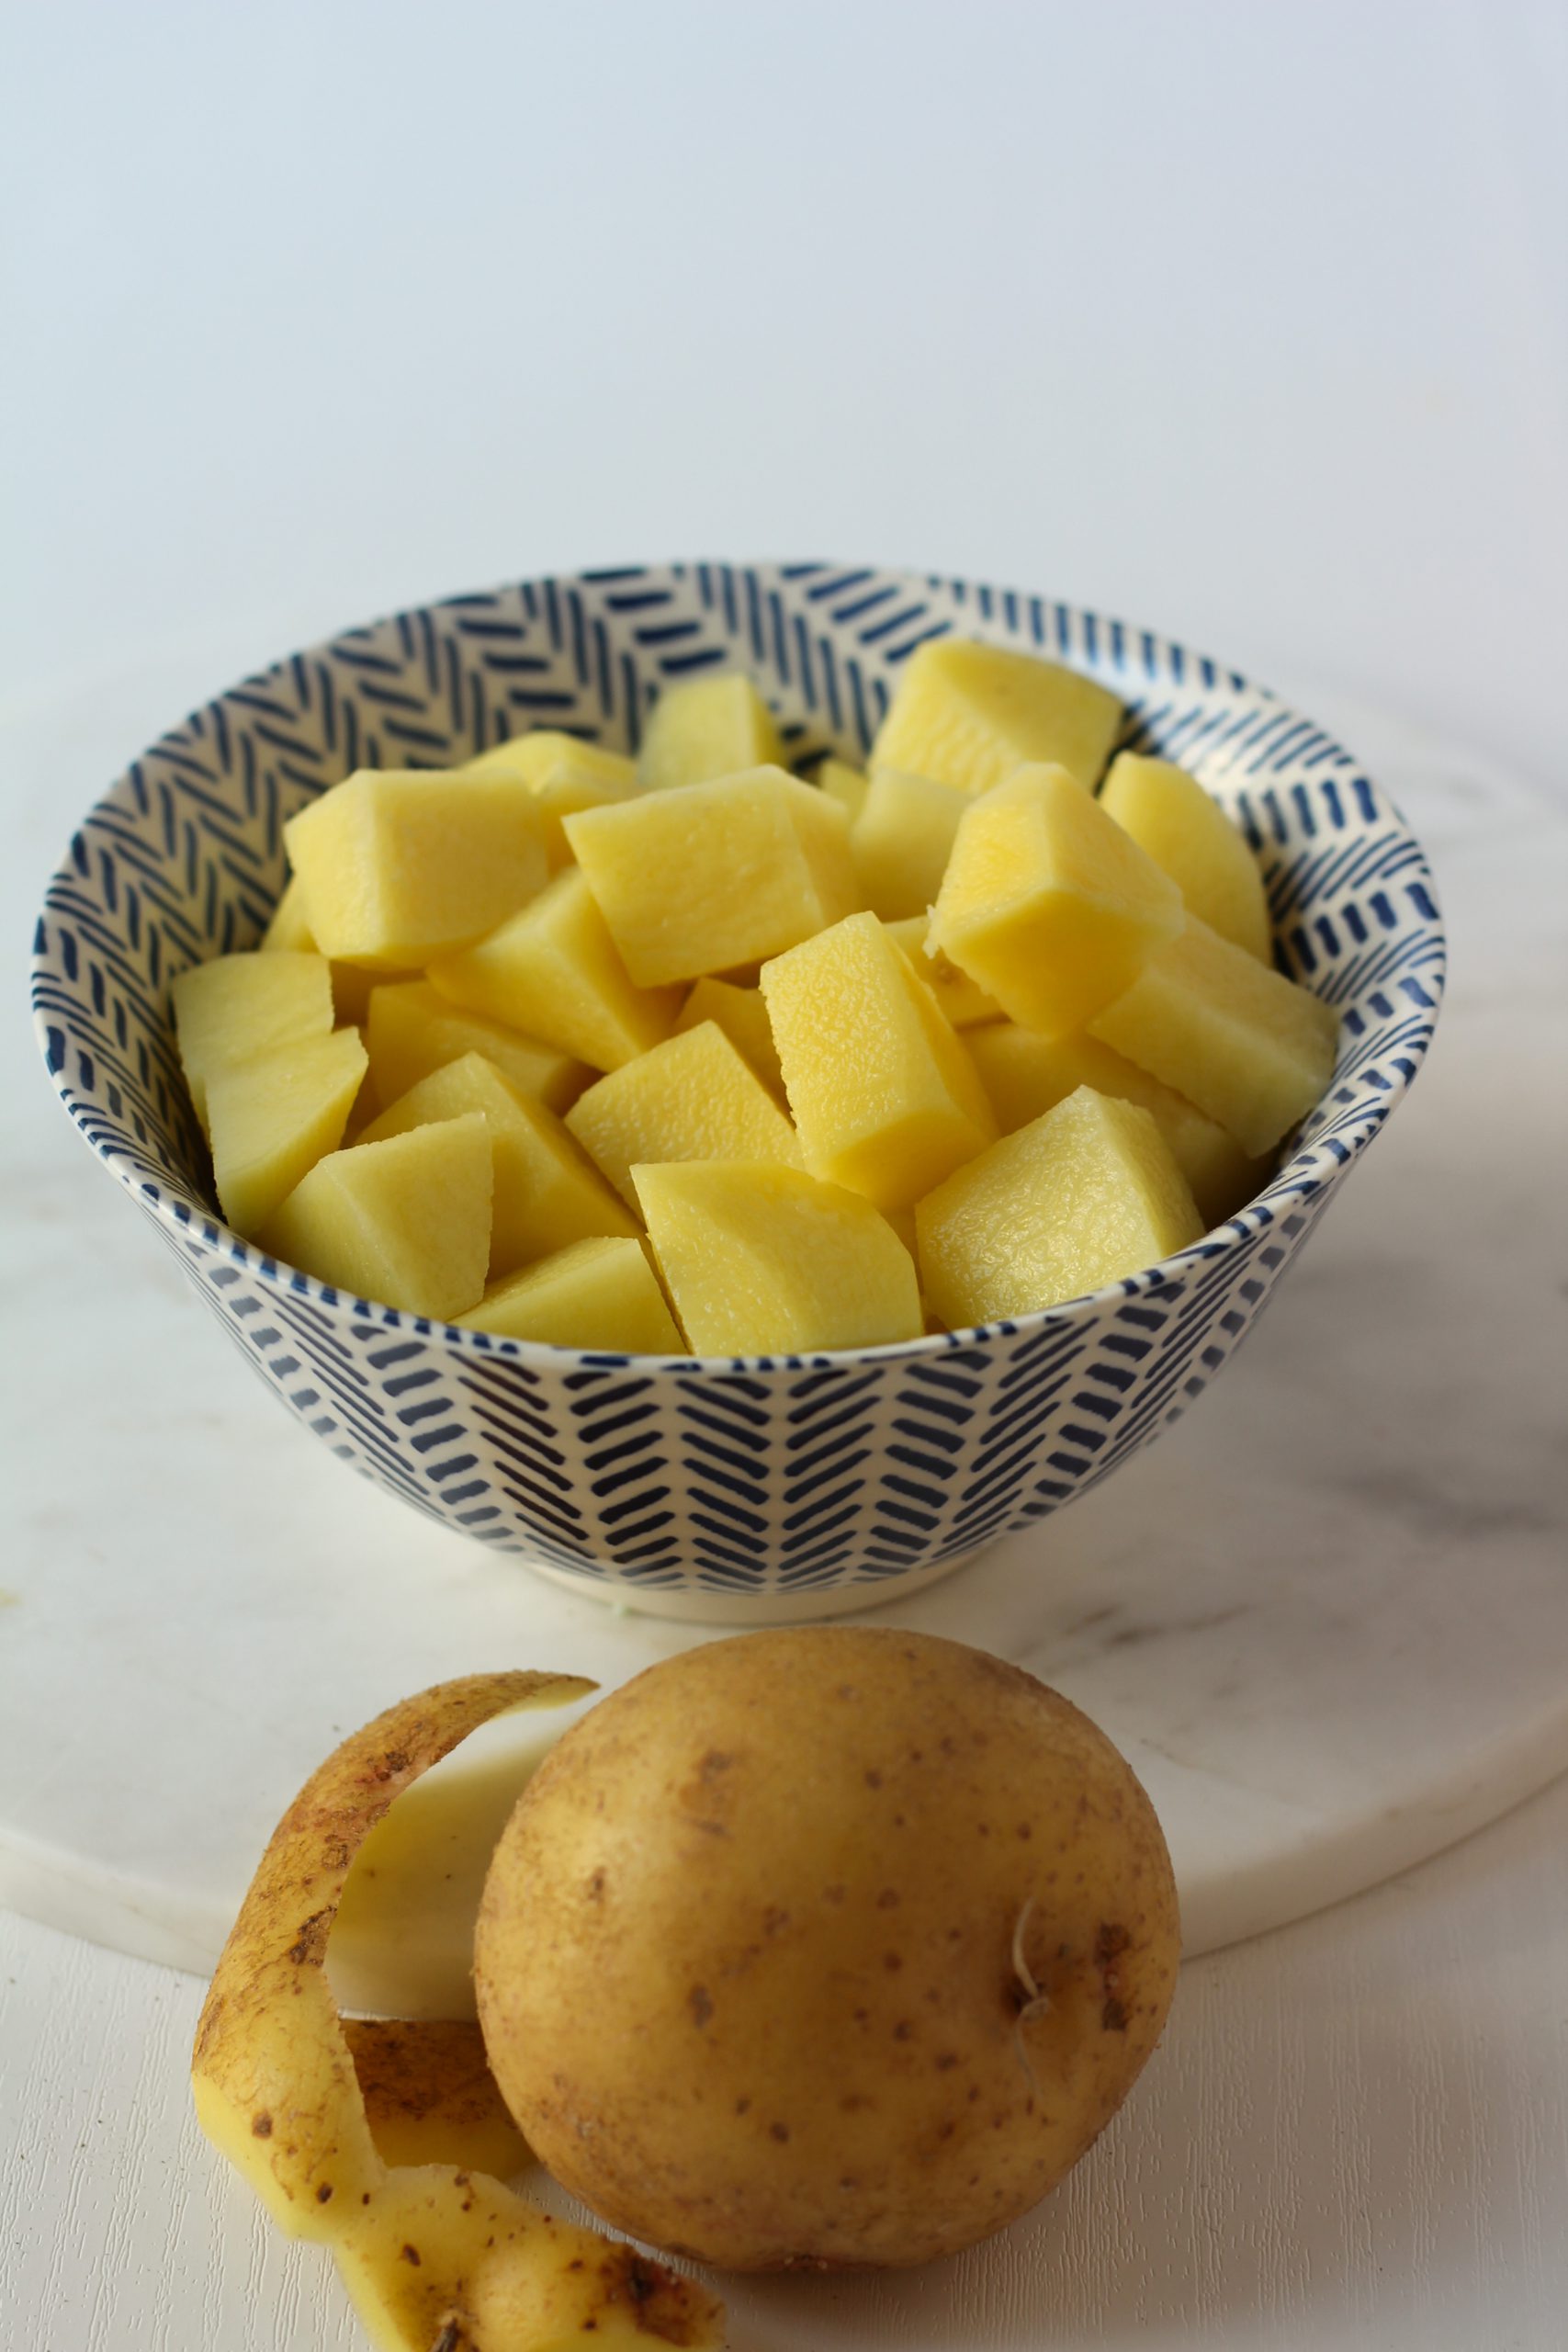
Chopped potatoes

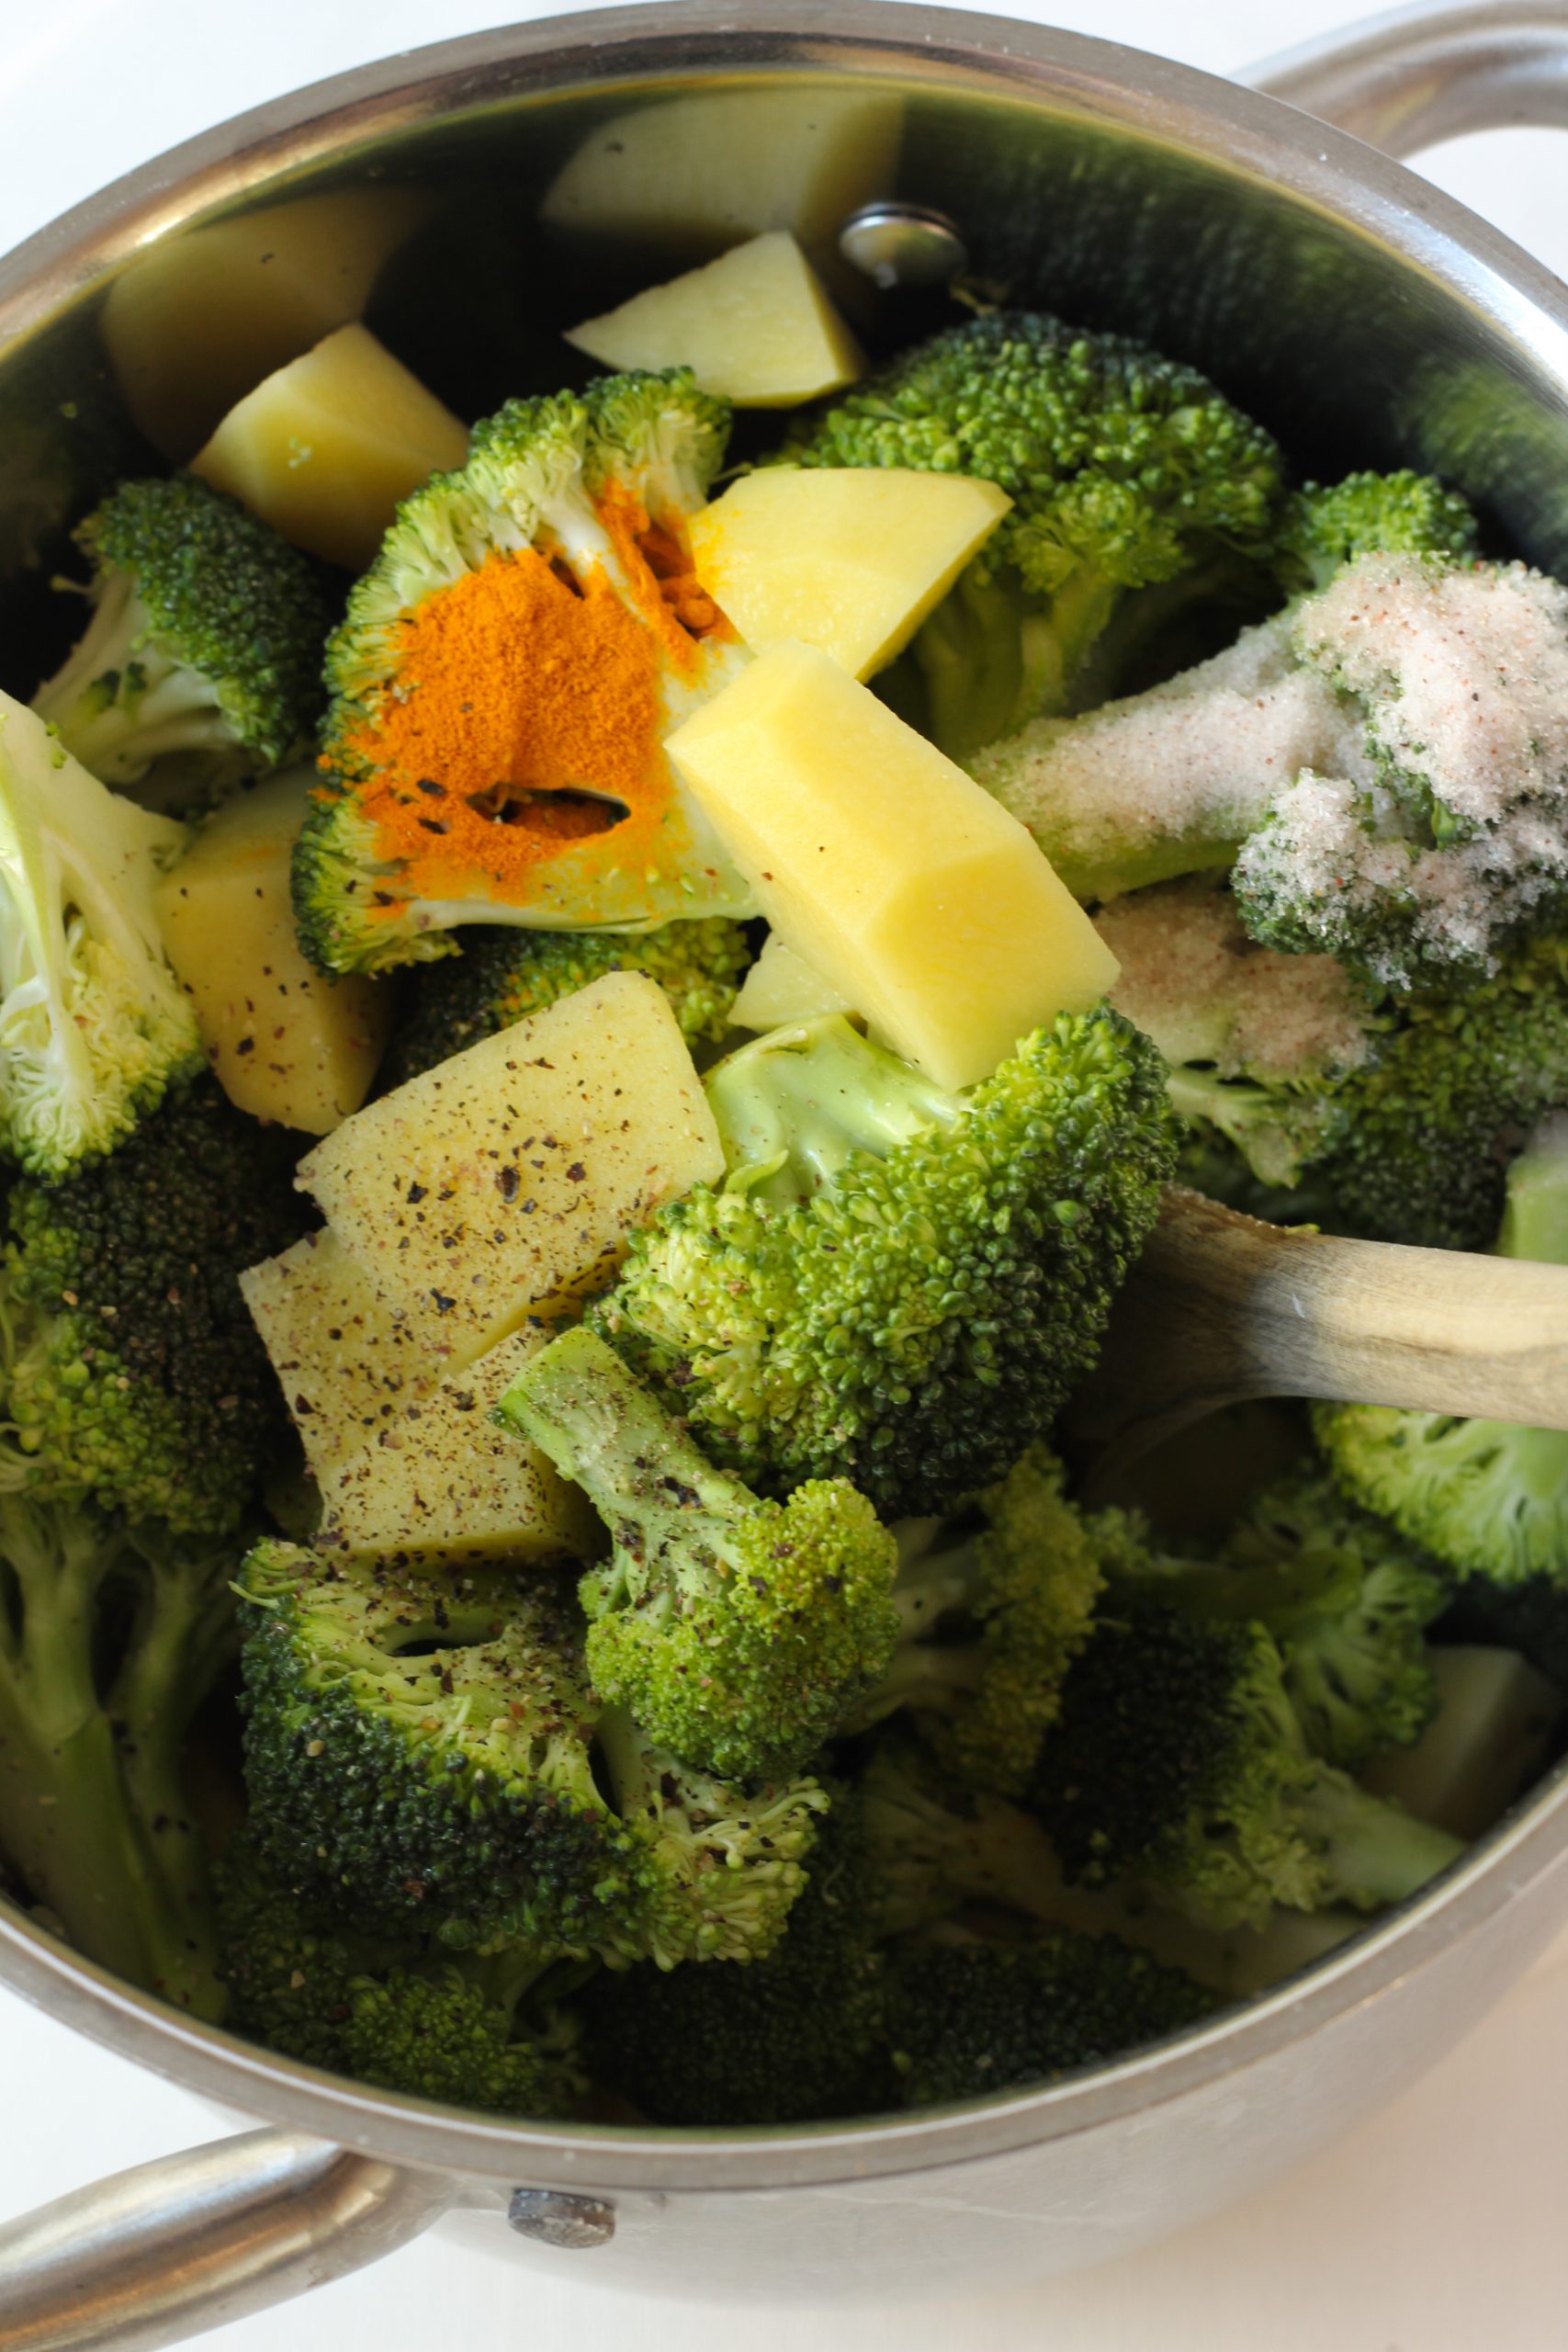
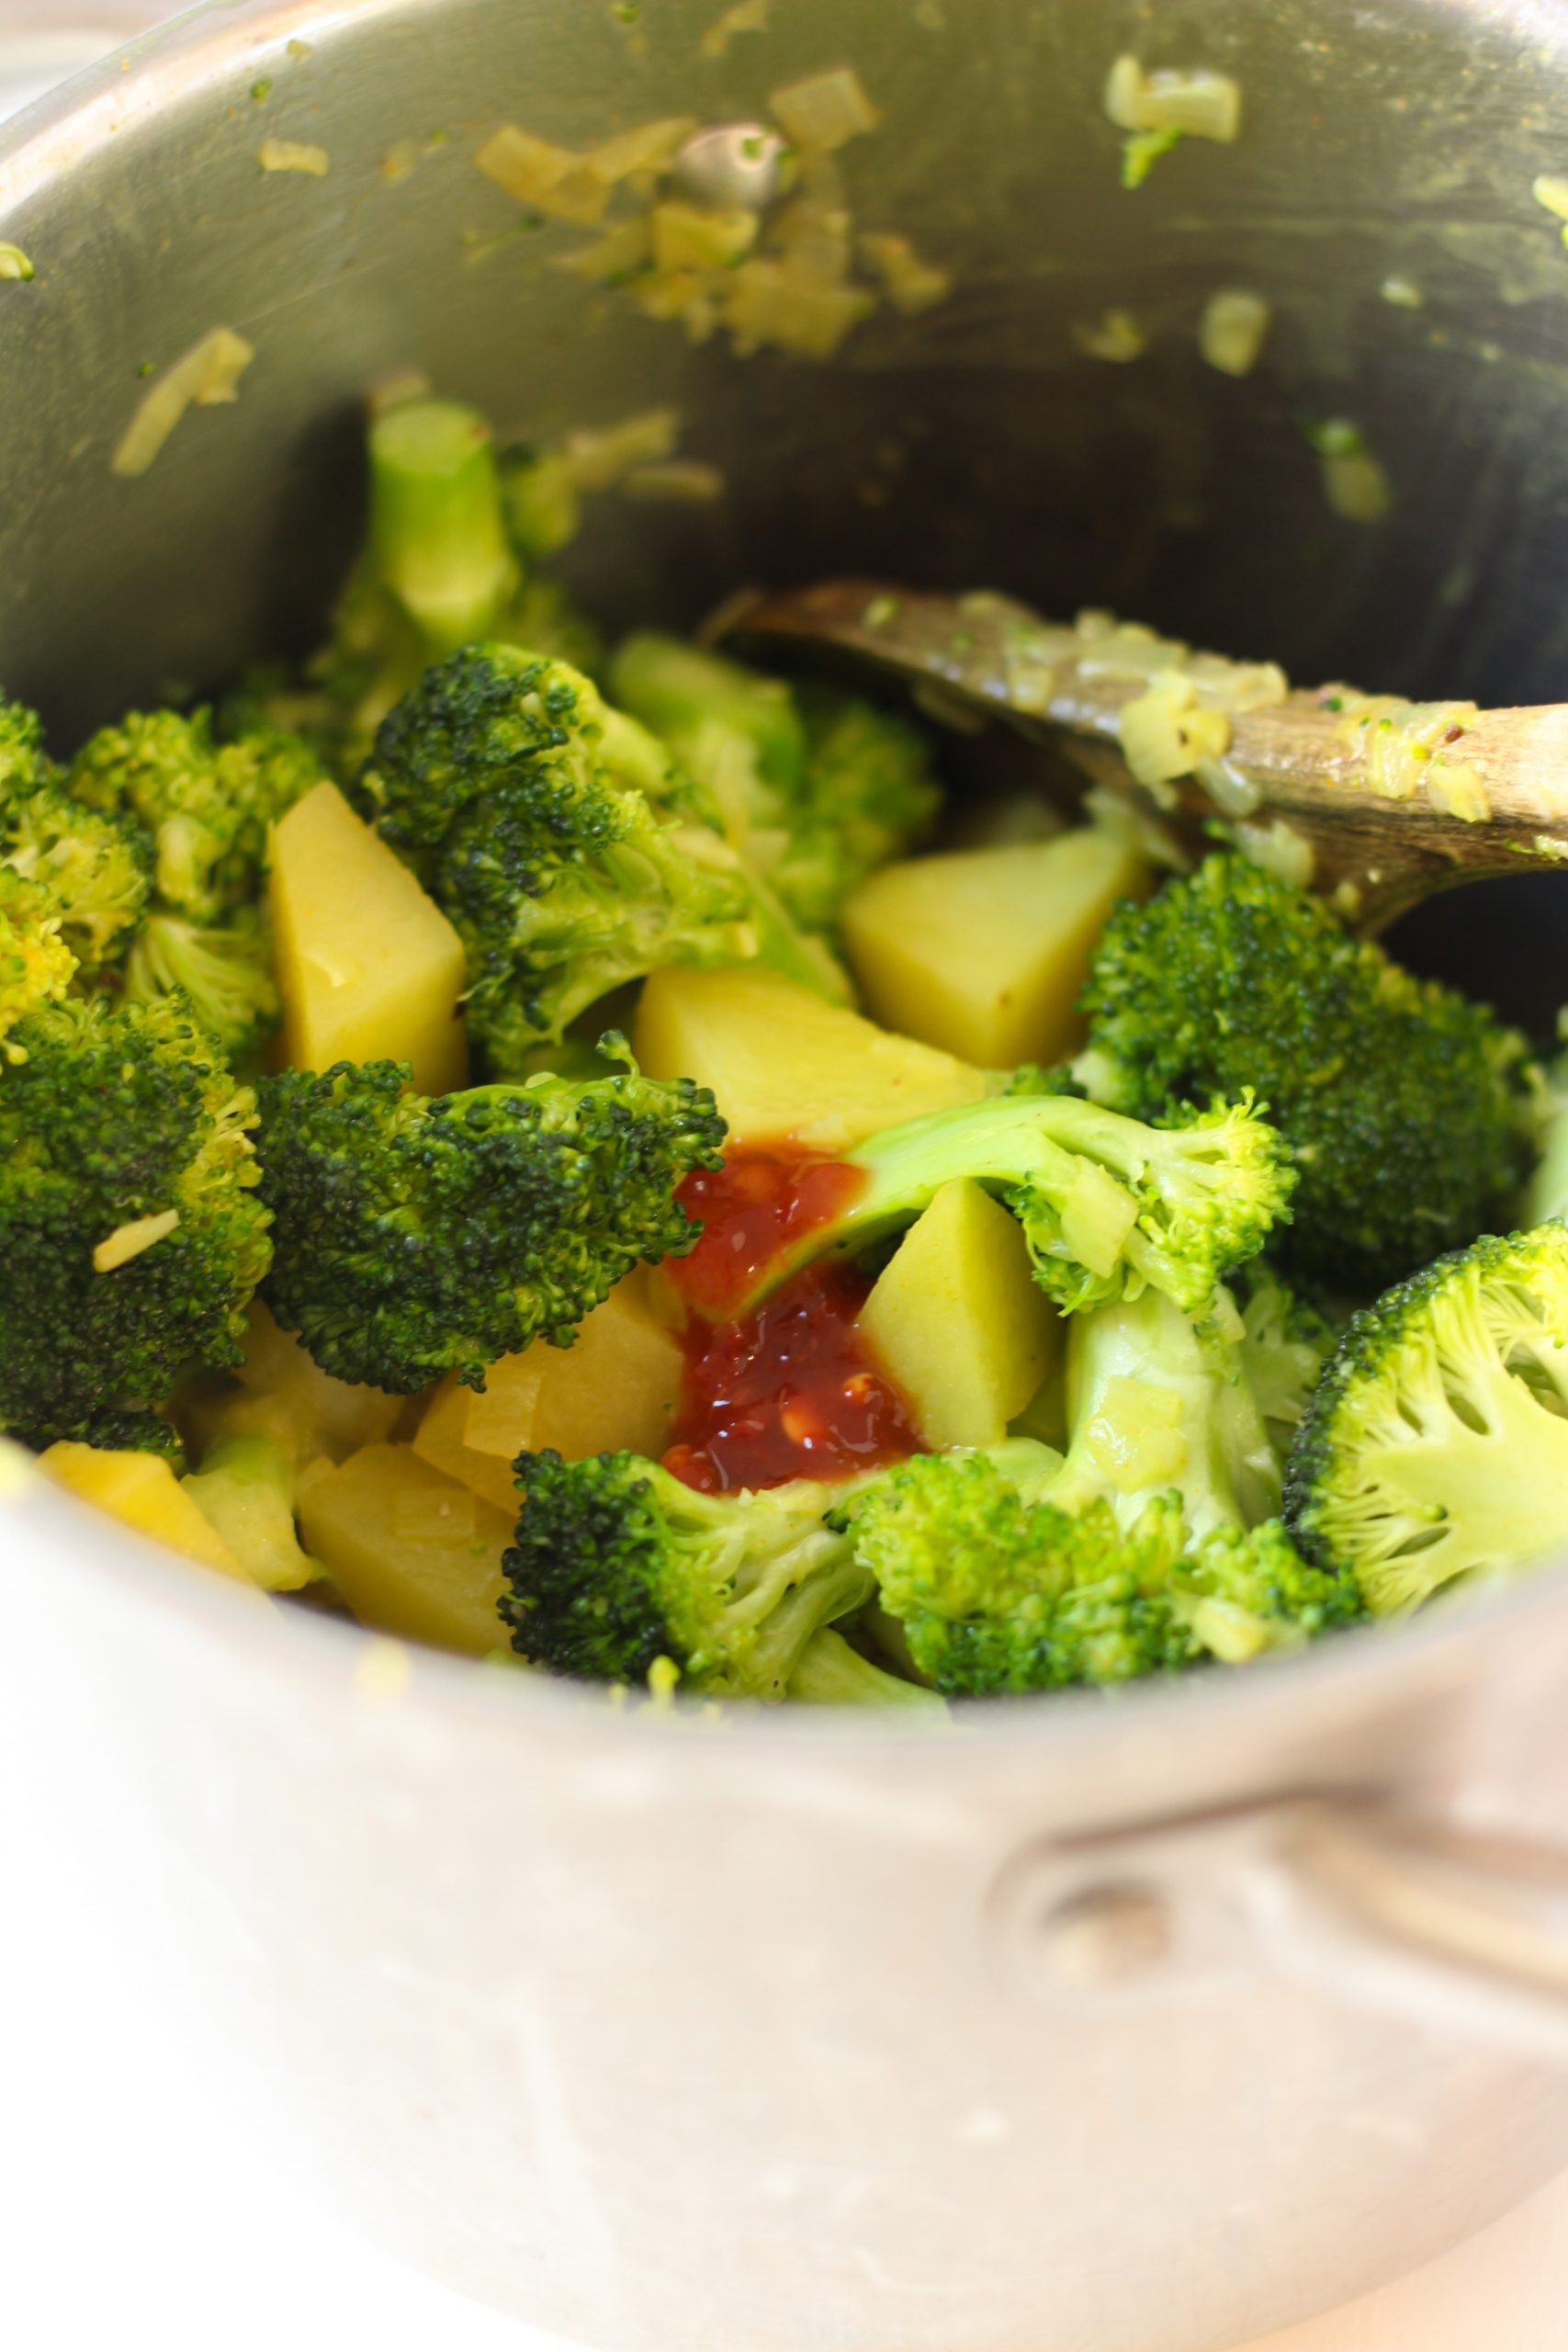
Sautéed shallot, garlic, broccoli, potatoes with herbs

I added turmeric for its heath benefits because it is an anti-inflammatory antioxidant. If you choose to add this in you can combine it with the salt and fresh black pepper. 

Adding the sambal oelek to the soup and sauté 30 seconds

I like to add the Sambal Oelek just before adding the broth. Saute it for 30 seconds or until it is lightly fragrant. Next you add the broth and bring it to a boil. I am using chicken bone broth. If you prefer it to be a vegetarian dish you can substitute vegetable broth. If you don’t have bone broth, regular chicken broth will work.

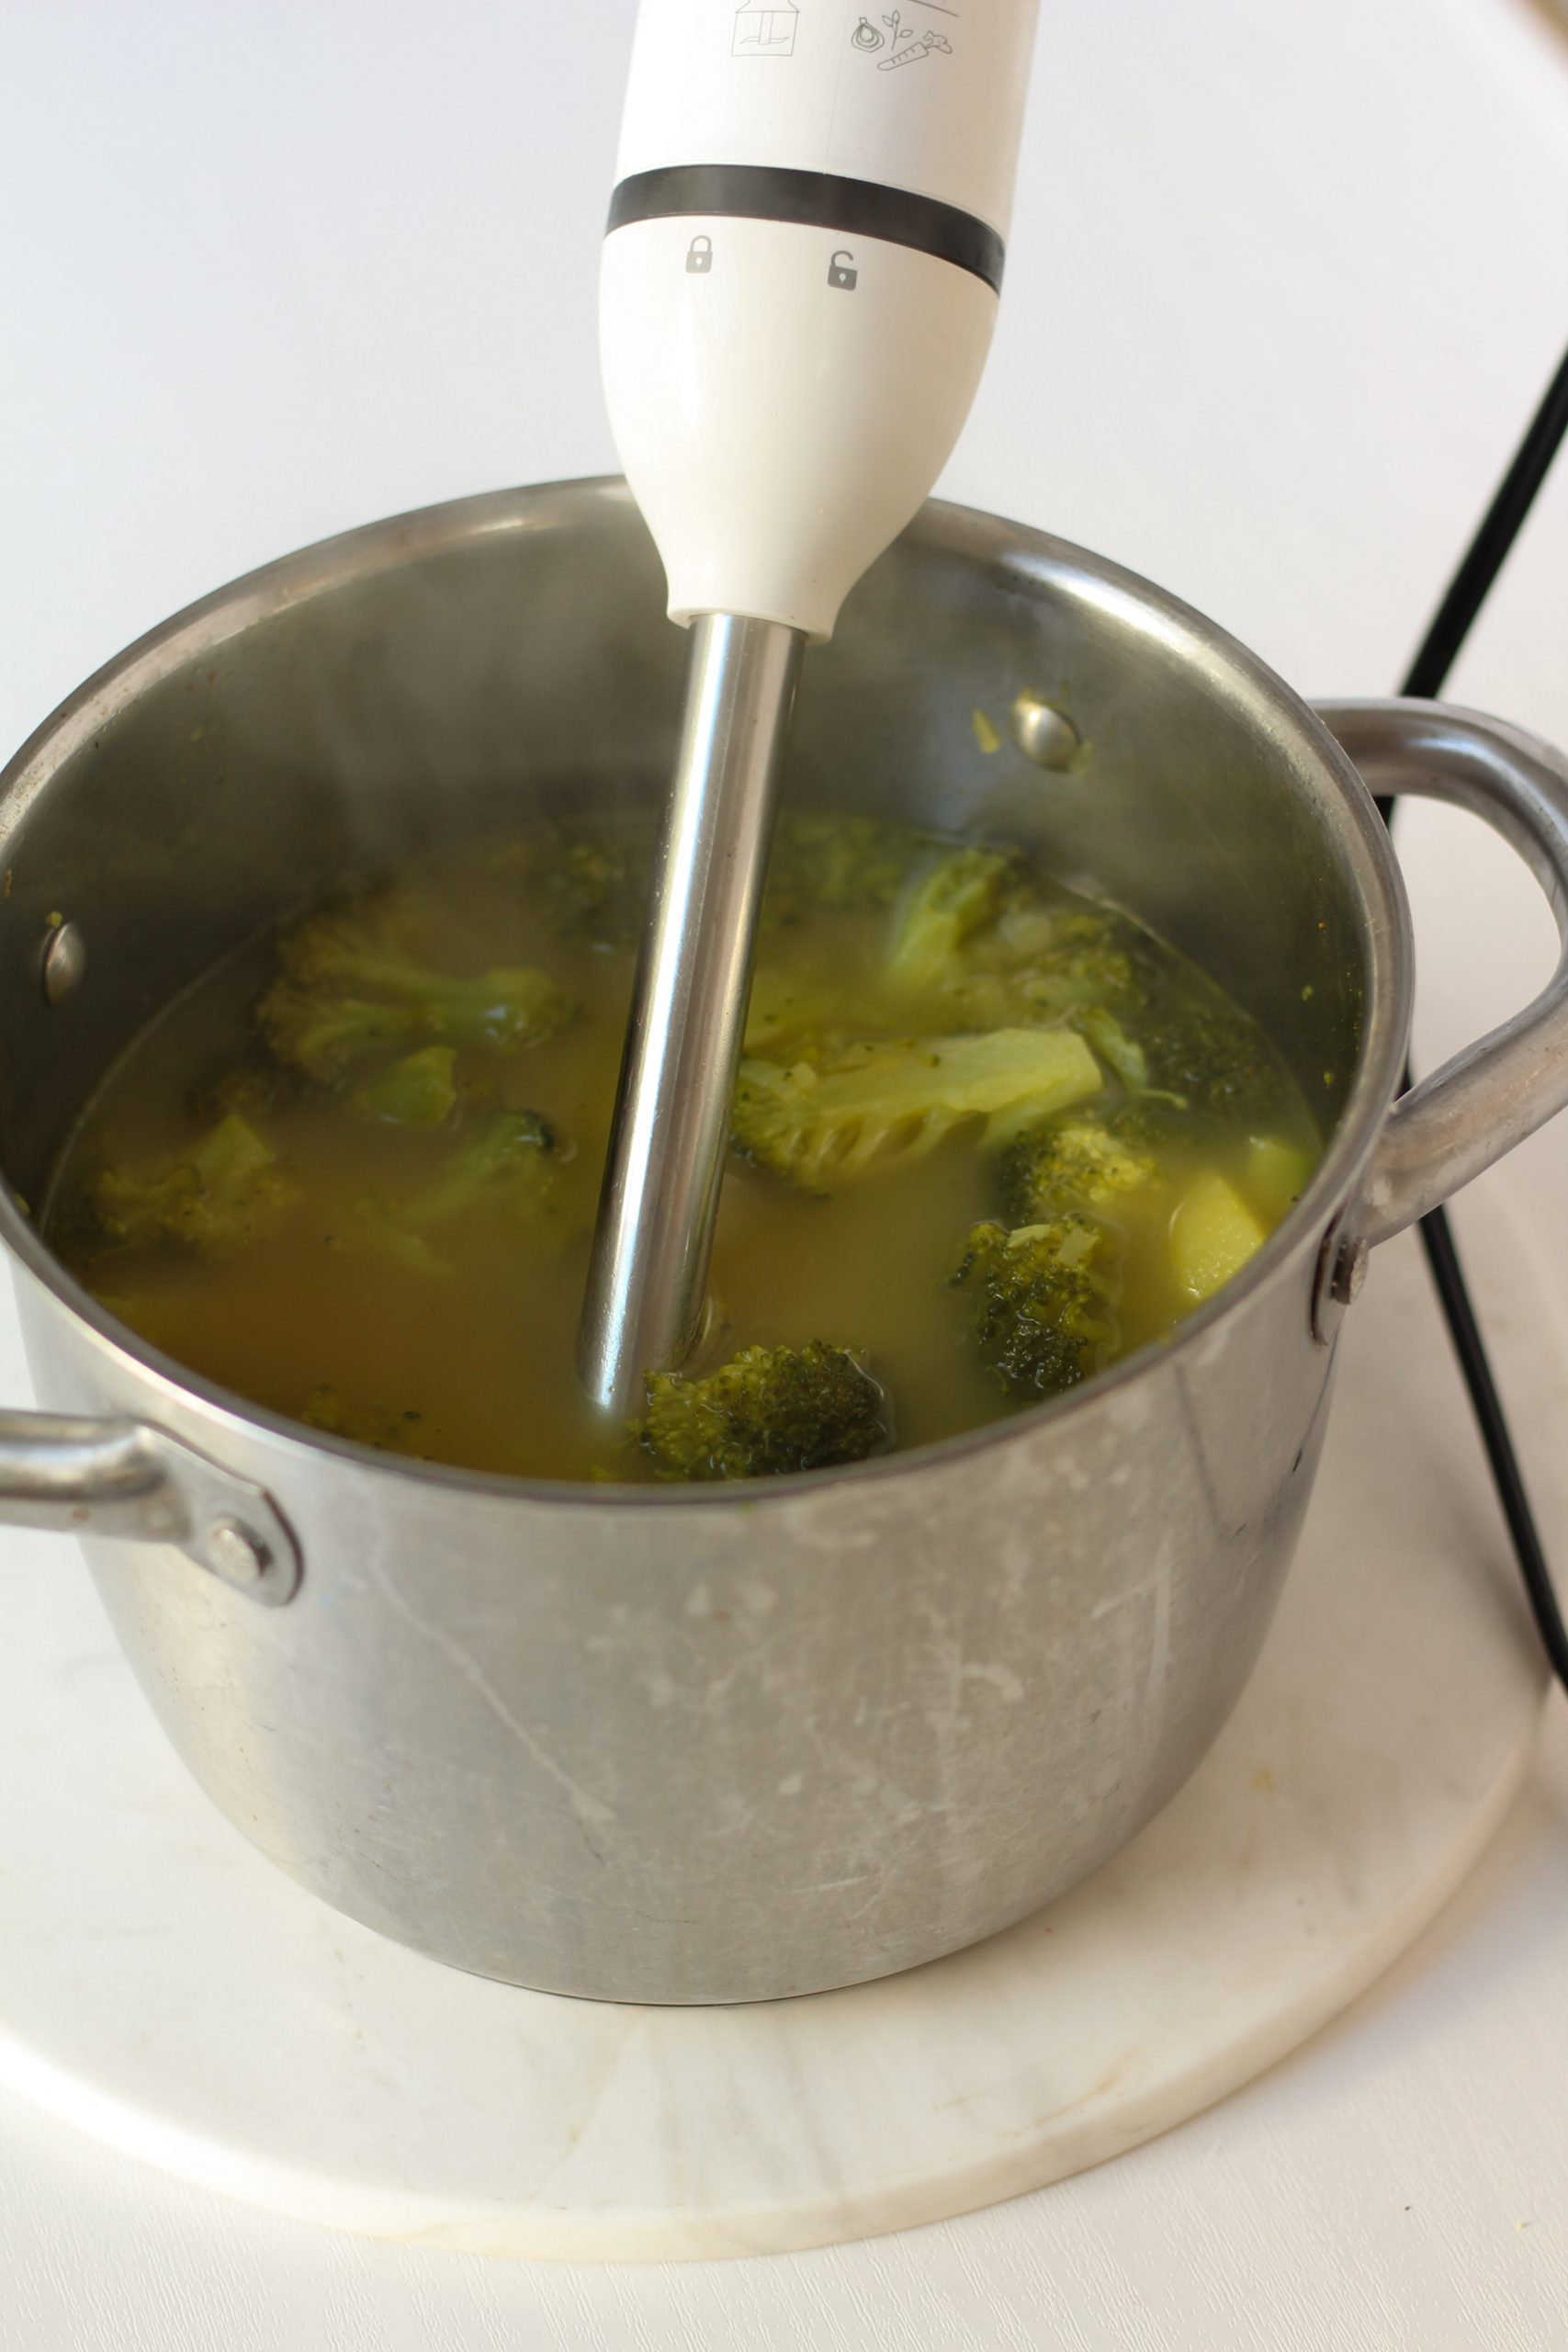
Soup ready to blend

Blending soup

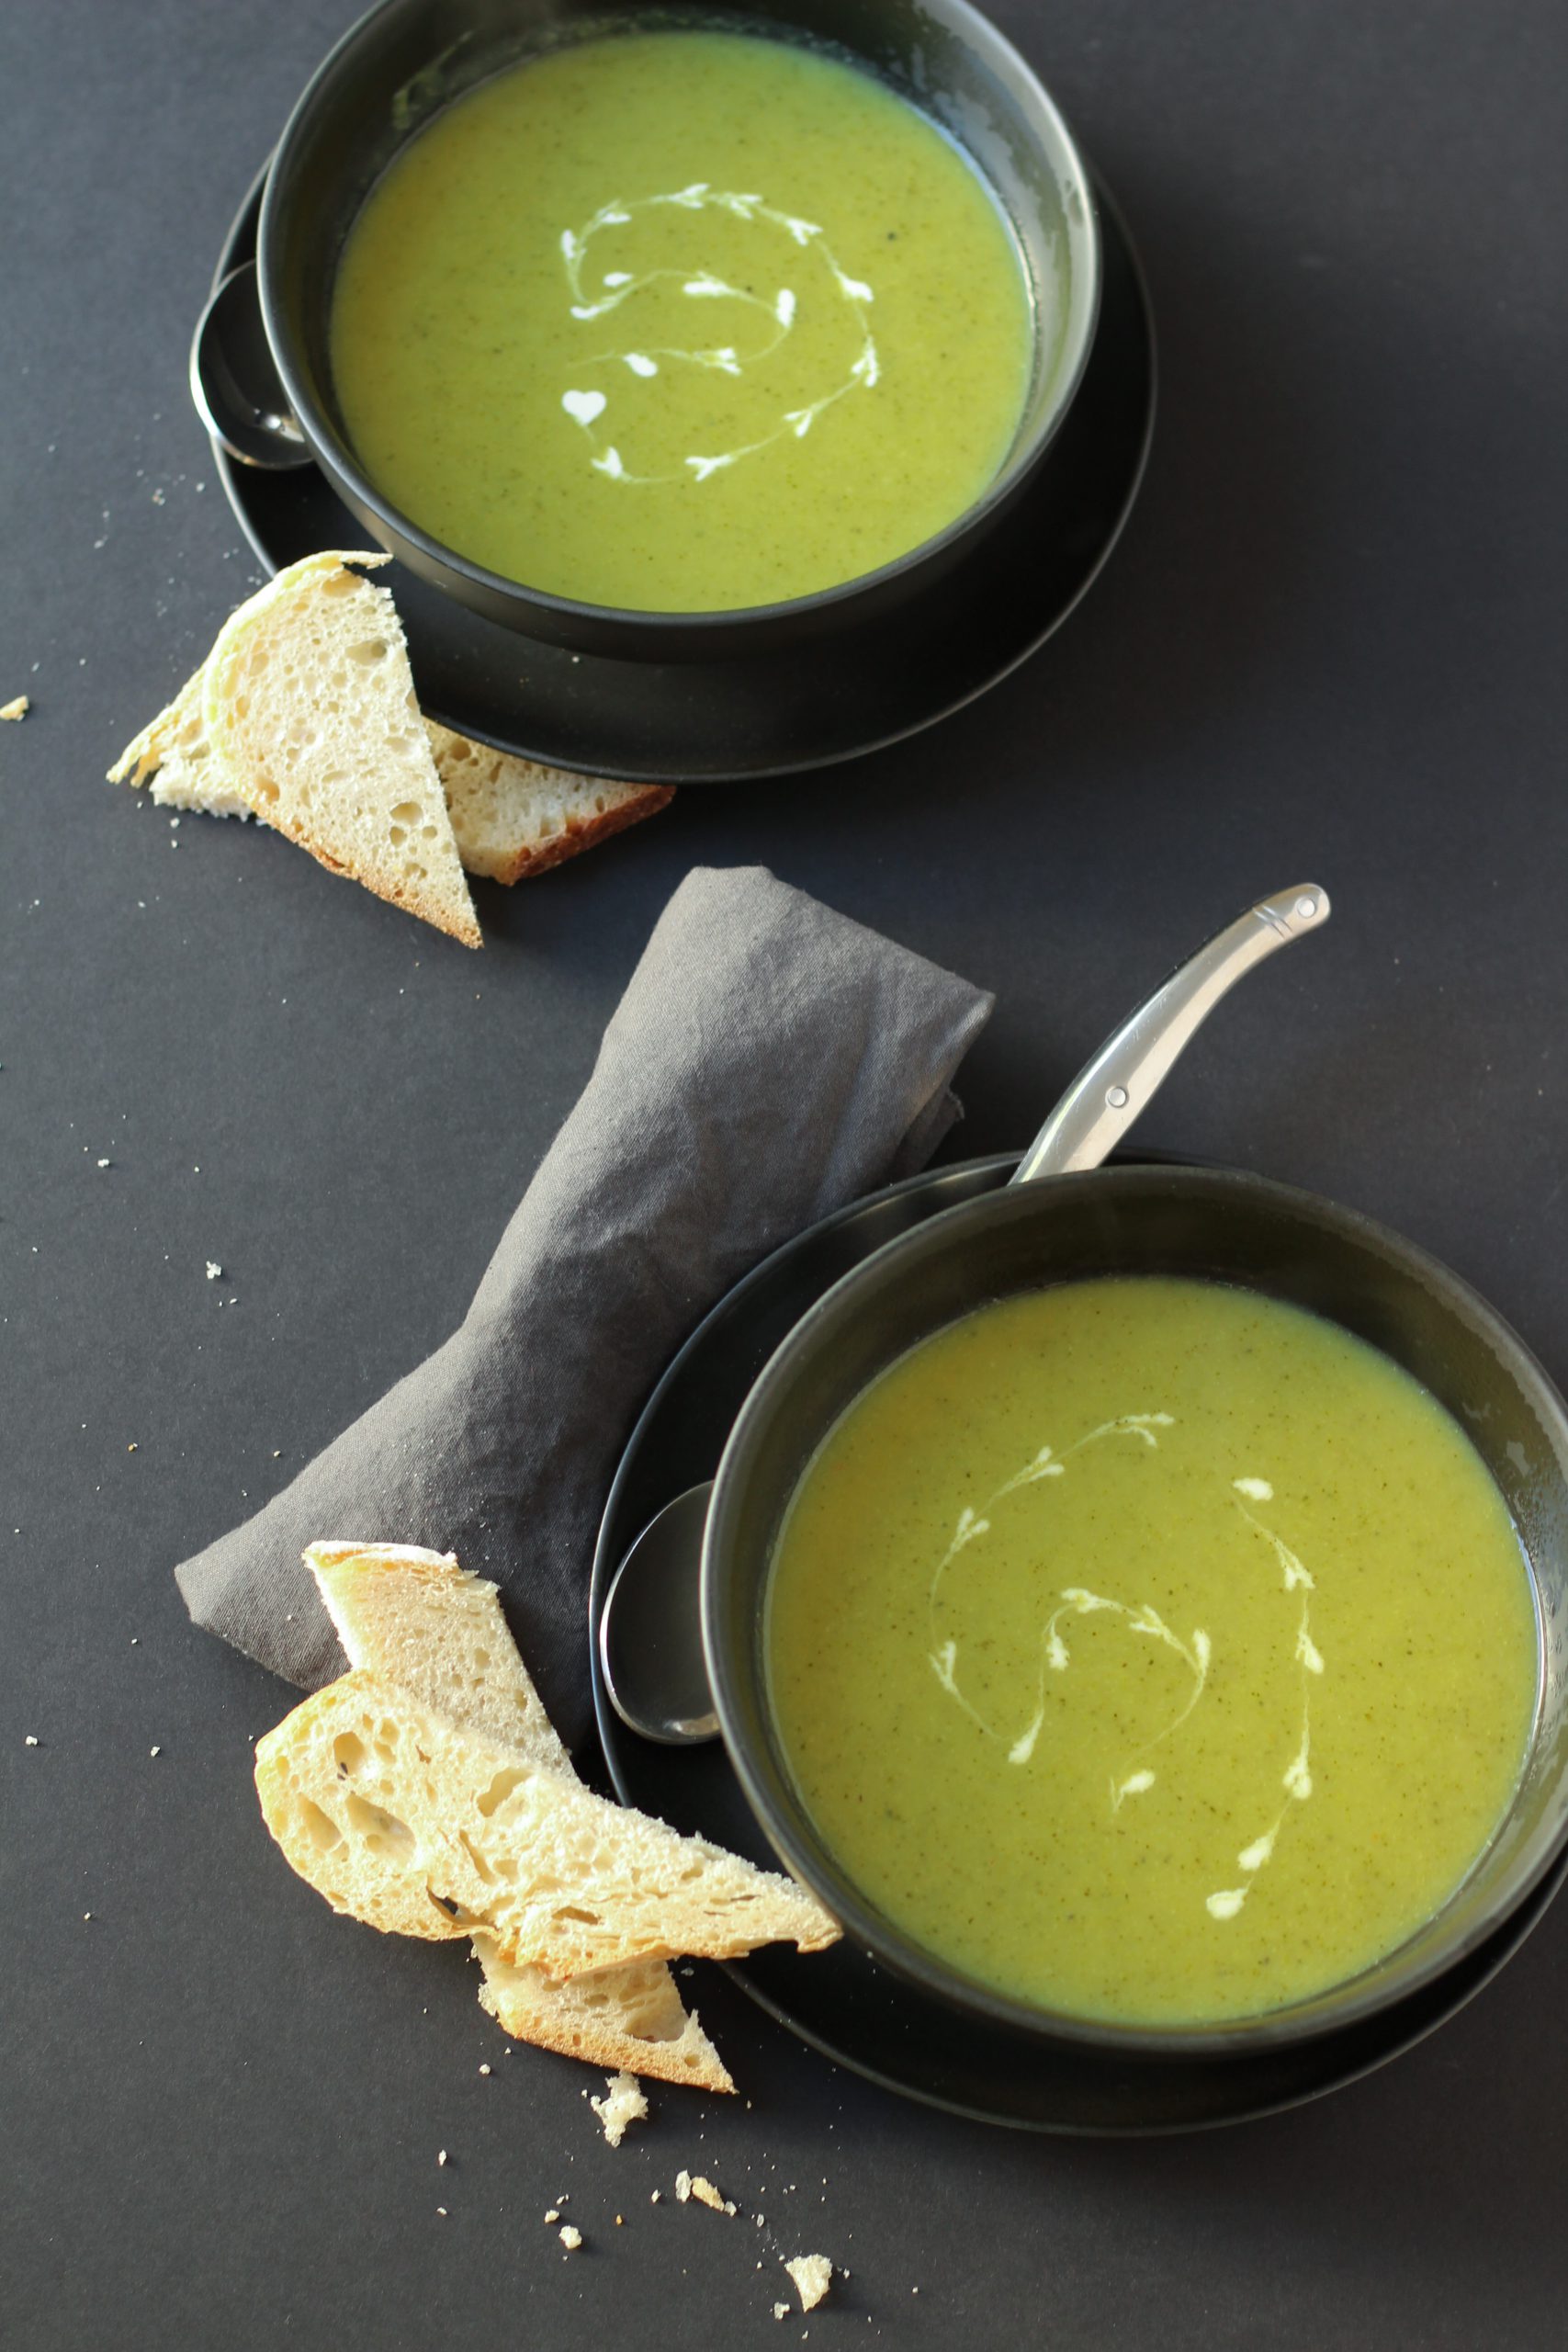
I like to use a hand blender to blend my soups. It’s easy and quick without any extra mess or large blenders to wash. Our family likes the soup super smooth but you can blend less if you prefer some texture. After you have blended your soup, add the lemon juice and heavy whipping cream. Give it a good stir and taste. If you prefer more of the lemon juice or heavy whipping cream add it now. You can also add the heavy whipping cream just before serving as a decoration on top. Taste to see if the soup needs more salt/pepper. When you’re happy with it, ladle into bowls and enjoy!

Creamy broccoli soup overhead shot

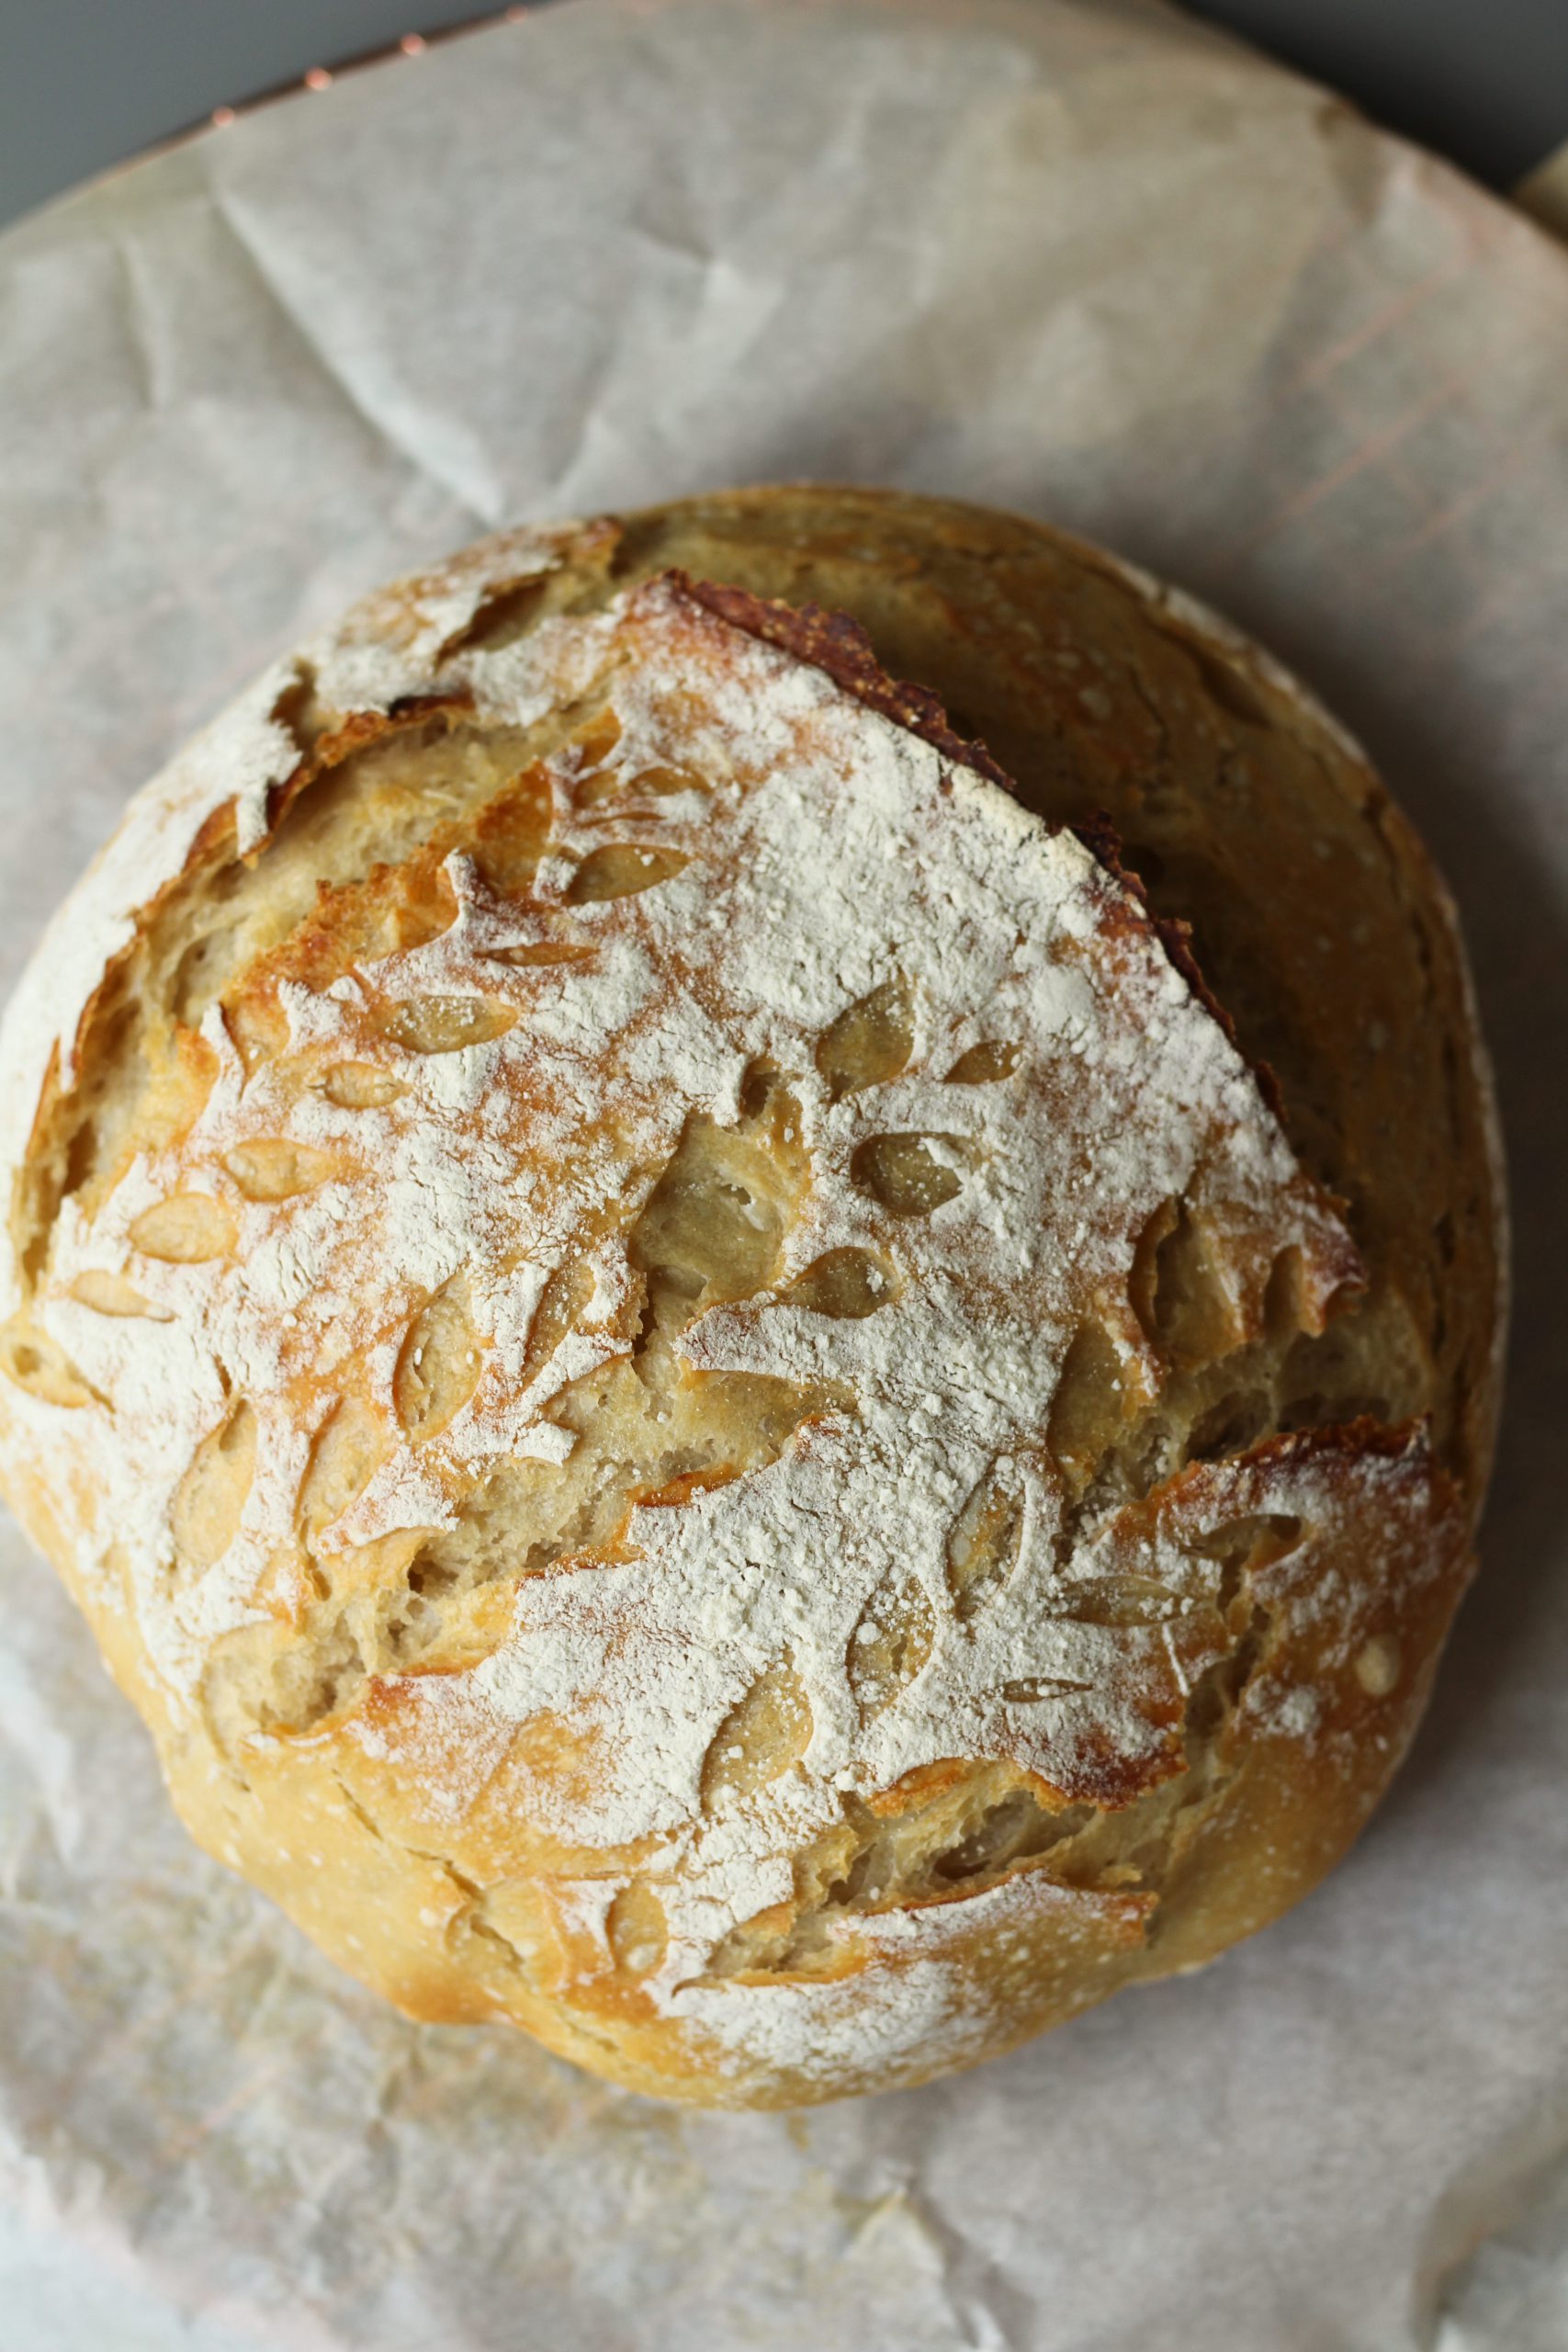
I served it with my overnight sourdough bread

Creamy Broccoli Soup

Easy broccoli soup with potatoes, heavy cream and shallot for an extra flavor boost.
Prep Time10 minutes
Cook Time25 minutes
Course: Soup
Cuisine: soup
Keyword: broccoli soup, creamy broccoli soup
Author: Ester van Boesschoten

Ingredients

  • 1 Tablespoon Unsalted butter substitute oil if you prefer
  • 1 Shallot chopped
  • 2 Cloves Garlic minced
  • 12 Oz Broccoli (340 gram)
  • 2-3 Gold potatoes peeled and cubbed
  • 1 Teaspoon Salt
  • 1/4 Teaspoon Turmeric
  • 1/4 Teaspoon Black pepper freshly ground
  • 1/2 Teaspoon Sambal oelek
  • 32 Oz Chicken bone broth (945 ml) can use vegetable stock if preferred
  • 1 Tablespoon Lemon juice More or less to taste
  • 1-2 Tablespoon Heavy whipping cream More or less to taste

Instructions

  • Melt the butter in a pan. Sauté shallot until it is soft and light brown on medium low with a pinch of salt. Watch closely to avoid burning (4 -5 minutes).
  • Add the minced garlic and sauté for 30 seconds.
  • Add the chopped broccoli, potatoes, salt, pepper, turmeric. Stir and cook until the broccoli turns a bright green color. Then add sambal oelek and stir for 30 seconds.
  • Slowly add in the broth and bring it to a boil. Once it is boiling, turn down the heat to low and let it simmer until the broccoli and potatoes are tender and soft. This takes around 15-20 minutes.
  • Blend the soup to preferred consistency. Add lemon juice and heavy whipping cream to taste. Stir until combined. Taste and add additional spices if needed. Enjoy!

Sourdough Bread
When the pandemic started I ran into the problem that active dry yeast could no longer be found in any stores. So, I got on the sourdough train along with everyone else. At first I tried to make my own starter, but that wasn’t a big success. Luckily, a good friend got a starter from a local bakery, and kindly gifted some to me. Then the fun began! I started experimenting with lots of recipes for sourdough bread. Eventually, I settled on one my whole family enjoyed and I continue to make one loaf a week. The starter even moved with us from California to Pennsylvania and is still going strong. 

I recorded my first instruction video to accompany this recipe because some parts are hard to explain in words. I really hope this helps. The recipe is easy and delicious but takes a lot of time and patient. Believe me, it is worth it!

Sourdough starter

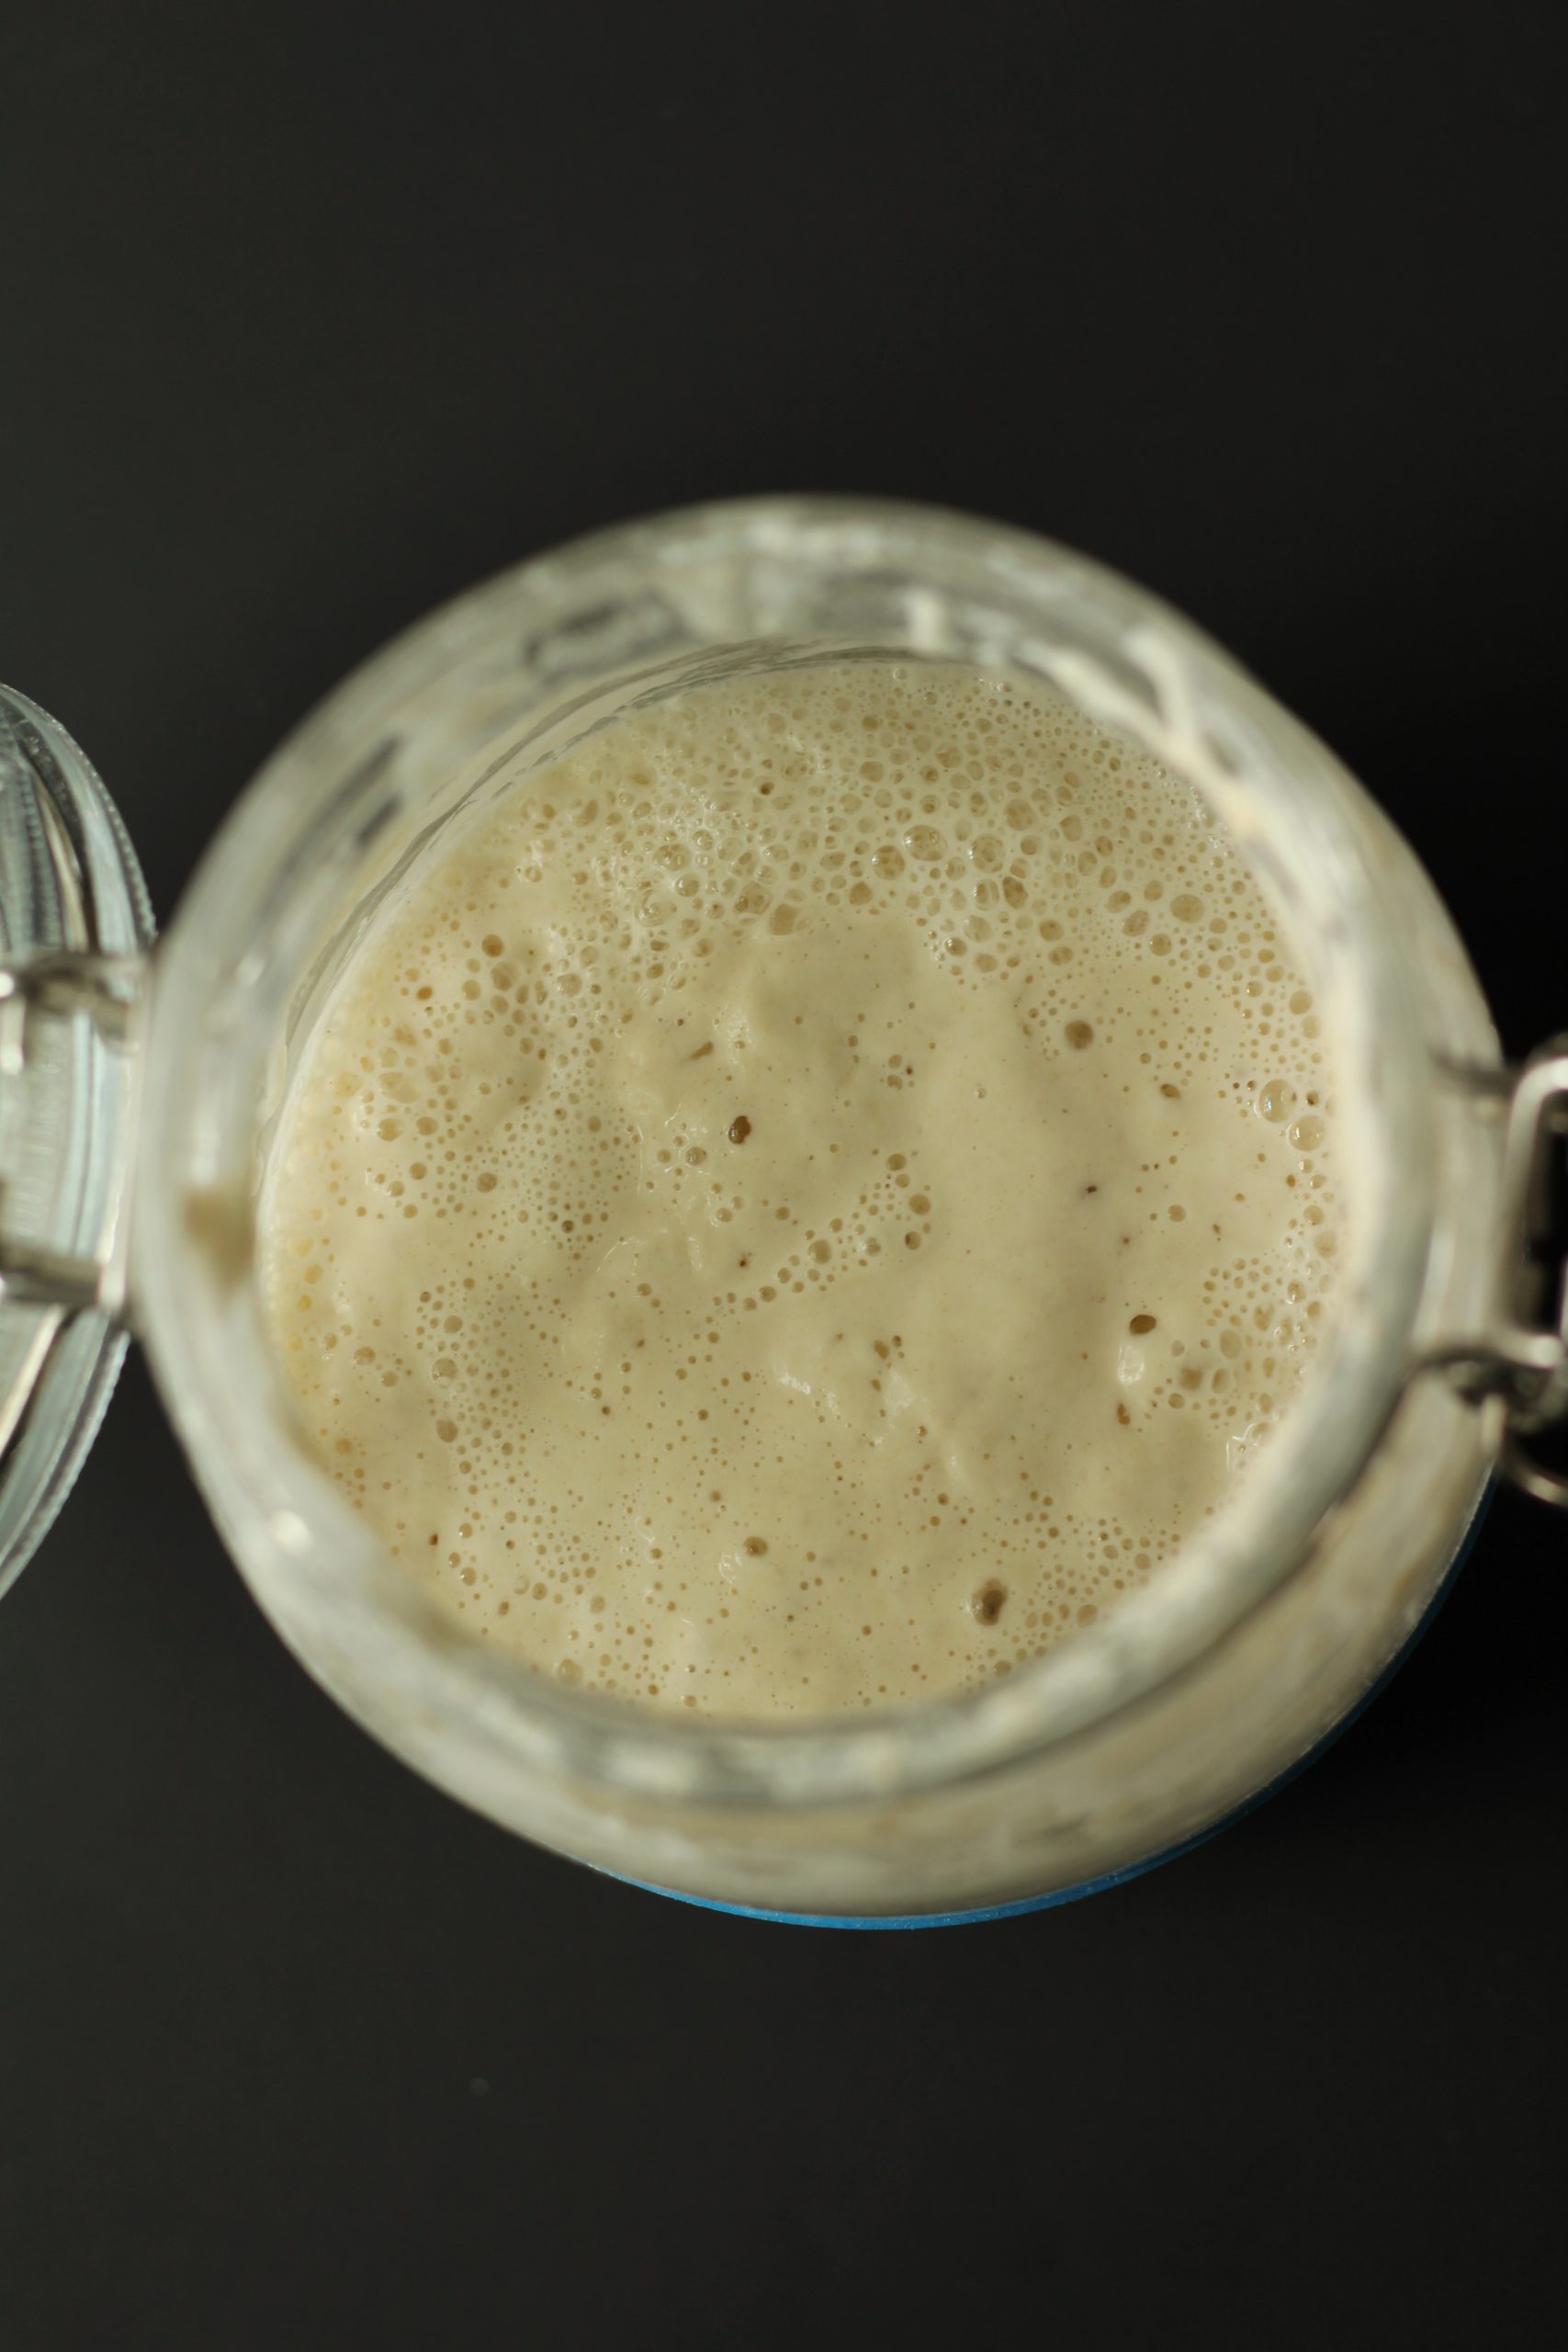
In this picture you see that my sour dough starter is active. You can tell it is active because of the air bubbles. To get an active starter, I recommend feeding your starter and letting it sit out at room temperature every 4-6 hours, or until it increases in volume by about 30%. I keep an elastic band around my jar, to help me keep track of the growth. I highly recommend to using filtered water when feeding your starter as chlorine can inhibit your active yeast. When mixing the sour dough starter do not use any metal. It is preferable to use a plastic or wood spatula throughout the making of this recipe. 

I normally let my dough rest overnight on the counter top because it takes a long time. Keep this in mind when you feed your sour dough starter. For example, if you feed the starter around 12 pm it will be active around 6 pm. This will allow you to let it rise overnight on your counter and bake the bread the next morning.

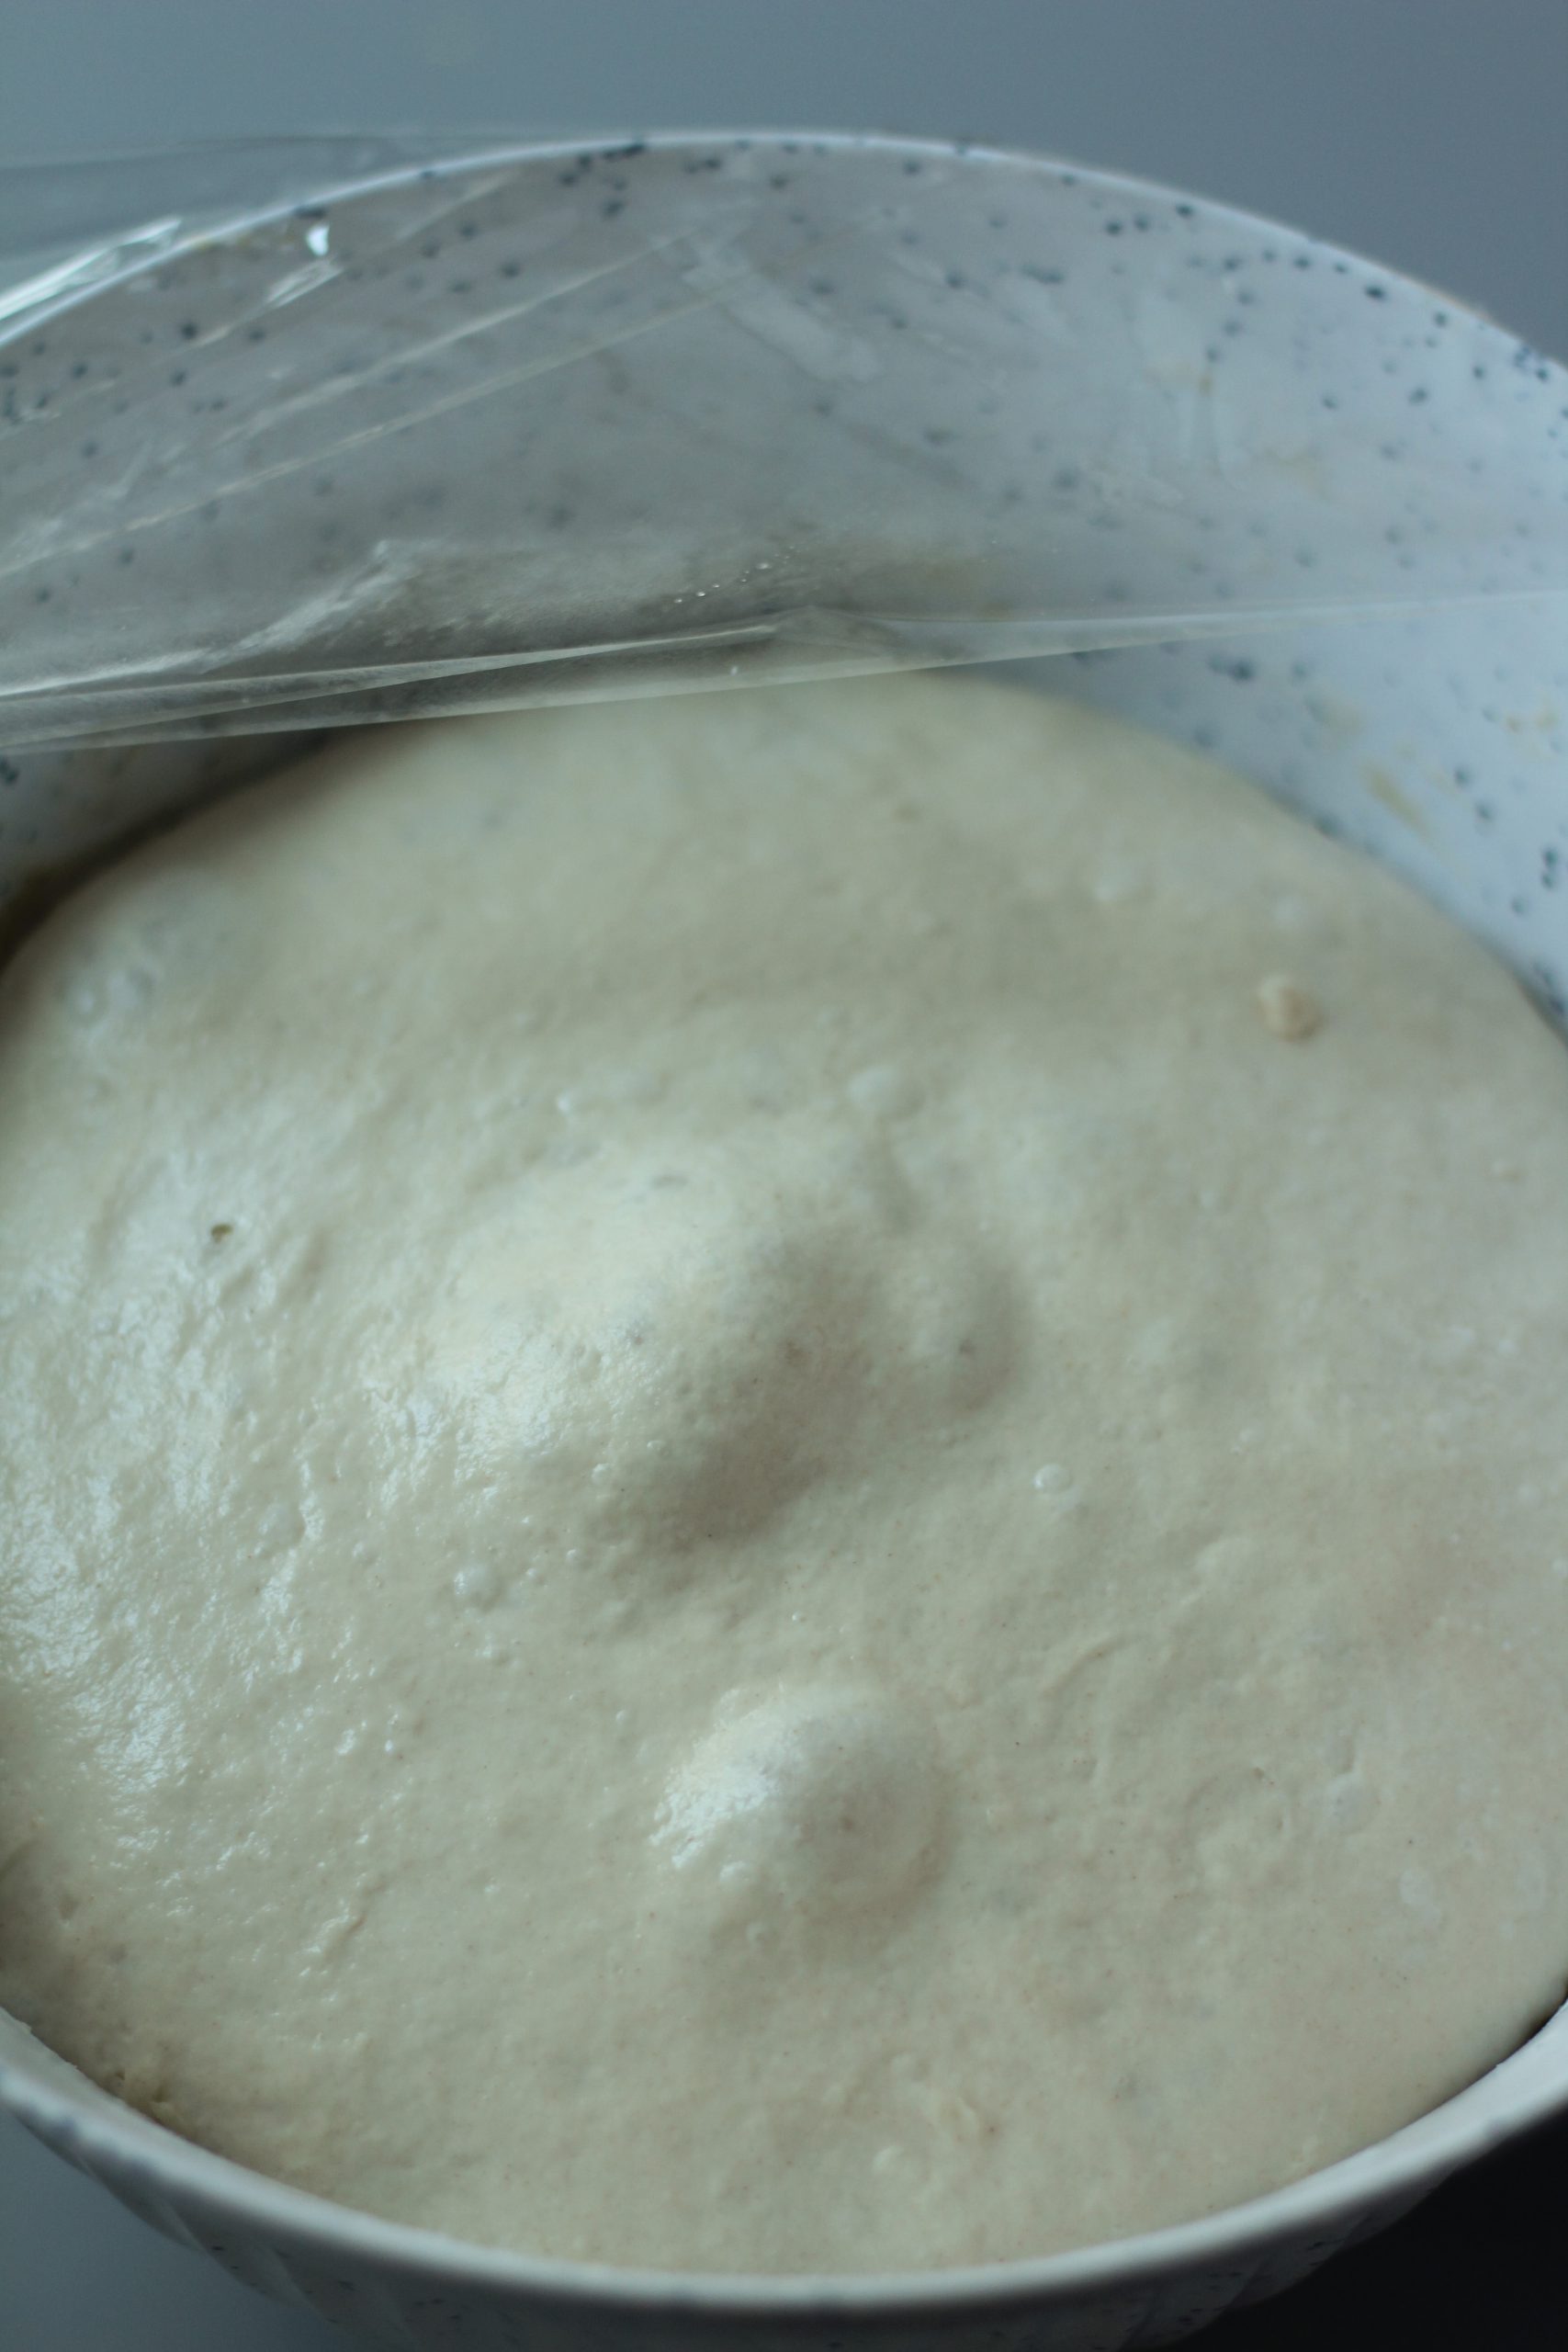
Dough after 8-12 hour ret period

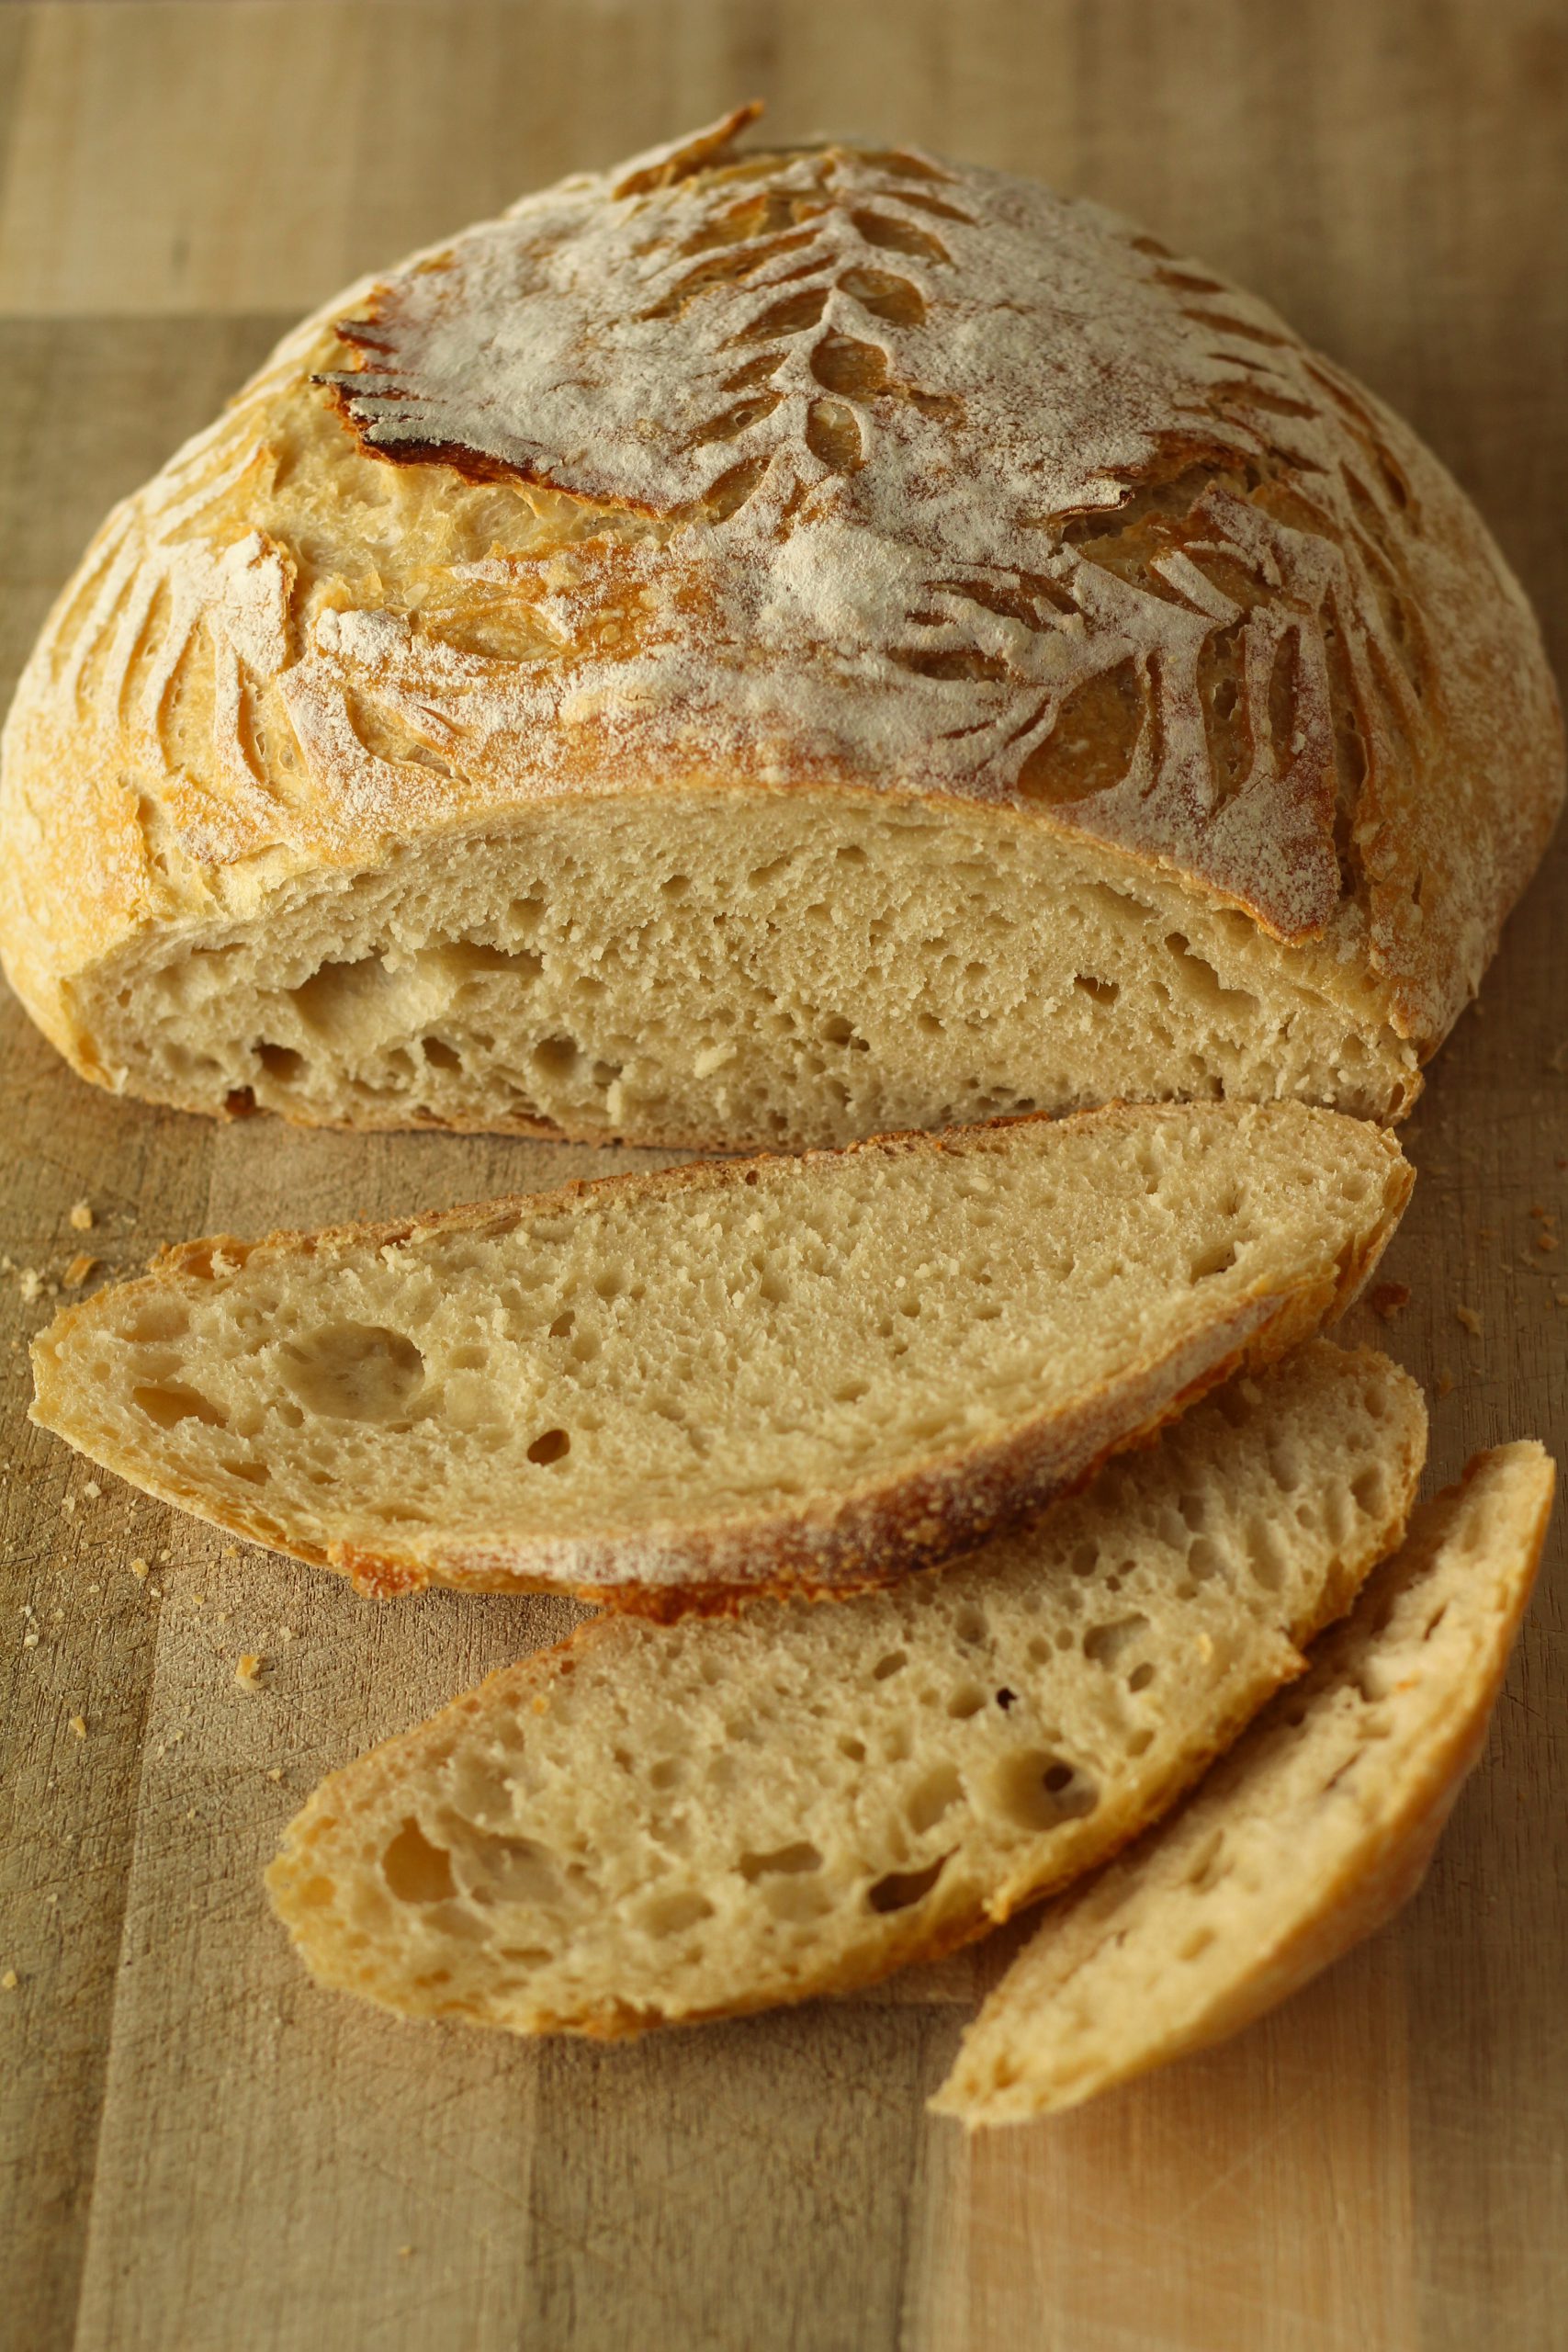
Air bubbles should form after the 8-12 hour rise. The exact time needed varies based on the climate where you live. In the winter it may take 12 hours versus on a hot summer night it can take 6-8 hours. In order to keep those air bubbles inside the dough, carefully scrape the dough out of the bowl with a flexible plastic scraper. Try to keep the air in as much as possible. This will create those beautiful holes in the bread later.

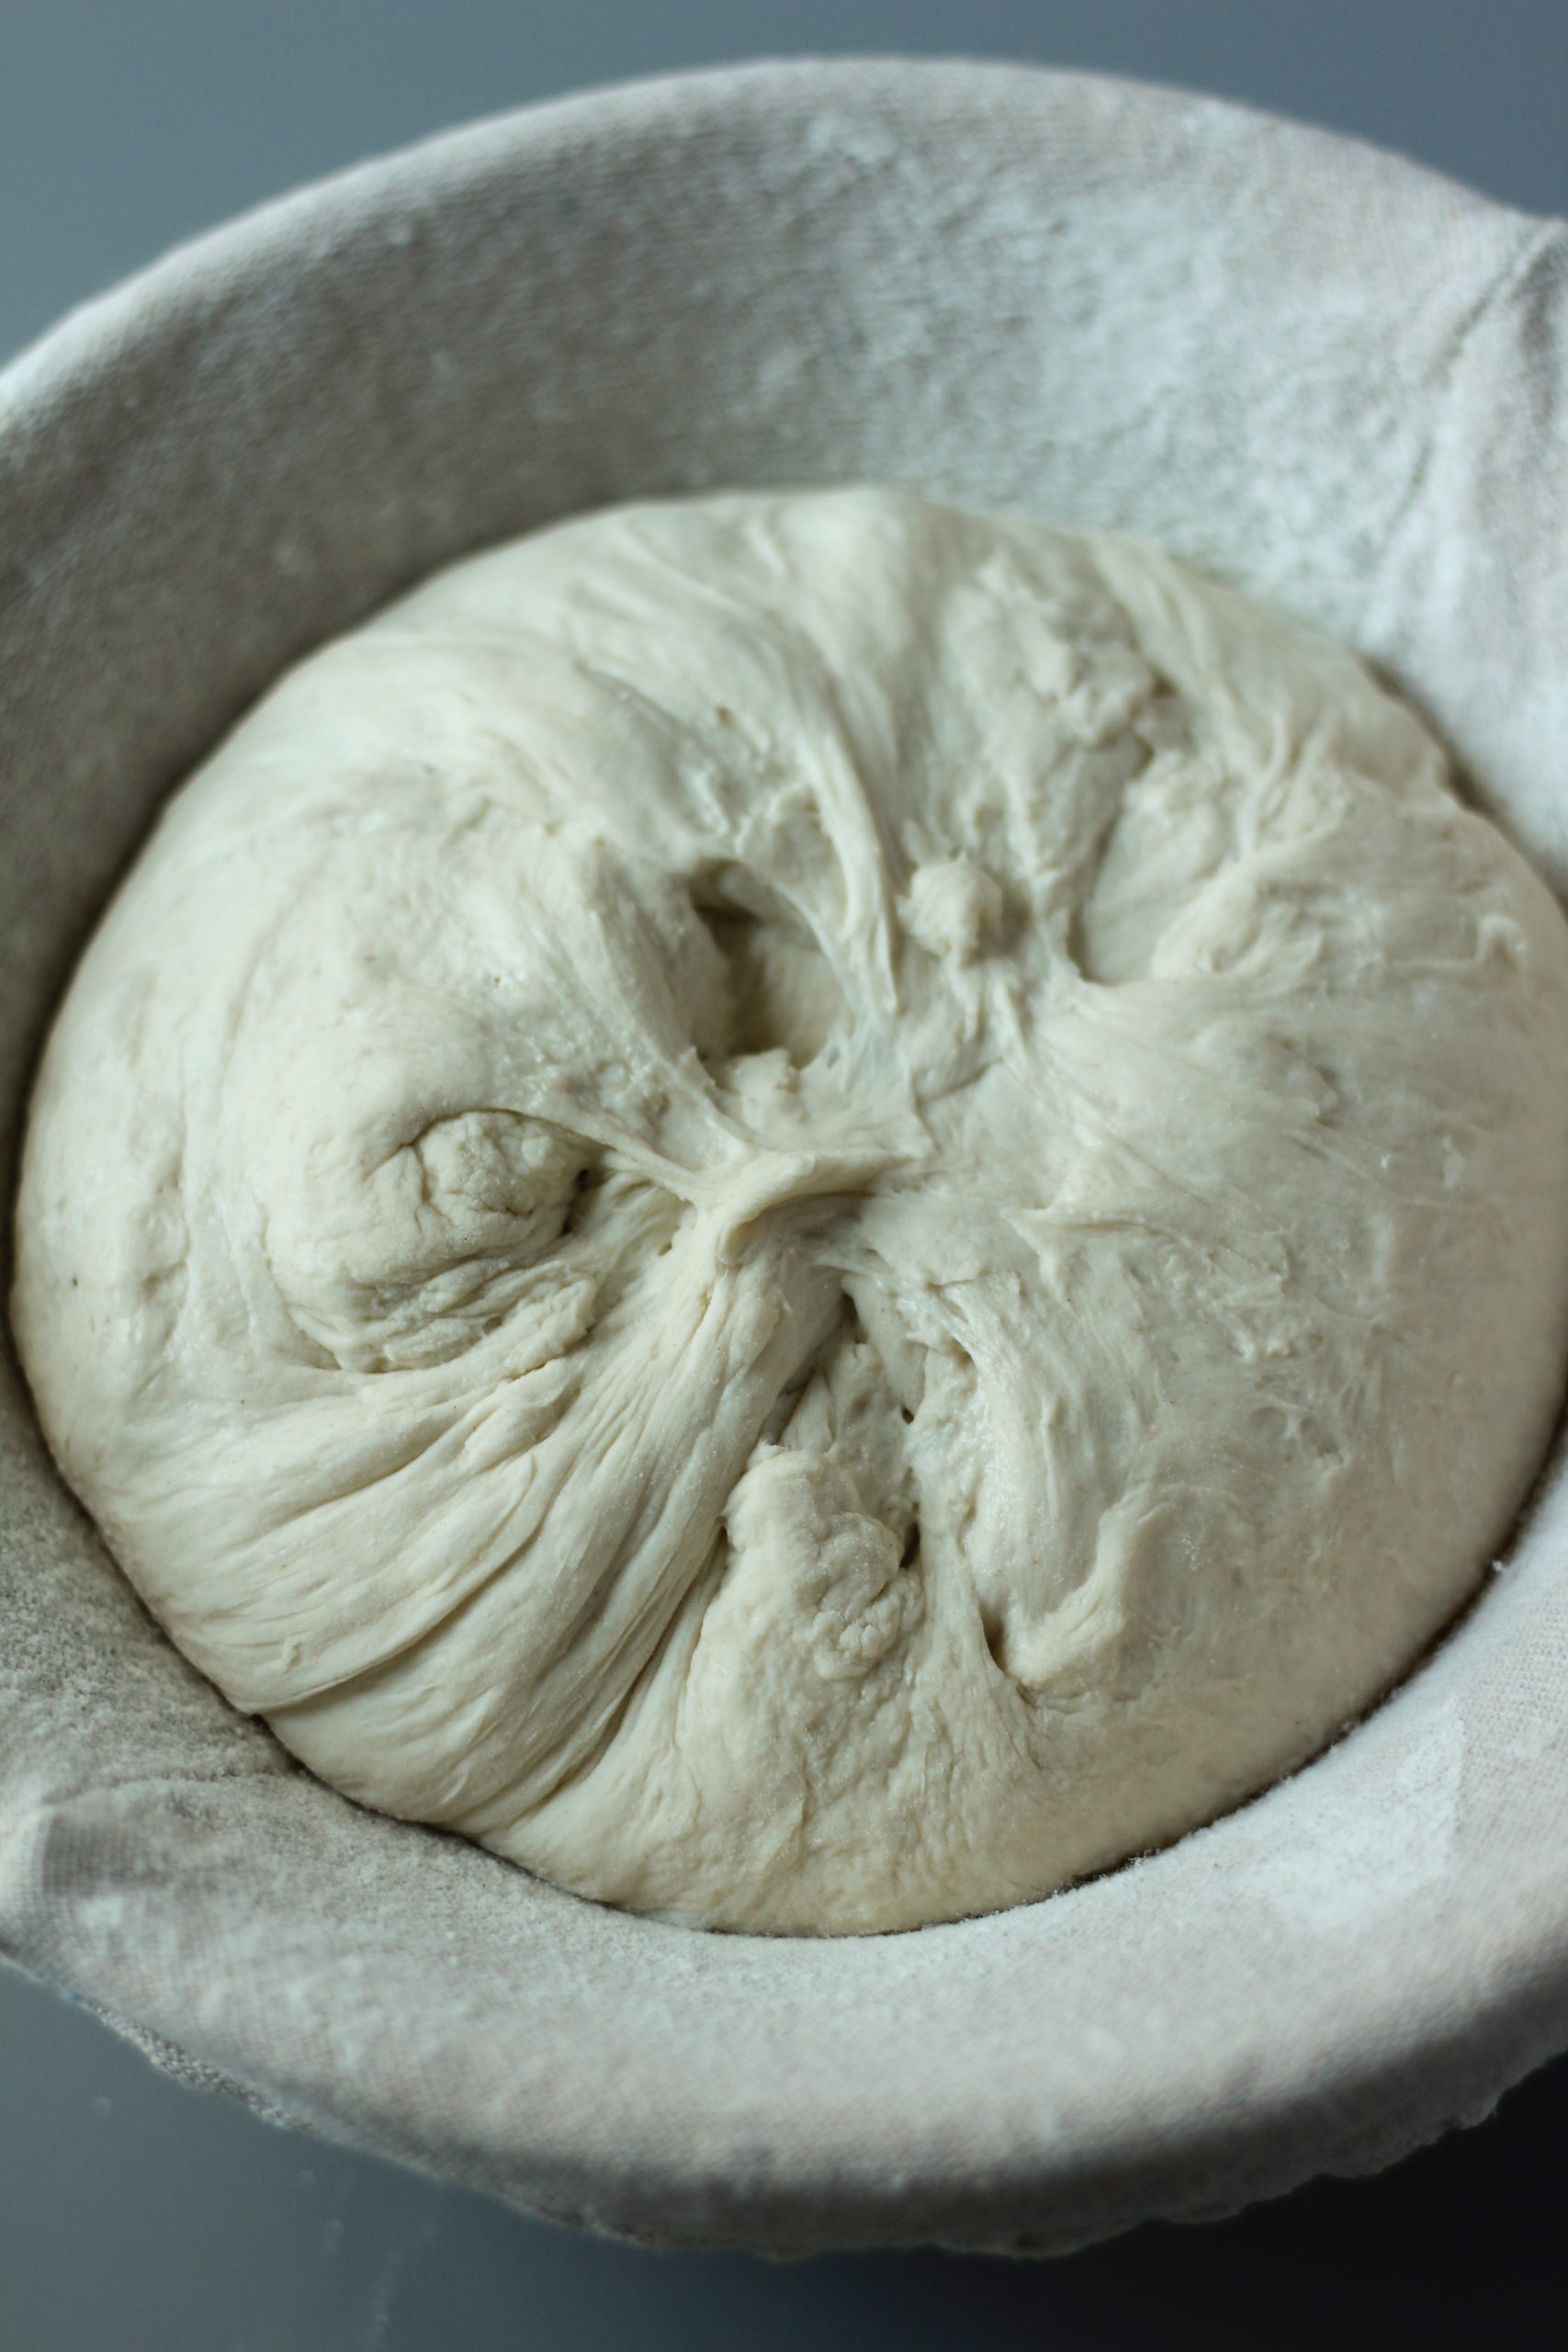
Dough in proving basket

Placing the dough into a floured proving basket will allow it to rise nicely. These come in different shapes and sizes. 

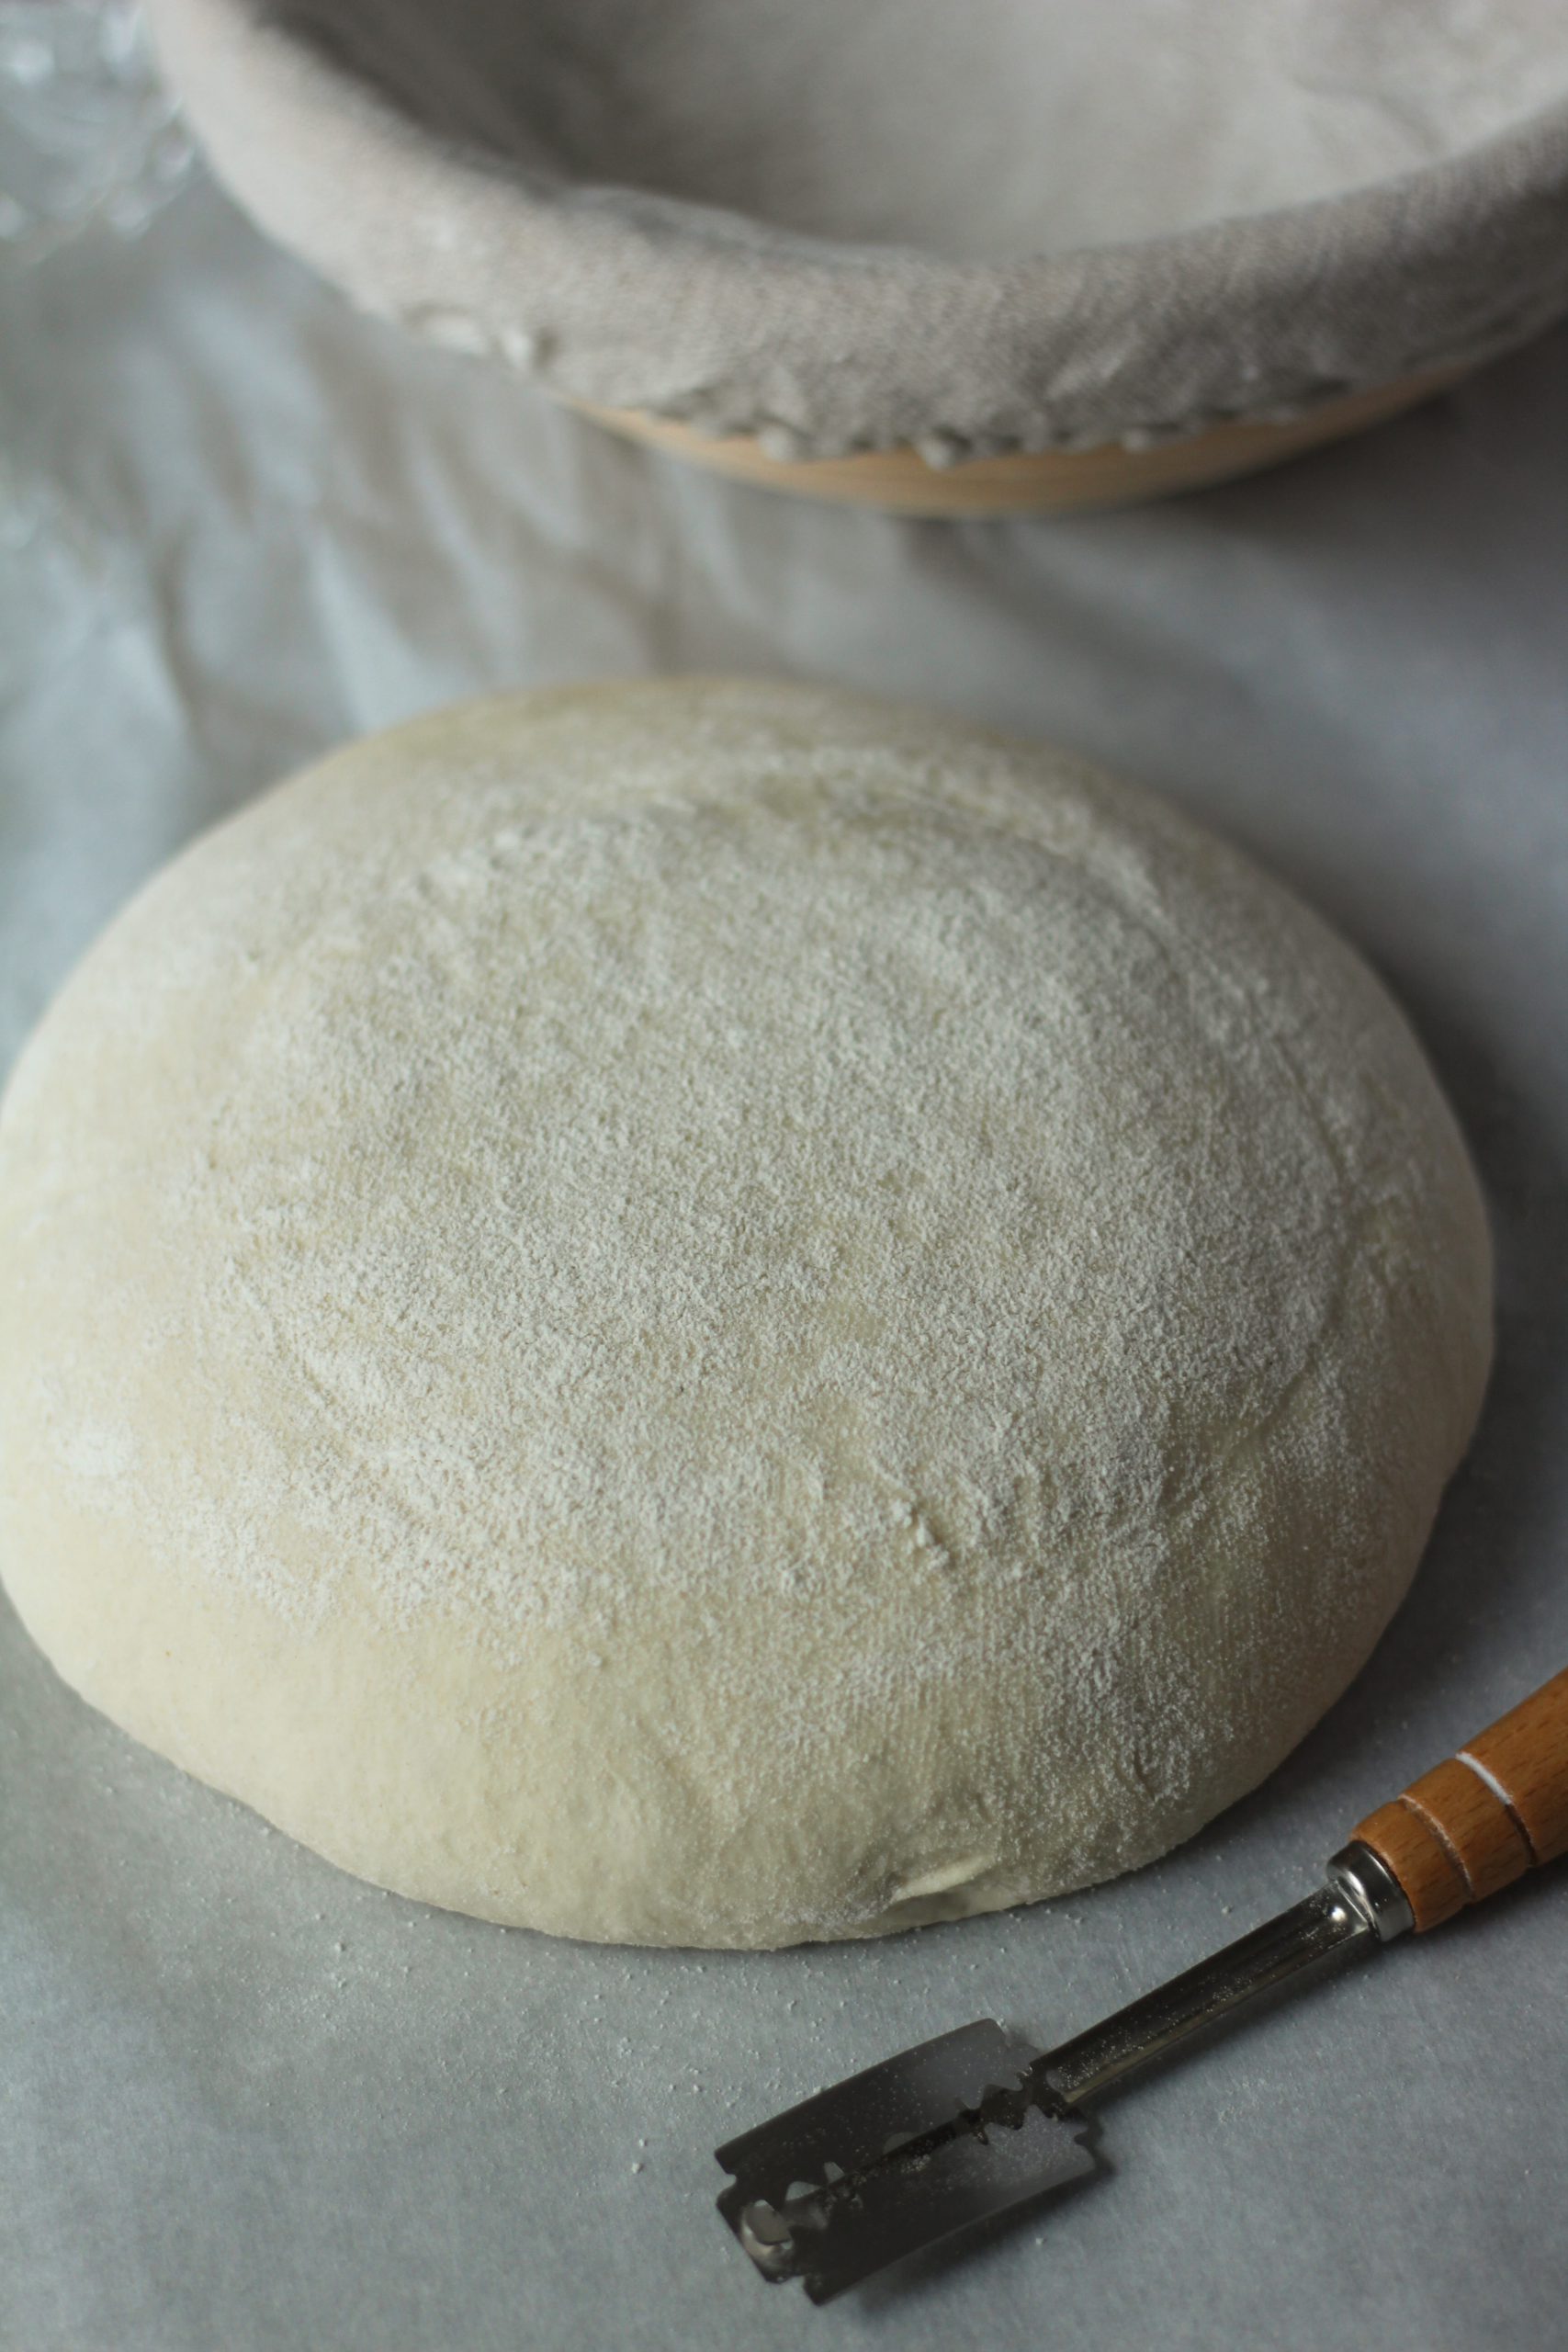
Dough after 30 minute rise. Ready to lame

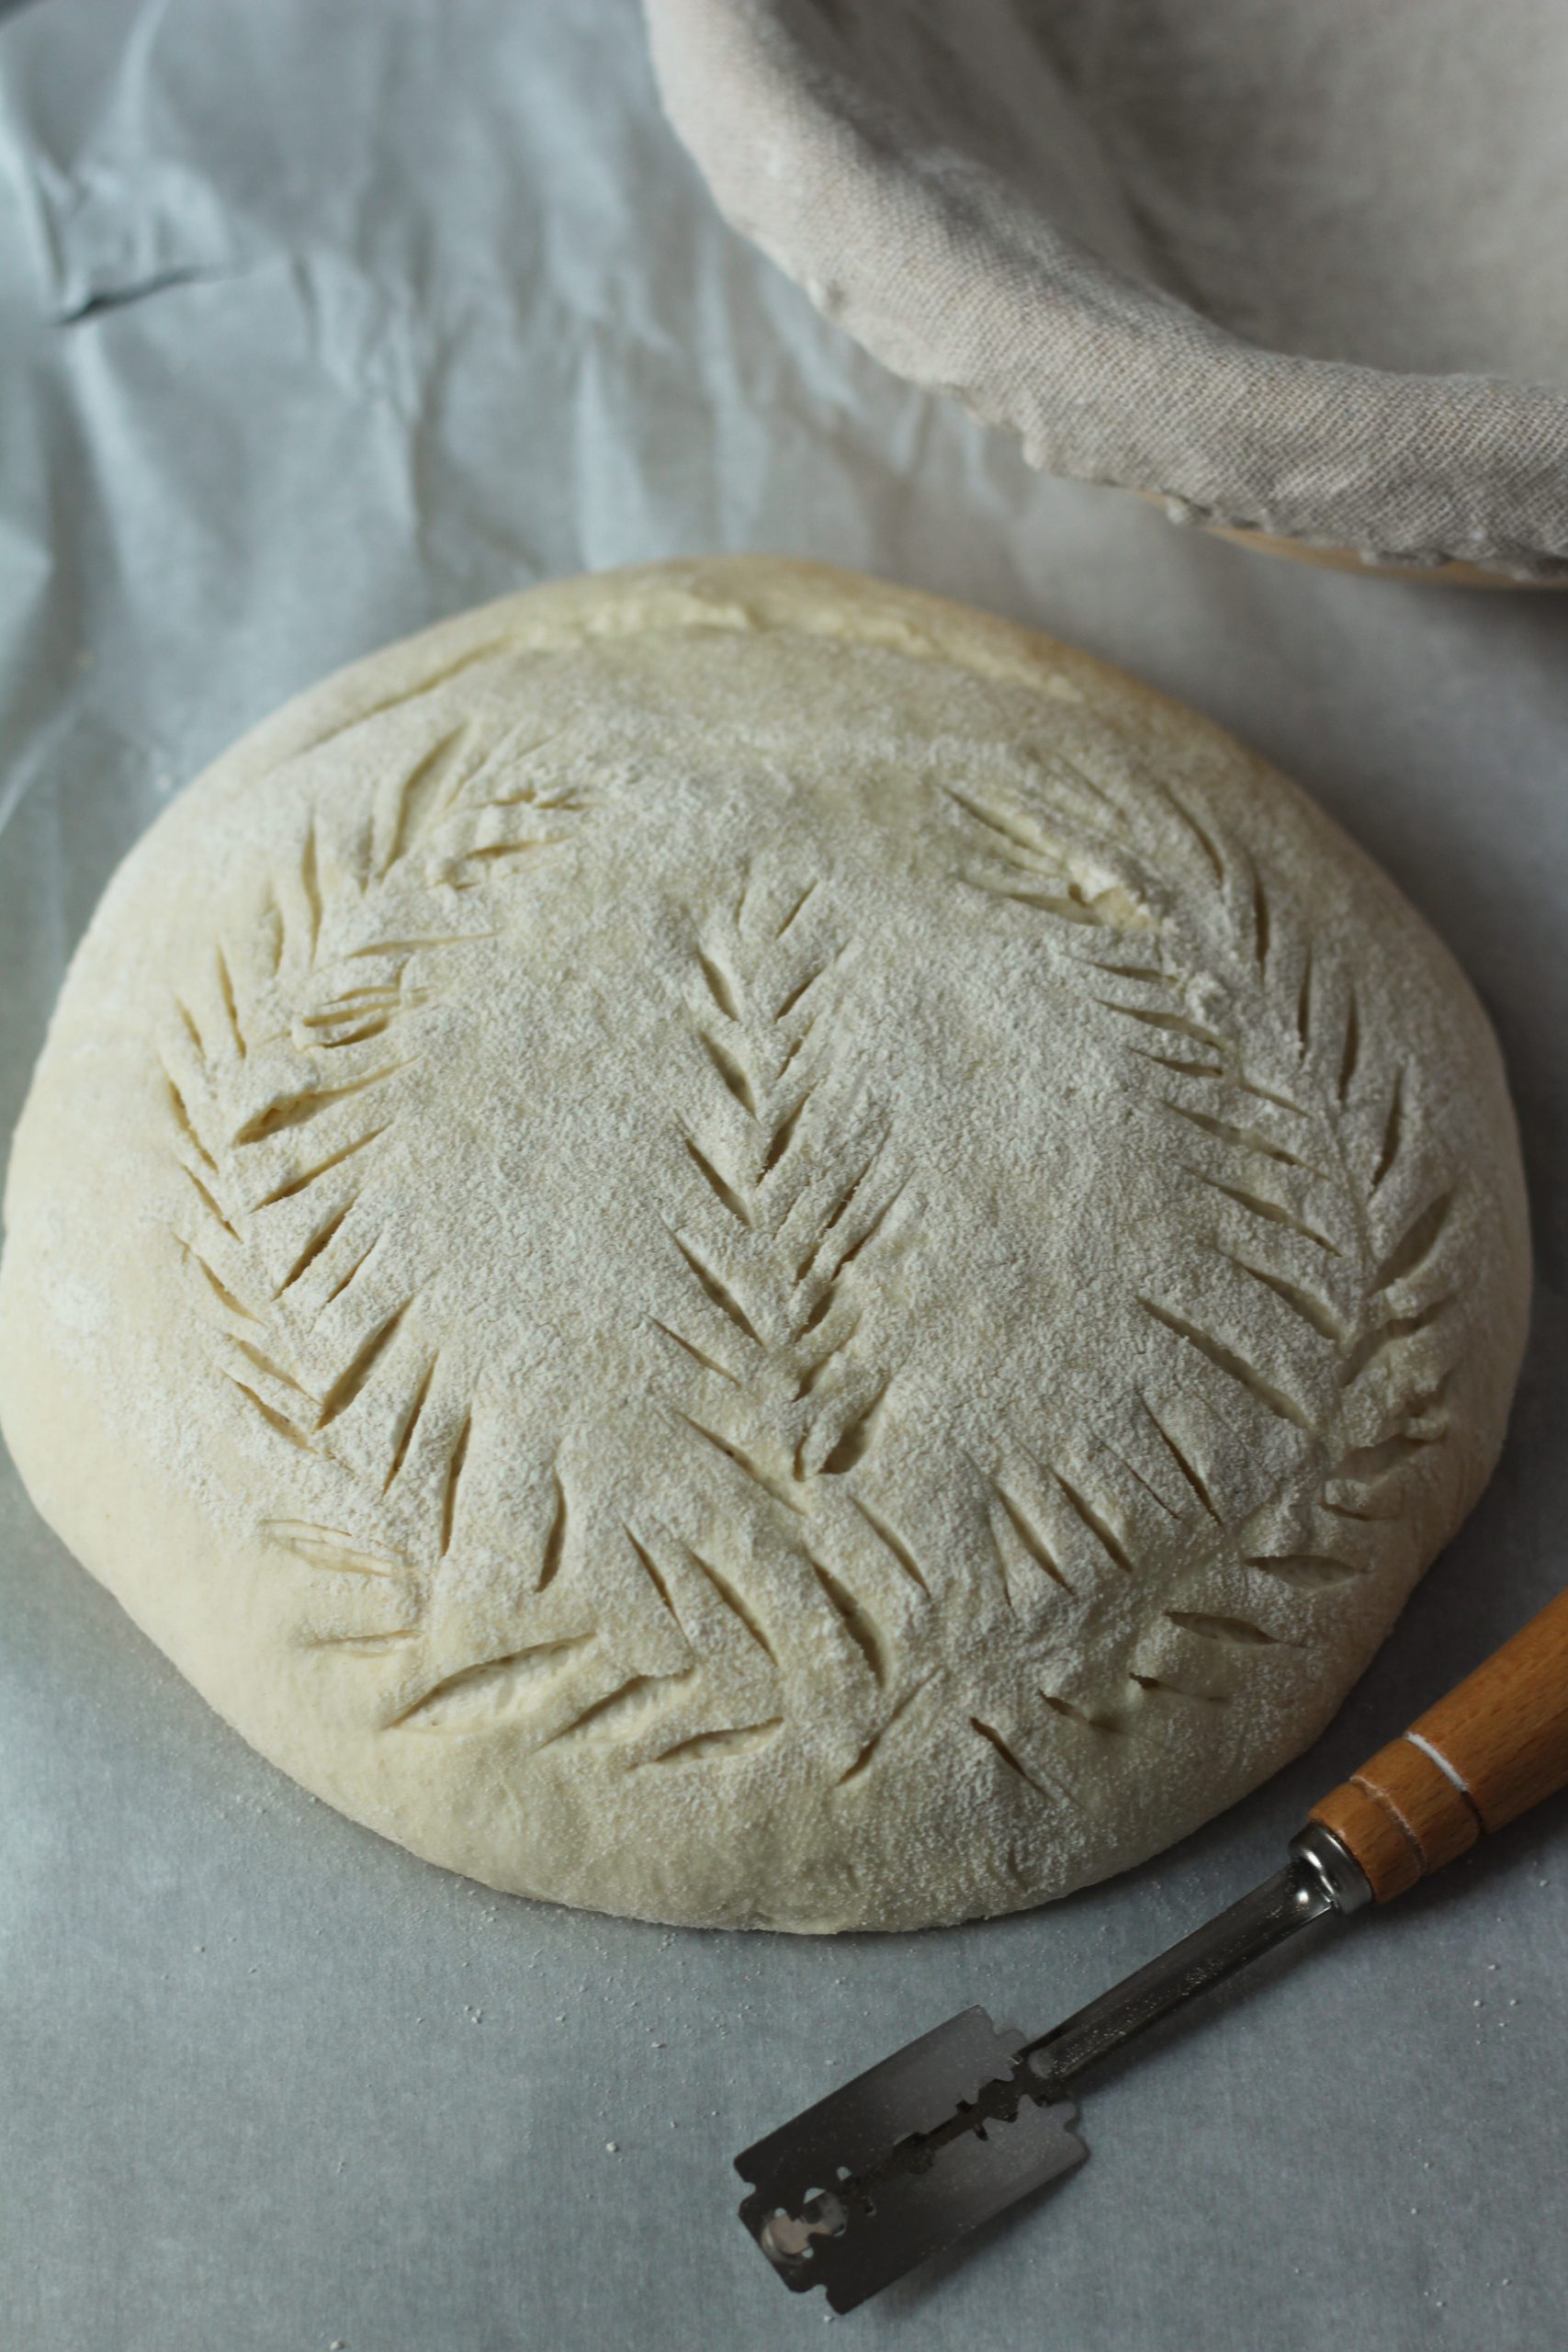
The dough after you lamea nice pattern on it

After the final rise, score the bread on top with a lame or blade. If you get a proving basket sometimes they come with a lame. I have tried multiple tools but so far I like this one the best. If you don’t have a lame a super sharp knife will work. 

The lame I use is from Amazon.

Or you can also buy this lame with proving basket from Amazon.

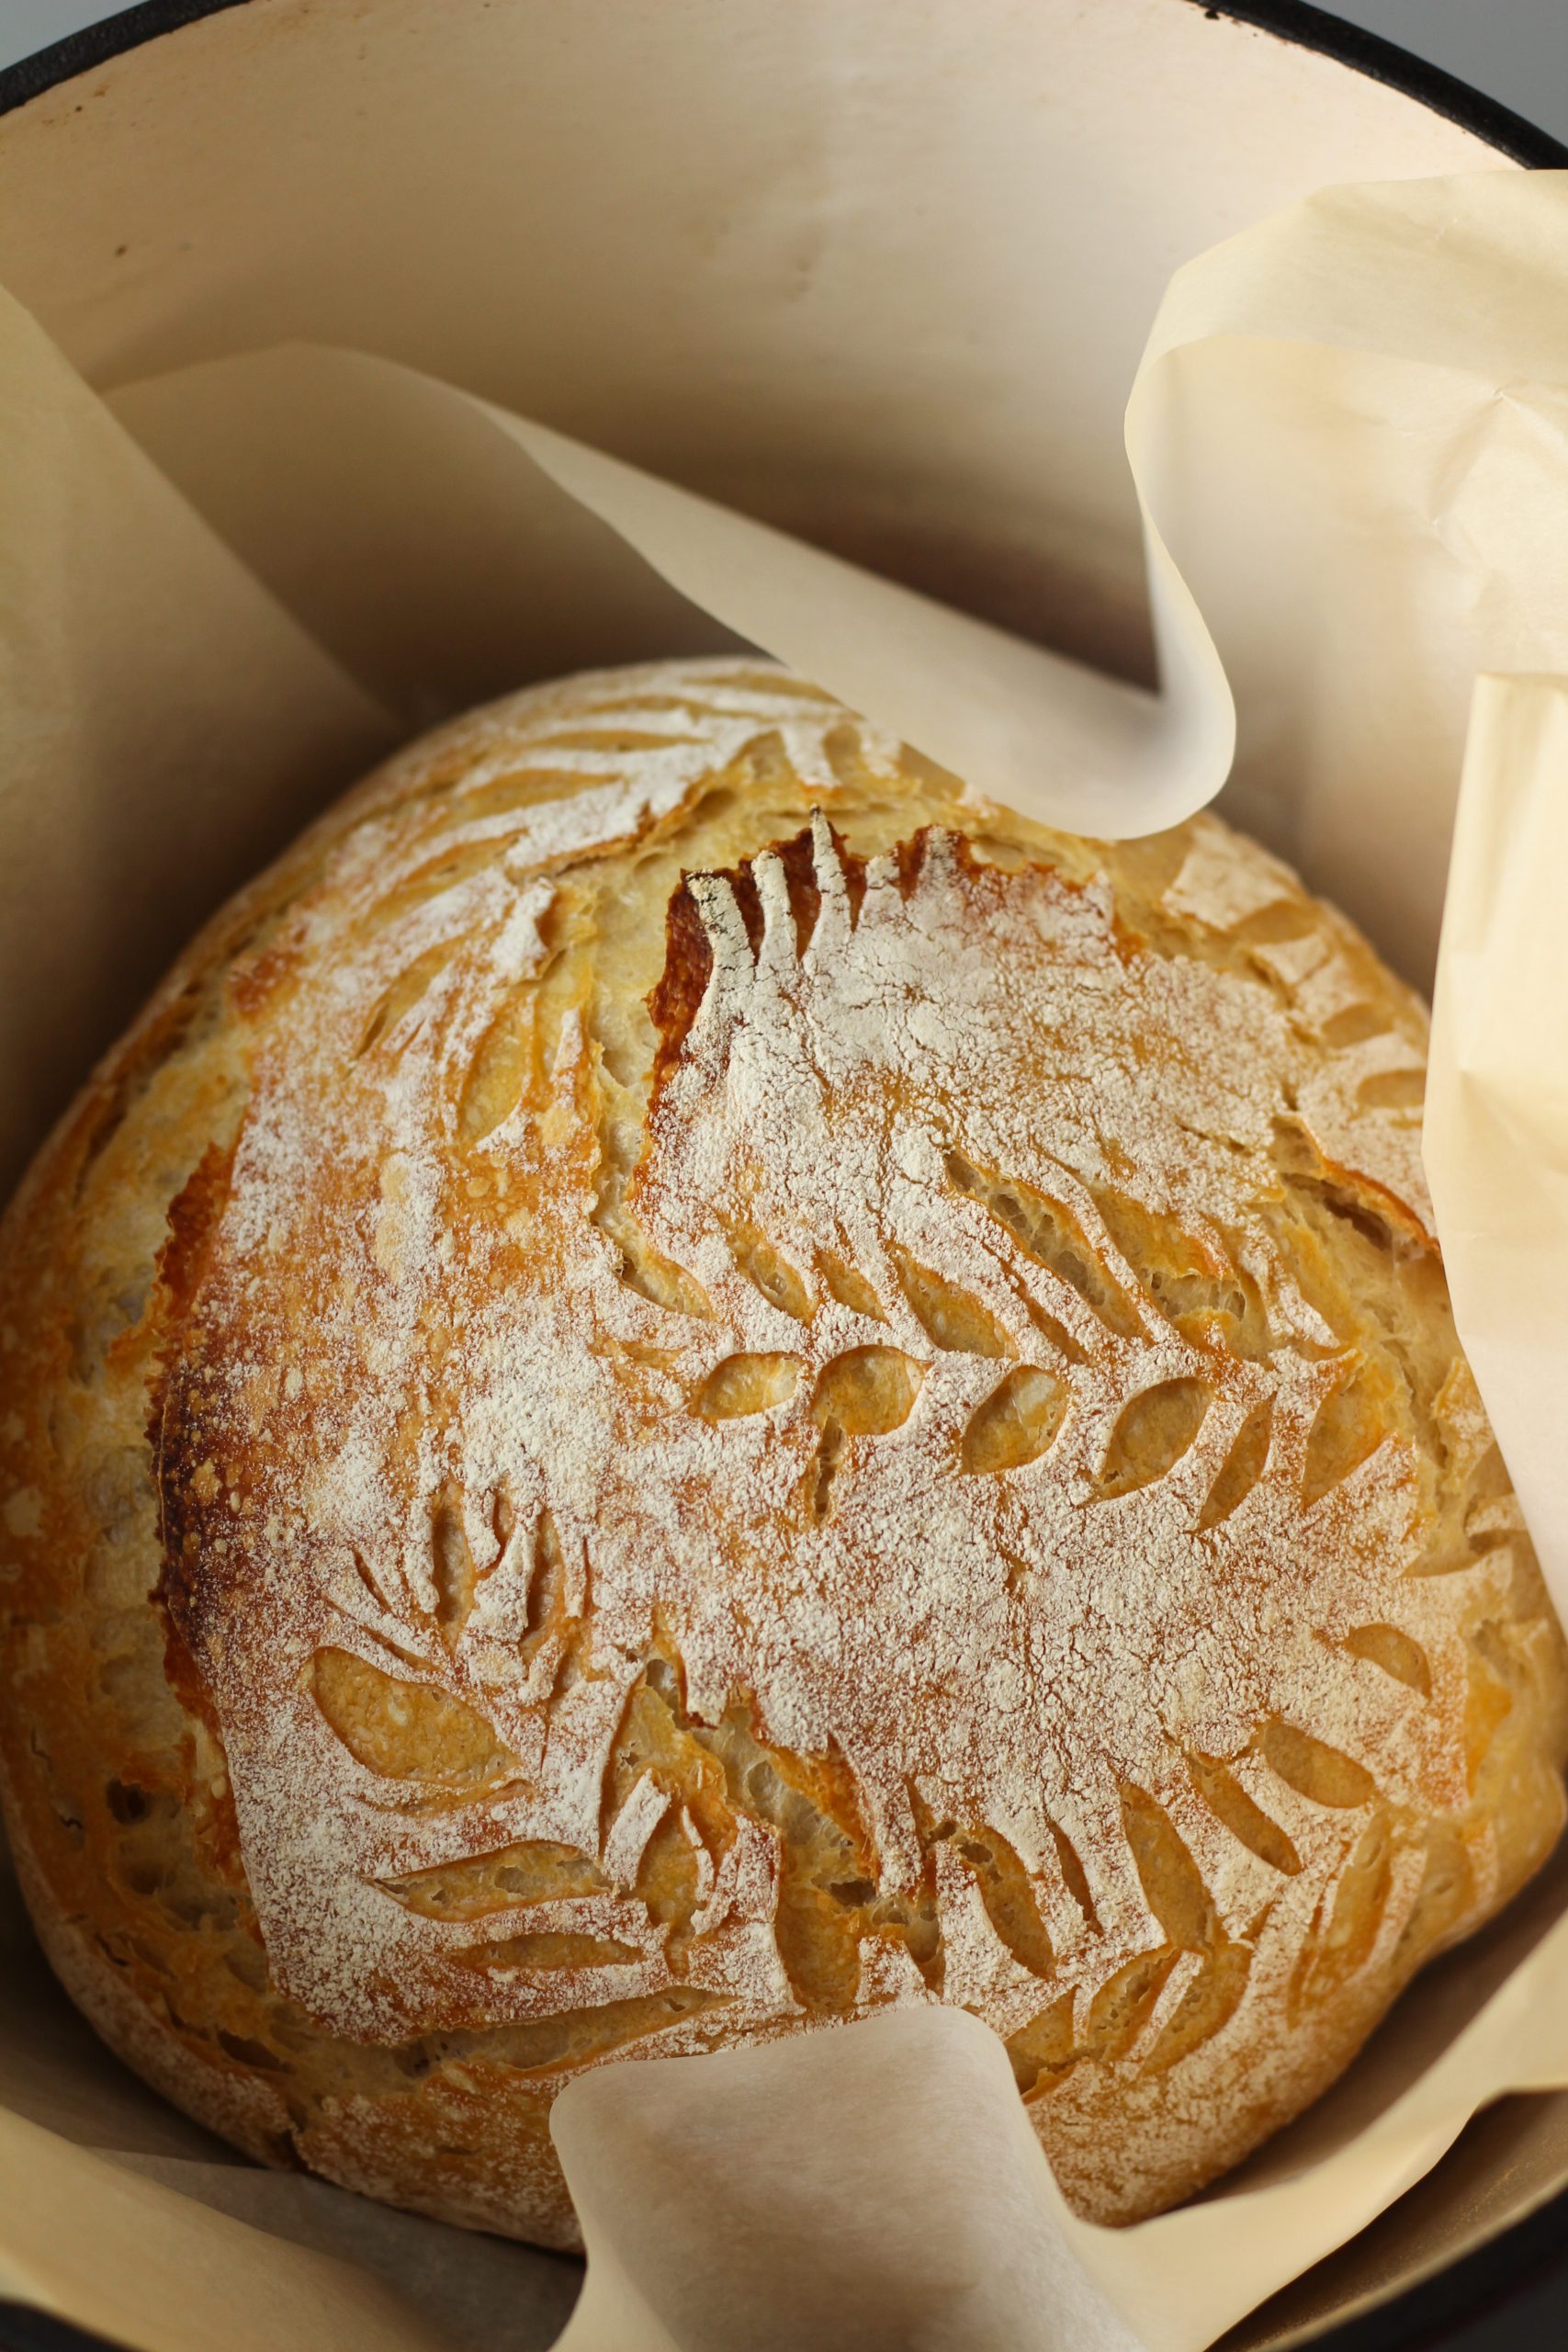
Bread in Dutch oven pan done baking


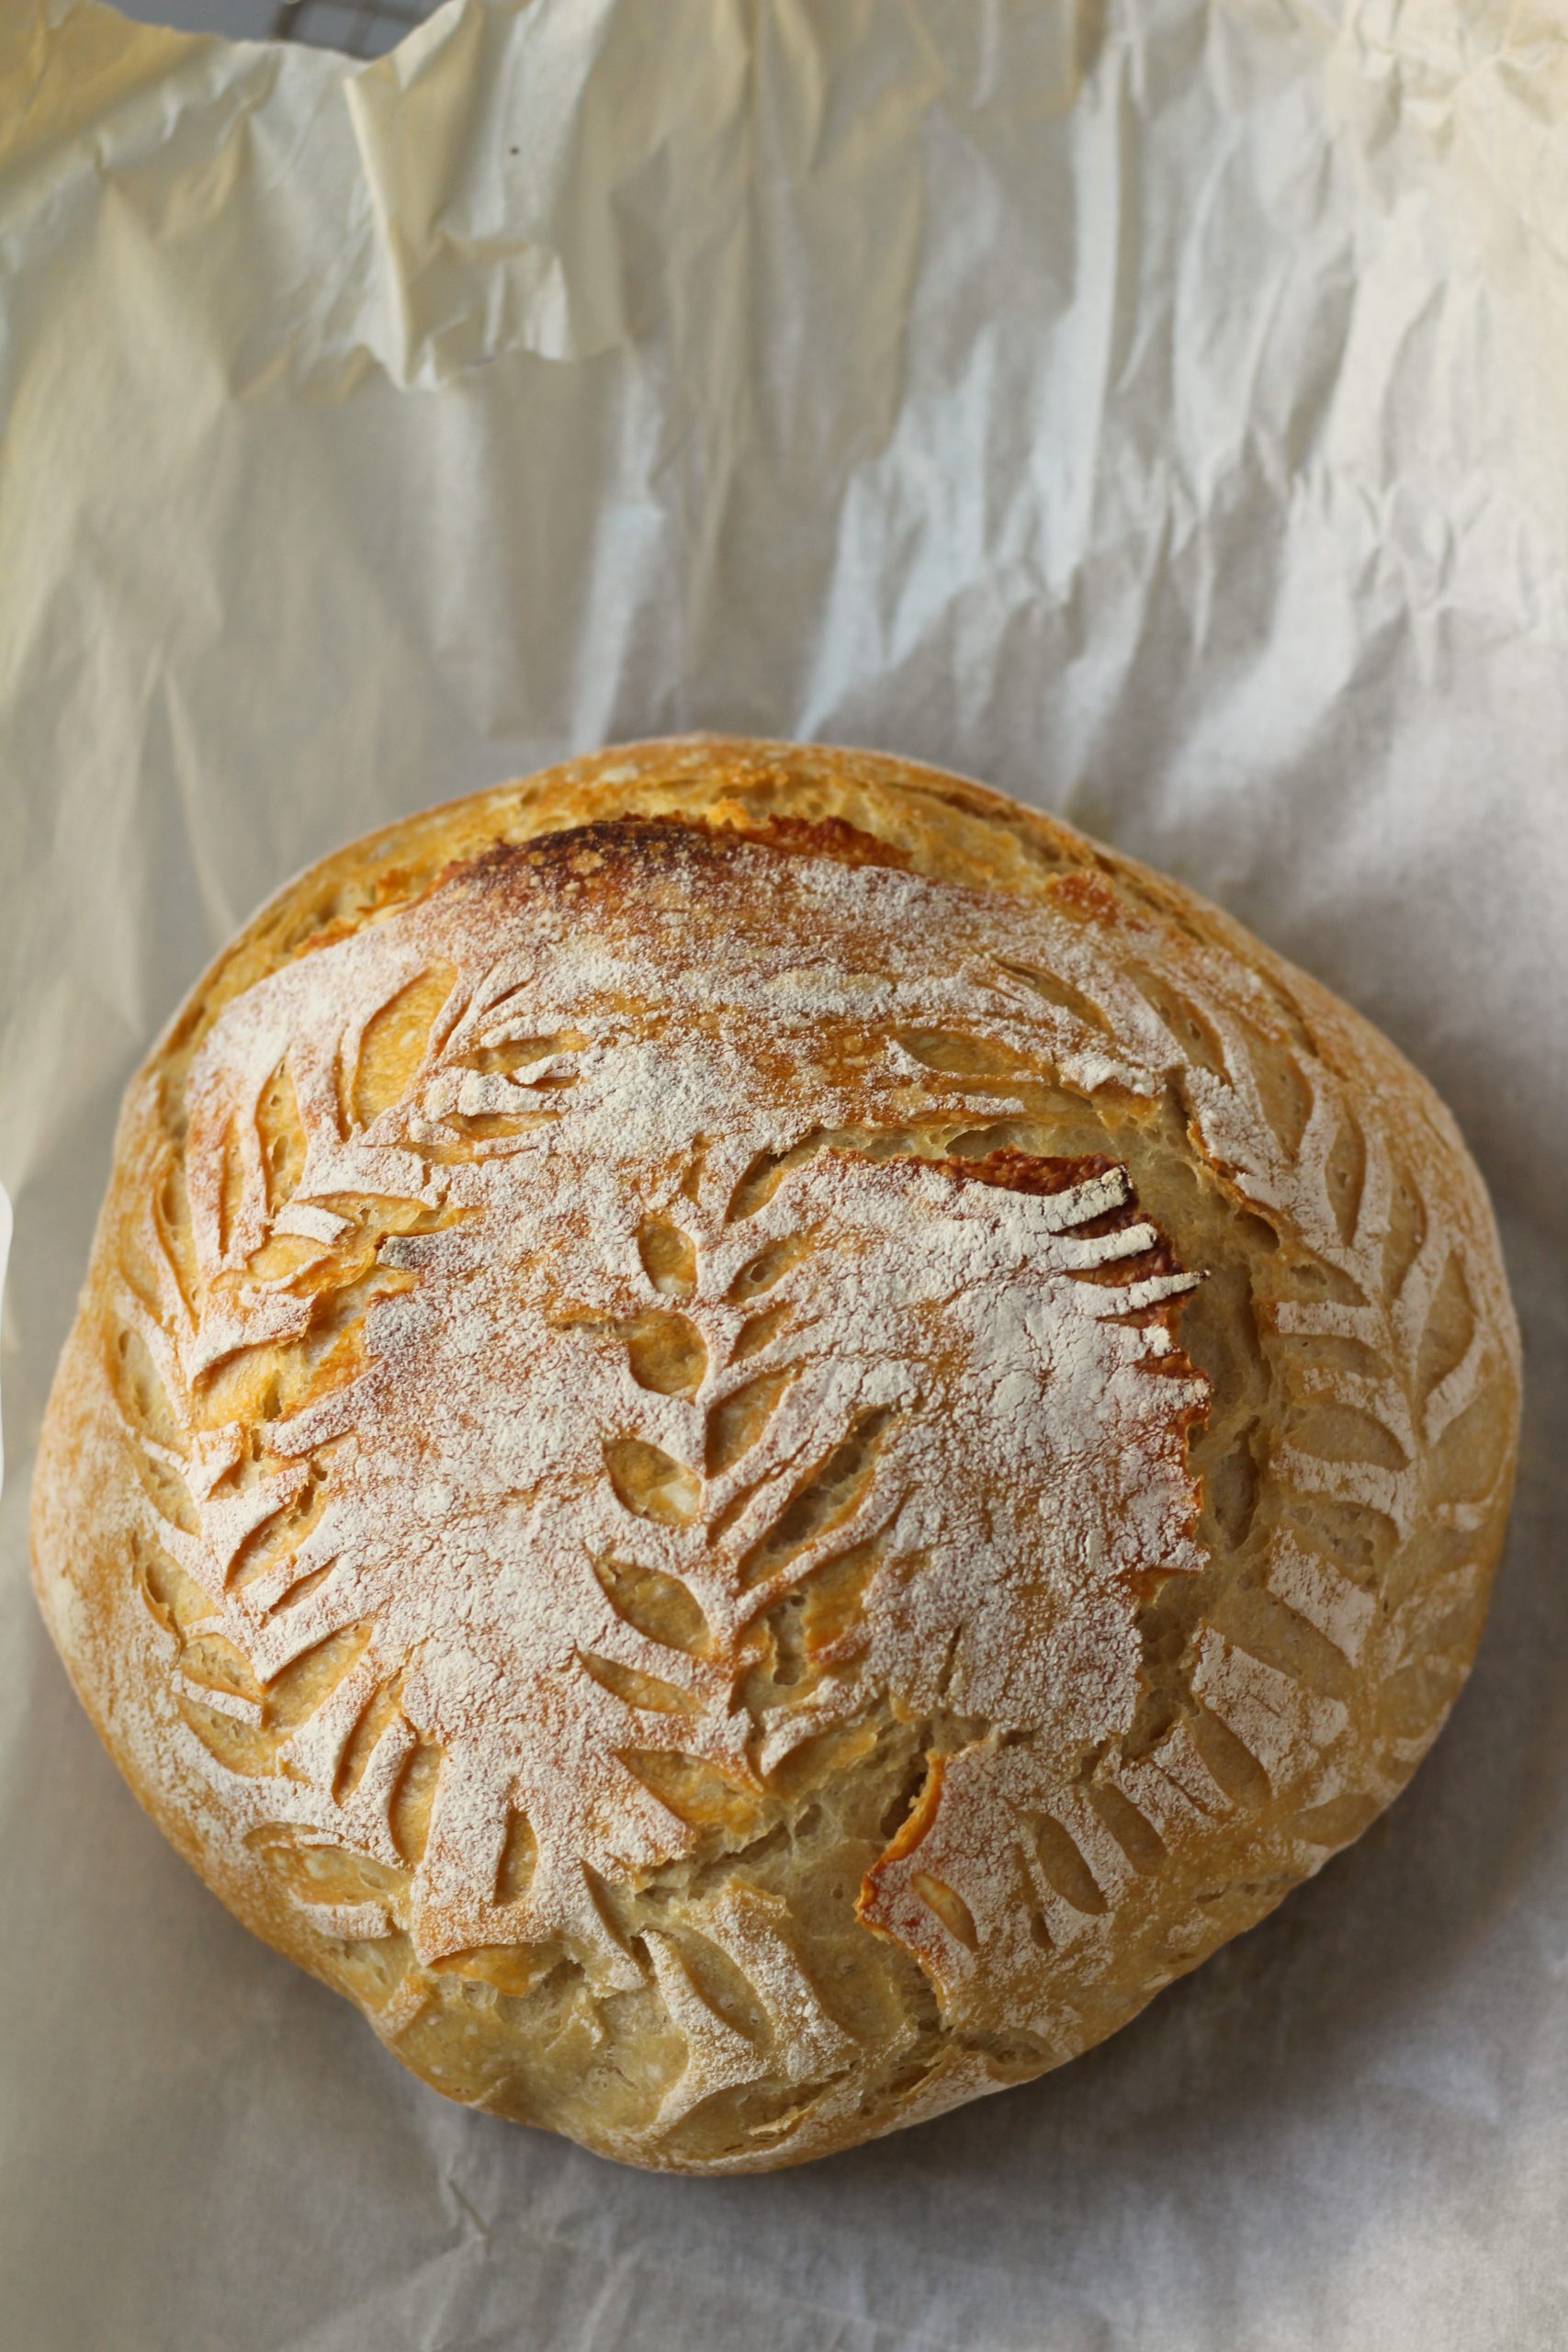
Bread done baking and cooling on cooling rack

This recipe is written as a starting point, but you can add fresh herbs, cheese or nuts. I recommend that if adding ingredients you don’t add more then 20%. For example, in this recipe, since we use 500 grams of flour you can add up to 100 grams of extra ingredients without adjusting the baking times. If you add in a cheese, use a semi hard cheese such as old Gouda or cheddar. Make sure you shred it small before adding it into the flour mixture.

Fresh baked and cut sourdough bread

Overnight Sourdough Bread

Prep Time8 hours
Cook Time45 minutes
Course: Breakfast
Cuisine: Bread
Keyword: Overnight Sourdoughbread, Sourdoughbread
Author: Ester van Boesschoten

Equipment

  • 1 Dutch oven pan

Ingredients

  • 3 Cups Unbleached all purpose flour roughly 500 grams
  • 1 1/2 Teaspoon Sea salt I use Le Guerandais Gros salt
  • 1 Cup Purified water or filtered water roughly 290 grams
  • 2/3 Cup Active bubbly starter, stirred down 150 gram

Instructions

Night before

  • Mix salt and flour in a big mixing bowl
  • Add the starter and gently mix in with spatula.
  • Stir in the water and mix with hand until the dough is well combined. Around a minute.
  • Cover the dough with cling wrap and let it rest for 30 minutes in a draft free and warm place.
  • After 30 minutes gently stretch each corner out and fold the dough onto the opposite corner. The dough is sticky so it helps to have a little bowl of water next to you that you can wet your hands in throughout the folding process. After each stretch, fold and rotate the bowl to continue going around. Do this for 1 minute. See instruction video for additional explanation.
  • Cover and let the dough rest overnight on the counter, 8-12 hours. When it is doubled in size you are ready for the next step.

Baking

  • Preheat your oven ,with the Dutch oven and lid inside it, to 475 Farhenheit.
  • Dust your counter with a little flour and carefully scape the dough out onto it. You want to keep all the air bubbles in the dough. Shape the dough gently into a ball. See instruction video.
  • Place the dough into your proving basket dusted with flour and cover. Let it rise for 30 minutes. Don’t overprove. It is best to set a timer for this one. If you don’t have a proving basket, place the dough on parchment paper and cover with cling wrap.
  • Carefully turn the dough onto a large piece of parchment paper. Both the dough and parchment paper will need to fit into the Dutch oven so keep that in mind when cutting the paper. Now it is time to get creative with a sharp knife or a lame to score the dough. See video for example.
  • Remove the Dutch oven from the warm oven. Remove the lid and carefully place the parchment paper with the bread into the pan. Replace the lid back and place in the oven.
  • Reduce the oven to 420 Farhenheit and bake for 20 minutes.
  • After 20 minutes remove the lid, set oven to 425 Farhenheit and bake for another 20-25 minutes. Until it is golden brown and the bread sounds hollow when softly knocking on the bottom.
  • Once done remove the bread from the dutch oven and let cool on a cooling rack.

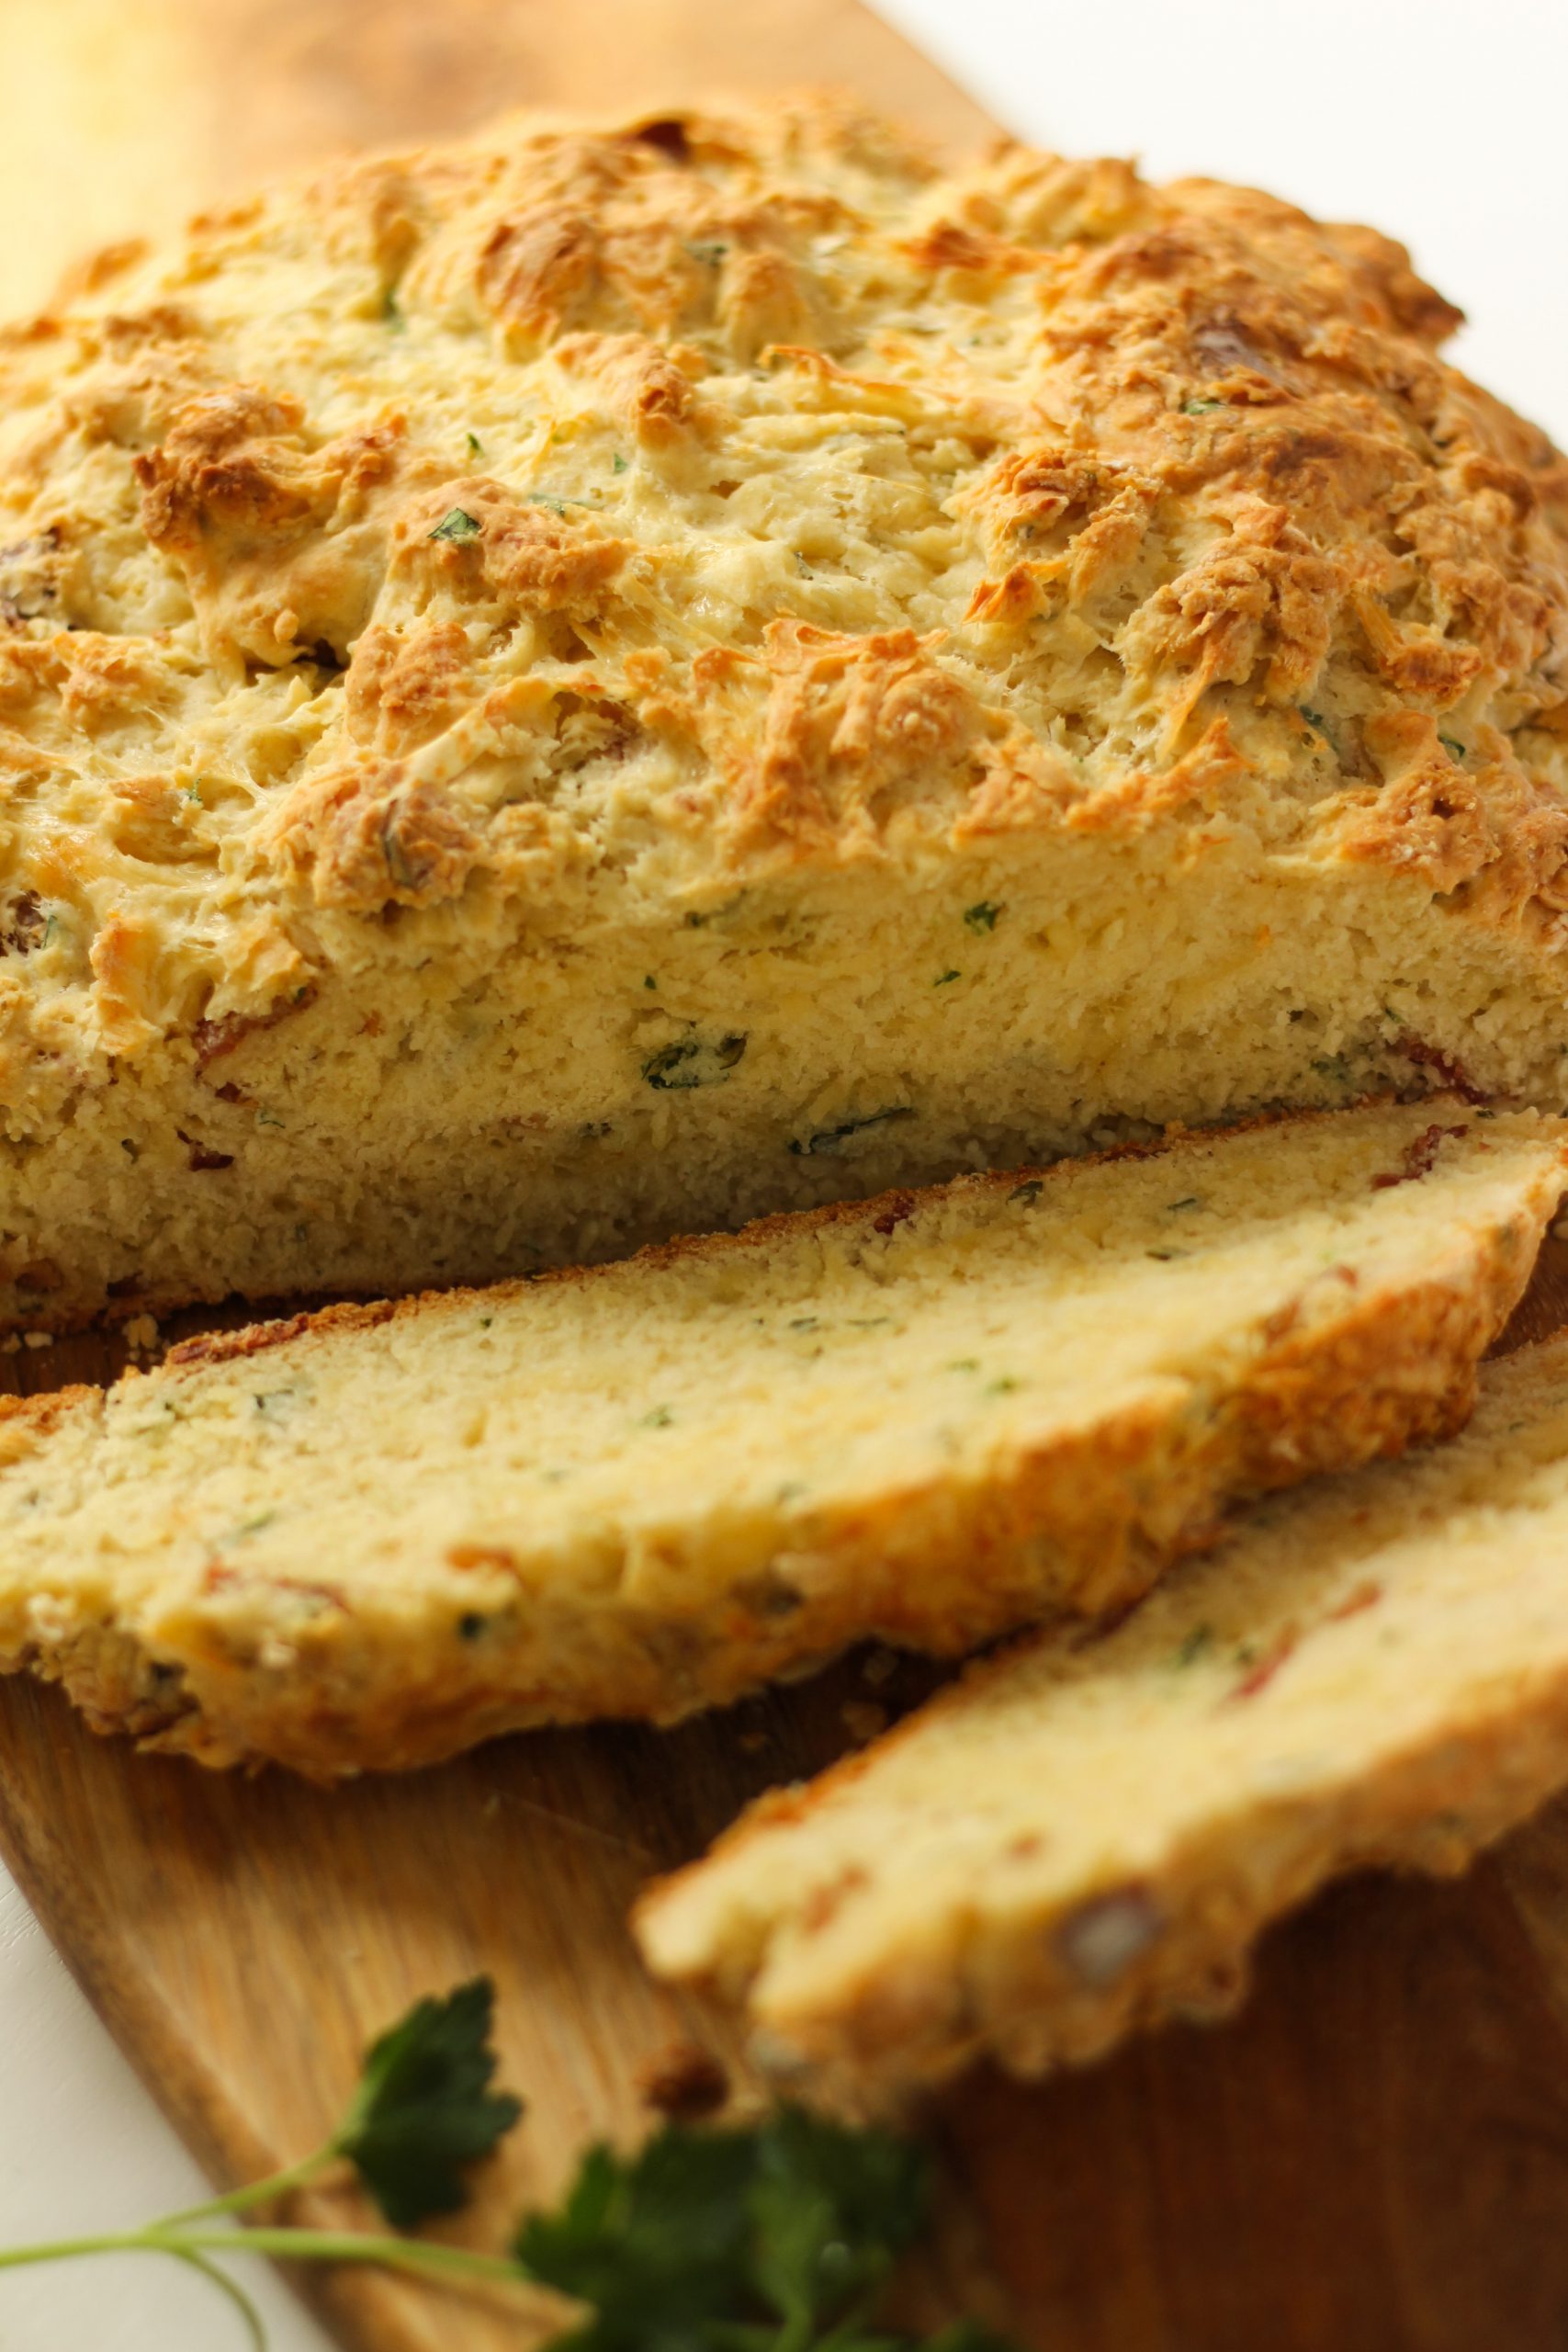
Baking bread is my favorite thing to do. You can never have too much bread or too many varieties. I normally don’t bake soda bread because they tend to be dense. I wanted to give it a go and try to make it a little less dense. The flavors of cheese, bacon and fresh herbs came quick to me as additions I wanted to add. I started to wonder about what additions might make it less dense? Besides a little more liquid from the buttermilk, I felt it needed an egg. The end result didn’t disappoint at all. My whole family loved it! By the end of the day, more than half the loaf was gone. 

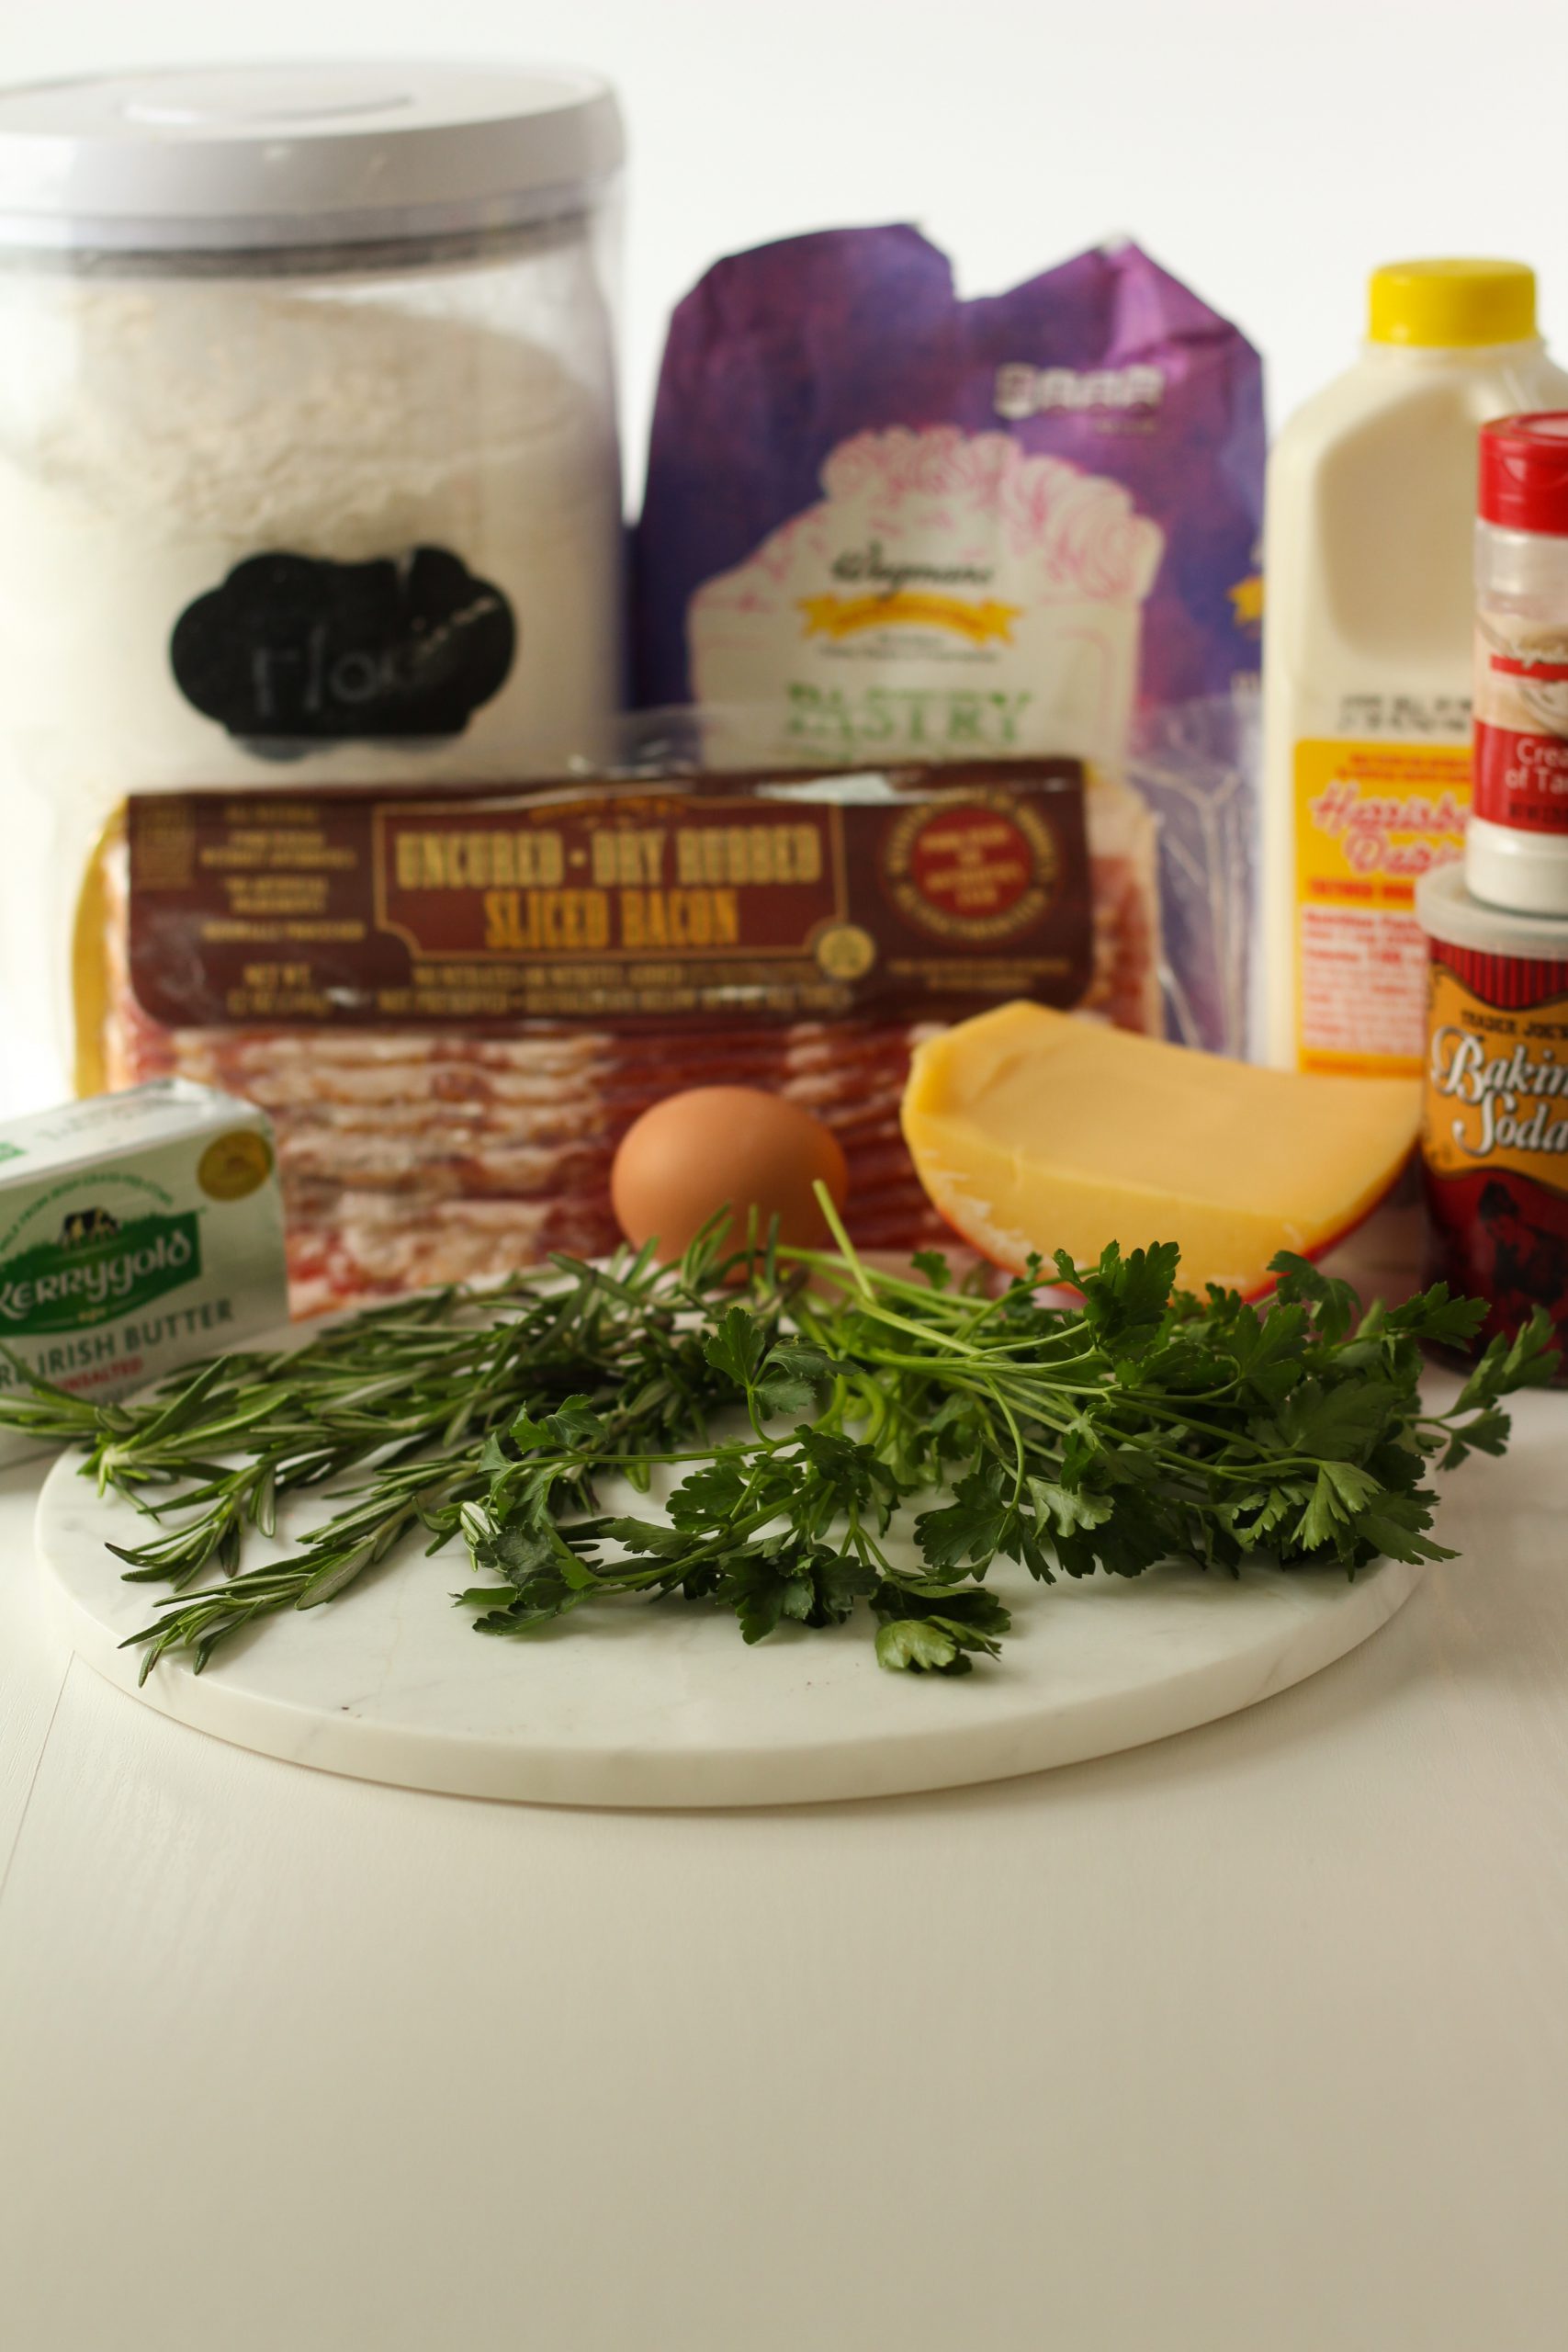
I recommend putting out all your ingredients before you start, so you have everything at hand.

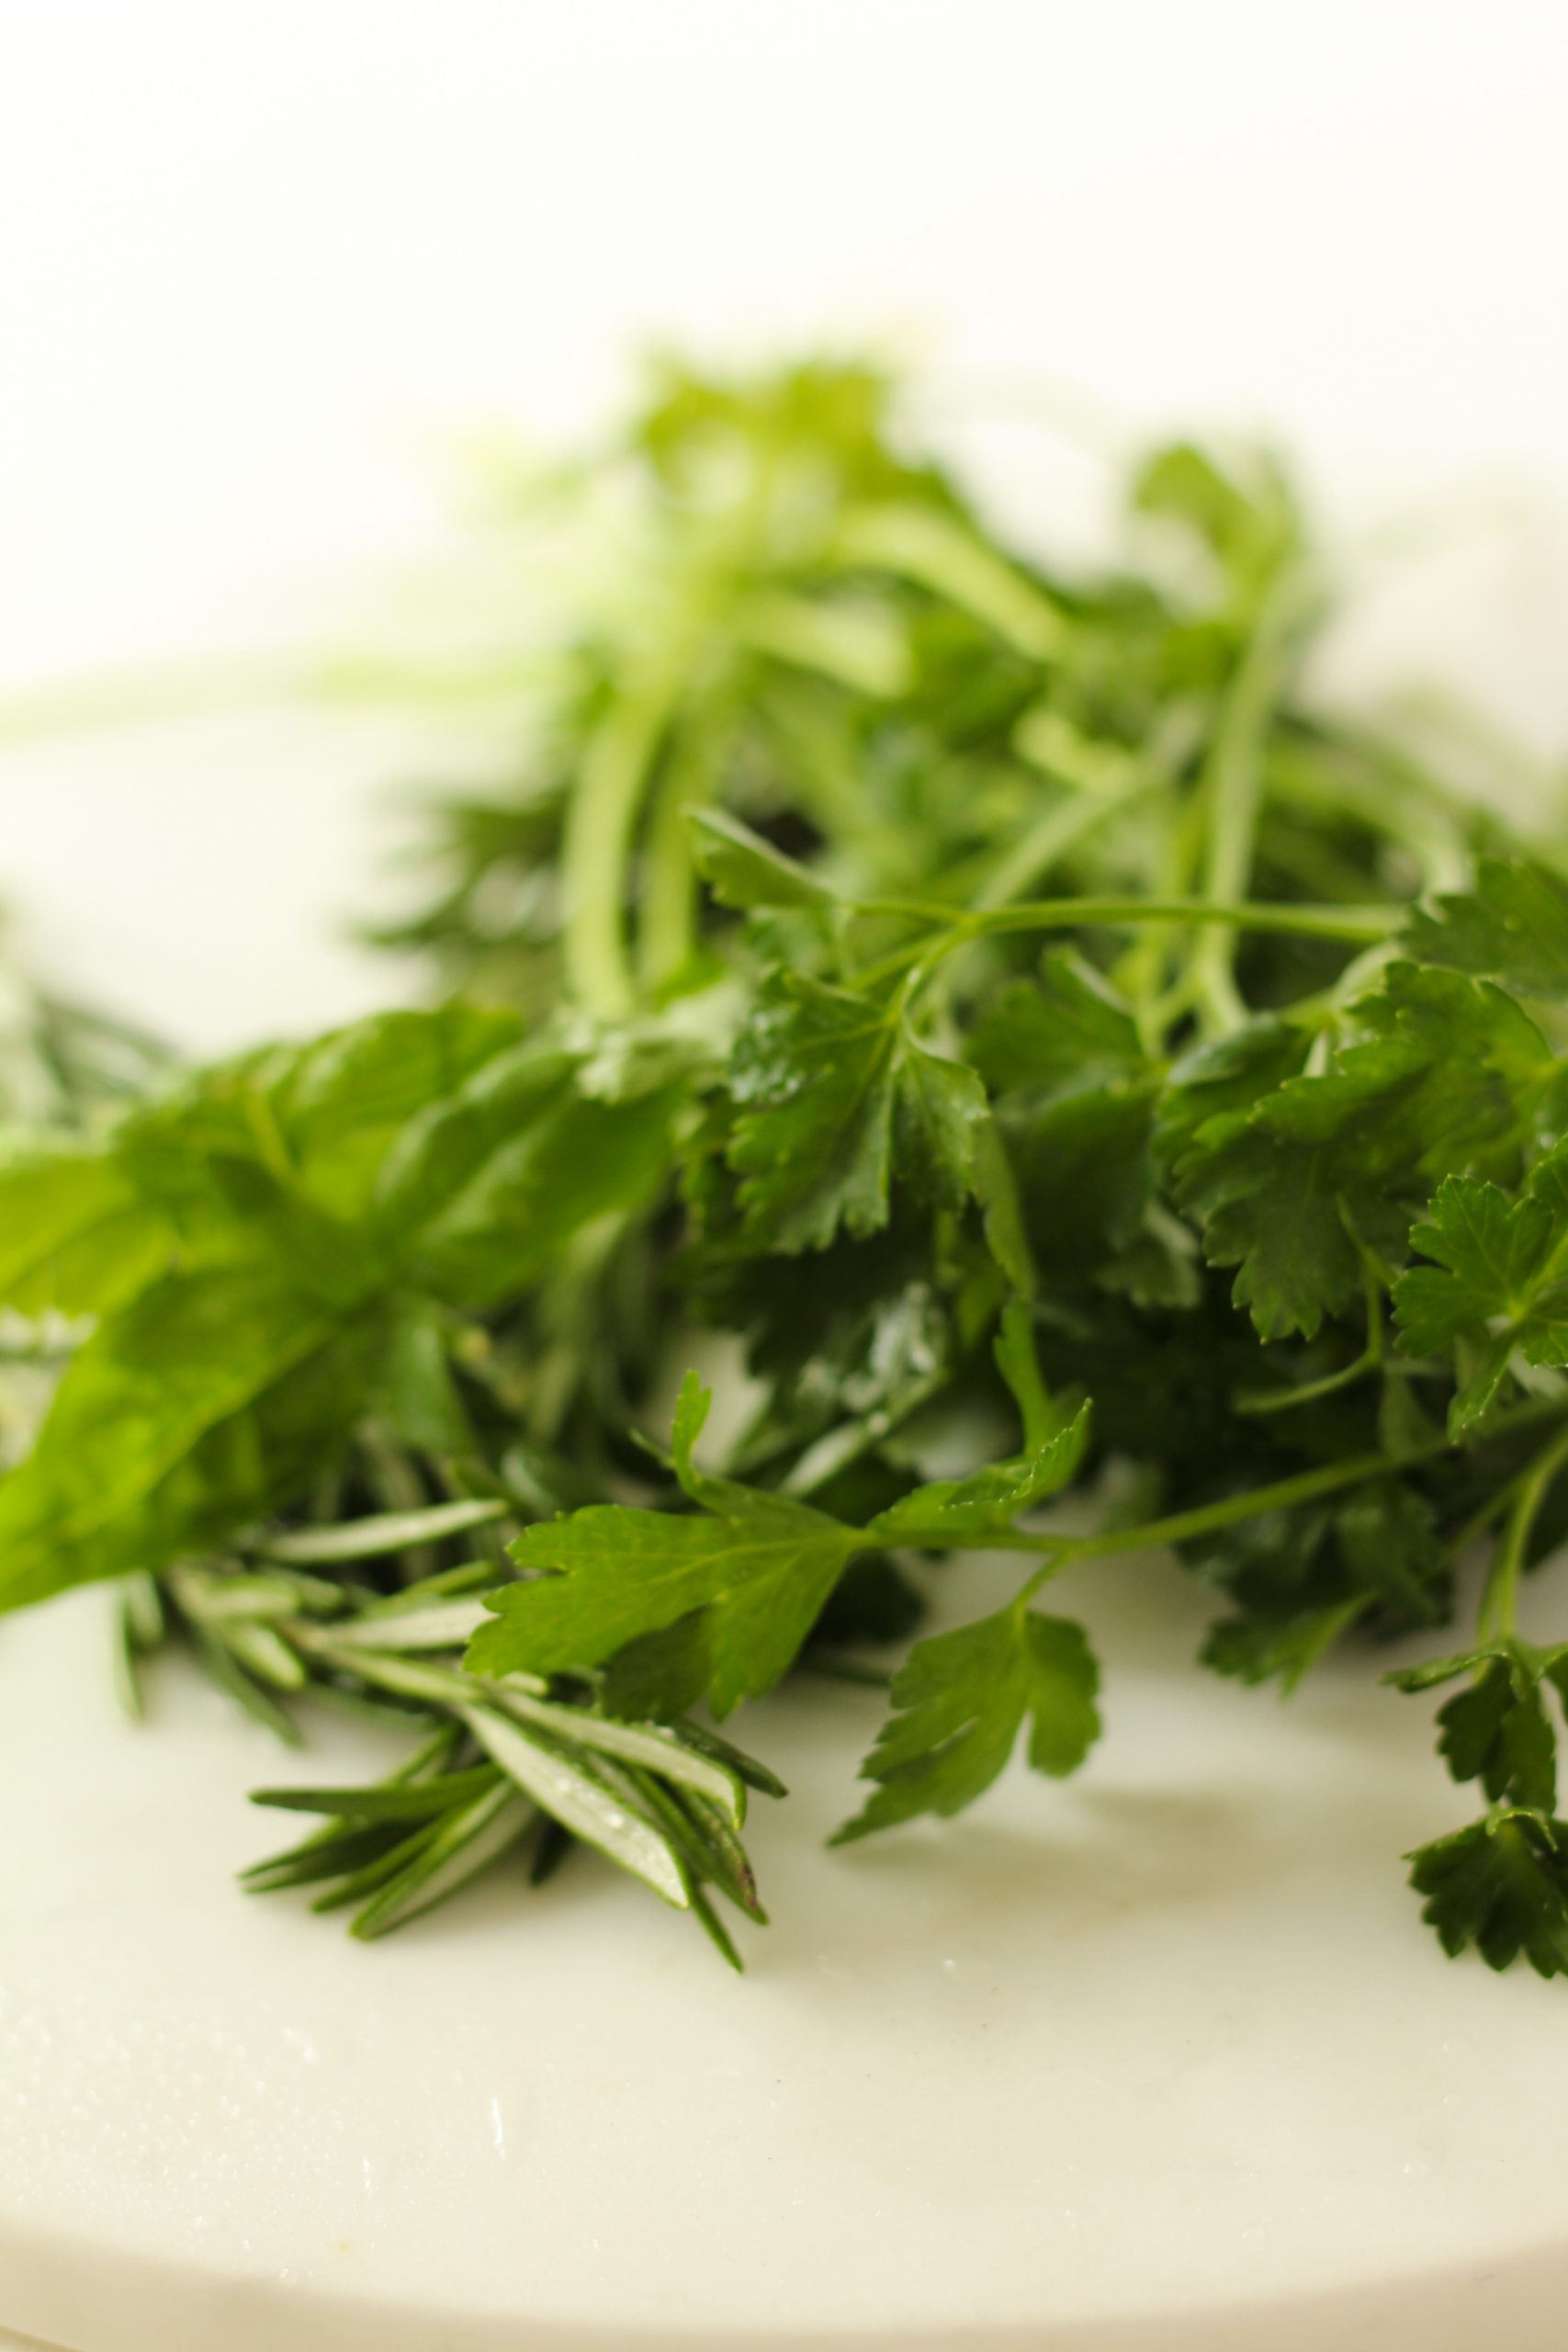
Fresh herbs, washed and ready to use. I used parsley, rosemary and a little basil. You can use any herbs you prefer.


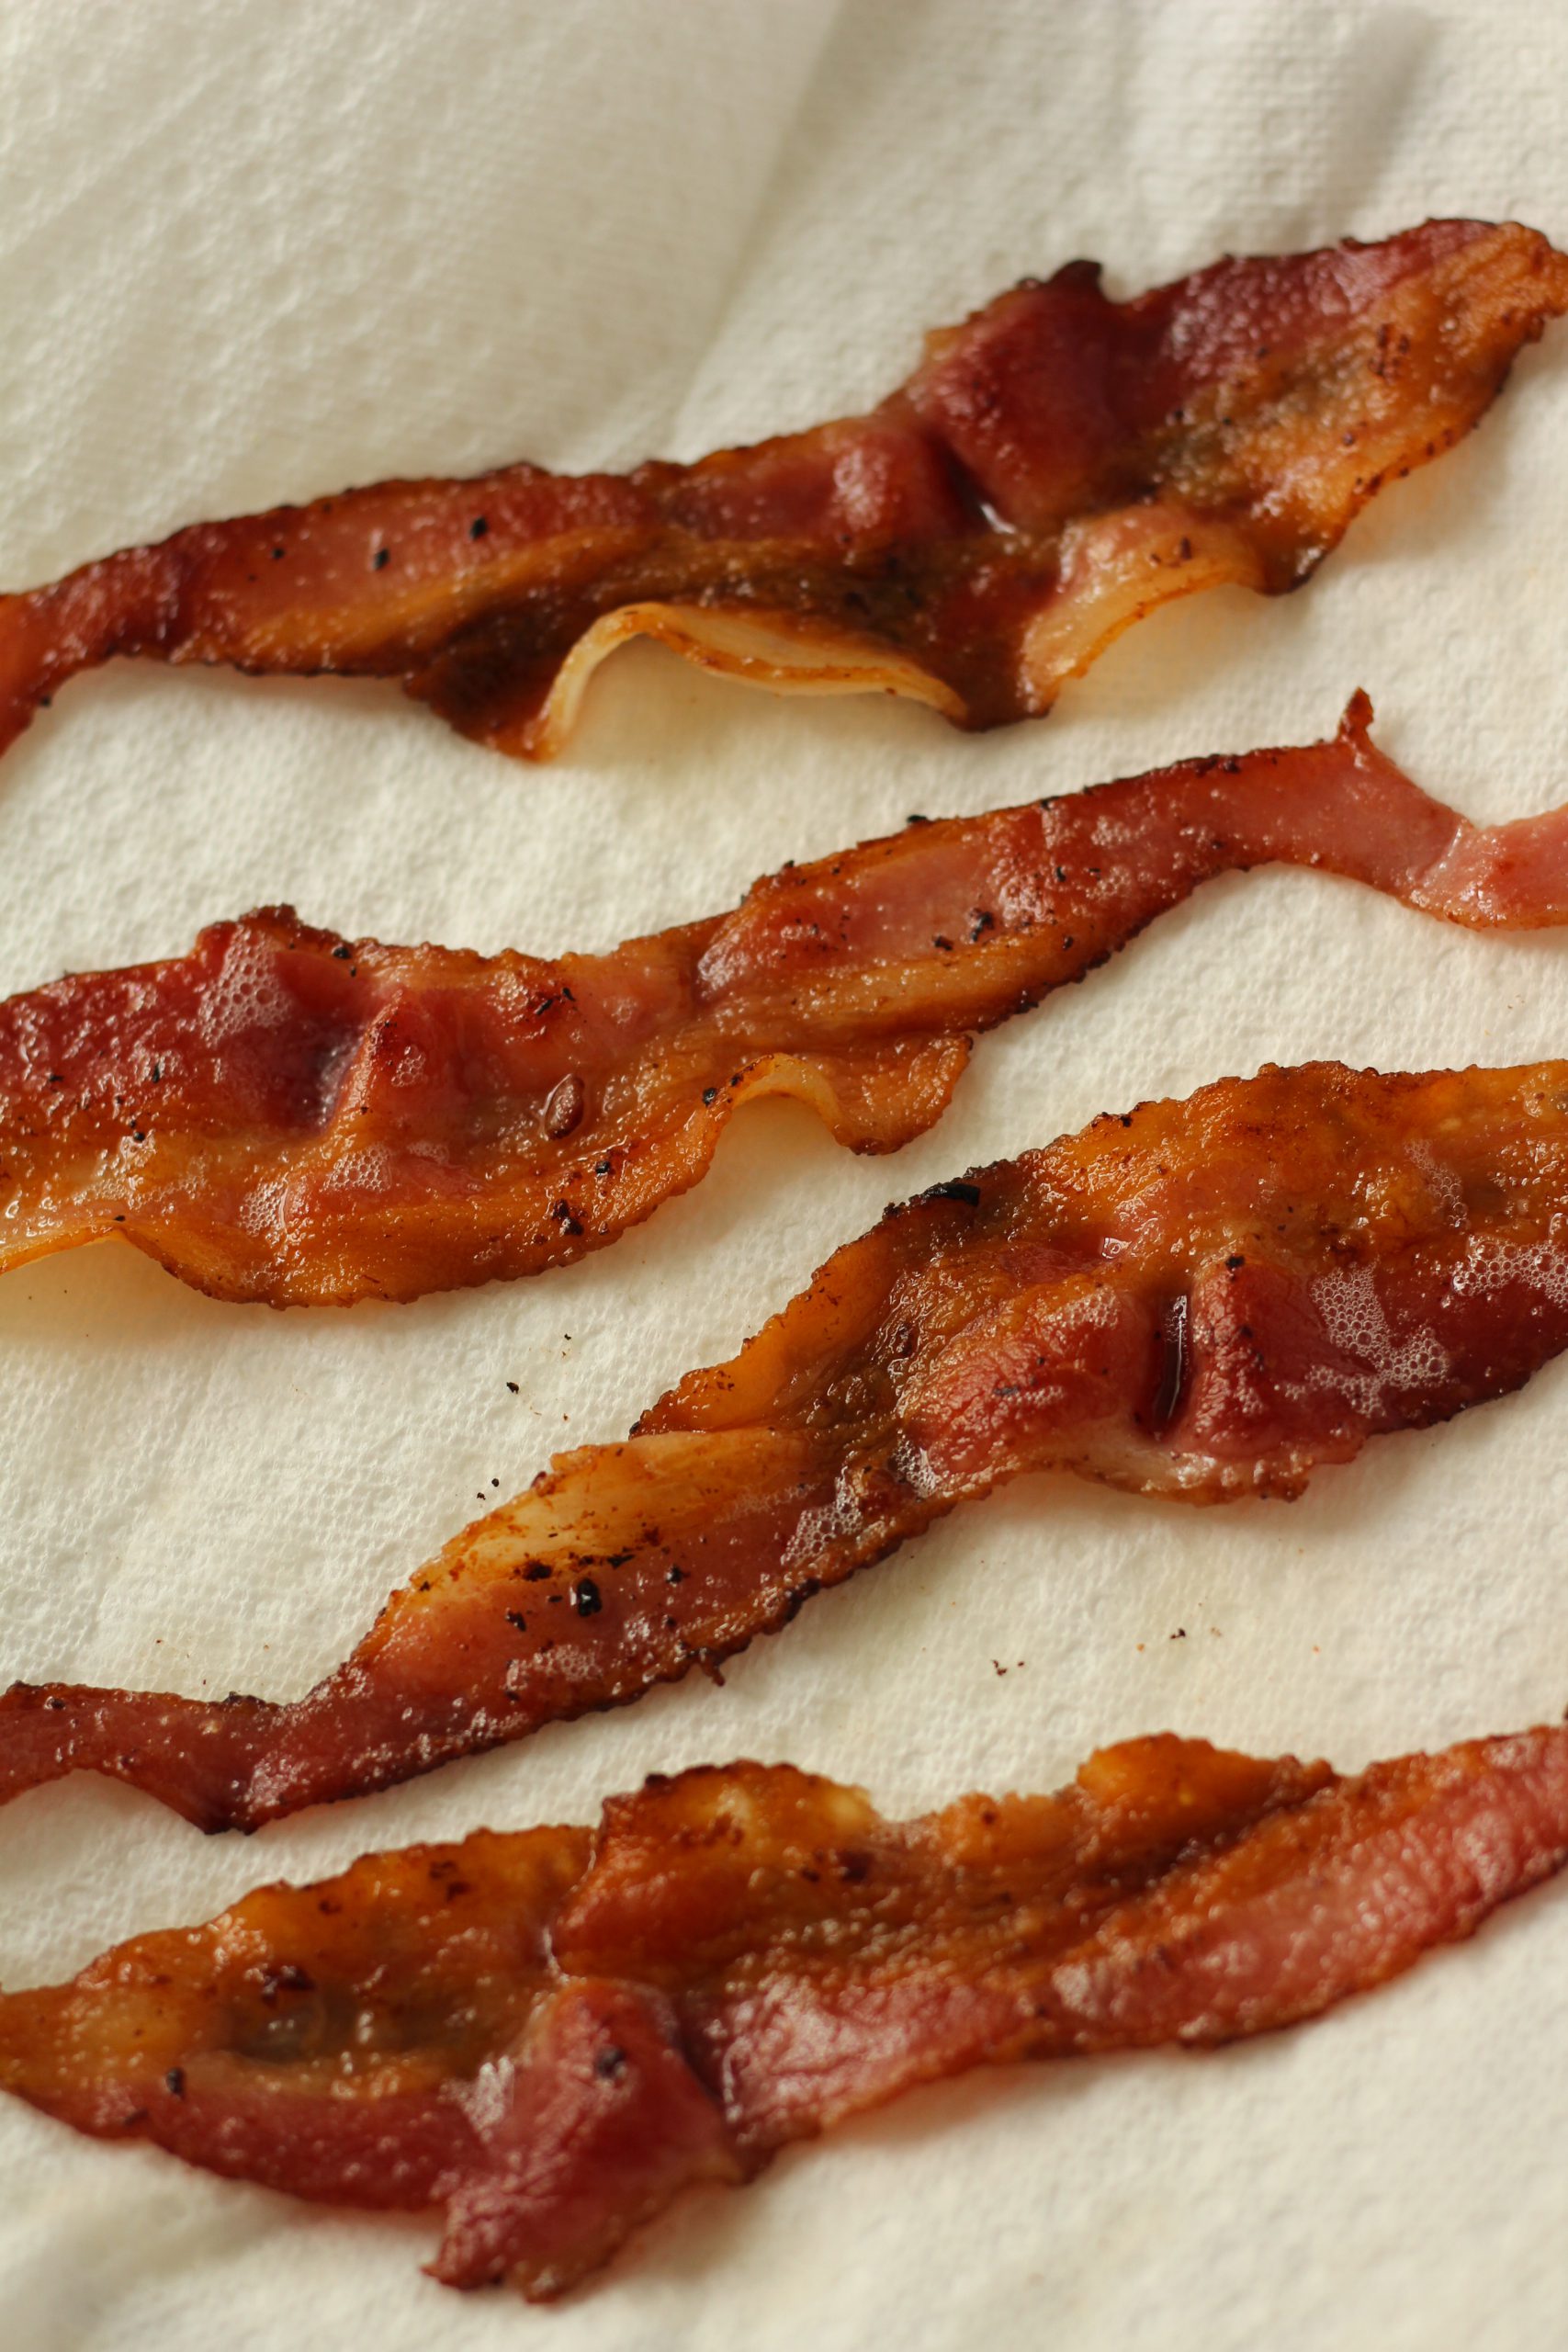
I’ve included bacon to add that extra bit of savory flavor. Make sure you bake until it is nice and crispy.

Let the bacon sit on a paper towel for a bit to catch the grease.

Make sure you chop your herbs nice and small.

Combine the flour mixture with the bacon, herbs and cheese. Slowly mix them together. By adding them now it prevents them from sticking together and makes sure it is evenly distributed in your bread.

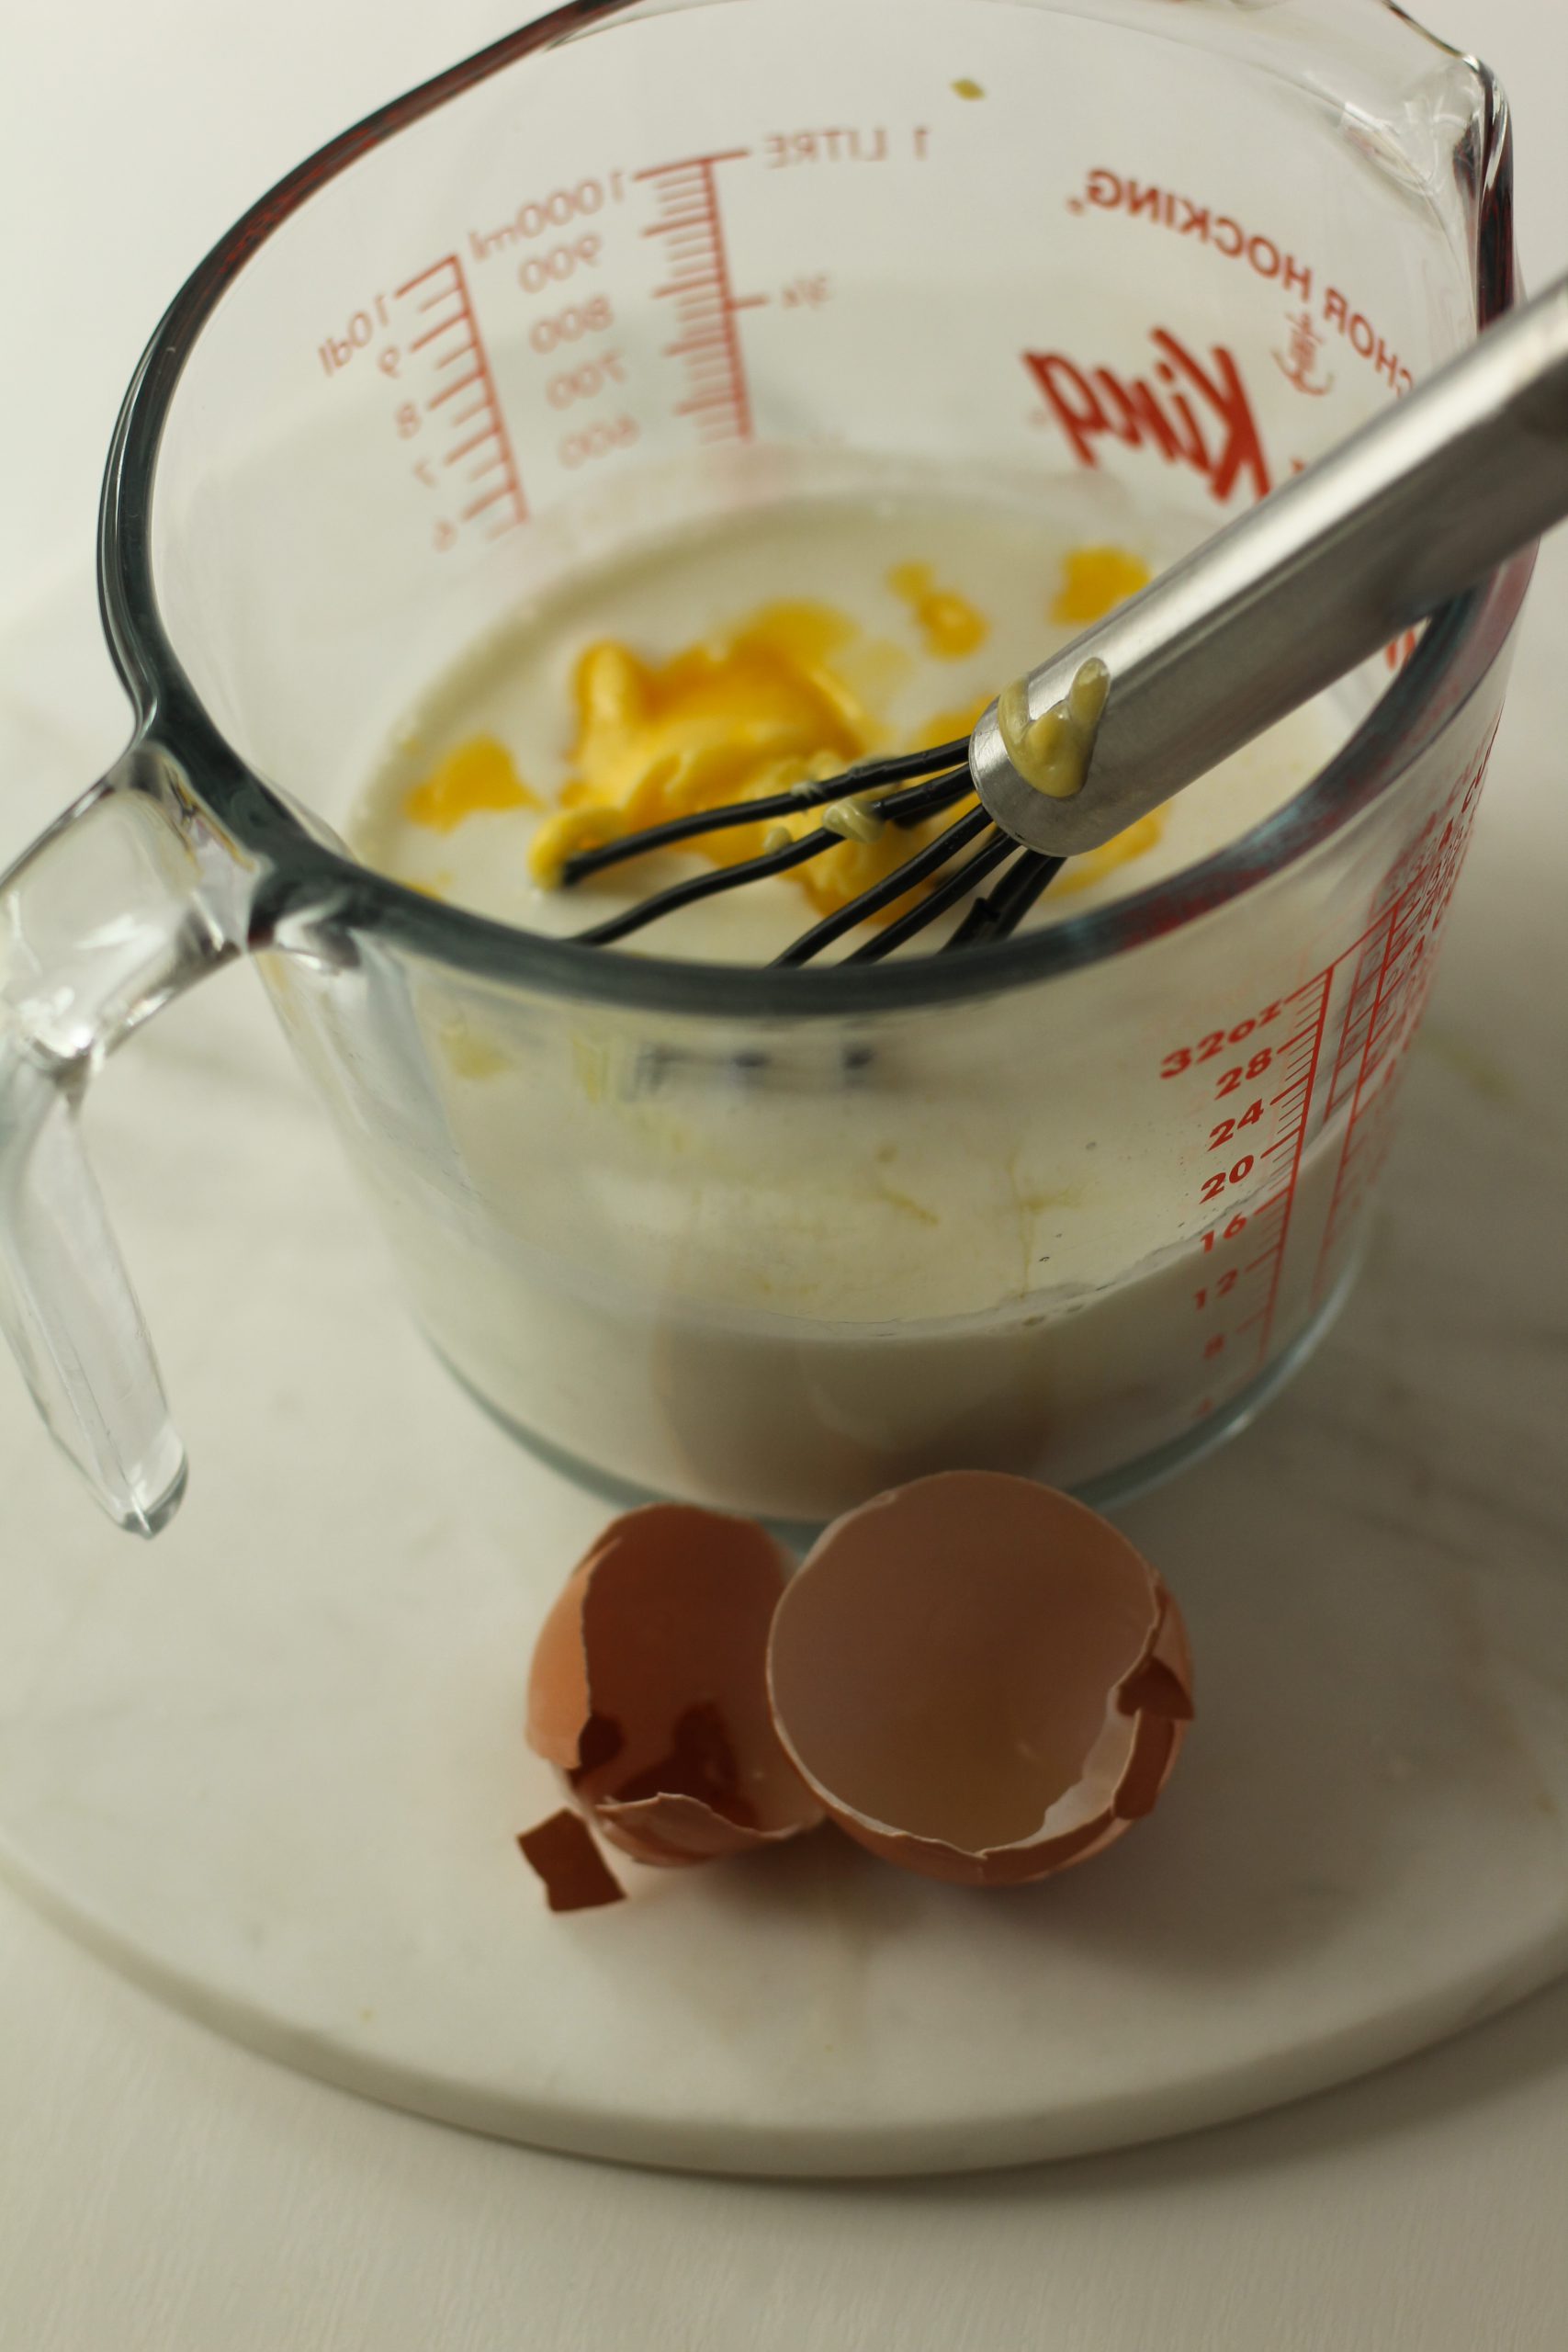
Combine all the liquid and eggs before adding to the dry mixture.

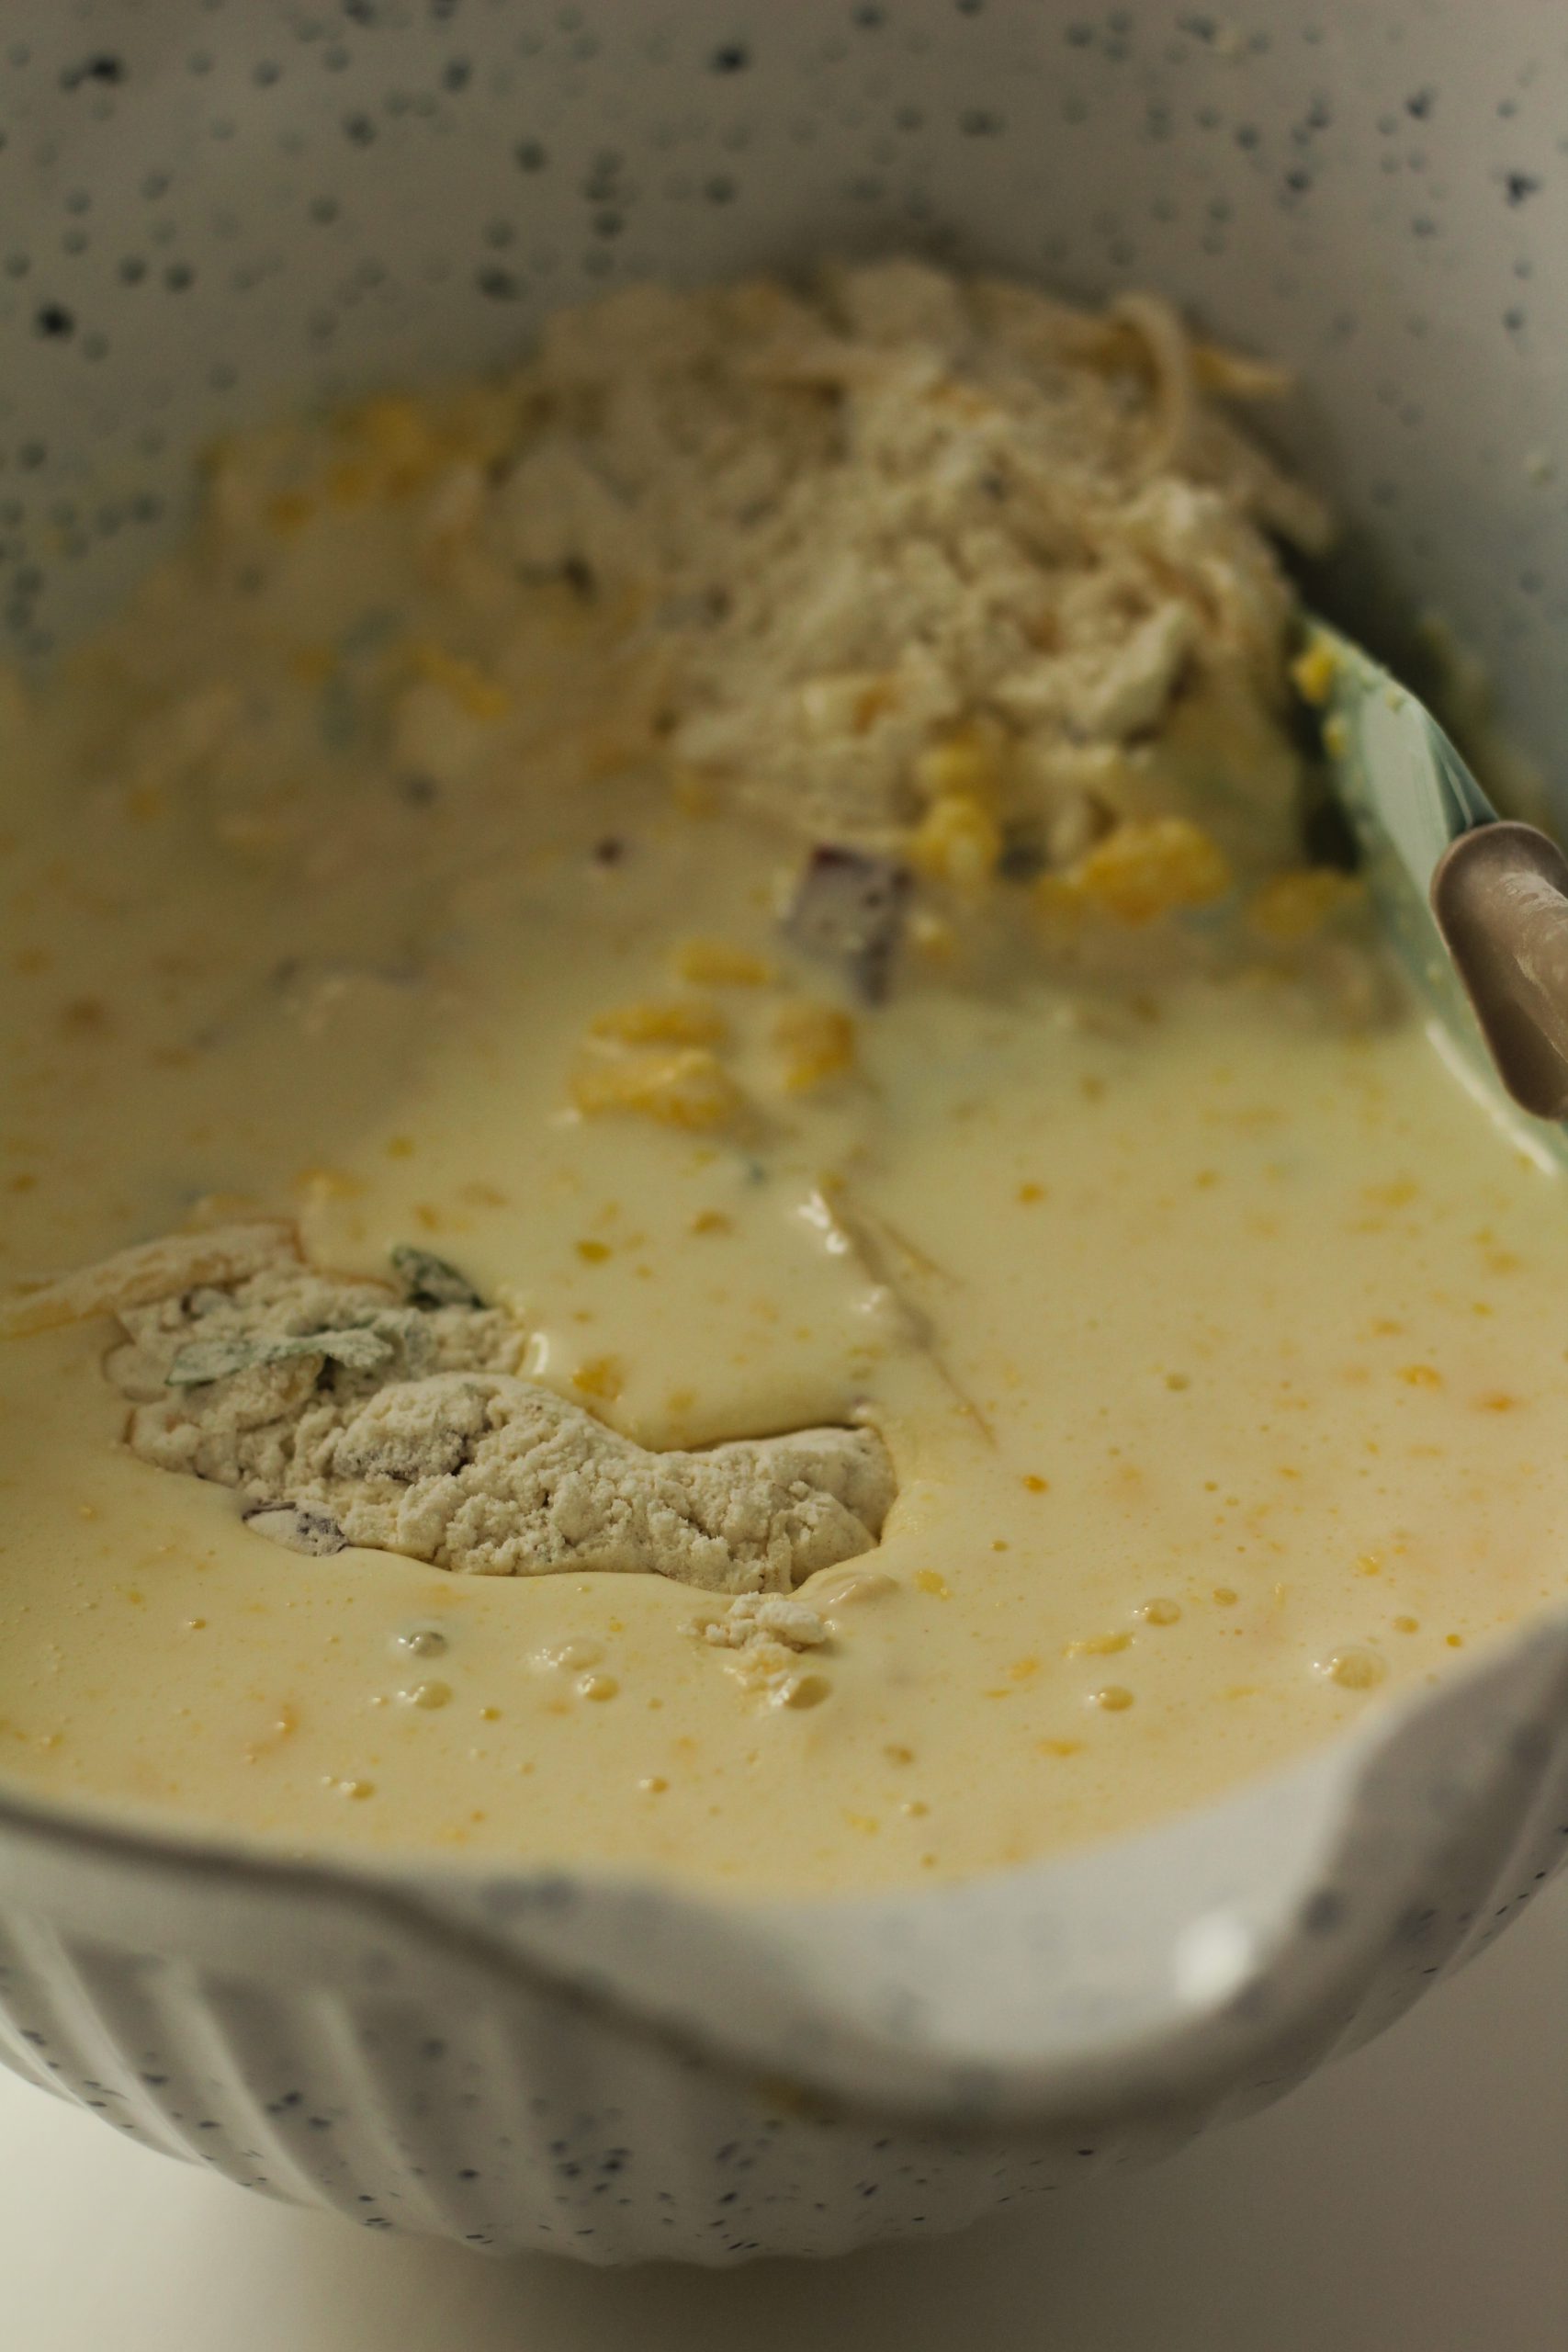
Pour the liquid into the dry mixture and gently combine it together. Make sure not to overmix or knead the dough. If the mixture is to dry add more buttermilk.

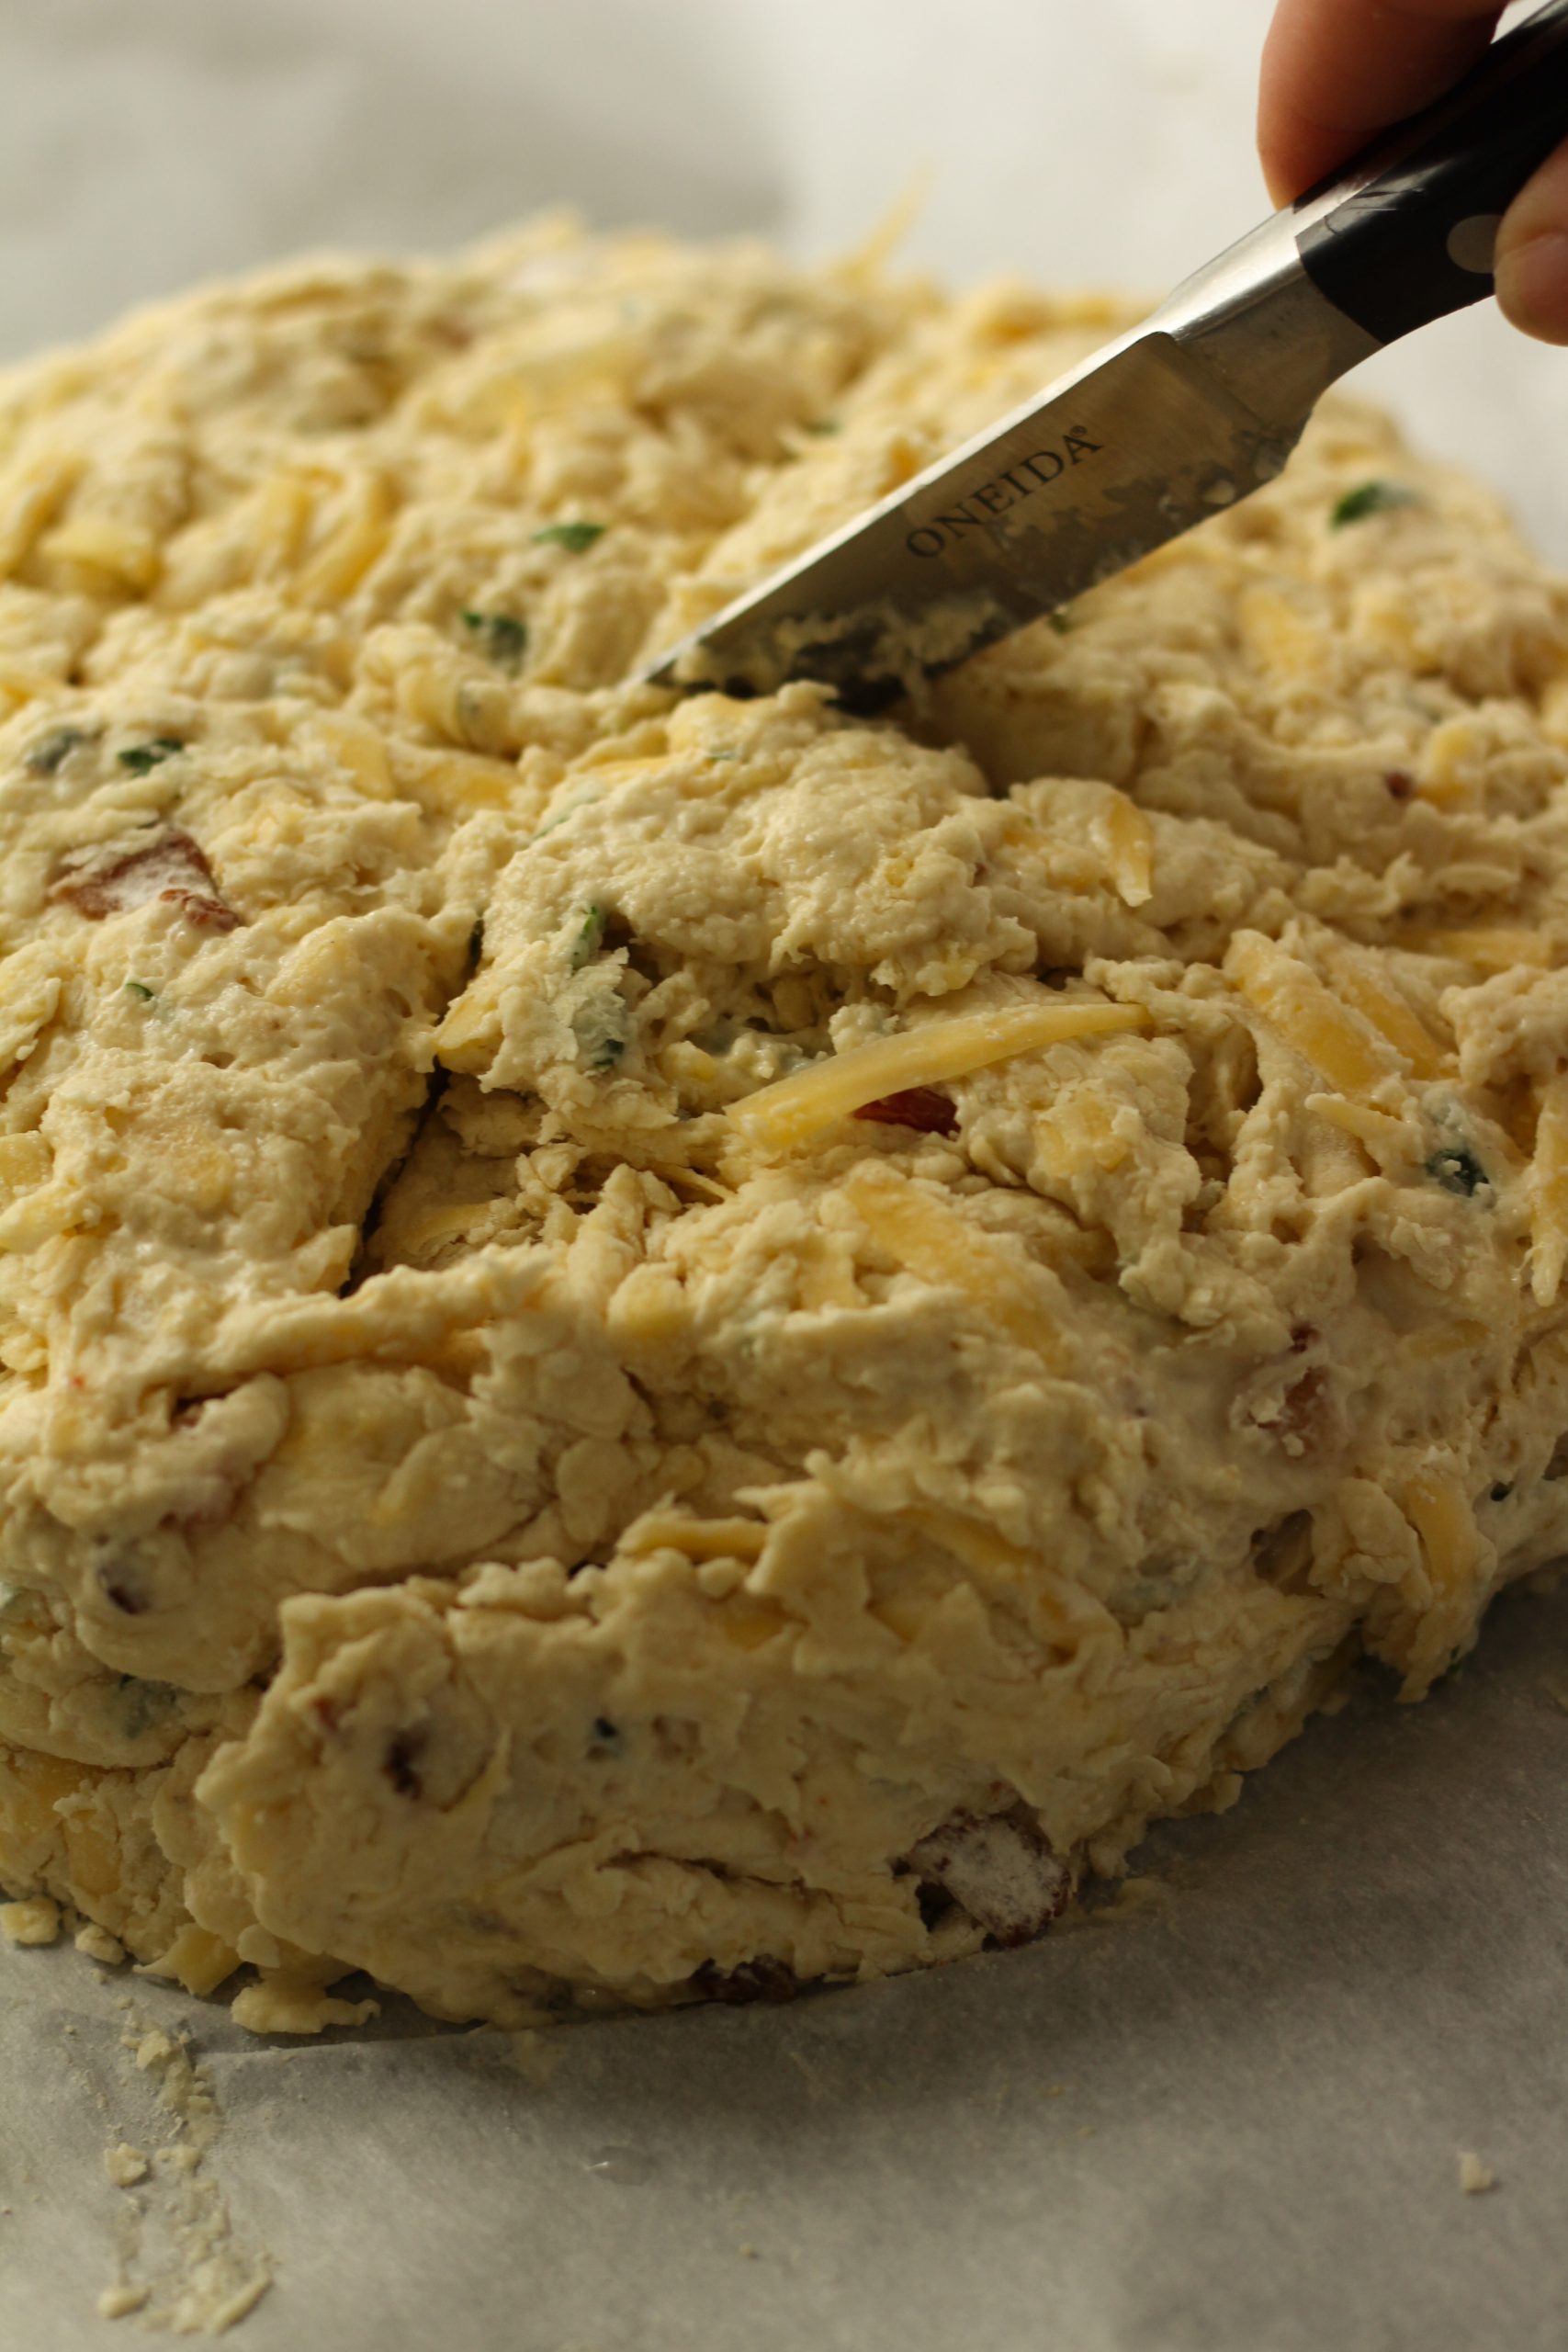
With a sharp knife score a cross on top of your bread.

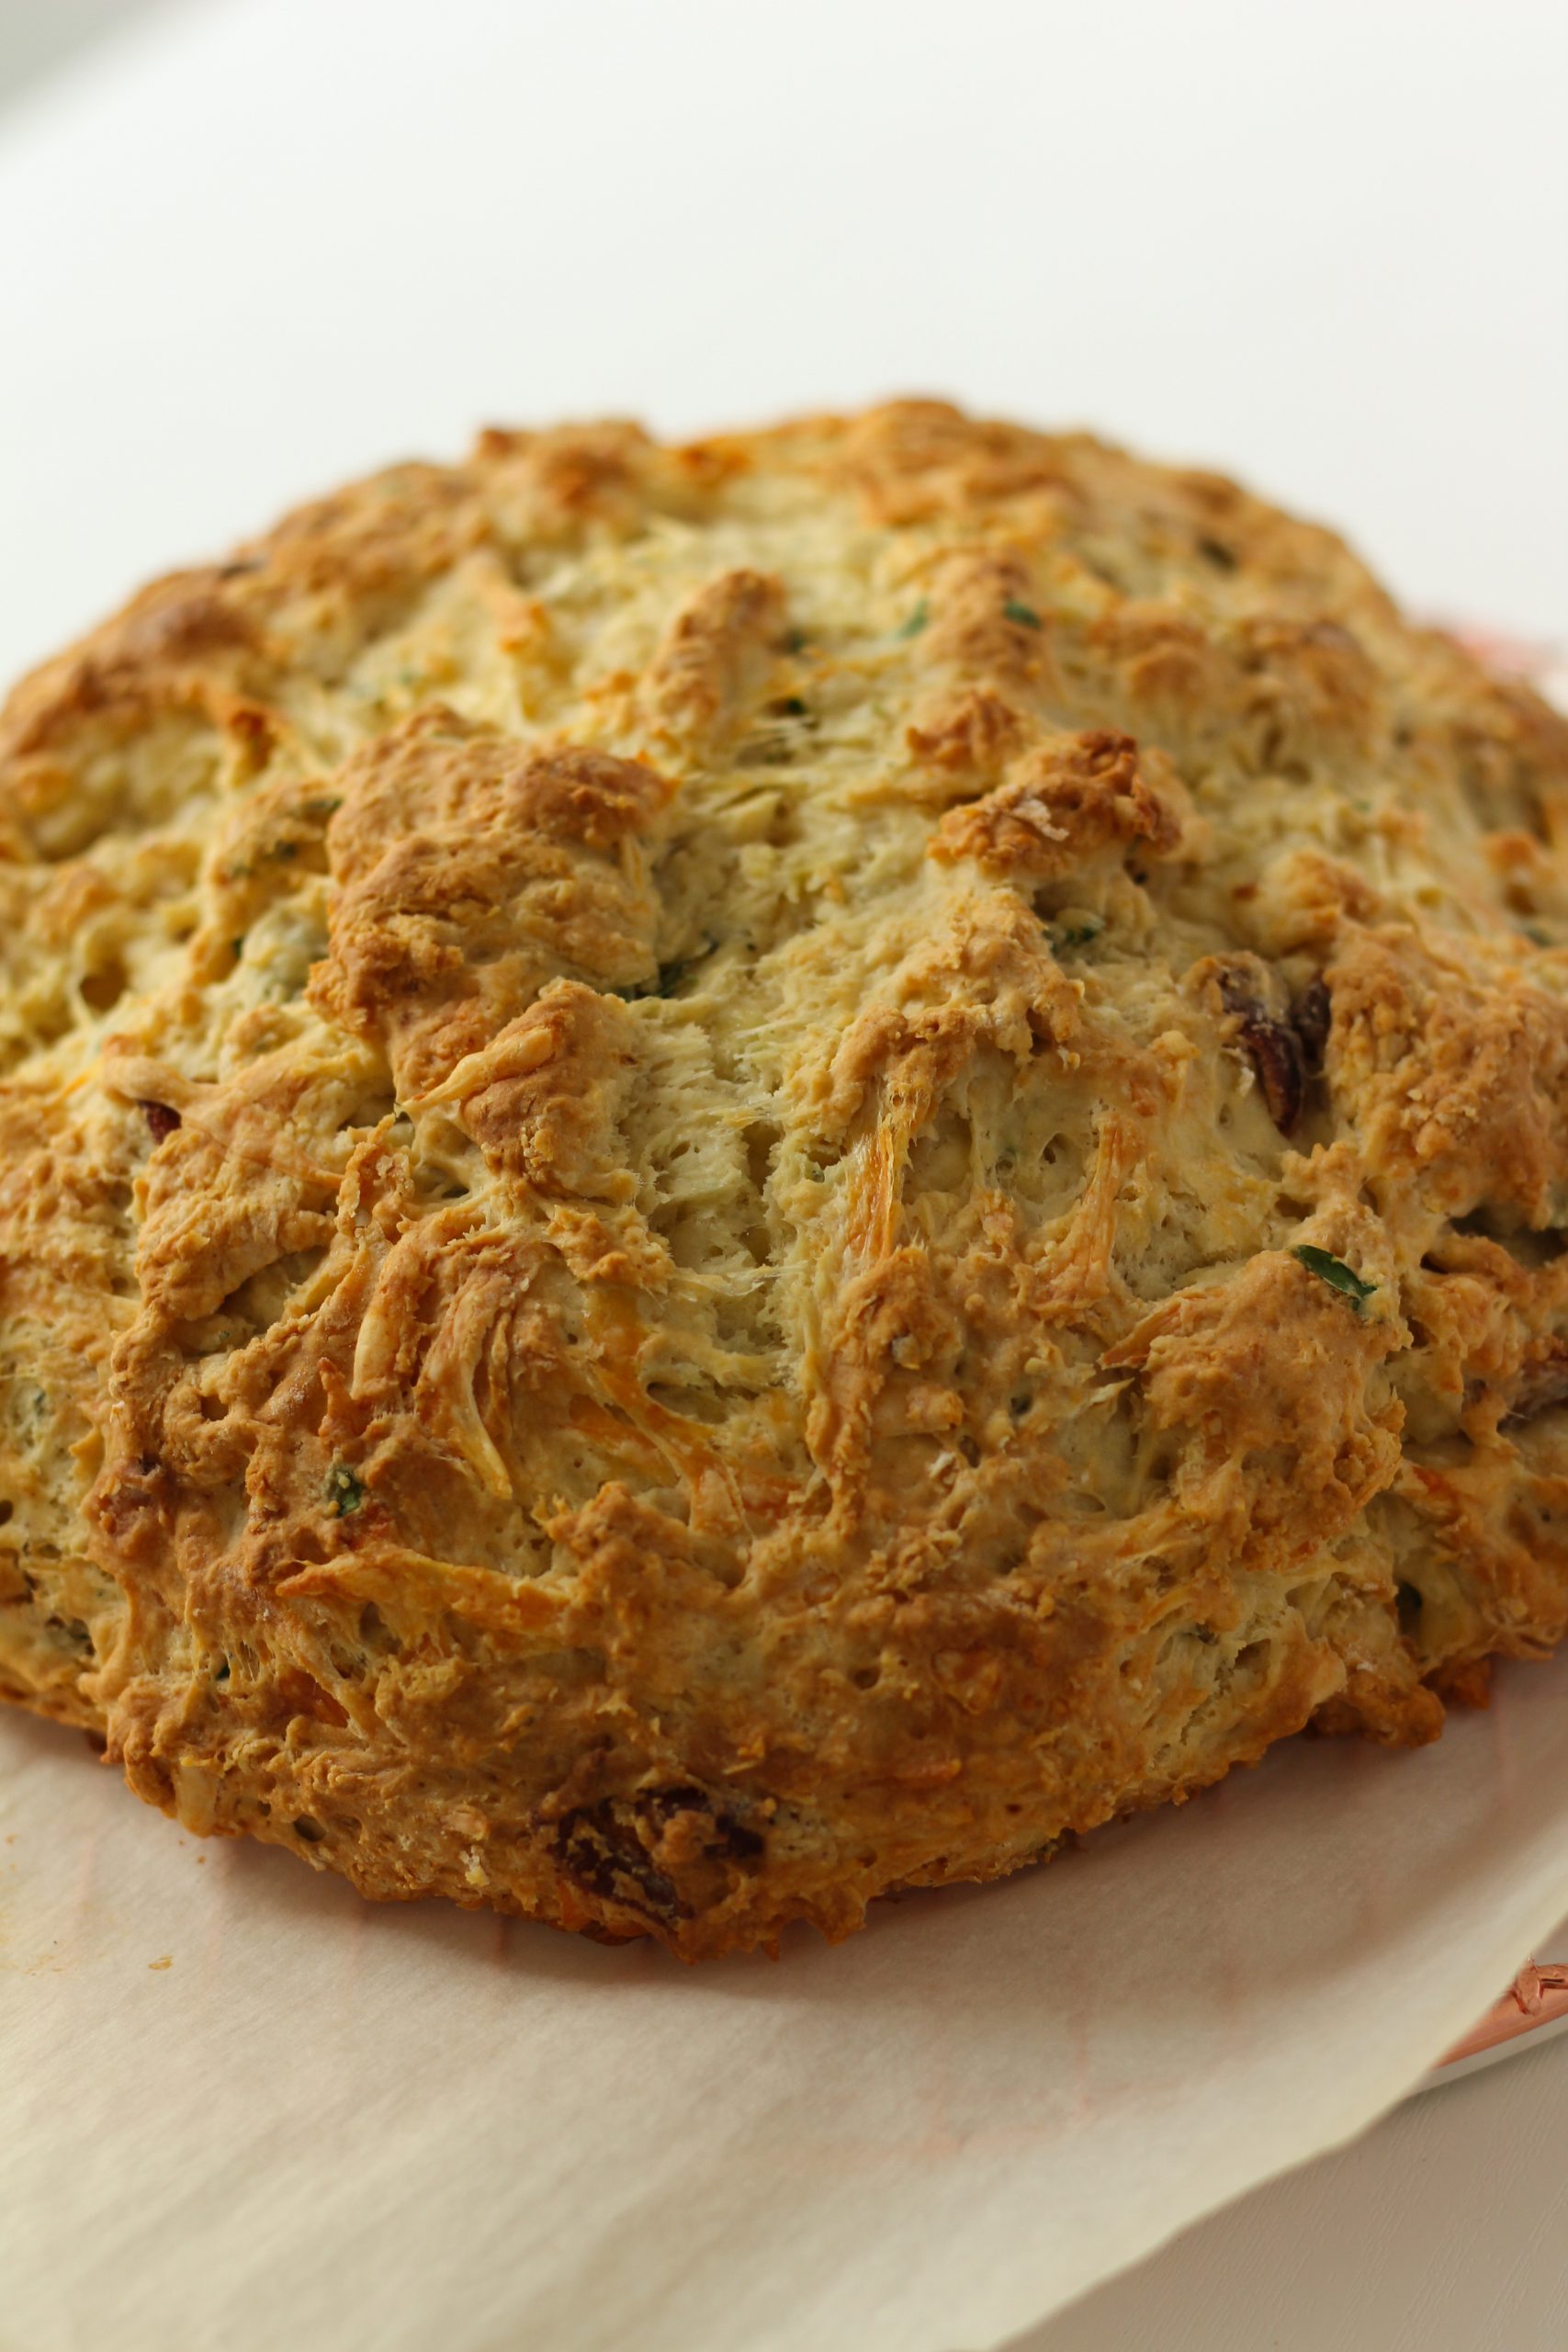
Baked till golden brown and a skewer inside the loaf comes out clean. Before enjoying this delicious bread let it cool on a cooling rack.

Bacon and Cheese Soda Bread

Savory soda bread. The combination of fresh herbs, parsley and rosemary, with the bacon and cheese makes it a perfect side dish.
Prep Time20 minutes
Course: Breakfast
Cuisine: Bread
Keyword: baconsodabread, easybread, nokneadbread, sodabread

Ingredients

  • 3 Cups Unbleached Flour
  • 1 Cup Pastry Flour
  • 1 1/2 Teaspoons Baking Soda
  • 1 1/2 Teaspoons Cream Tartar
  • 1 1/2 Teaspoons Salt
  • 1/4 Cup Fresh herbs; Parsley, Rosemary Chopped fine. I used one stem of rosemary and the rest parsley.
  • 4 Oz Cheese shredded
  • 4 Strips Bacon baked to a crisp
  • 2 Tablespoons Unsalted Butter melted and cooled
  • 3/4 Cup Buttermilk 3/4 cup – 1 cup *
  • 2 Tablespoons Honey
  • 1 Egg room temperature

Instructions

  • Cook your bacon to a crisp and let it drain on a paper towel. Wash your herbs and chop. Set them aside.
  • Preheat the oven to 375 Farhenheit.
  • Combine in a bowl: flour, pastry flour, baking soda, cream tartar and salt.
  • Add the chopped herbs, bacon and the grated cheese to the flour mixture and combine well.
  • In another bowl combine the buttermilk with the egg, butter and honey.
  • Slowly add the liquid to the flour and fold it in. Be careful not to overmix or knead the dough or the bread will turn out dense.* When it is just combined place it on a baking sheet with parchement paper and form a circle of around 6 inches in diameter and about 2 inches thick. Score your dough with a sharp knife by cutting a cross shape in the top of the loaf.
  • Bake the loaf in the preheated oven until it is golden brown and sounds hollow when you softly knock on the bottom of the loaf. If prefered you can also check by inserting a skewer inside the loaf and see if it comes out clean! This takes around 40-45 minutes.
  • Let it cool on a cooling rack

Notes

* If the dough feels dry after adding the liquid add more buttermilk until comes together nicely and doesn’t feel dry.

Read more:


This upside down pear pie with the caramel on top is the best! The original recipe is inspired from a blue band basic Dutch cookbook that was gifted to me by my father in law. I received this gift over 15 years ago when I moved in with my boyfriend, who is now my husband. My father in-law is the best cook I know and I will never forget the first time he cooked dinner for me. I thought his first course was the main meal and I was already full when he put a second delicious dish on the table. That was the first of many delicious and fun family dinners.


The blue band cookbook was my first introduction into how easy and fun it is to cook things for myself. I used to make this pie a lot when I first started baking.  Recently, as I was looking through all my cookbooks, I realized I had to revisit it and give it my own twist.

 I added some ice cold vodka to the pie dough to make it less dry. This makes the dough come together quickly and it’s easier to work with. 

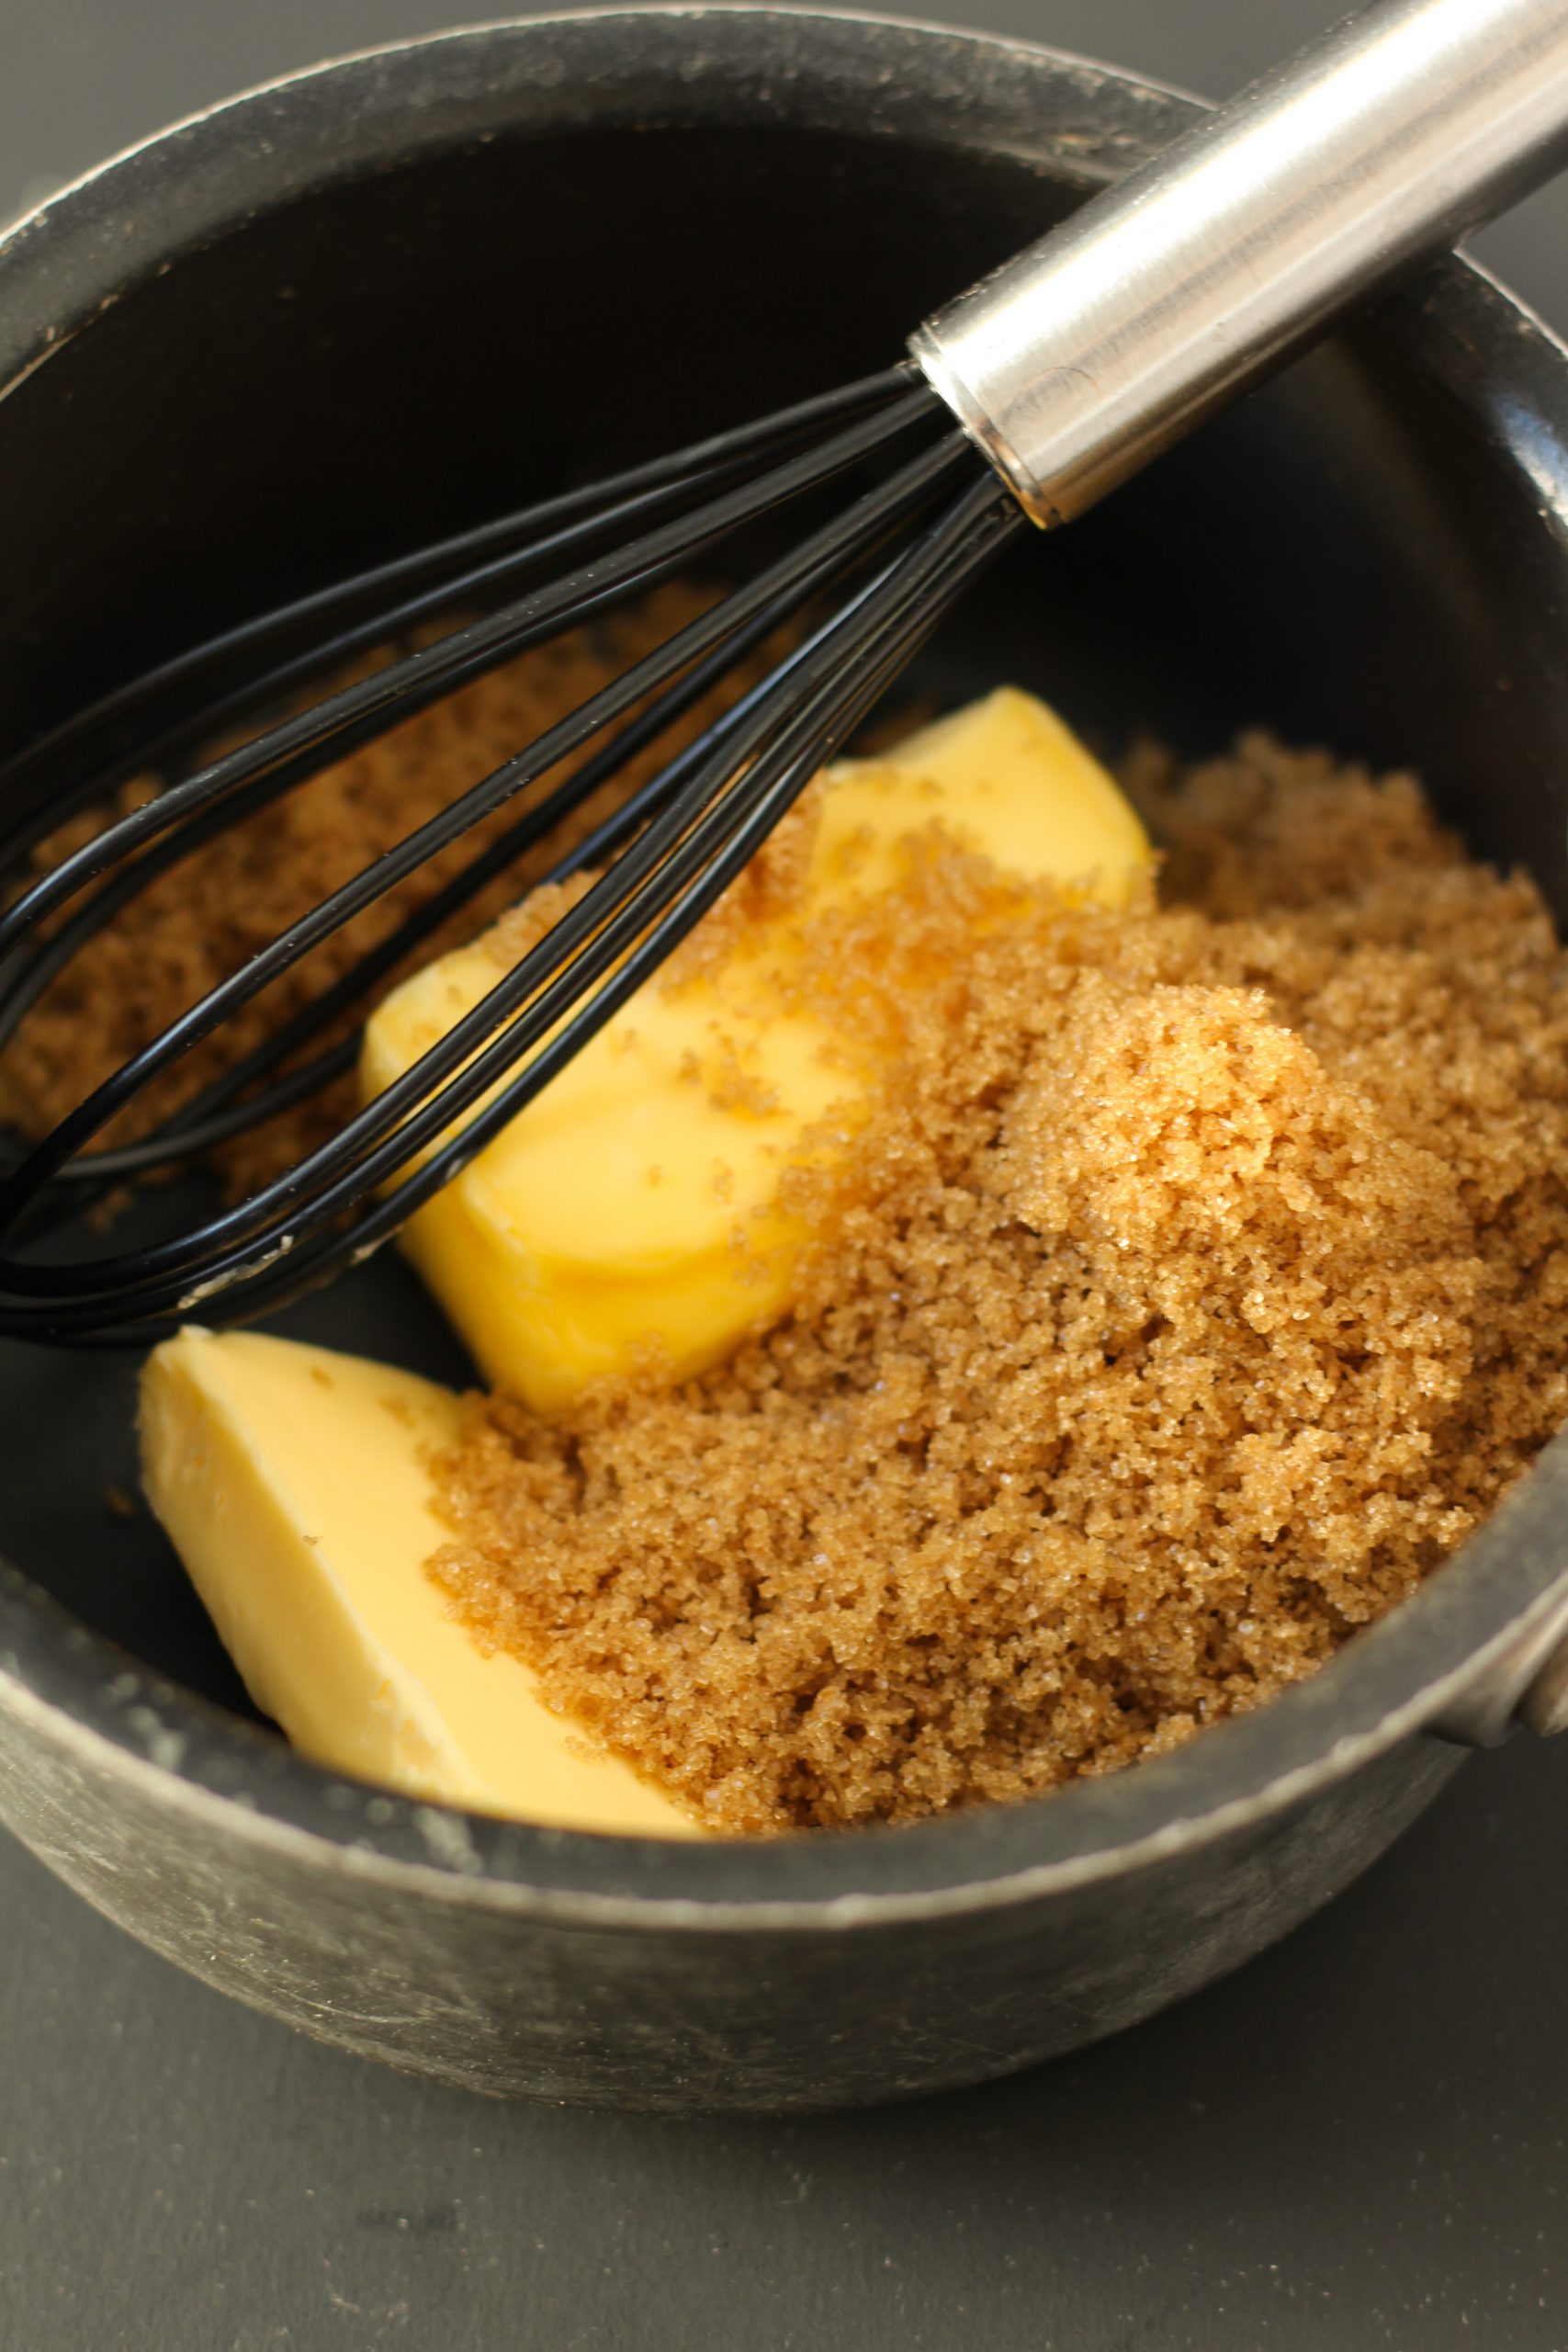
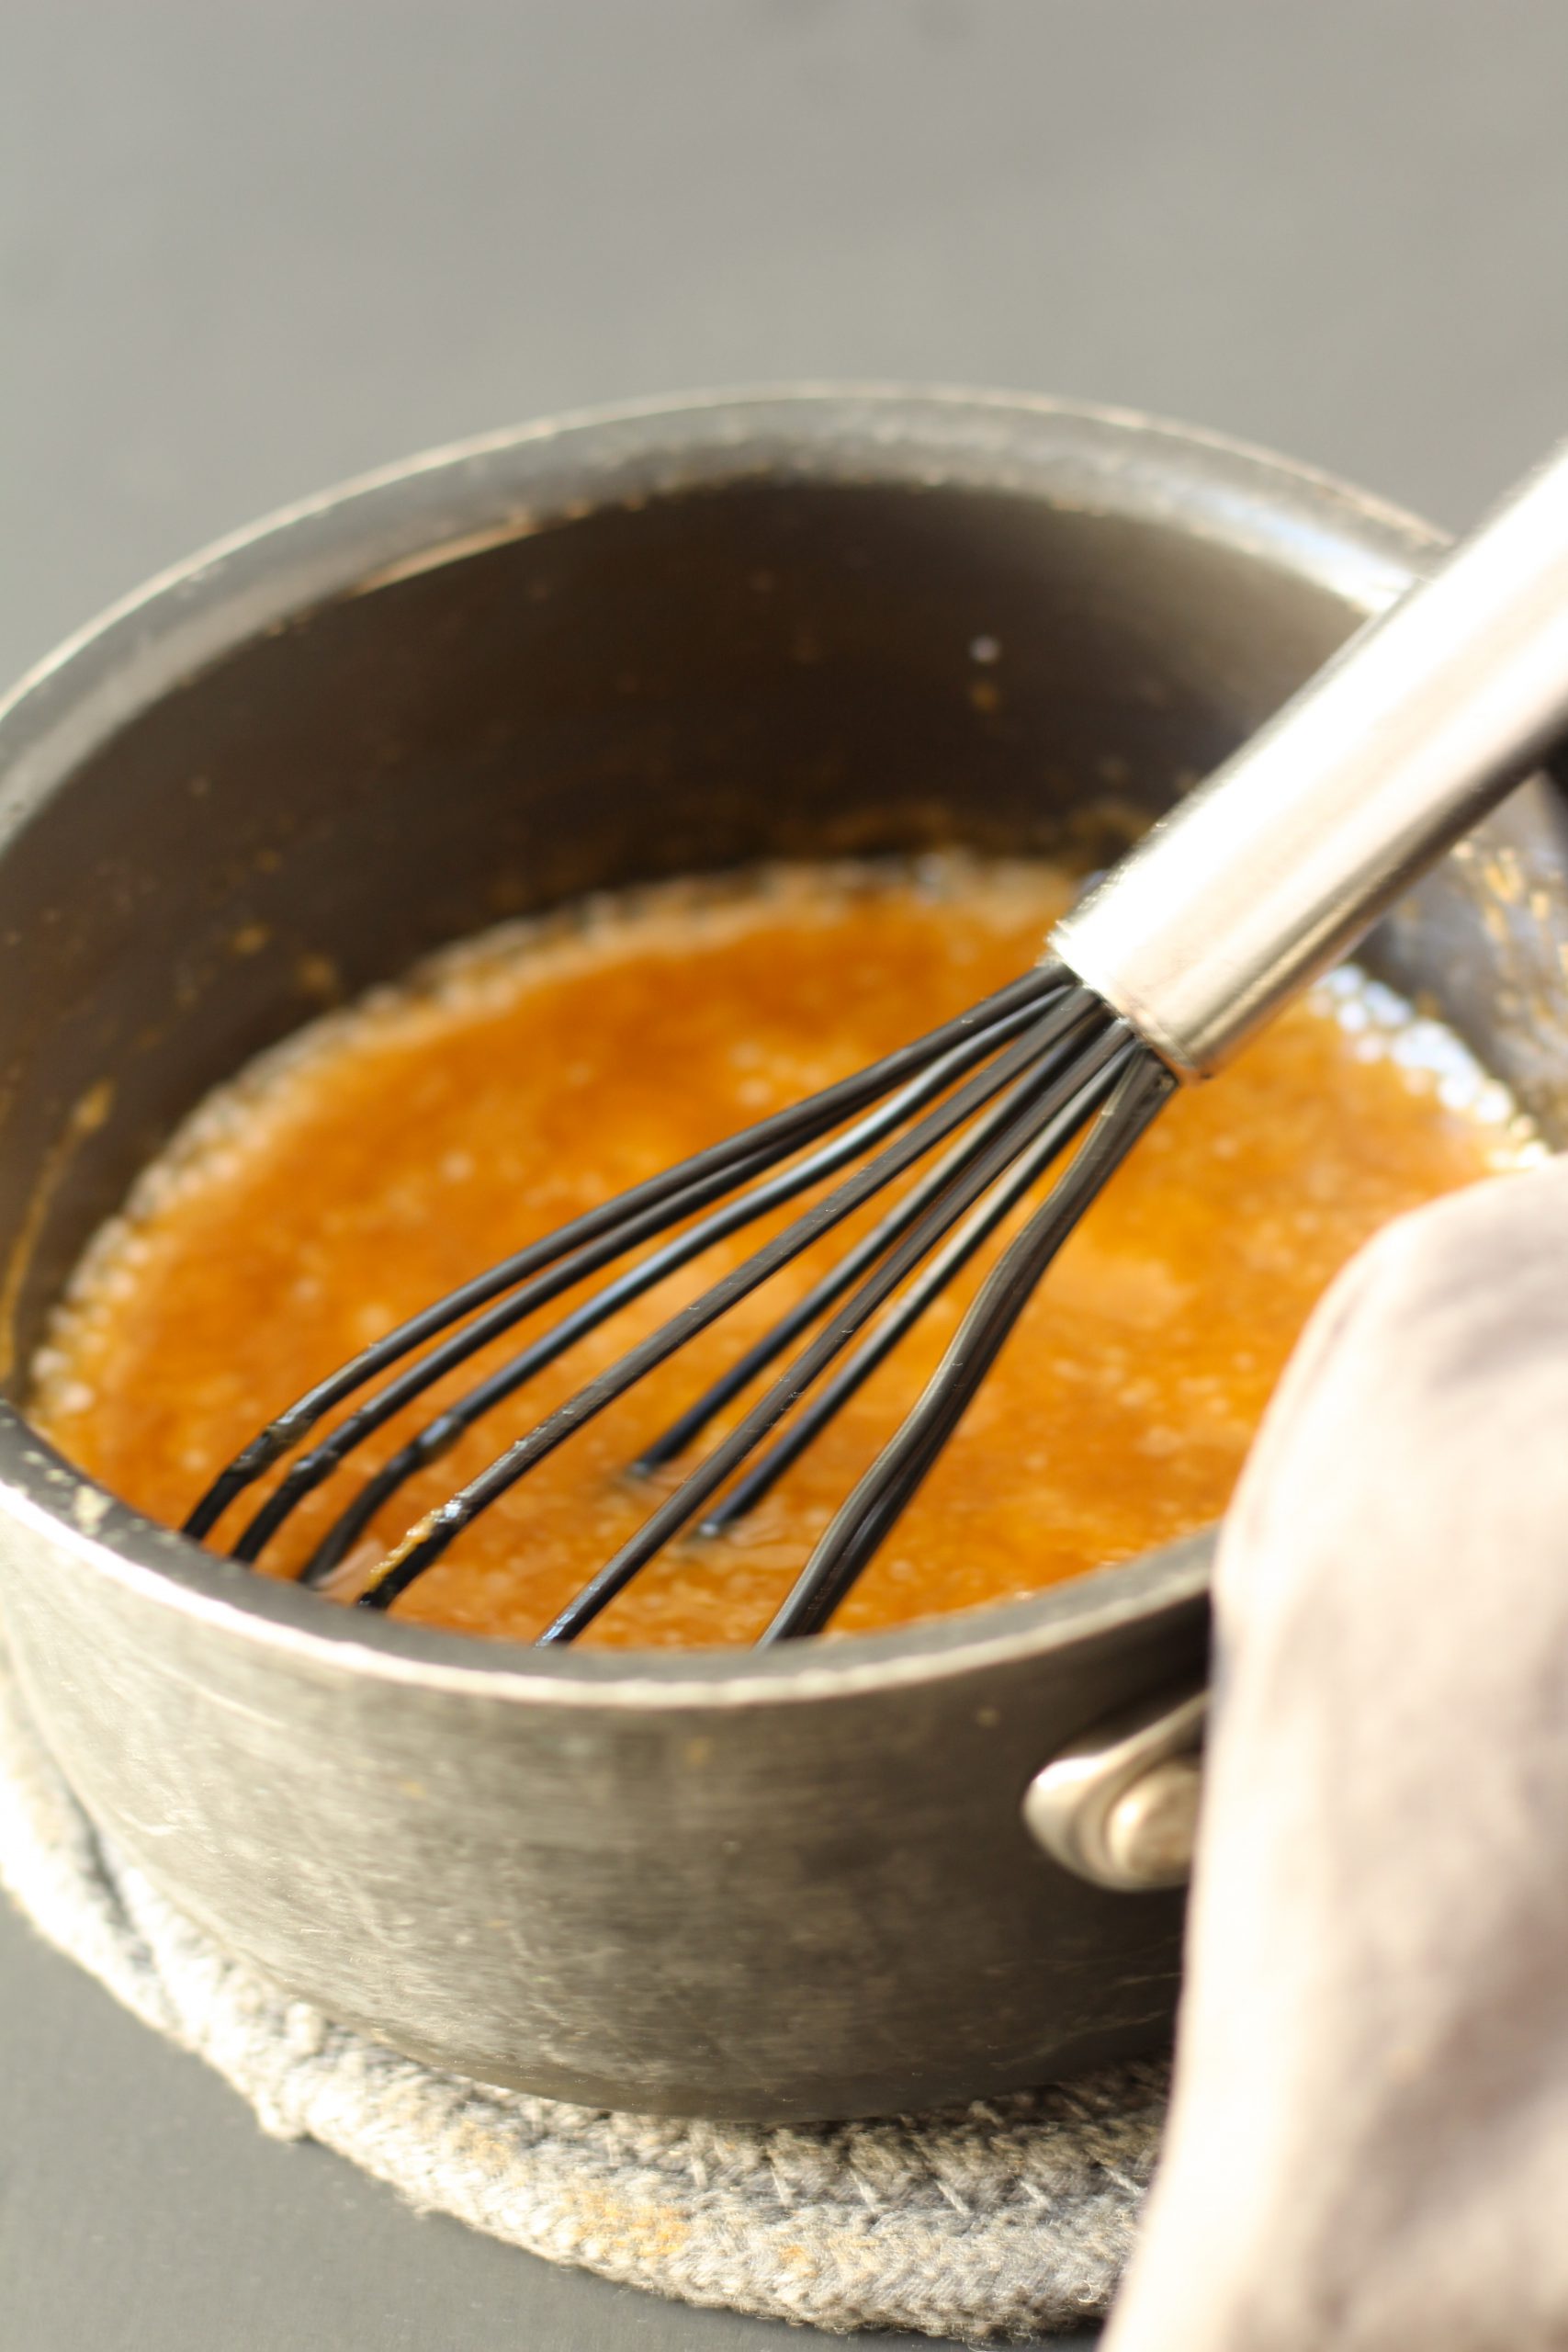
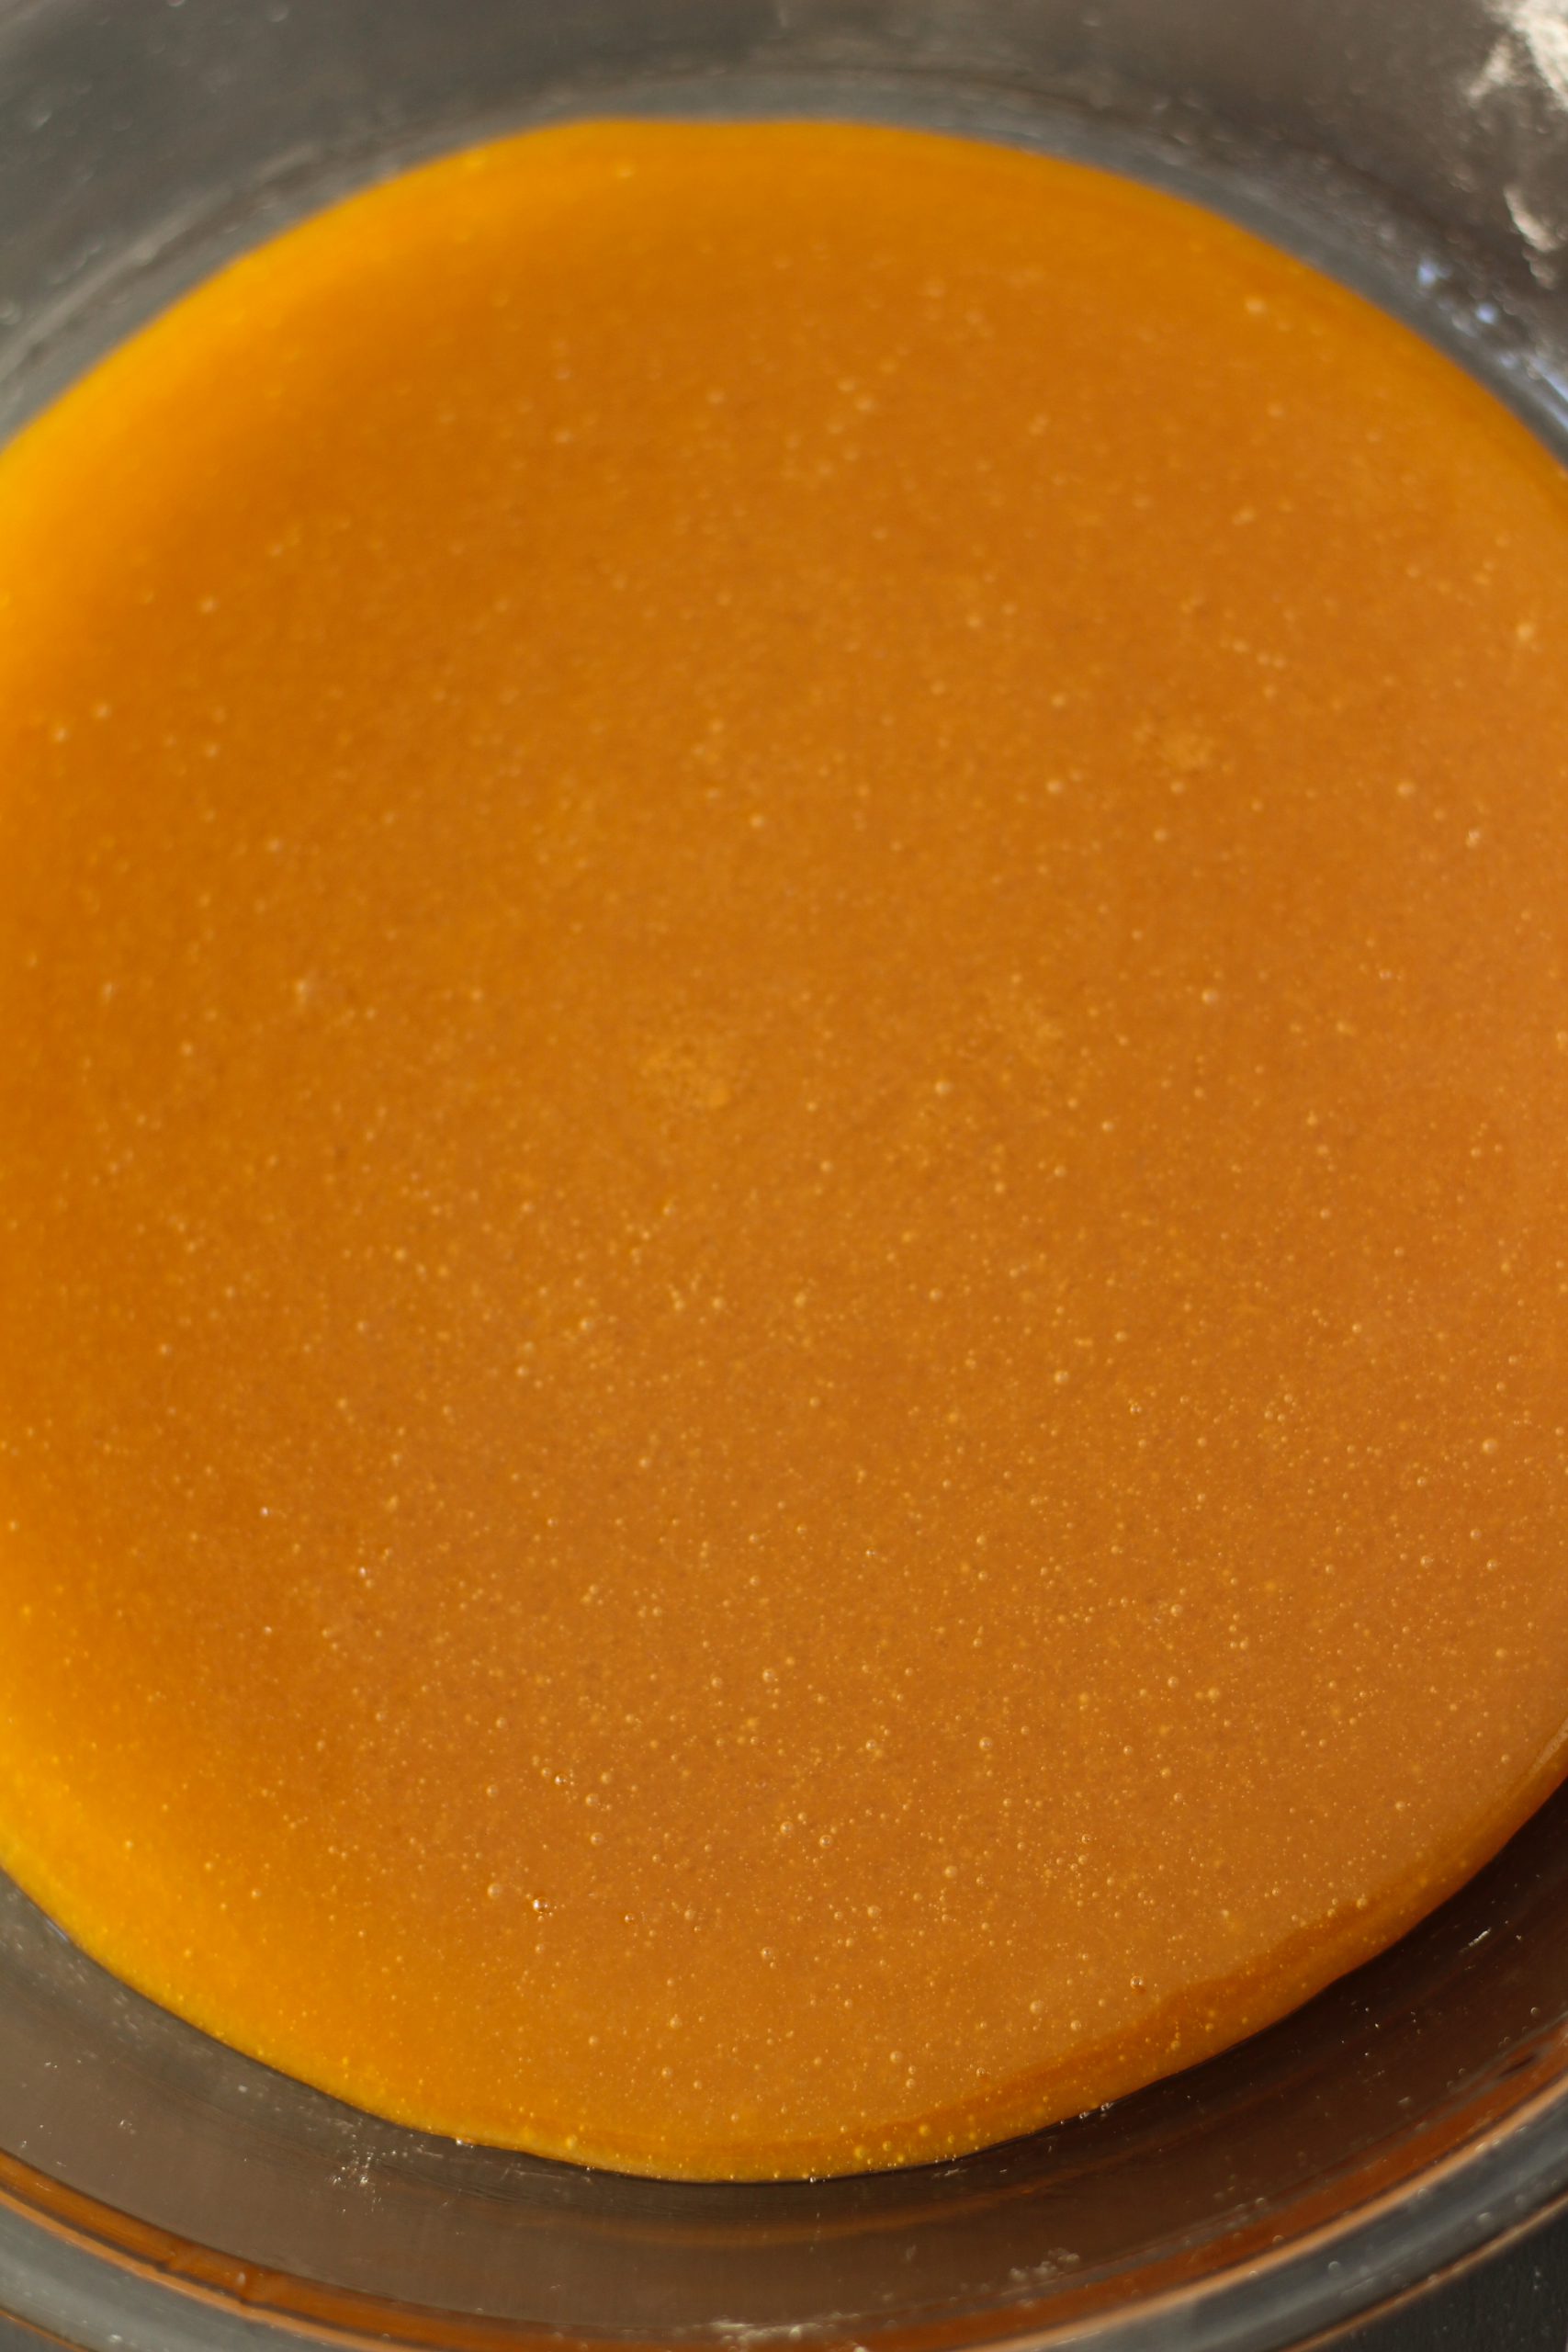
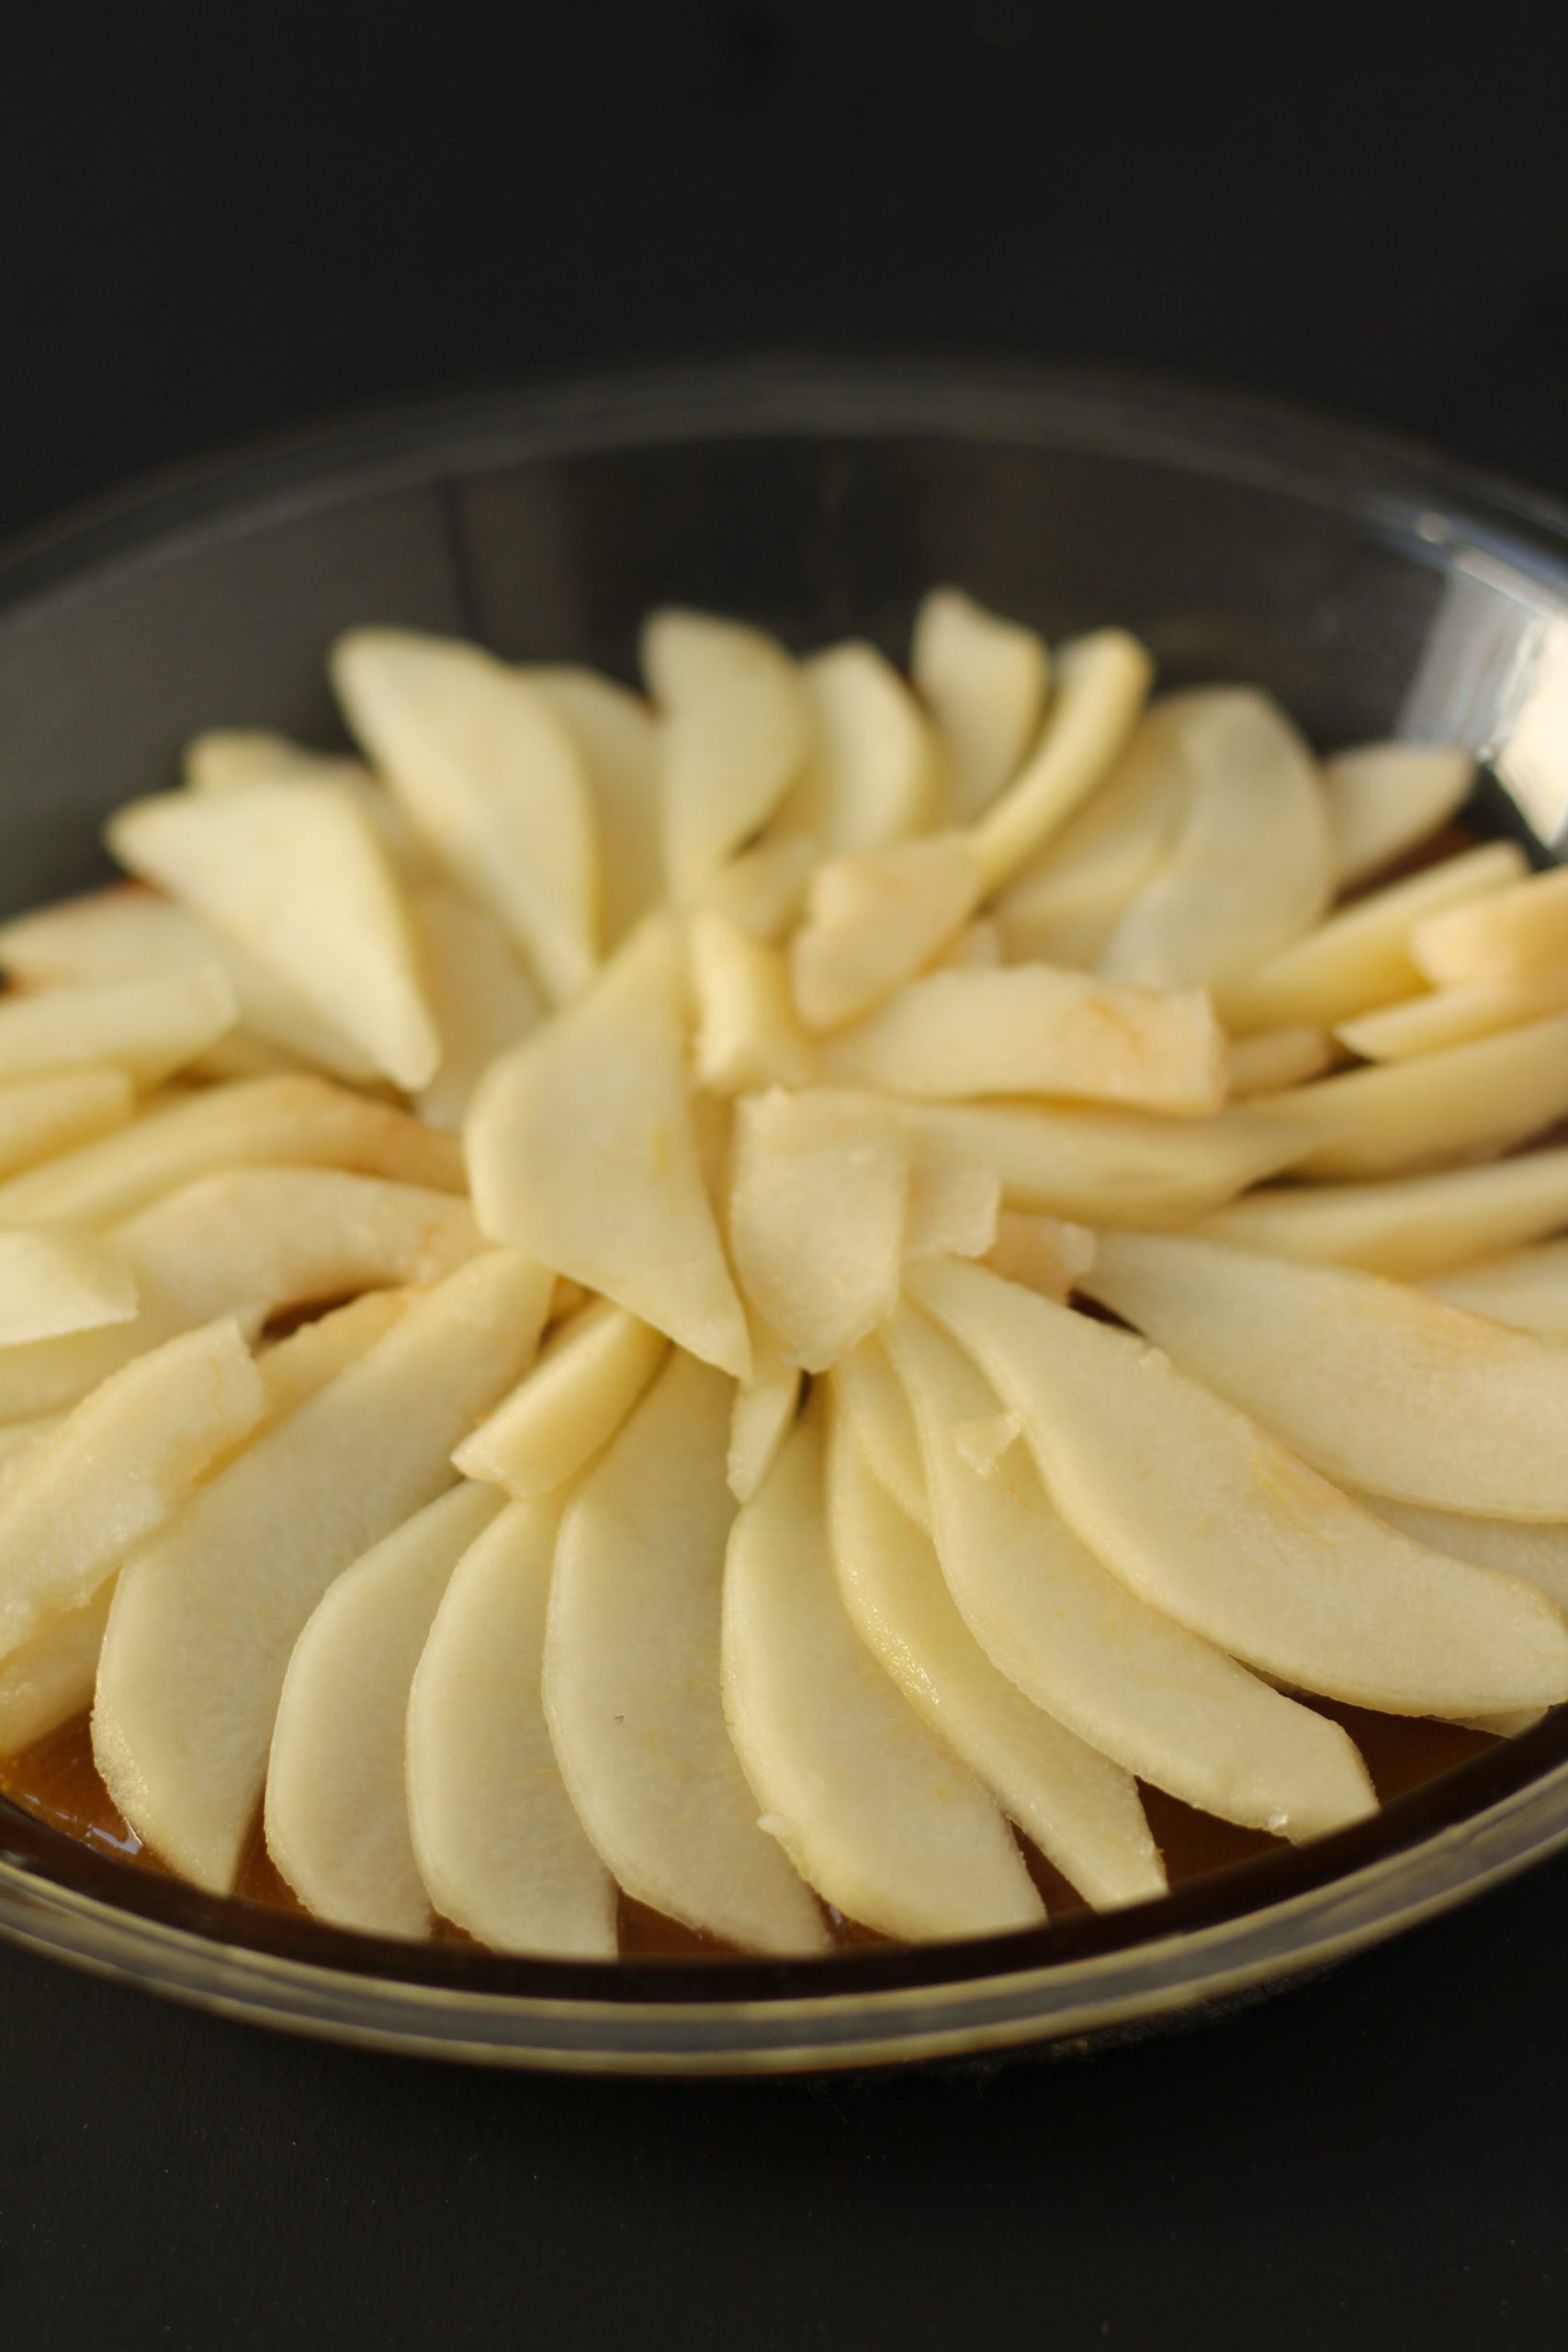
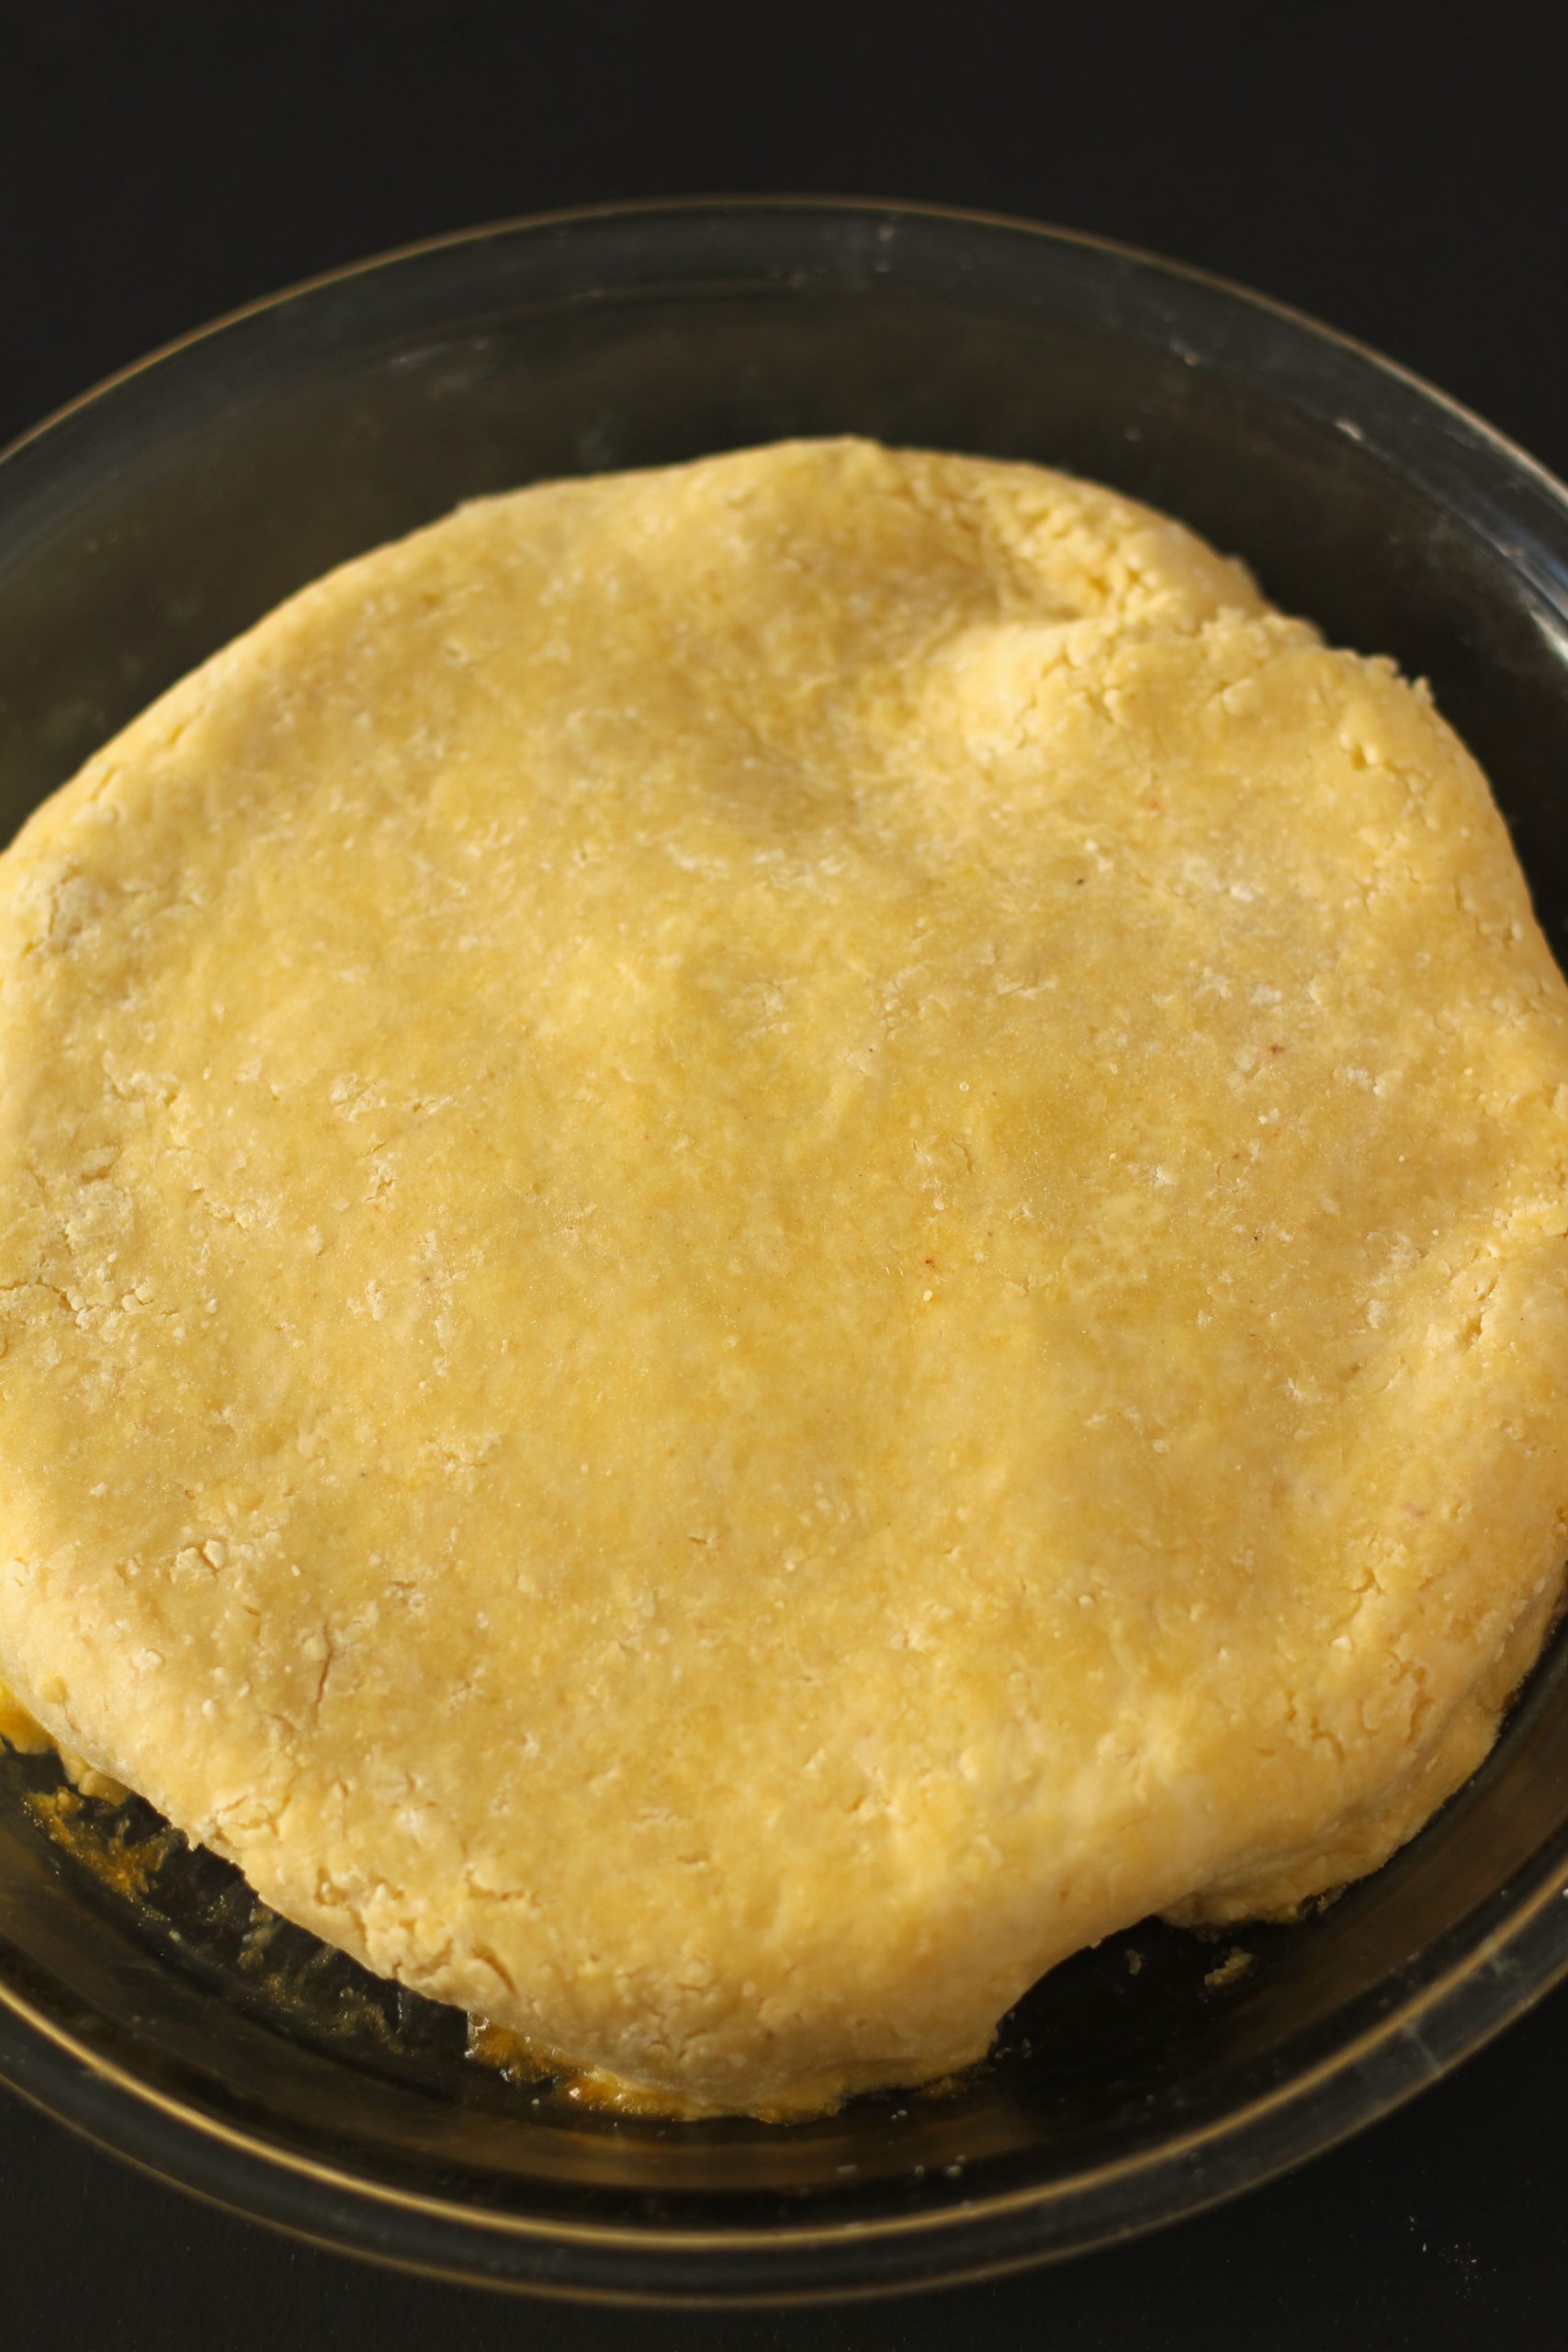
The filling is an easy caramel sauce made with butter and brown sugar. You pour this into your prepared baking pan and arrange your pears on top. Finally, you add your pie dough. 
When baking this pie do not use a springform pan!  If you do, the caramel sauce will pour out of it and make a giant mess into your oven. Unfortunately, I learned this lesson the hard way and it made a big smoky mess.

Upside Down Pear Pie

Prep Time30 minutes
Cook Time40 minutes
Course: Dessert
Cuisine: pie
Keyword: pear pie, upside down pie

Ingredients

Pie Dough

  • 1 3/4 Cup All purpose flour
  • 2 Tablespoons Cane sugar
  • 1 Teaspoon Salt
  • 8 Tablespoons Unsalted butter frozen
  • 1 Egg
  • 1-2 Tablespoons vodka ice cold

Filling

  • 8 Tablespoon Brown sugar
  • 4 Tablespoon Unsalted butter
  • 4 Pears peeled and sliced thinly
  • 1-2 Tablespoons Lemon juice

Instructions

Dough

  • In a mixing bowl combine flour, salt and sugar.
  • Grate the frozen butter on top of the flour and cut it in with a pastry knife. Be careful that the butter doesn’t melt. You need to work quickly.
  • Add the egg and knead in by hand. Again, you need to work quickly.
  • One tablespoon at a time, knead in the vodka until you feel the dough is coming together without much effort.
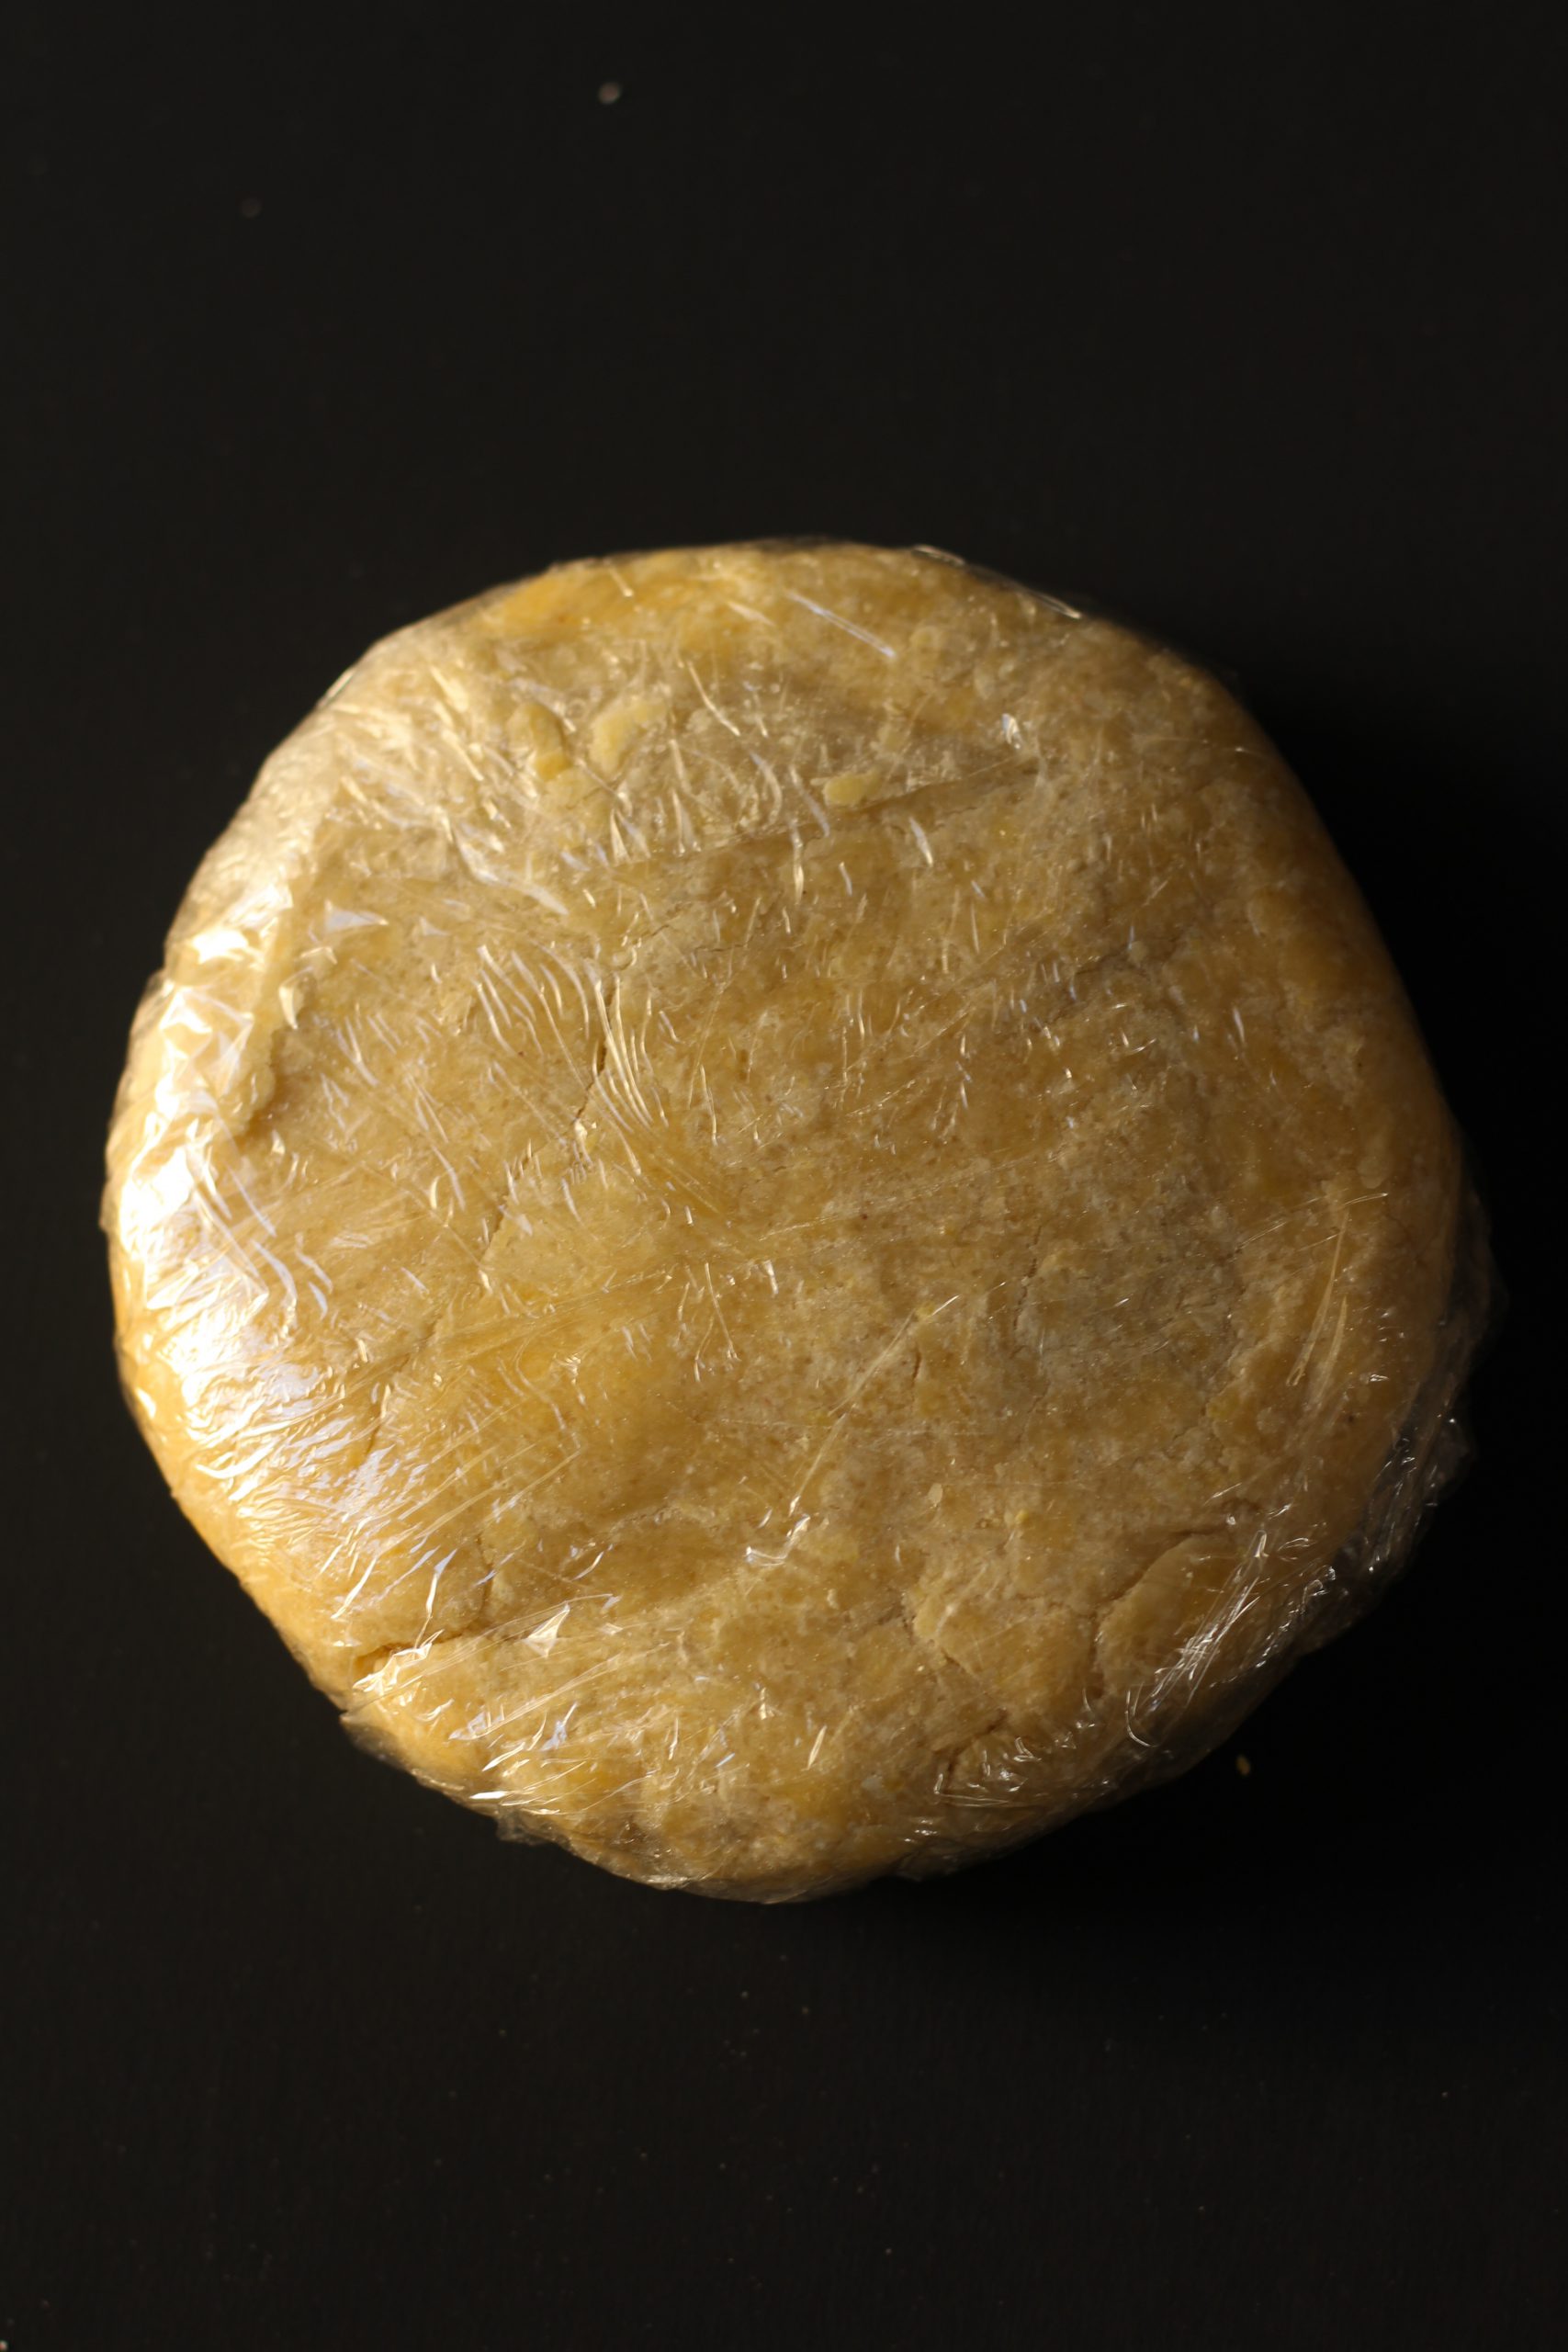
  • Put the dough on cling wrap and form a disk. Wrap it airtight and let it rest for at least 1-2 hours in the fridge.

Filling

  • Preheat your oven to 350 Farhenheit.
  • Prepare a baking dish by greasing it with oil or melted butter.
  • In a saucepan, combine your unsalted butter and brown sugar on medium low heat until it turns golden brown. Poor the sauce in your prepared dish.
  • Peel, core and slice your pear in thin pieces. Drizzle the pear slices with the lemon juice then place them on top of your caramel sauce in the baking pan.
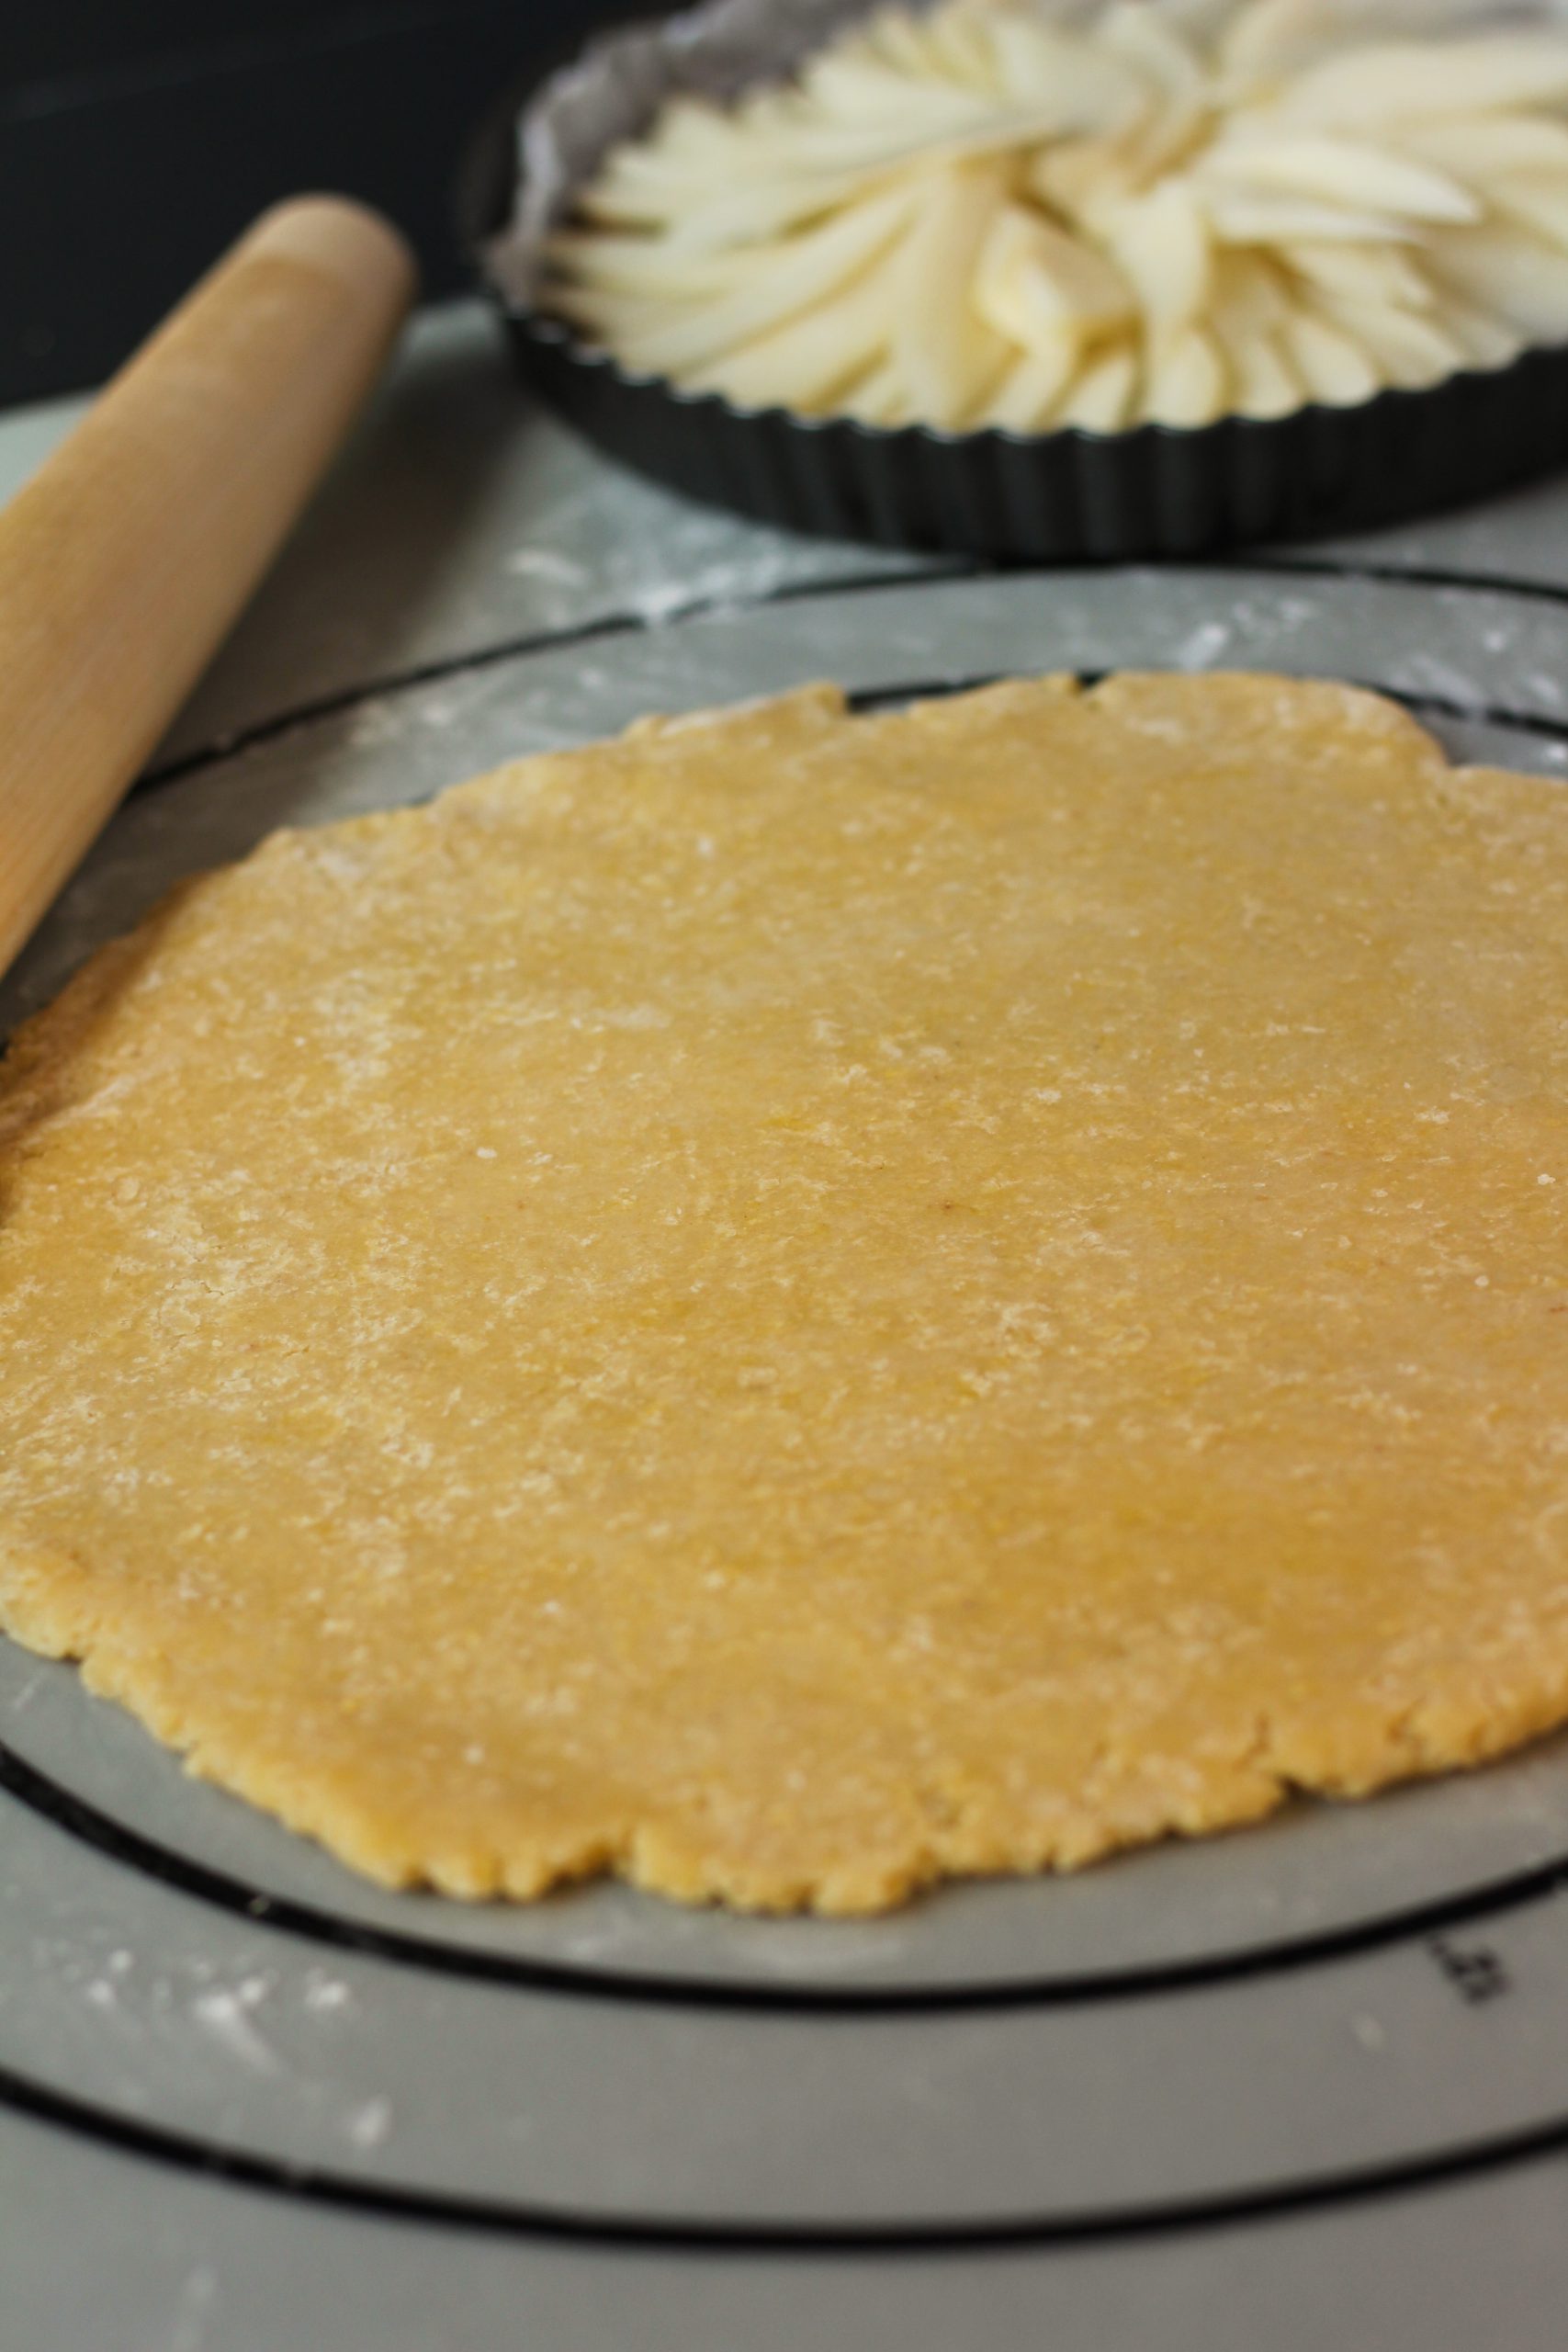
  • Roll out your chilled dough onto a floured counter top. You want to roll it into a round circle slightly bigger then your baking pan. Carefully place the dough on top of the pears and tuck the sides gently under the pears. *
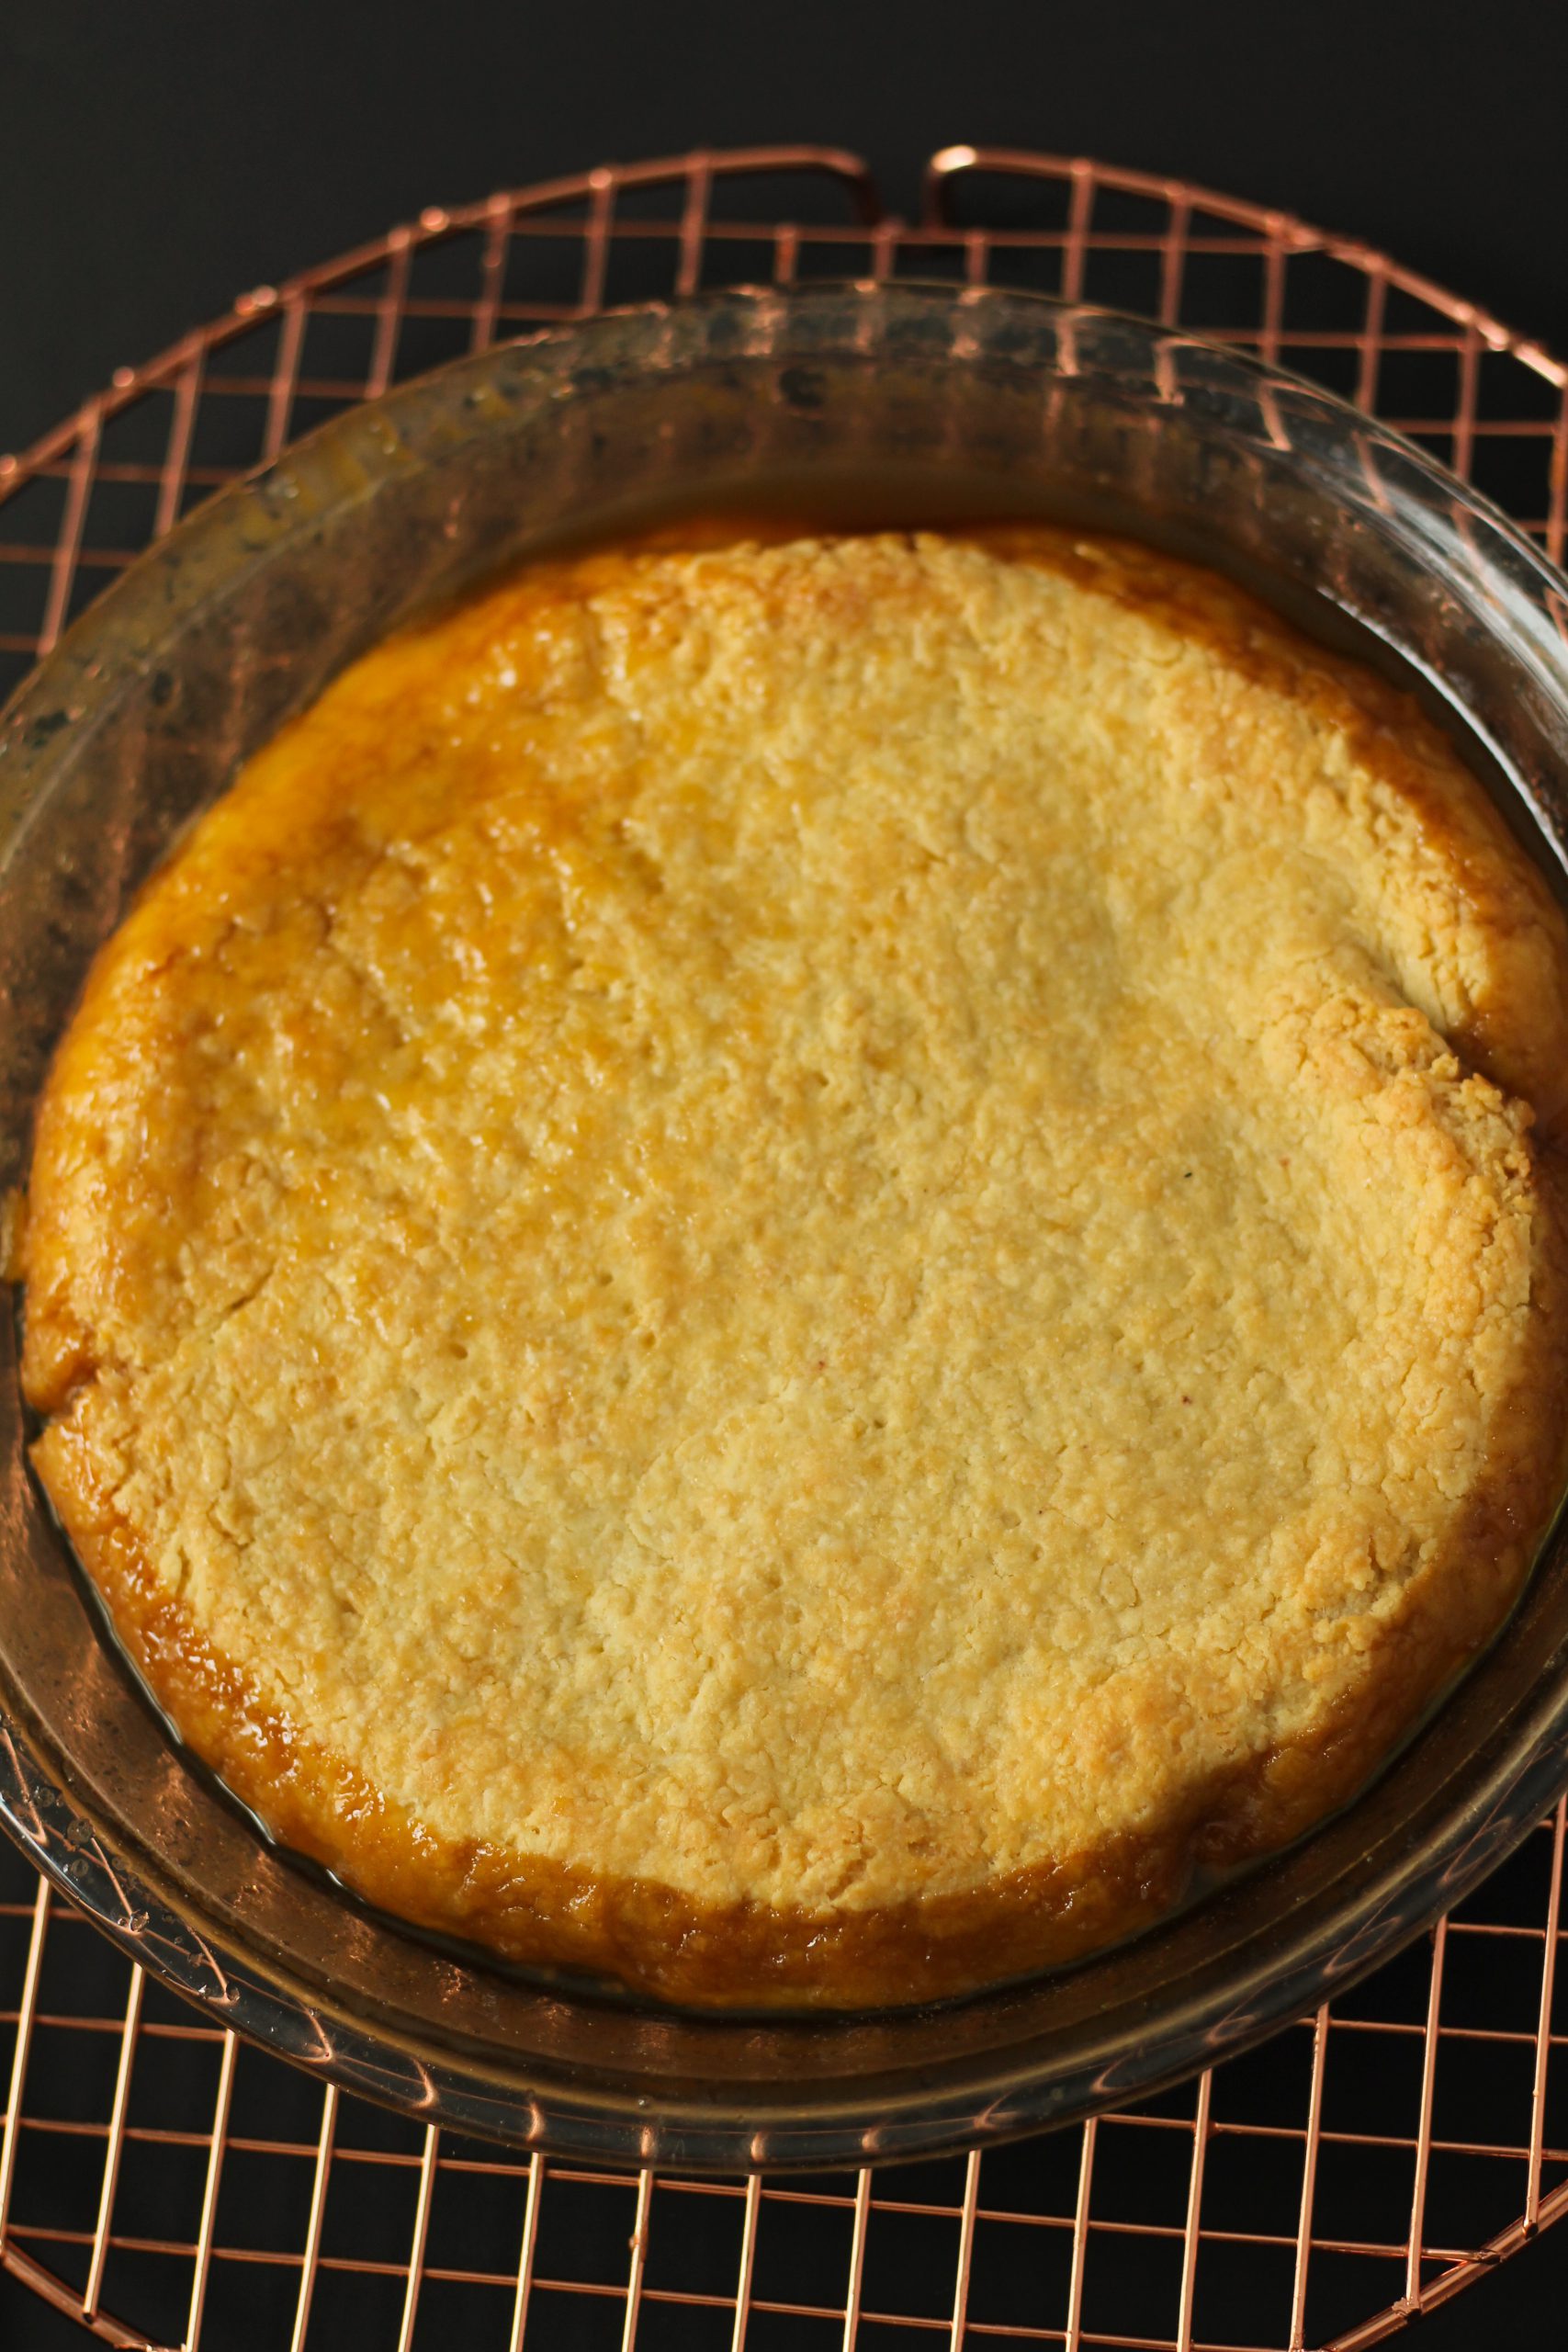
  • Bake in the preheated oven for 40 minutes.
  • Let the pie cool on the cooling rack for 10 minutes.
  • Place your serving plate on top of the pie and carefully turn it over. You can enjoy the pie warm or let it cool down completely.

Notes

*Can be that you have some left over dough. If so you can cut out some cookies and sprinkles with sugar after some egg wash and bake for 10-15 minutes.