Focaccia bread
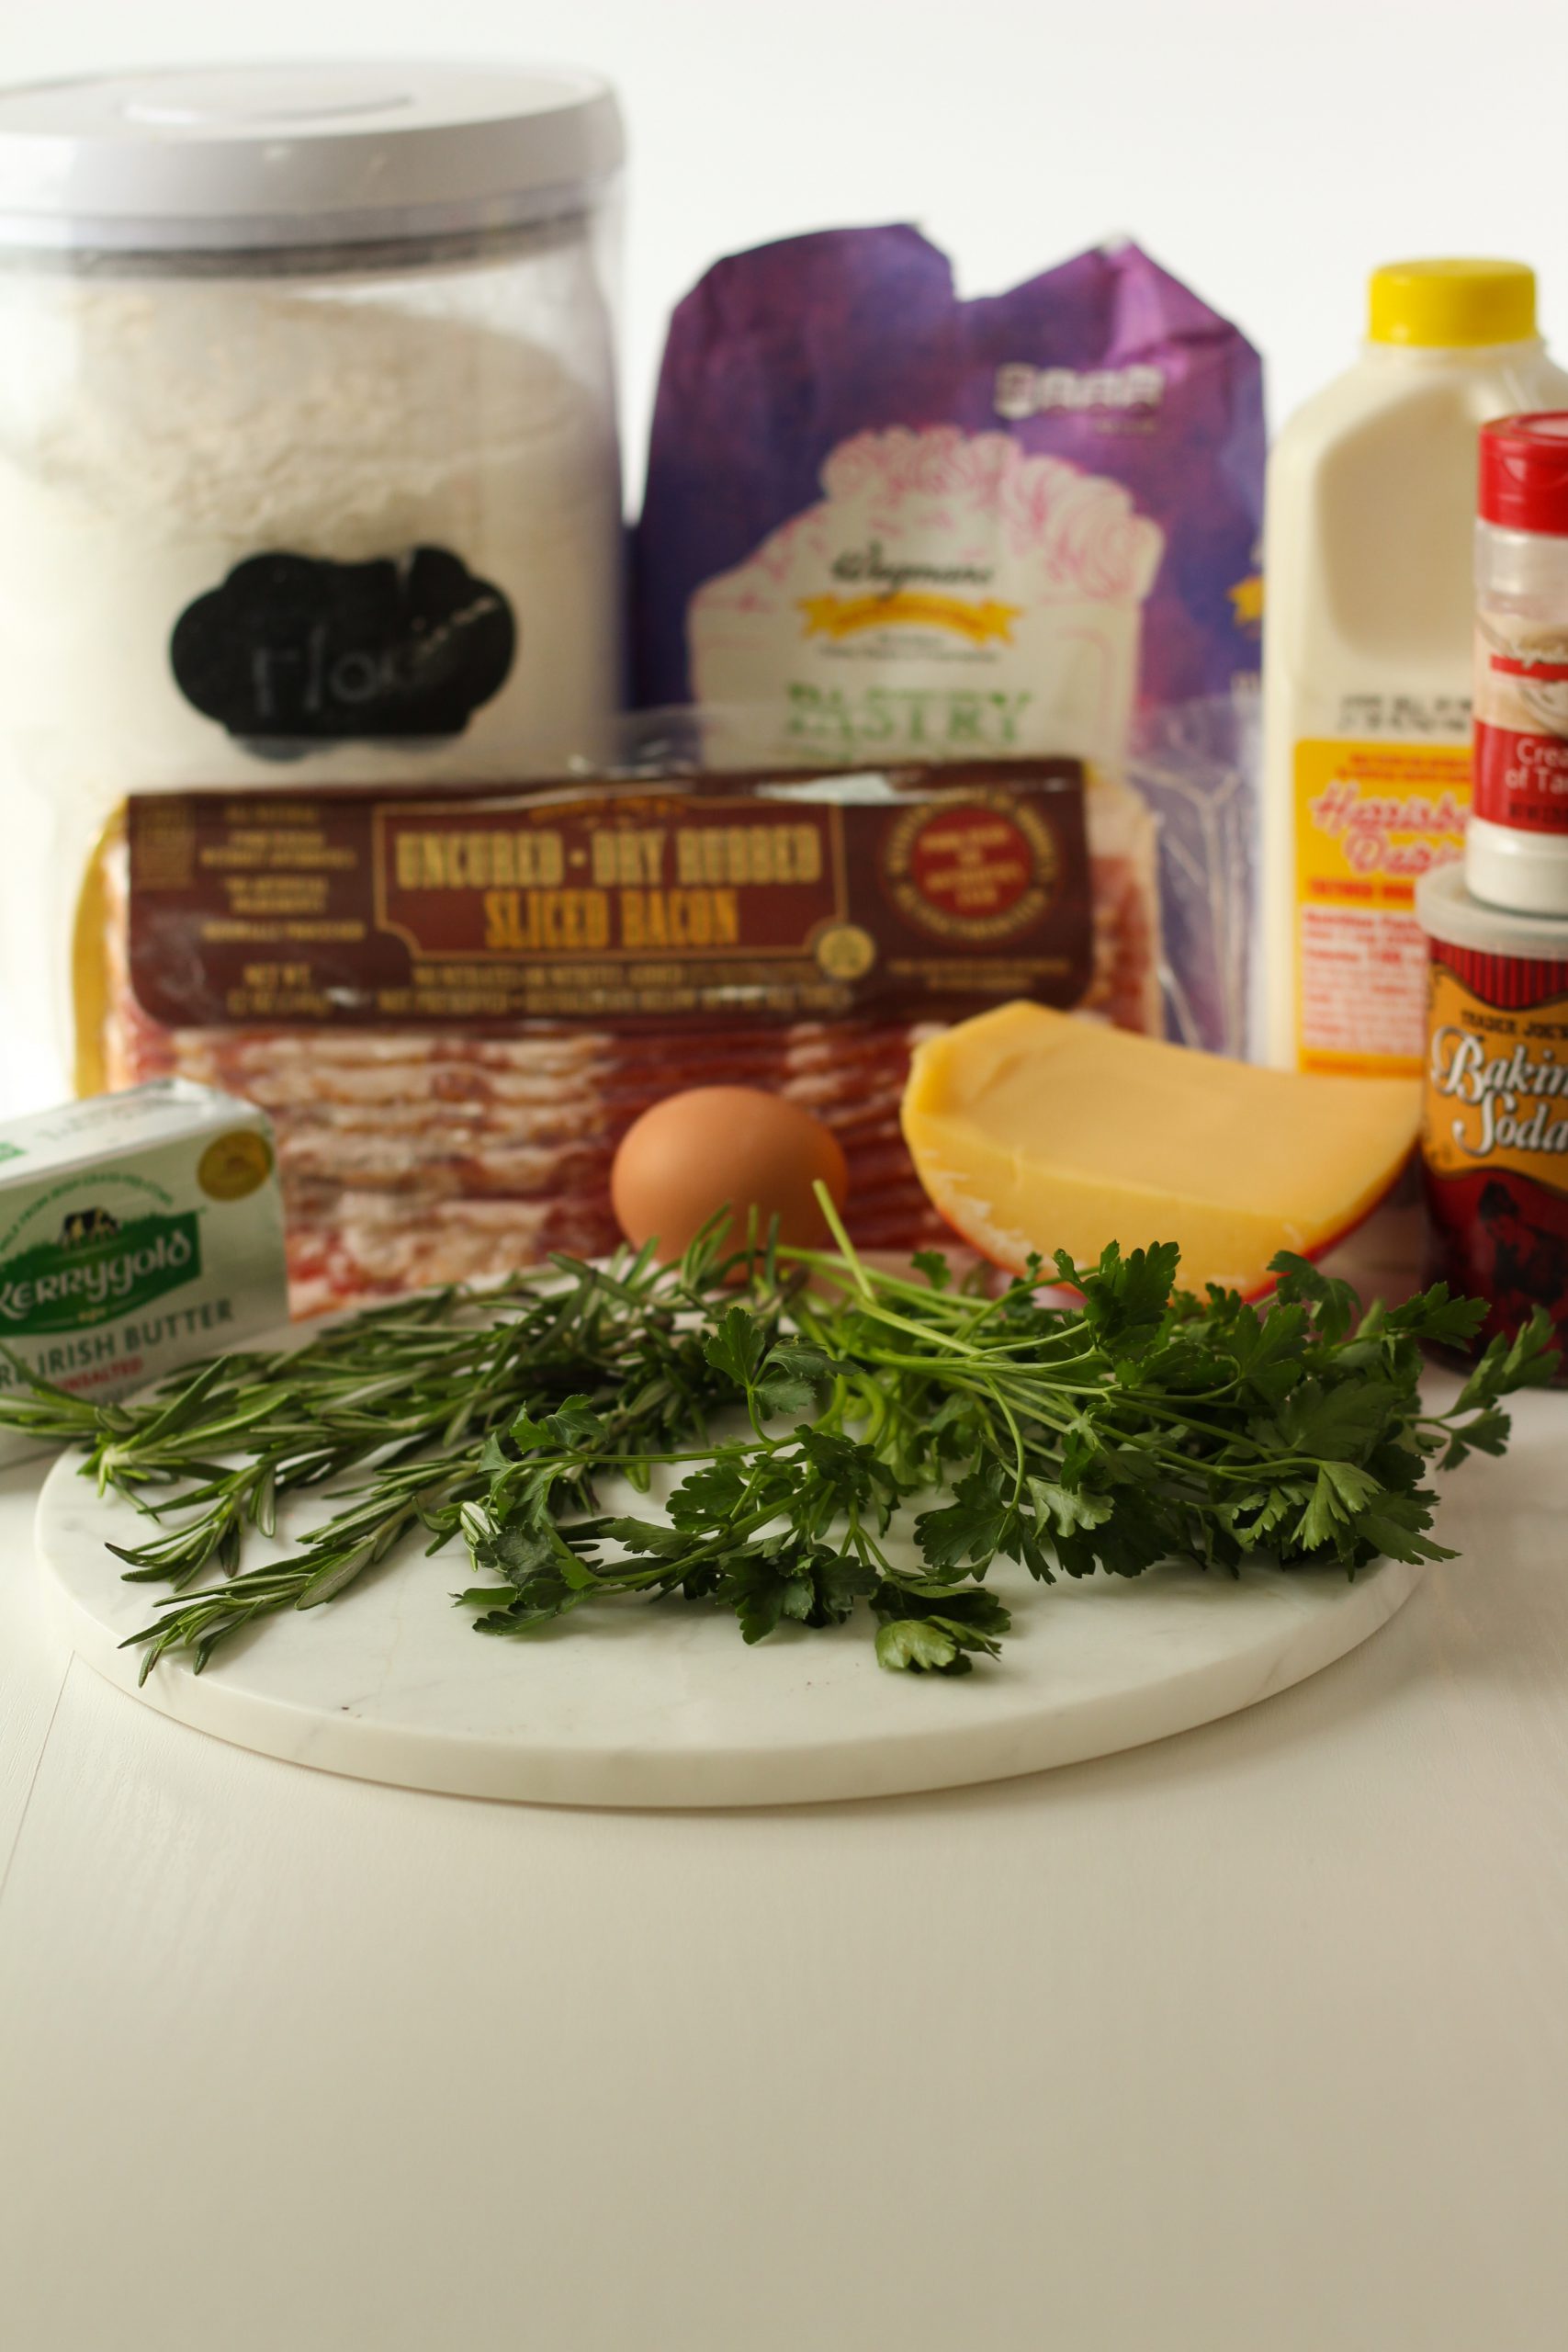
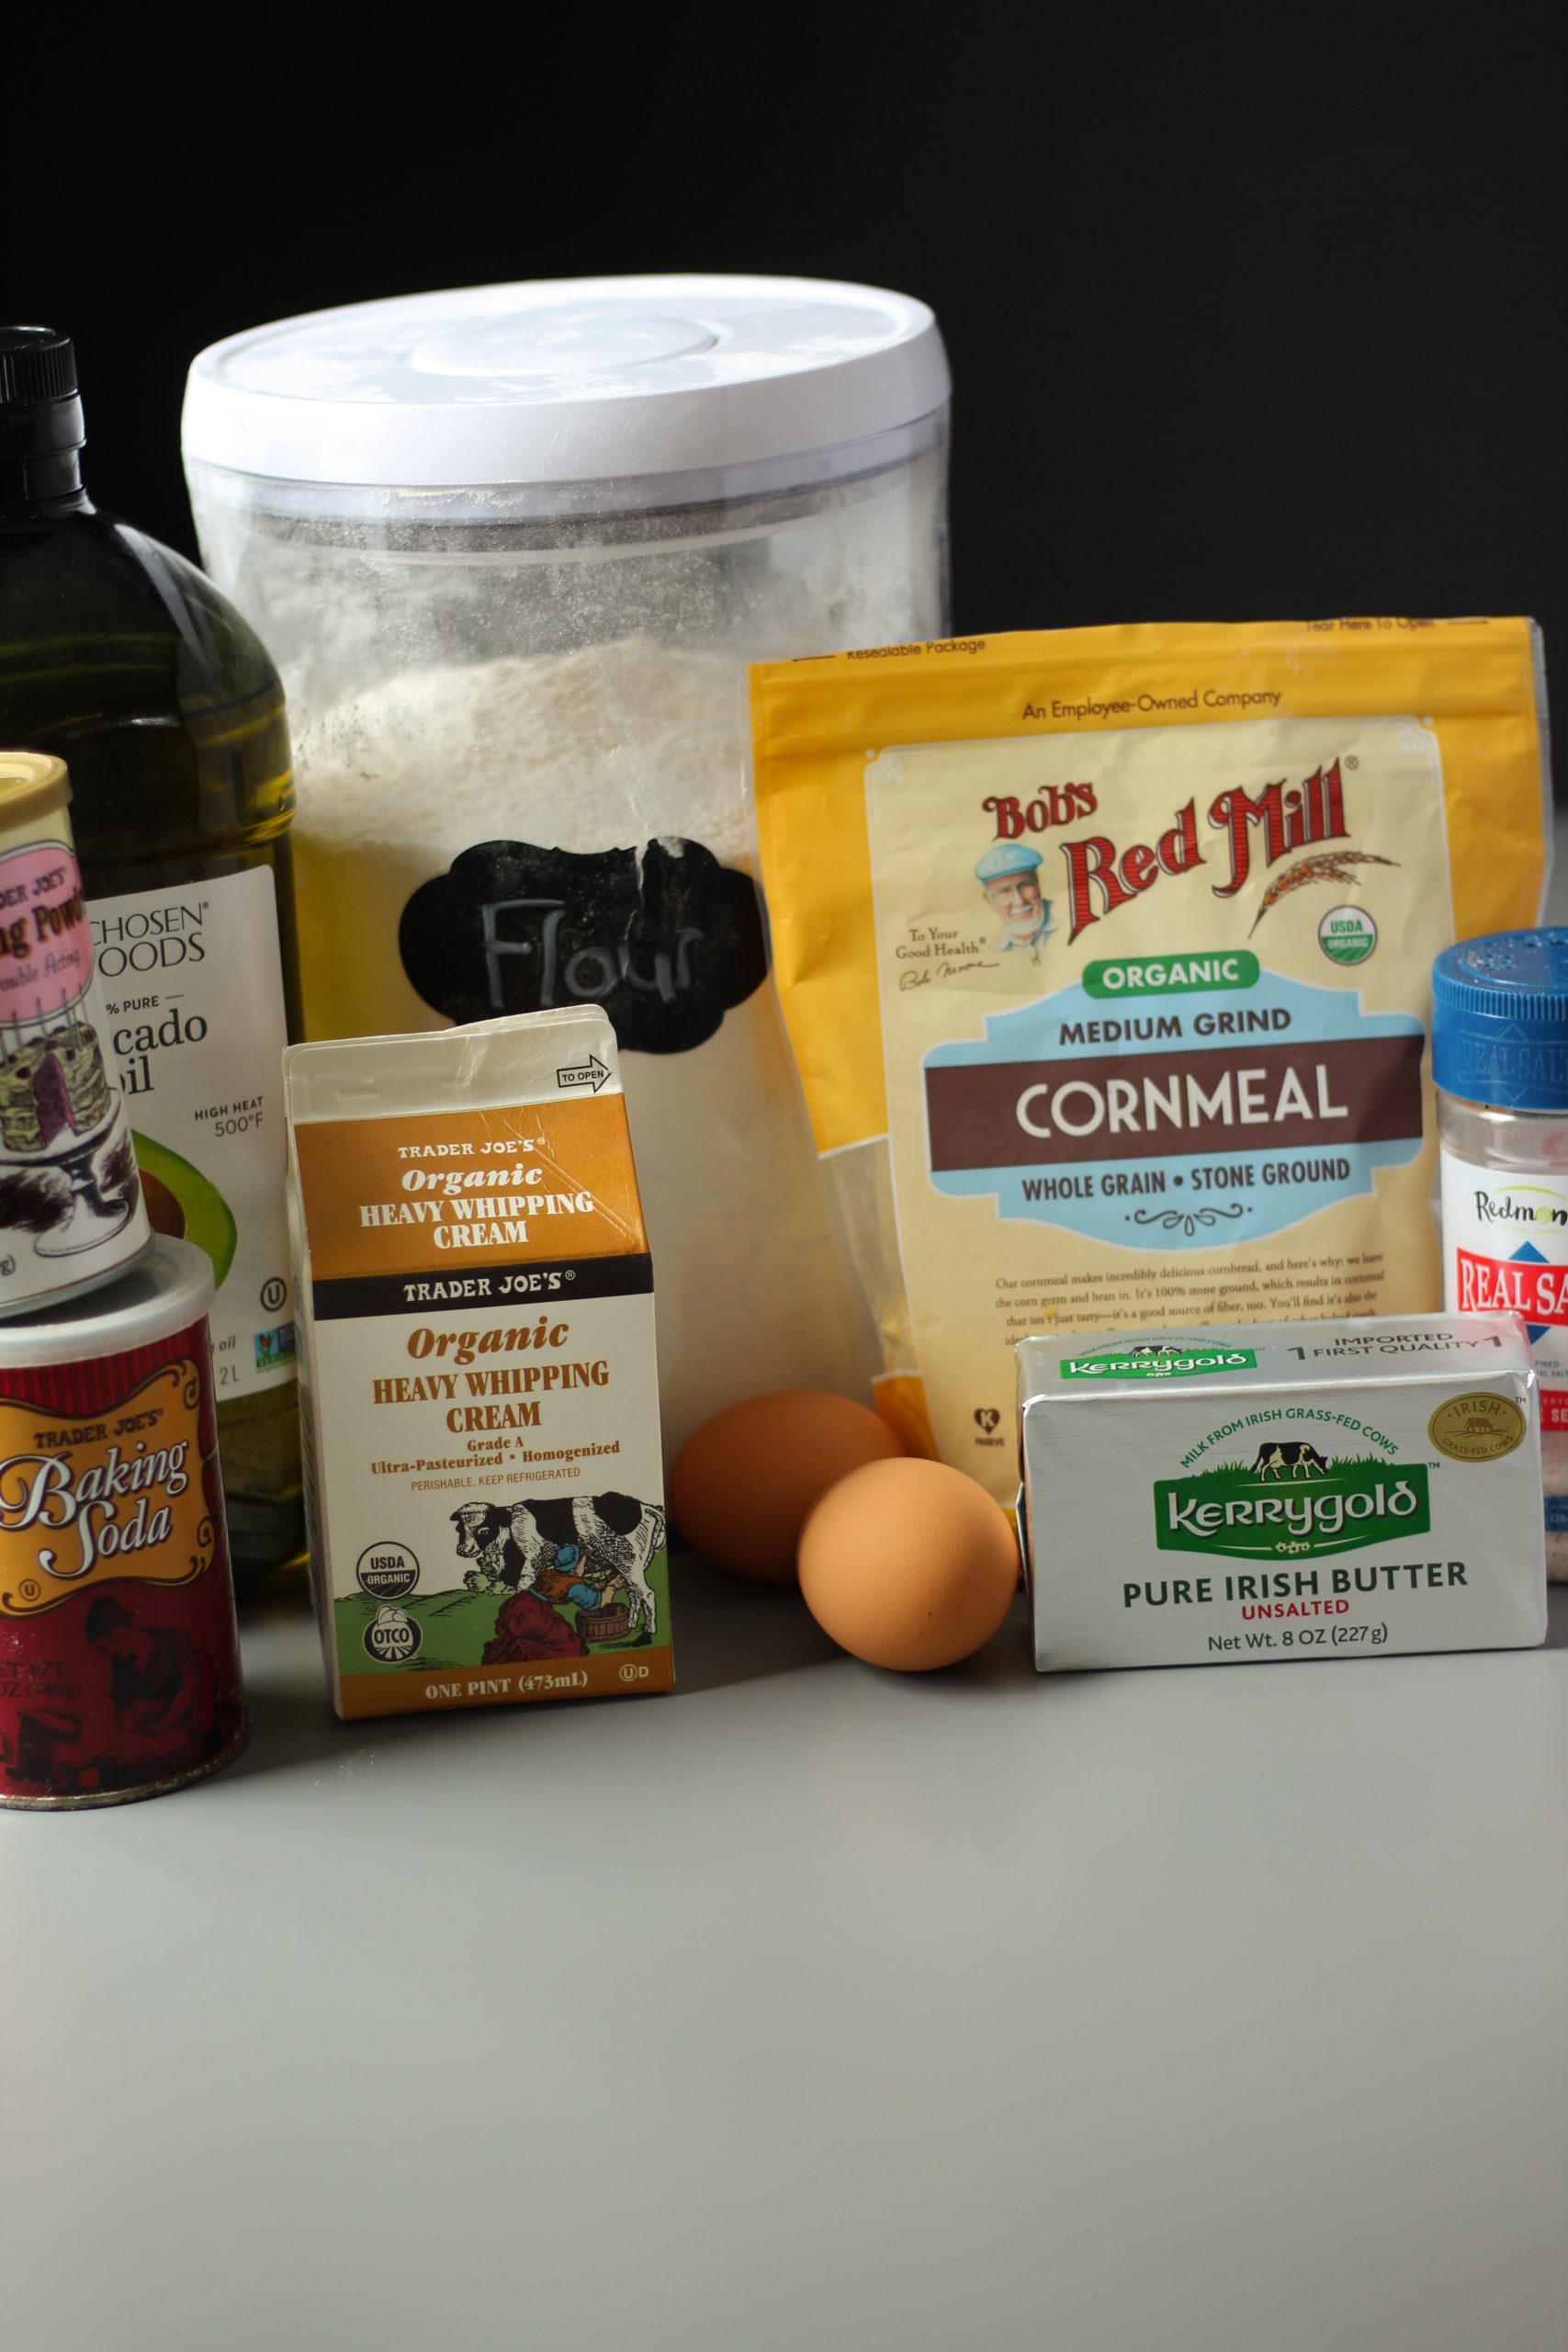
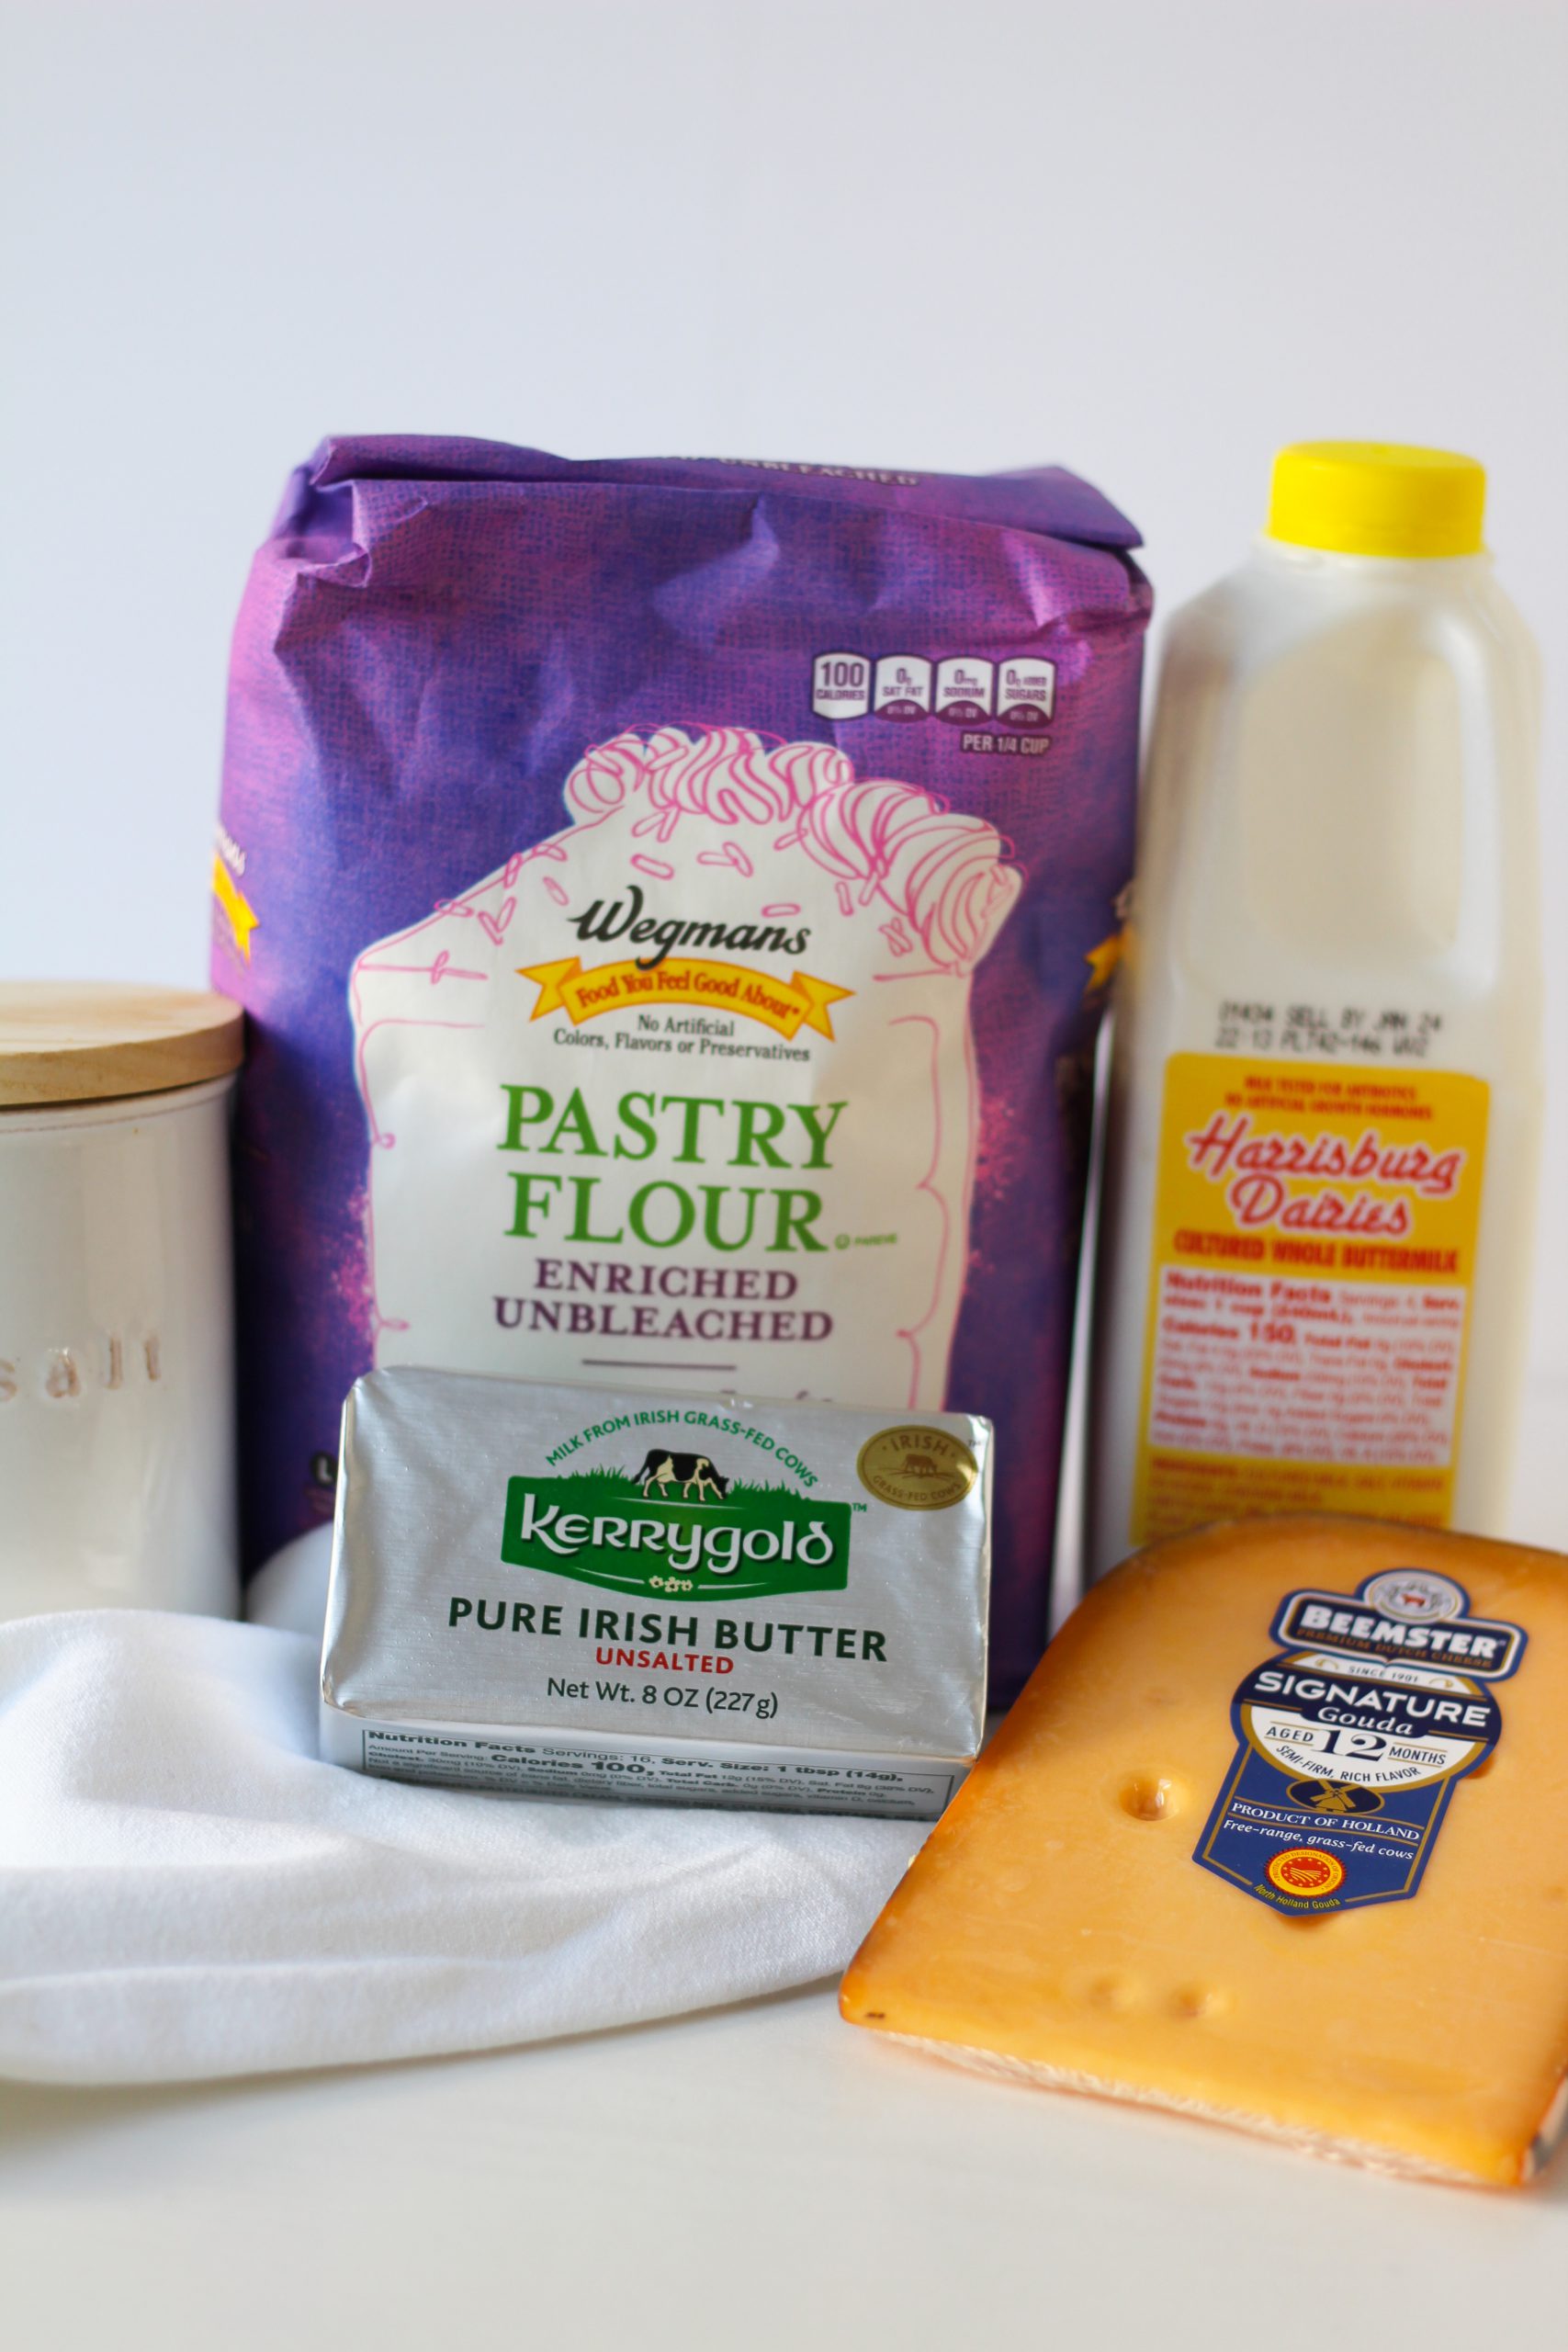
This super easy focaccia bread is delicious. Focaccia bread is the easiest bread you can make. The dough is similar to pizza dough but with lots of olive oil. The other ingredients are bread flour, yeast, honey and sea salt. The topping can be anything you enjoy. 

Basic ingredients for focaccia bread

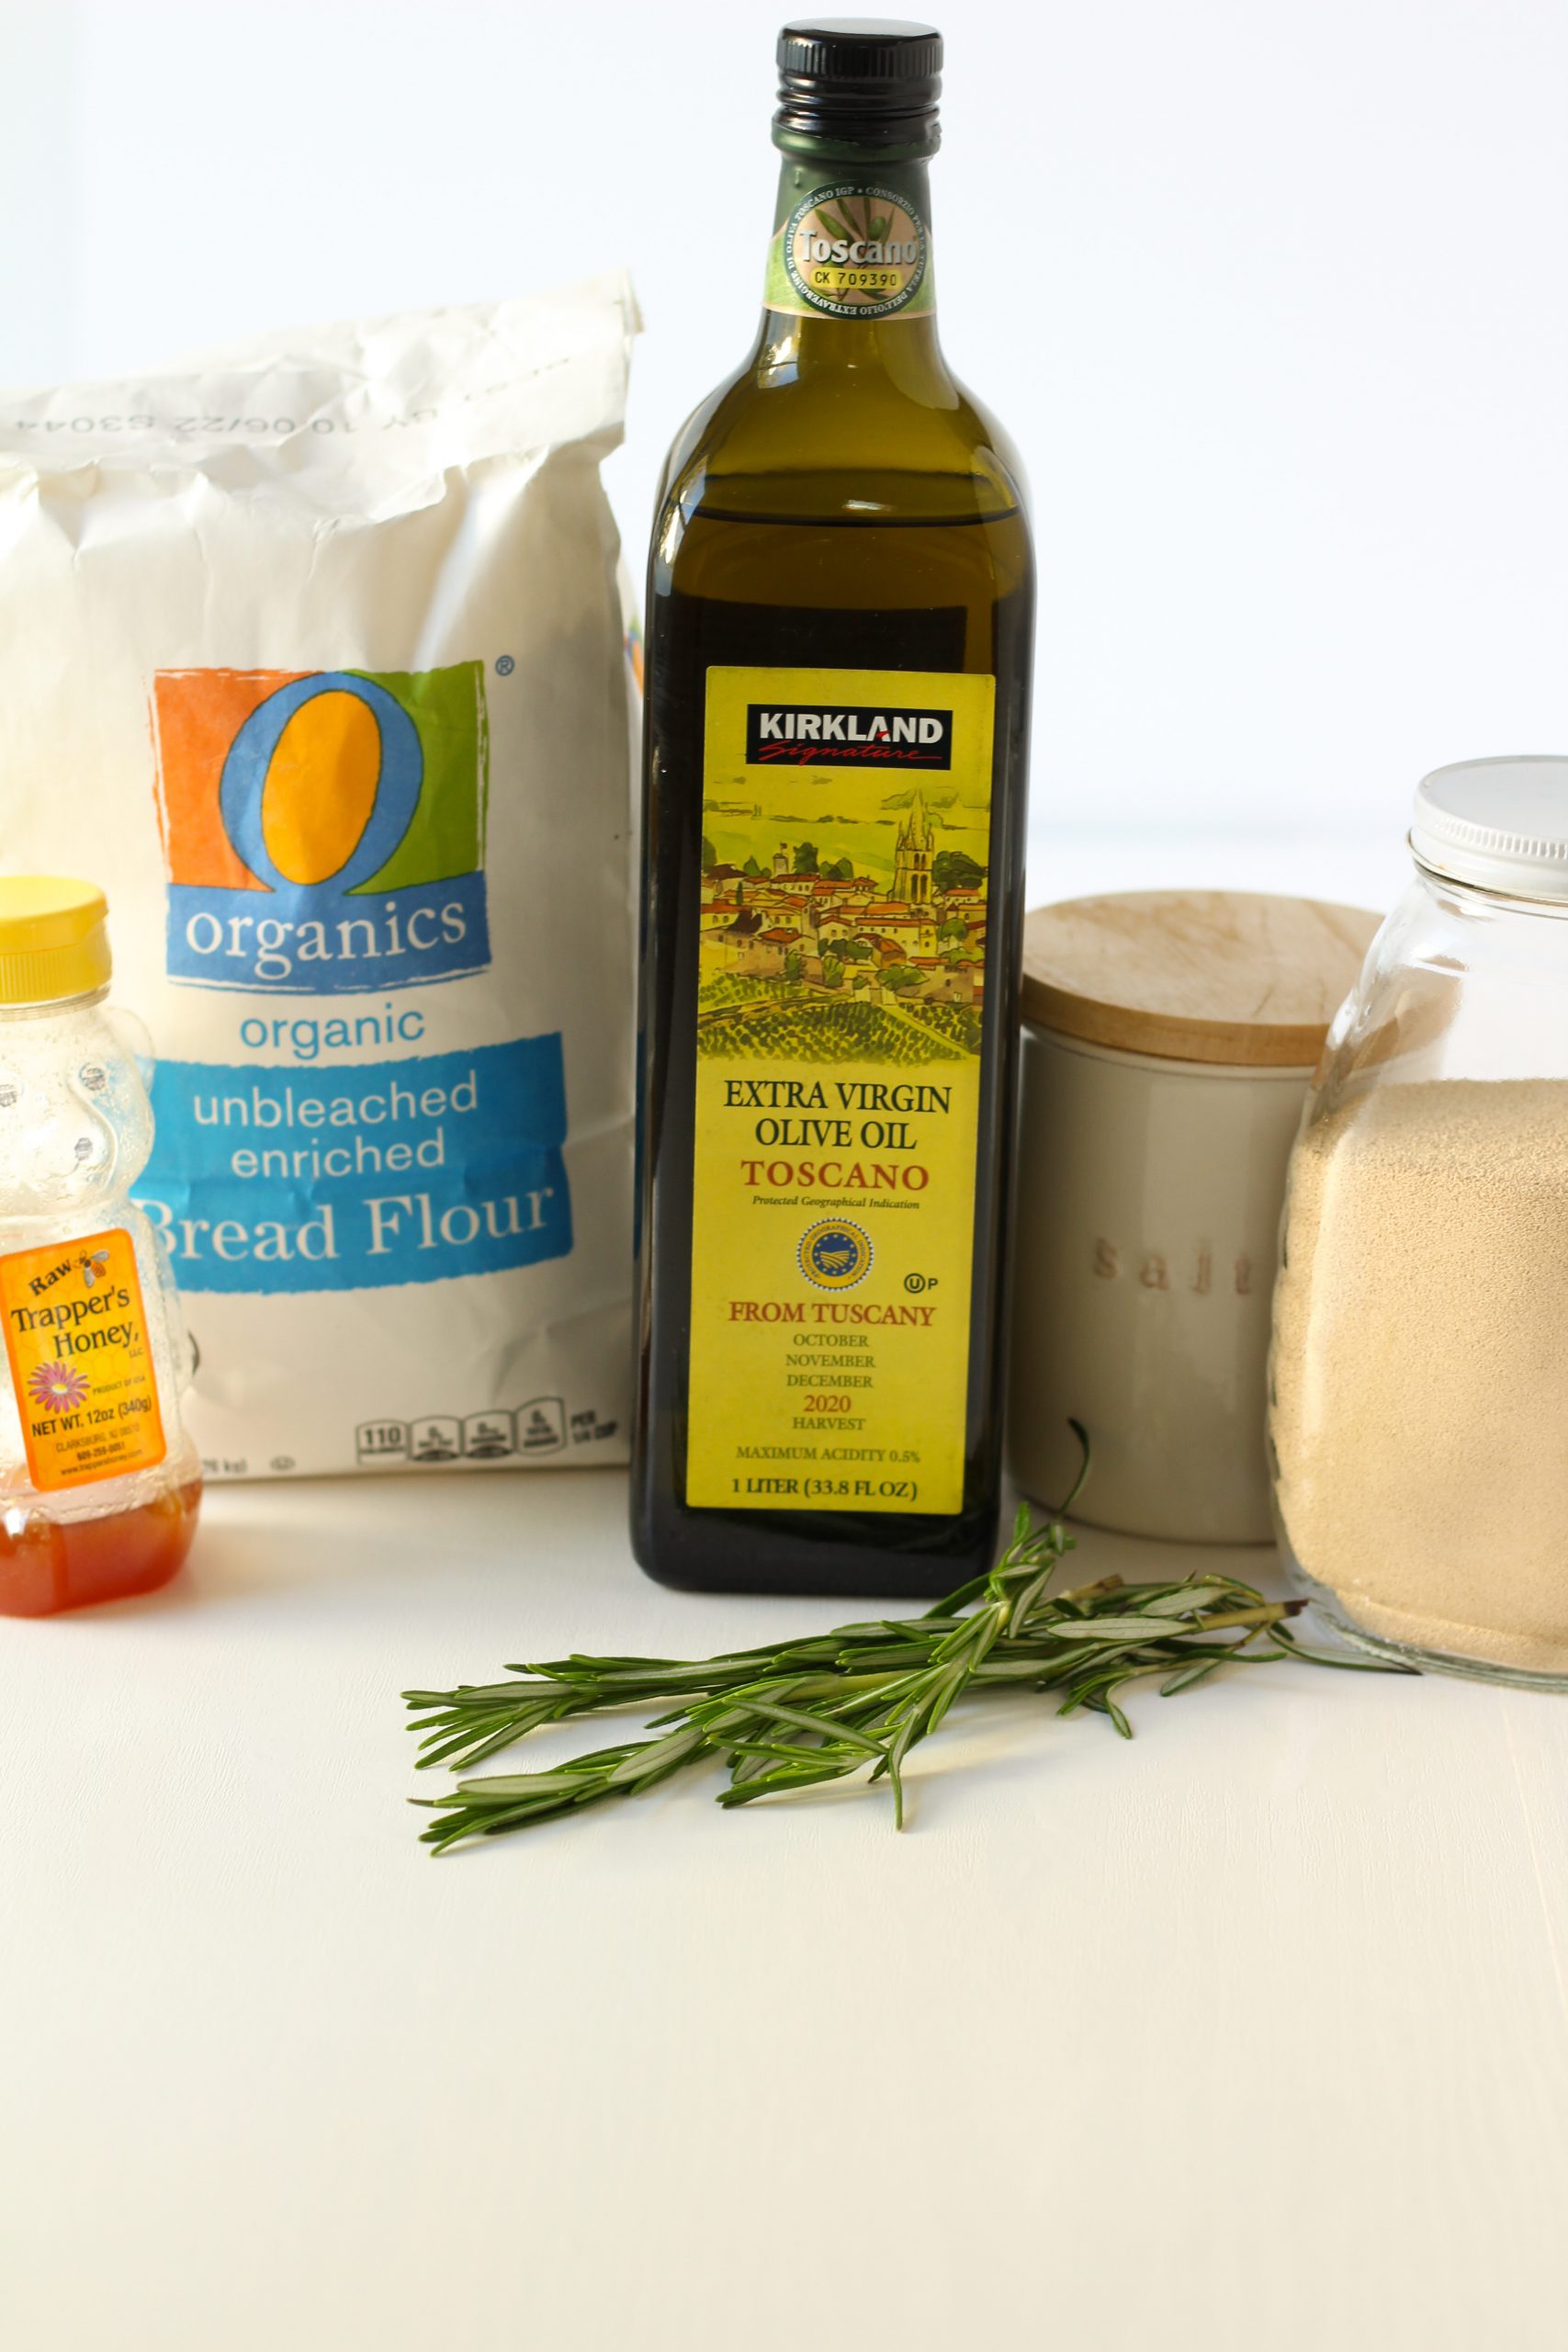
Most bread recipes require sugar to activate the yeast. As I’m not a fan of refined sugar, I always look for an appropriate replacement. In this case, I found raw honey adds a delicious flavor while being able to activate the yeast.

Ingredients for focaccia bread with topping ingredients

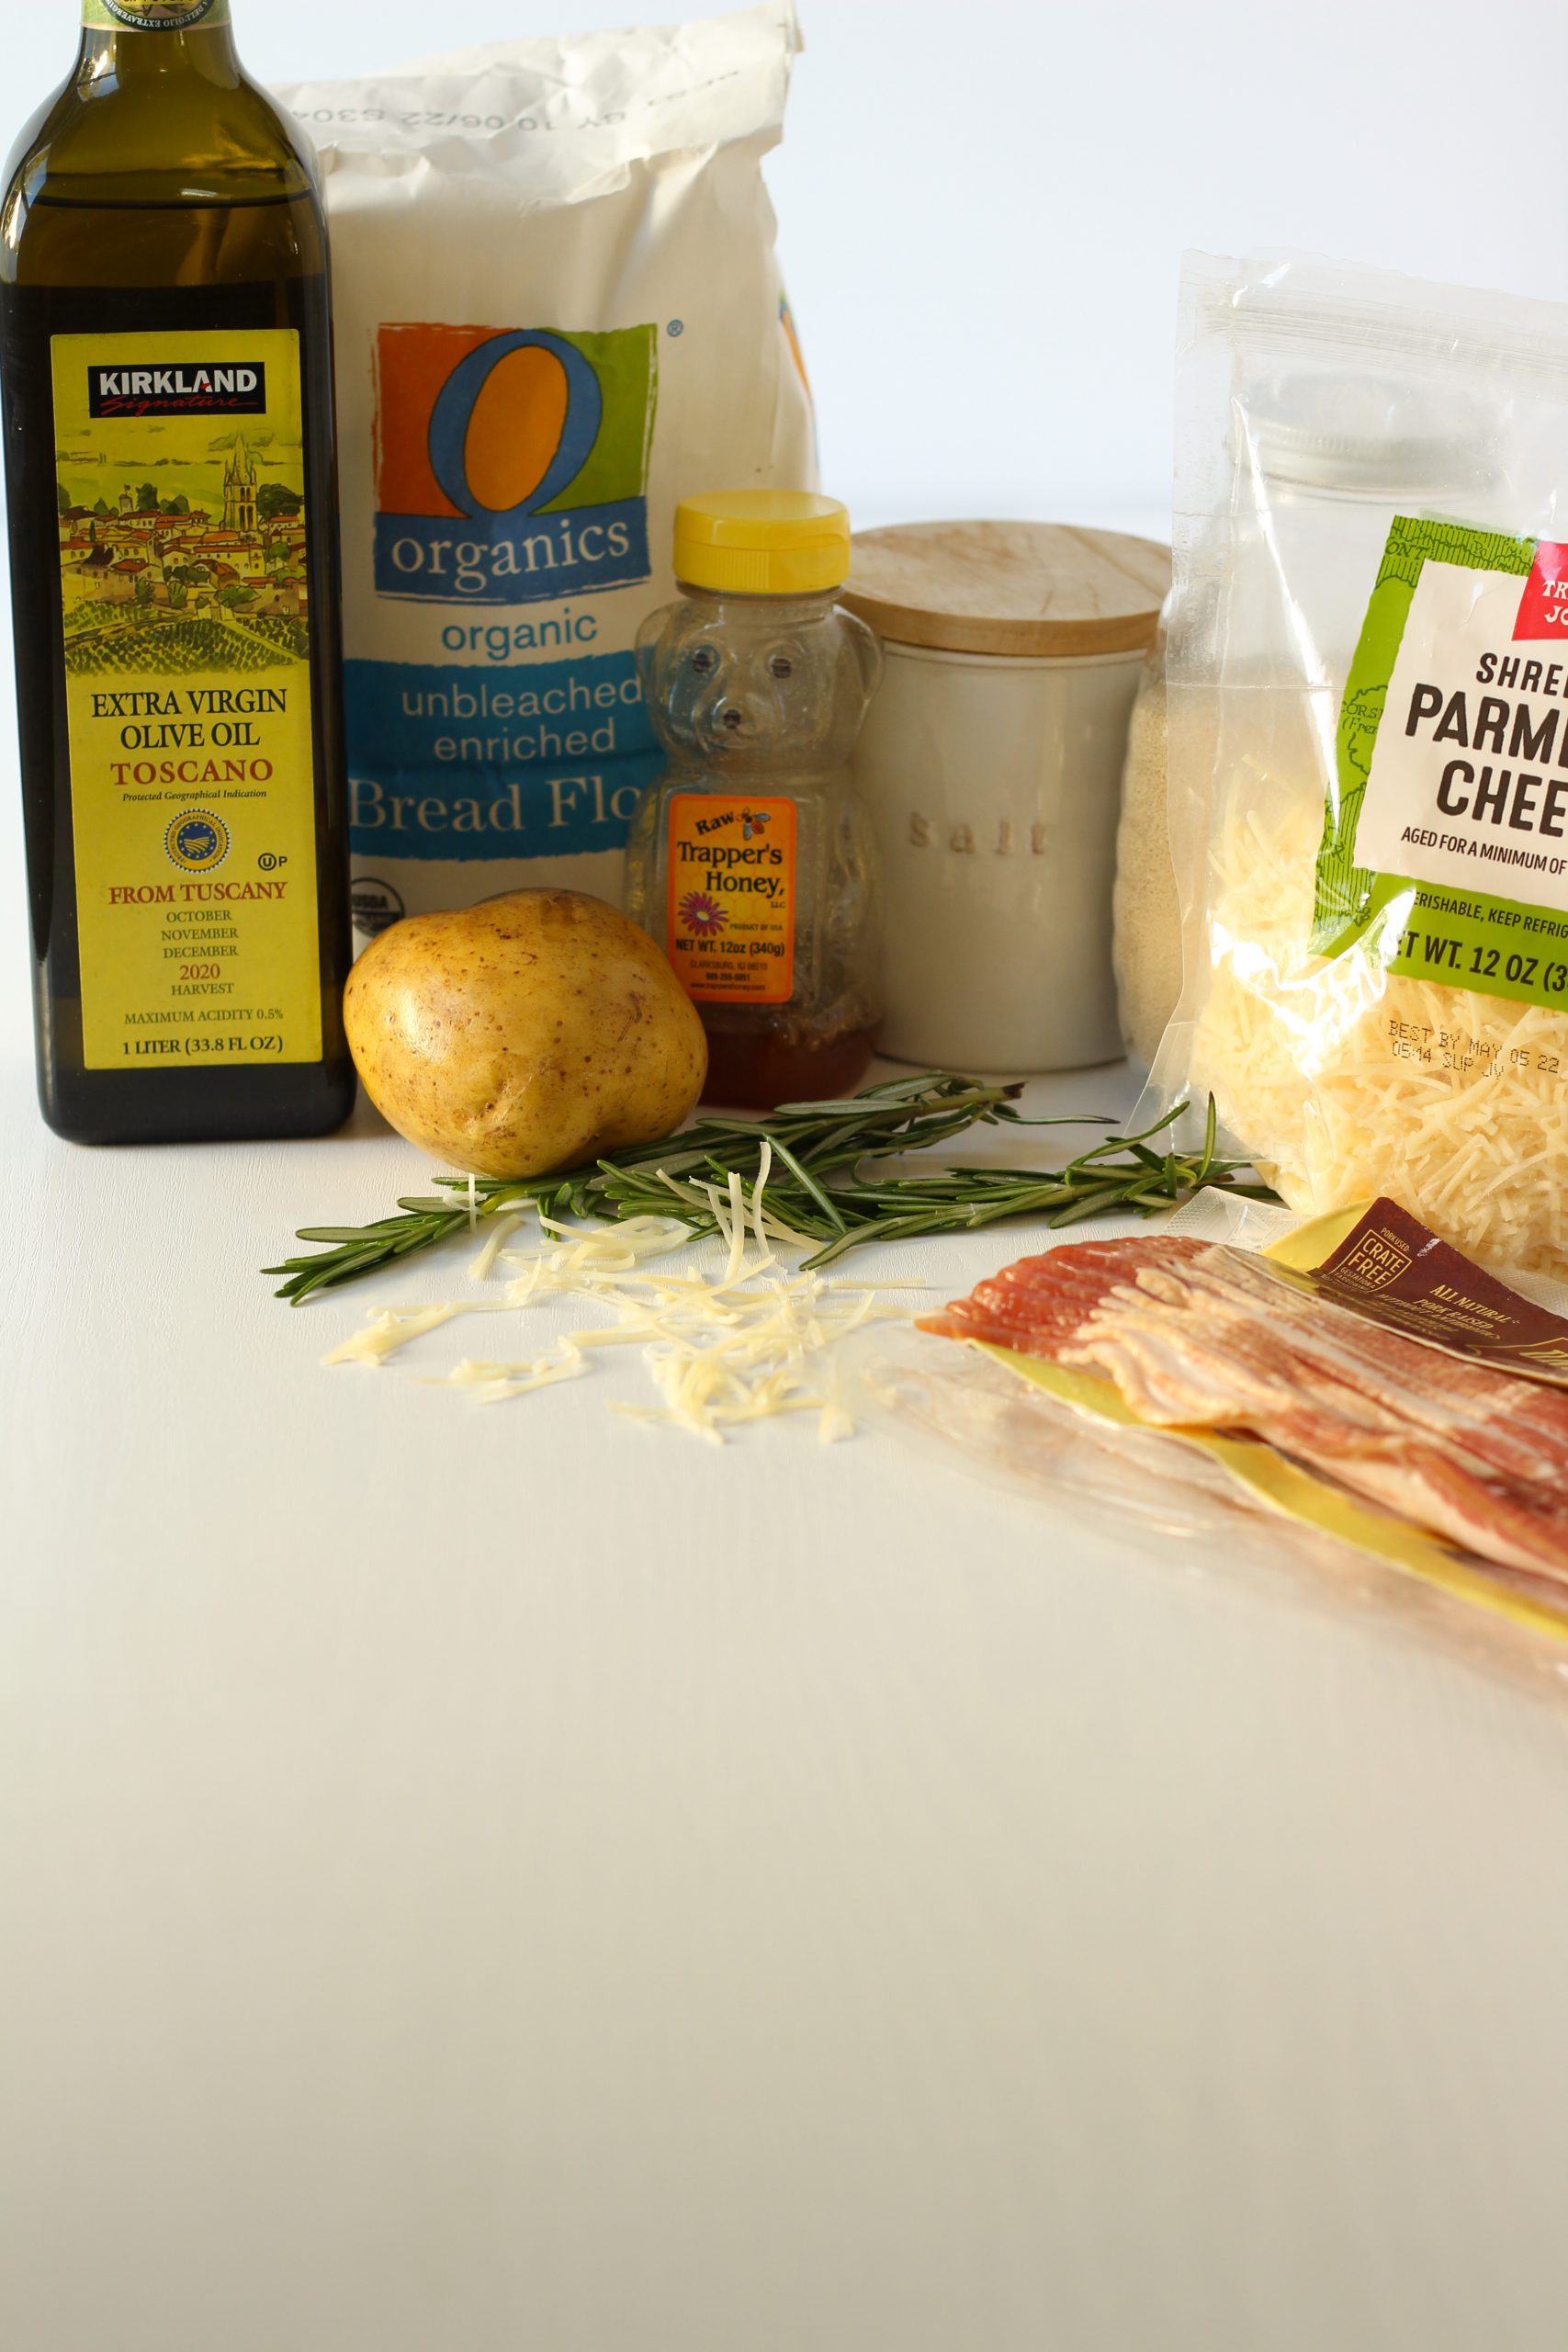
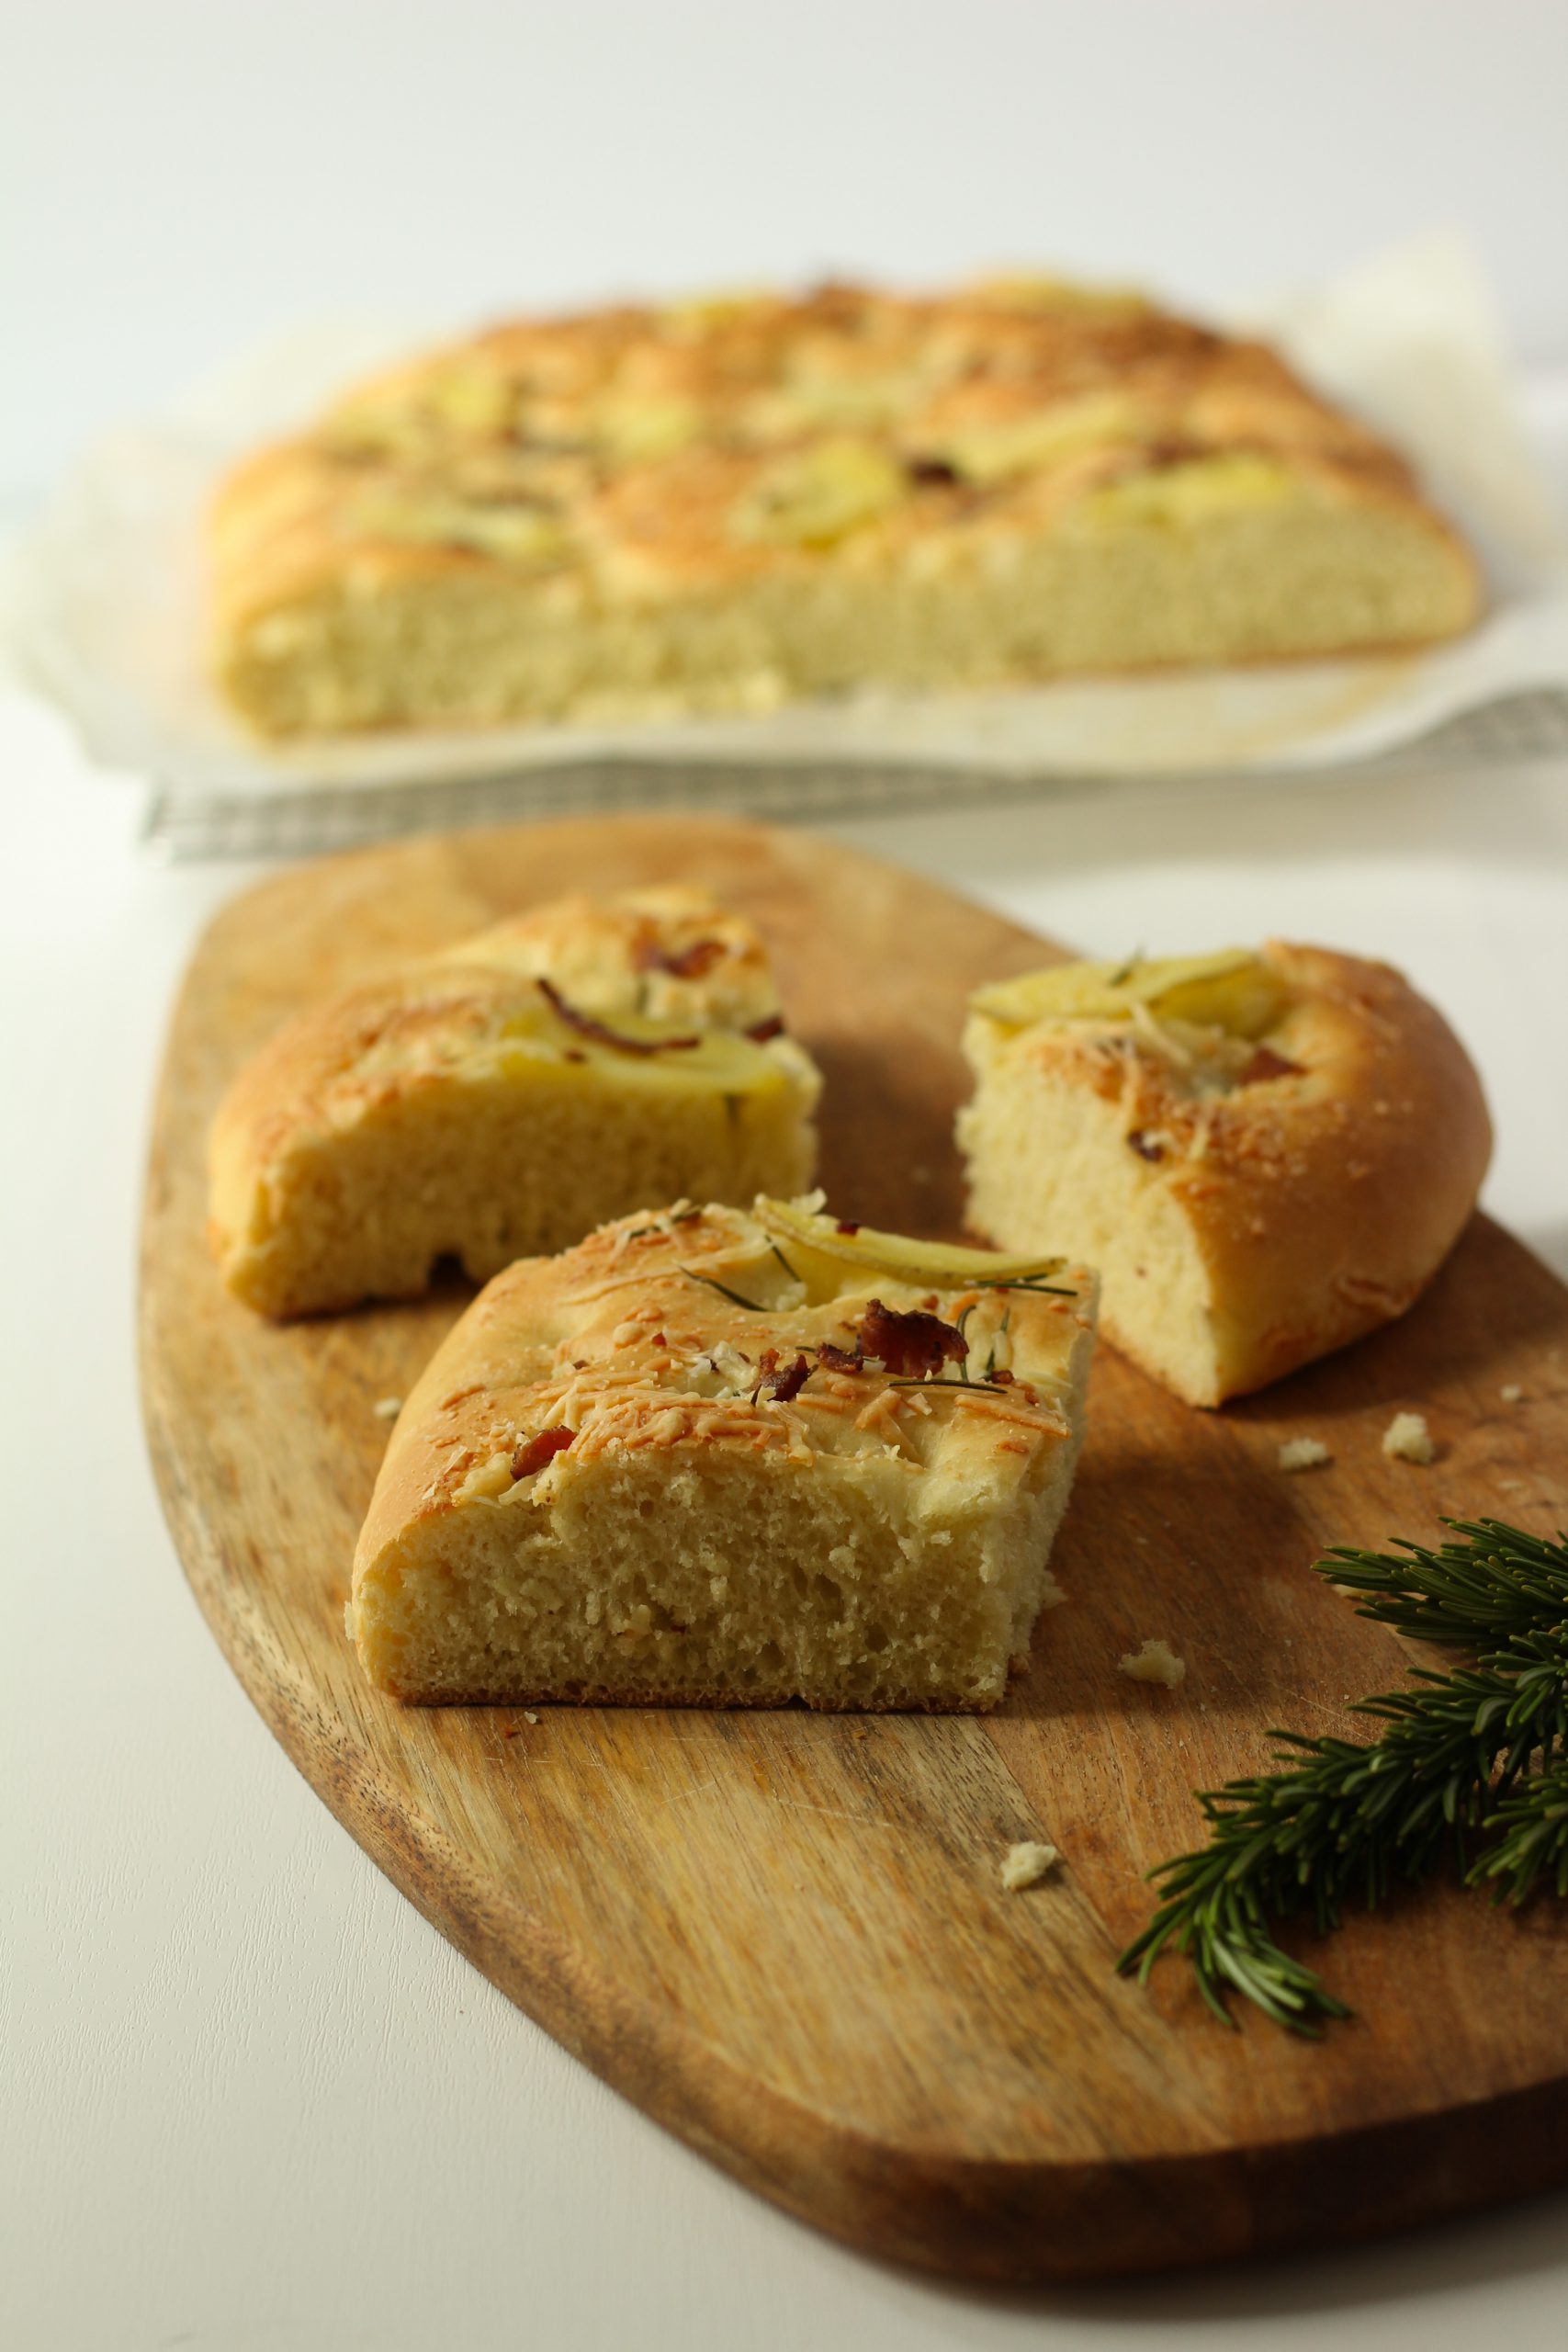
For the topping I experimented with potatoes, rosemary, bacon and Parmesan cheese.

Active dry yeast with 1/4 cup of water and honey to active the yeast
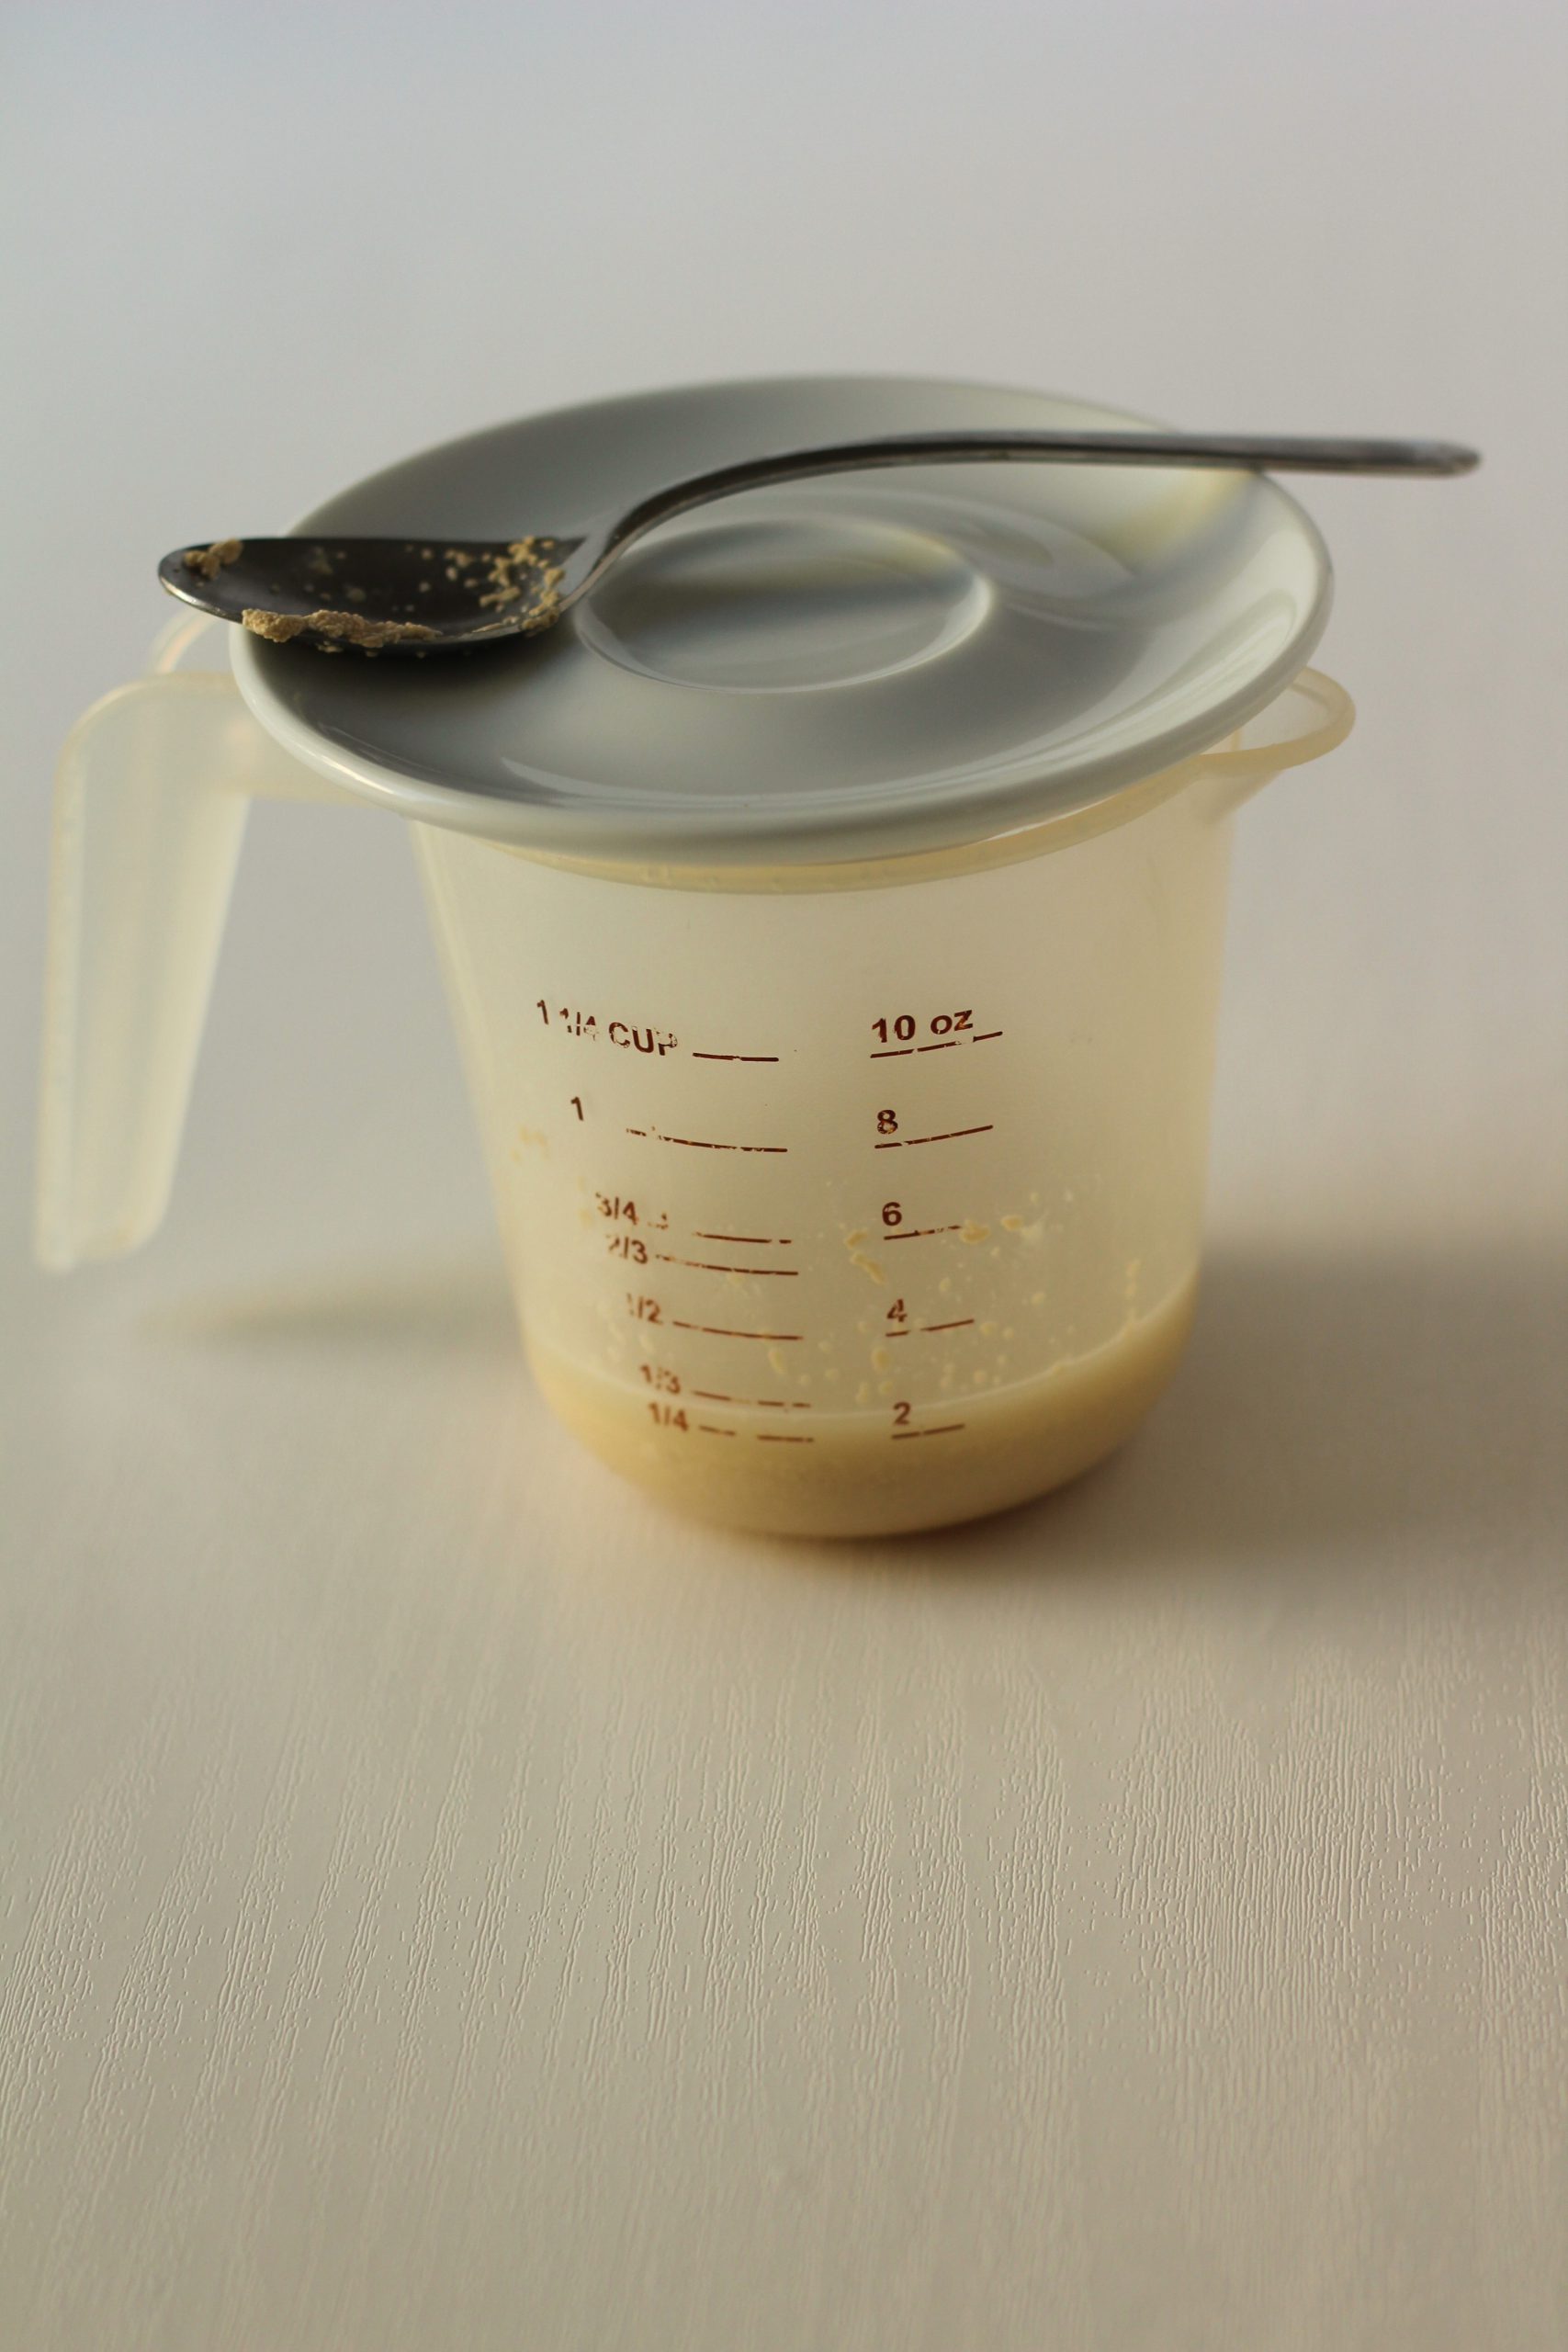
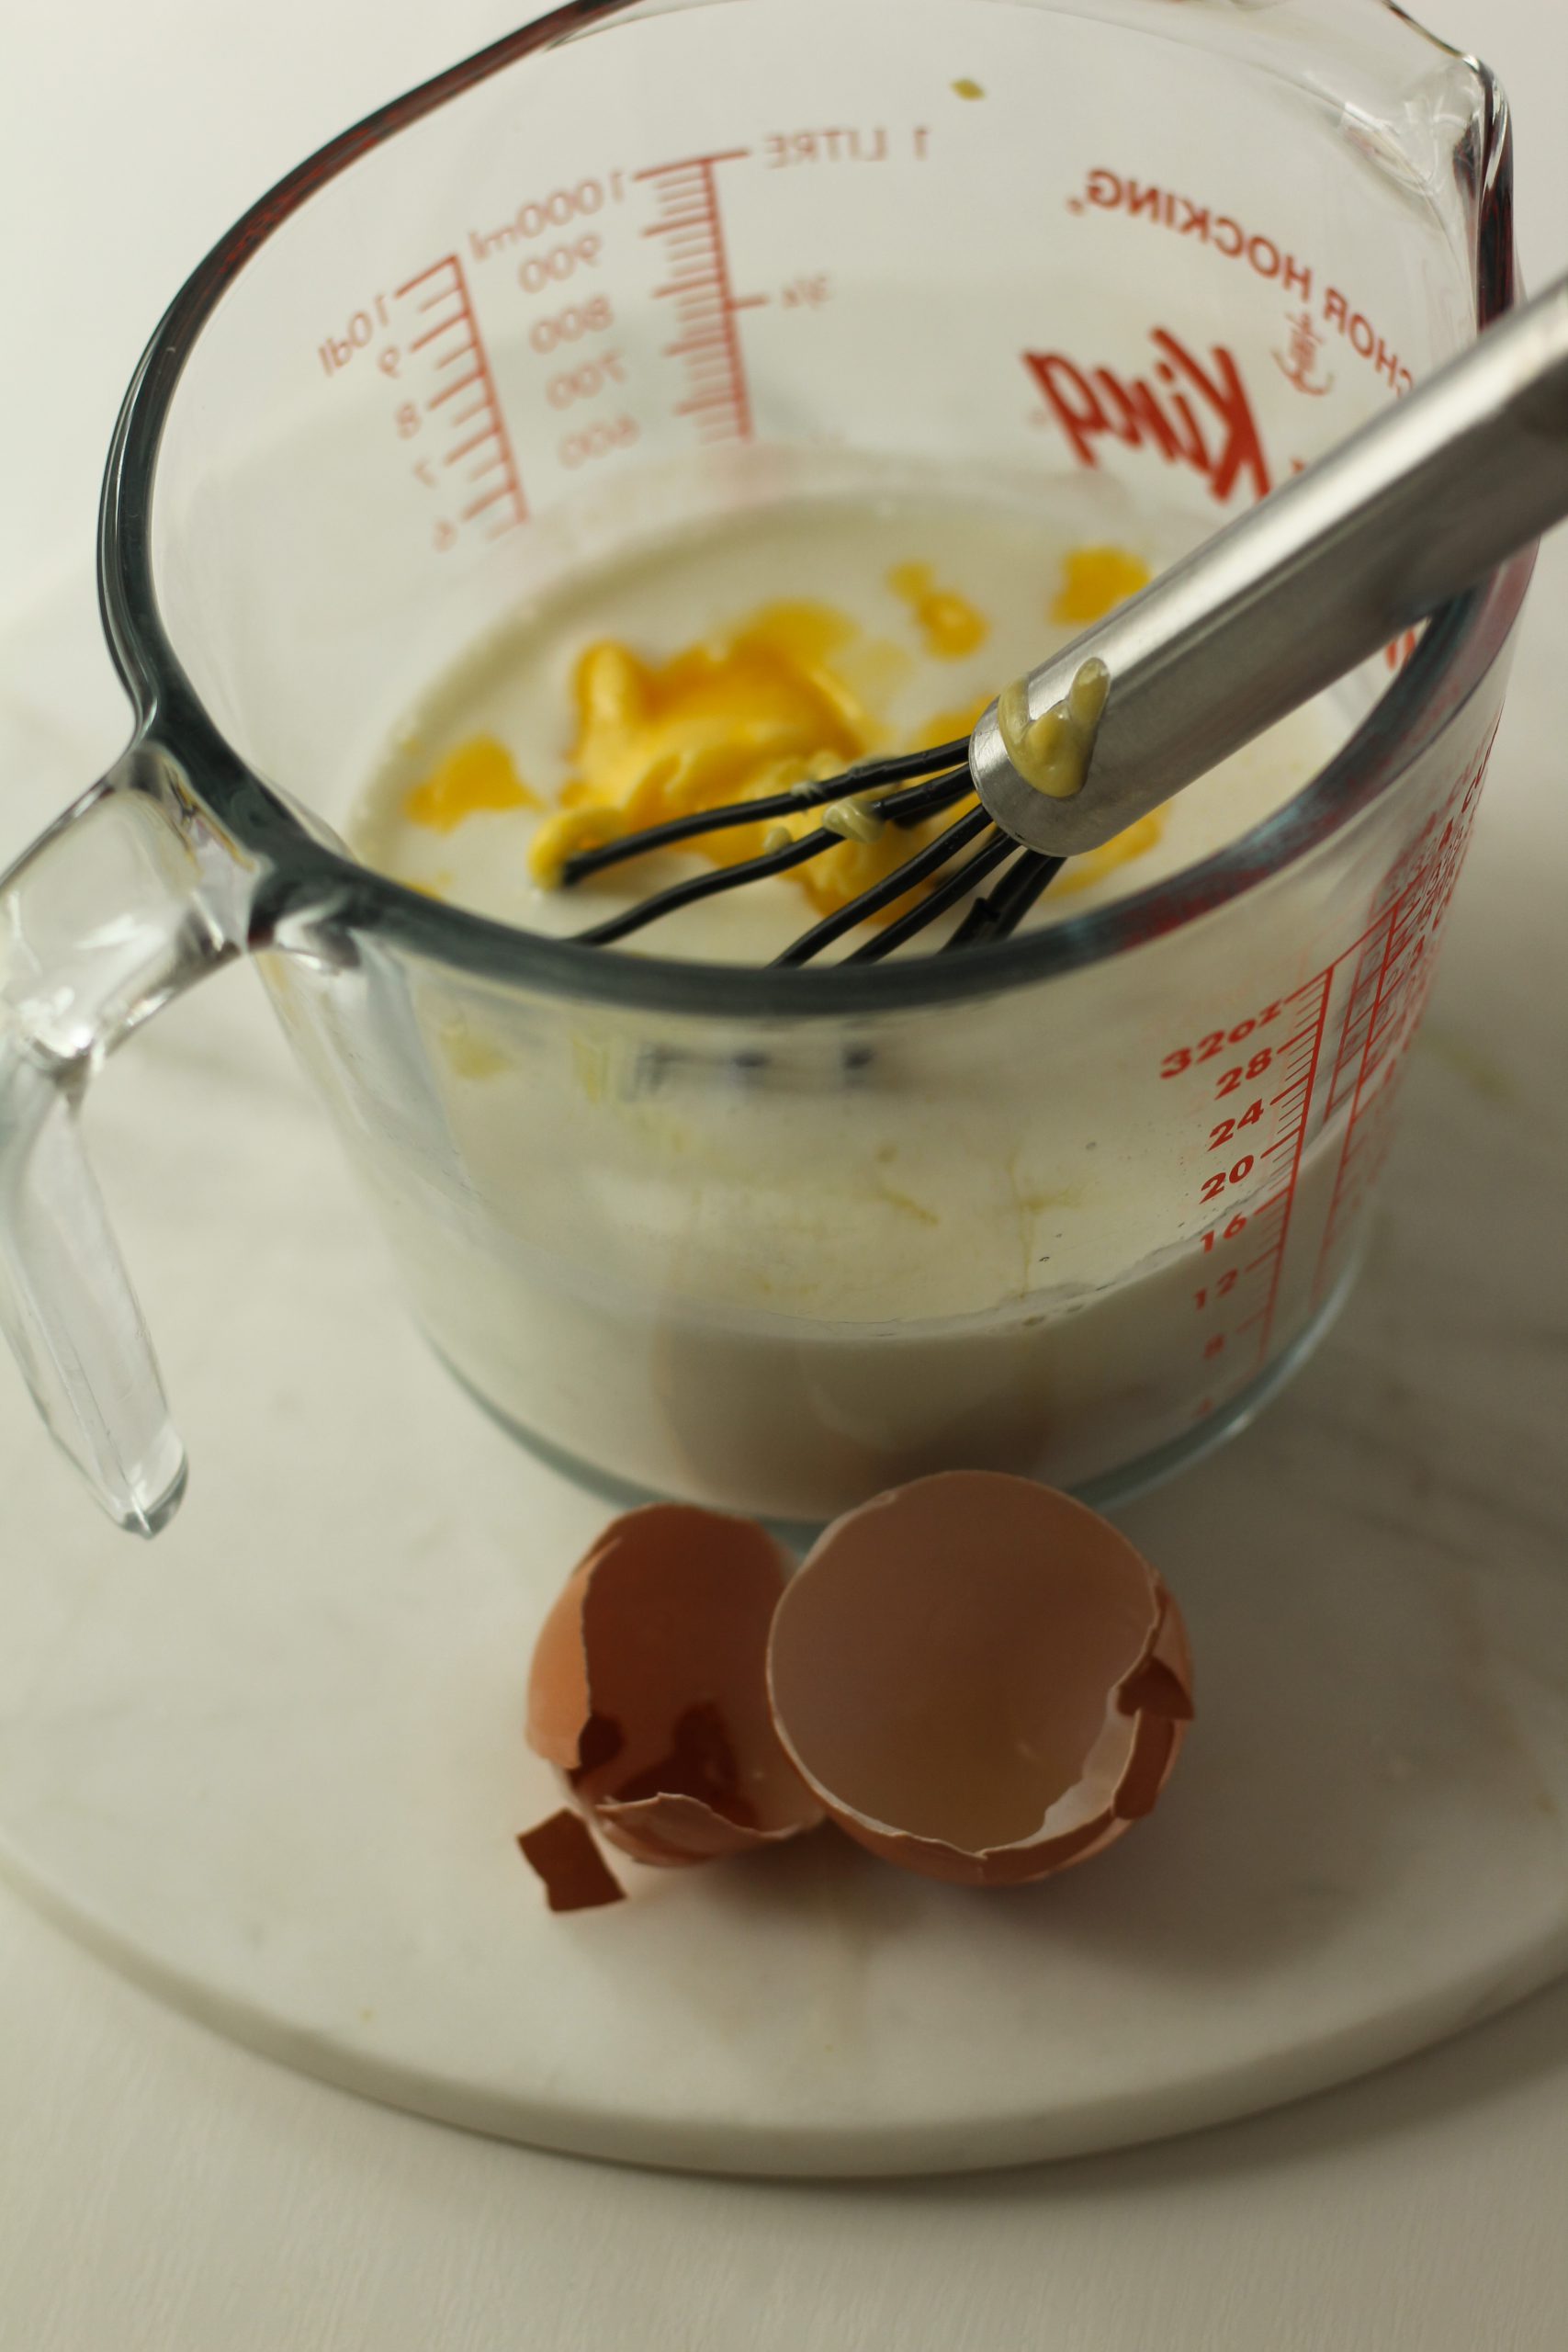
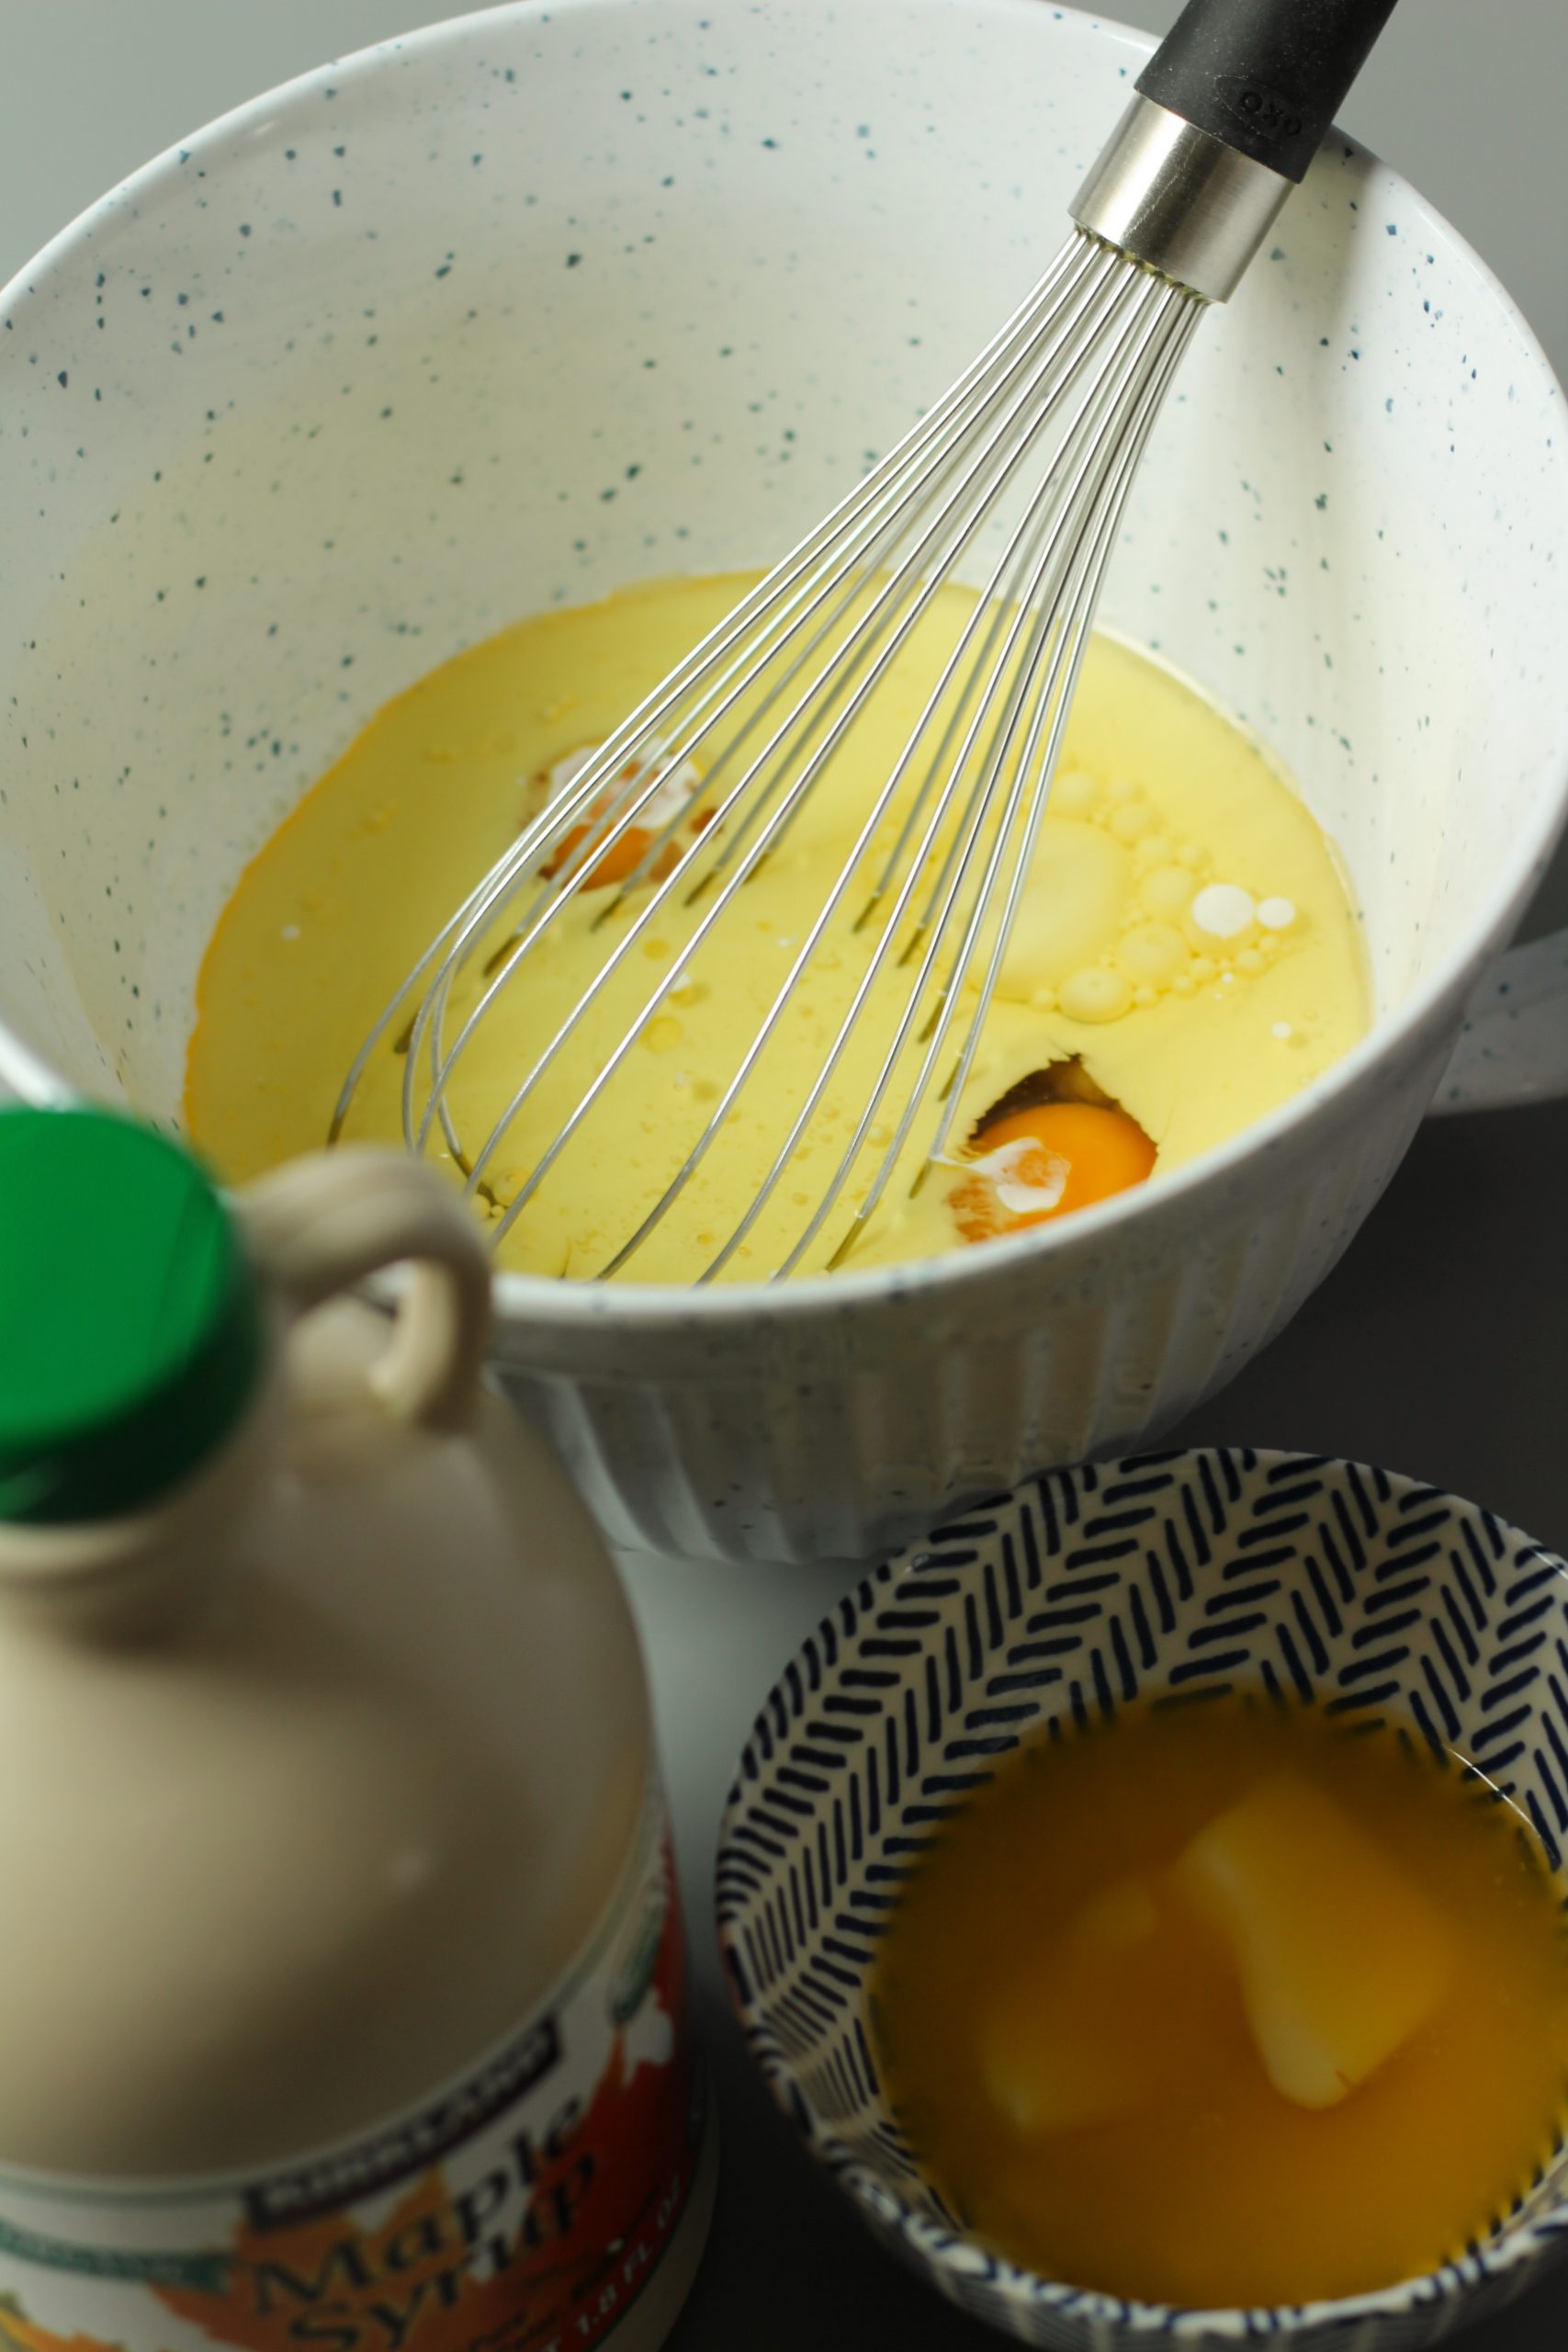
To start begin by mixing the 1/4 cup of warm water with the yeast and honey. The water needs to be  around 110 Fahrenheit to dissolve the yeast with the honey and to activate the yeast. It is important to let it stand until it is foamy and bubbly, around 5 minutes.

Active dry yeast mixture, nice foamy and bubbly

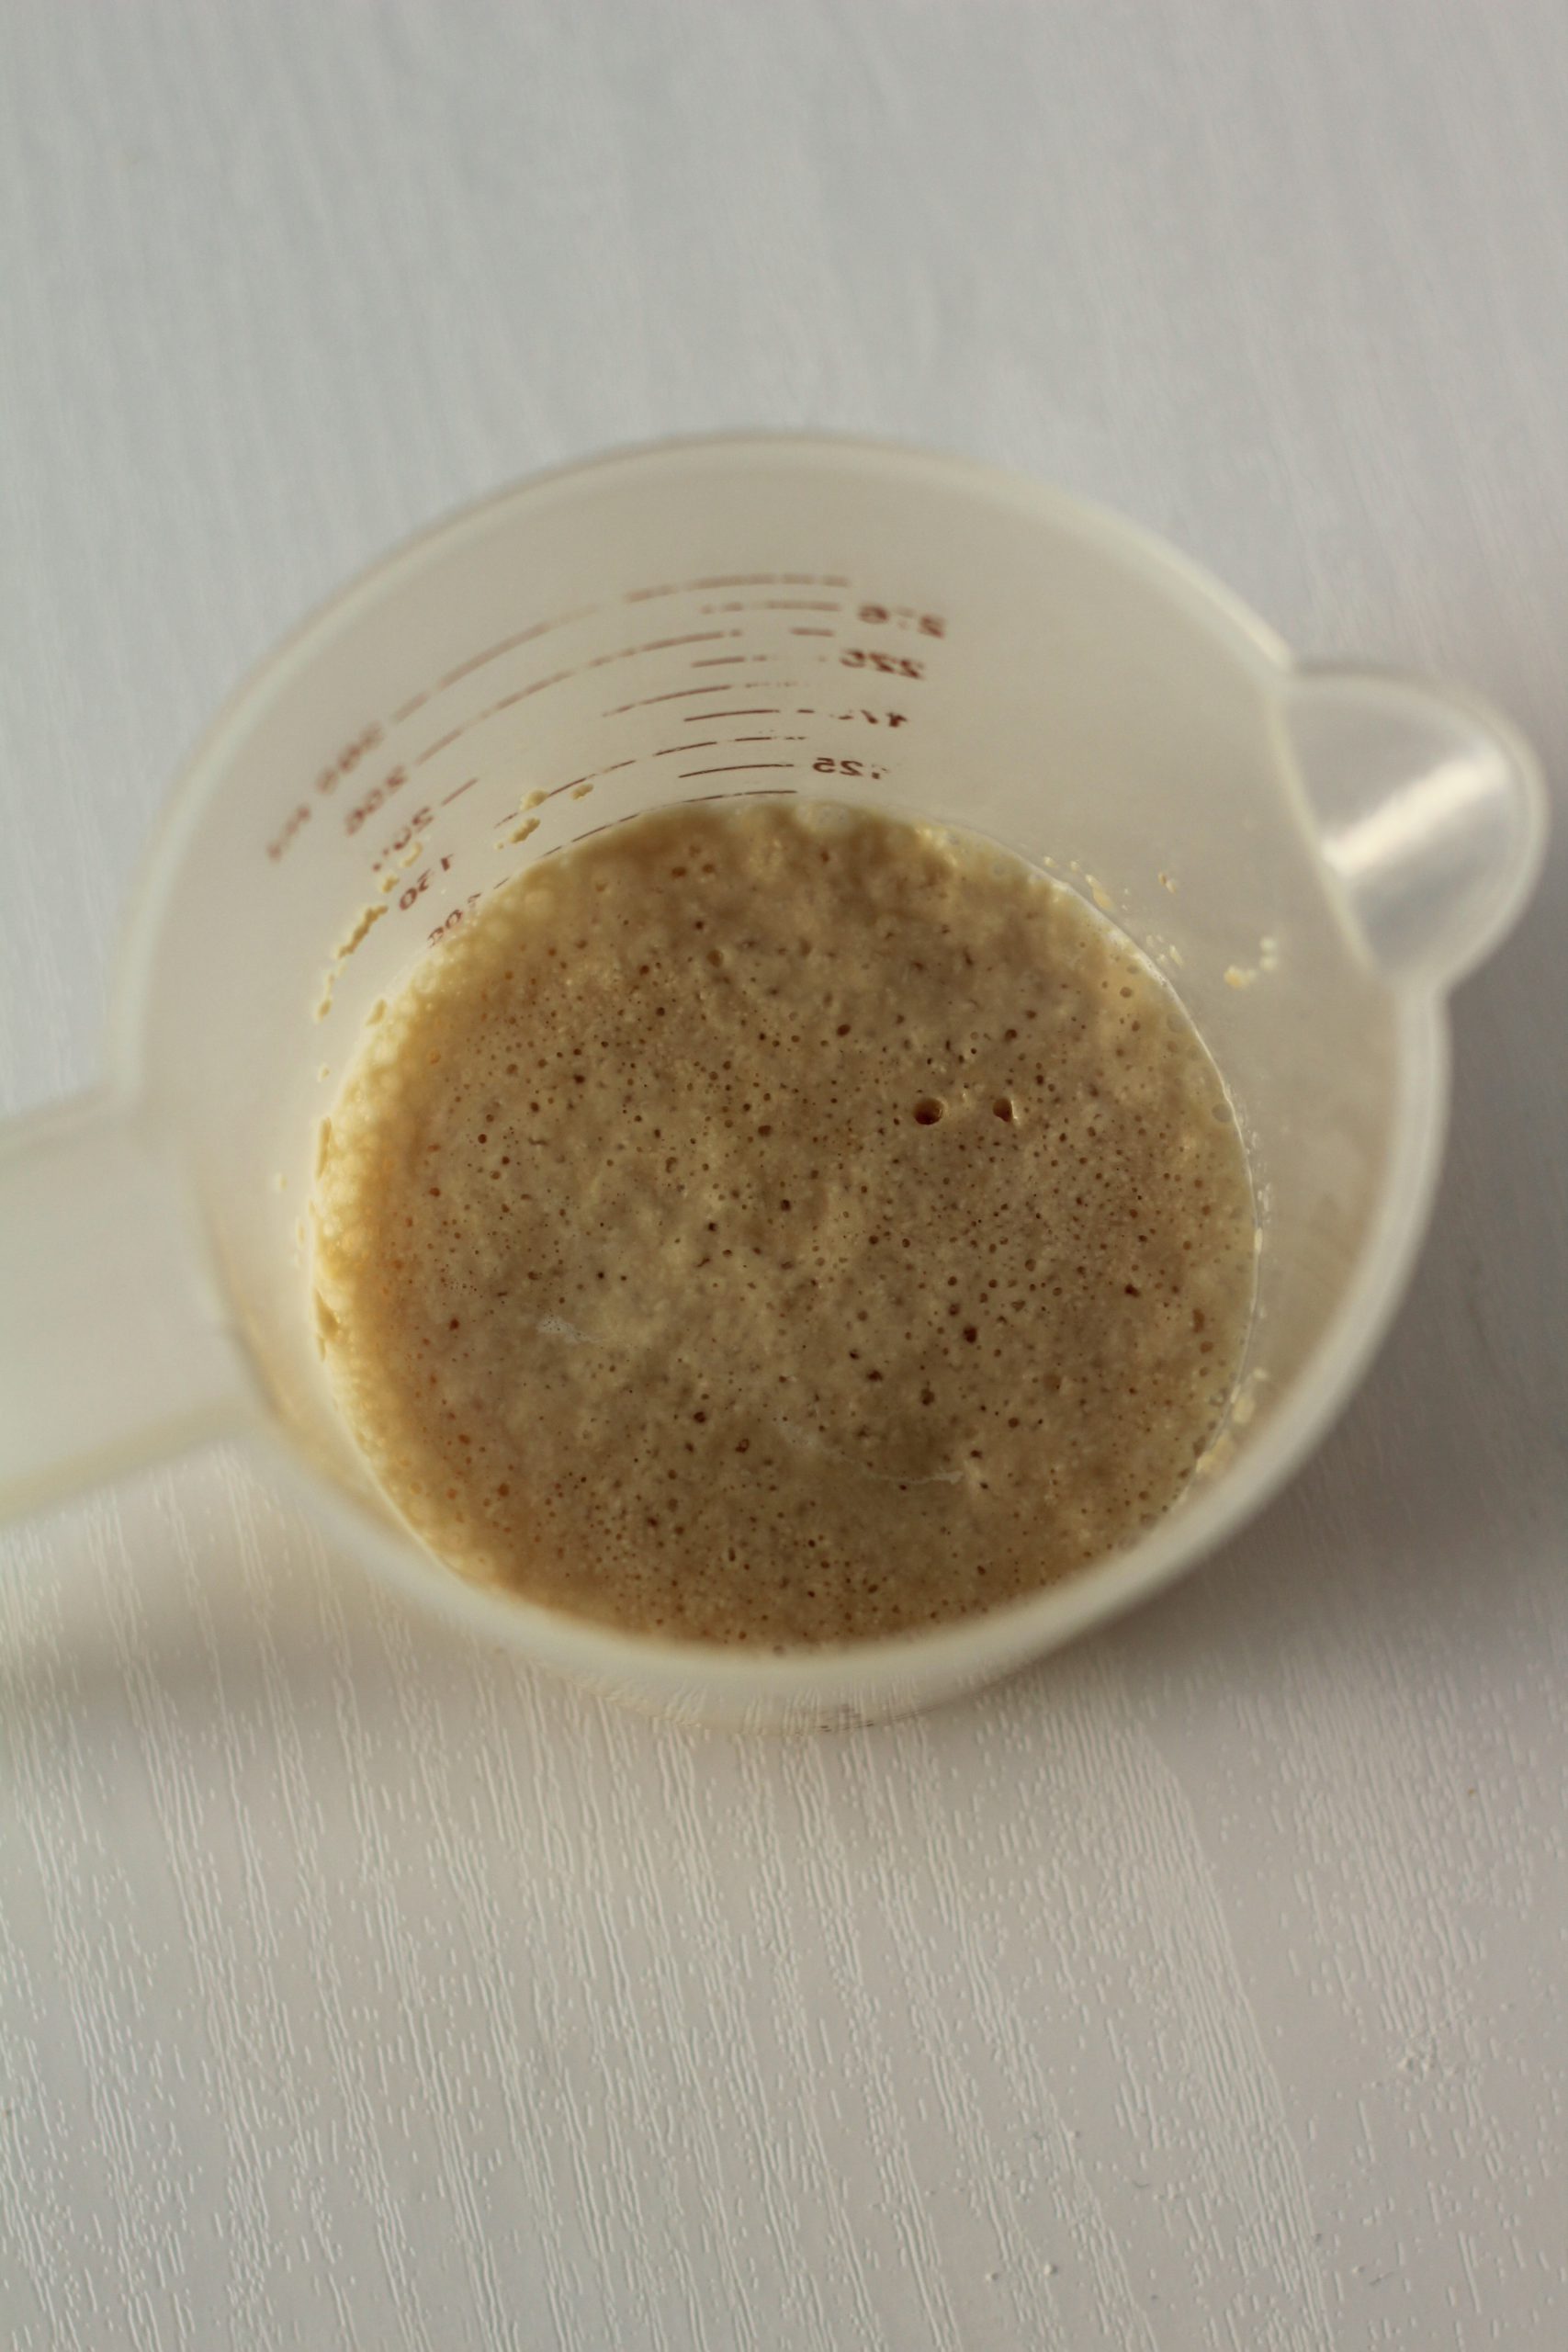
Here you can clearly see the foam and bubbles from the active dry yeast. It is ready to mix in with the flour and salt mixture after you can see the bubbles.

Salt and bread flour mixture

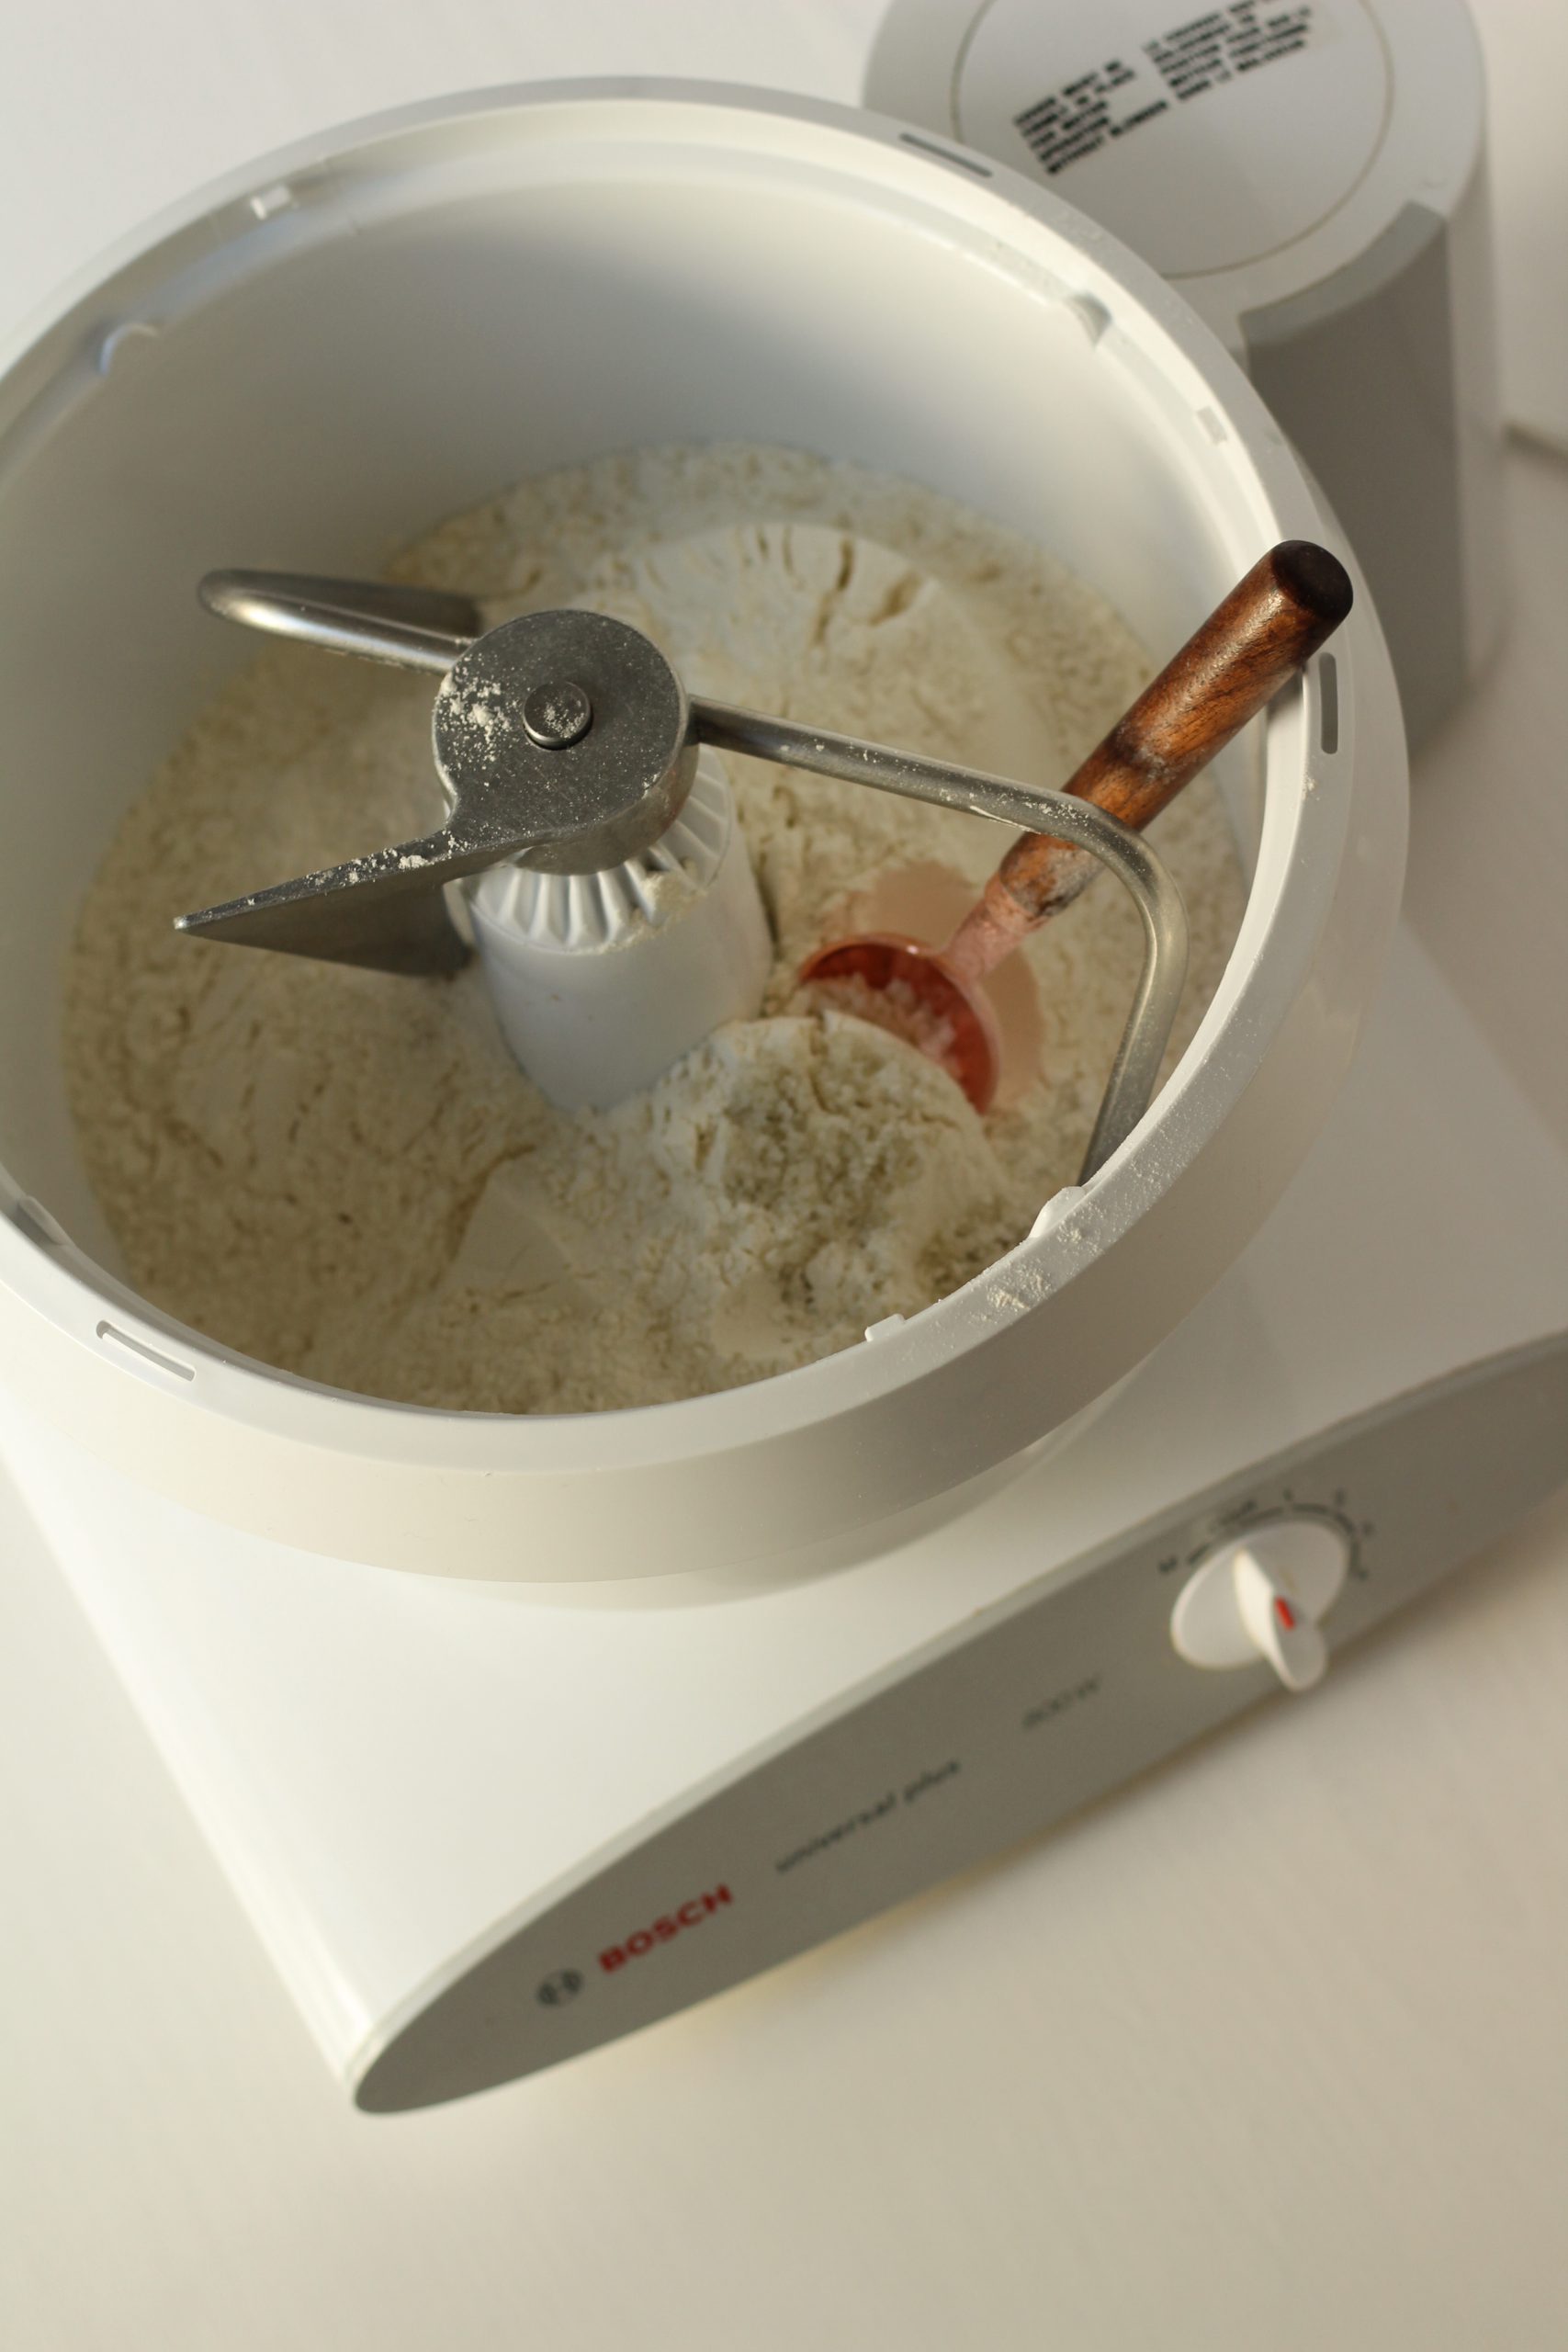
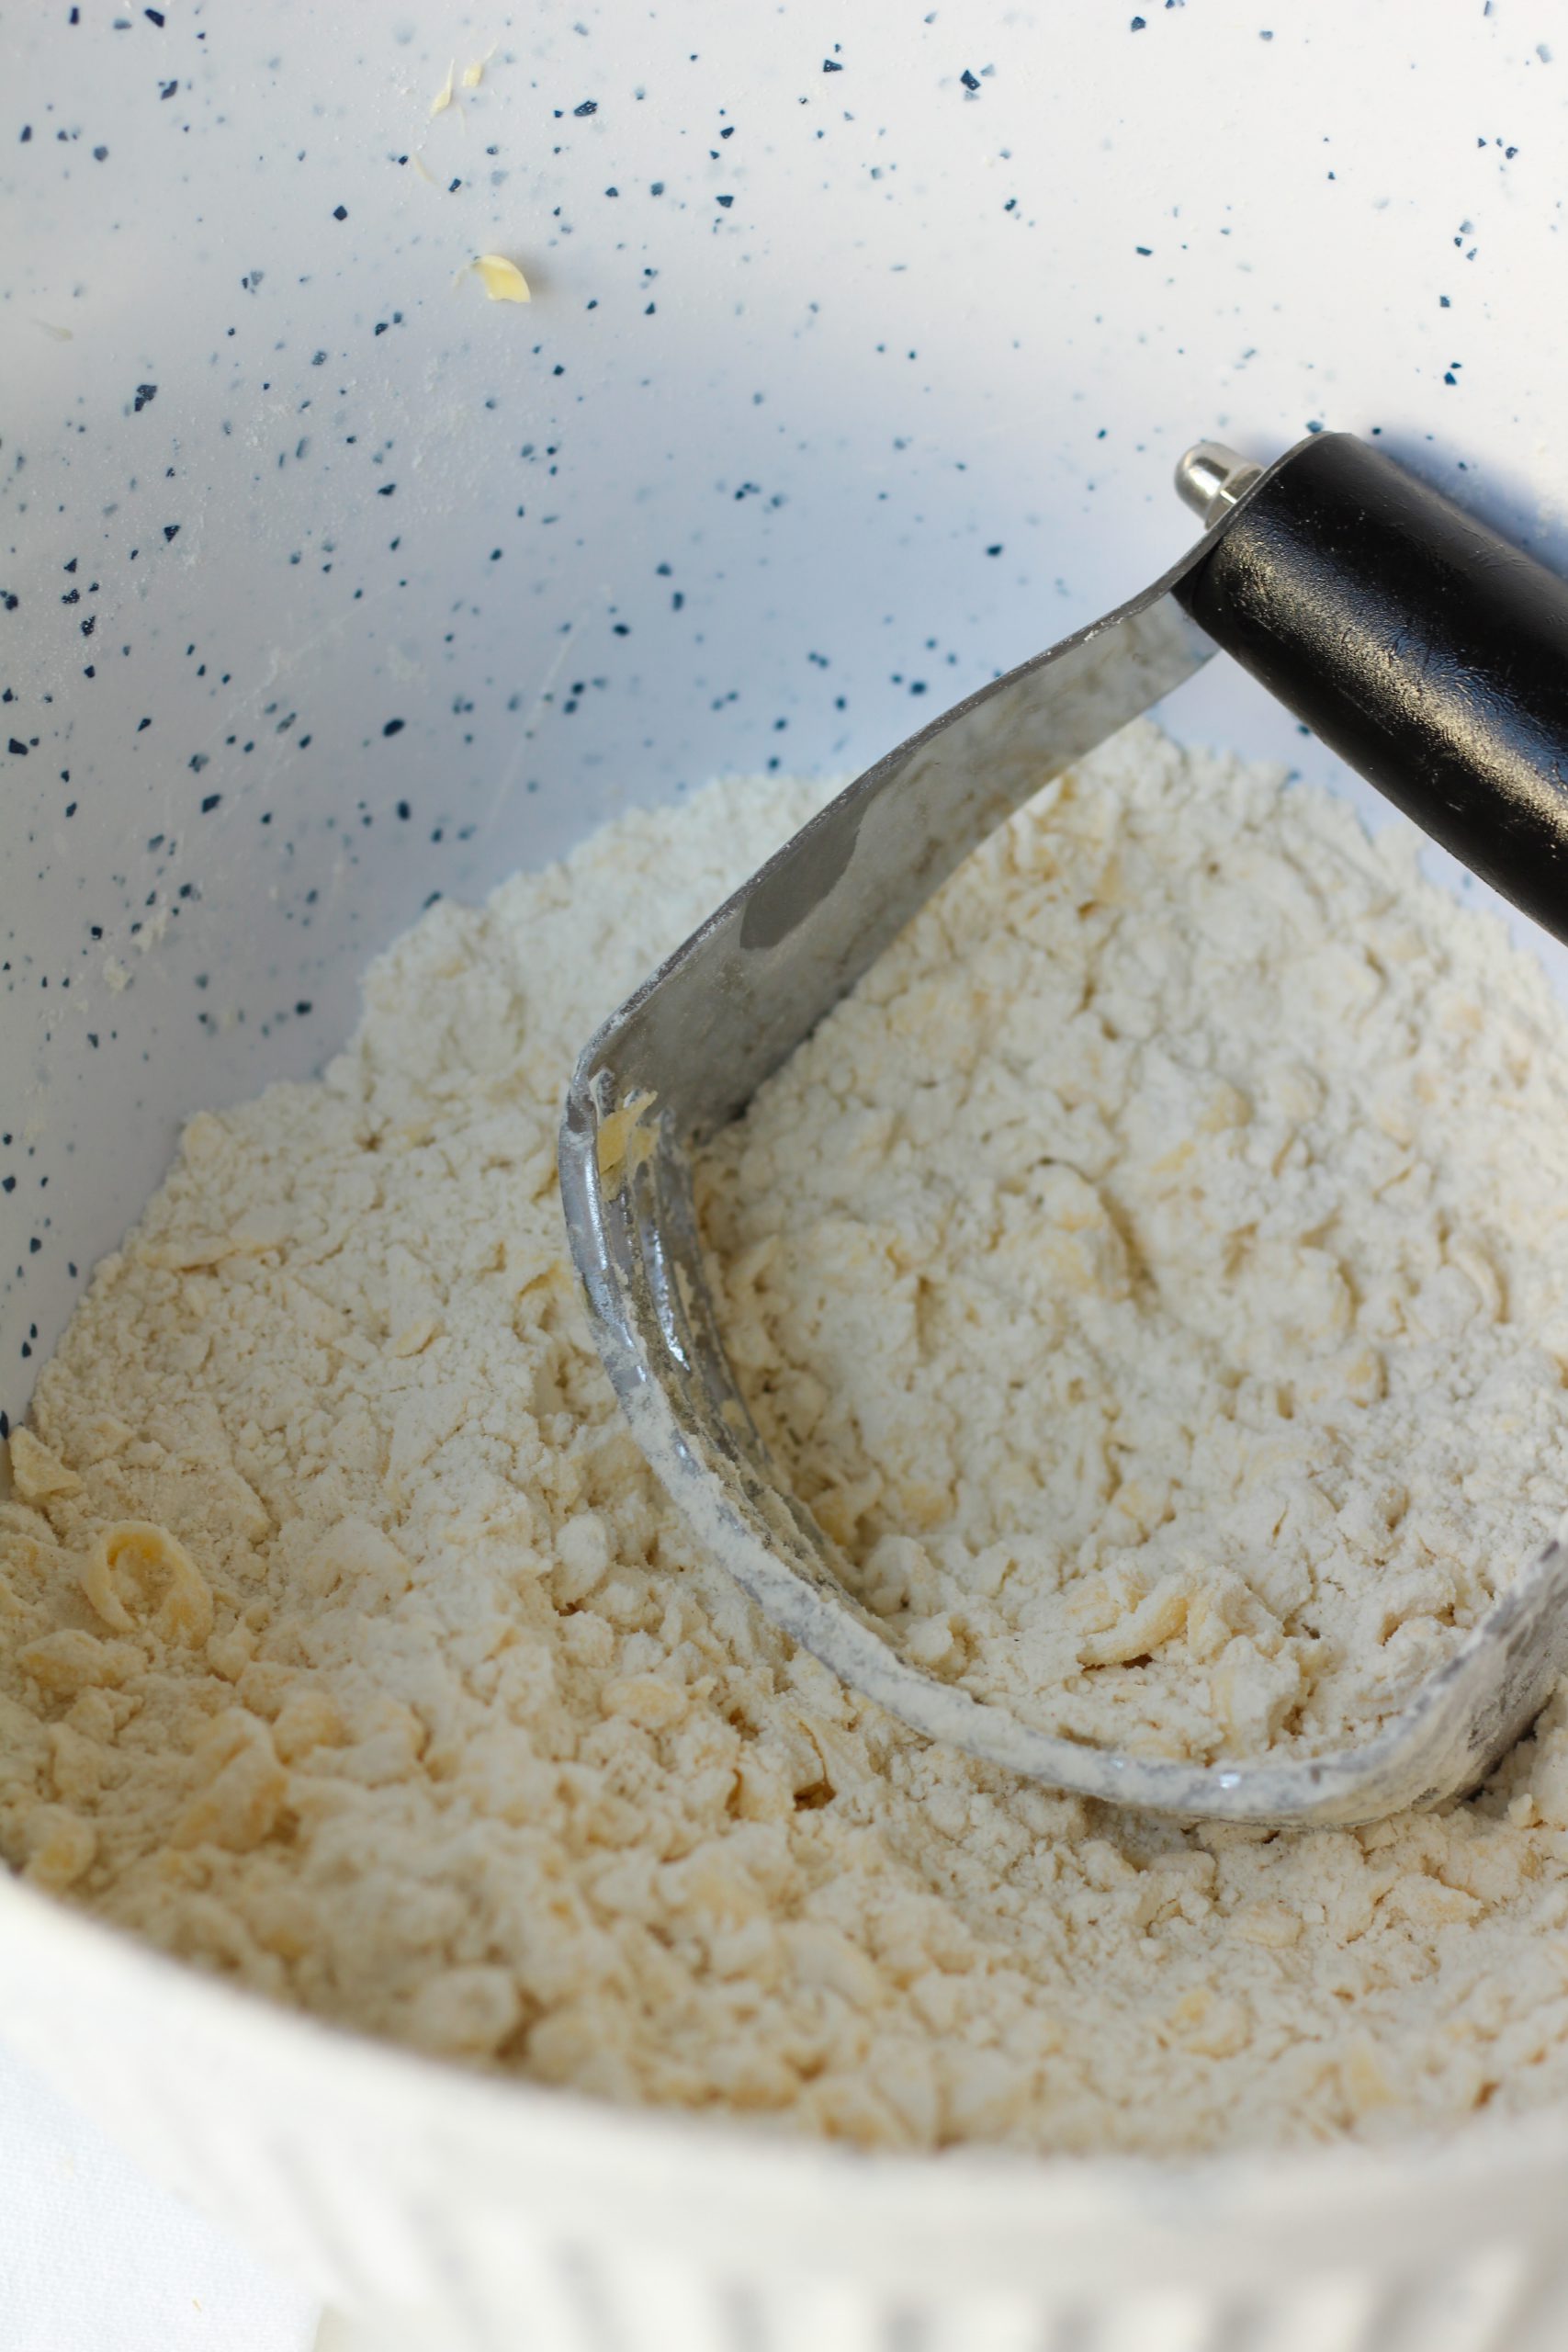
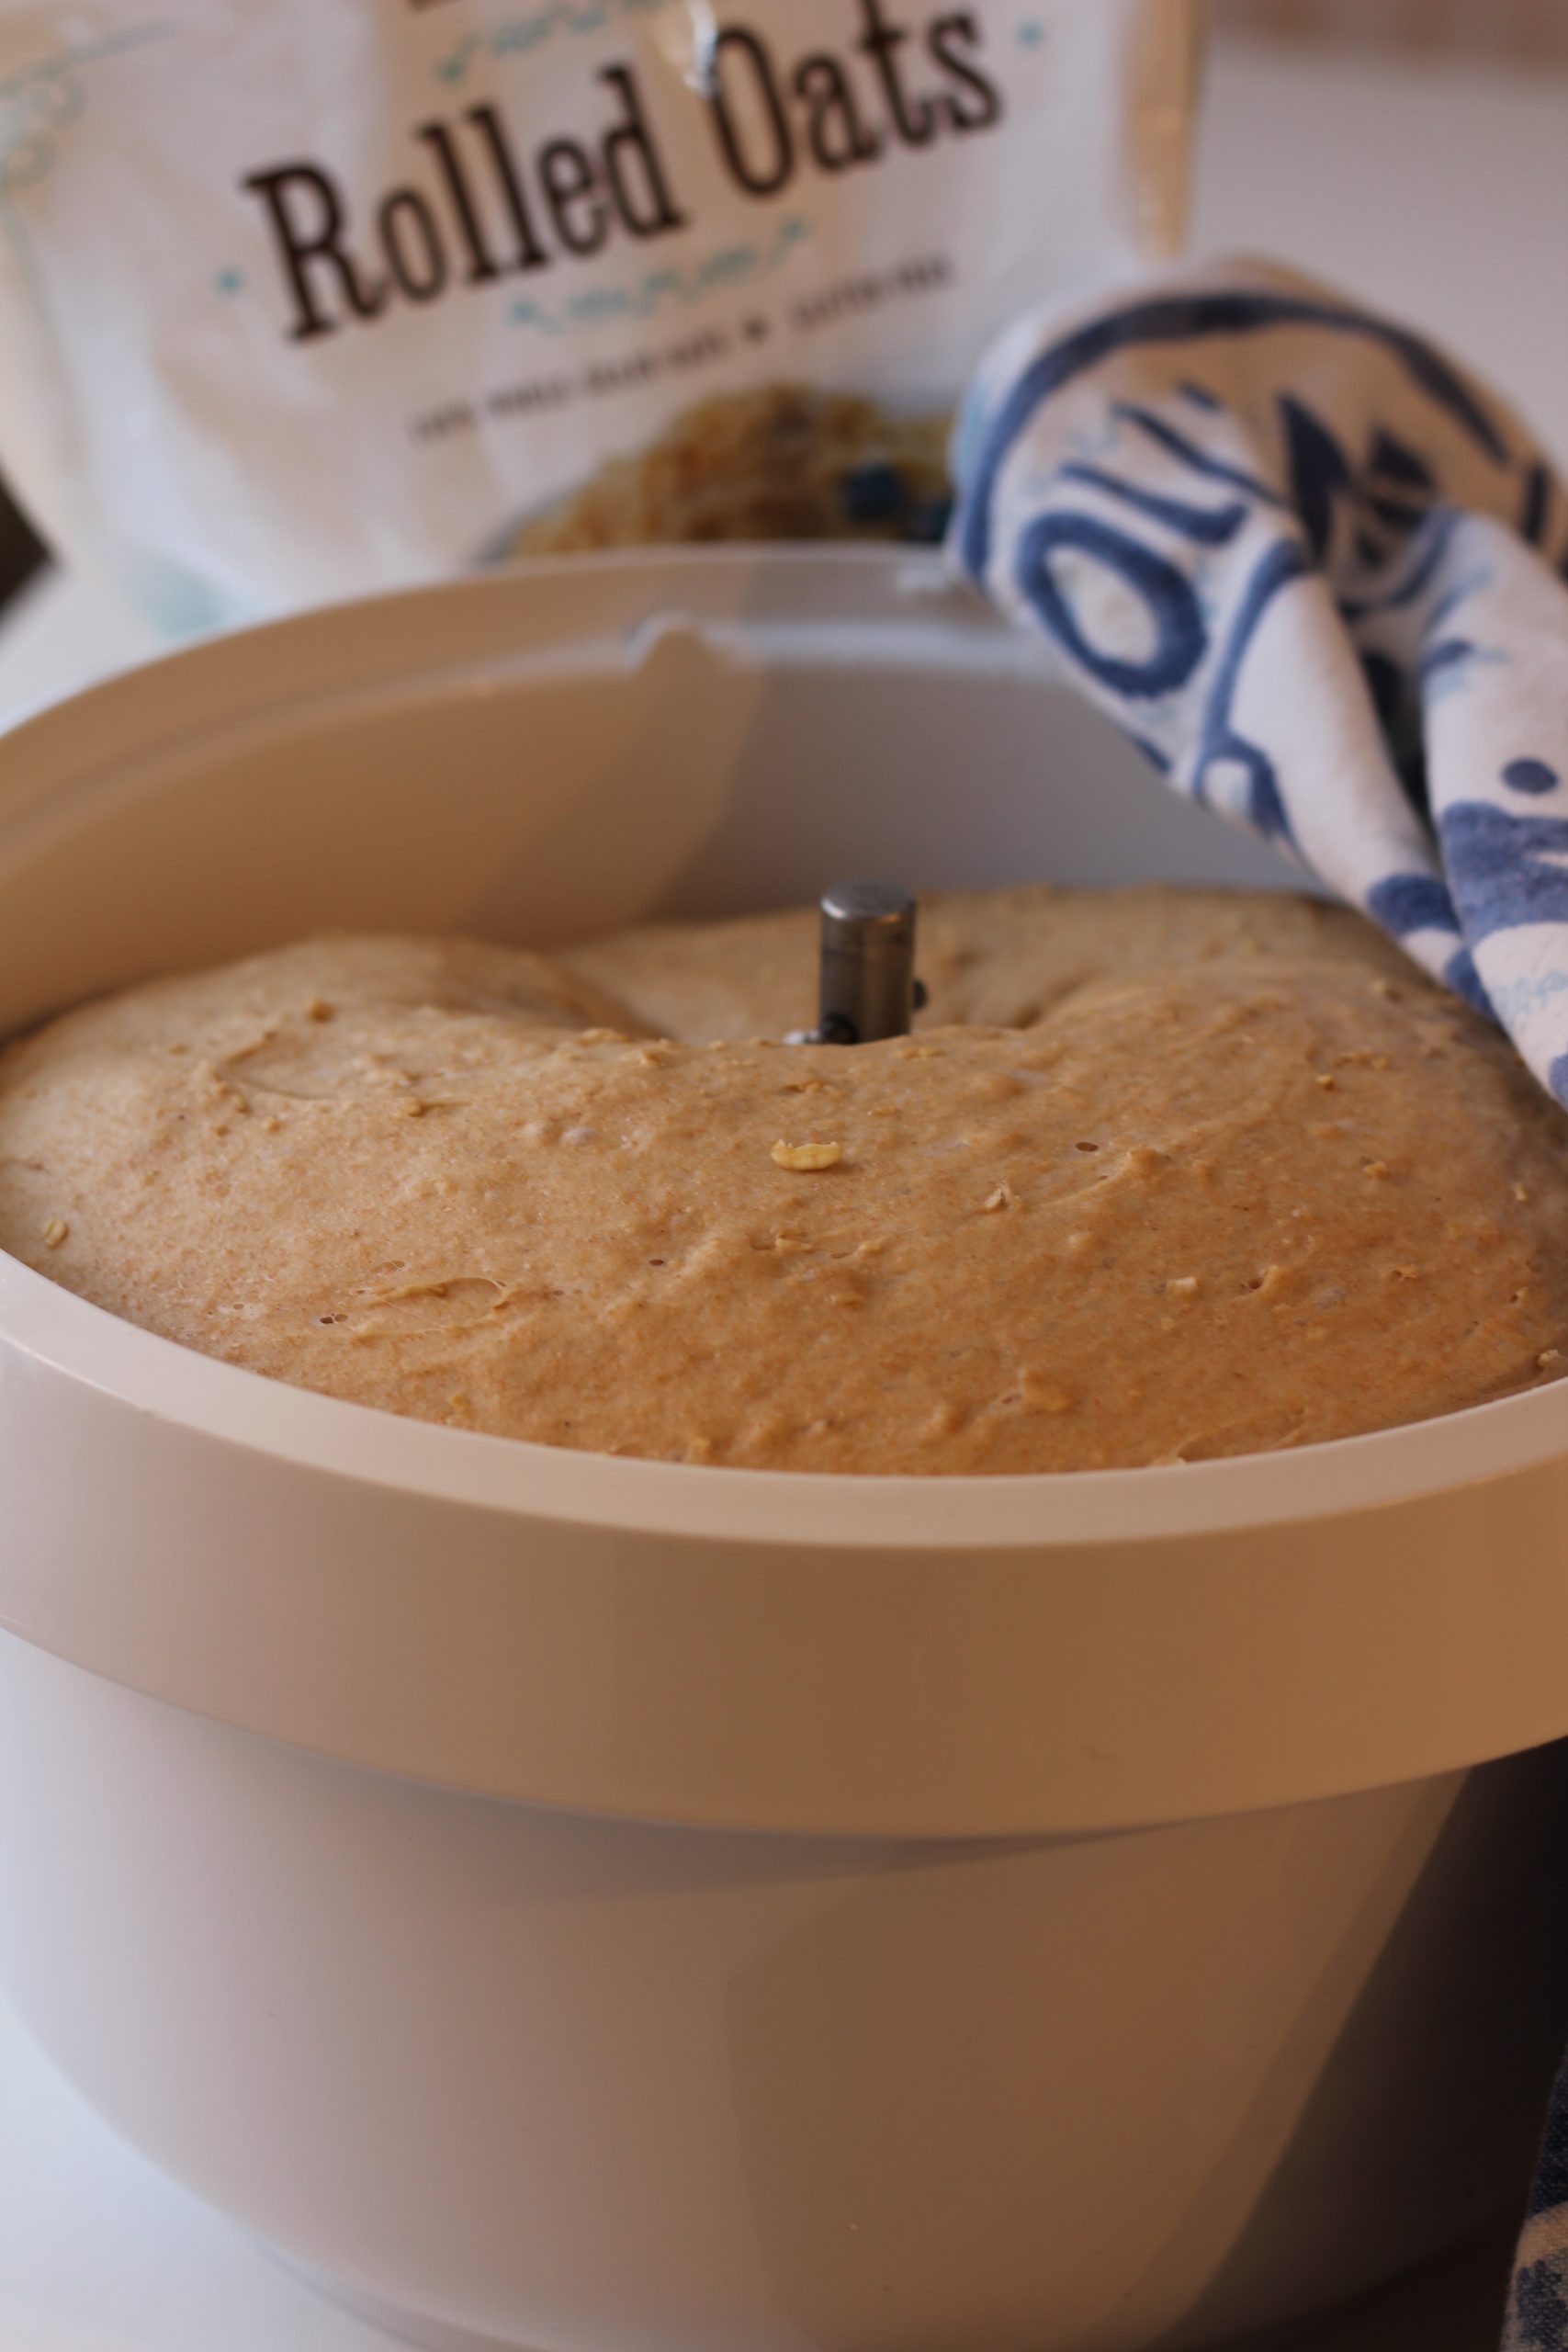
This recipe works best with a stand mixer and you will need to use the dough hook. My mixer https://www.boschmixers.com/product/bosch-universal-plus-mixer/ is Bosch, but any mixer with a dough hook will do.

The focaccia dough mixed and combined and coming away from the sides

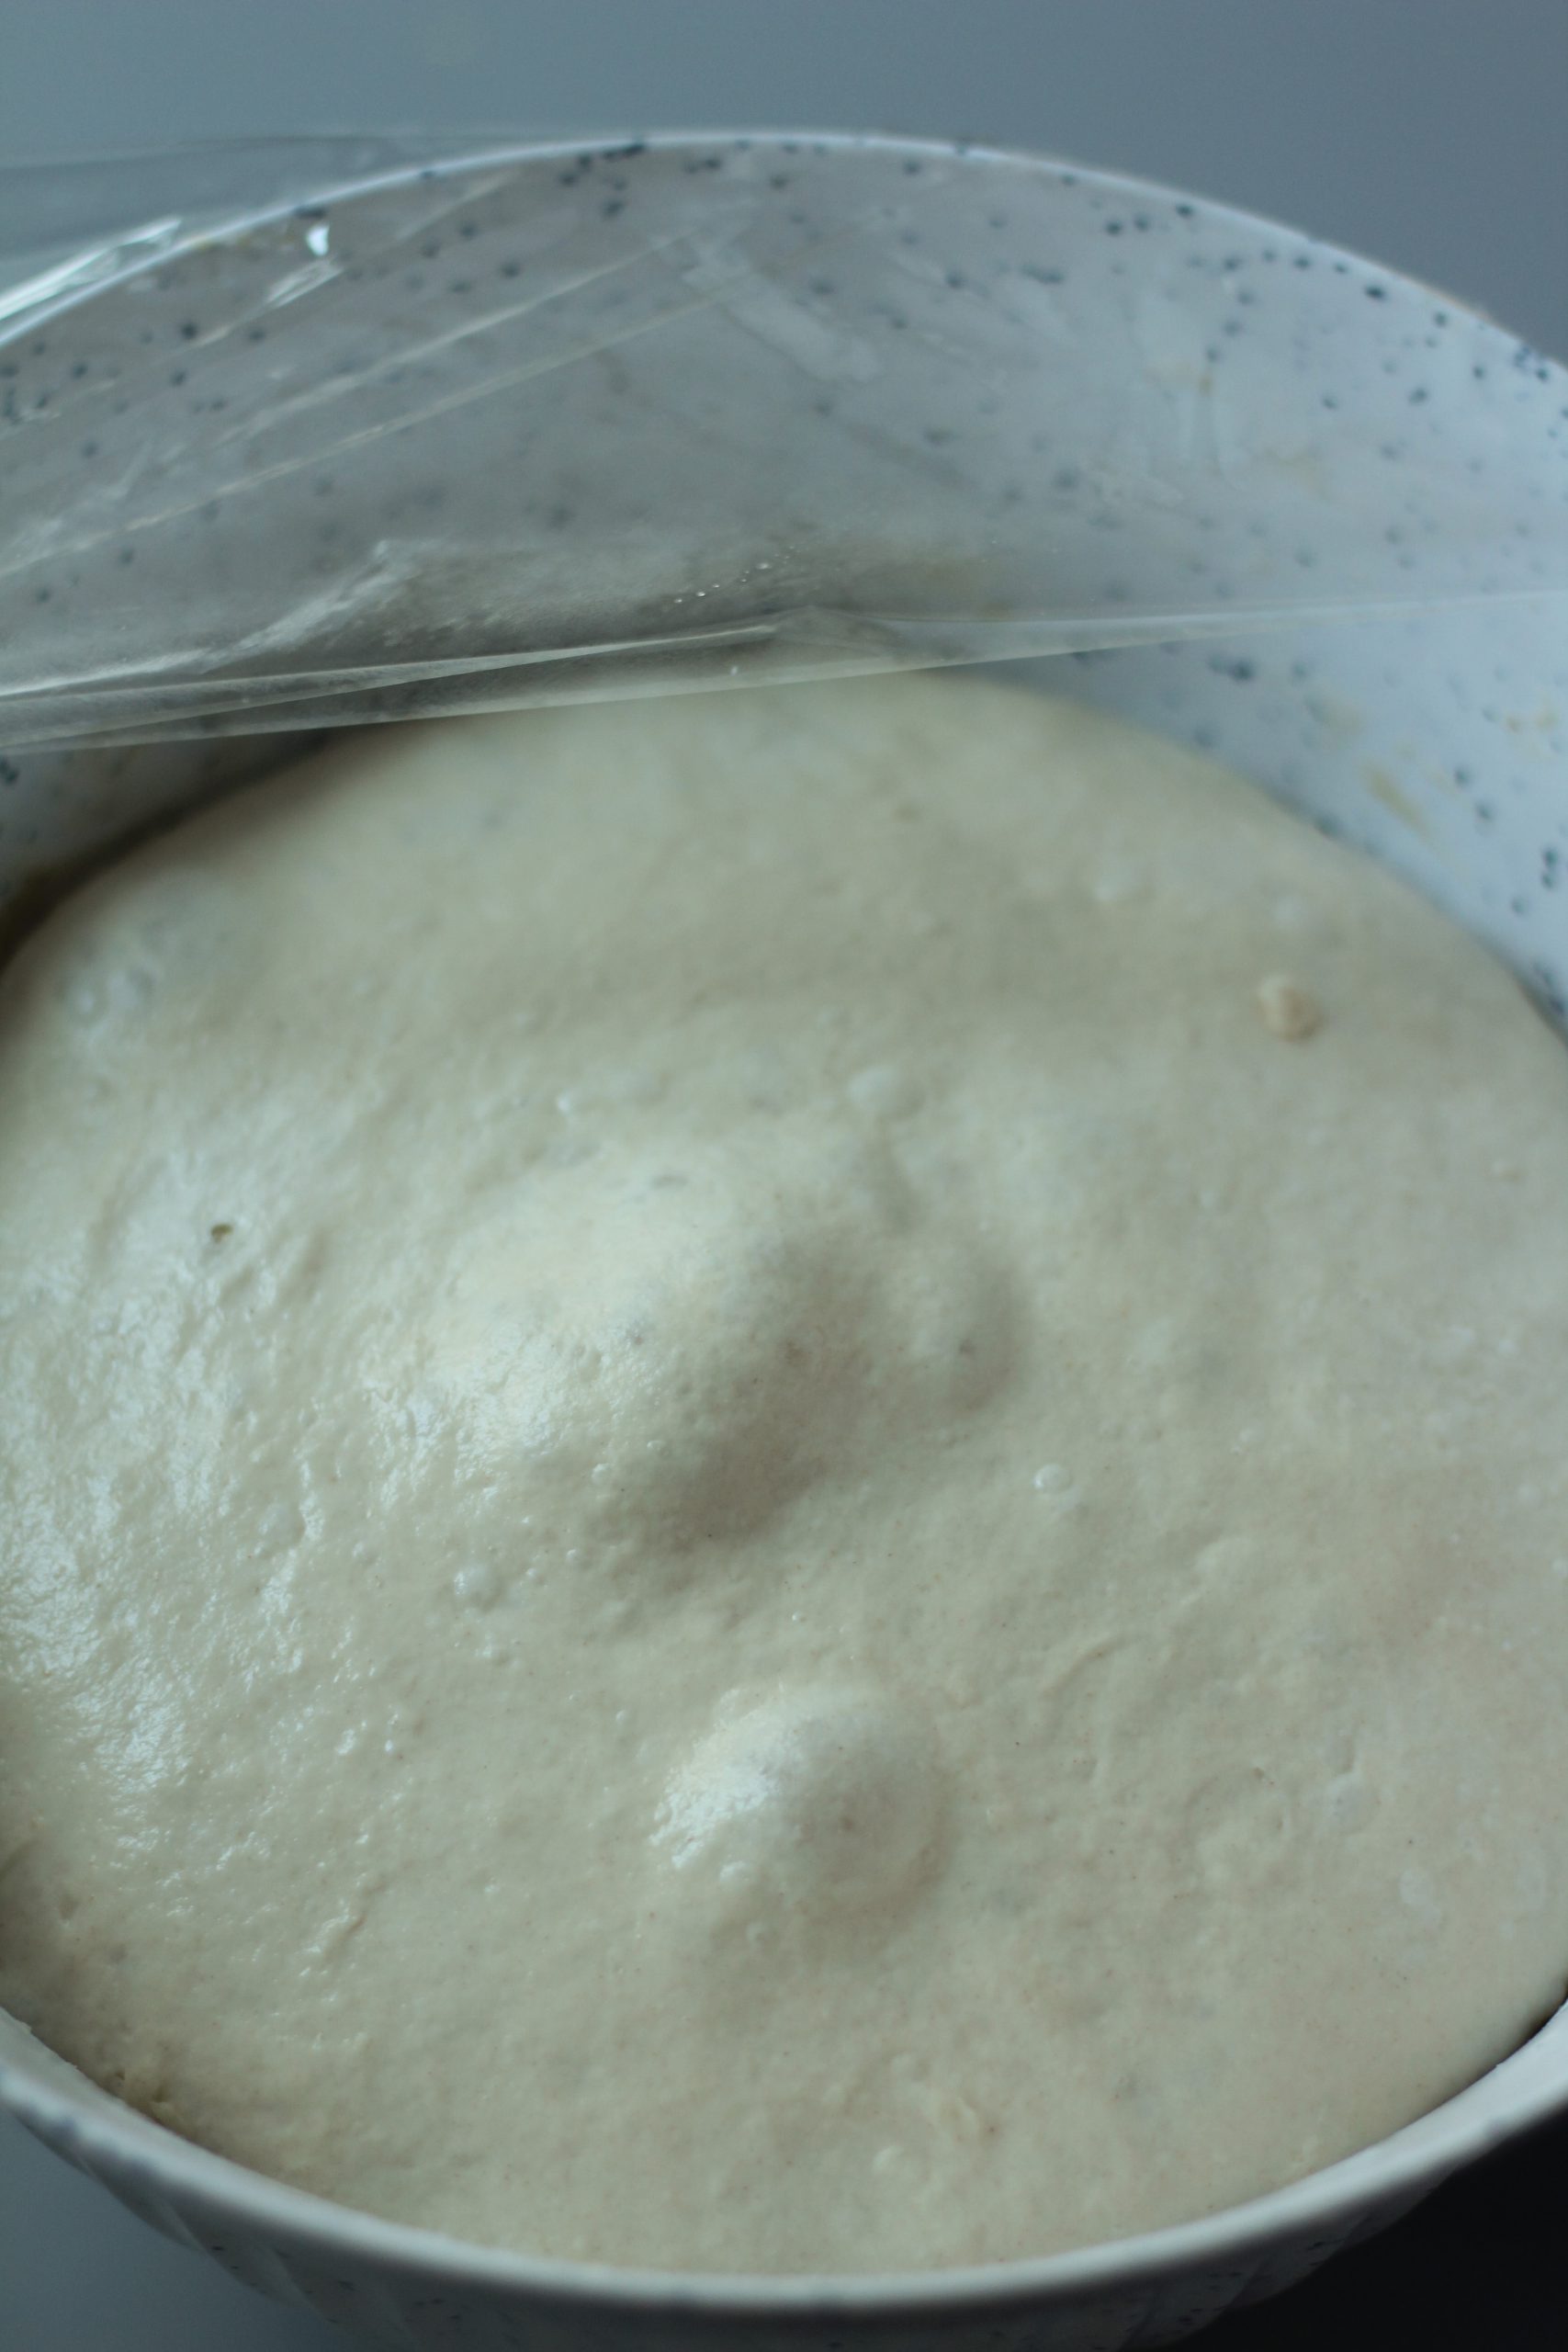
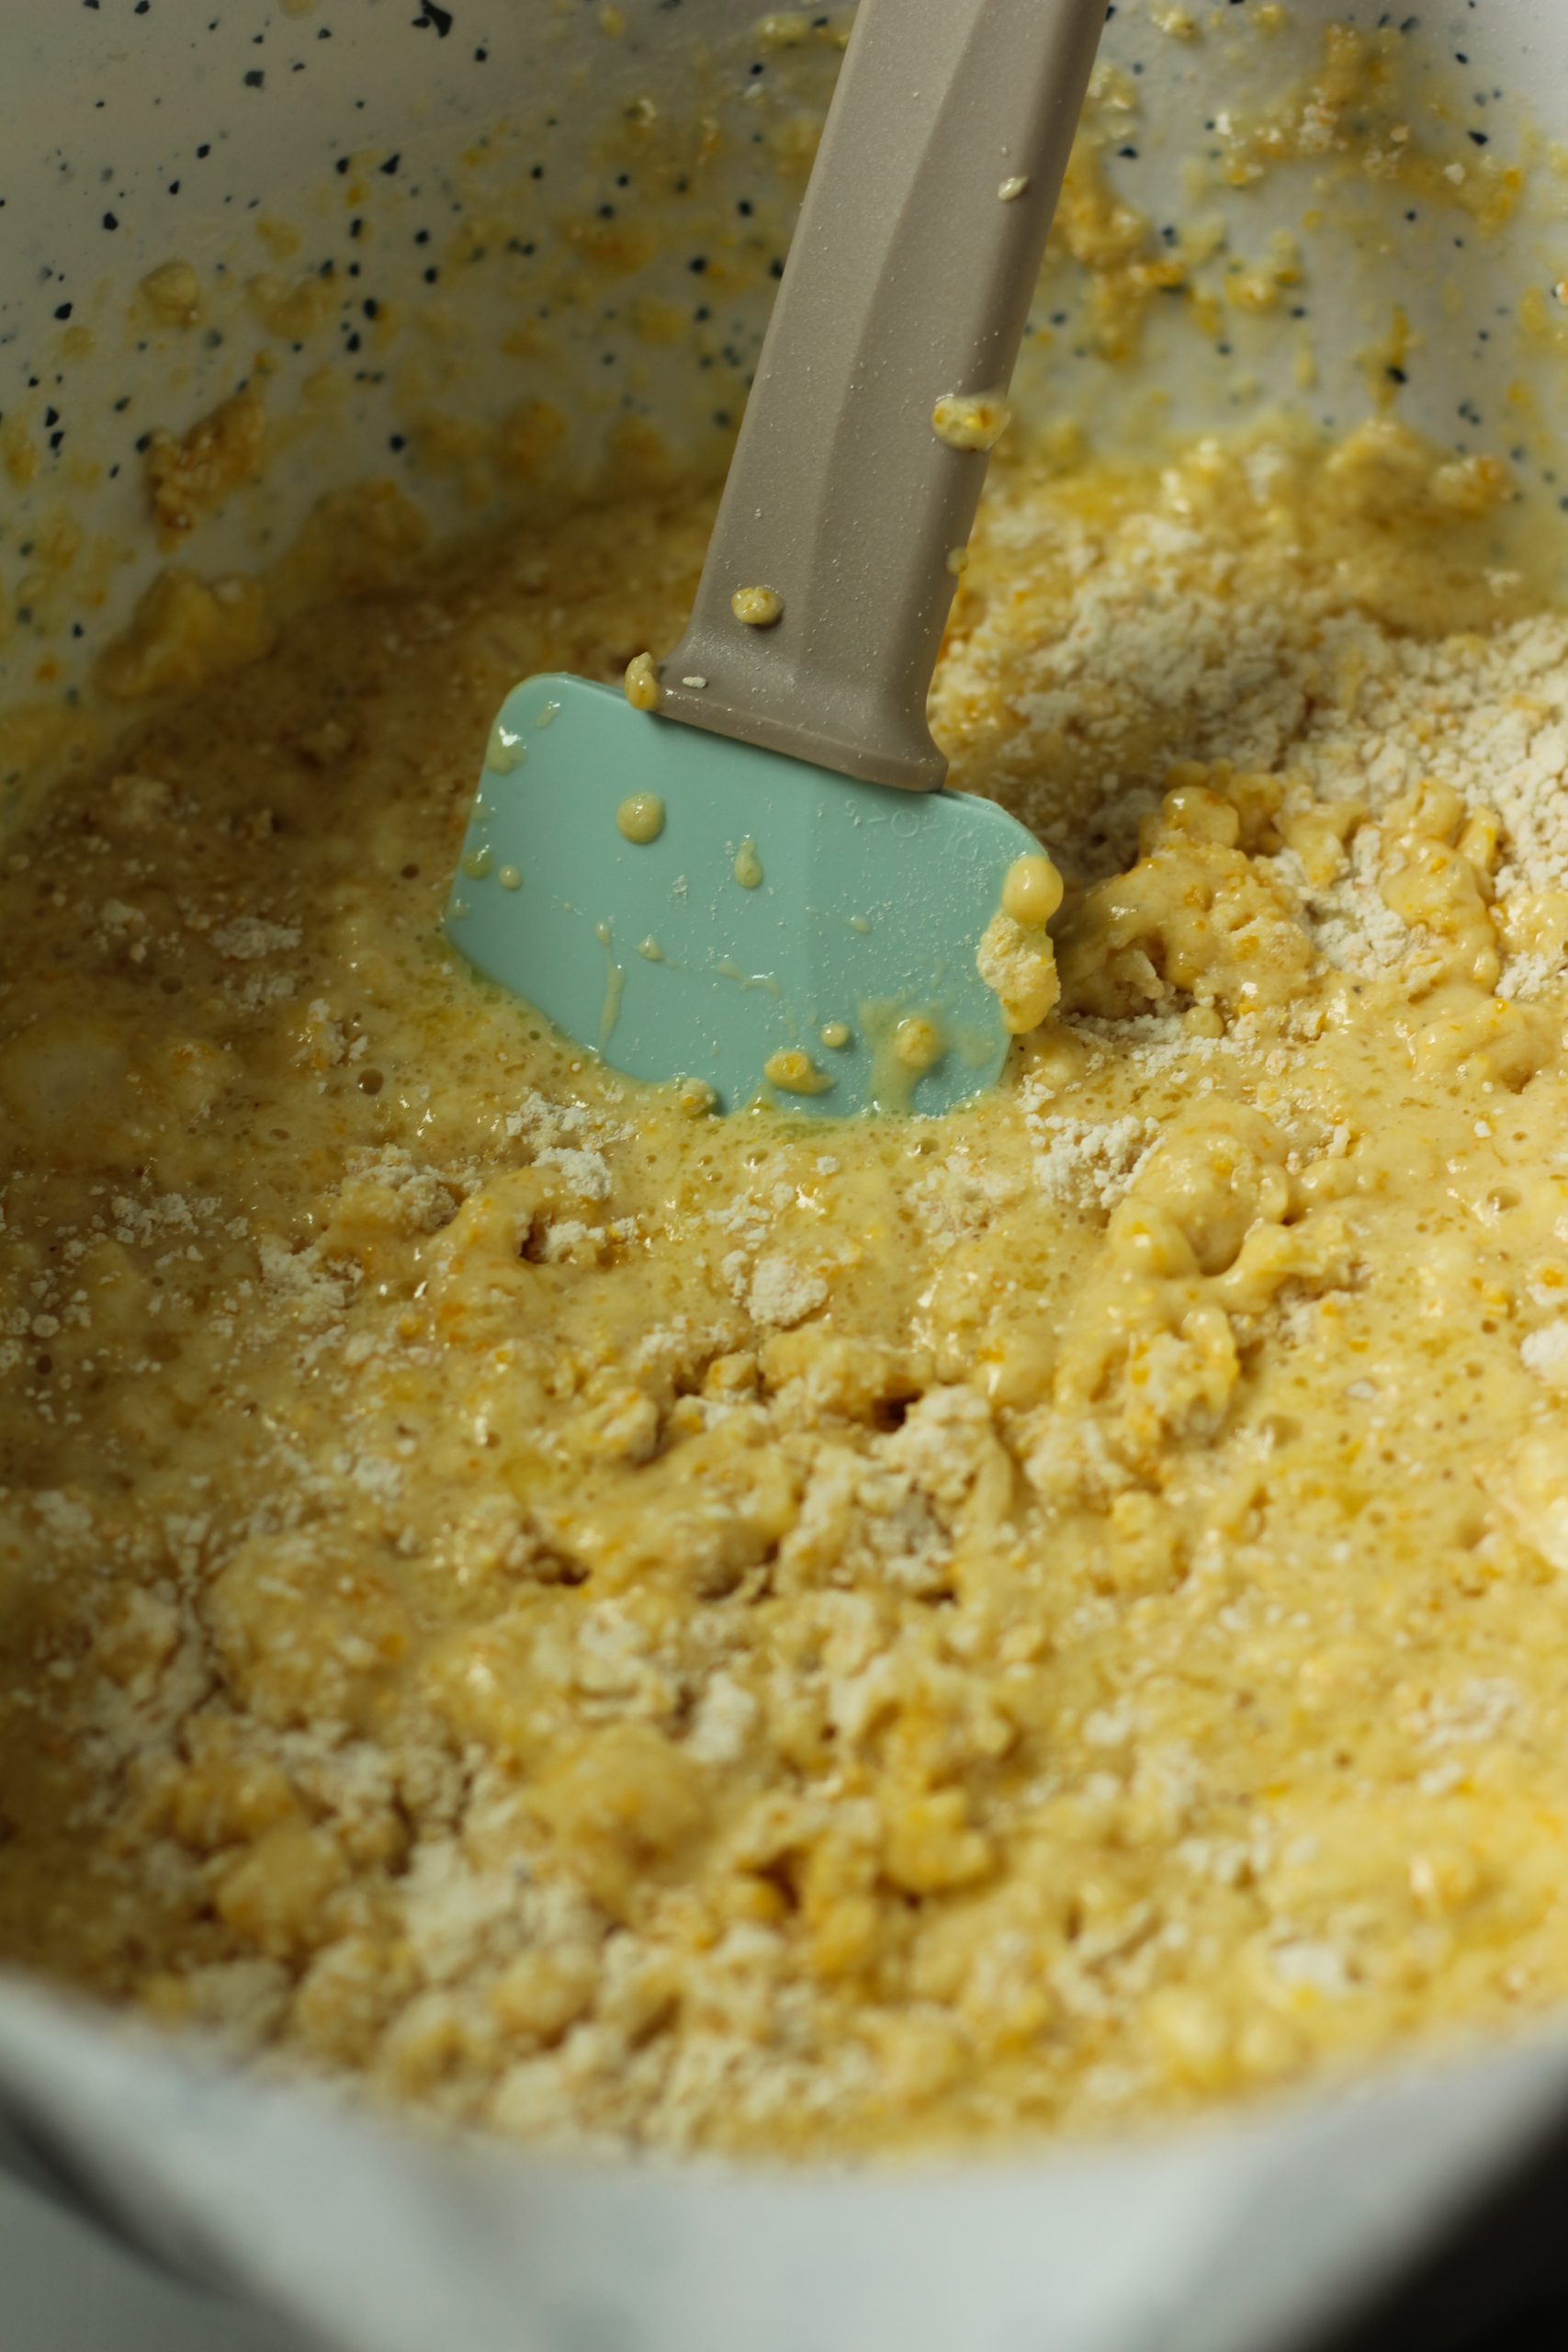
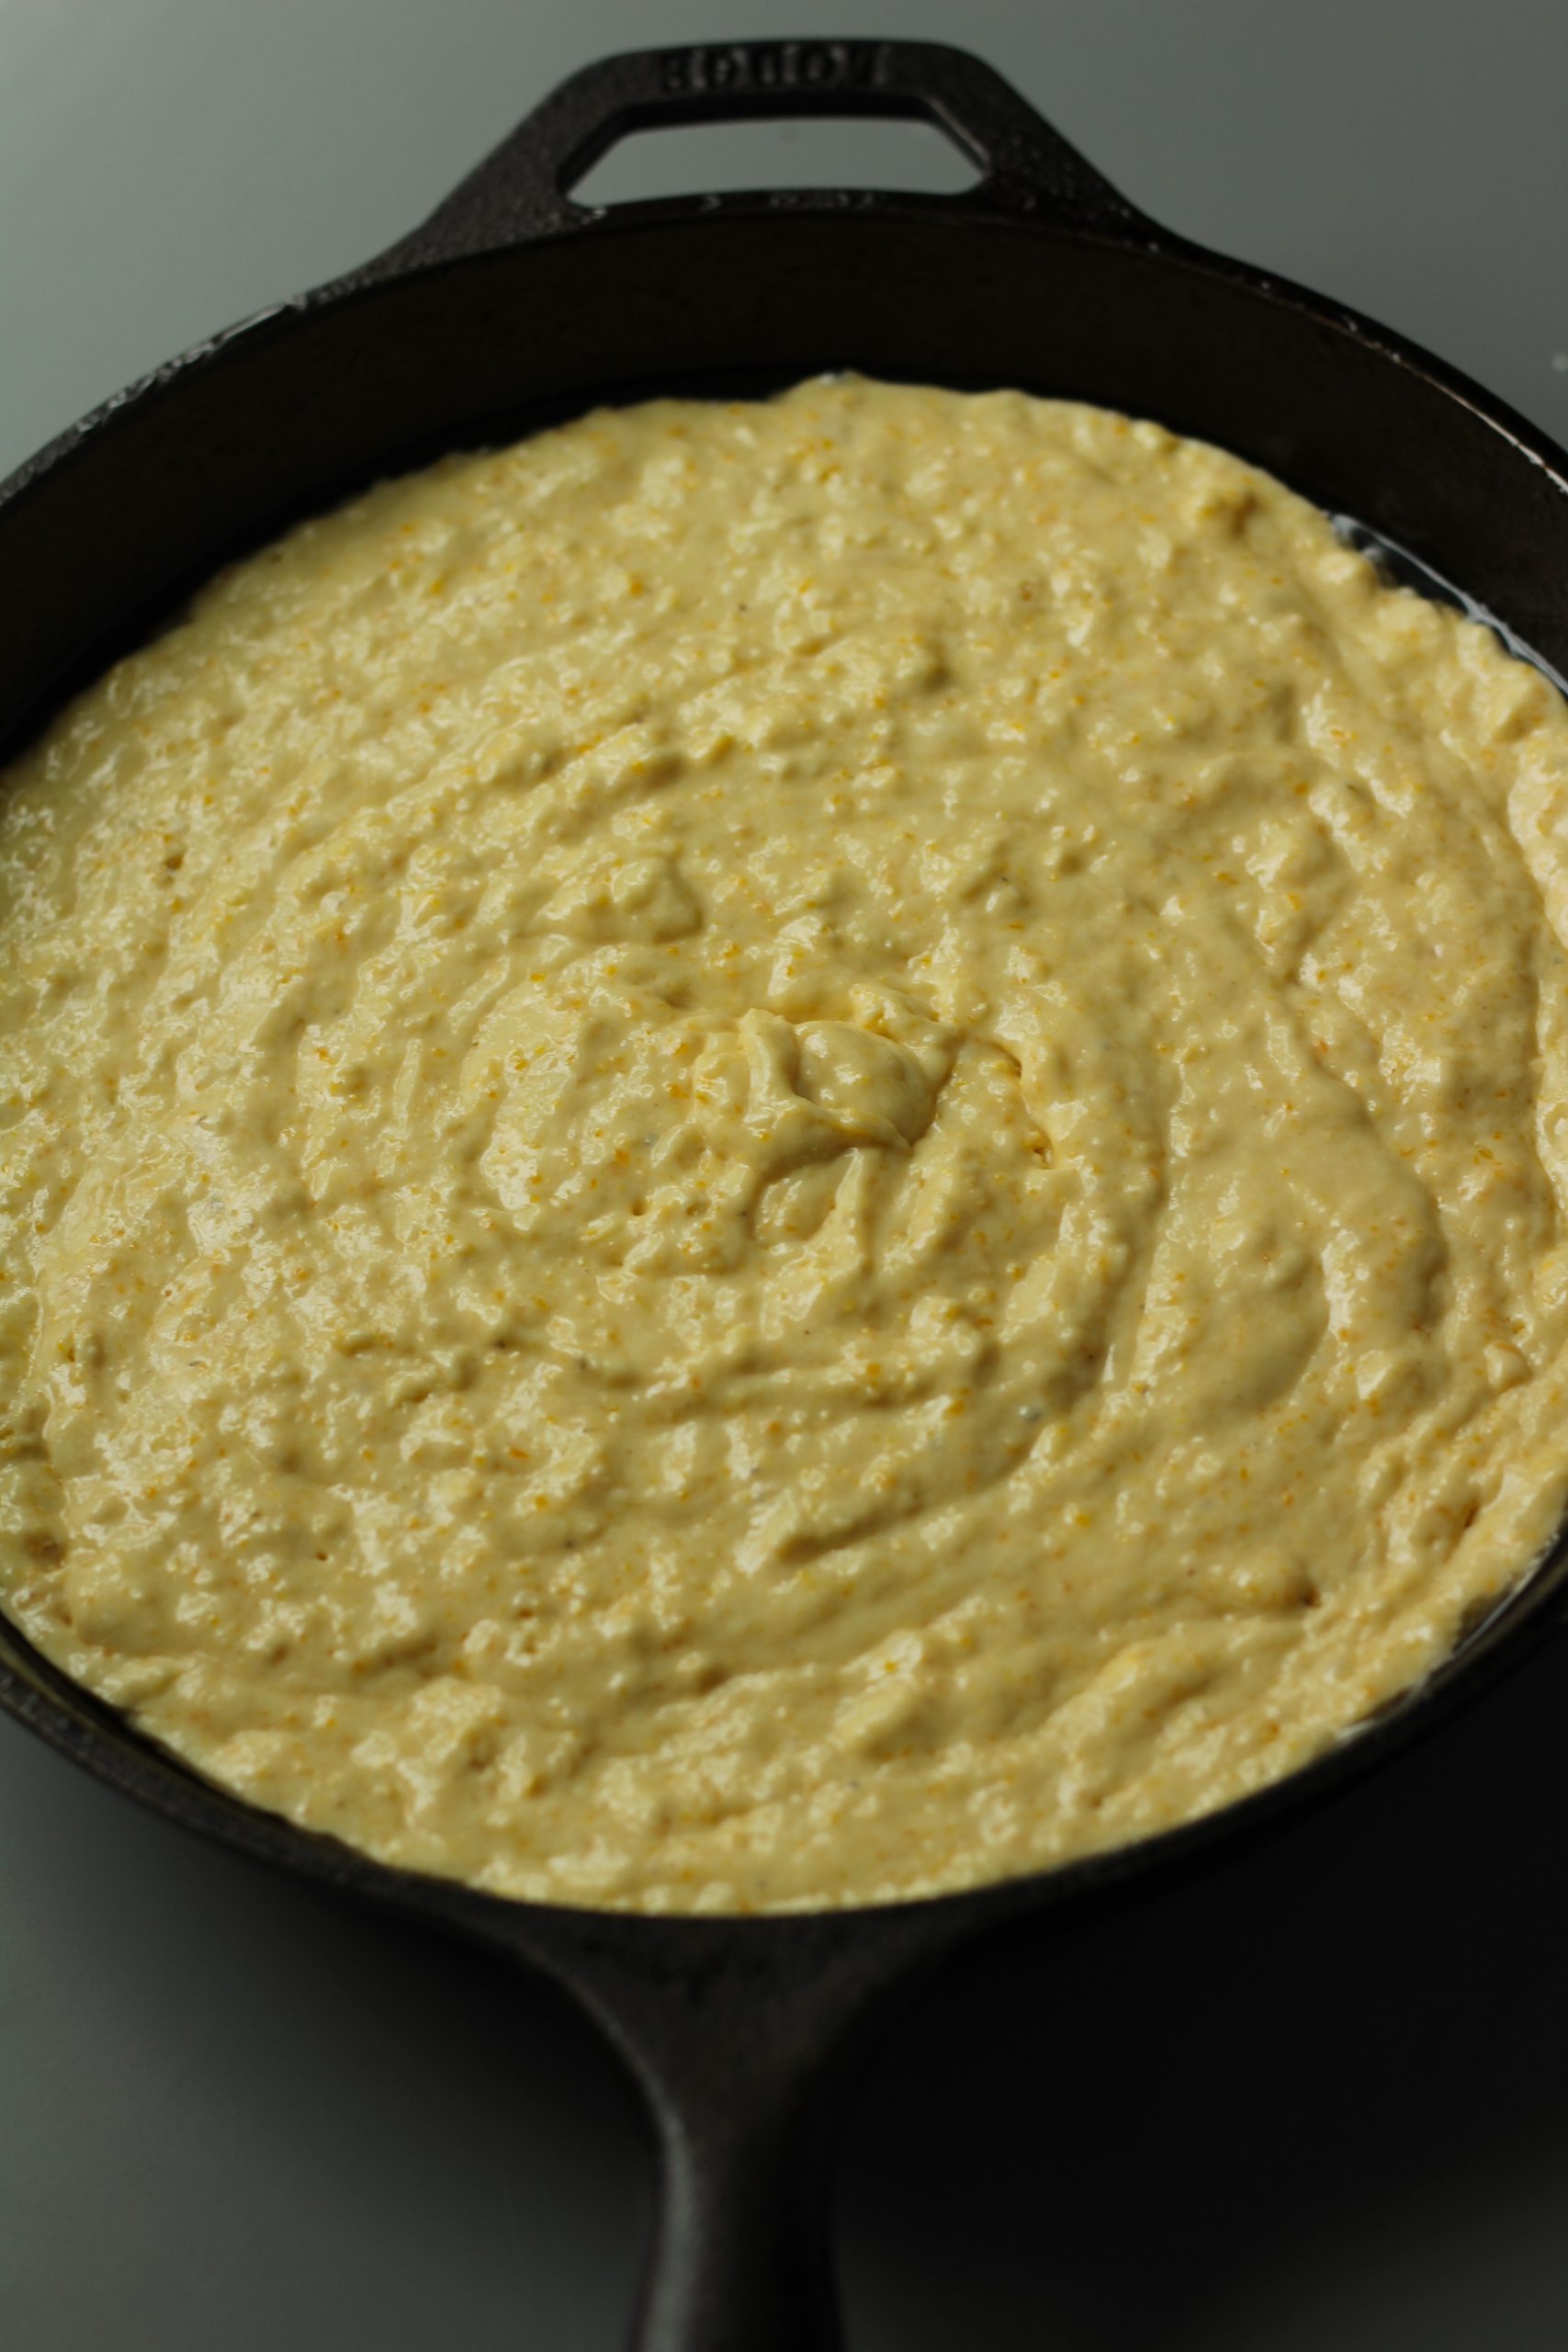
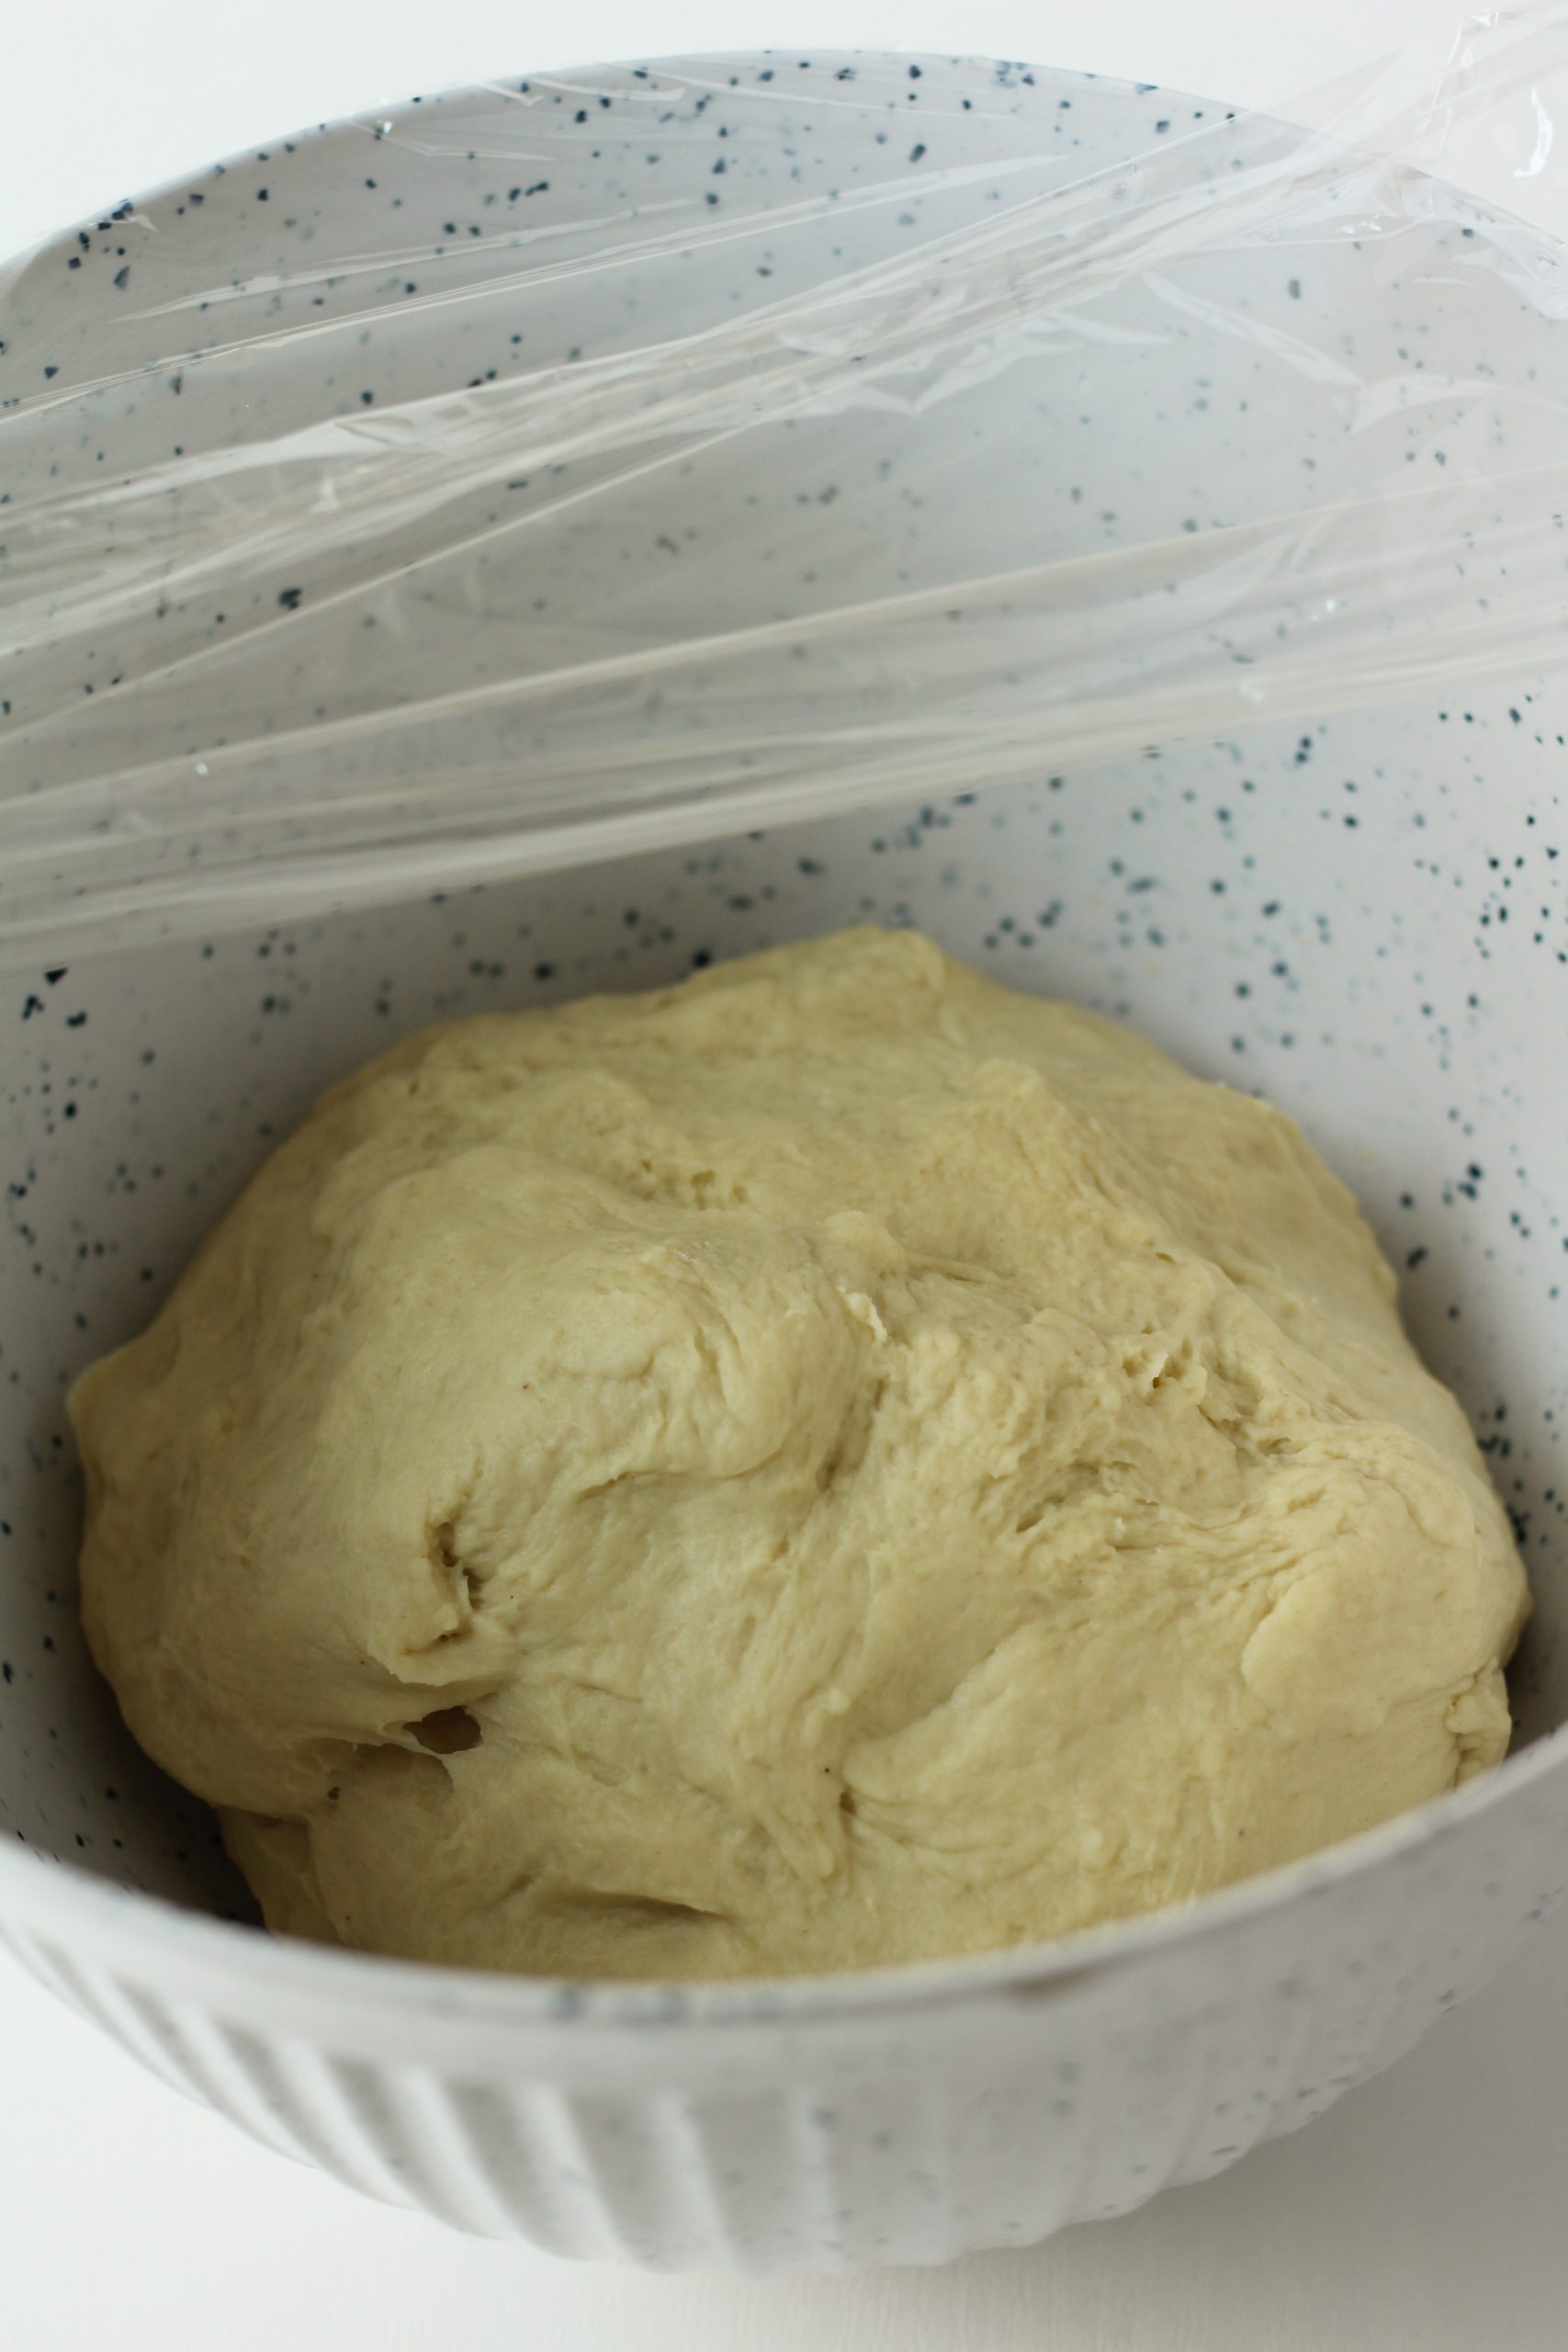
When the dough comes away from the sides and is tacky, but doesn’t stick to your hands, it is ready. Grease a bowl with olive oil, and let it rest until it is doubled in size.

Focaccia dough before first rise
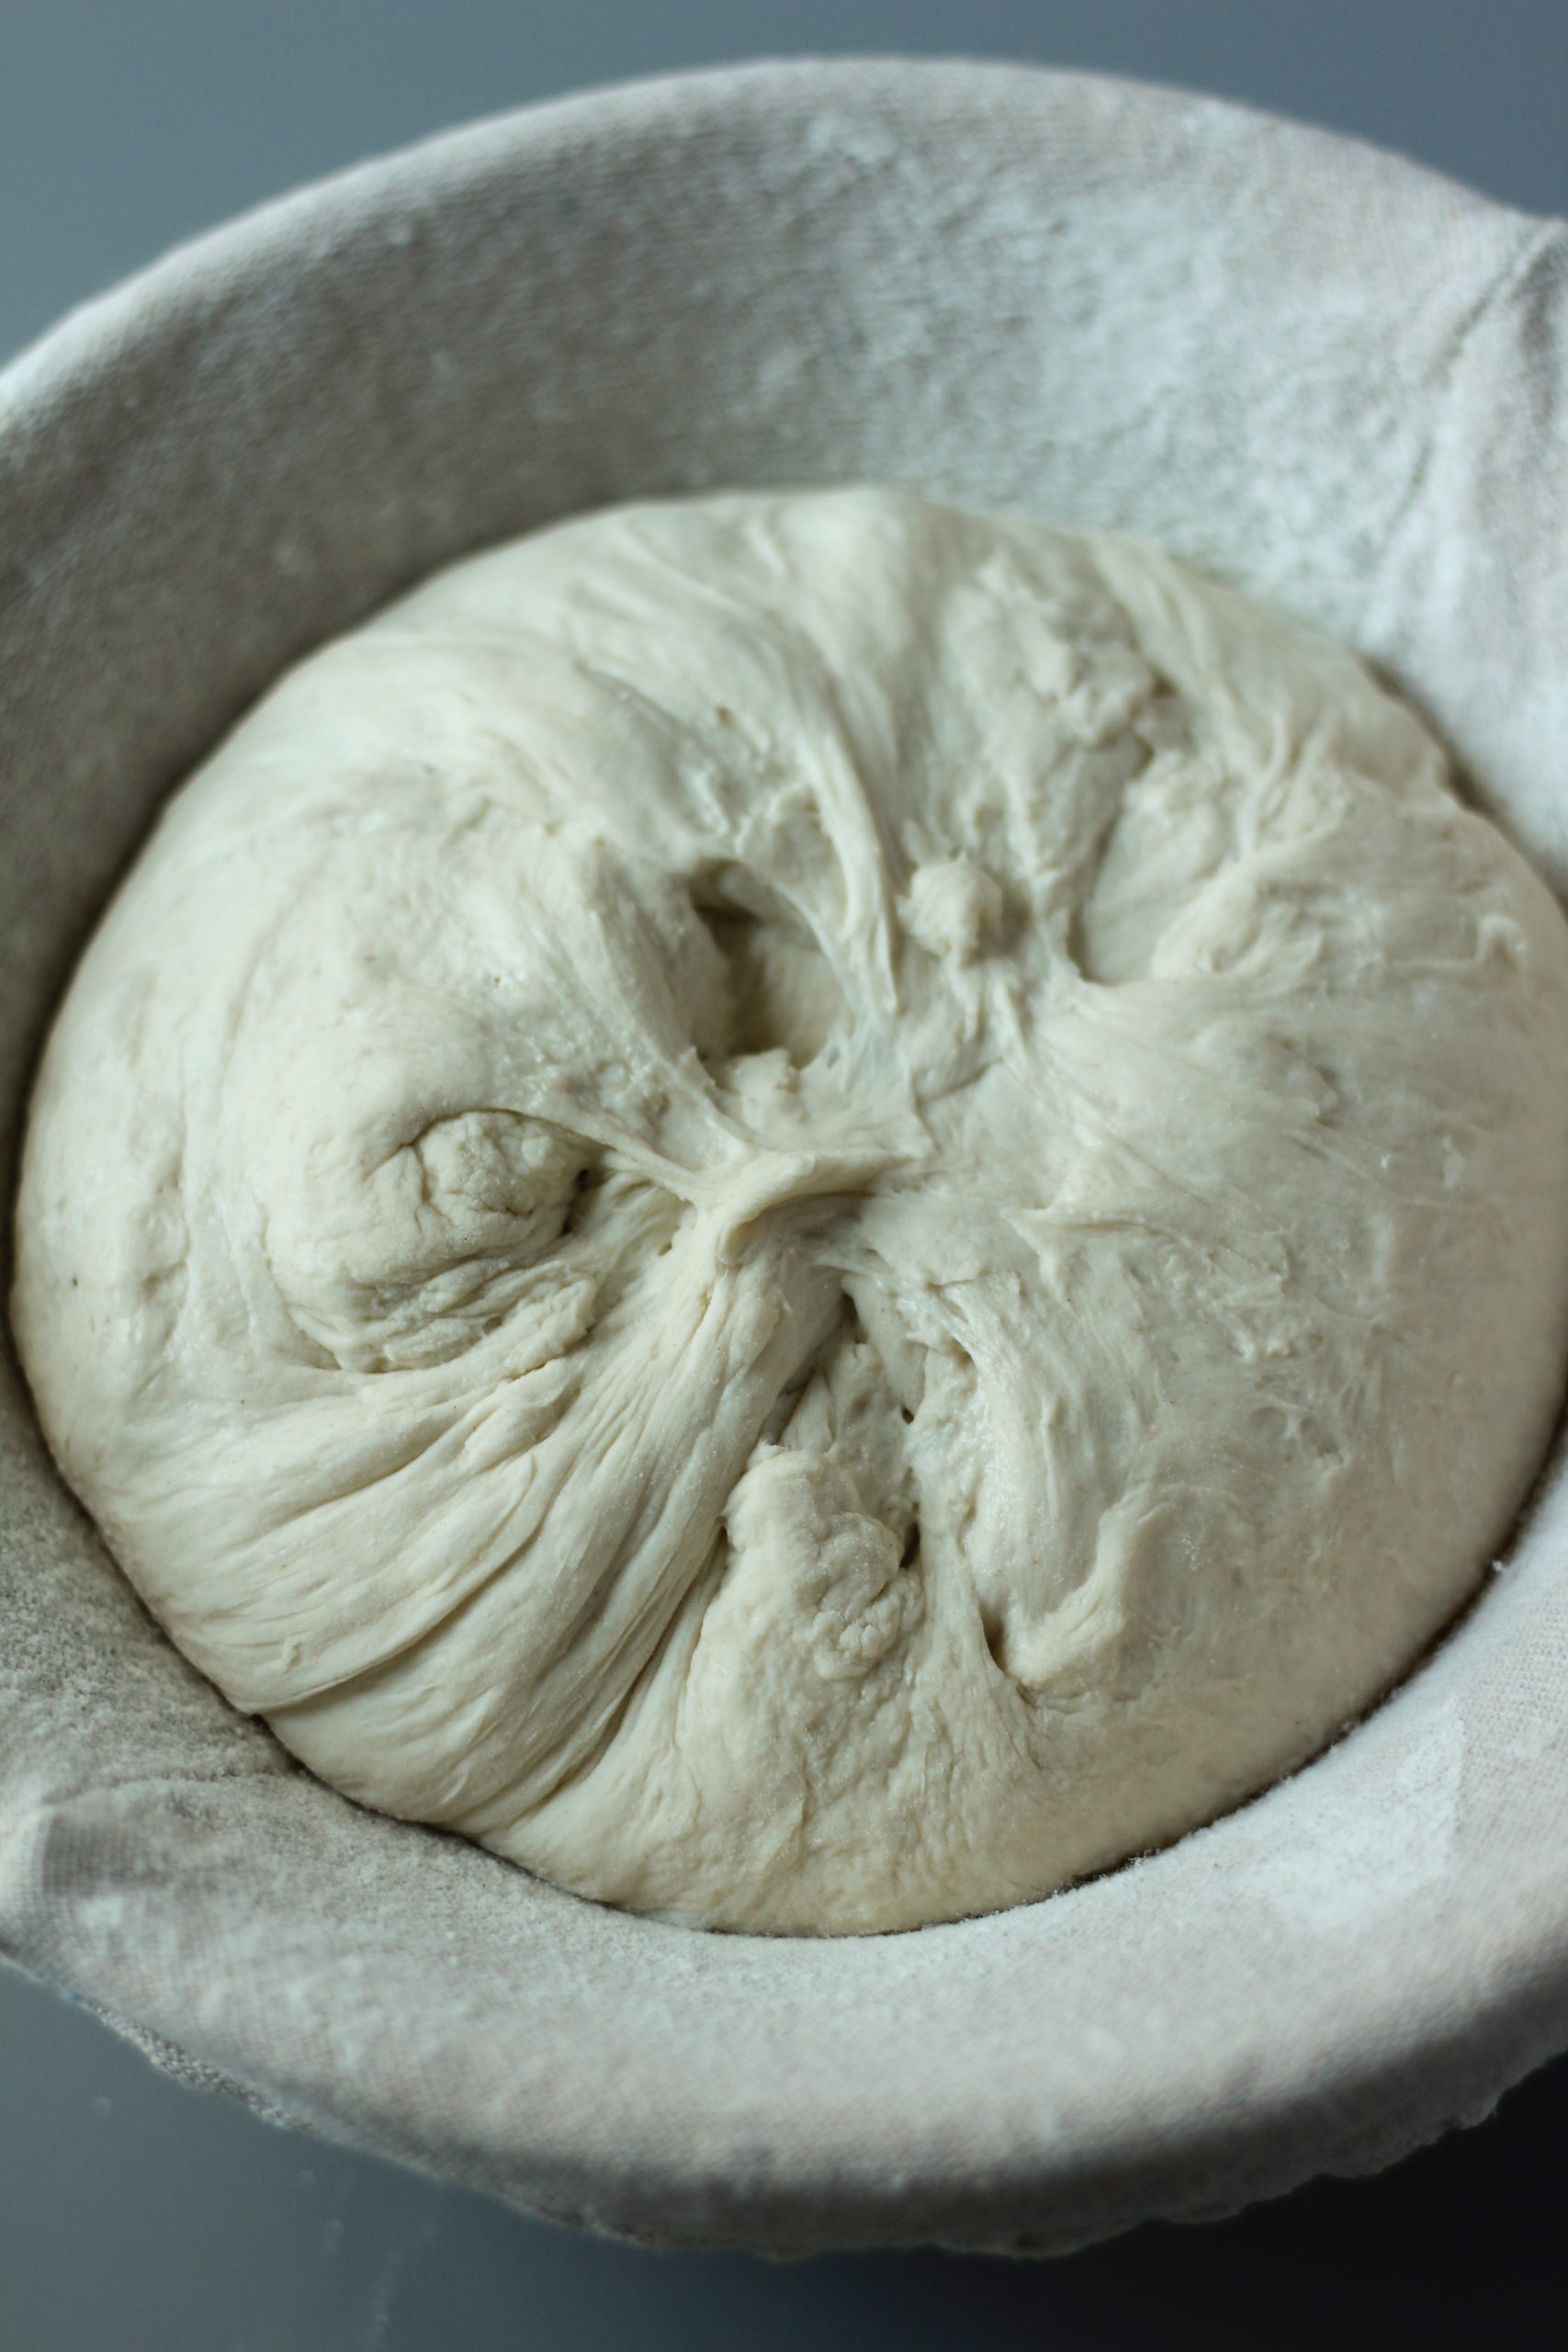
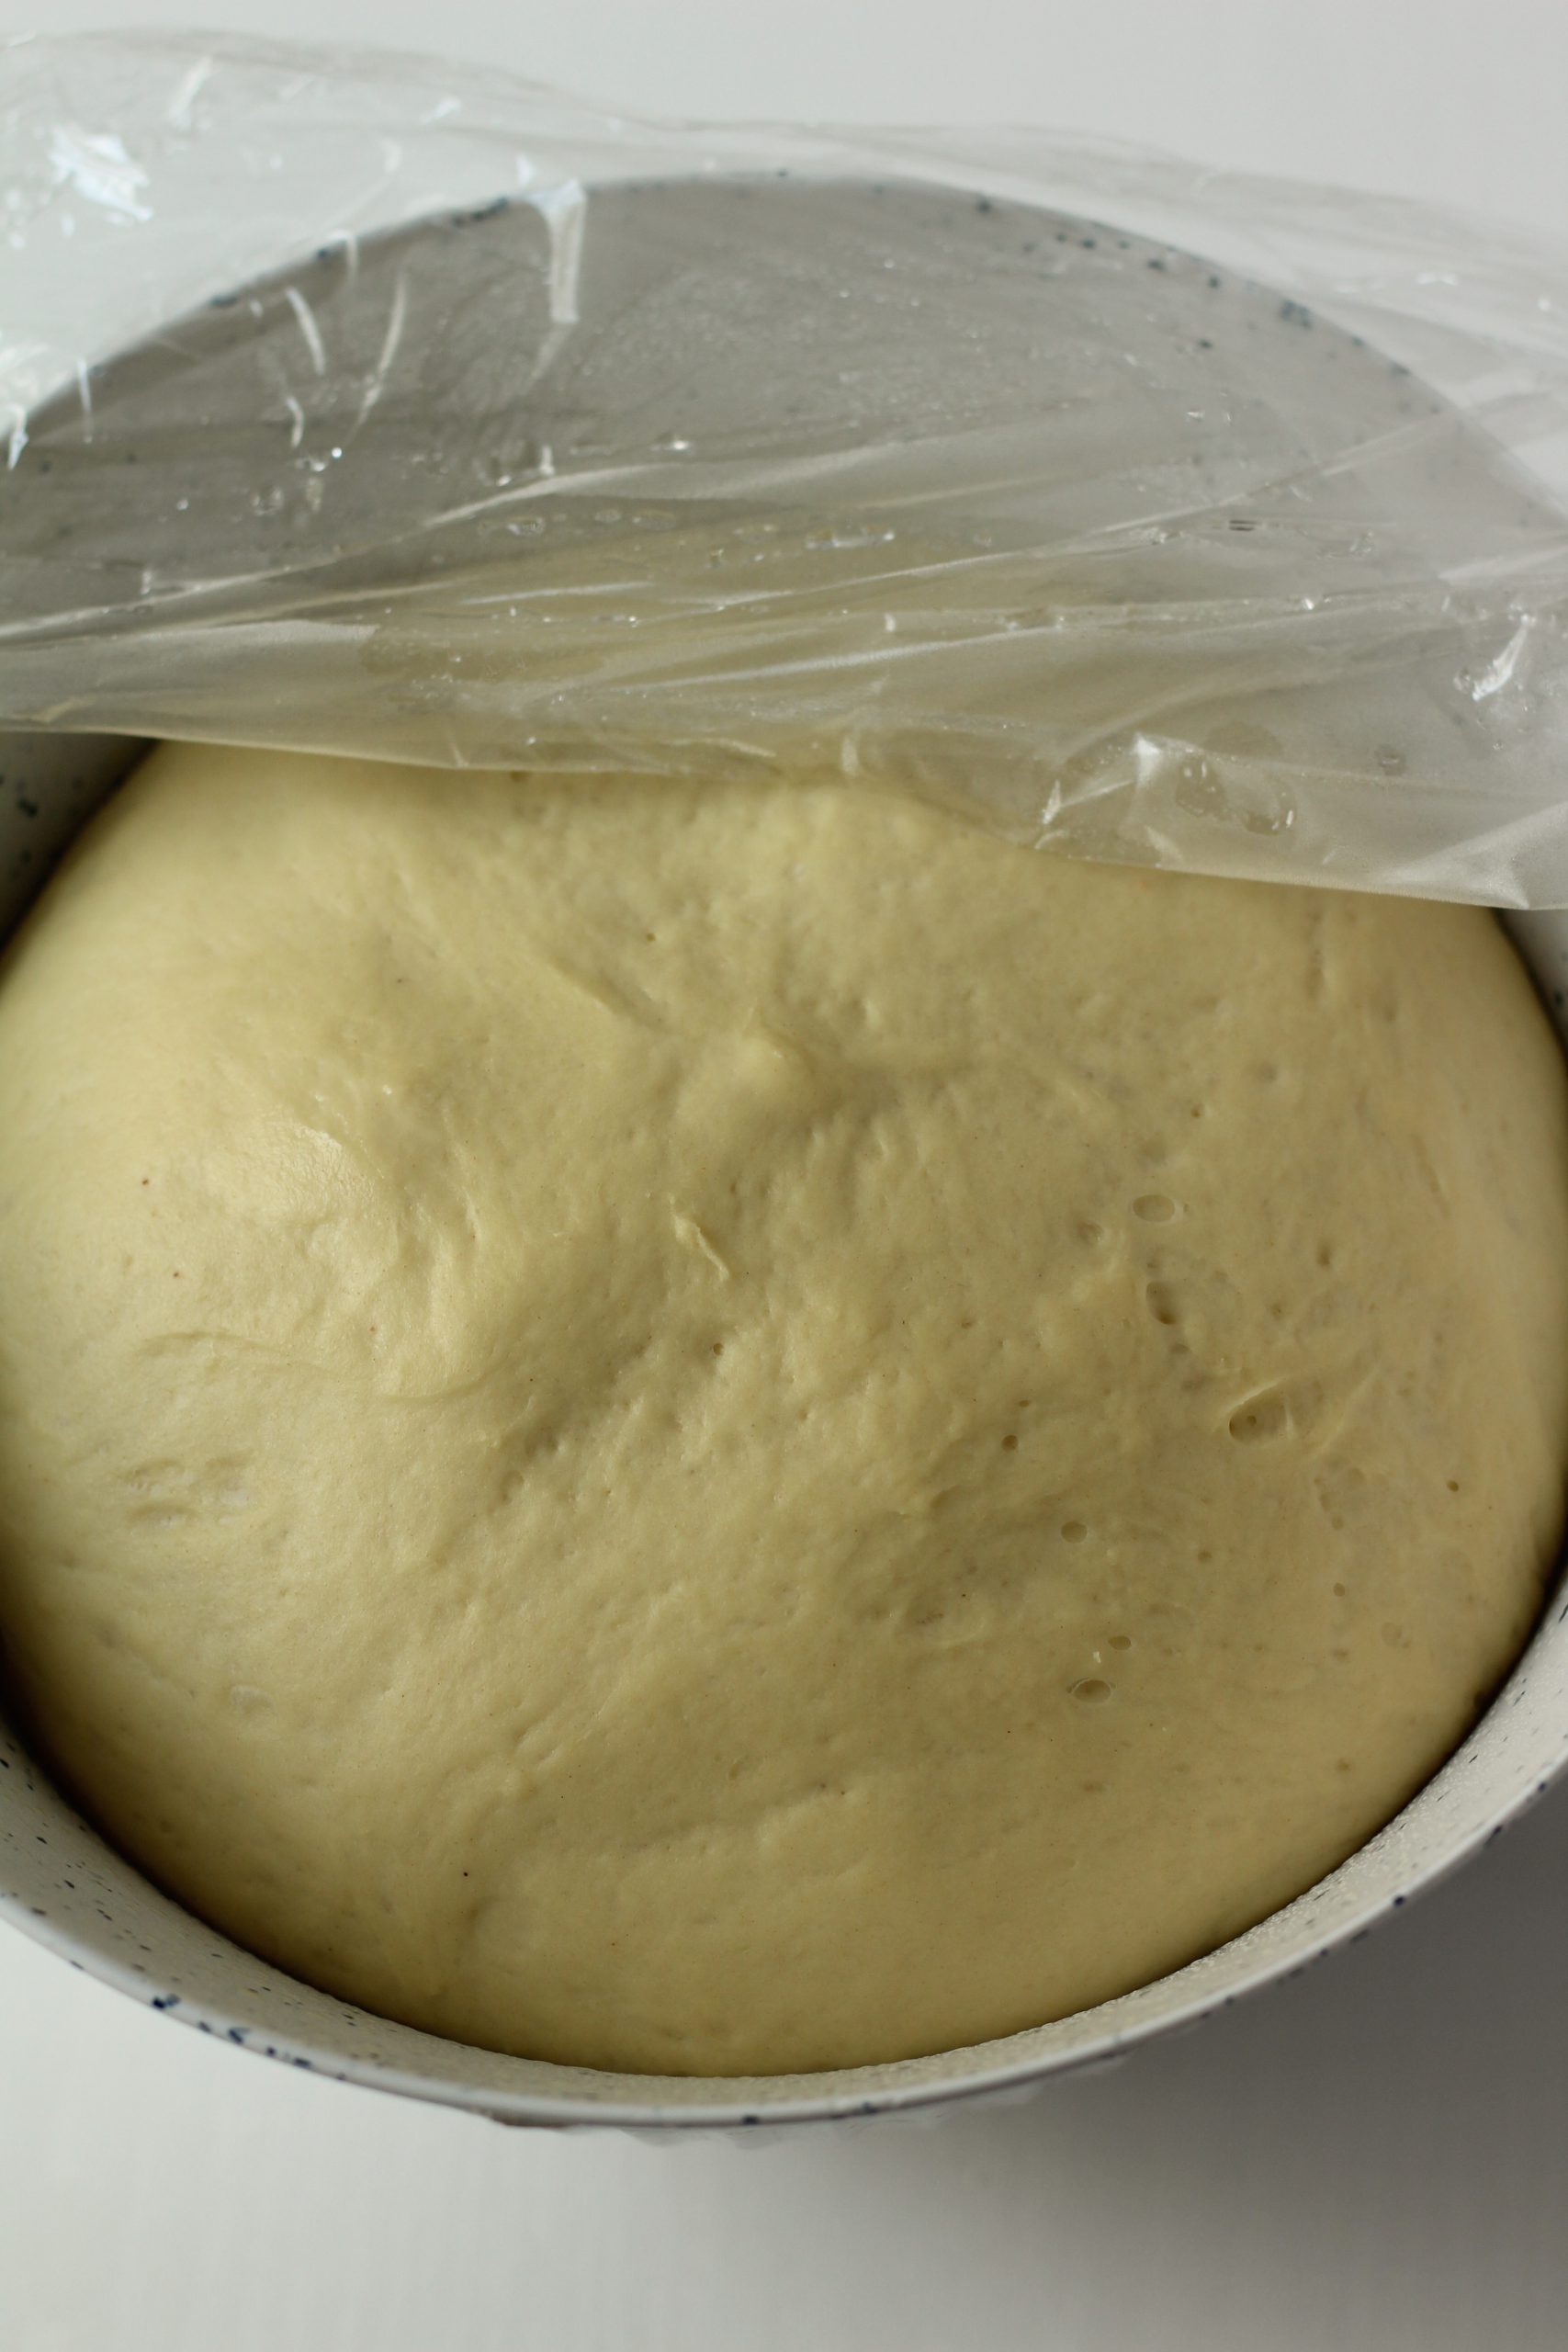
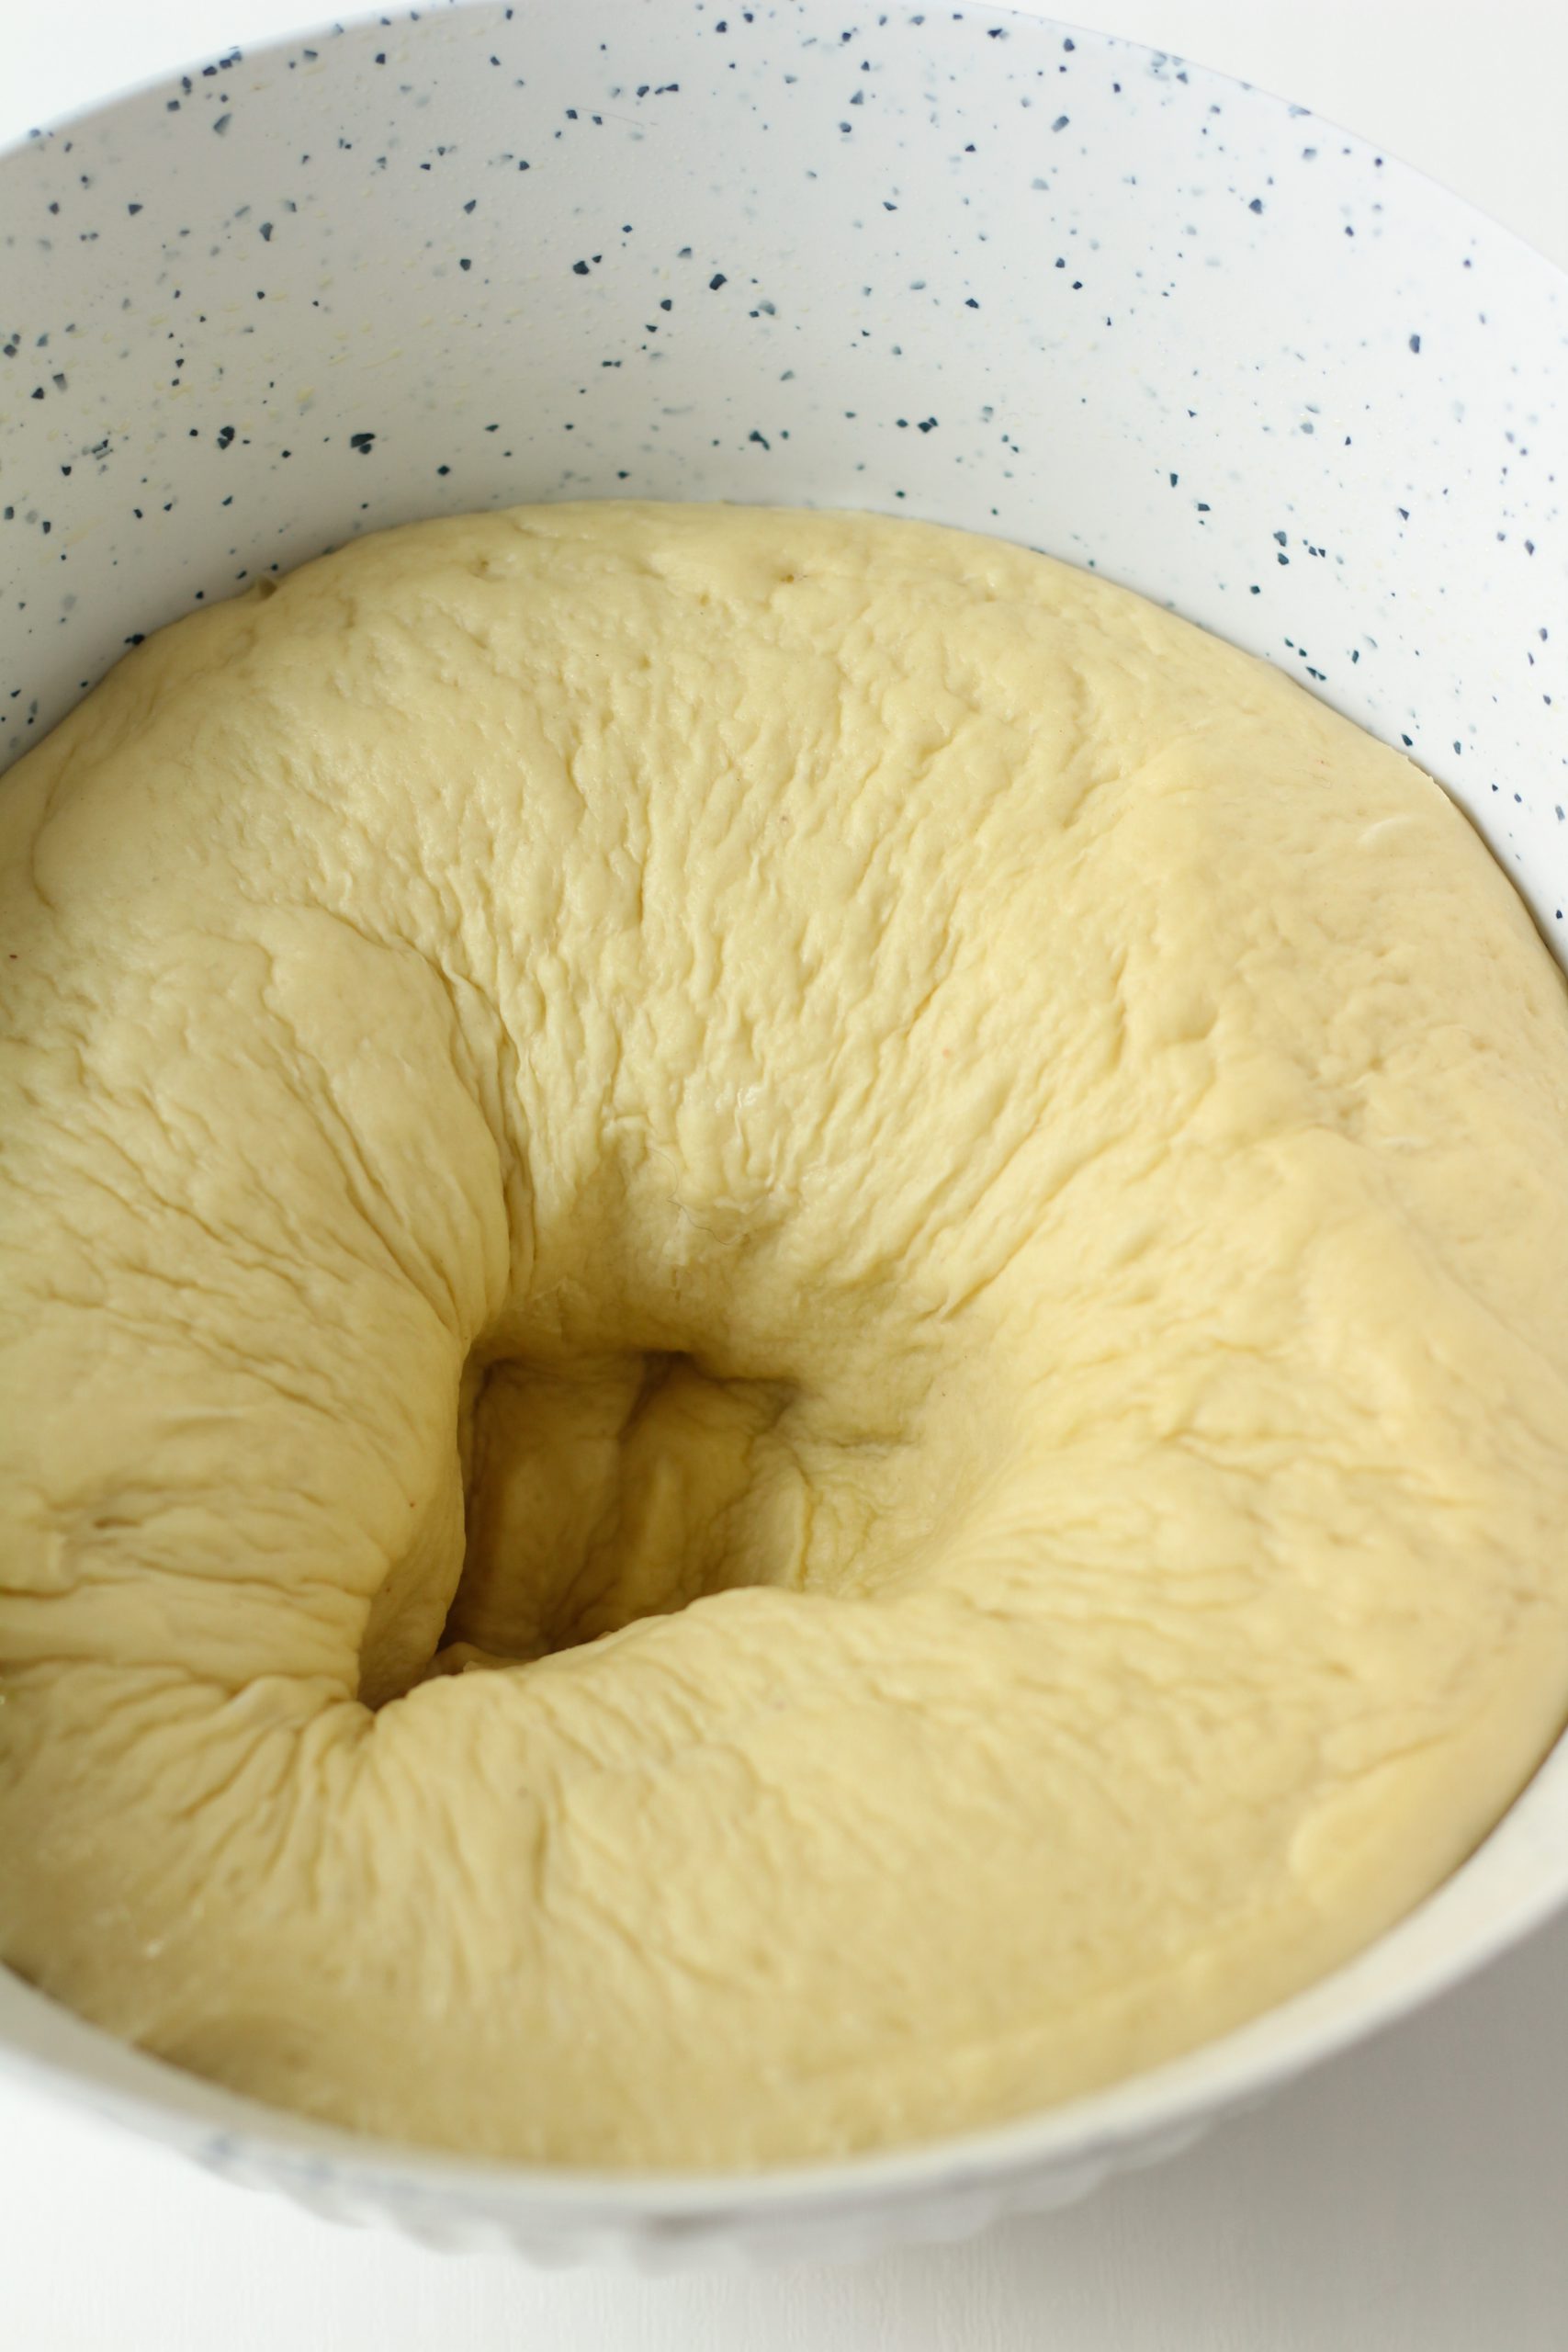
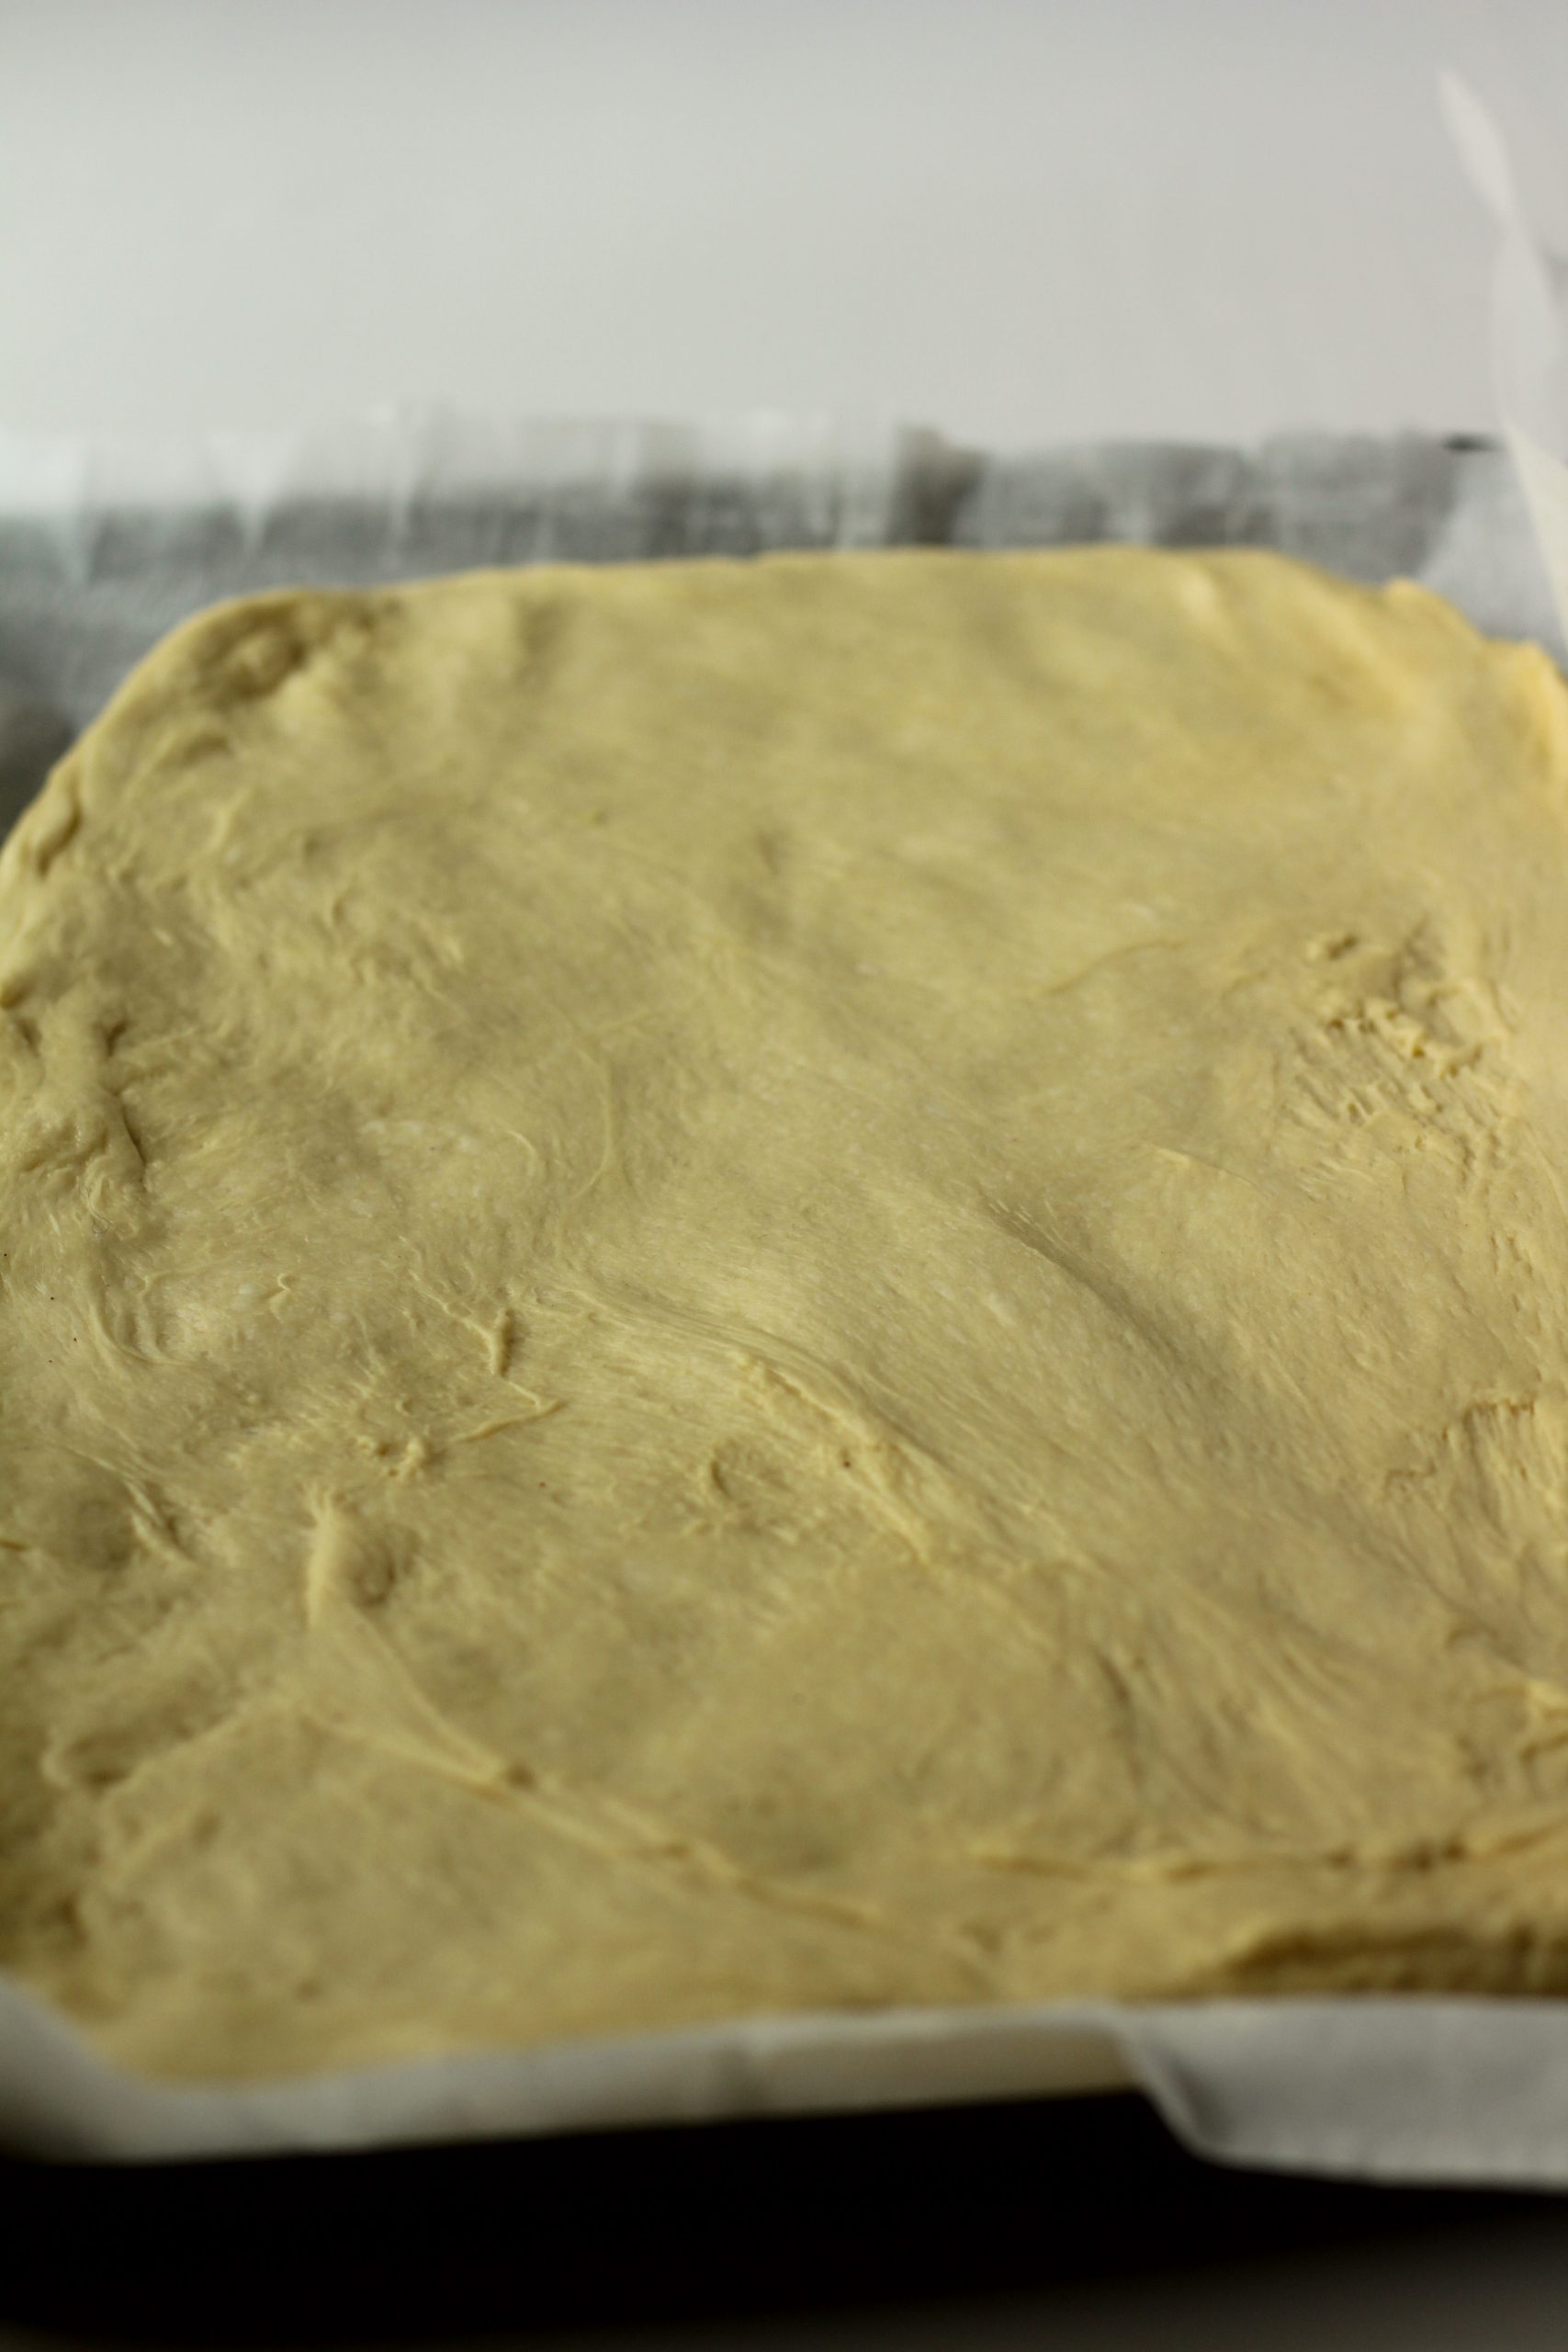
When the dough has doubled in size you are ready to place it on a greased baking sheet, and shape it into a rectangle.  However, first you have to punch out the air in the dough.

After first rise dough doubled in size

Air punched out of the dough

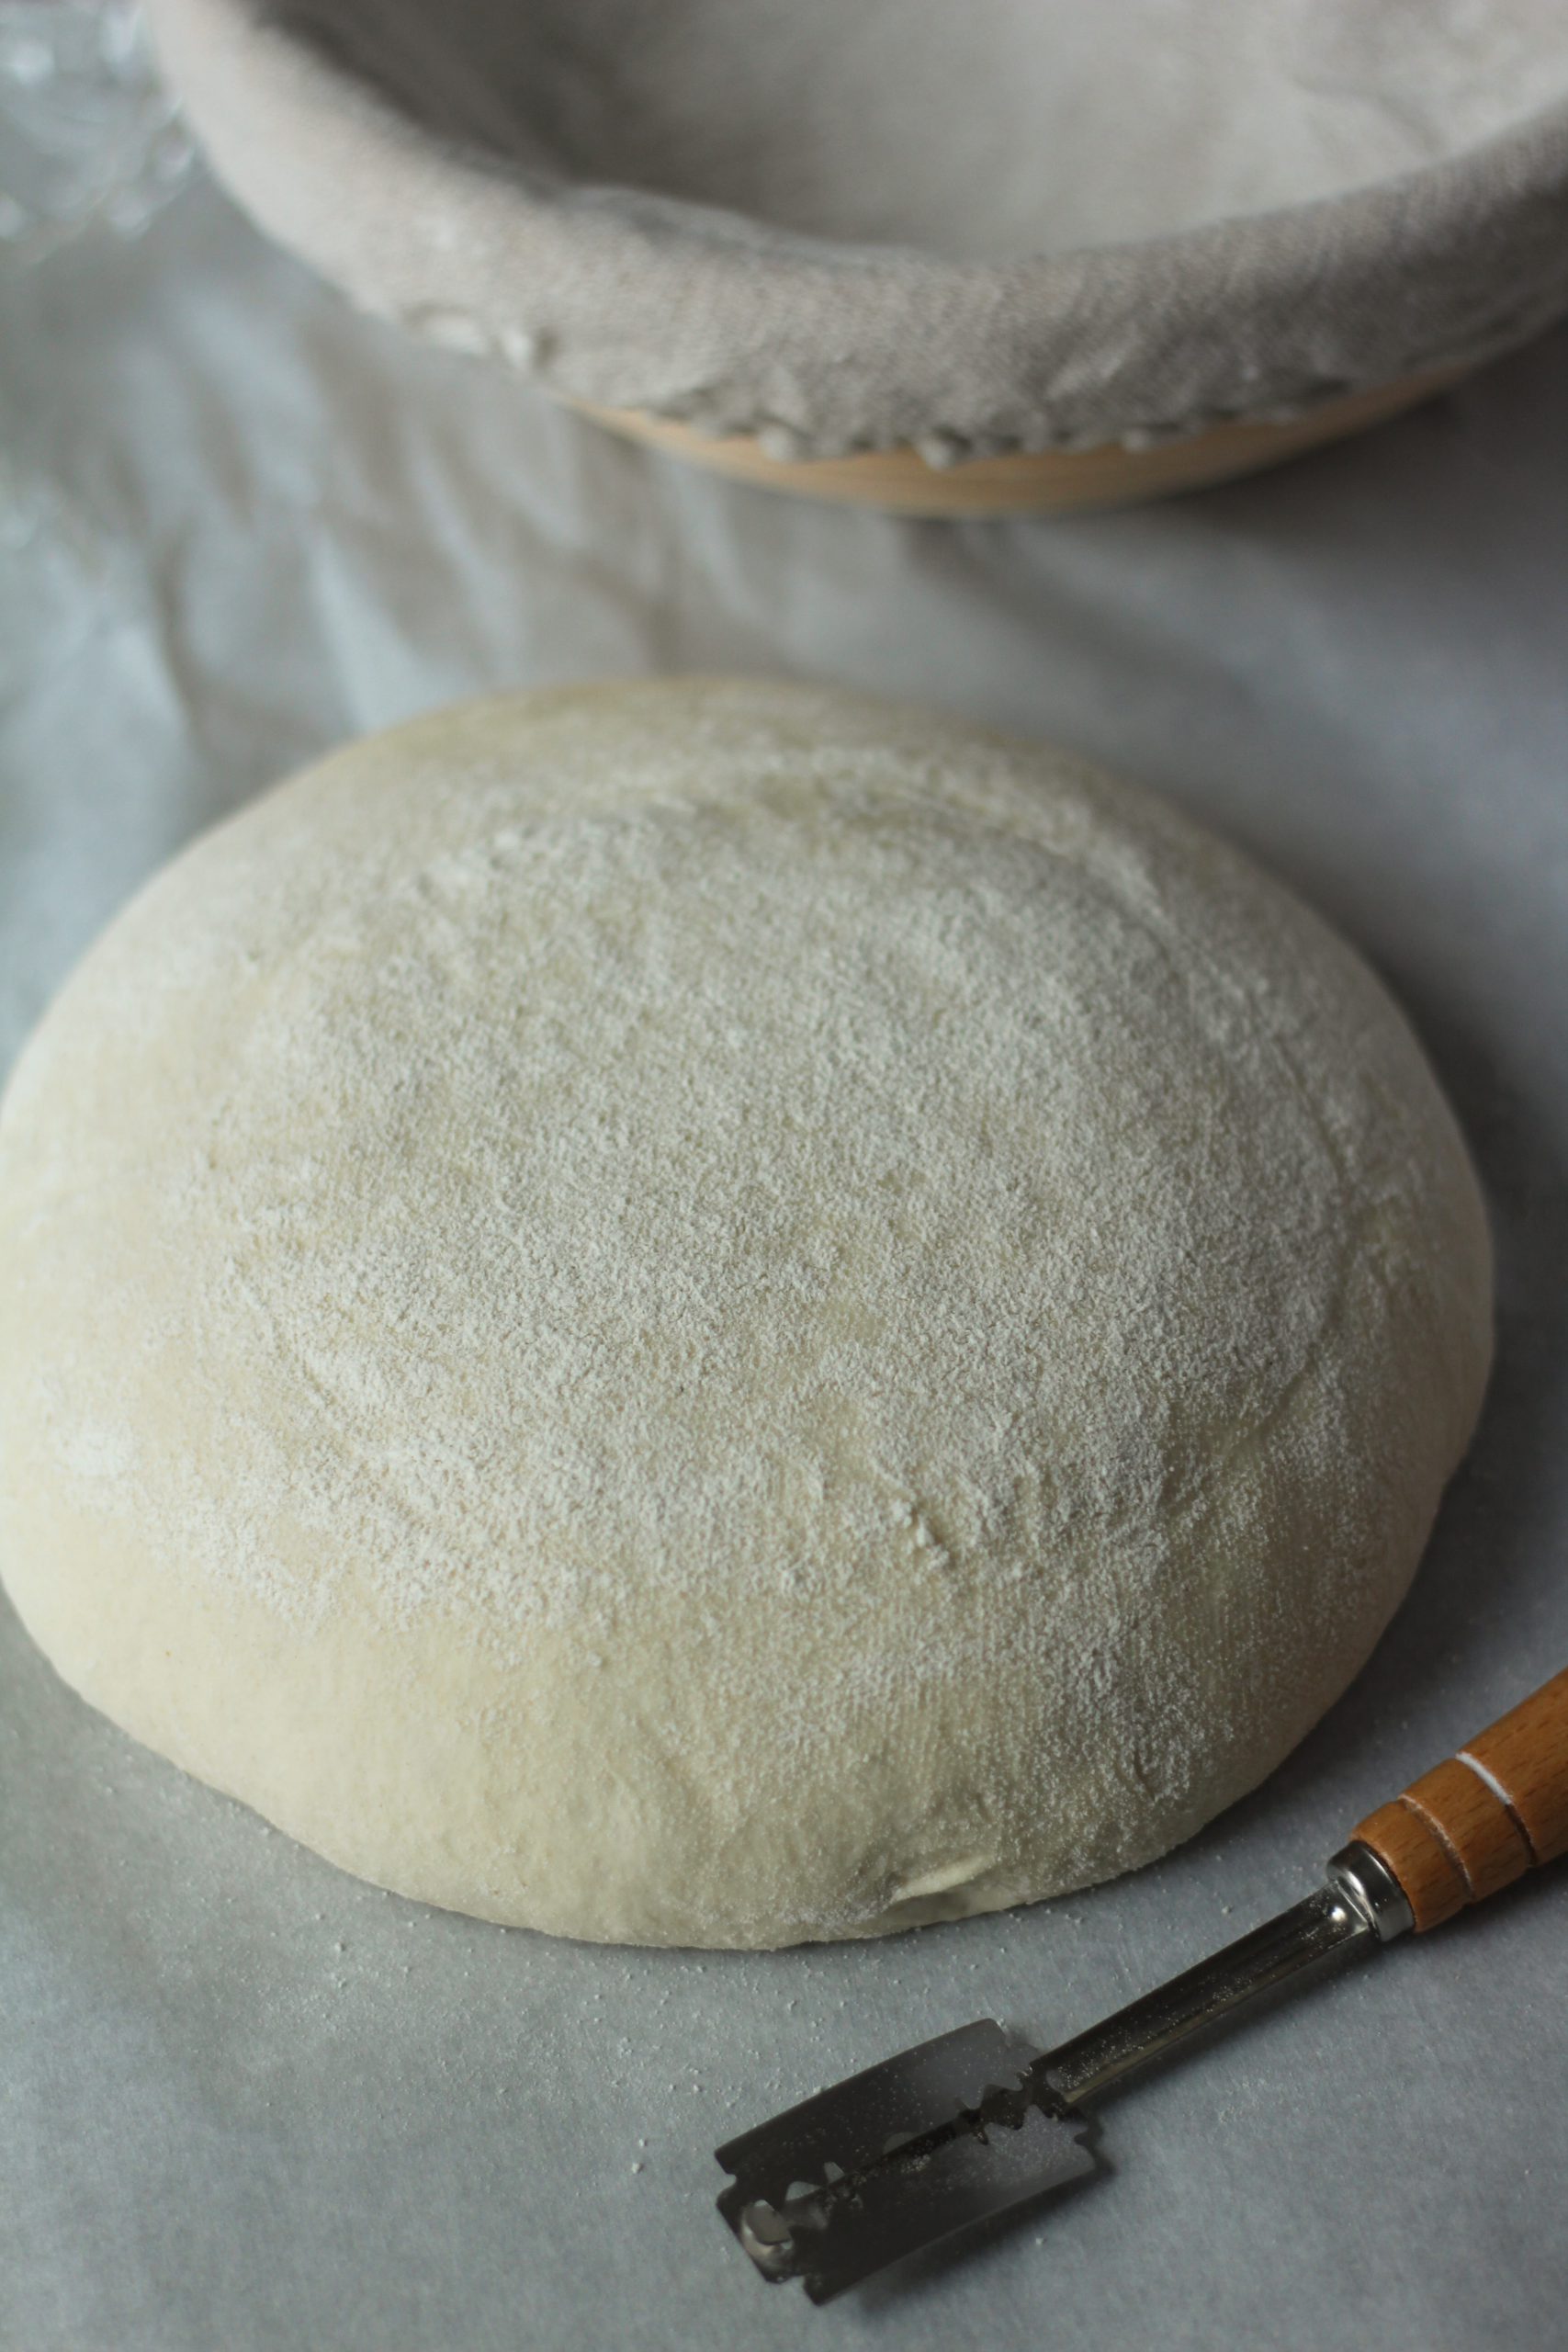
After the air is out you shape it into a rectangle on the baking sheet. I used parchment paper on the baking sheet to make it easier to transfer to a cooling rack later.

Focaccia dough formed in rectangle

Focaccia dough covered for second rise

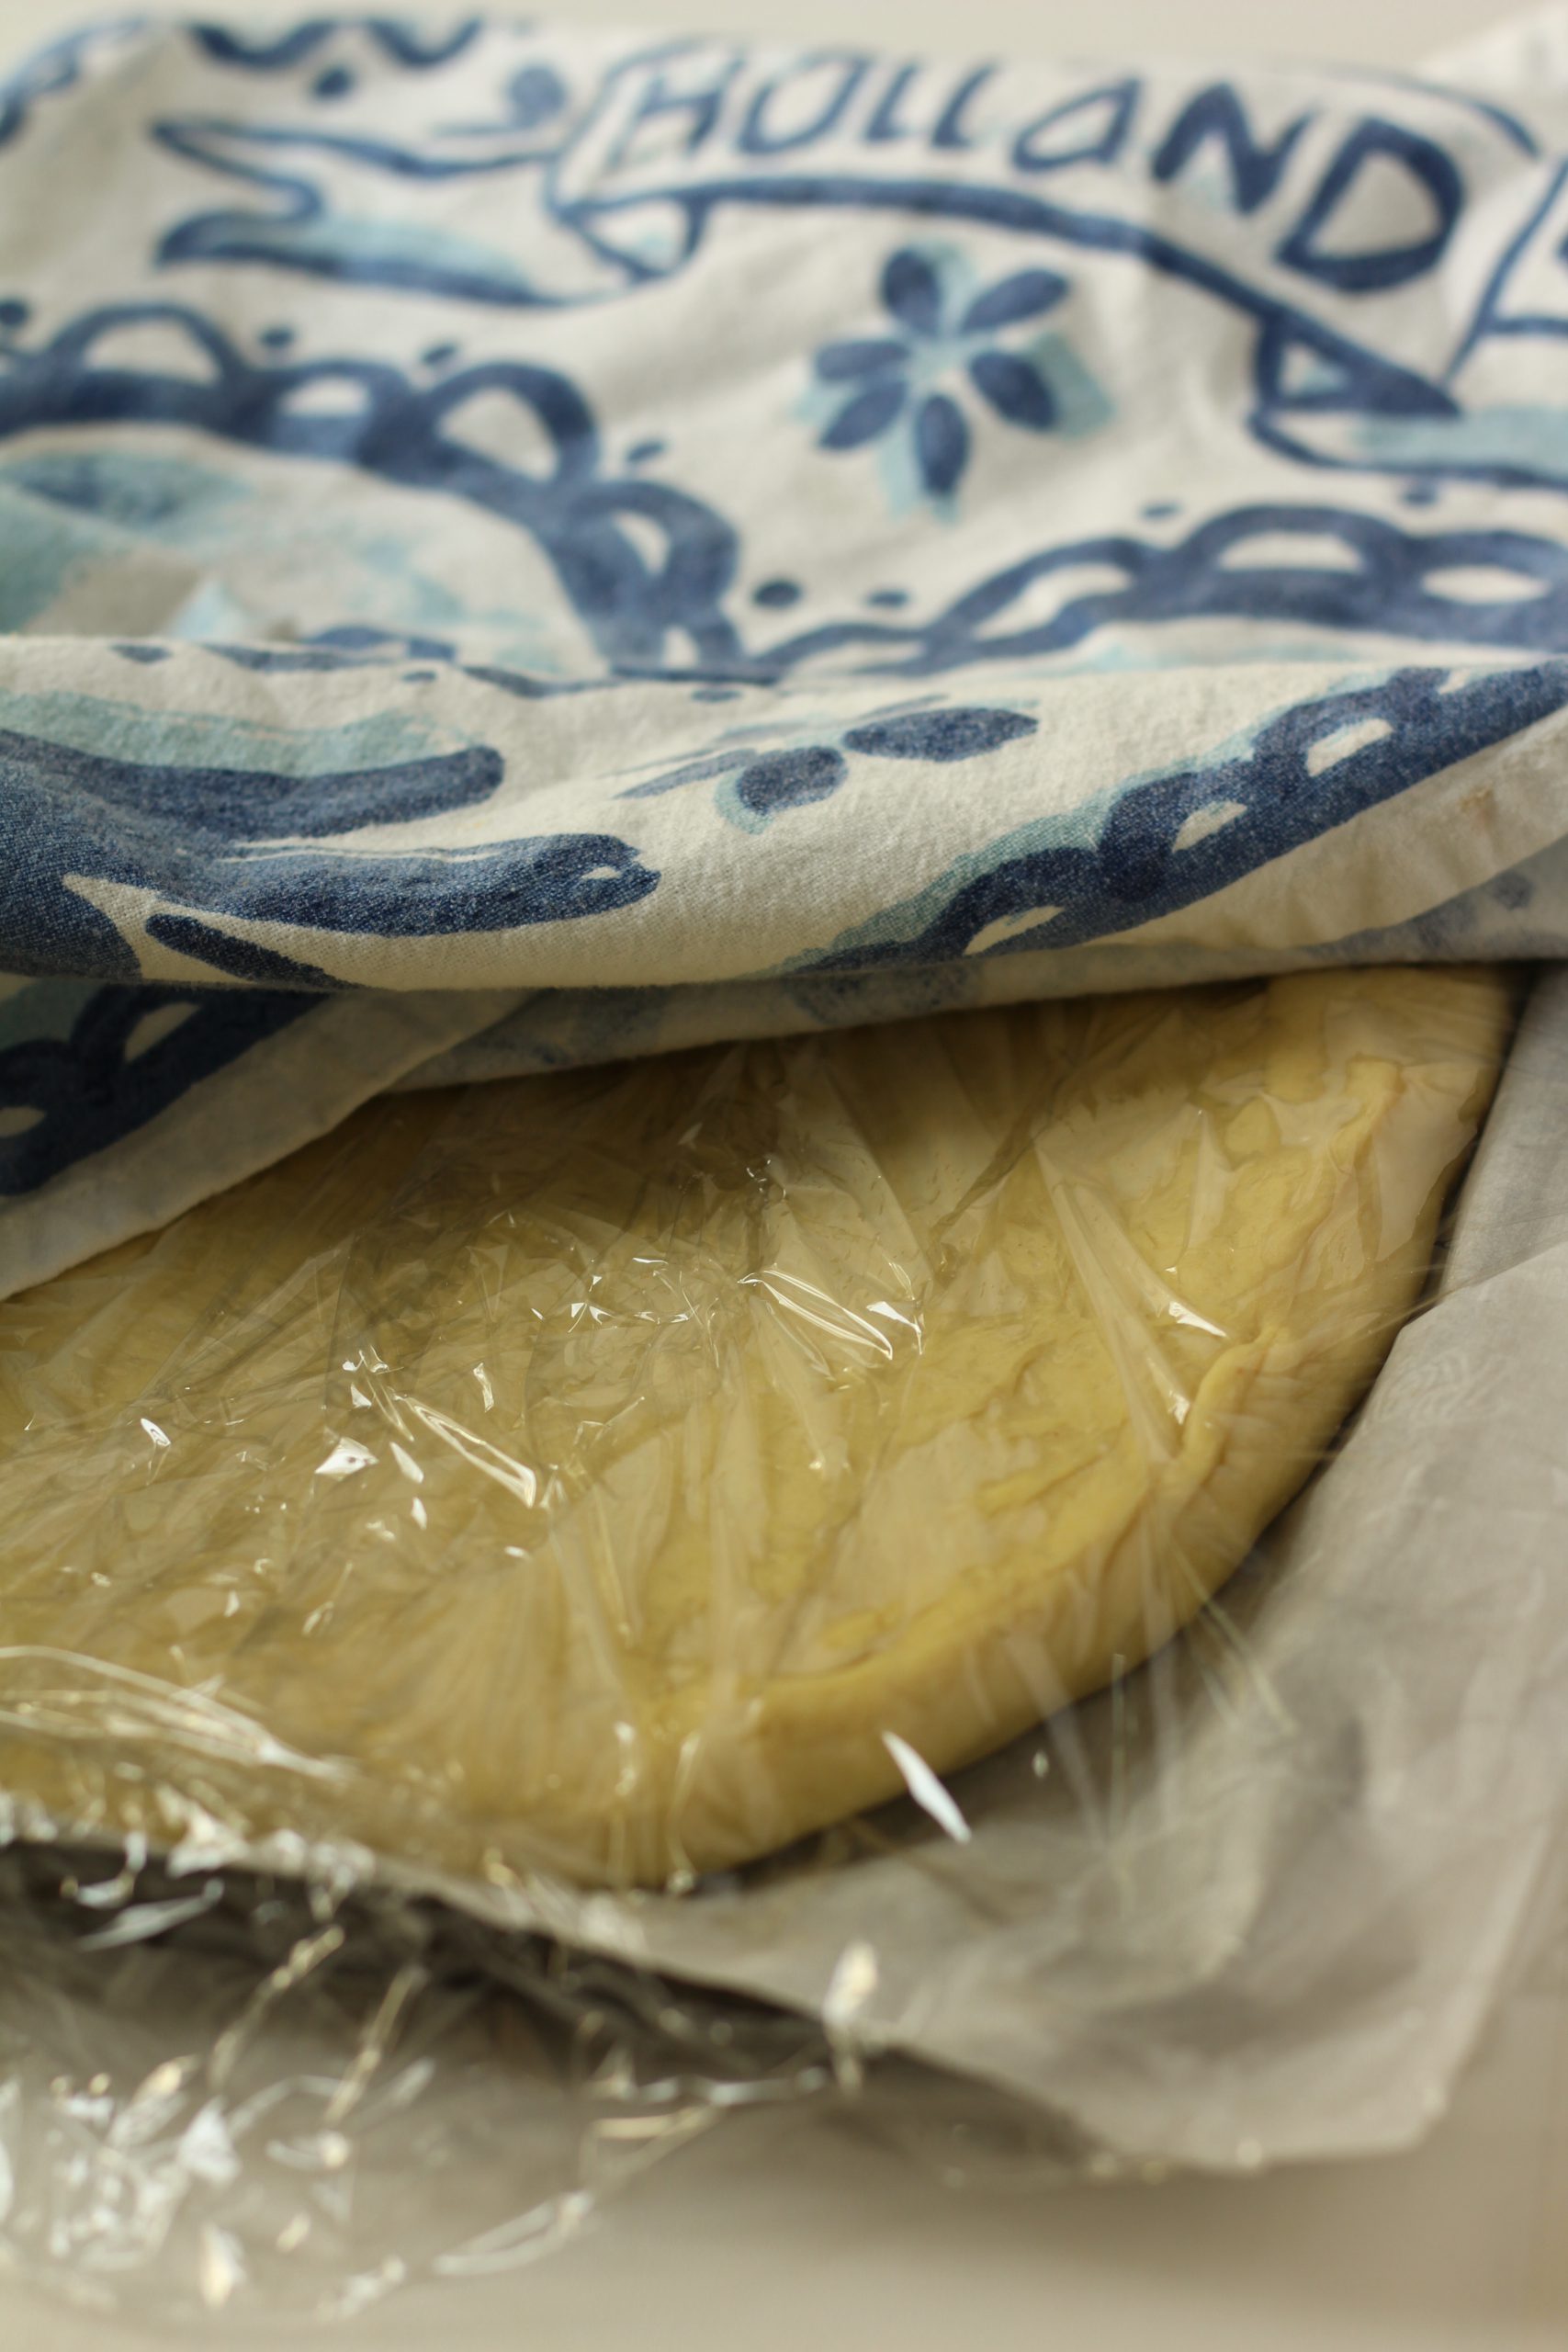
After you formed a rectangle with your dough, you cover it and place it in a warm area on your counter until it is doubled in size. This length of this rise will vary based on where you live and what season it is. It can take up to 1 hour or more if it is colder weather. It is important that you cover your dough and put it in a warm draft free area.

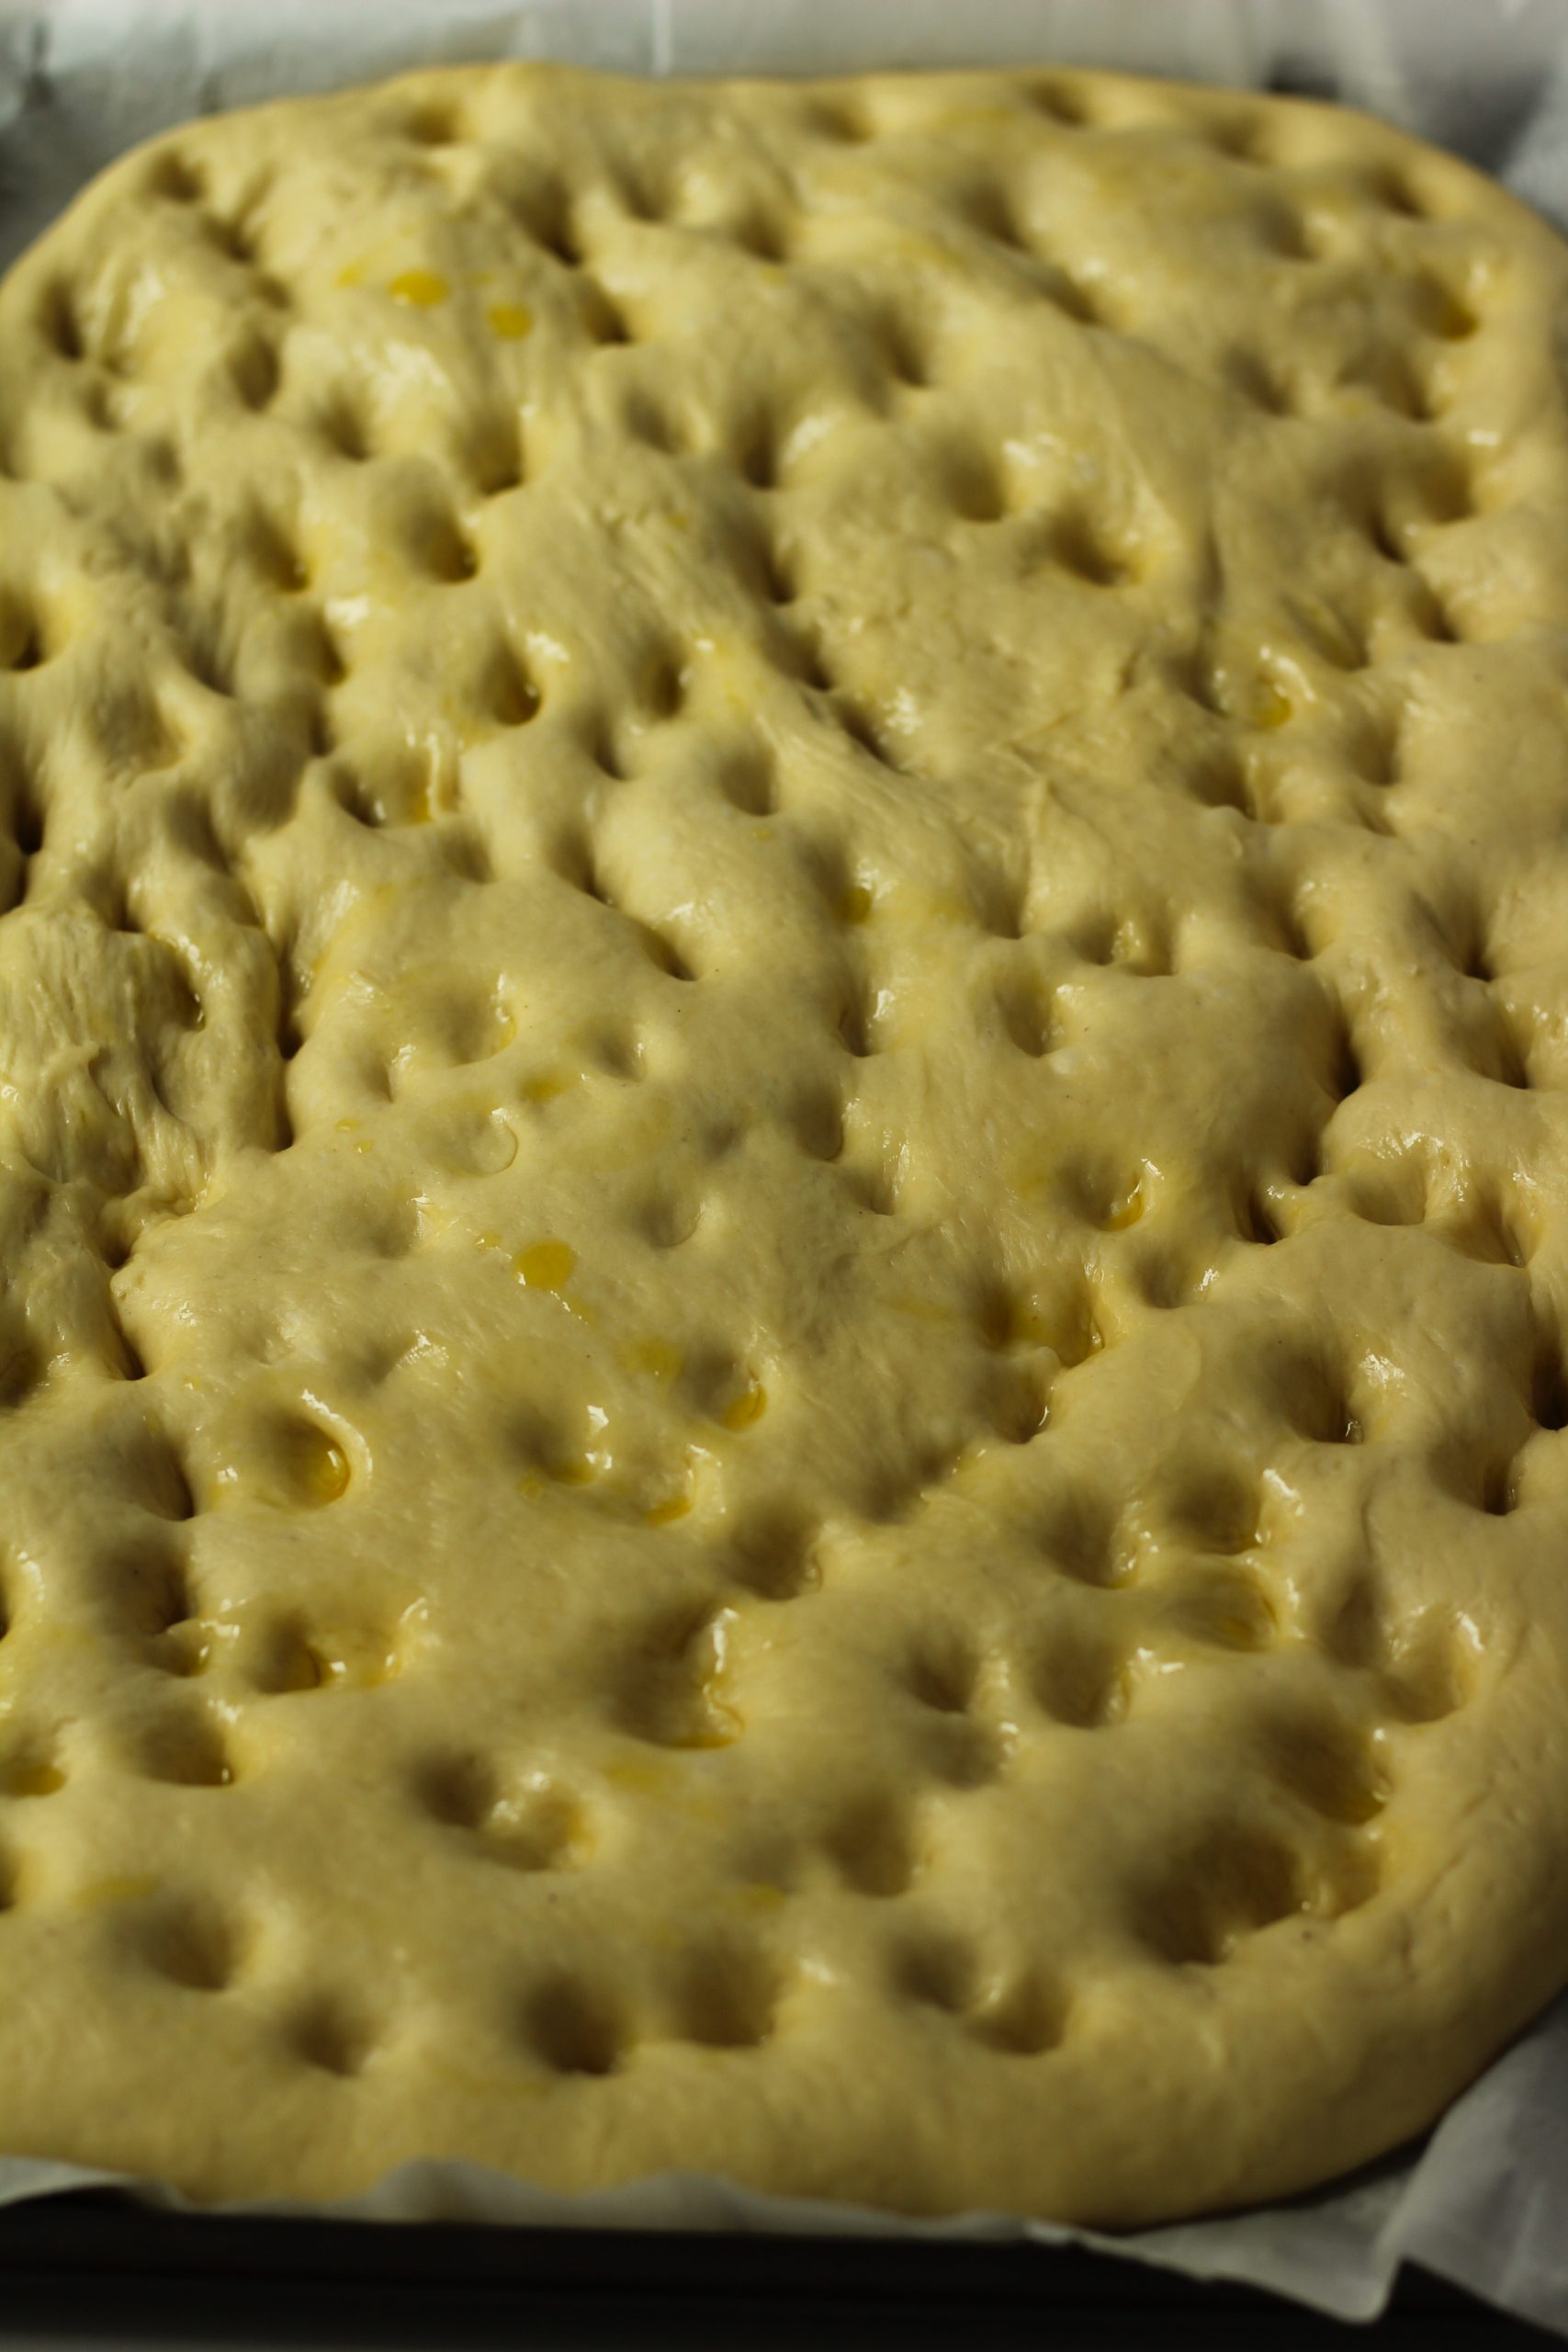
When it has doubled in size, you drizzle it with olive oil and make deep holes in the dough with your fingers. Don’t be shy!  Dig them in far, until you feel the baking dish.

Focaccia dough ready to be prepped to bake

Focaccia dough with finger holes

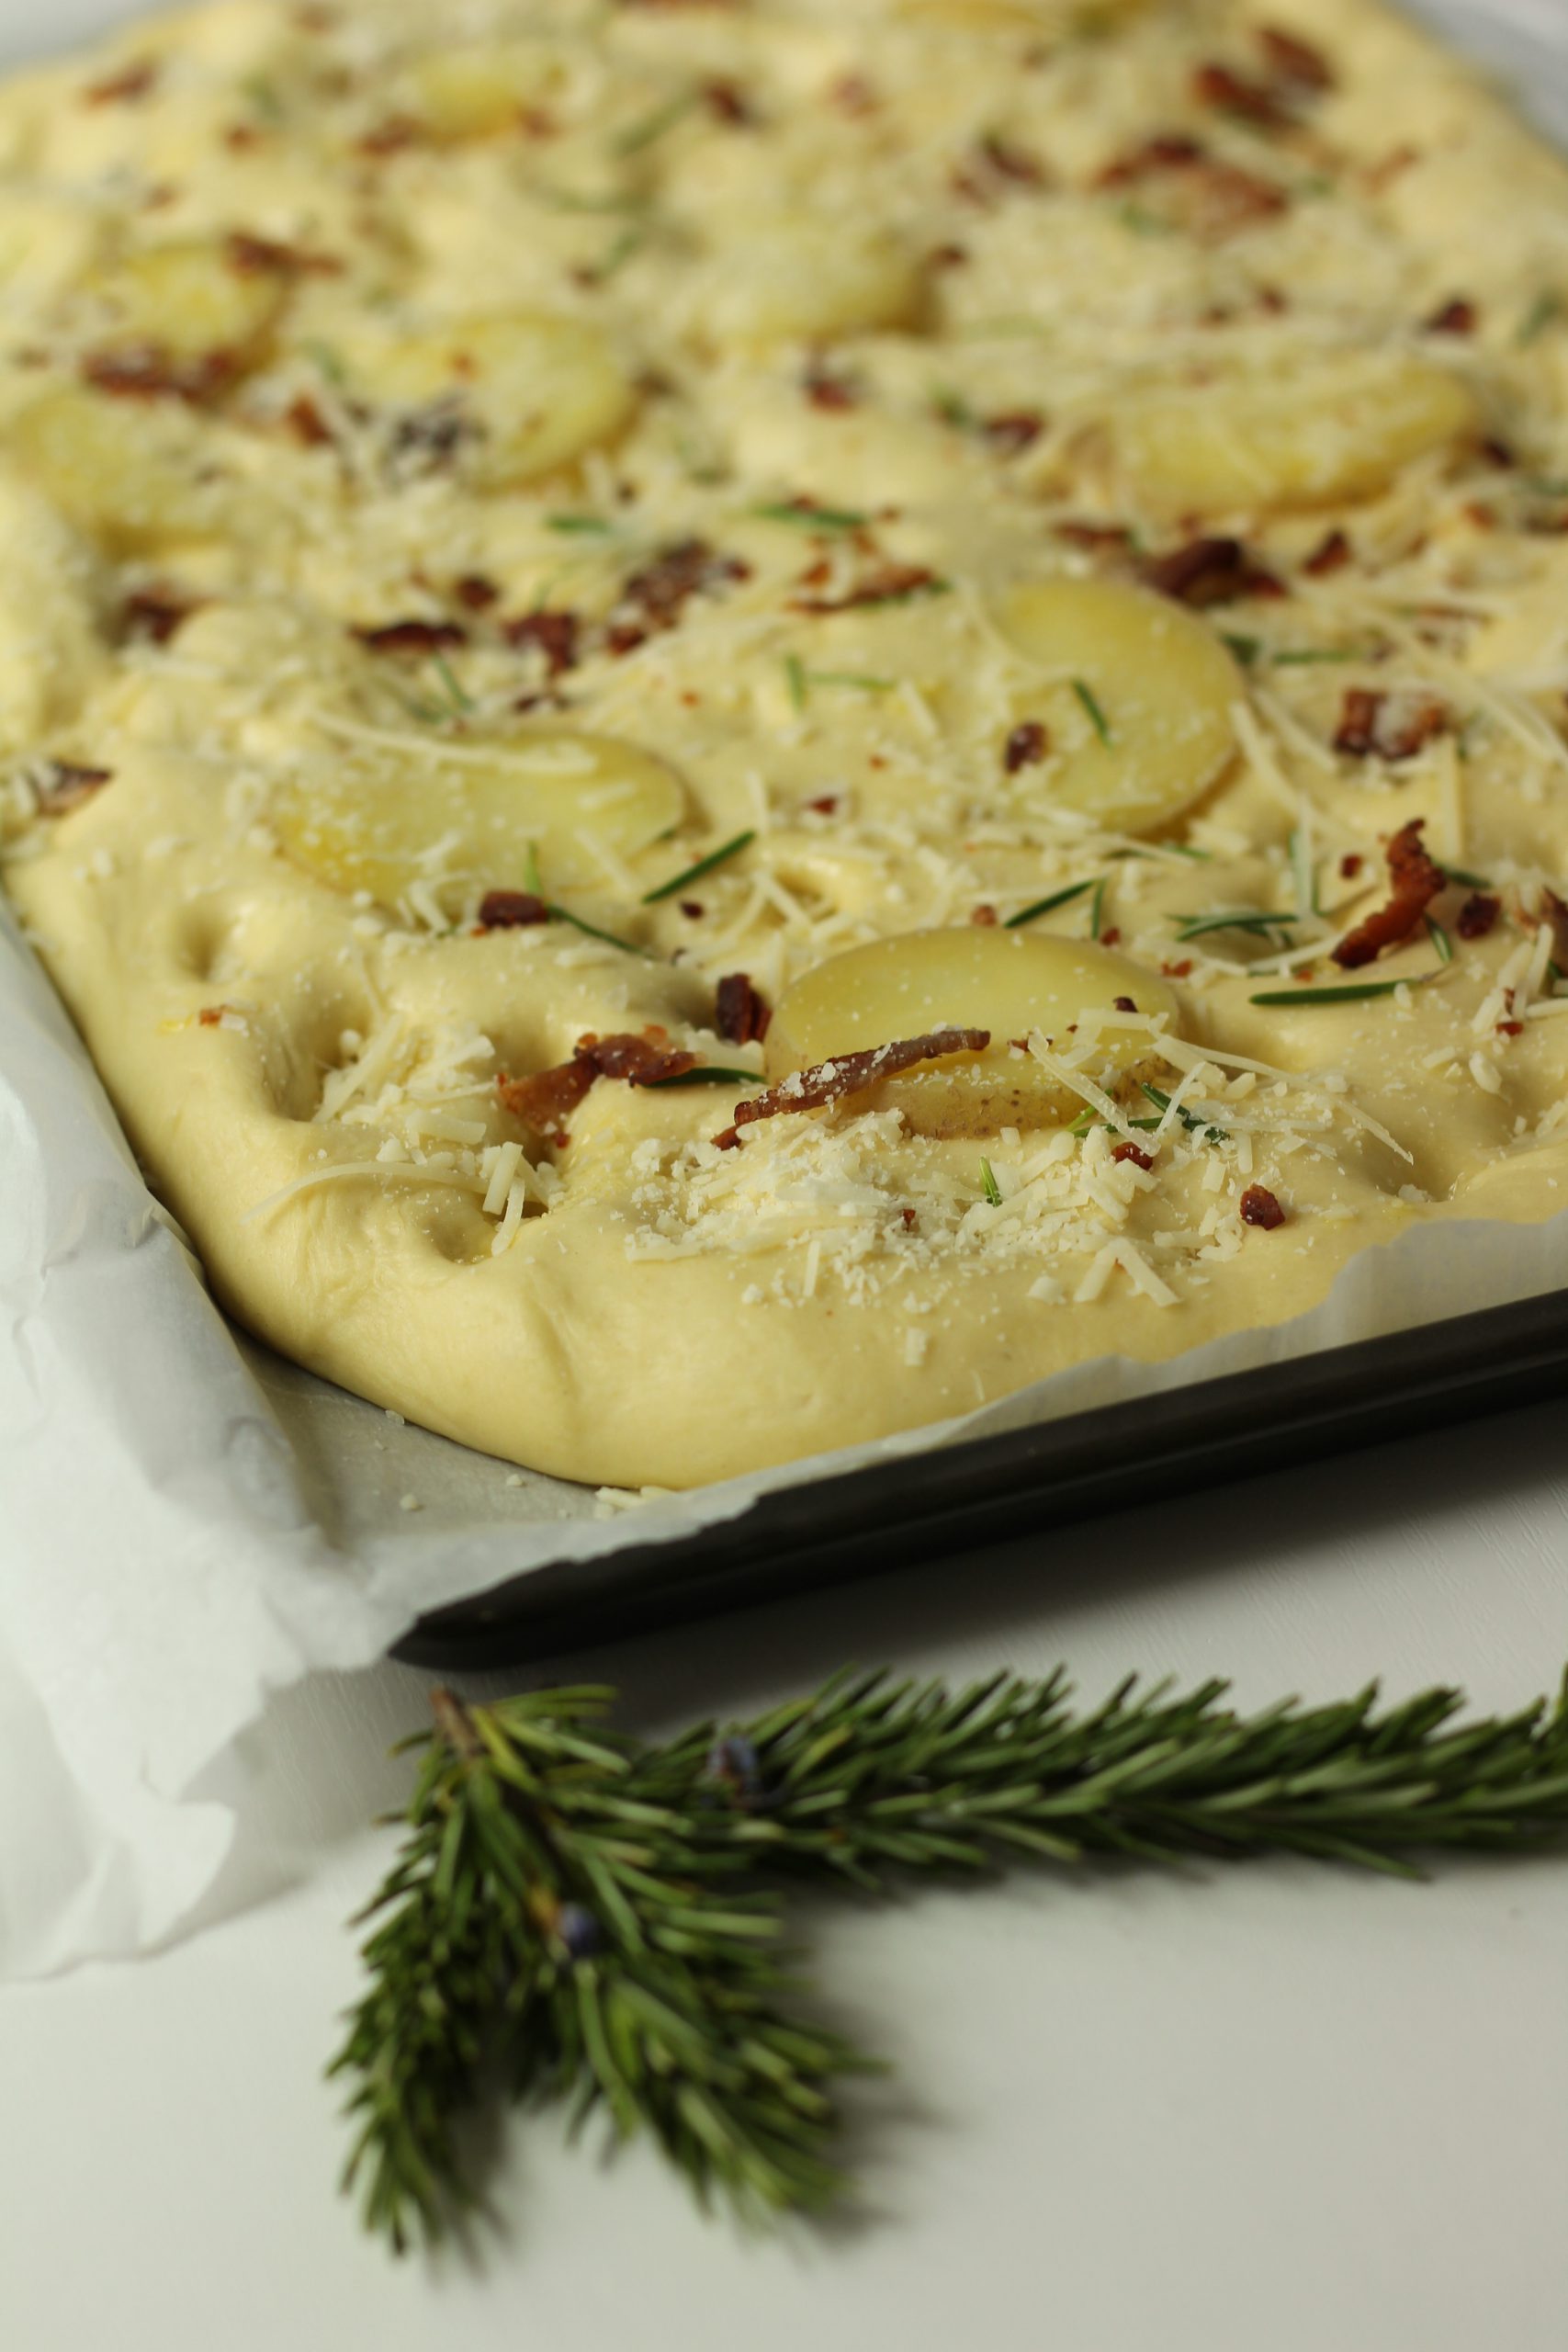
When you’re satisfied with the amount of holes, sprinkle the dough with sea salt (I used this French salt) and add your washed rosemary. You can bake it now, or add some extra toppings. I added potatoes, bacon and Parmesan cheese.

Focaccia bread with toppings

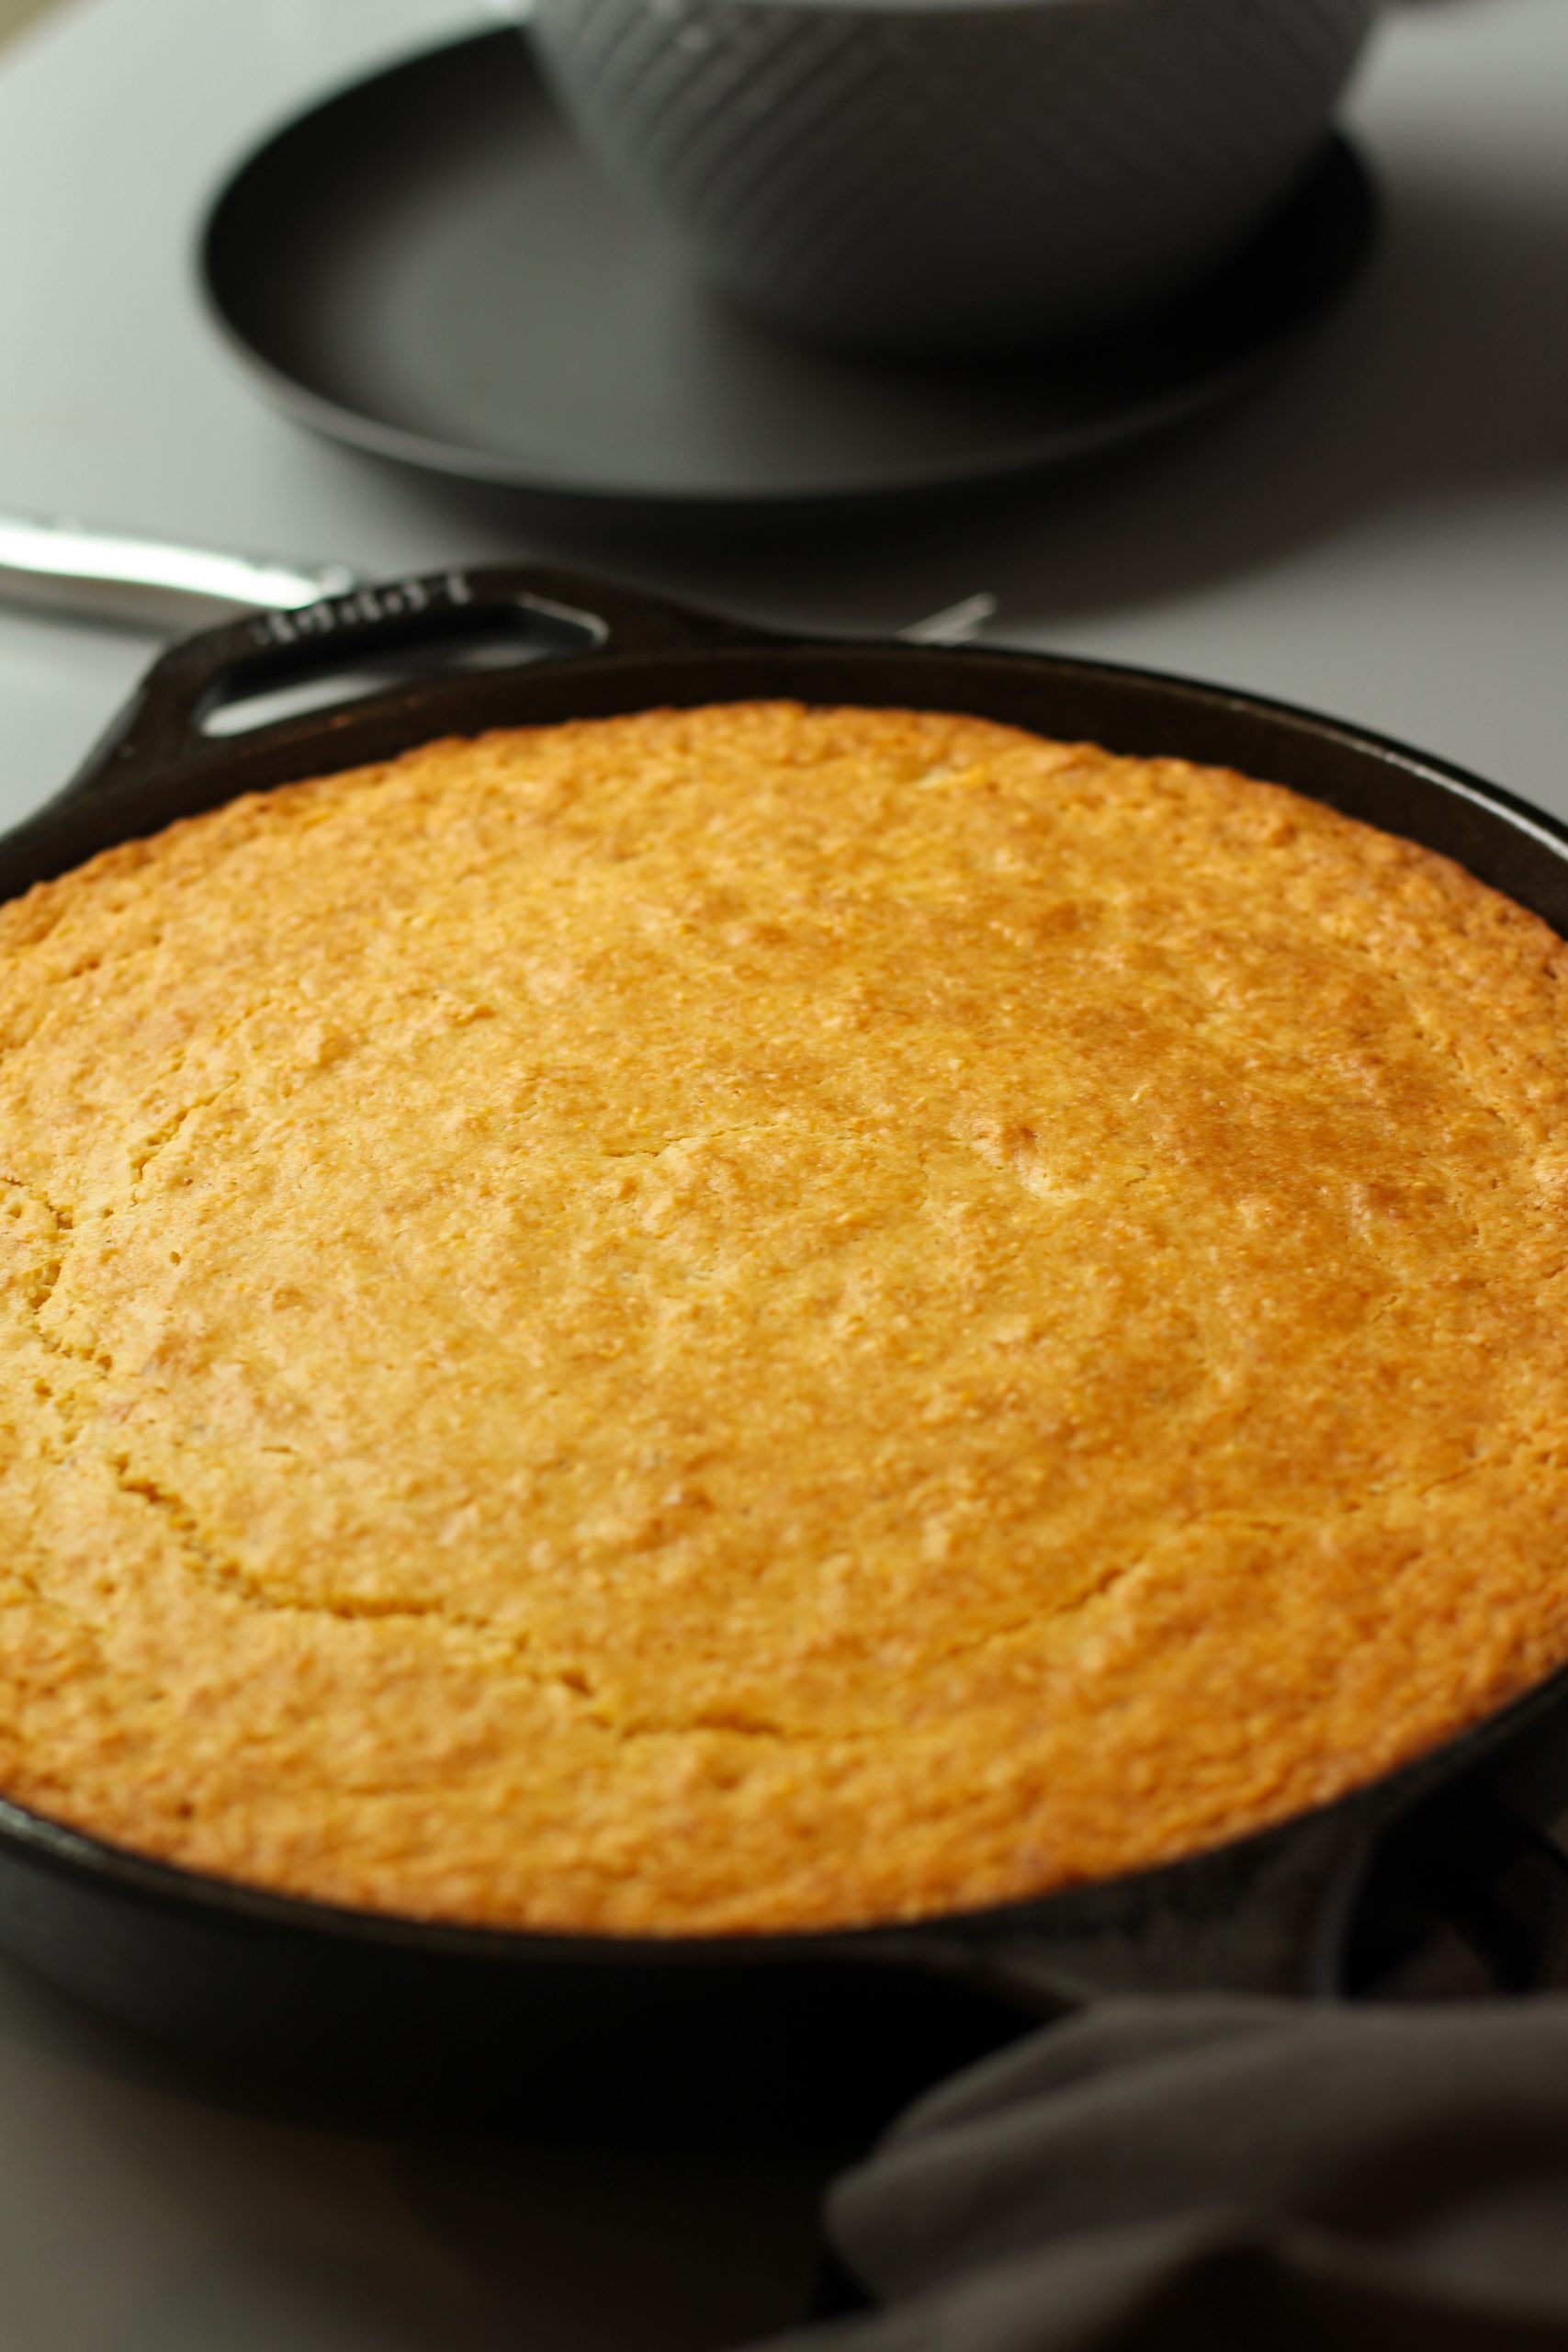
After adding the toppings, bake your dough in a preheated oven until it is golden brown. This can take around 20 minutes. Keep in mind that every oven is different, so the baking time may be more or less. Keep a close eye on the bread in the final baking minutes.

Golden brown baked focaccia

Light brown baked focaccia bread cut

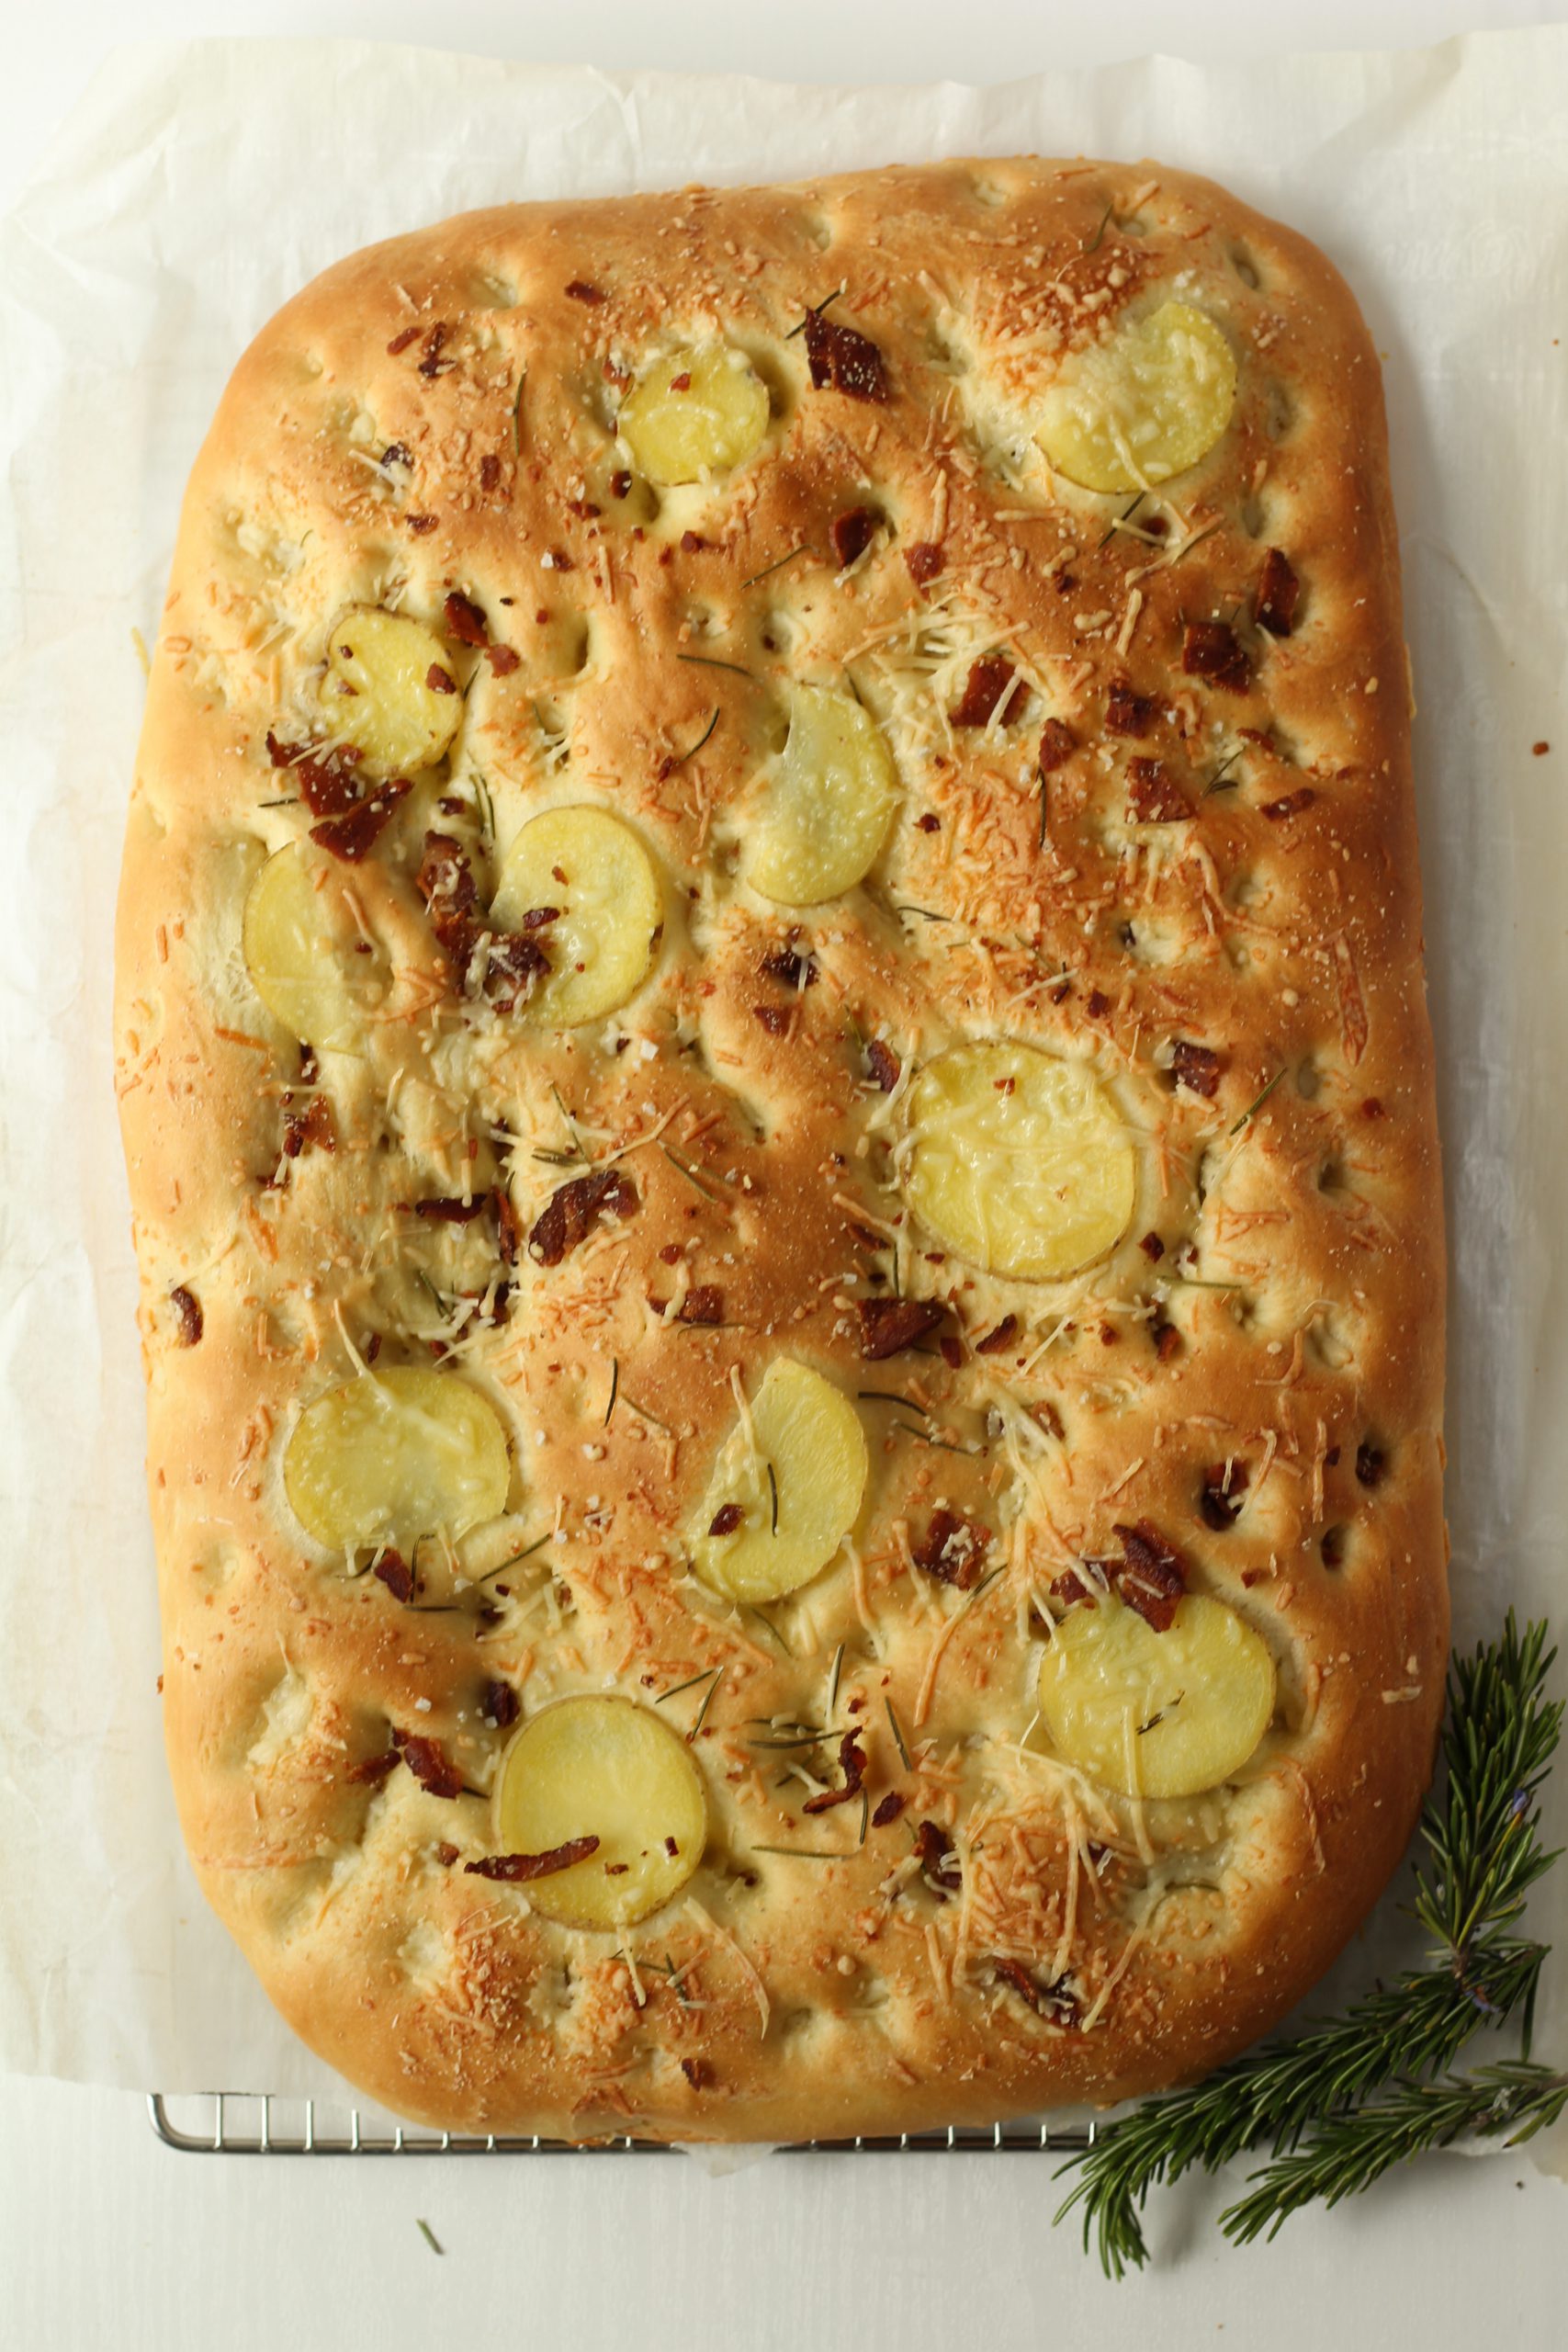
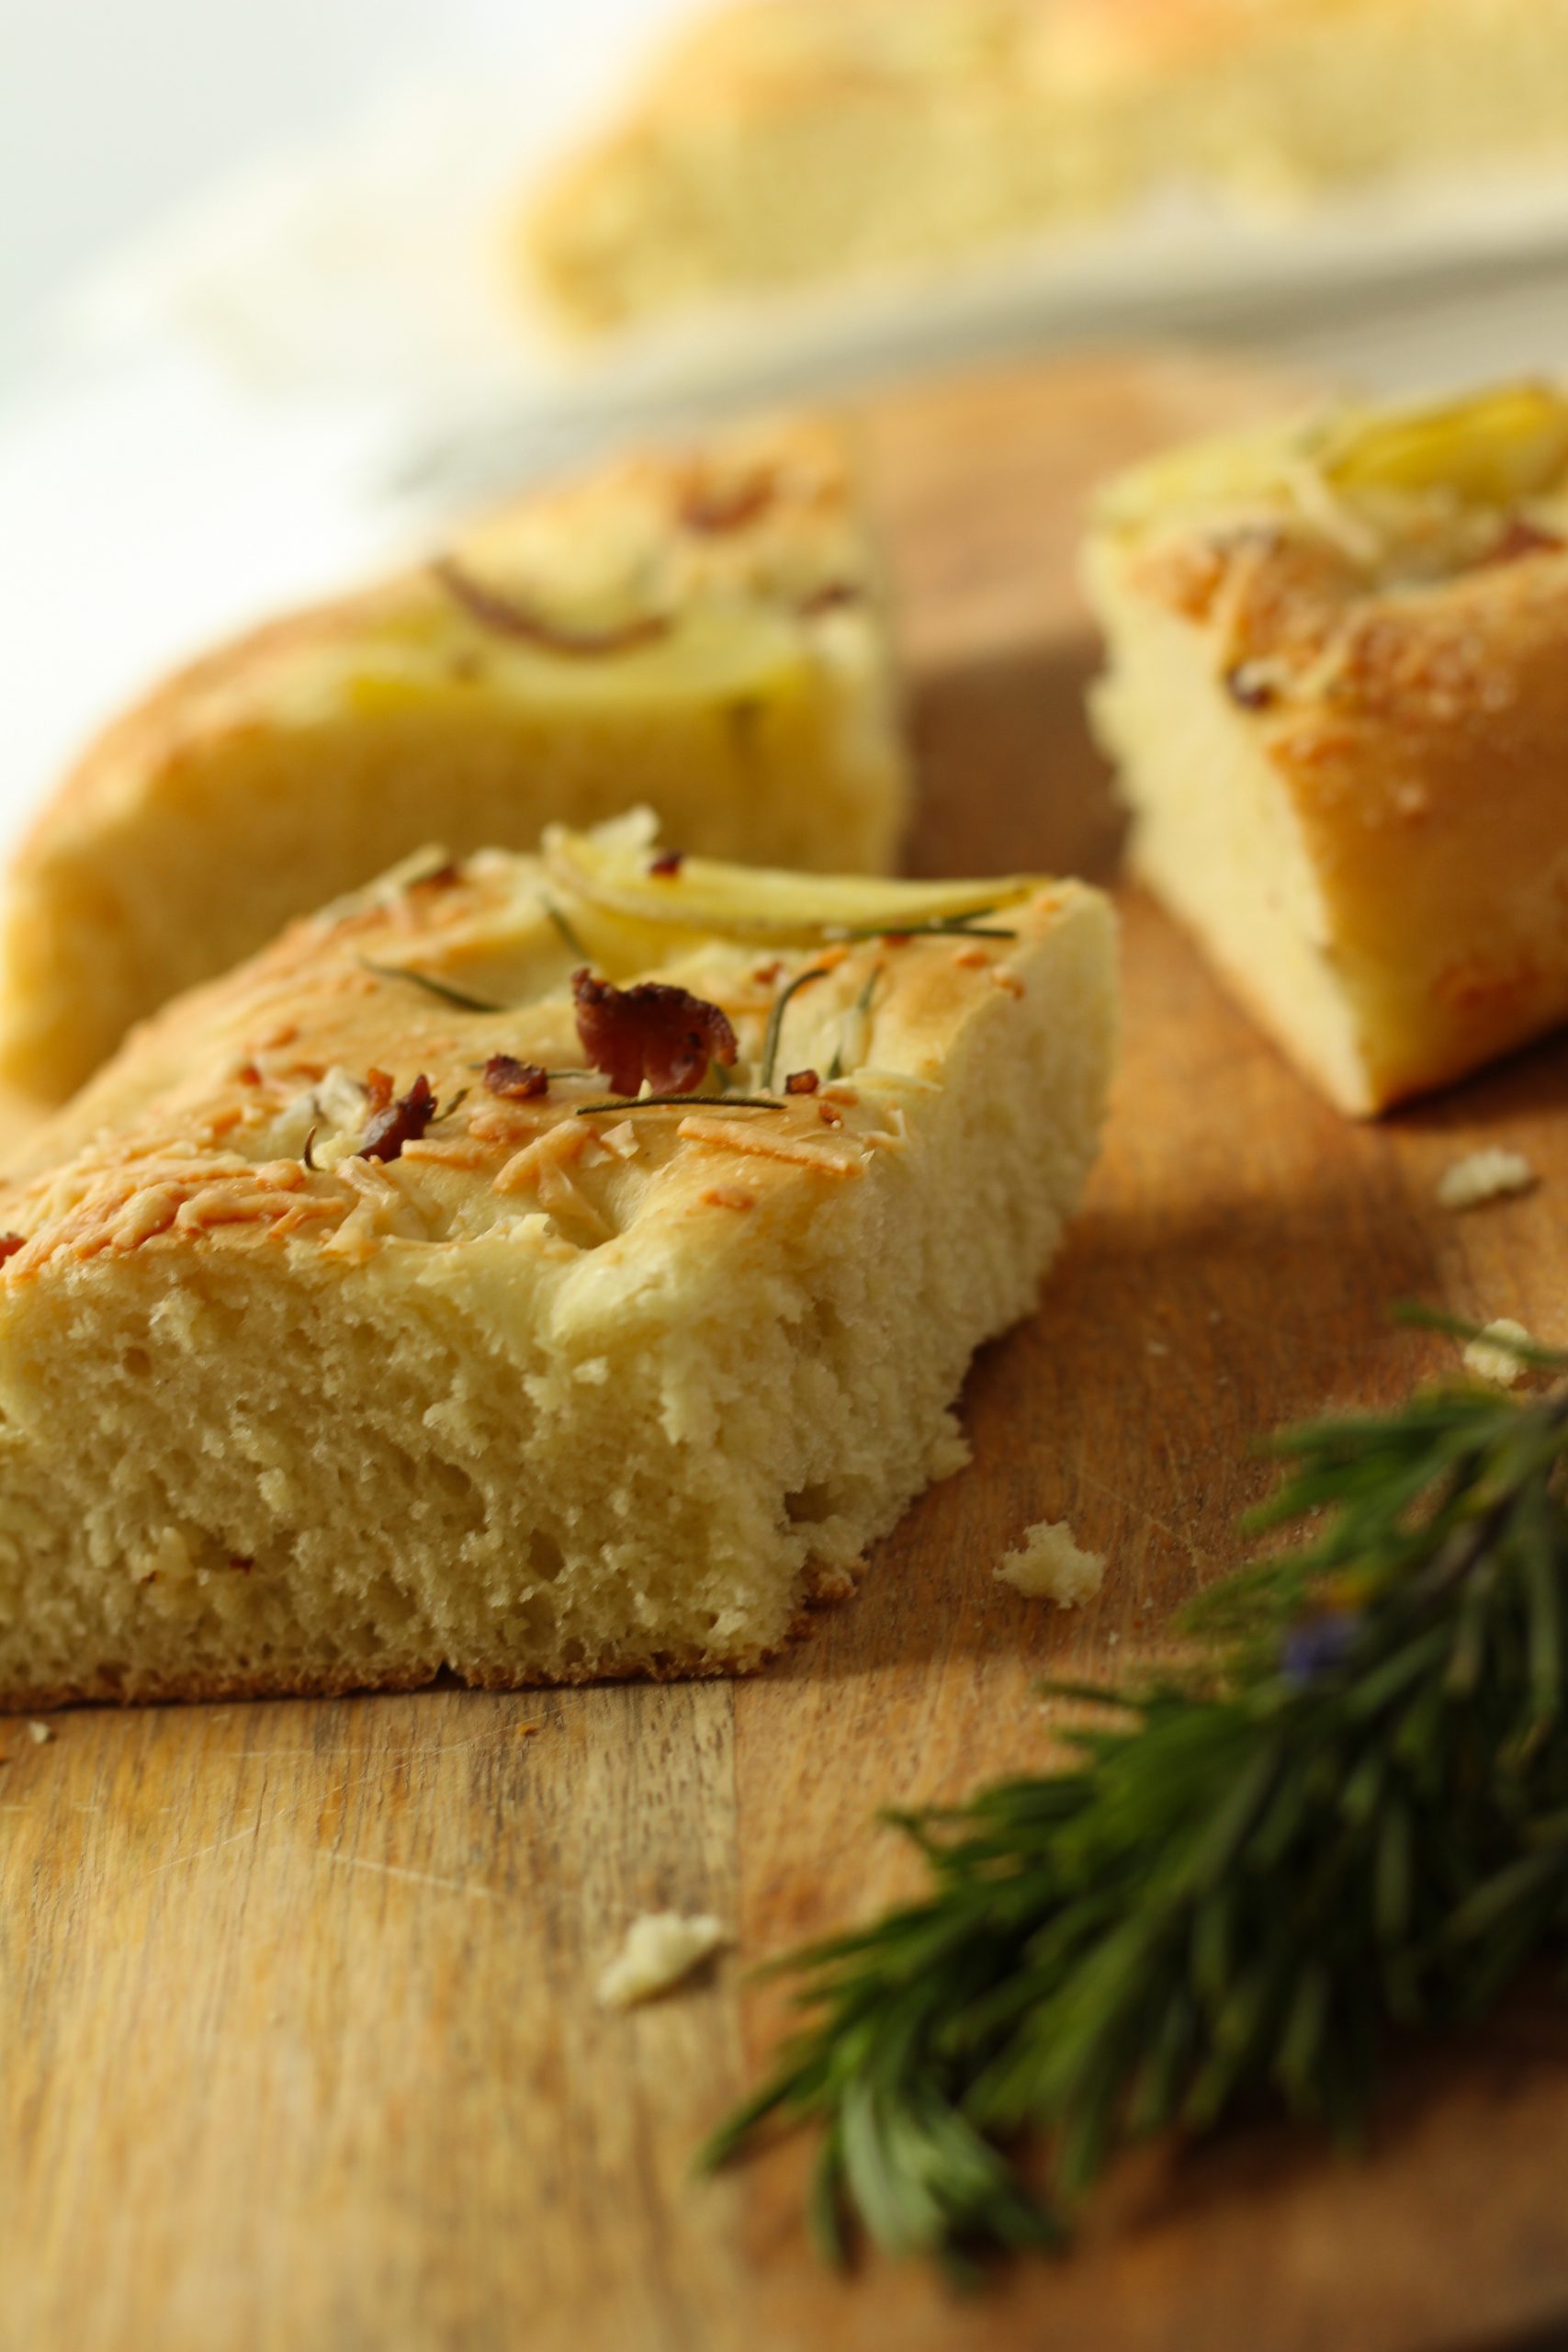
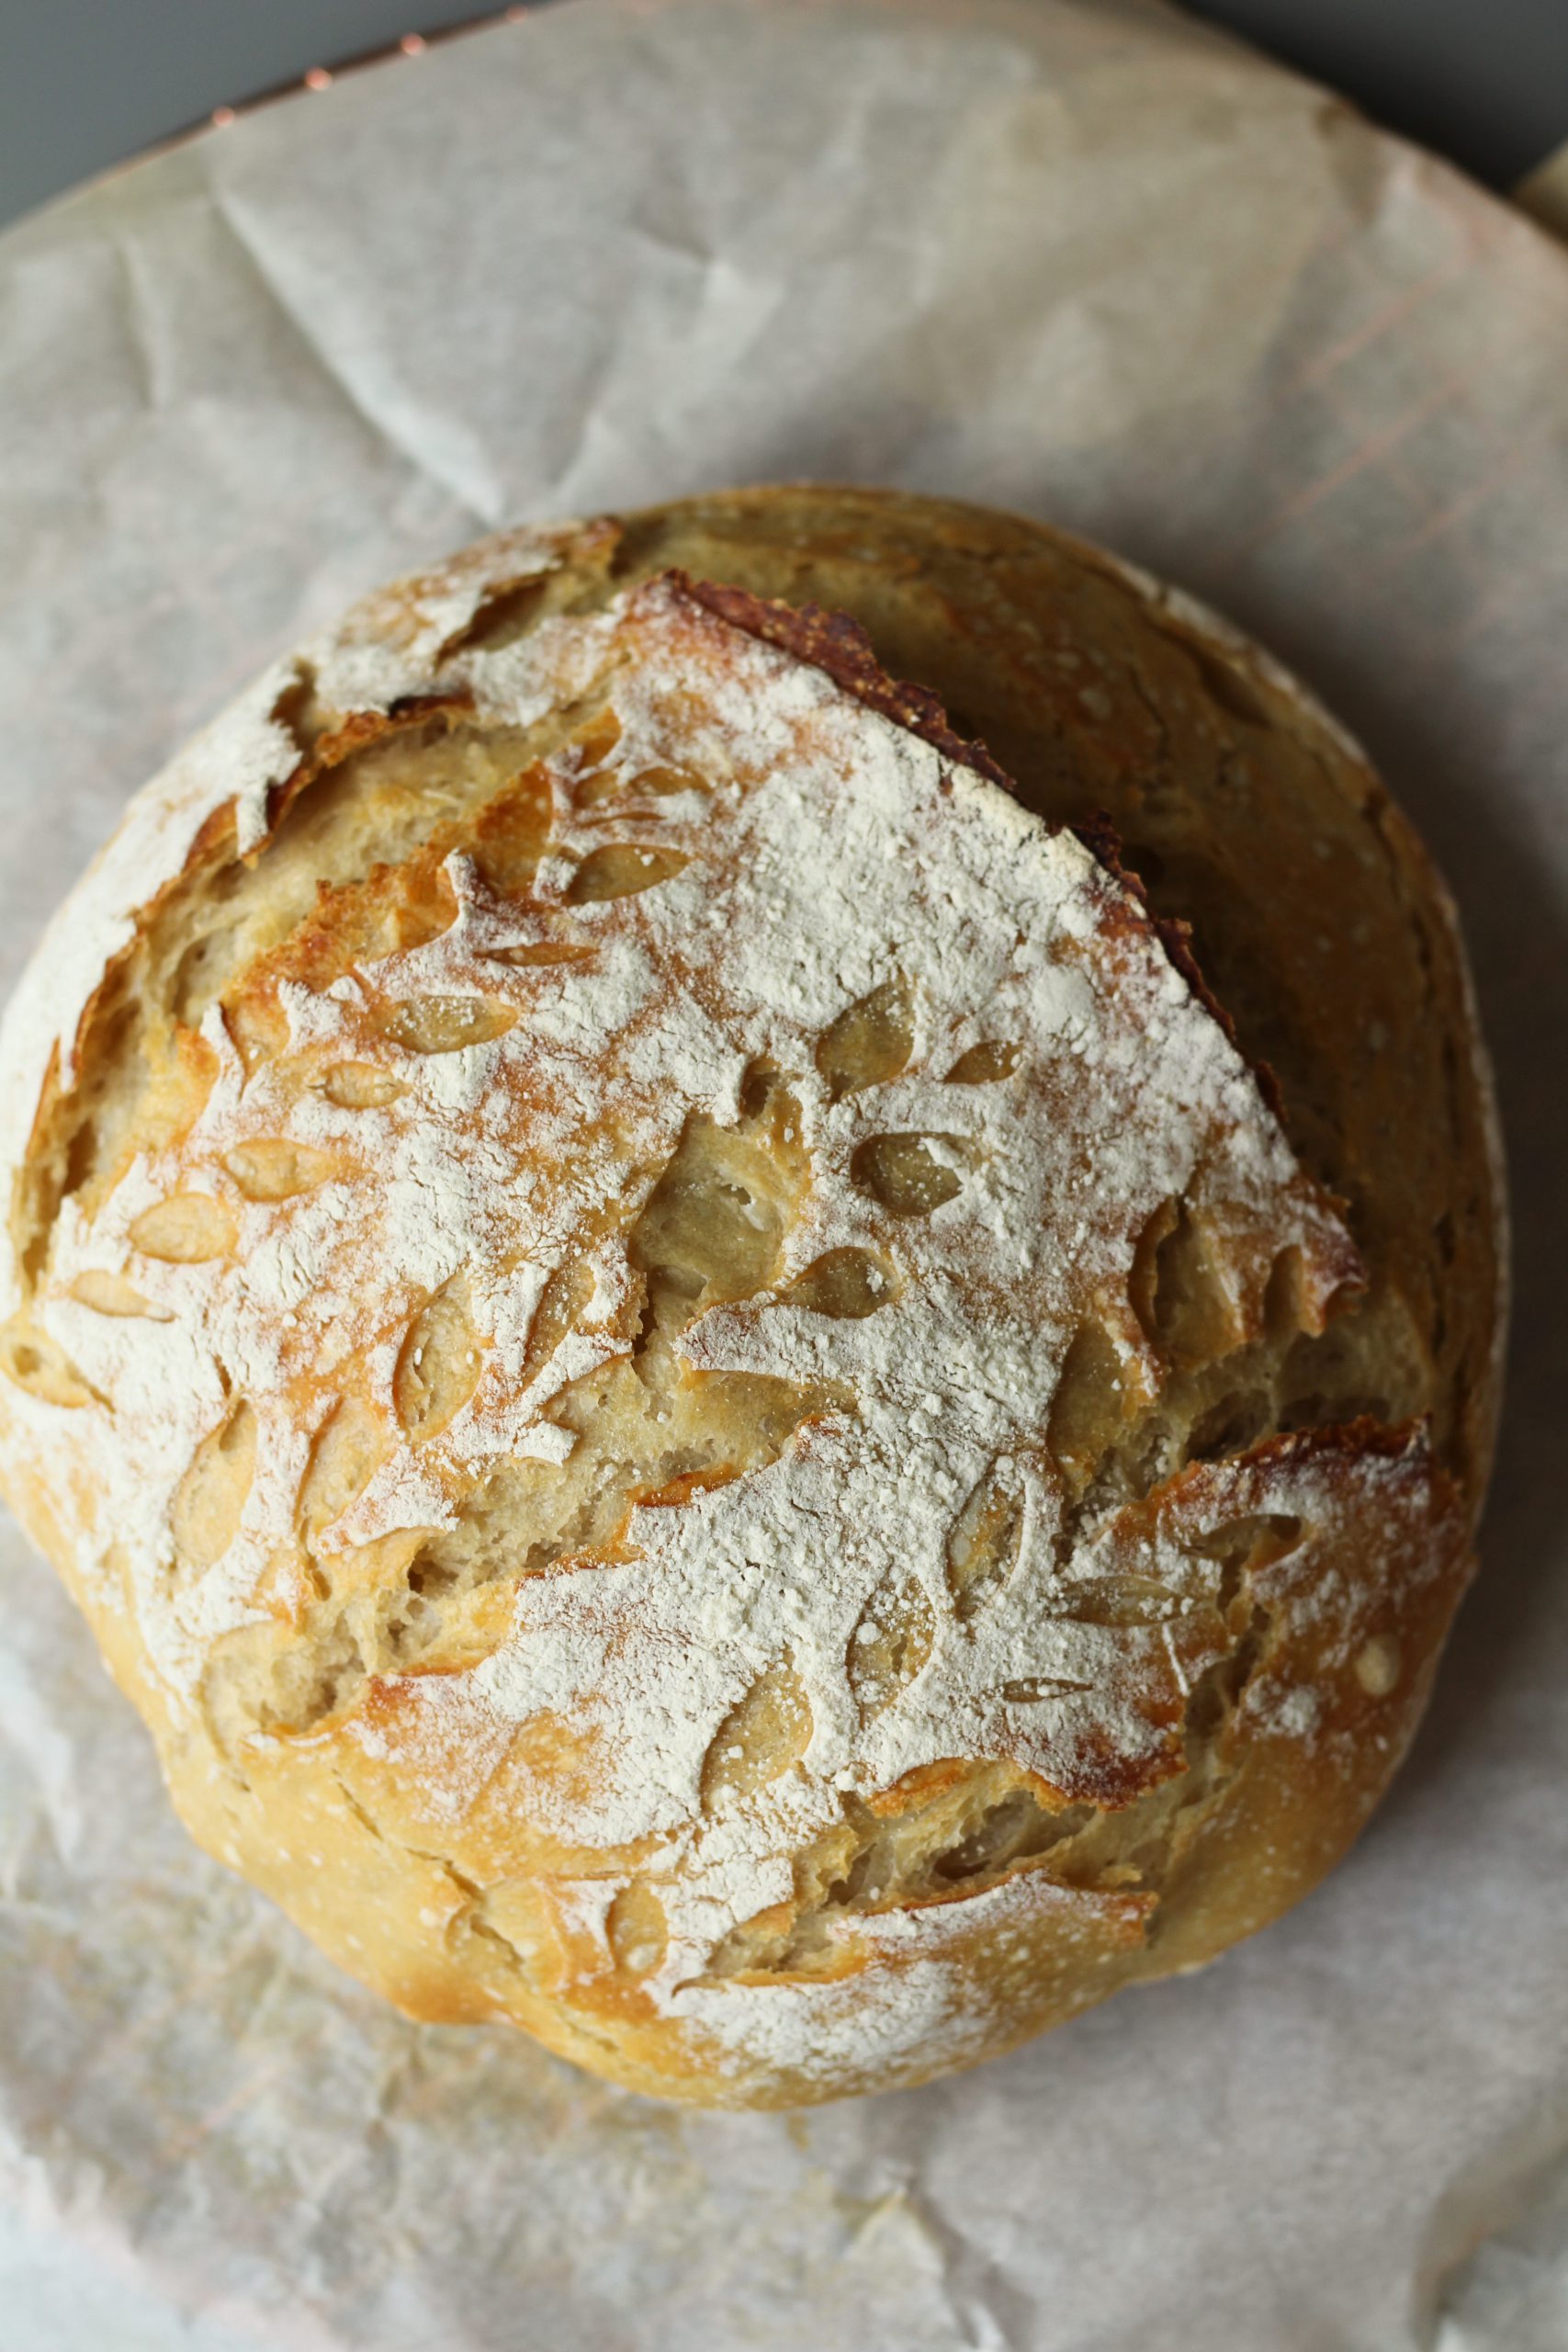
You can enjoy this light, airy and delicious Focaccia bread after it cools a bit on a cooling rack!

Focaccia Bread

Flat Italian bread. The dough is similar to pizza dough but has the addition of a generous amount of olive oil. It is crispy on the outside while remaining soft inside. It is versatile enough to be served as a side dish or used as a sandwich bread.
Prep Time2 hours 25 minutes
Cook Time25 minutes
Course: Side Dish
Cuisine: Bread
Keyword: focaccia, focaccia bread
Author: Ester van Boesschoten

Ingredients

Bread

  • 1 3/4 Cups Warm water 95-100 Farhenheit
  • 2 1/4 Teaspoons Active dry yeast
  • 3 Teaspoons Raw honey
  • 4 Cups Bread flour
  • 1 Tablespoon Salt
  • 1/2 Cup Olive oil extra for greasing the tin

Topping

  • 3 Tablespoons Olive oil
  • 1 Tablespoon Coarse sea salt
  • 1 Tablespoon Fresh rosemary

Instructions

Bread

  • In a small bowl combine 1/4 cup water, yeast and one teaspoon of honey. Stir and let it stand until it is foamy. This takes around 5 minutes.
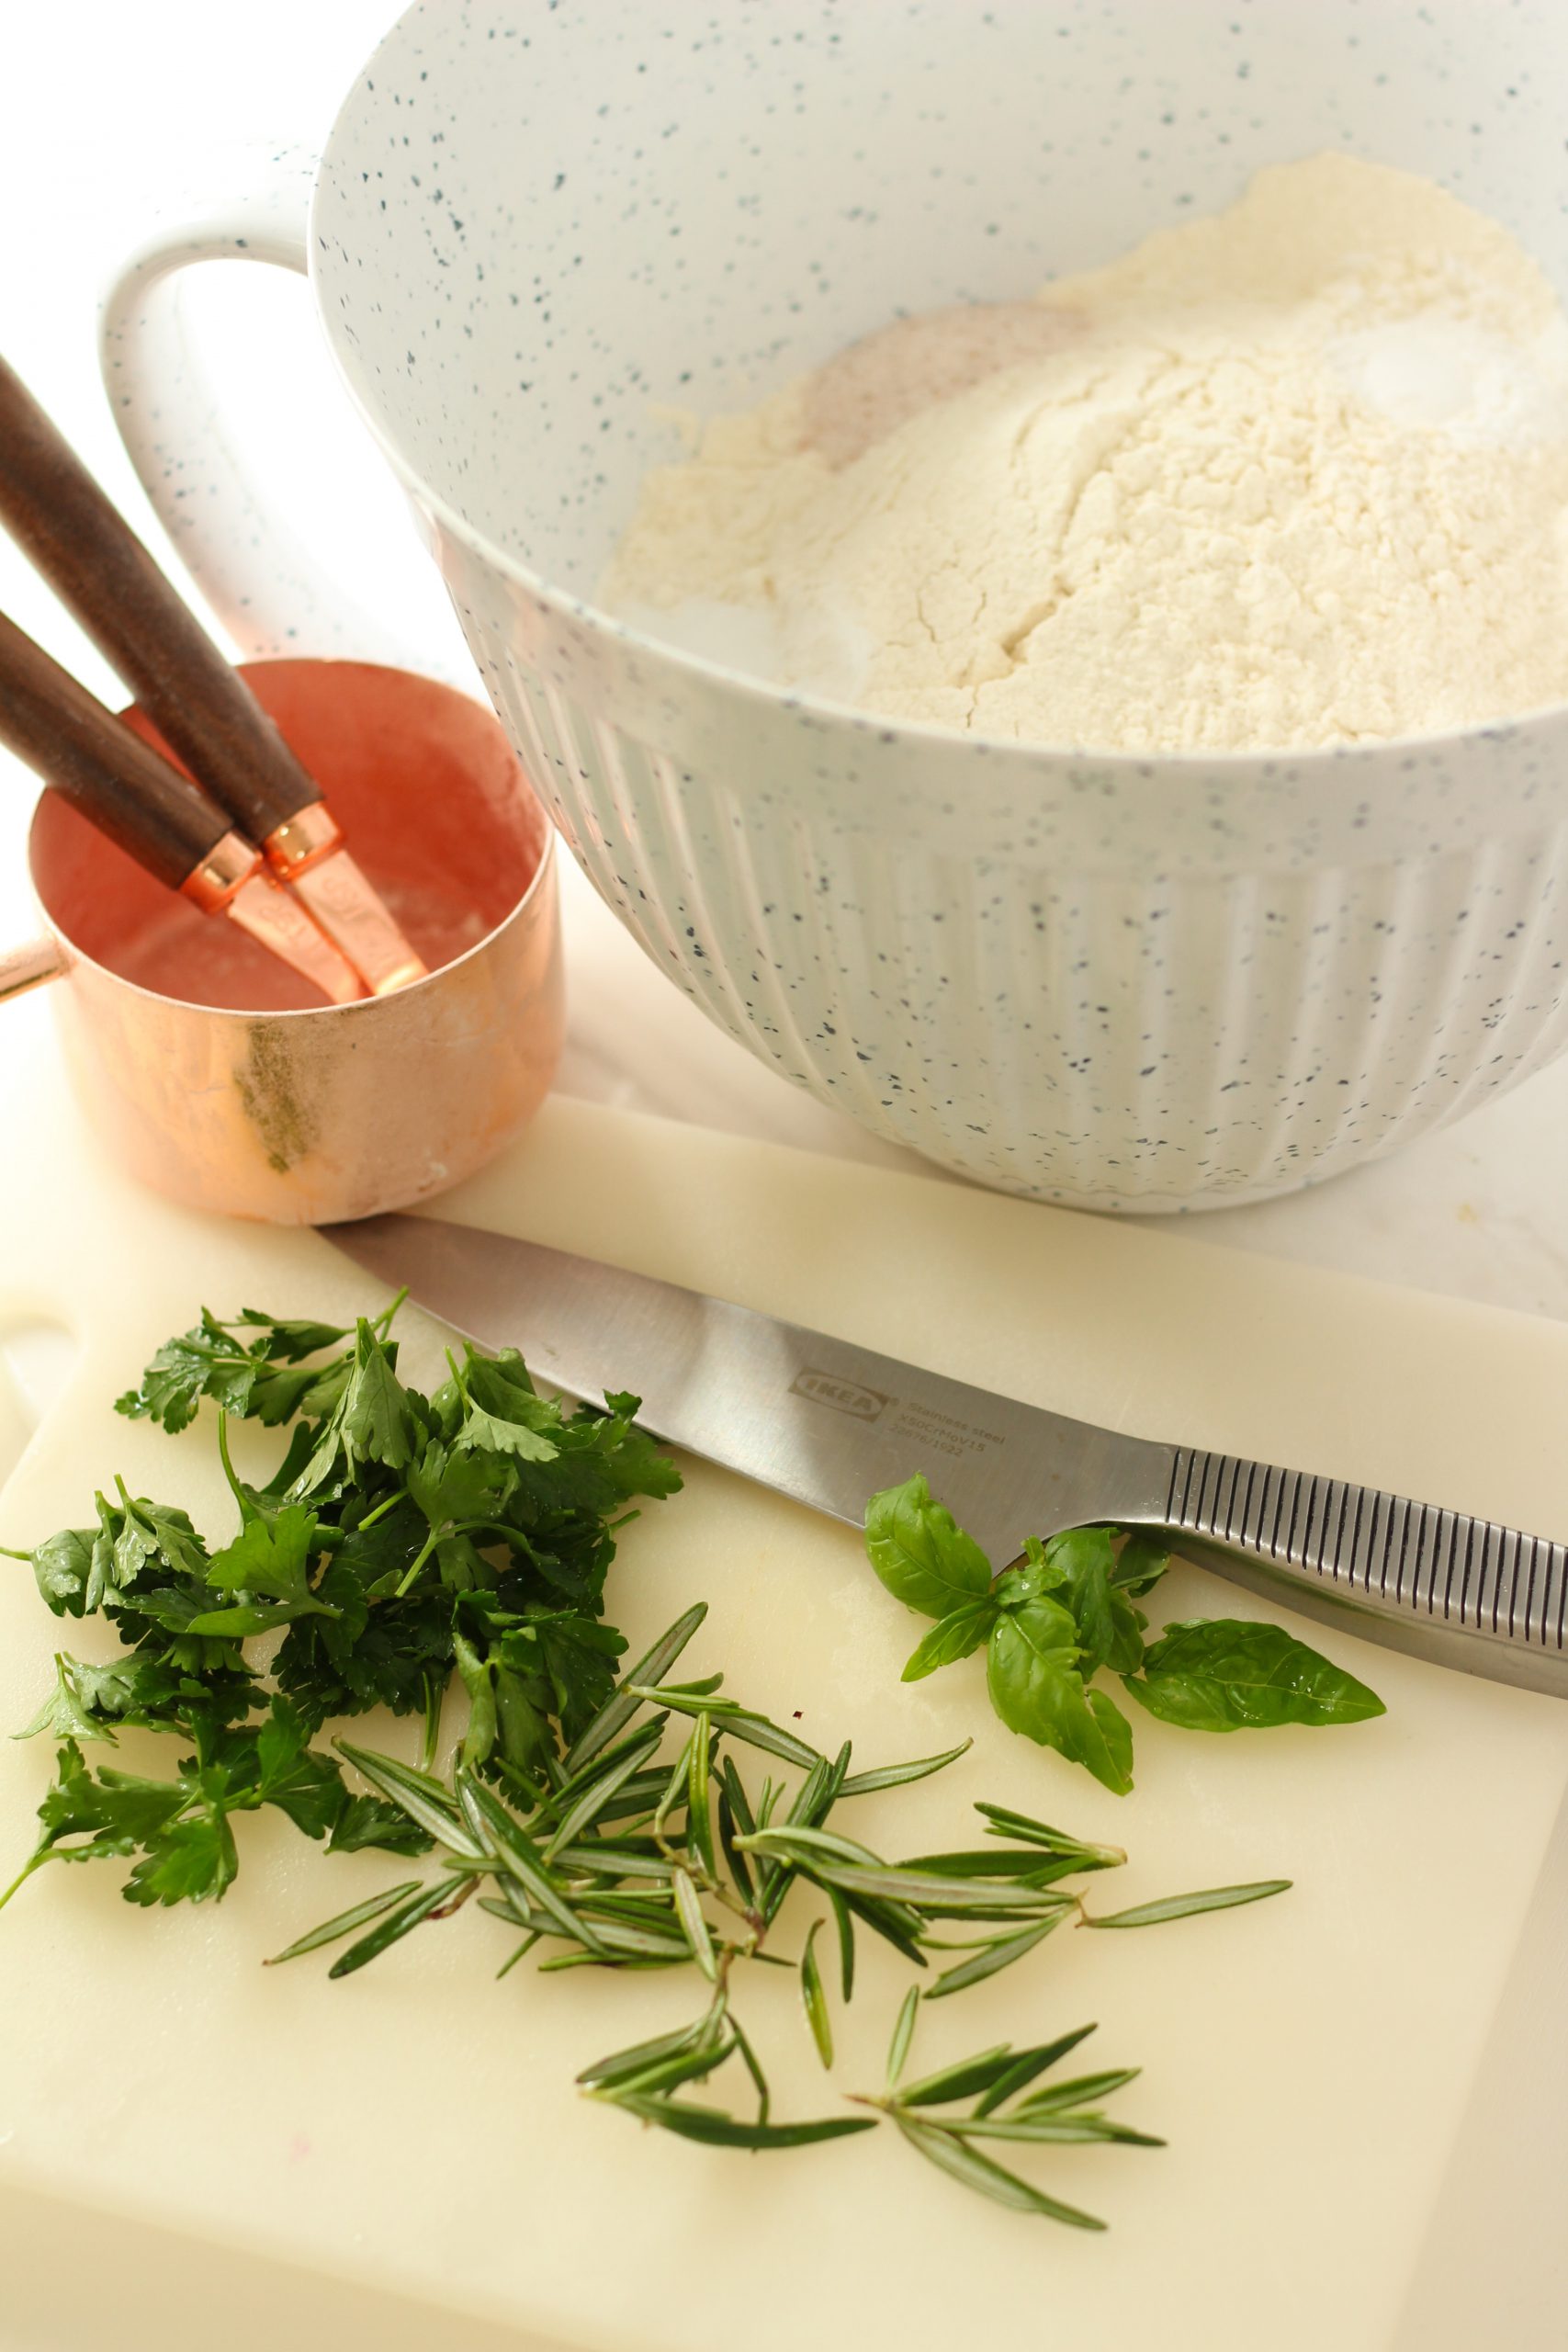
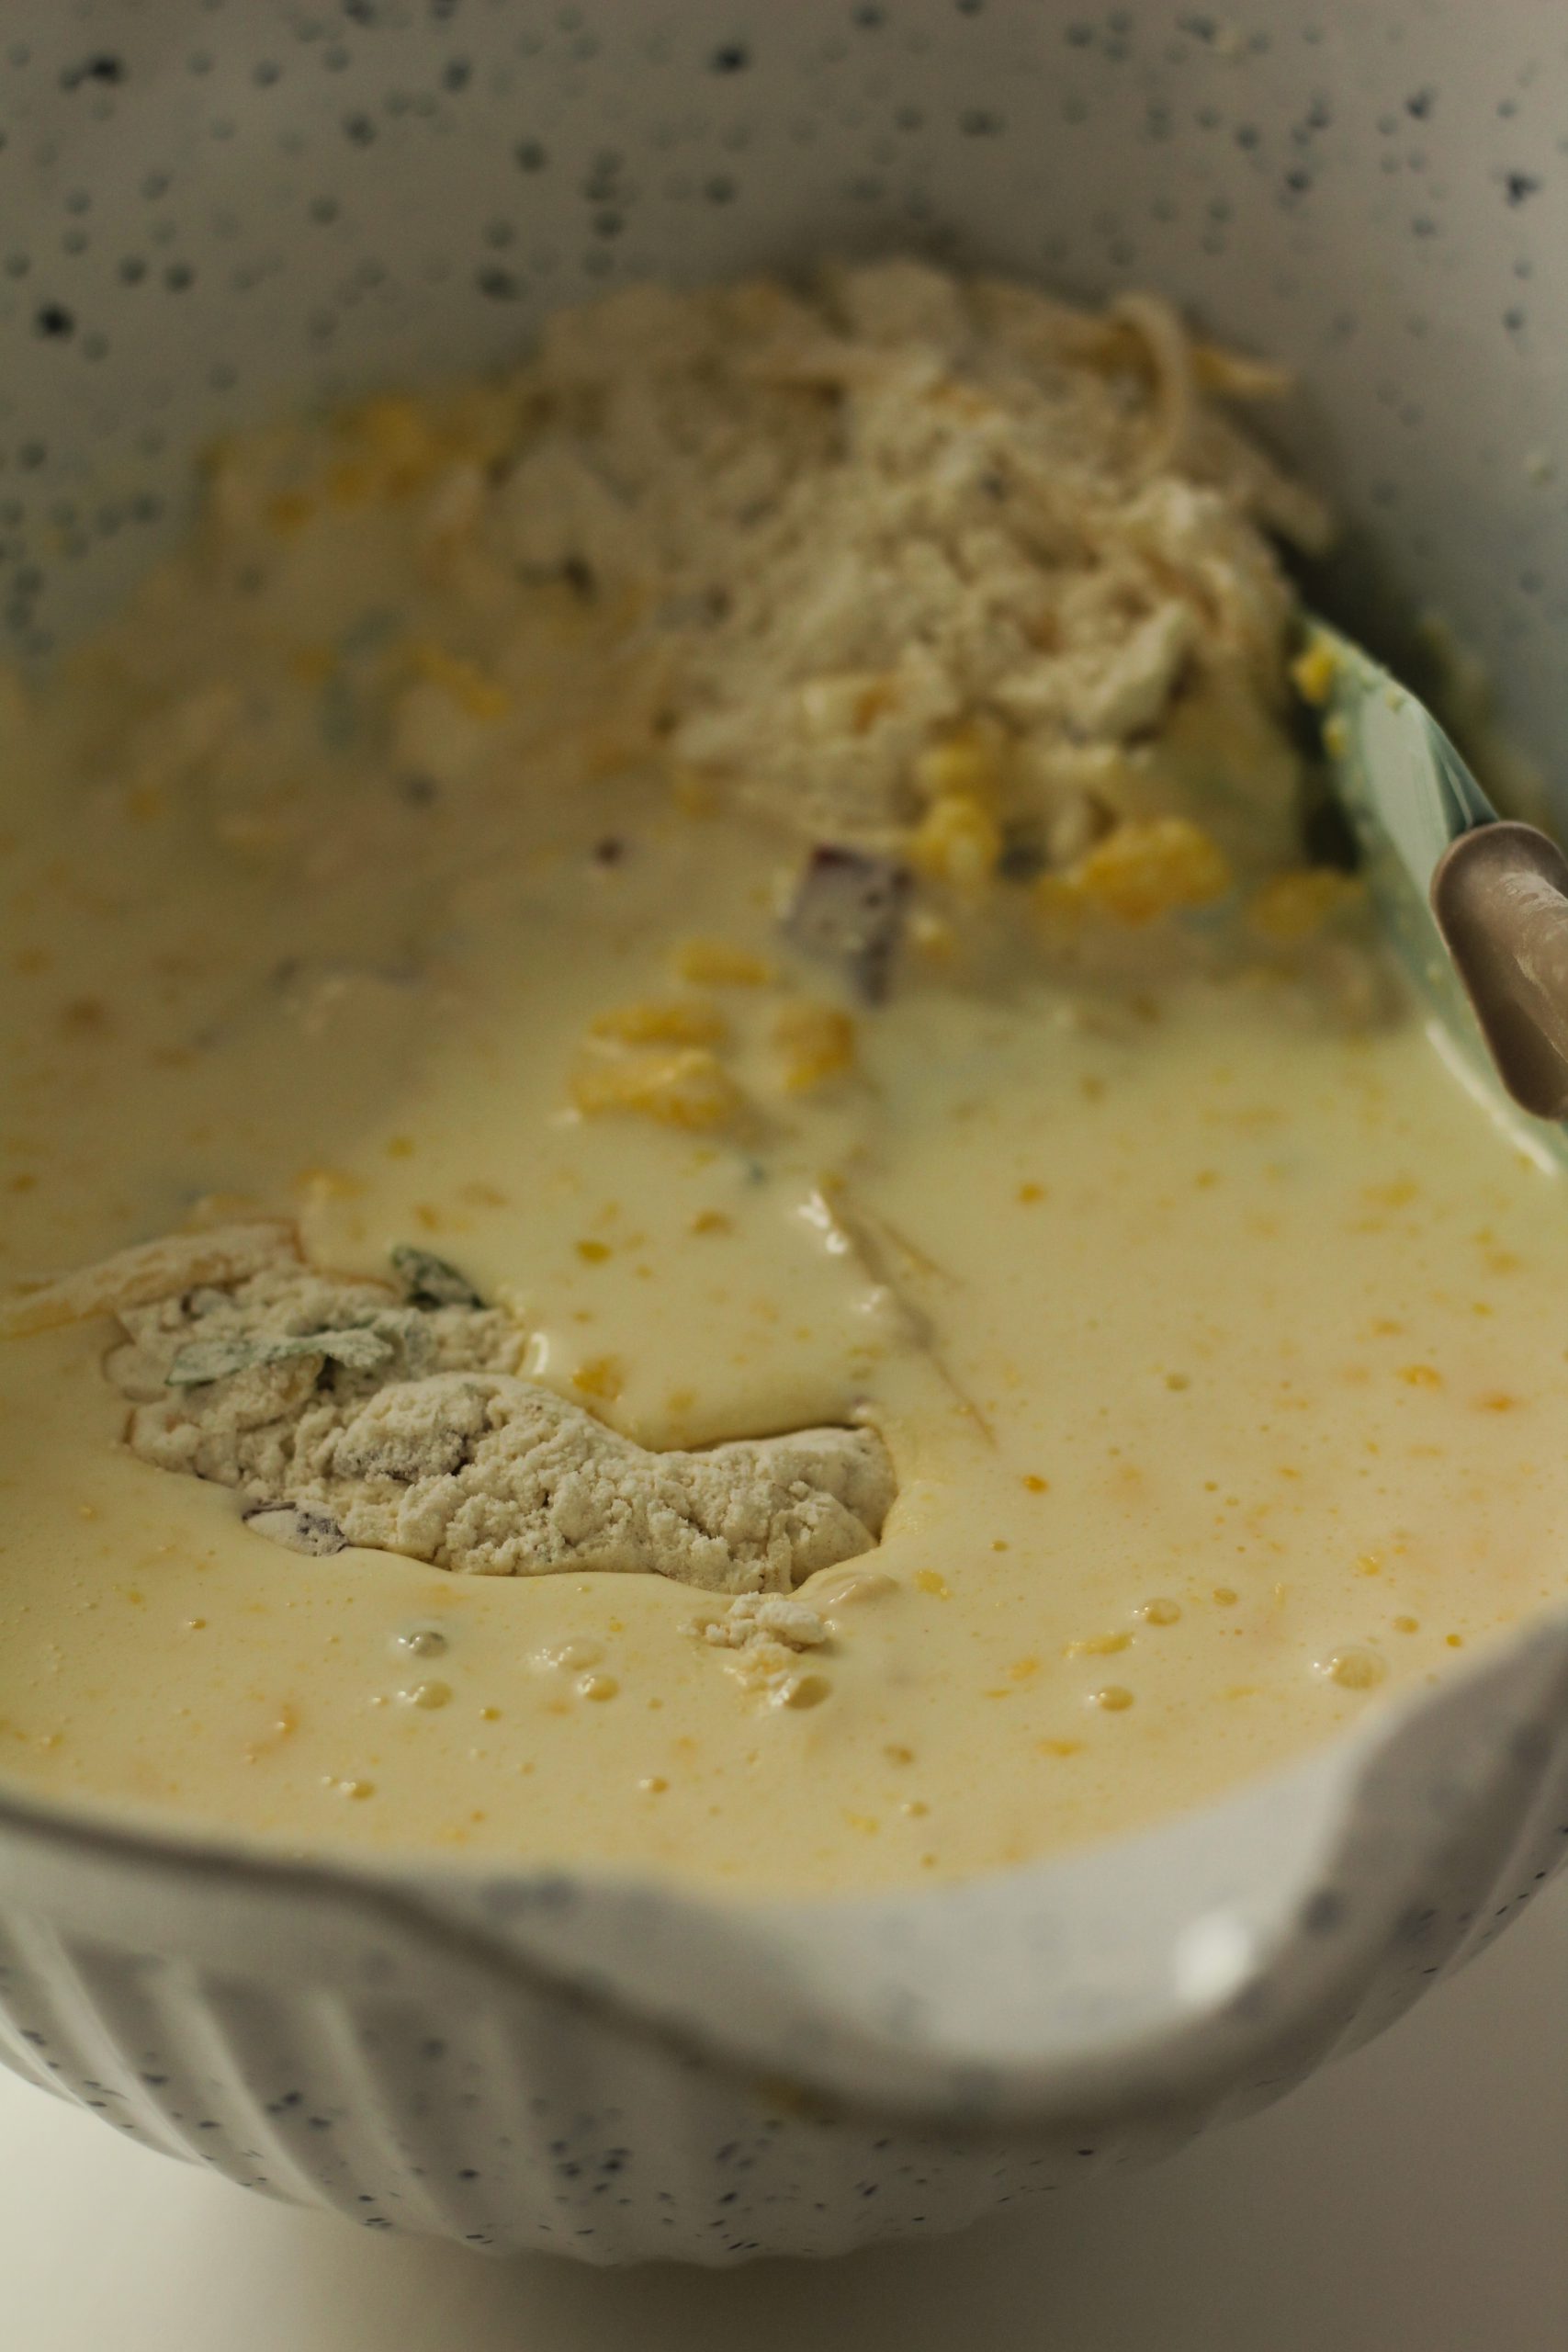
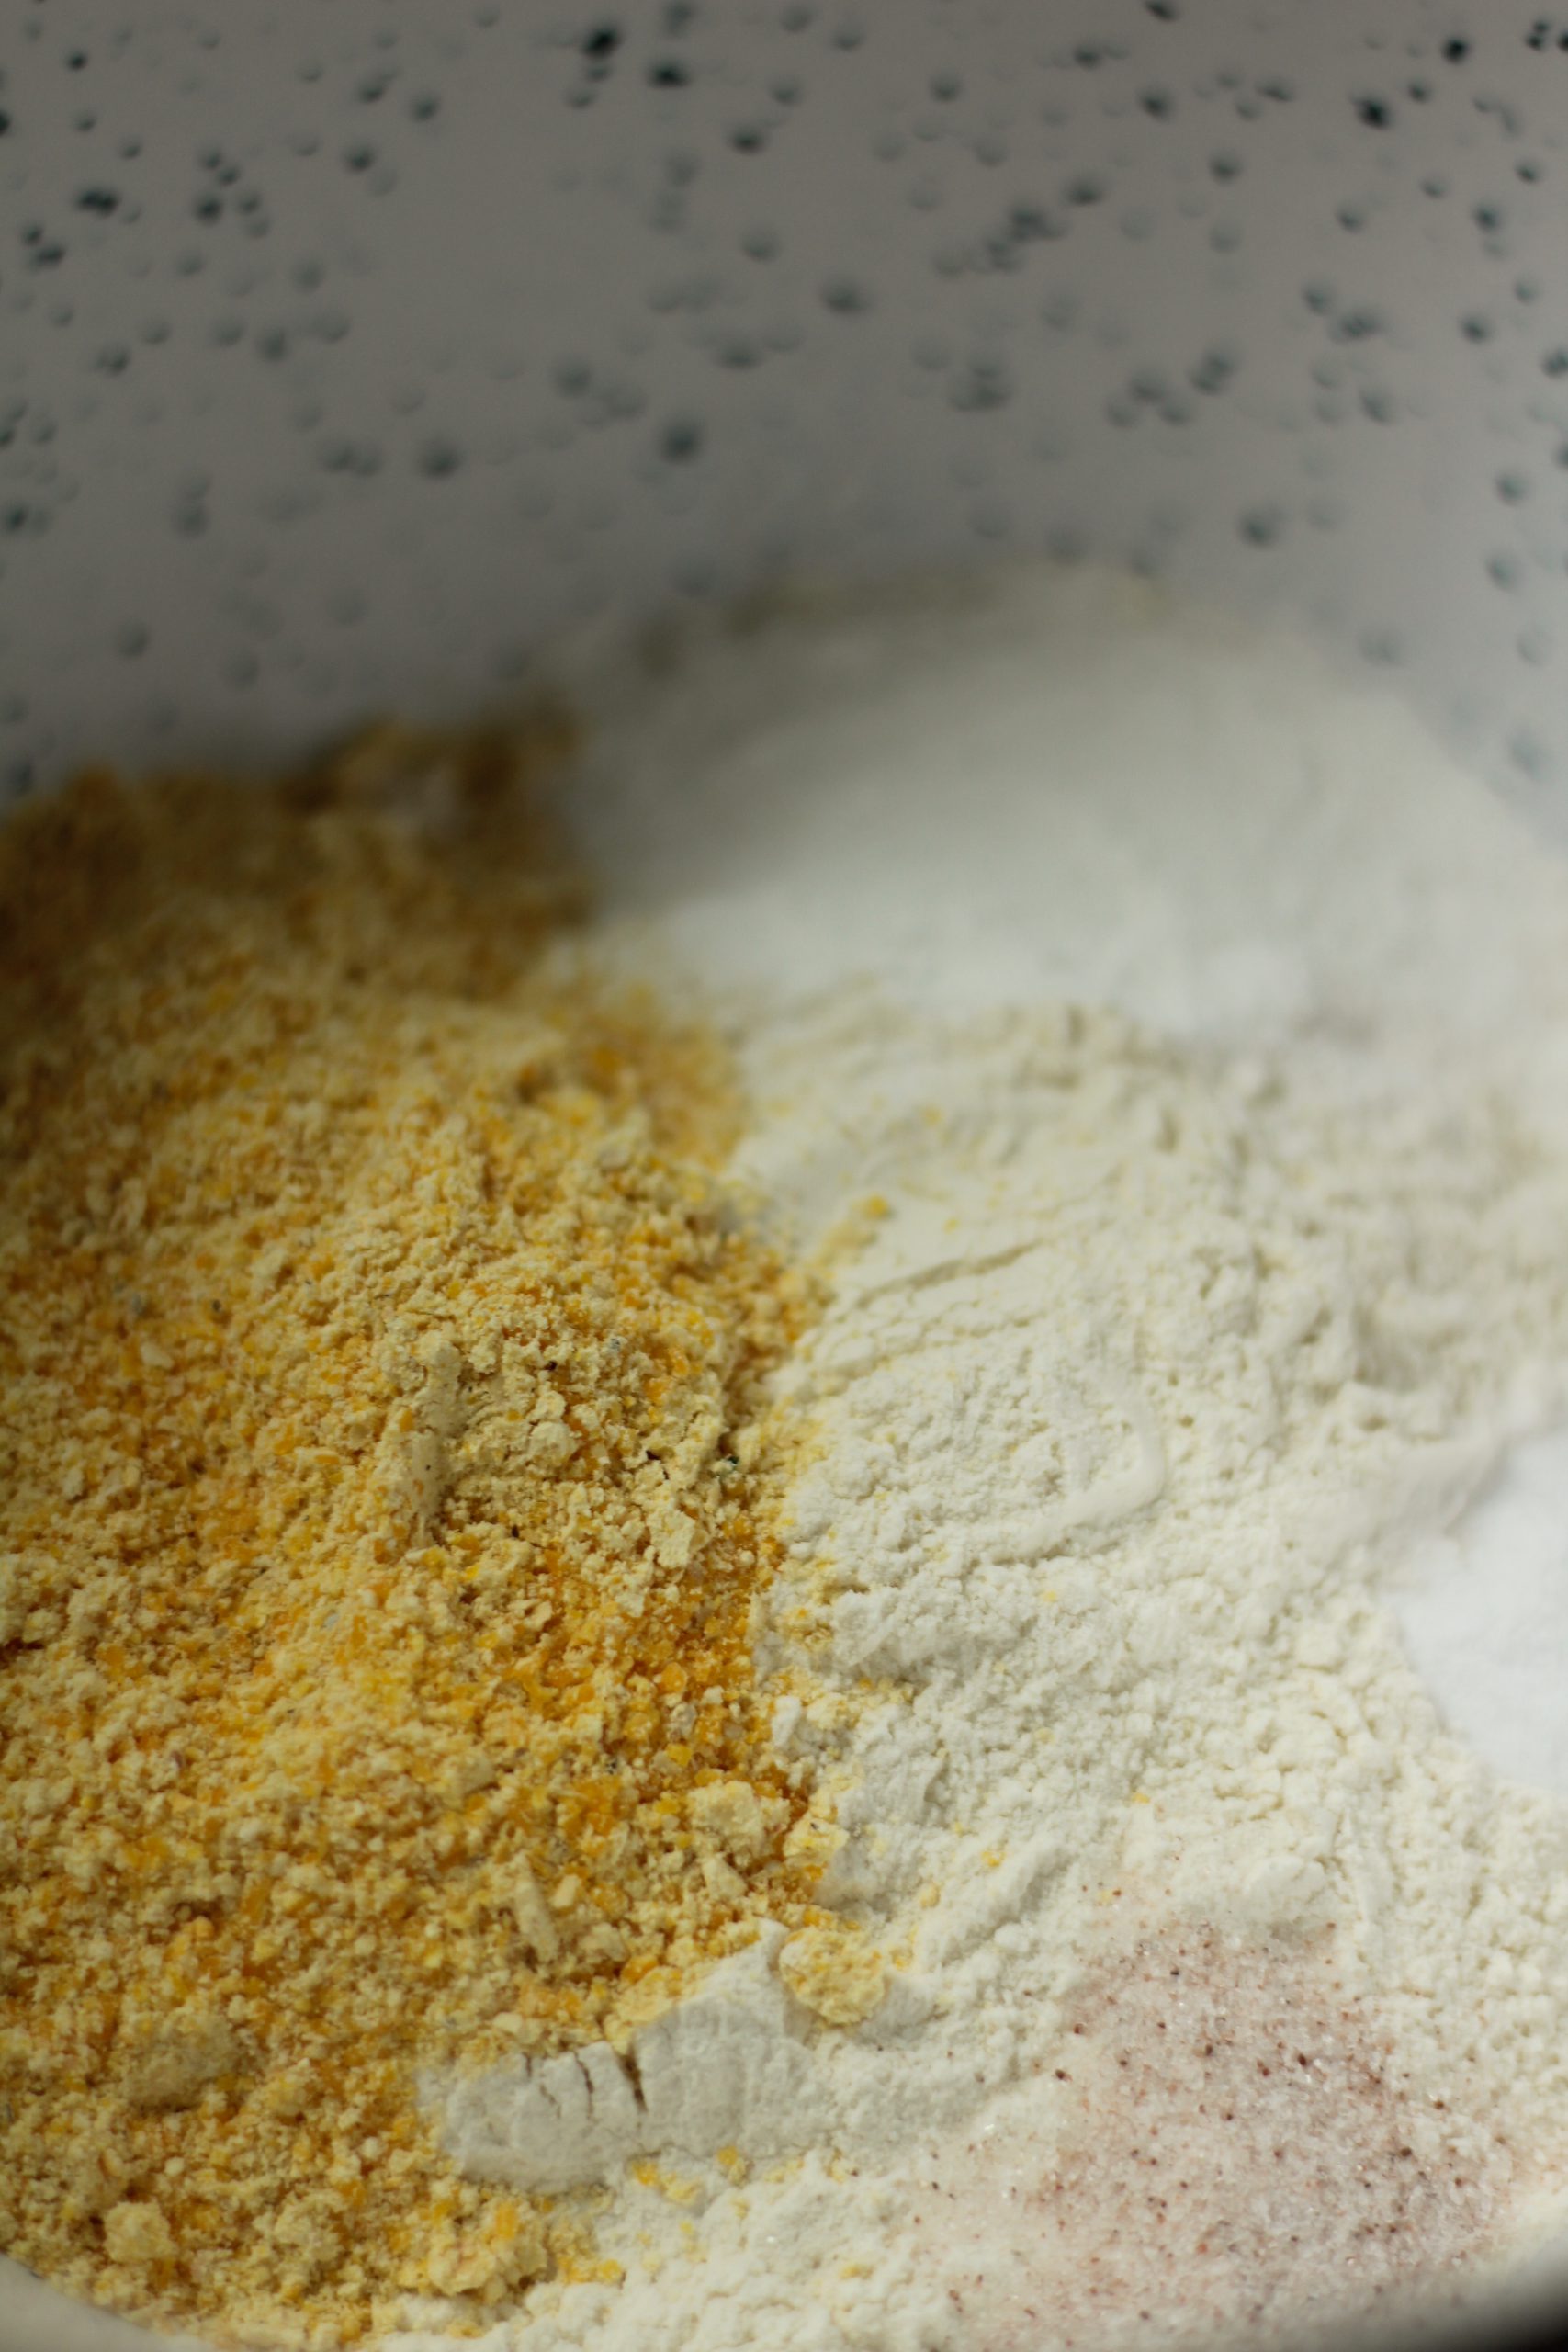
  • In the bowl of your mixer, with a dough hook, combine bread flour and salt. With the mixer on low slowly pour in the yeast mixture. When combined, add the rest of the honey, remaining water (1 1/2cup) and half a cup of the olive oil. Mix it on medium speed for 3-4 minutes.
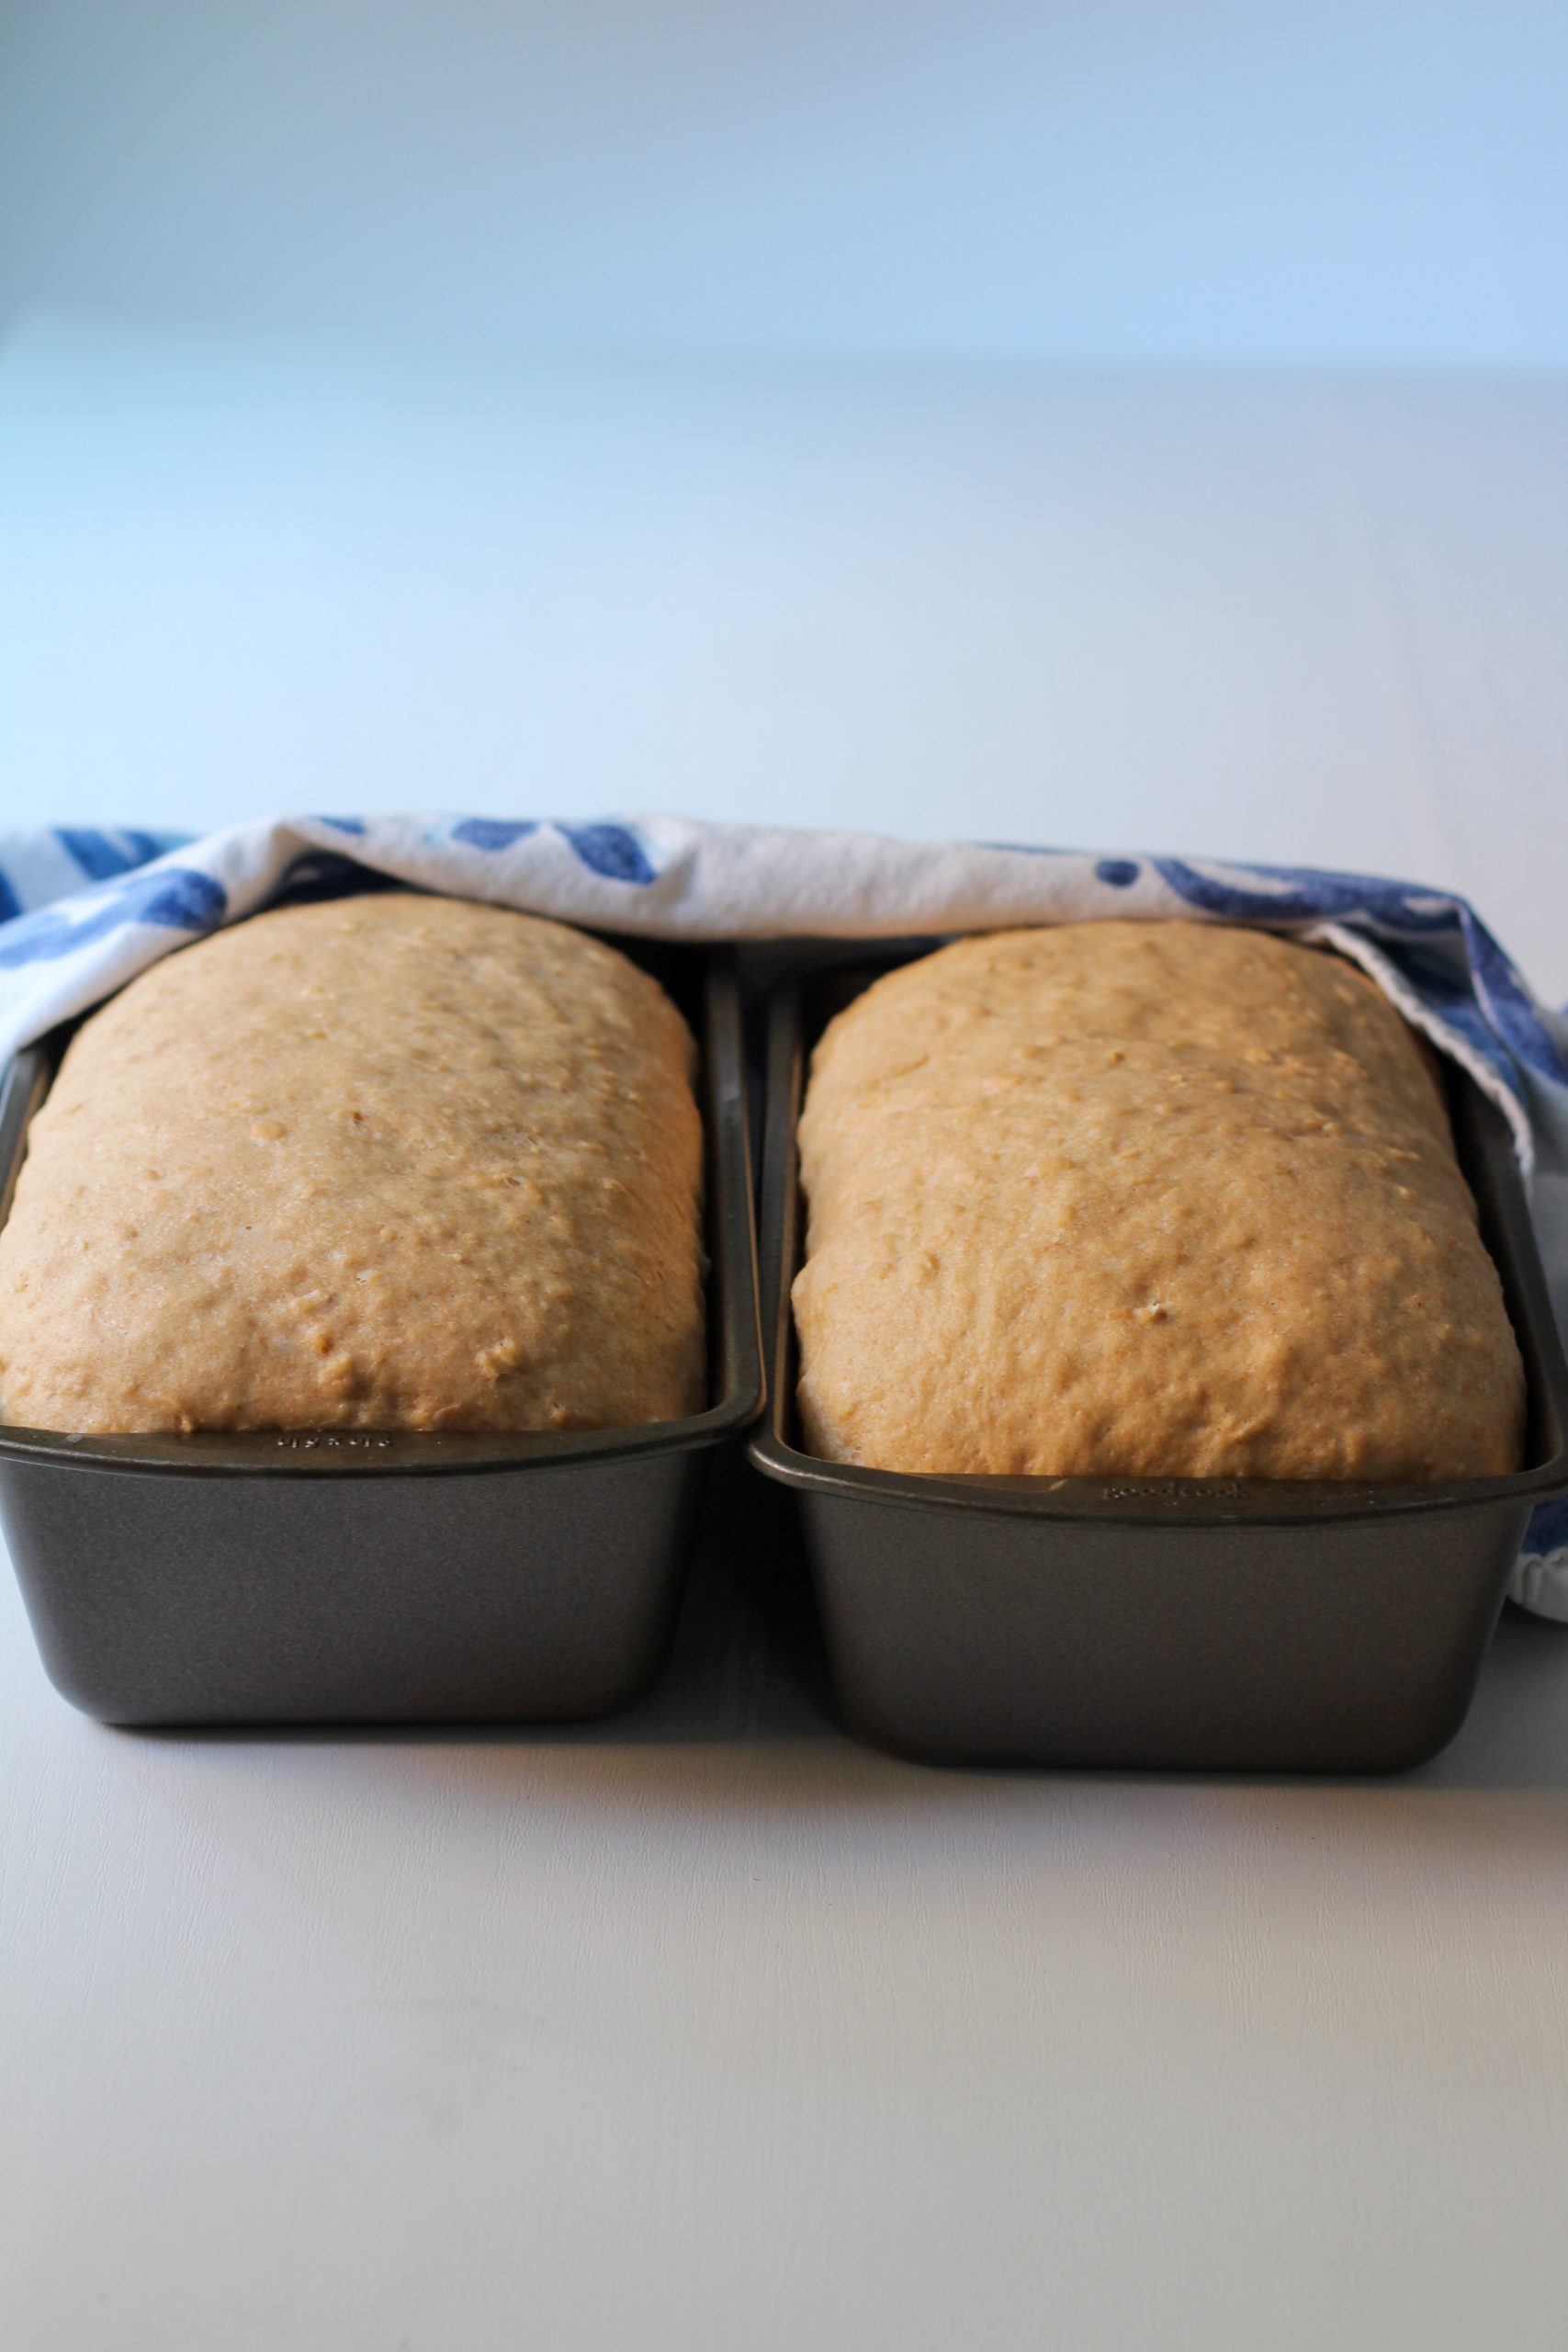
  • Grease a bowl with olive oil. Place the dough in the greased bowl. Cover and let it rest in a warm, draft free area until it is doubled in size. This takes around an hour.
  • Drizzle 2 tablespoon of olive oil in a rimmed sheet pan that is about 17×13 inches.
  • After the first rise, punch the dough down to release the air. Place the dough on the prepared sheet pan and shape the dough into a rectangle. The dough should be a 1/2 inch thick.
  • Cover the dough with cling wrap and place it in a warm draft free area on your counter until it is doubled in size. This takes about 1 hour.
  • Preheat your oven to 400 degrees Farhenheit.
  • After the second rise, use your fingers to poke and create deep dents in the dough. Then drizzle with a tablespoon of olive oil and top with fresh rosemary and sea salt. You can bake it now or add extra toppings.

Topping

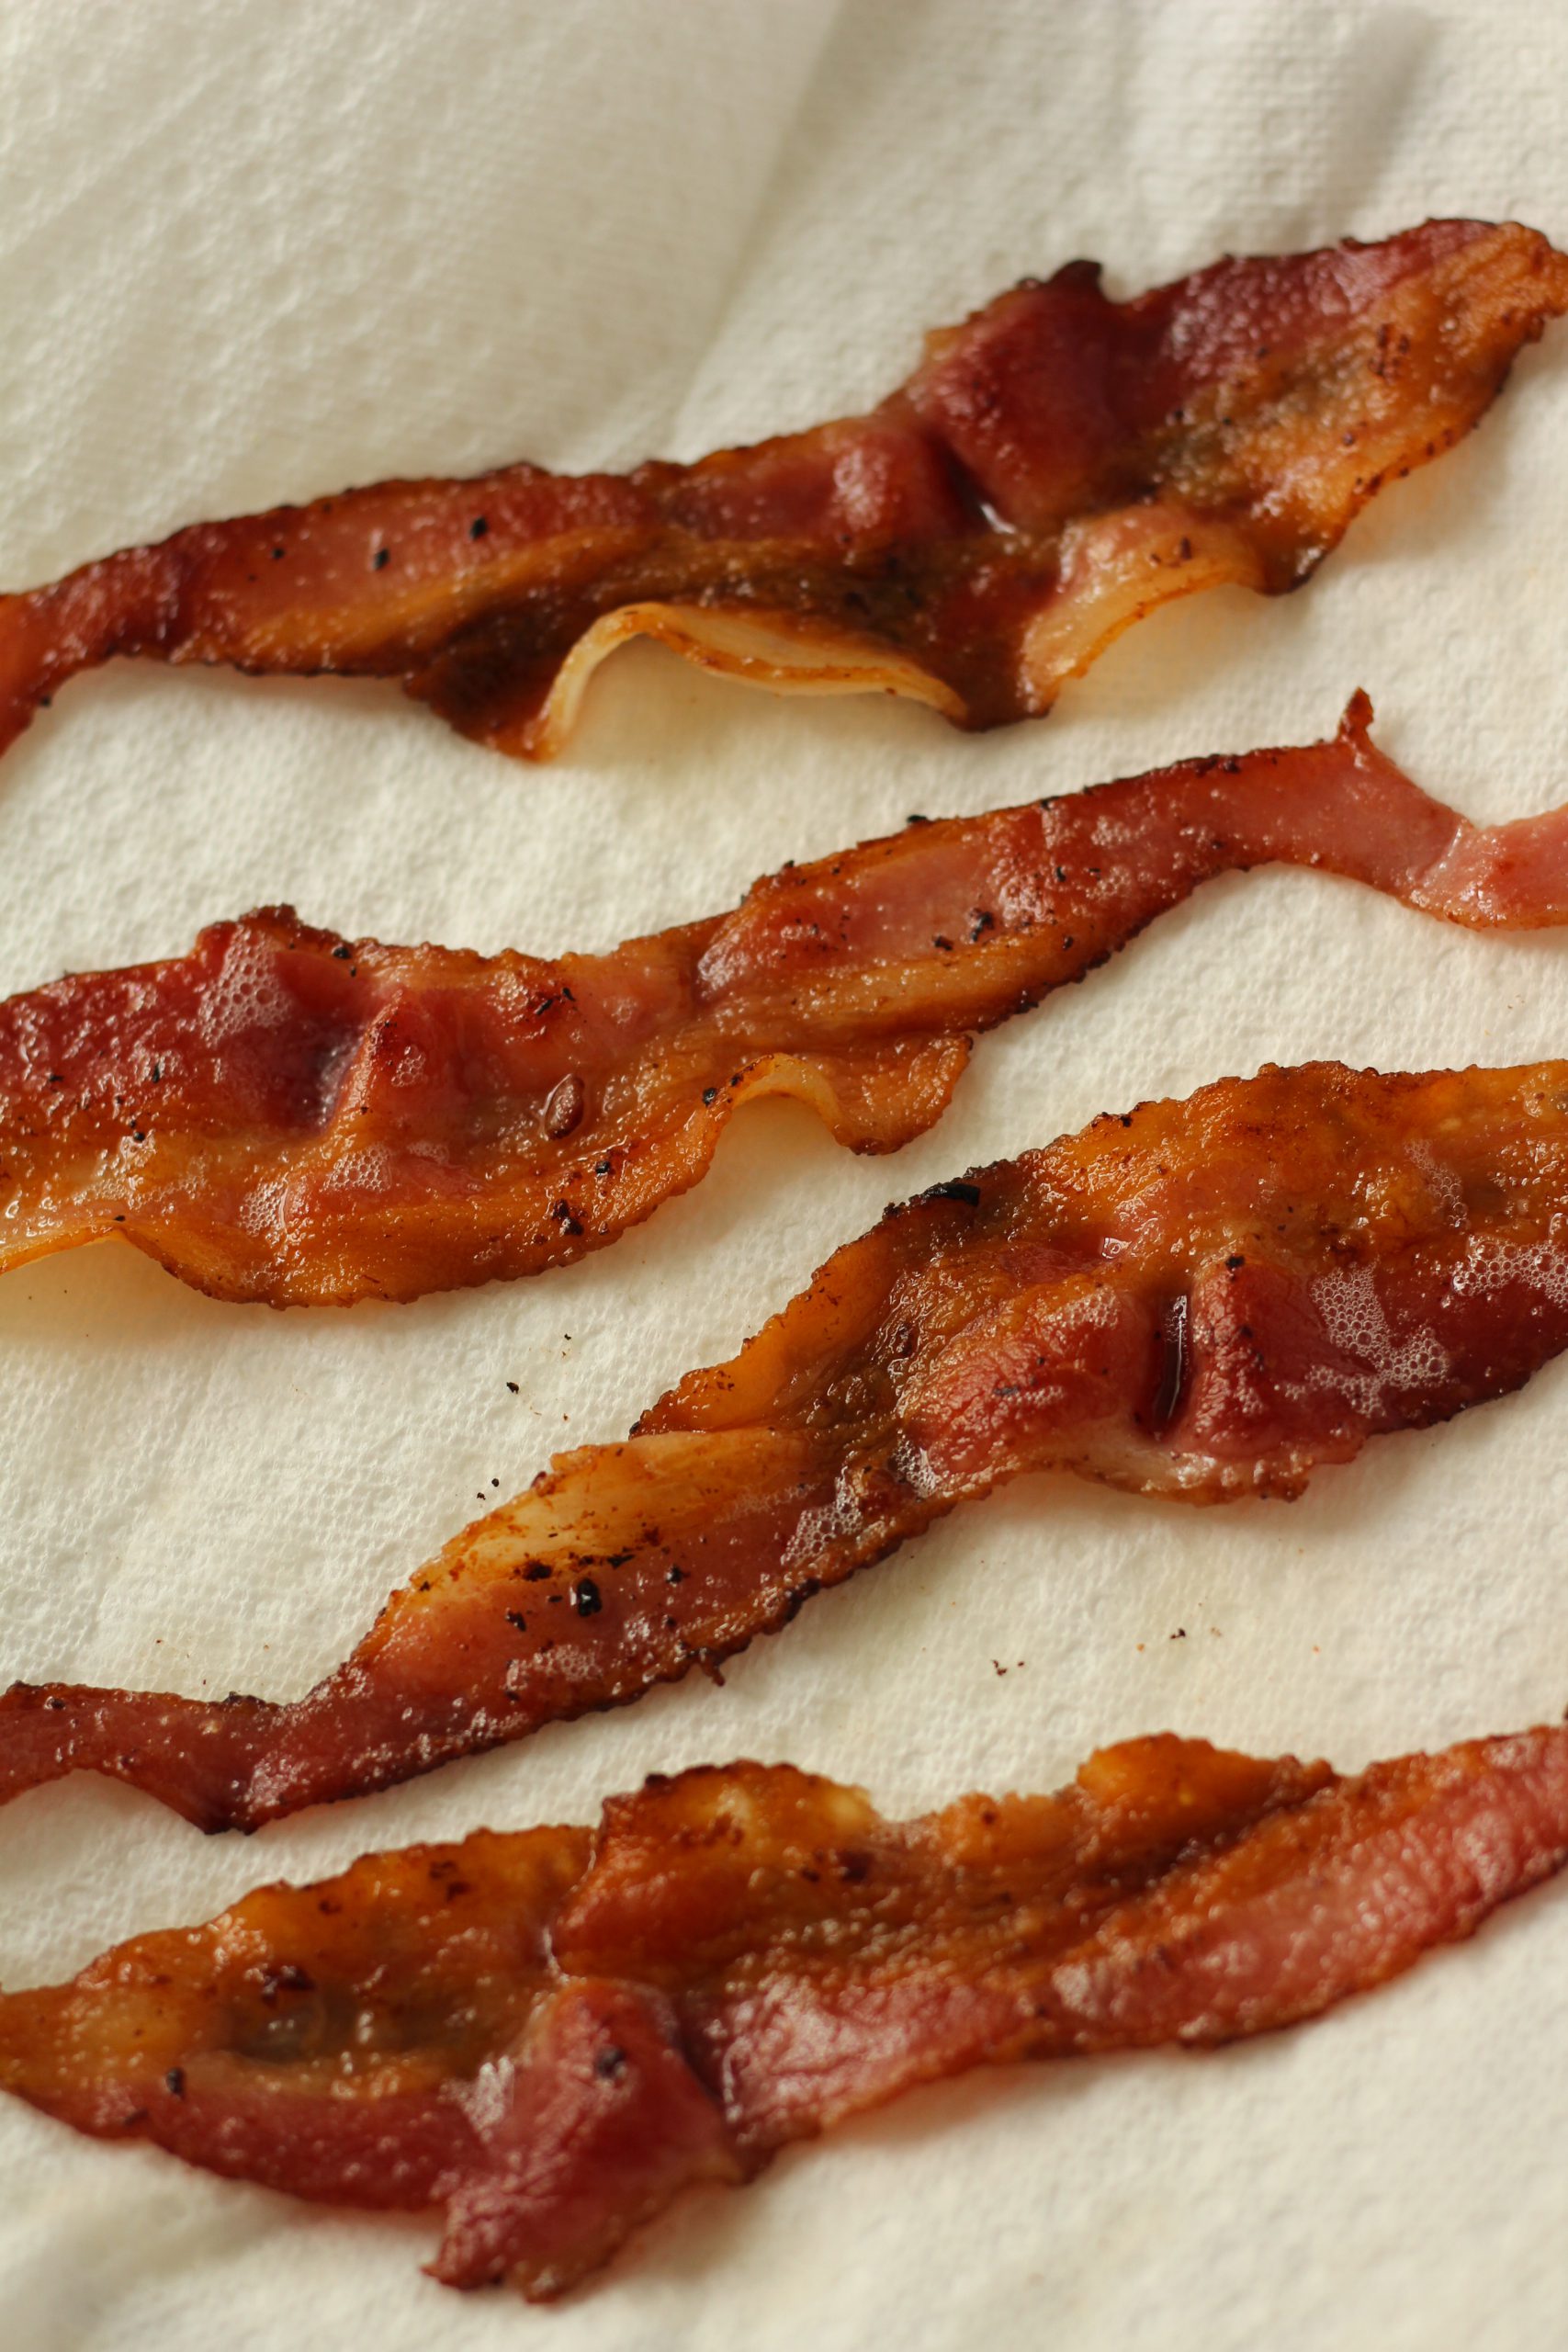
  • Cook your bacon to a crisp and let them rest on a paper towel.
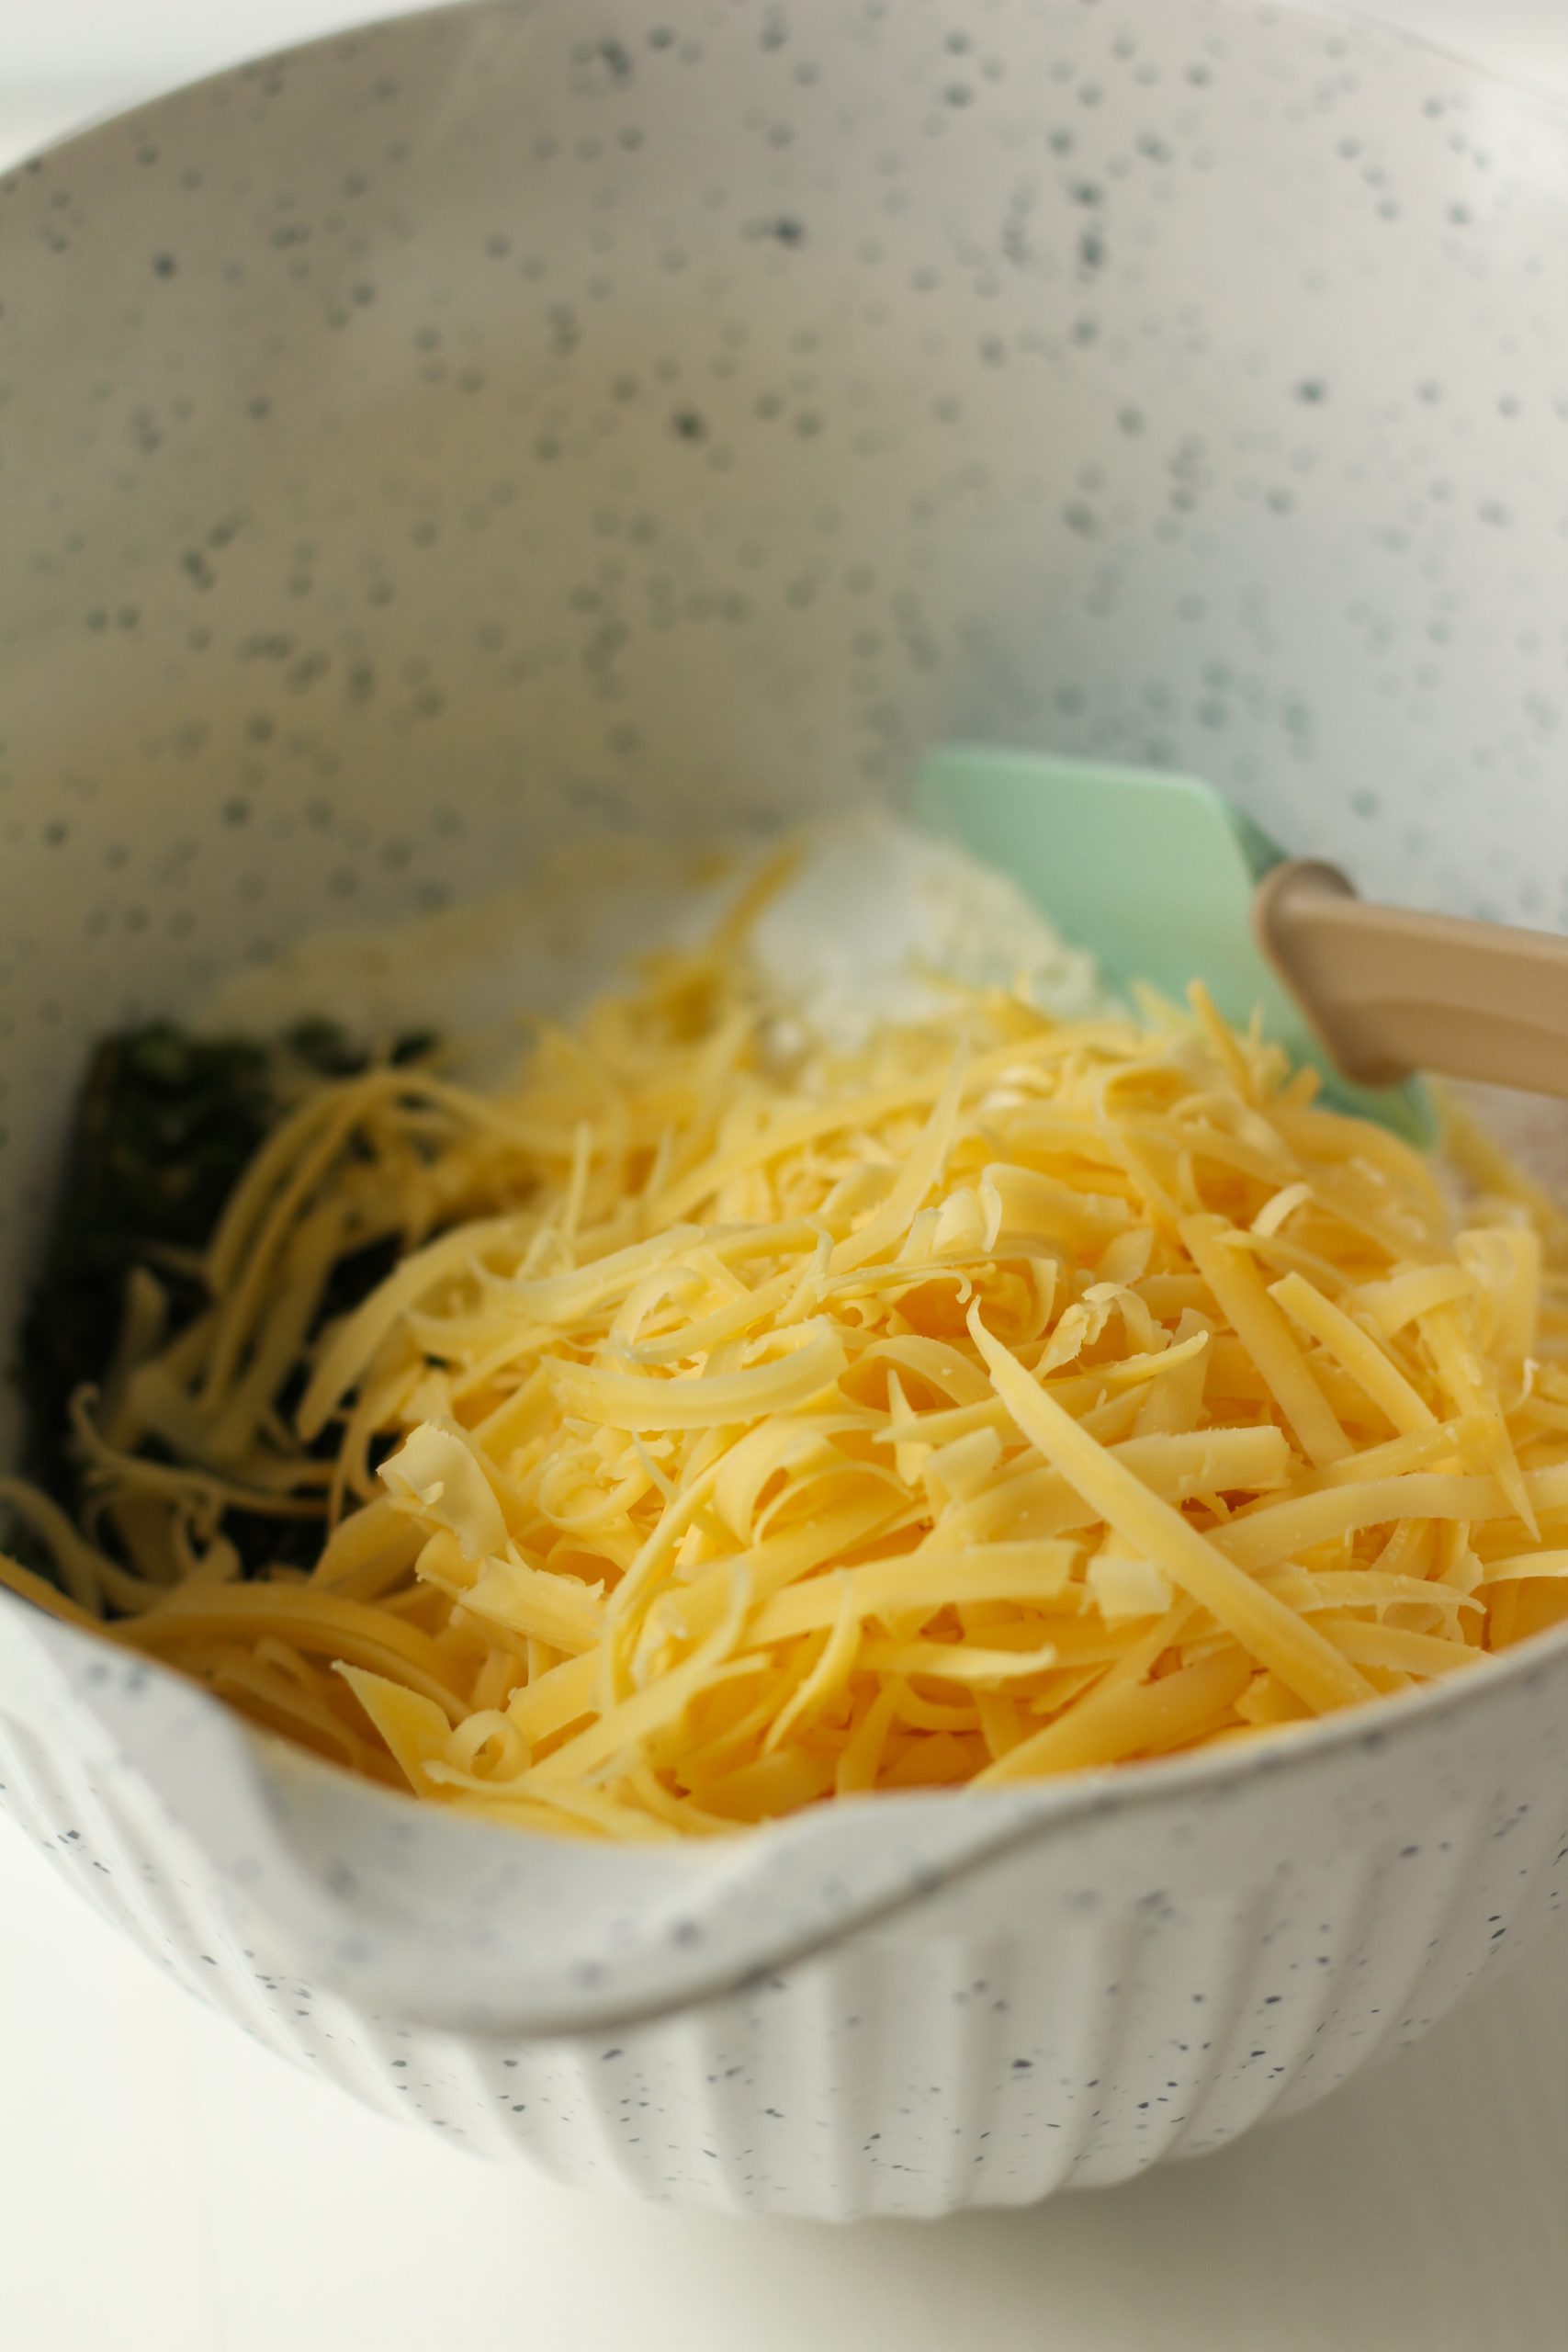
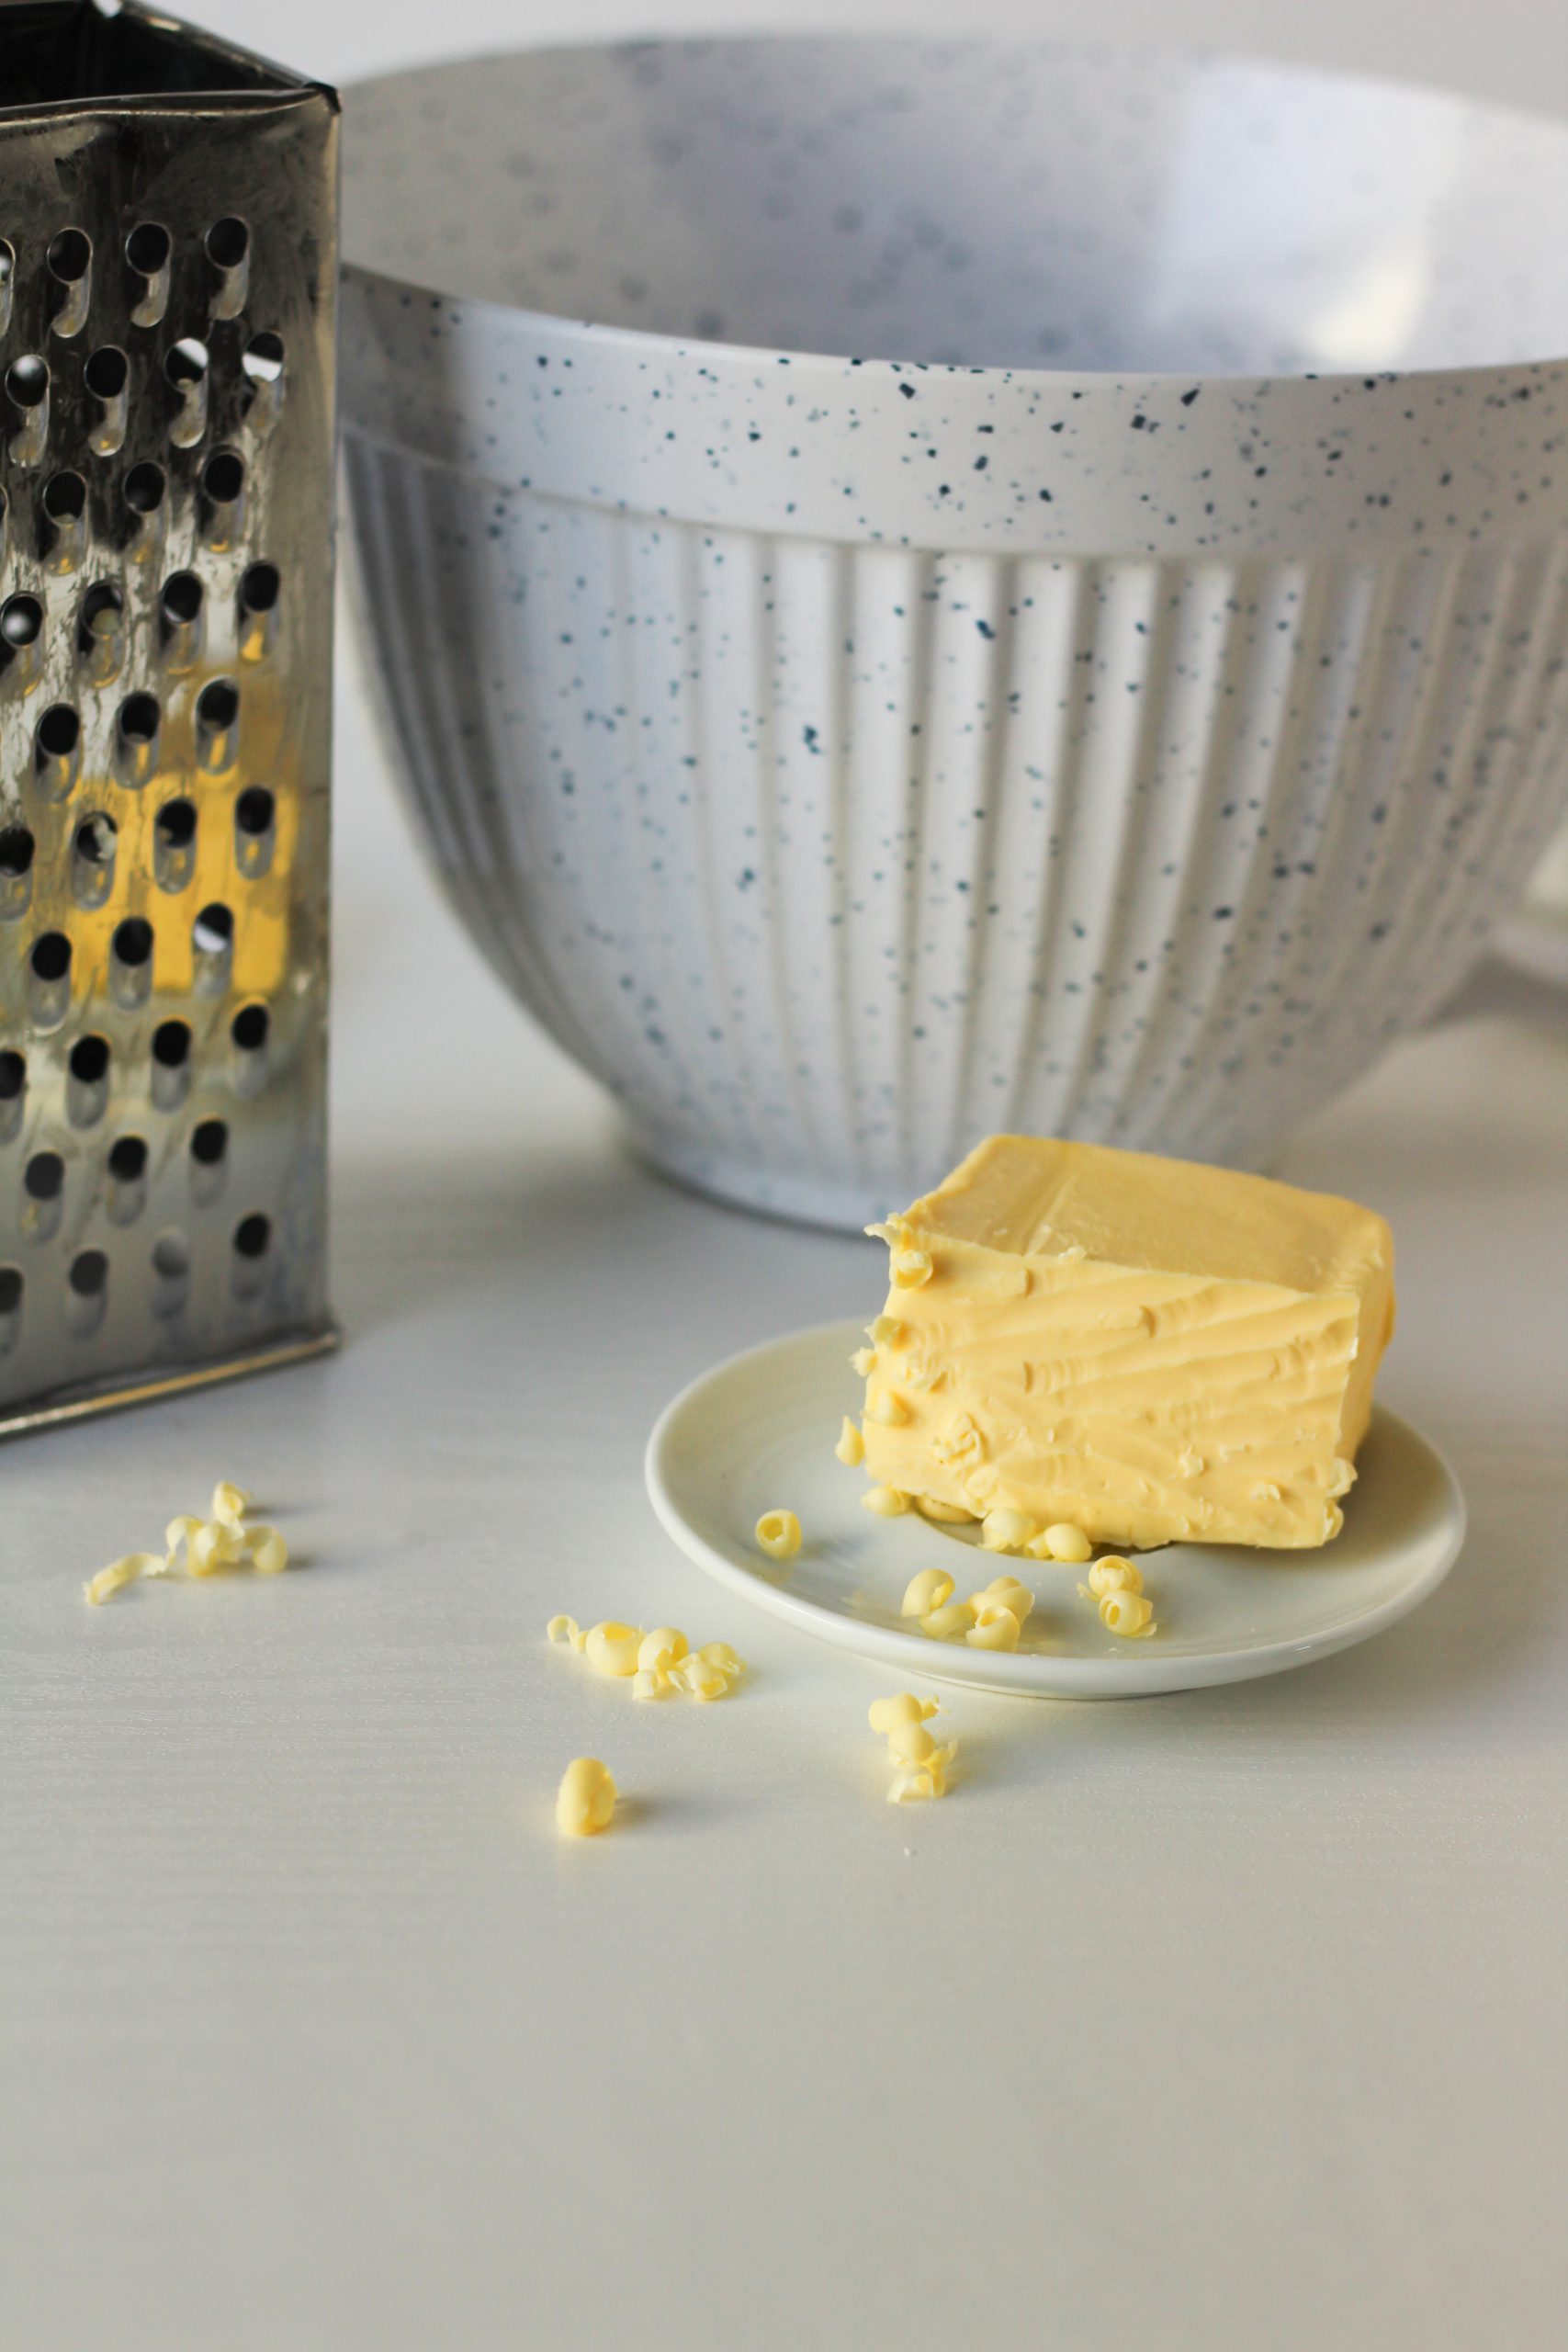
  • Thinly slice your potatoes and grate your cheese. Add your extra toppings to the bread.

Baking.

  • Bake the focaccia until it is slightly golden and cooked through. This takes around 20 minutes.
  • Let it cool on the cooling rack.

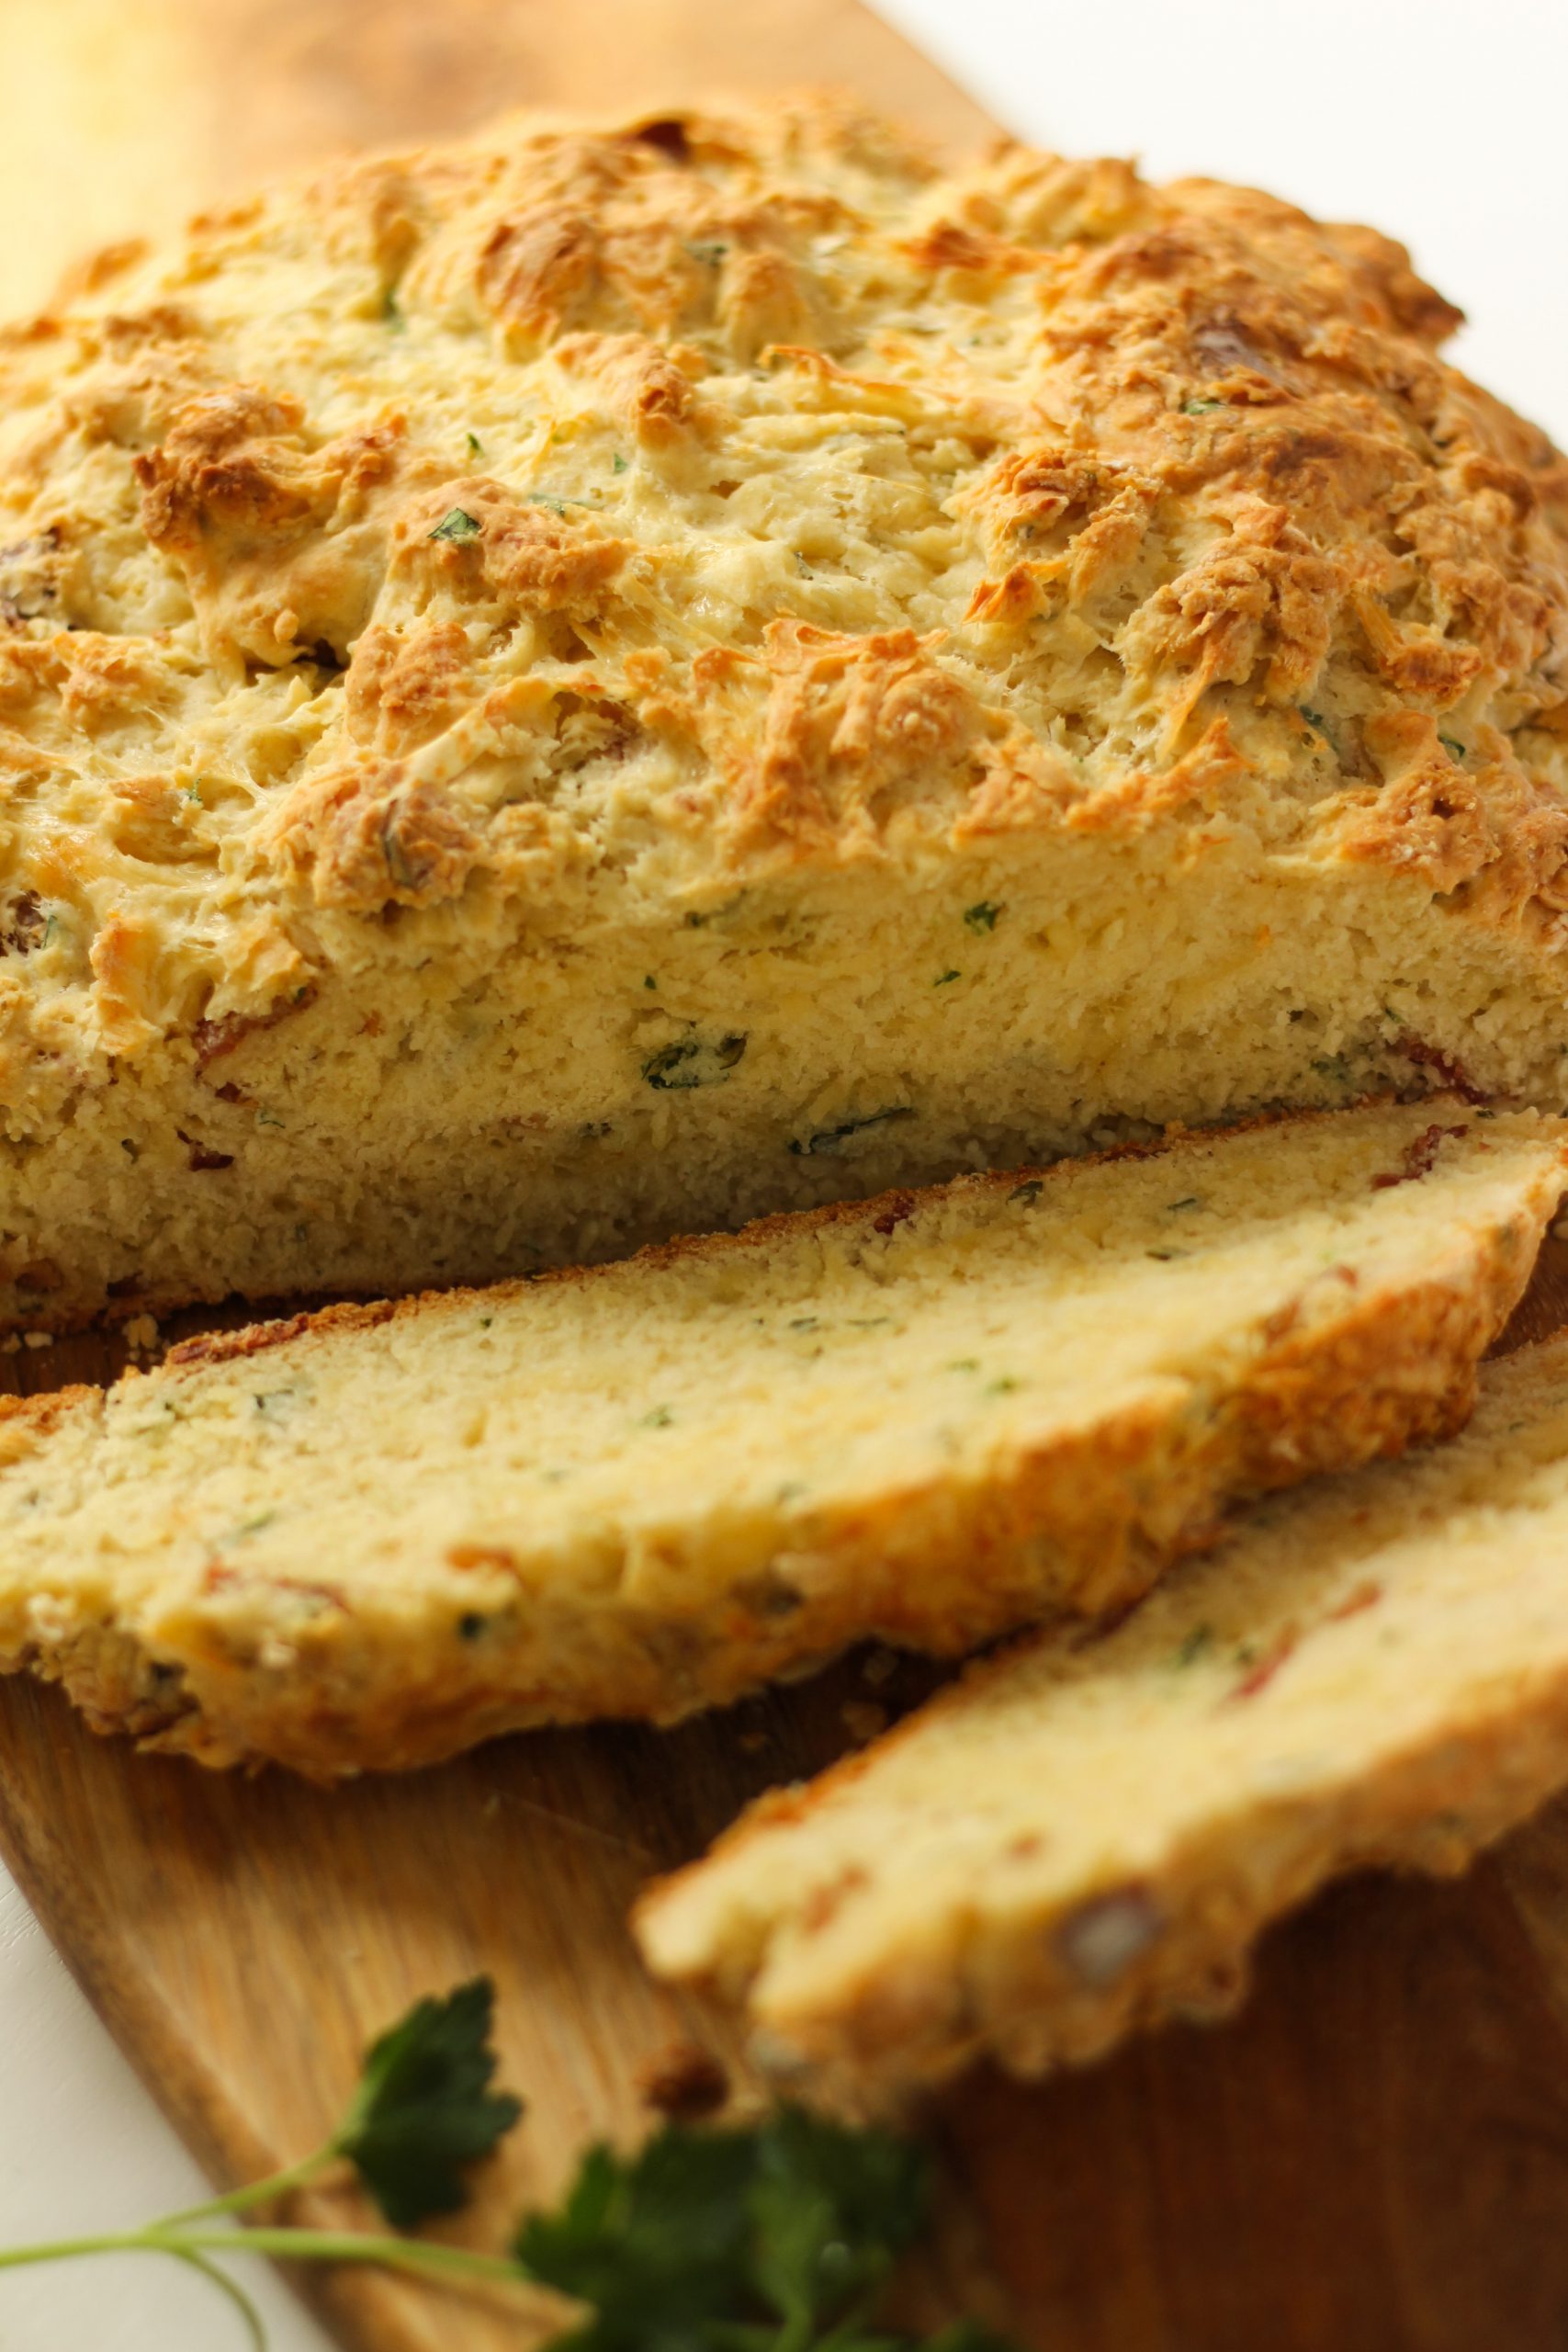
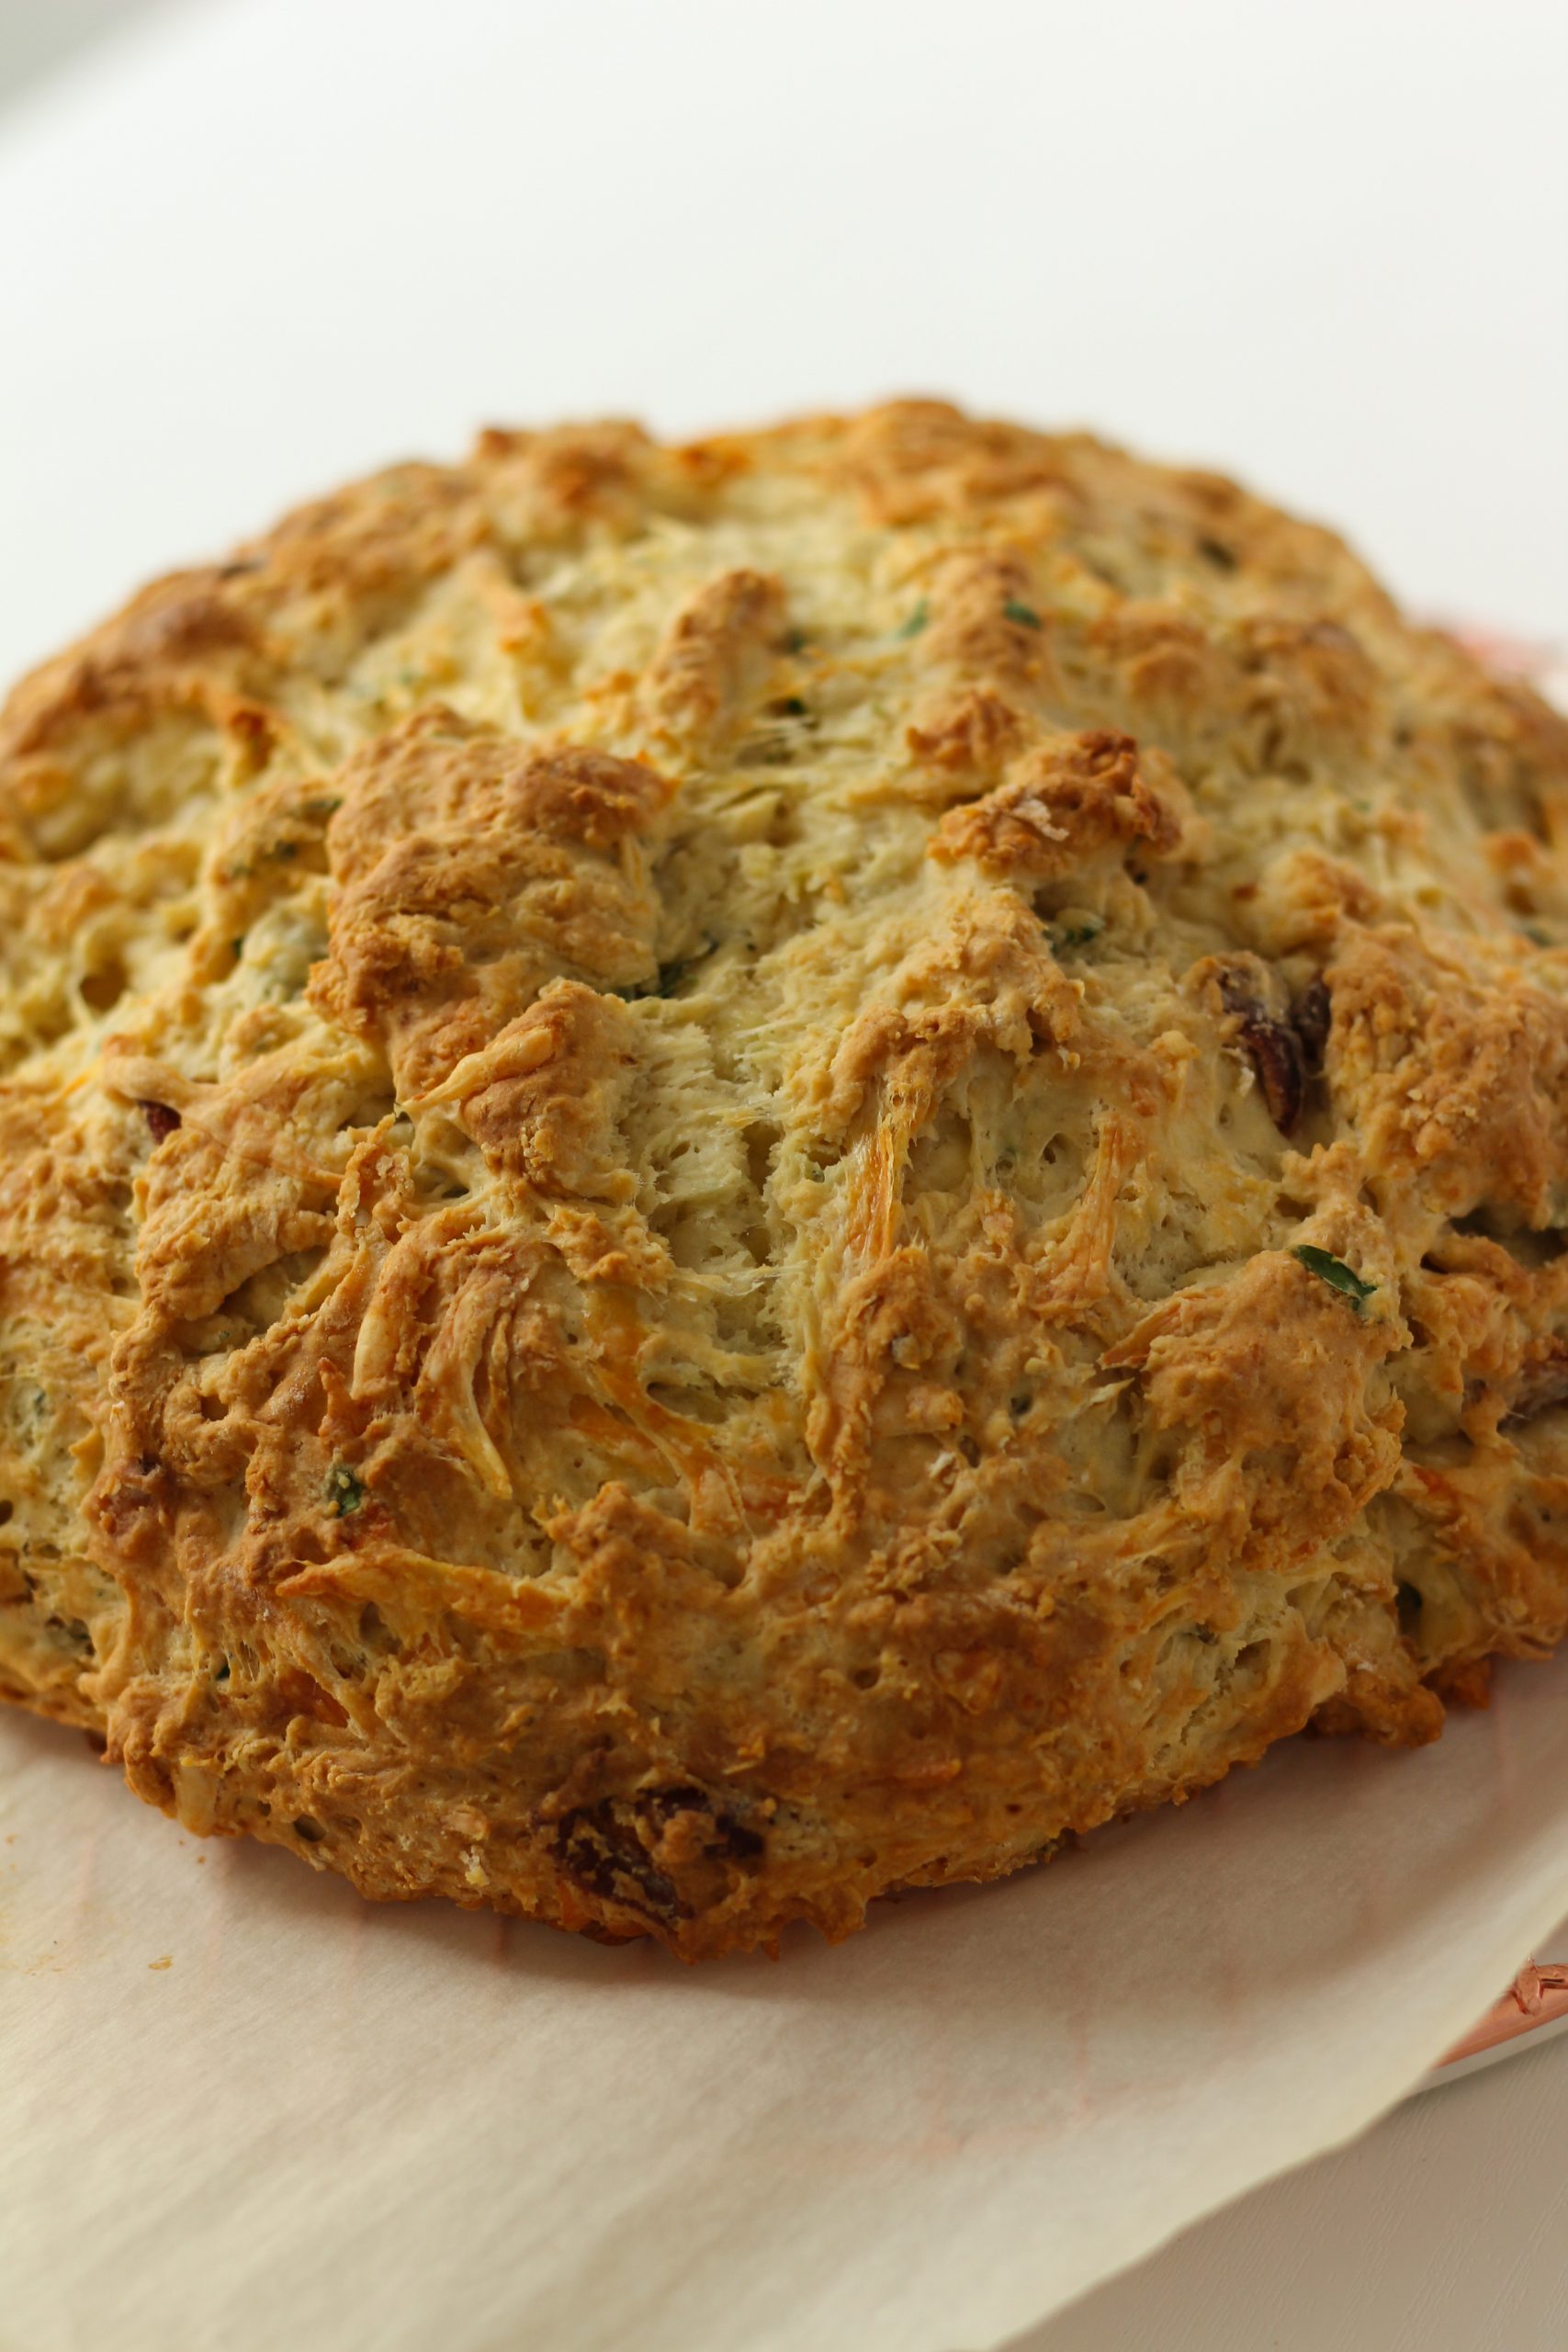
If you’re looking for more bread ideas, check out this Irish soda bread on my blog.


Sourdough Bread
When the pandemic started I ran into the problem that active dry yeast could no longer be found in any stores. So, I got on the sourdough train along with everyone else. At first I tried to make my own starter, but that wasn’t a big success. Luckily, a good friend got a starter from a local bakery, and kindly gifted some to me. Then the fun began! I started experimenting with lots of recipes for sourdough bread. Eventually, I settled on one my whole family enjoyed and I continue to make one loaf a week. The starter even moved with us from California to Pennsylvania and is still going strong. 

I recorded my first instruction video to accompany this recipe because some parts are hard to explain in words. I really hope this helps. The recipe is easy and delicious but takes a lot of time and patient. Believe me, it is worth it!

Sourdough starter

In this picture you see that my sour dough starter is active. You can tell it is active because of the air bubbles. To get an active starter, I recommend feeding your starter and letting it sit out at room temperature every 4-6 hours, or until it increases in volume by about 30%. I keep an elastic band around my jar, to help me keep track of the growth. I highly recommend to using filtered water when feeding your starter as chlorine can inhibit your active yeast. When mixing the sour dough starter do not use any metal. It is preferable to use a plastic or wood spatula throughout the making of this recipe. 

I normally let my dough rest overnight on the counter top because it takes a long time. Keep this in mind when you feed your sour dough starter. For example, if you feed the starter around 12 pm it will be active around 6 pm. This will allow you to let it rise overnight on your counter and bake the bread the next morning.

Dough after 8-12 hour ret period

Air bubbles should form after the 8-12 hour rise. The exact time needed varies based on the climate where you live. In the winter it may take 12 hours versus on a hot summer night it can take 6-8 hours. In order to keep those air bubbles inside the dough, carefully scrape the dough out of the bowl with a flexible plastic scraper. Try to keep the air in as much as possible. This will create those beautiful holes in the bread later.

Dough in proving basket

Placing the dough into a floured proving basket will allow it to rise nicely. These come in different shapes and sizes. 

Dough after 30 minute rise. Ready to lame

The dough after you lamea nice pattern on it

After the final rise, score the bread on top with a lame or blade. If you get a proving basket sometimes they come with a lame. I have tried multiple tools but so far I like this one the best. If you don’t have a lame a super sharp knife will work. 

The lame I use is from Amazon.

Or you can also buy this lame with proving basket from Amazon.

Bread in Dutch oven pan done baking


Bread done baking and cooling on cooling rack

This recipe is written as a starting point, but you can add fresh herbs, cheese or nuts. I recommend that if adding ingredients you don’t add more then 20%. For example, in this recipe, since we use 500 grams of flour you can add up to 100 grams of extra ingredients without adjusting the baking times. If you add in a cheese, use a semi hard cheese such as old Gouda or cheddar. Make sure you shred it small before adding it into the flour mixture.

Fresh baked and cut sourdough bread

Overnight Sourdough Bread

Prep Time8 hours
Cook Time45 minutes
Course: Breakfast
Cuisine: Bread
Keyword: Overnight Sourdoughbread, Sourdoughbread
Author: Ester van Boesschoten

Equipment

  • 1 Dutch oven pan

Ingredients

  • 3 Cups Unbleached all purpose flour roughly 500 grams
  • 1 1/2 Teaspoon Sea salt I use Le Guerandais Gros salt
  • 1 Cup Purified water or filtered water roughly 290 grams
  • 2/3 Cup Active bubbly starter, stirred down 150 gram

Instructions

Night before

  • Mix salt and flour in a big mixing bowl
  • Add the starter and gently mix in with spatula.
  • Stir in the water and mix with hand until the dough is well combined. Around a minute.
  • Cover the dough with cling wrap and let it rest for 30 minutes in a draft free and warm place.
  • After 30 minutes gently stretch each corner out and fold the dough onto the opposite corner. The dough is sticky so it helps to have a little bowl of water next to you that you can wet your hands in throughout the folding process. After each stretch, fold and rotate the bowl to continue going around. Do this for 1 minute. See instruction video for additional explanation.
  • Cover and let the dough rest overnight on the counter, 8-12 hours. When it is doubled in size you are ready for the next step.

Baking

  • Preheat your oven ,with the Dutch oven and lid inside it, to 475 Farhenheit.
  • Dust your counter with a little flour and carefully scape the dough out onto it. You want to keep all the air bubbles in the dough. Shape the dough gently into a ball. See instruction video.
  • Place the dough into your proving basket dusted with flour and cover. Let it rise for 30 minutes. Don’t overprove. It is best to set a timer for this one. If you don’t have a proving basket, place the dough on parchment paper and cover with cling wrap.
  • Carefully turn the dough onto a large piece of parchment paper. Both the dough and parchment paper will need to fit into the Dutch oven so keep that in mind when cutting the paper. Now it is time to get creative with a sharp knife or a lame to score the dough. See video for example.
  • Remove the Dutch oven from the warm oven. Remove the lid and carefully place the parchment paper with the bread into the pan. Replace the lid back and place in the oven.
  • Reduce the oven to 420 Farhenheit and bake for 20 minutes.
  • After 20 minutes remove the lid, set oven to 425 Farhenheit and bake for another 20-25 minutes. Until it is golden brown and the bread sounds hollow when softly knocking on the bottom.
  • Once done remove the bread from the dutch oven and let cool on a cooling rack.

Baking bread is my favorite thing to do. You can never have too much bread or too many varieties. I normally don’t bake soda bread because they tend to be dense. I wanted to give it a go and try to make it a little less dense. The flavors of cheese, bacon and fresh herbs came quick to me as additions I wanted to add. I started to wonder about what additions might make it less dense? Besides a little more liquid from the buttermilk, I felt it needed an egg. The end result didn’t disappoint at all. My whole family loved it! By the end of the day, more than half the loaf was gone. 

I recommend putting out all your ingredients before you start, so you have everything at hand.

Fresh herbs, washed and ready to use. I used parsley, rosemary and a little basil. You can use any herbs you prefer.


I’ve included bacon to add that extra bit of savory flavor. Make sure you bake until it is nice and crispy.

Let the bacon sit on a paper towel for a bit to catch the grease.

Make sure you chop your herbs nice and small.

Combine the flour mixture with the bacon, herbs and cheese. Slowly mix them together. By adding them now it prevents them from sticking together and makes sure it is evenly distributed in your bread.

Combine all the liquid and eggs before adding to the dry mixture.

Pour the liquid into the dry mixture and gently combine it together. Make sure not to overmix or knead the dough. If the mixture is to dry add more buttermilk.

With a sharp knife score a cross on top of your bread.

Baked till golden brown and a skewer inside the loaf comes out clean. Before enjoying this delicious bread let it cool on a cooling rack.

Bacon and Cheese Soda Bread

Savory soda bread. The combination of fresh herbs, parsley and rosemary, with the bacon and cheese makes it a perfect side dish.
Prep Time20 minutes
Course: Breakfast
Cuisine: Bread
Keyword: baconsodabread, easybread, nokneadbread, sodabread

Ingredients

  • 3 Cups Unbleached Flour
  • 1 Cup Pastry Flour
  • 1 1/2 Teaspoons Baking Soda
  • 1 1/2 Teaspoons Cream Tartar
  • 1 1/2 Teaspoons Salt
  • 1/4 Cup Fresh herbs; Parsley, Rosemary Chopped fine. I used one stem of rosemary and the rest parsley.
  • 4 Oz Cheese shredded
  • 4 Strips Bacon baked to a crisp
  • 2 Tablespoons Unsalted Butter melted and cooled
  • 3/4 Cup Buttermilk 3/4 cup – 1 cup *
  • 2 Tablespoons Honey
  • 1 Egg room temperature

Instructions

  • Cook your bacon to a crisp and let it drain on a paper towel. Wash your herbs and chop. Set them aside.
  • Preheat the oven to 375 Farhenheit.
  • Combine in a bowl: flour, pastry flour, baking soda, cream tartar and salt.
  • Add the chopped herbs, bacon and the grated cheese to the flour mixture and combine well.
  • In another bowl combine the buttermilk with the egg, butter and honey.
  • Slowly add the liquid to the flour and fold it in. Be careful not to overmix or knead the dough or the bread will turn out dense.* When it is just combined place it on a baking sheet with parchement paper and form a circle of around 6 inches in diameter and about 2 inches thick. Score your dough with a sharp knife by cutting a cross shape in the top of the loaf.
  • Bake the loaf in the preheated oven until it is golden brown and sounds hollow when you softly knock on the bottom of the loaf. If prefered you can also check by inserting a skewer inside the loaf and see if it comes out clean! This takes around 40-45 minutes.
  • Let it cool on a cooling rack

Notes

* If the dough feels dry after adding the liquid add more buttermilk until comes together nicely and doesn’t feel dry.

Read more:


When we were living in California we did a lot of camping trips. Most were during the winter season for more moderate temperatures. Beach based campgrounds have always been a favorite go-to for our family. California beaches are the best during the winter season because it is cool in the morning and warms up in the afternoon. 


For those trips I always prepared our meals in advance and packed them to bring along. This cornbread is everyone’s favorite. It’s very easy to warm up and can be frozen until you are ready to eat. Chili with cornbread is one meal my kids all love. Mainly for the cornbread! There are many ways to prepare a cornbread. Some recipes use sugar, while others use honey. Instead, I love to use maple syrup! It just adds that subtle sweet note to the cornbread while not being overly sweet.


We’re now living in Pennsylvania, and finally having snowy winters again. This cornbread has turned into a side dish that comes to our table with many winter dinners. I hope you love it as much as our family does!


Baked my cornbread in a cast iron pan. Easy and looks nice, but any baking dish can do.

Cornbread

Prep Time15 minutes
Cook Time30 minutes
Course: Side Dish
Cuisine: Bread
Keyword: cornbread
Author: Ester van Boesschoten

Ingredients

  • 1 1/2 Cup Unbleached all purpose flour
  • 1/2 Cup Corn flour
  • 1 Tablespoon Baking powder
  • 1/2 Teaspoon Salt
  • 1/2 Cup Heavy cream
  • 1/4 Cup Whole milk
  • 1/3 Cup Maple syrup
  • 2 Eggs
  • 1/3 Cup Avocado oil
  • 4 Tablespoon Unsalted butter melted

Instructions

  • Preheat the oven to 350 Fahrenheit. Grease a 9” baking dish or cast-iron skillet with avocado oil.
  • Combine flour, corn flour, baking powder and salt in a large mixing bowl.
  • Combine heavy cream, milk, maple syrup, eggs, avocado oil and melted butter in a second bowl. Mix until it is well combined.
  • Add the wet mixture to the dry and mix it gently with a spatula. Be careful not to over mix.
  • Pour it in your prepared baking dish and bake for 30 minutes, or until a toothpick comes out clean and dry. If you are using a cast iron skillet, the skillet will stay warm and continue to cook once out of the oven.


When the weather turns cold our family loves to eat a variety of soups and stew. I always like to make something to go along with these meals to soak up the delicious goodness at the bottom of the bowl. These  cheesy buttermilk biscuits are the best side dish to any winter meal.

I used aged gouda cheese in them but, you can choose any cheese you prefer. Cheddar would work just as nicely.

The combination of all purpose flour and pastry flour ensures that the biscuits don’t turn out too dry. This combination should make them nice and fluffy.


Cheesy Buttermilk Biscuits

Prep Time1 hour
Cook Time20 minutes
Course: Side Dish
Cuisine: Bread
Keyword: biscuits, buttermilk cheese biscuits, buttermilkbiscuits

Ingredients

  • 1 Cup unbleached all-purpose flour
  • 1 Cup pastry flour
  • 2 Tsp baking powder
  • 1/2 Tsp baking soda
  • 1/2 Tsp salt
  • 8 Tablespoons unsalted butter frozen and grated
  • 3/4 Cup buttermilk
  • 1 Tablespoon raw honey
  • 1/2 Cup aged cheese I used Beemster gouda 12 year aged cheese.

Instructions

  • Freeze your butter.
  • Combine unbleached all purpose flour, pastry flour, baking powder, baking soda and salt. Mix till combined.
  • Combine the buttermilk with the honey in a separate bowl.
  • Grate the frozen butter into the flour mixture and cut it in with a pastry cutter. Alternatively you can use two knives to cut it in. Work quickly so the butter stays cold.
  • Add the buttermilk mixture into the flour/butter mixture. Combine with spatula or fork. Be careful not to overmix it.
  • Preheat the oven to 400 Fahrenheit
  • Transfer the dough to a lightly floured countertop. Roll it out into a rectangle. Sprinkle half of the cheese onto the dough then fold it into thirds. Repeat this one more time with the rest of the cheese. Make sure you have some cheese left to put on the biscuits before you bake them.
  • Roll out your dough into 1/2 inch thickness and cut out the biscuits. I did circles but you can simply cut squares so you don’t have to roll out the leftover scraps into a rectangle again. The left-over scraps will not bake as nice as your first batch. It won’t get the same height and will have less layers.
  • Place your biscuits on a baking tray lined with parchment paper. Brush them with a little buttermilk and top with the left-over cheese.
  • Bake them in the preheated oven for 15-20 minutes, or until they are nice and golden brown. Once they are done, let them cool on a cooling rack.

Notes

Inspired by: America’s test kitchen

At home, in the Netherlands, we always used to have Christmas bread during the holiday season. I always found the Christmas bread to be too dense for my liking. However, I’ve always loved the raisin bread buns. I decided to try adding the almond paste, that is typically in Christmas bread, to the middle of the raisin bread. By eliminating the extra fruit in the traditional Christmas bread it doesn’t turn out too dense. 

I have to say they turned out delicious!  Especially, with a finishing of powdered sugar on top they are drooling good! Combine it with hot cocoa or tea and you have yourself a nice treat in the morning, or any time of the day.


Raisin bread buns with almond paste

Also called rozijnen bollen in Dutch. They are bread buns with raisins and I added a little almond paste as a surprise in the middle.
Prep Time30 minutes
Cook Time15 minutes
Course: Breakfast
Cuisine: Bread
Keyword: almondpaste, kerstbrood, Raisin, raisinbuns, rozijnenbollen
Servings: 24
Author: Ester van Boesschoten

Ingredients

Almond paste

  • 1 1/2 Cup almond flour
  • 1 1/2 Cup powdered sugar
  • 1 egg white room temperature
  • 1 Teaspoon pure almond extract

Raisin bread bun

  • 4 Cups all purpose flour
  • 1 1/4 Tablespoons active dry Yeast
  • 3 1/2 Tablespoons unsalted butter melted and cooled down a bit
  • 1 1/4 Teaspoons salt
  • 1 1/2 Cup milk lukewarm (90 Fahrenheit)
  • 3 Tablespoons light brown sugar
  • 1 1/2 Cup raisins
  • 2 eggs
  • Zest of one lemon

Instructions

Raisins

  • Soak the rasins overnight in lukewarm water, in a closed container, on the counter.

Almond paste

  • Combine all the ingredients in a food processer or blender. Pulse to combine.
  • On a counter, lightly dusted with powdered sugar, place the combined ingredients. Gather them into a ball. Roll it and then shape it into a log that is about 2” in diameter.
  • Wrap it in kitchen plastic wrap and allow it to chill for at least 1 hour and up to one week.

Raisin bread buns

  • Sift the flour.
  • Warm up the milk. Mix the yeast and brown sugar into the warmed milk until dissolved. Let it stand for 5 minutes to activate the yeast.
  • Add the lemon zest to the flour, ensuring it is mixed in evenly.
  • After the 5 minutes, add the flour to the yeast mixture. Mix till combined.
  • Let is rise for 20 minutes.
  • Mix in the melted butter, 1 egg yolk, 1 whole egg and raisins.
  • Knead until it is combined and elastic. It shouldn't stick to your hands. Add more flour when needed.
  • Let is rise again for 20 minutes.
  • Form 24 balls out of the dough. Weigh out each dough ball of 35 grams. Gently, with your fingers, make the dough into a flat round circle. Into the circle place a small ball of almond paste. Gather dough around the paste and pinch it together. With the seamside down, roll the ball in your palm and gently press it a little while rolling it. This makes a beautiful ball shape.
  • Place each ball on a baking tray, covered with parchment paper, and let is rise for another 20 minutes.
  • Preheat the oven at 460 Fahrenheit.
  • Mix the saved egg white with a little bit of water and powdered sugar. Gently brush this on the buns before baking. It gives it a nice shine.
  • Bake the buns in the warm oven for 12-15 minutes or until they are a nice golden brown.
  • Cool on a cooling rack.

Notes

Inspired by: Amsterdamse huishoudschool cookbook from CJ Wannee 

Before relocating to USA, I received an old family recipe that was passed down from my Aunt to my niece. I have made this Worstenbrood recipe multiple times since. But, if you know me, I am always looking for ways to improve a recipe. Thus, this recipe got a reboot as well. My addition was to add a roux to the meat mixture to make it less dry after baking. 

For all my American followers, Worstenbrood is a sausage roll which is made from ground meat that is encased in a bread, and baked in the oven. It is something you can only get in the region Brabant in the Netherlands. Growing up we always took this with us on road trips. It was also traditional to enjoy them after church with a nice, warm bowl of soup.


Worstenbrood

Ground meat filled breadroll
Prep Time1 hour
Cook Time15 minutes
Course: Breakfast
Cuisine: Bread
Keyword: Bread, sausage bread, worstenbrood
Author: Ester van Boesschoten

Ingredients

Bread dough

  • 2,5-3 Cups bread flour more or less as needed
  • 1 1/2 Tbsp active dry yeast
  • 3 Tbsp unsalted butter room temperature
  • 1 Tbsp light brown sugar
  • 1 Tsp salt
  • 1 egg room temperature
  • 1 Cup lukewarm milk (90-ish Farhenheit)

Filling

  • 1/2 Cup milk
  • 1 Tbsp unsalted butter
  • 2 Tbsp flour
  • 0.65 Pound ground beef (300 gram)
  • 0.65 Pound ground pork (300 gram)
  • 1/2 Cup breadcrumbs
  • 1 Tsp salt
  • 1/2 Tsp nutmug
  • 1 Tsp Black pepper
  • 1 Egg

Instructions

Filling

  • Warm up the milk and butter in a pan.
  • When it is warm, take it off the heat source and add the 2 tablespoon of flour. Whisk to combine.
  • Put the pan back on the heat source, warm until it is thickened up.
  • Let it cool before you add it to the rest of the filling.
  • Put the rest of the filling ingredients in a bowl and combine gently. Don’t over mix.
  • Add the cooled roux and combine.
  • Make rolls of filling from about +/- 1 oz. (30 gram). Let them rest covered in the fridge while you prepare the bread.

Bread

  • On your work surface place the flour making a little well in the middle where you put in the egg, light brown sugar, yeast and a little of the warm milk. Let the yeast dissolve.
  • Slowly mix by hand the flour with the milk mixture from inside out. Little by little combine the milk into the flour.
  • After the milk is incorporated in the flour, knead in the salt and softened butter. Knead untill everything is combined and you have an elastic, but not too dry, dough. *
  • Knead the dough for 5 minutes.
  • Put the dough in a bowl and cover. Let it rest for 30 minutes, until it is doubled in size.
  • With a scale divide the dough into equal parts with a weight of 1.3 oz (35 grams). Shape each dough part into a ball. Gather up the dough, with the seam side down, roll it in the palm of your hand and on the counter to form balls. Make sure you put enough pressure on it with your hand.
  • Place the dough balls on plastic wrap and cover it with it as well. Cover the whole thing with a clean tea towel. Let it rest for 15 minutes until it is doubled in size.
  • After the second rise, roll out each ball of dough into a flat rectangle using a rolling pin.
  • In the middle of the rectangle place a roll of the filling. Fold the dough at the short end over the filling, then the long ends over that. Pinch the dough to close it and roll gently. Place it seam side down on a baking sheet.
  • Gently brush some egg over the rolls twice. Cover them and let rest for 20-30 minutes.
  • Preheat the oven to 465 Farhenheit.
  • Bake the worstenbroods in oven for 10-15 minutes.
  • Let them cool on a cooling rack.

Notes

 *You may need more flour to create a dry and elastic dough. If it is too dry add a little more milk.


After relocating from the Netherlands to the USA, over 10 years ago, I found it really hard to find good bread. They were all way too sweet for my preference. 

We quickly bought a bread machine, which did the job well until our little family grew and needed more than what the bread machine typically made. So I started baking them by hand and went looking for a good bread recipe. With a lot of trial and error I found a recipe that worked for our family. This recipe is a combination of many recipes I have baked. I kept a little notebook where I added things, modifying it till we enjoyed this final result. It is pretty diverse. You can add as much or as little rolled oats and whole wheat flour as you like. It all depends on your preference. As long as you carefully add the flour in the end, keeping a close eye to see when the dough is just right. It takes some practice to learn the right consistency but you will get it! 

*Dough after the first rise

*Dough after the second rise


Whole wheat bread

Prep Time30 minutes
Cook Time35 minutes
Cuisine: Bread
Keyword: Bread, sandwich bread, Whole wheat bread
Author: Ester van Boesschoten

Ingredients

  • 2.5 Cups lukewarm water (90-ish Farhenheit) plus more if needed
  • 1.5 Tbsp active dry yeast
  • 2/3 Cup raw honey
  • 1/4 Cup coconut oil in liquid form
  • 1 Tbsp salt
  • 3 Cups whole wheat flour
  • 3 Cups bread flour more if needed
  • 1 Cup Rolled oats *

Instructions

  • Combine the water, honey and the yeast in a mixing bowl. Cover the bowl and let it rest for 10 minutes to activate the yeast.
  • After 10 minutes add the rolled oats and other preferred ingredients like chai seeds etc. Add the coconut oil and salt too. Mix this in gently.
  • Add one cup of wheat flour at a time while the mixer is on. Adding in the next cup of flour after the previous one is completely incorporated into the dough. Next, add the bread flour one cup at a time until the dough pulls away from the mixing bowl and doesn’t stick to your hands. It should not feel too dry. If you have added too much flour and it feels dry, don’t worry, just add a little extra coconut oil or warm water. You want the dough to be stretchy and slightly tacky.
  • Once the dough has the right consistency knead it for 10 minutes with the machine or by hand.
  • After 10 minutes, cover the dough and let it rest for 1 hour and 30 minutes. You want it to rise until it is doubled in size in a warm draft free location.
  • After the first rise, cut the dough in half on a dry floured surface. Shape each half of the dough into loaves and place them in oiled bread loaf pans. 
  • Cover them with a clean dish towel and let them rise for around 1 hour and 15 minutes or until they doubled in size.
  • Preheat your oven at 350 Fahrenheit.
  • After the second rise, place your loaves in the warm oven and bake them for 30-35 minutes until they are nice golden brown. The should sound hollow when you knock on the bottom. 
  • Take them out of the loaf pans and butter the top right away. Let them cool completely.

Notes

* The rolled oats you can add as much or as little as you prefer 1/4 cup-1 cup